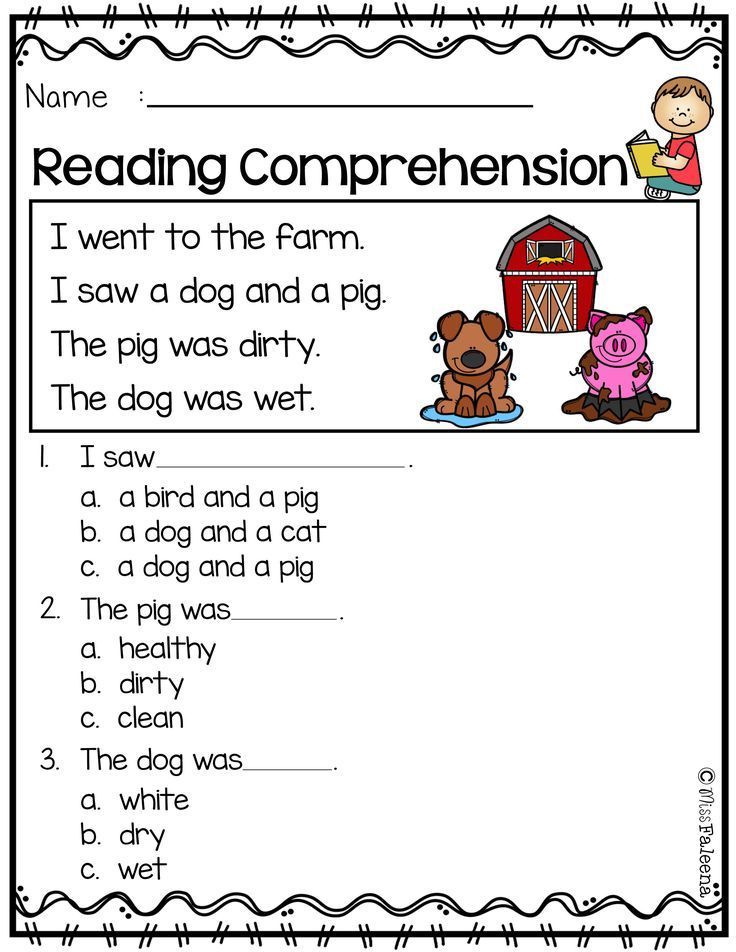
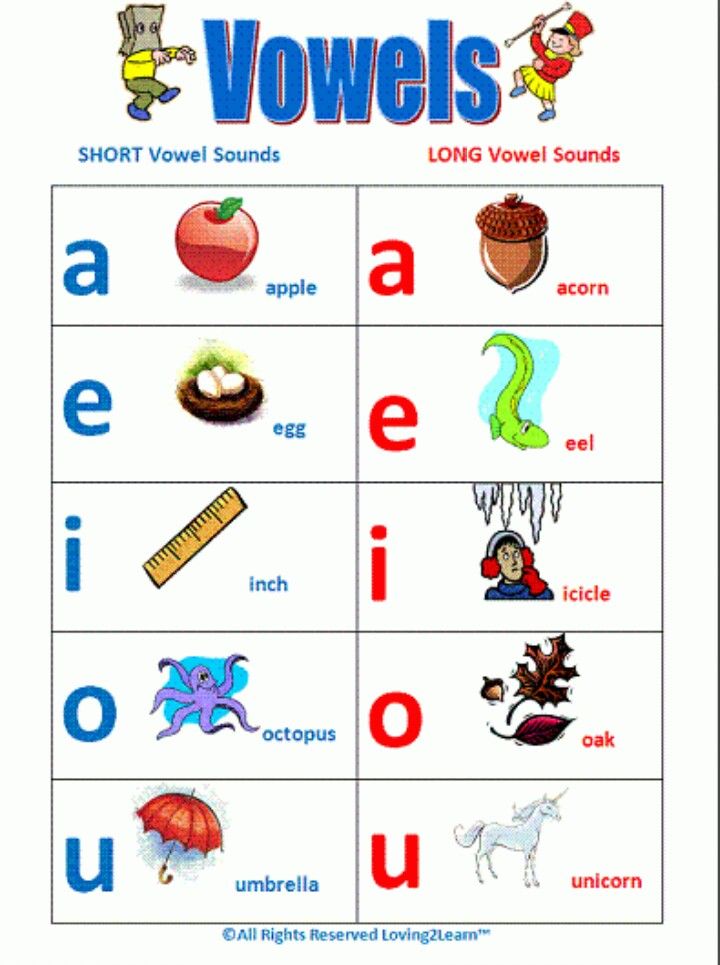
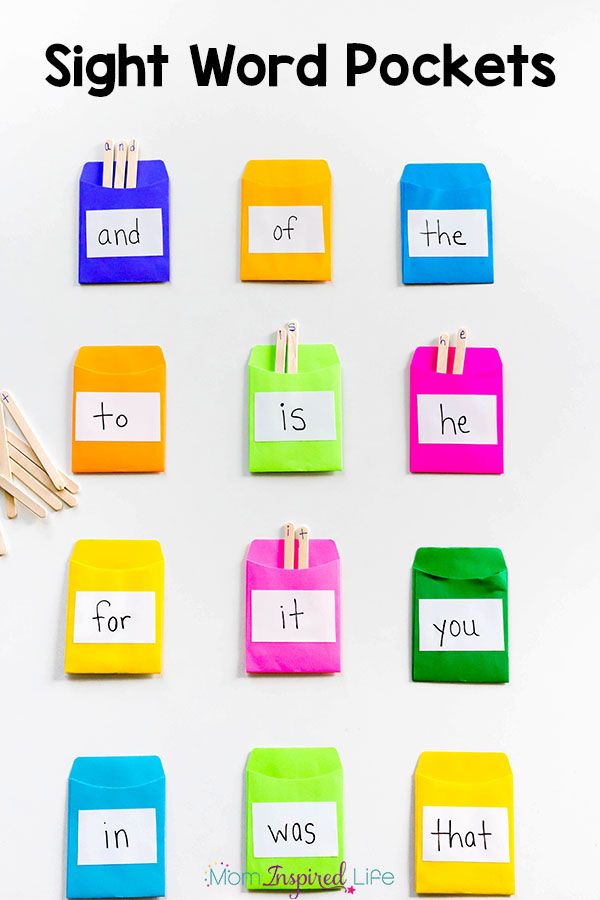
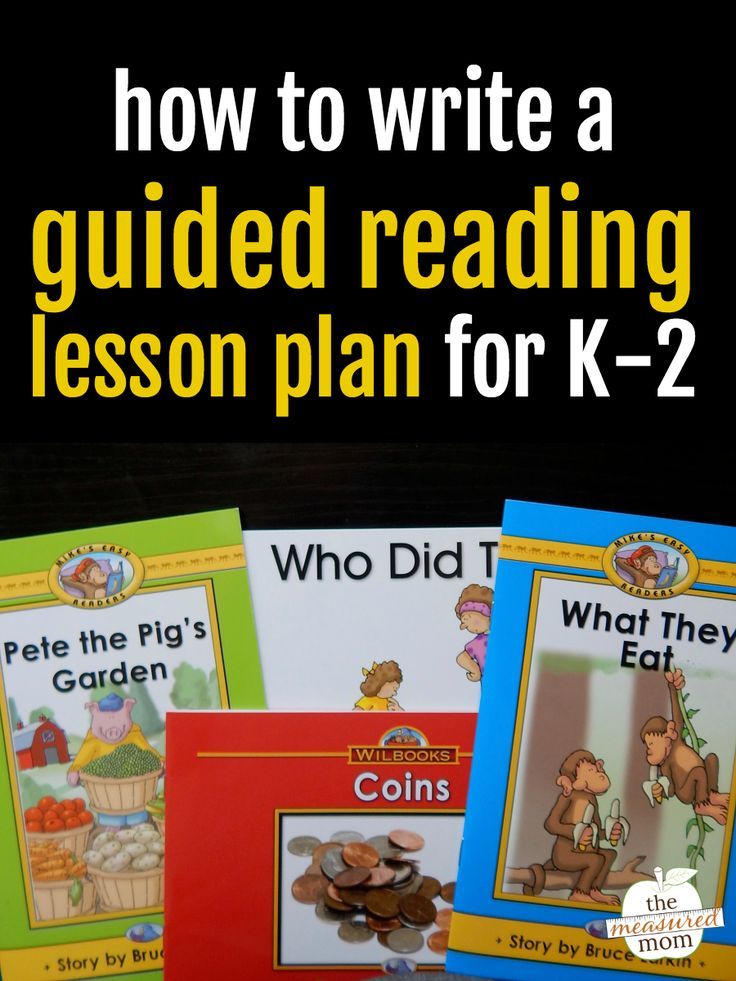
How to level a book for guided reading
How to Determine the Reading Level of a Book
This content contains affiliate links. When you buy through these links, we may earn an affiliate commission.
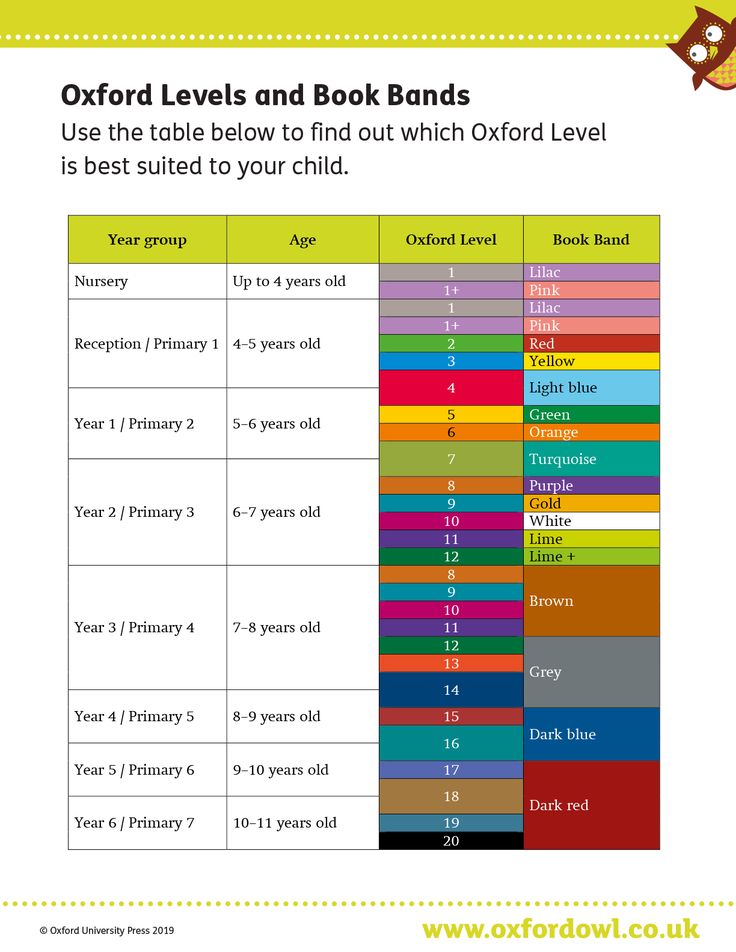
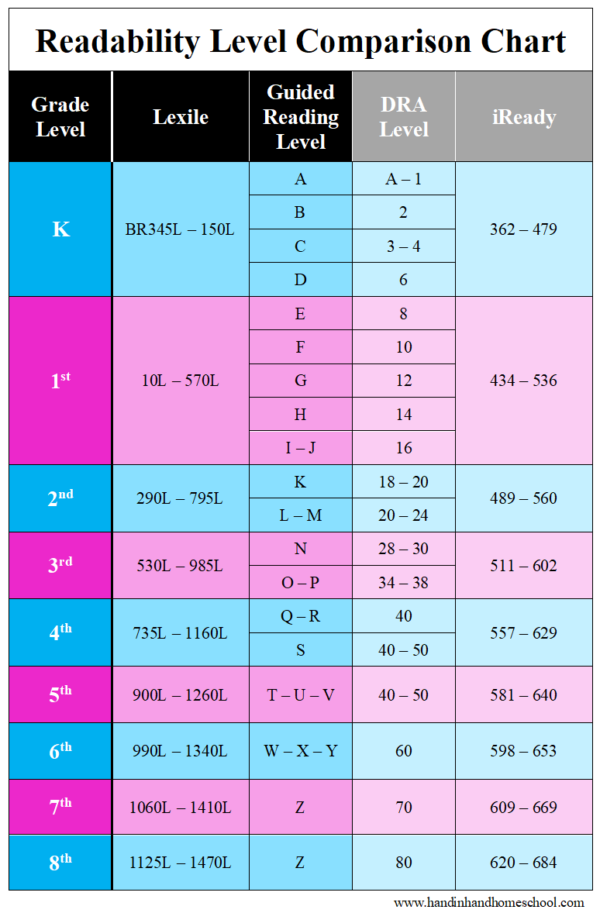
Fountas and Pinnell, Lexile Level, Primer, Pre-primer, Beginning Reader are all terms you may have heard if you have a young reader in your house. Seriously, what does it all mean? Is there actually a way how to determine the reading level of a book? If your child can read The Cat in Hat, which is a level J in Guided Reading, can she independently tackle Diary of a Worm, which has a Lexile Level of 510L or is she ready for Keena Ford and the Second Grade Mix-Up, even though that one has a DRA of 30?
Through this post, I am going to attempt to elucidate and explain reading levels. So scroll through to find the system that your child’s teacher uses or pour yourself a large cup of coffee and sift through all of the various ways educators, librarians, and book publishers level and categorize books for young readers.
Reading Levels Are Like Starbucks Sizes
I admit, I don’t visit Starbucks unless I have a gift card. I am also that person who goes to Starbucks and still tries to order a large iced tea. The barista calmly asks if I would like a venti or a trenta and then explains that I need to choose between Passion Tango, Matcha Green, or Guava White Tea. Then comes the question of sweetened, unsweetened, or added lemonade.
For the young reader, finding a book that can be read independently can be as tricky as remembering all of the variables in a Starbucks order. Little readers who are not familiar with reading levels or taught to find a “good fit book” often go for books that are too easy and boring, too difficult and frustrating, or, like my kindergarten son, books that have too many unreadable Star Wars planet names like Kashyyyk. If a child knows her reading level, she can find books that contain sight words she knows, plot lines that are not too advanced, and vocabulary that is manageable.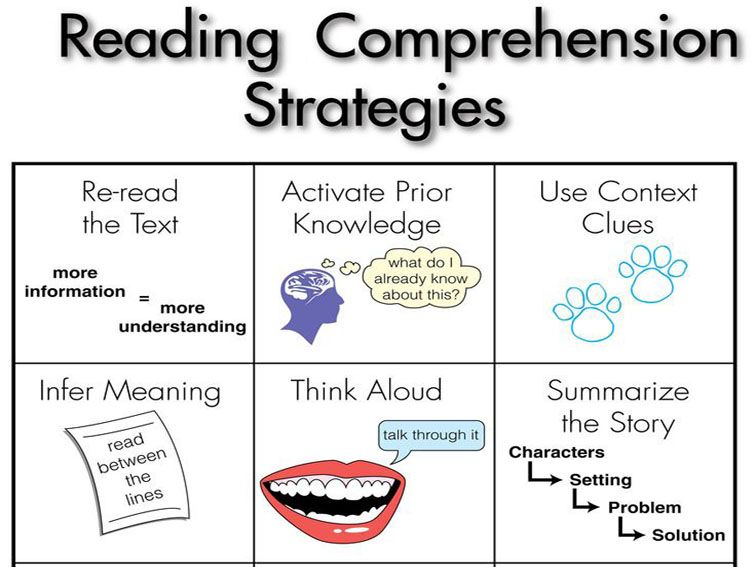
Explain the Levels, Please
There are many different ways that books are leveled. Here are the three most popular methods for how to determine the reading level of a book.
Developmental
Children become readers by moving through different developmental reading stages. These stages range from the emergent pre-reader to the expert fluent reader. Typically, the emergent pre-reader is between six months and six years of age, while the expert fluent reader is 16 years and older. The developmental categories are broader categories than many of the other leveling systems.
Letter Levels
When I taught first and second grade, I found letter levels to be the most kid friendly way to organize a classroom library. If your child’s school levels books using Fountas and Pinnell, Reading A-Z, Scholastic Books, or Guided Reading Levels, then books will be leveled using a letter system. While it would be nice, these leveling systems do not always correlate. A book that is a Reading A-Z Level P, is not always a Level P using the Guided Reading Levels.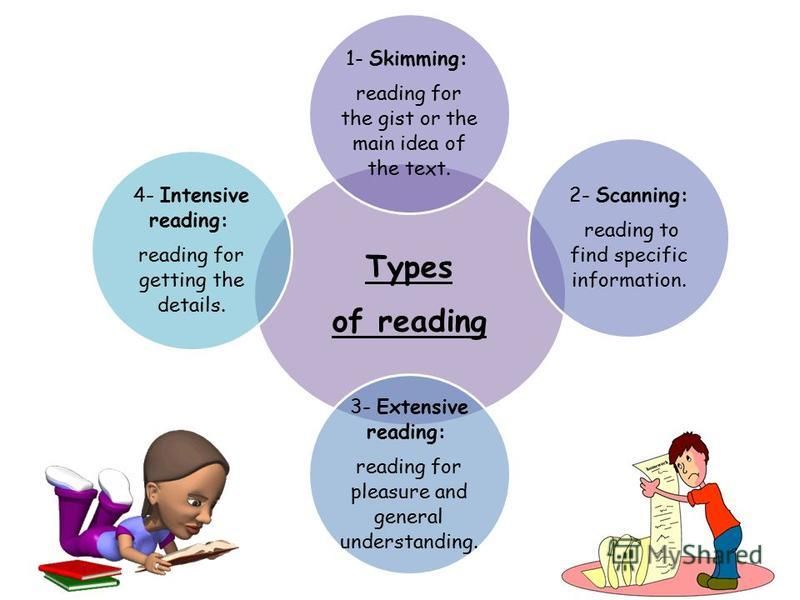
Number Levels
Books can be leveled through such systems as Lexile Numbers, The Direct Reading Assessment (DRA), and Reading Recovery. These systems measure texts by complexity and a reader’s skill level and then assign a number.
I Have My Child’s Reading Level, Now What?
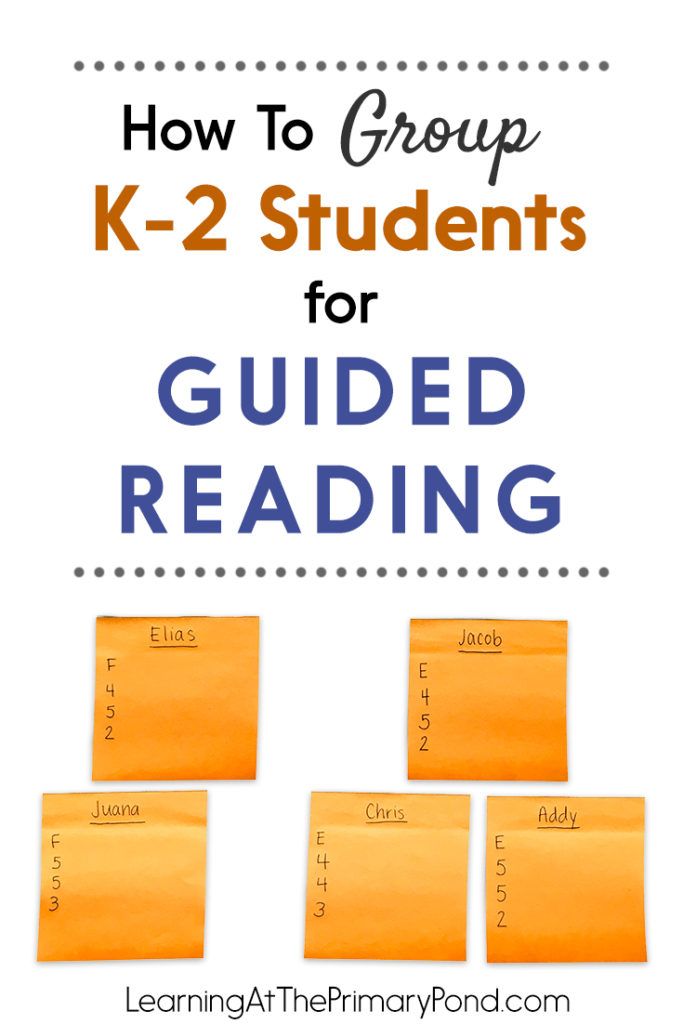
Throughout the school year, your child’s teacher will probably perform reading inventories or assessments with your child. These will determine your child’s reading level.
If you homeschool or your child’s school does not use leveled reading, then use a simple test called the “five finger test” to roughly determine your child’s reading level. Have your child choose a book and open to the second page. Ask your little one to read the text out loud. If your child struggles with independently reading five or more words on that page, the book is too difficult and is not a good fit. You should also ask some comprehension questions to make sure that your young reader understands what she is reading.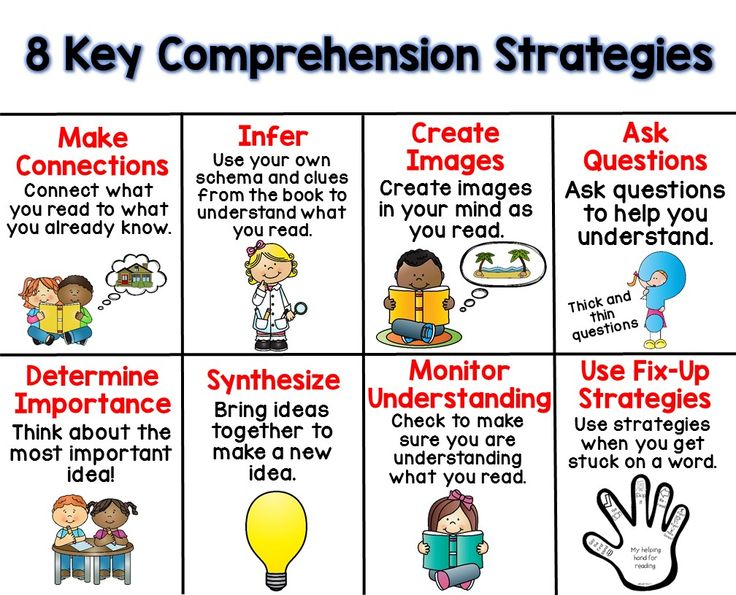 When a book passes the five finger test, use one of the links below to determine that book’s reading level.
Once you have the reading level, take a look at these five helpful websites, apps, and charts that will help you and your child find or level the perfect book:
- Book Wizard : Type in the title of a book to retrieve the Guided Reading Level and grade level.
- Lexile Find-a-Book :Visit this site to find the Lexile Number for a specific book or to generate a list of books with a particular Lexile Number.
- Reading A-Z Level Correlation Chart : This is the best conversion chart out there for reading levels.
- Reading Levels Explained : Check out this very clean and user friendly site if you are still feeling overwhelmed by all of the reading level systems.
- Literacy Leveler app : Download this app and then use it to scan a book’s ISBN to see its Lexile, DRA, and GRL.
Levels Should be Helpful, Not Stressful
Reading levels should not feel restrictive.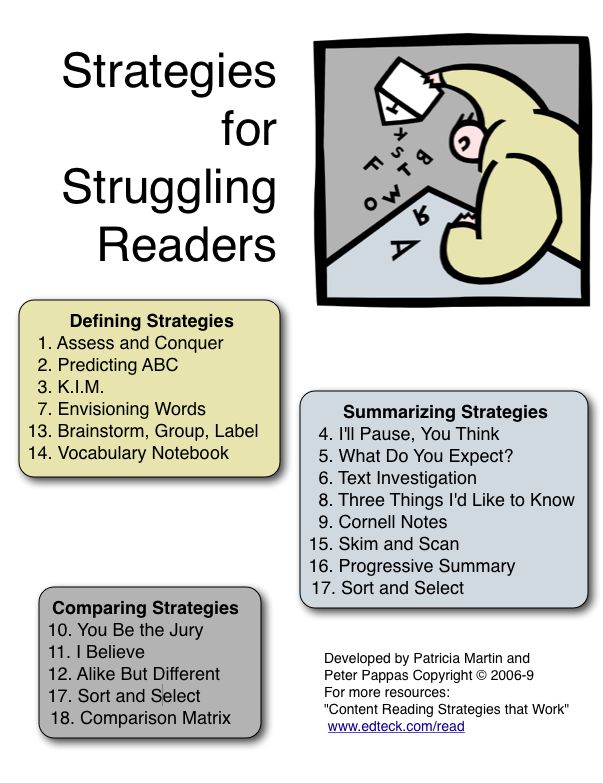 They should be used as helpful tools and not as a draconian system that kills the love of reading. Encourage your child to read books on her level, but don’t be upset if she chooses to reread an old favorite or picks up a nonfiction book that has some advanced vocabulary. Imagine how horrible it would be if adults had to always adhere to a reading level. I am well aware of the fact that some of my beach reads are probably a fourth grade reading level, with a Guided Reading Level of Q, 820L, and DRA of 40. I may not always be challenged as a reader, but it is still fun to sip my trenta Passion Tango unsweetened iced tea and enjoy a book simply for the fun of reading.
Need some books to practice leveling? Help yourself to 50 Must-Read Books for Beginning Readers, 20 Must-Read Books for First Graders and Second Graders, The Best Chapter Books for Kids: Engaging with Words, and 70 Must-Read Books for 3rd Graders.
How to Level Books in 2 Easy Steps
by Lisa
Learn how to level books the easy way for your classroom library, home library, or school library.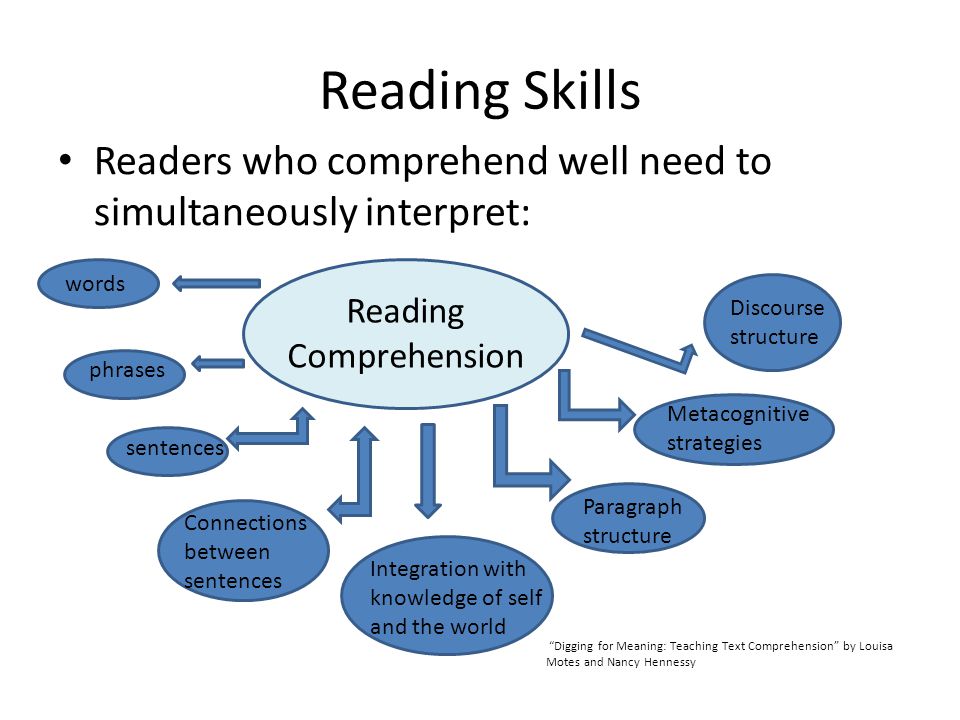 The simple system I use as a school librarian works for a variety of different book leveling systems. This article will show you how to level books for Fountas and Pinnell, how to level books by Lexile score, and how to level books by DRA (Developmental Reading Assessment) level. If you need to level books for guided reading, you’re in the right place. How do you level a children’s book? Read on to learn how to level books quickly and easily for free.
Table of Contents
My Book Leveling Backstory
In the library, I sometimes get asked about the reading level of a certain book. Although I can look it up, I don’t place a big emphasis upon a particular book’s reading level. I always hope that kids will choose to read what interests them. However, knowing the reading level of a book does have its place. Maybe a classroom teacher needs to add some books to a leveled classroom library, or maybe a homeschooling parent wants to know for assessment purposes. Perhaps a student is just curious.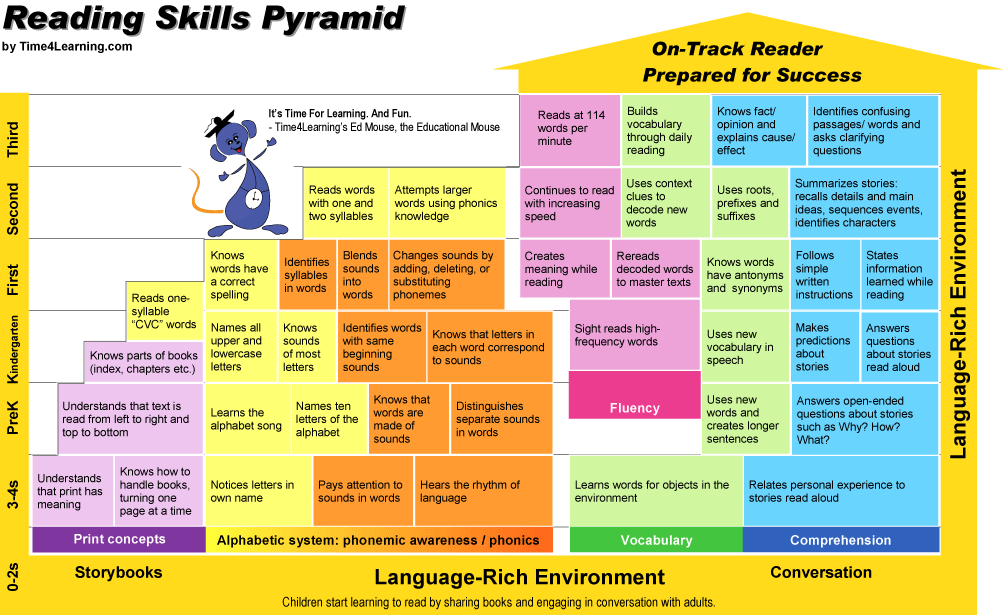 Here’s my favorite free way to level books quickly and easily.
***Disclaimer: This post contains affiliate links, which means as an Amazon Associate I earn from qualifying purchases at no additional cost to you.*** Already know what you’d like to get from Amazon? Here’s a handy way to get to the website, linked to one of my favorite books for teachers to get kids excited about reading. Just click on the link, then browse around and do your shopping.
Take Me To Amazon!
Level Books Quickly Step 1:
You may be asking, “How classroom library?” Here’s the first step. Go to the Accelerated Reader Bookfinder site and type in the title, author or topic of the book you are trying to find information about. Chances are quite good that your book will be in the vast database of titles. Once you have the result, look for the number to the right of the AR letters. For the book I looked up, Wish, by Barbara O’Connor, the number was 6.0.
What does that number mean? It means that, according to the readability formula used by the Accelerated Reader program, the book would be at an appropriate level for a student at the beginning of sixth grade. Of course, the actual reader may be in a higher or lower grade level. If a book has an AR level of 4.5, the number means the book is at a readability level suitable for someone in the fifth month of fourth grade.
Level Books Quickly Step 2:
If you are just interested in knowing the grade level of a book, you could stop there. However, many school districts use other reading levels to measure progress. One type of leveling model is the DRA (Developmental Reading Assessment). Another book leveling model is the Lexile score. Some teachers, homeschool parents or students may want to know the DRA level or Lexile score of a book. What if you want to level books for Fountas and Pinnell? How do you find a book’s guided reading level? For each of these queries, all you need to do is access a conversion chart, or book level chart. This is the best one I’ve found. Use the chart to convert the AR level to your desired book system level. There you go! You just learned my favorite free way to level books quickly and easily.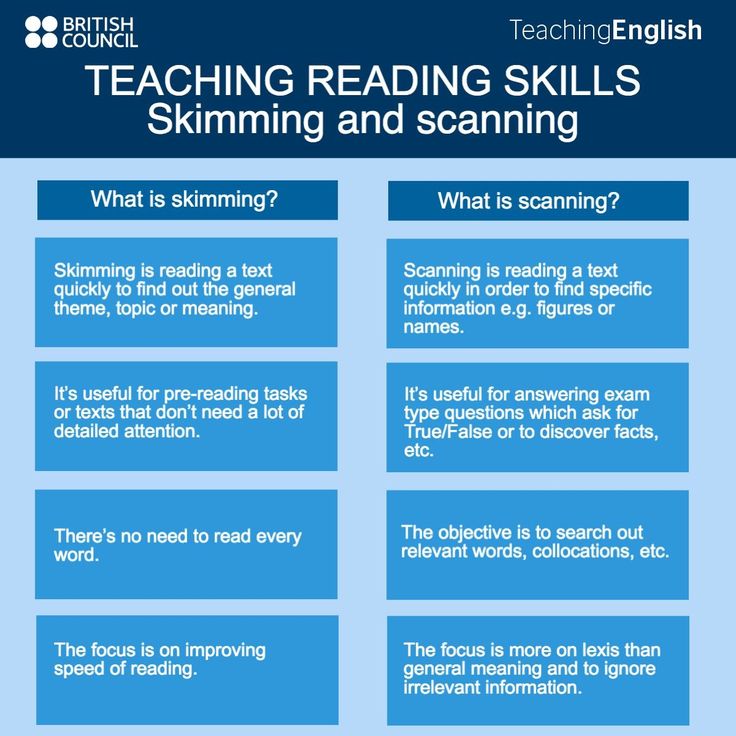 Using these two free book leveling websites or tools, you can level many books in a short amount of time.
Have a Ton of Books to Level?
What if you are a brand new classroom teacher and have a whole classroom library of books to level? What if you are a school librarian who has just been asked by your principal to level all of the books in the library? (It has happened before.) Is there an app to level books? Good news! There is a free app called QuickScan Book Leveler. The downside is that it’s only available right now for an iPhone or iPad. It also only provides the AR level and Lexile score. If that is all you need, then you’re set.
There is another app you could use called Level It Books. It’s not free, but it’s only $4.99. The app is available for both iOS and Android devices on their respective app stores. This app allows the user to quickly view a book’s Lexile, guided reading level, grade level equivalent, and DRA level, if desired. When used with a barcode scanner to scan each book’s ISBN, the leveling process is sped up substantially.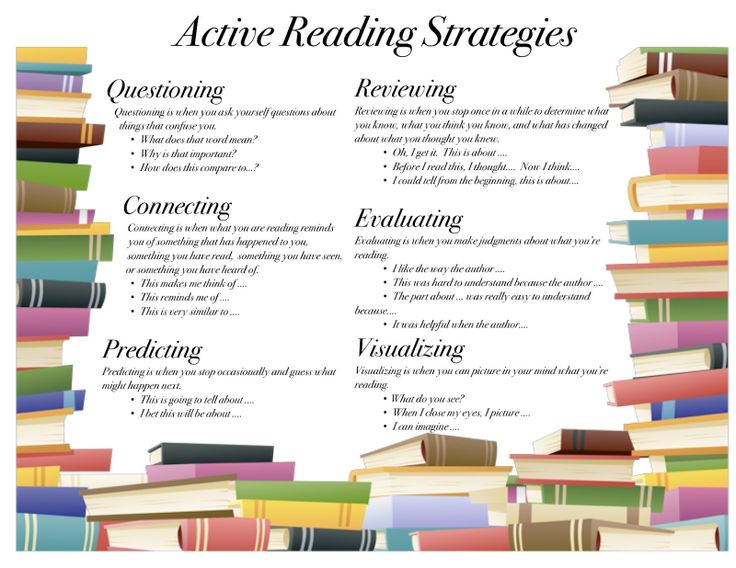
Is Book Leveling in Your Future?
Are you going to have a need to level some books anytime soon? Do you suddenly feel like raiding your bookshelf and visiting the AR website just to satisfy your curiosity? If that’s the case, I hope this post will help you find the book levels you are seeking. Have a fantastic week, and thanks for visiting the BookAndTechTips site.
Related Posts:
- Incredible Kindness Books for Kids
- Inspiring Technology Books for Kids
- Awesome Summer Reading Programs
- Helping Reluctant Readers: An Engaging Resource
- Free Ebook Site For Kids Offers Home Access
- The Best Free eBook Deal For Kids and Teachers
- Best Valentine Books for Kids
Lisa Mitchell is a school librarian who likes to use her job as an excuse to stay up far too late reading books and noodling around with tech tools. To learn more about what this website has to offer, click on over to the About page or the Book Tips page. .
.
How to train yourself to read more books?
Skip to content
|
Many people are faced with the fact that they almost do not read books for the soul. Most of the time is spent reading articles, publics for work, and there is neither time nor energy left for fiction. Although they used to read one book after another, the reason is not clear. In this article, we will figure out how to learn to read more books, despite the daily workload and fatigue. nine0003
- Don't force yourself to read because you have to, do it just for fun. We do not consider reading for work. We are talking about bestseller books that your friends and relatives advised, but for some reason you don’t want to read them, your soul doesn’t lie to them. This is not a textbook that must be read and memorized. In that case, just pick up another book.
- Use any free minute to read a book. Work, household chores take almost the whole day. In the evening, I just want to lie down in bed and stare at the TV. But it's best to watch one less episode of the series and read an interesting book. Moreover, reading is much faster and will relax you better than watching YouTube. This tip can also come in handy for relieving stress and getting rid of insomnia. nine0012
- Do not get distracted by other things while reading. Most often, we can be distracted from reading notifications on the phone, calls, the habit of constantly checking mail, and more. Therefore, it is best to put everything aside, turn off the sound on the phone and completely immerse yourself in reading.
- Read books with friends or family. Discussing a story together motivates you to read even more and harder. After all, what could be more interesting than coming up with new thoughts, reasoning or arguing about a chapter you just read. nine0012
- Accustom yourself to read every day.
 Read every day for at least 10 minutes to quickly get used to this process and make it a good habit. Every evening or morning you will know that you need to make time for a book and don't forget to read. And then you will not be torn off from this process.
 - If you have read half of the book and it has become uninteresting to you, feel free to start reading a new work. You are reading for yourself, so it is important that the book captivates you and that you do not force yourself to finish it in order to finish it. Books are not vitamins to be forced to eat them every day. nine0012
- Do not rush to read a lot. The main thing is quality, not quantity. If you read slowly and it takes you about a month to read a book, then there is nothing to worry about. You don't have to pass the standard, so read at your own pace and don't chase numbers.
- Look for unusual, amazing books. There are many ratings and selections of books on various topics. You will definitely find several works that you will want to read on the same day.
 Get inspired by reading and get new knowledge. nine0012
In any business, even in reading, it is important to set aside time in the schedule and completely immerse yourself in the process. Finding a fascinating book and friends who are ready to read it with you will not be a problem. But allocating time in the schedule will not be so simple. Take the free online course "How to do it all? Time Management Skills”, in 10 minutes you will learn how to properly plan your time and distribute all the tasks for the day.
Follow us on Telegram - stranavozmojnostey Share on social networks nine0030 You may be interestedCreating Book Files with Adobe InDesign
User's Guide Cancel
Search
- InDesign User Guide
- InDesign Basics
- Introduction to InDesign
- What's New in InDesign
- System requirements
- General
- Using Creative Cloud Libraries
- What's New in InDesign
- Working environment
- Working environment basics
- Toolbox
- Parameter setting
- Working environment "Touch control"
- Default key combinations
- Document recovery and cancellation
- Capture extension
- Working environment basics
- Introduction to InDesign
- Create documents and layouts
- Documents and pages
- Create documents
- Working with master pages
- Working with multiple documents
- Set the page size, margin, or issue area
- Working with files and templates
- Creating book files
- Adding basic pagination
- Numbering of pages, chapters and sections
- Converting QuarkXPress and PageMaker documents
- Sharing content
- Basic Workflows with Managed Files
- Saving documents
- Nets
- Nets
- Grid formatting
- Layout Tools
- Rulers
- Documents and pages
- Add content
- Text
- Add text to frames
- Linking text boxes
- Arabic and Hebrew options in InDesign
- Creating text along a path
- Markers and numbering
- Glyphs and special characters
- Text layout
- Text variables
- Creation of QR codes
- Text editing
- Text alignment
- Wrap text around objects
- Linked objects
- Related content
- Paragraph formatting
- Character formatting
- Find/Replace
- Spell checker and language dictionaries
nine0011 Typography - Using fonts in InDesign
- Kerning and tracking
- Text
- Text formatting
- Text formatting
- Working with style packs
- Tabs and indents
- Review text
- Track and review changes
- Add editorial notes in InDesign
- Import PDF file comments
- Add links
- Creating a table of contents
- Footnotes
- Creating an index
- Endnotes
- Signatures
- Styles
- Paragraph and character styles
- Mapping, exporting, and organizing styles
- Object styles
- Drop caps and nested styles
- Working with styles
- Leading
- Tables
- Formatting tables
- Creating tables nine0011 Table and cell styles
- Selecting and editing tables
- Stroke and fill tables
- Hyperlinks
- Dynamic PDF documents
- Bookmarks
- Buttons
- Forms
- Animation
- Cross references
- Structuring PDF documents
- Page transitions
- Audio and video
- Forms
- Introduction to contours and shapes
- Drawing with the Pencil tool
- Drawing with the pen tool
- Apply line parameters (dash)
- Compound paths and shapes
- Edit contours
- Clipping paths
- Changing angle parameters
- Align and distribute objects
- Related and embedded graphics
- AEM Resource Integration
- Color application
- Using colors from imported graphics
- Working with color swatches
- Color mixing
- Shades
- Introduction to spot and process colors
- Overlay colors
- Gradients
- Flattening a transparent graphic
- Add transparency effects
- Working with InDesign cloud documents
- Cloud documents in InDesign | Frequently Asked Questions
- Sharing and collaboration
- Submit for editing
- Checking a published InDesign document
- Feedback management
- Hosting, exporting and publishing
- Web publishing
- Copying and pasting graphic objects nine0011 Export content to EPUB format
- Adobe PDF Options
- Export content to HTML format
- Export to Adobe PDF
- Export to JPEG format
- Export to HTML
- Overview of DPS and AEM Mobile
- Supported file formats
- Booklet printing
- Marks and bleed
- Printing documents
- Inks, color plates and screen lines
- Overlay
- Creating PostScript and EPS files
- Preflight files before sending
- Printing miniatures or large documents
- Preparing PDF files for service providers
- Preparation for printing plates
- Automation
- Data Merge
- Plug-ins
- Capture extension in InDesign nine0011 Scenario development
- Corrected errors
- Crash on startup
- Settings folder error: read-only
- Troubleshooting file problems
- Unable to export to PDF
- Recovering InDesign documents
Impartial language. We're replacing non-inclusive language in InDesign 2022 (version 17.0) and beyond to reflect Adobe's core values of inclusion. Any reference to the Master page is replaced by a link to the Parent page in our help articles for English, Danish, Hungarian, Spanish, Italian, Brazilian Portuguese, Portuguese, and Japanese .
Creating a book file
A book file is a collection of documents that can share the same styles, color swatches, master pages, and other elements. Book documents can be page numbered, printed as individual book documents, or exported to Files > PDF. One document can belong to several books.
One of the documents added to the book file is a style source . By default, the style source is the first document in the workbook, but you can select a new style source at any time. When book documents are synced , the styles and swatches of the book documents are replaced with the styles and swatches from the style source.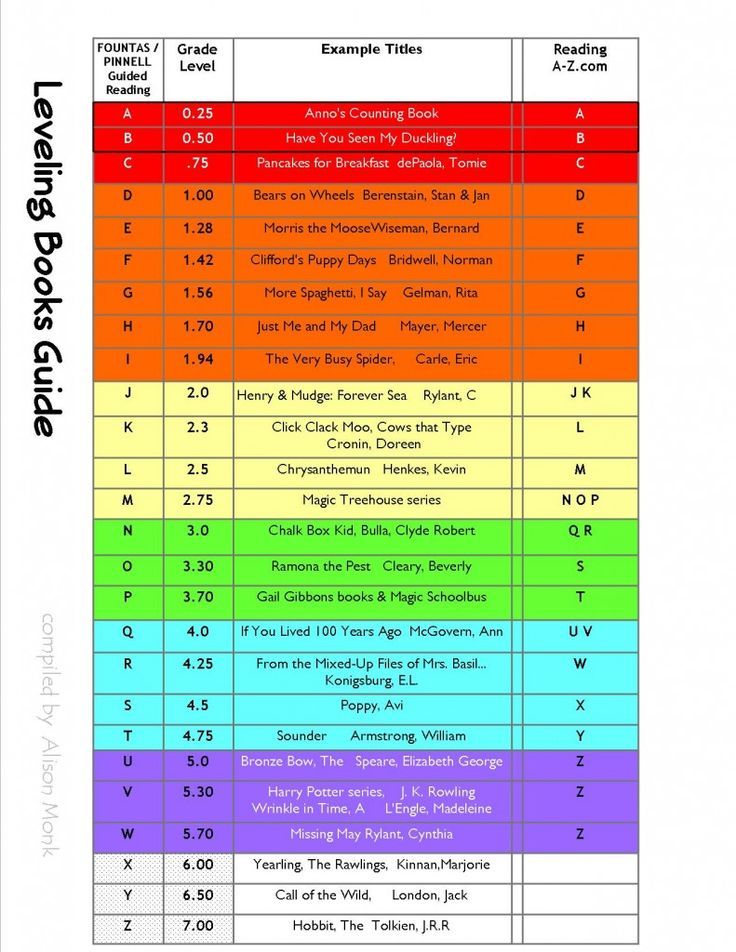
-
Select File > New > Book.
-
Enter a title for the book, specify a location, and click Save.
The Book palette appears. The book file will be saved with the .indb extension. nine0003
-
Adding documents to a book file.
Adding Documents to a Book File
When a book file is created, it opens in the Book panel. The Book palette is the work area of a book file where you can add, remove, or organize documents.
-
Choose Add Document from the Book panel menu, or click the plus button at the bottom of the panel. nine0003
-
Select one or more Adobe InDesign documents to add, and then click the Open button.
You can drag files to the Book panel from an Explorer (Windows) or Finder (Mac OS) window. You can also drag a document from one workbook to another. To copy a document, press and hold Alt (Windows) or Option (Mac OS).
-
If you select documents created in an earlier version of InDesign, they will be converted to Adobe InDesign CS5 format when added to the book. In the Save As dialog box, enter a new name for the converted document (or leave the name as is), then click the Save button. nine0003
Adobe PageMaker or QuarkXPress documents must be converted before they can be added to a book.
-
If necessary, reorder the documents in the palette by dragging them up or down to the desired location in the list.
-
To specify a document as the style source, check the box next to the document name in the palette.
To open a document in a book file, double-click the document name in the Book palette. nine0003
Managing book files
Each open book file appears on a separate tab in the Book palette. If multiple books are open at the same time, click the appropriate tab to navigate to that book and access the menu for the desired palette.
Icons in the Book palette indicate the current status of a document, such as whether the document is open, missing (the document was moved, renamed, or deleted), modified (the document was edited, or page or section numbers changed when the document was closed), or in use (document opened by another user in a workflow). Icons do not appear next to closed documents. nine0003
To find the path to a document in a book, hold the cursor on the document name until a tooltip appears. Or choose Document Info from the Book panel menu.
Book file storage
Book files are stored separately from document files. For example, if you choose Save Book, InDesign saves your changes to the book, not to the documents in the book.
-
Do one of the following. nine0003
-
To save the book with a new name, choose Save Book As from the Book panel menu, specify a location and file name, and then click the Save button.
-
To save the book with the same name, choose Save Book from the Book panel menu or click the Save button at the bottom of the Book panel.
-
If the workbook is on a server, you must have a file management system in place so you don't accidentally overwrite corrections made by other users. nine0003
Closing a book
- To close a single book, choose Close Book from the palette menu.
- To close all open books in one palette at once, click the close button in the title bar of the Book palette.
Deleting documents from a book
-
Select a document in the Book palette.
-
From the Book panel menu, choose Delete Document.
nine0027 -
Select a document in the Book palette.
-
From the Book panel menu, choose Replace Document, navigate to the document you want to replace the current one with, and click Open.
-
Select a document in the Book palette.
-
From the Book panel menu, choose Reveal in Explorer (Windows) or Reveal in Finder (Mac OS).
-
From the Book panel menu, choose Sync Options.
-
Select the elements to copy from the style source to other documents in the book. nine0003
Be sure to select all styles included in the definition of other styles. For example, an object style can contain paragraph and character styles, which in turn contain patterns.
-
Select style match groups to avoid duplication of uniquely named styles that have been moved into or out of style groups.
Suppose the style source contains a character style in a group, and the document being synchronized contains the same character style outside the group. If this parameter is set, the character style is moved to the style group in synchronized documents. nine0003
If this parameter is not set, a second instance of the character style in the style group is created with the parameters corresponding to the style source. The character style outside the style group is not changed.
If a document contains multiple styles with the same name (for example, character style 1 in the style group and character style 1 outside the style group), InDesign behaves as if the option is not set.
 For best results, create styles with unique names. nine0003
 -
Click the OK button.
-
In the Book palette, check the box next to the document you want to be the style source; the style source icon indicates which document is the style source. nine0003 Selected style source
-
Verify that the elements to be copied from the style source are selected in the Synchronization Options dialog box.
-
In the Book palette, select the documents that you want to synchronize with the style source document. If no documents are selected, the entire workbook is synced.

To make sure that no document is selected, click in the free gray area below the list of documents in the book; you may have to scroll through the list or resize the Book panel to do this. To deselect a document, Ctrl-click (Windows) or Command-click (Mac OS) the document. nine0003
-
Choose Synchronize Selected Documents or Synchronize Book from the Book panel menu, or click the Synchronize button at the bottom of the Book panel.
-
From the InDesign CS5 menu, choose File > Open.
-
Select a book file created in a previous version of InDesign and click OK. nine0003
If the book contains documents saved in a previous version of InDesign, a warning is issued.
-
From the Book panel menu, choose Save Book As. Specify a new name for the converted book file and click the Save button.
-
Open the book file in InDesign CS5.
-
In Book panel menu:
-
If you want the original documents to be overwritten during conversion, select the Automatic document conversion check box.
-
If you want to keep the original documents and save the converted documents with a different name, deselect Automatic Document Conversion (the list of documents in the workbook will be updated to include the converted files, not the originals).
-
-
Do any of the following to convert documents. nine0003
-
From the Book panel menu, choose Synchronize Books (see Synchronize Book Documents).
-
From the Book panel menu, choose Update Numbering > Update All Numbers.
-
-
If the Automatic Document Conversion check box is not selected, InDesign prompts you to save each converted document with a new name.
-
Select a document in the Book palette.
-
From the Book panel menu, choose Document Numbering Options, or double-click document page numbers in the Book panel.
-
Specify options for pagination, sections, and chapters. (See Document numbering options.)
-
Press the OK button. nine0003
-
From the Book panel menu, choose Book Page Number Options. nine0003
-
Select "Continue on next odd page" or "Continue on next even page".
-
Select the Insert Blank Page check box to add a blank page at the end of any document before the next one, which must start on an odd or even page, and click OK.
-
From the Book panel menu, choose Book Page Number Options. nine0003
-
Clear the Automatically update page and section numbers check box, and then click OK.
-
To manually update page numbering, choose Update Numbering > Update All Numbers from the Book panel menu.
You can also update only page and section numbers or chapter and paragraph numbers.
-
Open the document used as the style source for the book.
-
Select the Text > Bulleted & Numbered Lists > Define Lists menu.
-
Select New to define a list, or select an existing list and the Edit command.
-
Select "Continue numbering between stories" and "Continue from previous document in book" at the same time.
-
Press the OK button.
-
Define a paragraph style that uses a numbered list and apply it to the text in each document that contains the list (see Create a Paragraph Style for Numbered Lists).
Deleting a document from a book does not mean deleting the file from disk, the document is only deleted from the book file.
Replacing documents in the ledger
Opening a book file in Explorer or Finder
A window opens with an overview of the selected file.
Synchronizing documents in a book
During synchronization of documents in a book, specified elements (styles, variables, master pages, trapping styles, cross-reference formats, conditional text options, numbered lists, and color swatches) are copied from the style source to the specified documents in a workbook, replacing items with matching names. nine0003
If the elements present in the style source are not found in the synchronized documents, they are added. If some elements are missing from the style source, the corresponding elements in the synchronized documents remain unchanged.
Selection of elements to synchronize
Synchronizing documents in a book file
You can synchronize a book without opening its documents. InDesign opens closed documents, makes changes, and then saves and closes the documents. Documents that are open at the time of synchronization are modified but not saved.
Selecting Edit > Undo from the menu will undo changes only to documents that are open at the time of synchronization.
Synchronize master pages
Master pages are synchronized in the same way as other elements: master pages with the same name as in the style source (for example, A-Parent) are replaced. Synchronizing templates is useful for documents that use the same design elements, such as headers and footers. However, if you want to store page elements on the master page in documents other than the style source, do not synchronize the master pages, or create master pages with different names. nine0003
Any master page elements that have been modified on the pages of the document since the first master page sync is no longer associated with the master. Therefore, if you plan to synchronize master pages in a book, we recommend that you synchronize all documents in the book before starting the design process. In this case, the modified master page elements will retain their association with the master page and will continue to be updated from the modified master page elements in the style source.
We also recommend that you synchronize master pages from only one style source. When synchronizing from a different style source, modified master page elements may lose their association with the master page. If you want to sync with another style source, first clear the Master Pages check box in the Sync Options dialog box. nine0003
A book file created in a previous version of InDesign can be converted by opening and saving the file in InDesign CS5. When a converted workbook is synchronized, renumbered, printed, packaged, or exported, the documents it contains are also converted to InDesign CS5 format. You can overwrite or keep the original document files.
Converting documents in a book
Documents will also be converted when the book is printed or exported to Adobe PDF. nine0003
Numbering of pages, chapters, and paragraphs in a book
You can set options for numbering pages, chapters, and paragraphs in a book. In a book file, numbering styles and starting page and chapter numbers are determined by each document's settings in the Numbering and Section Options or Document Numbering Options dialog box. You can access one of these dialog boxes by choosing the Layout > Numbering & Section Options menu in a document or Document Numbering Options from the Book panel menu. nine0003
For information about adding page numbering to your document, see Adding Basic Page Numbering.
The appearance of numbered paragraphs (for example, lists of figures) is determined by the numbered list style included in the paragraph style.
The page range appears next to the name of each document in the Book panel. By default, InDesign updates the page and section numbering in the Book panel when pages are added or removed from book documents, and when changes are made to the book file, such as reordering, adding, or deleting documents. You can turn off the option to automatically update page and section numbers and update the numbering in the book manually. nine0003
If the numbering of the updated workbook is incorrect, it is possible that absolute numbering is set instead of section numbering in the General section of the Preferences dialog box. See Show absolute or section numbering in the Pages panel.
If the document is missing or cannot be opened, a question mark “?” is displayed instead of the page range. from the position where the missing document should be to the end of the book. This means that the actual page range is unknown. Before updating the numbering, delete or replace the missing document. The "In Use" icon next to the document name means that the document is opened by another user in a workflow; to update the numbering, this user must close the document. nine0003
Change page and chapter numbering settings for each document
If, instead of selecting the Automatic Page Numbering option, you specify the start page number of a document in a book, the document will start on the specified page; and all subsequent documents in the book will be renumbered accordingly.
Start numbering on an even or odd page
You can start page numbering in a document on an even or odd page.
Turn off the automatic numbering function in the book
Using paragraph numbering in books
To use numbering for lists of pictures, tables, or other items, you must first define the numbered list to use in the paragraph style. The definition of a numbered list determines whether continuous paragraph numbering will be used throughout the documents of the book. nine0003
To ensure that all documents in a book use the same numbered list settings, select the Paragraph Styles and Numbered Lists options in the Sync Options dialog box, and then sync the book. nine0003
Printing or outputting a book file
One of the benefits of using a book file is that you can use just one command to output selected documents in a book or an entire book (for printing, preflight, packaging, or exporting to EPUB/PDF).