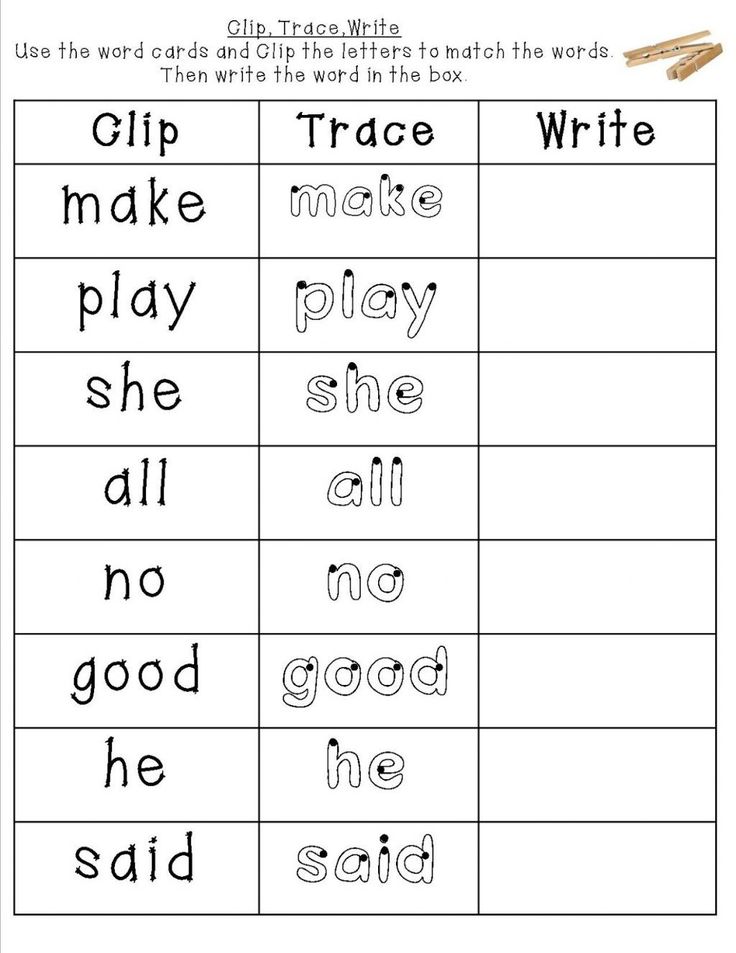
Match sight words
Sight Words Memory | Sight Words: Teach Your Child to Read
- Overview
- Materials
- Activity
- Confidence Builder
- Extension
- Assessment
- Printable Memory Cards
- Additional Resources
- Questions and Answers
Sight Words Memory is the standard Memory card game — sometimes called the Concentration game — with the additional element of having the student read the word on each card as they turn it over. This provides a lot of opportunities for repetition in sight reading.
Sight Words Memory
Learning the Sight Words Memory game is easier if the child has previously played the standard Memory game, but the game is simple enough that this is not necessary.
Memory works very well as a solo game. Memory can also be played in a group of up to four players.
↑ Top
Memory can be played with just a set of the Memory Cards.
- Memory Cards
- Printer
- Cardstock printer paper (approx. 110 lb / 200 gsm)
- Scissors
Create Memory Cards with our Memory Card Creator and print the cards out on cardstock paper. Then cut out the cards along the dotted lines. The set should contain two copies of each word you want to review.
Begin with a small set of cards (10 word pairs), and as your child’s competence with the activity increases, increase the number of cards you use in a game. An advanced student can handle up to 25 word pairs.
↑ Top
The game is played in much the same way as the standard Memory Card Game, with the addition of the players reading the word on each card as they play the game. The goal is to collect as many pairs of matching word cards as possible.
Video: How to Play Sight Words Memory
To set up the game, shuffle the cards and arrange them, face down, in a grid. For example, a deck of 30 cards (15 word pairs) is best laid out in a 5×6 grid, 5 columns of 6 cards each. The child picks one card and turns it over so the word is visible, reading the word on the card. The child then picks a second card and also turns it over, reading the word on the second card.
If the words on the two overturned cards match, the player removes the pair, placing them by her side, and gets another turn. If the words do not match, the player turns the cards back over so the words are no longer showing, and the player to her right takes the next turn.
If a child is unable to read a word or reads a word incorrectly, give the child a bit of coaching to help them correct the mistake and learn the word.
Play continues until all the words are matched and there are no cards left unclaimed.
If a child is struggling with this game, you can read through all the word cards with them prior to the start of play to help refresh their recall of the words. You can also make the game easier by using a smaller deck of cards with fewer word pairs. For an advanced child, you can increase the number of words you use, so it becomes more difficult to find matching cards.
↑ Top
To make the game a little easier, especially for a younger child, simply use fewer pairs of cards.
↑ Top
When the child finds a matching pair of word cards, have her use the word in a sentence before she can add the cards to her “keep” pile.
↑ Top
When assessing a child’s mastery of the words, be sure to separate their reading skills from their skill at playing the Memory game.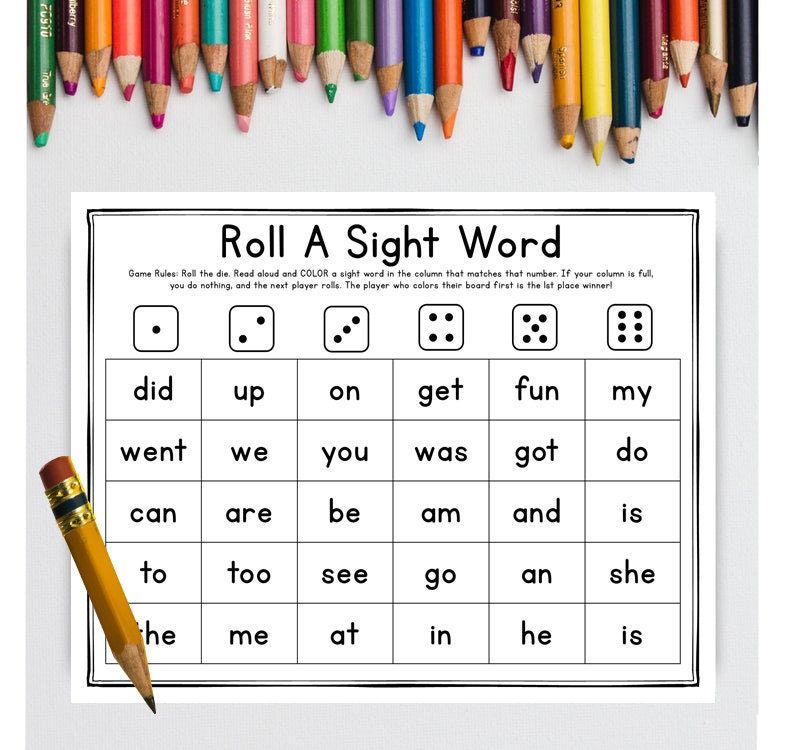 A child might have mastered the sight words on the cards and also have some difficulty remembering which card is where in the grid. Such a child might be fine with more advanced words but need a smaller number of cards. Another child who struggles to read the words will probably also have trouble remembering the location of the word cards.
↑ Top
You can create your own custom Memory Game Cards, with developmentally appropriate word sets. As the child’s sight words vocabulary expands, you should start to expand your card set with new words and gradually remove the words that have been mastered and no longer need intensive repetition.
7.1 Custom Sight Words Memory Cards
The Memory Card Creator creates custom Memory Card sets. The generator lets you use combine existing words lists such as Dolch Sight Words and Fry Sight Words, and add your own custom words.
7.2 Blank Memory Cards
- Blank Memory Cards (Write in your own words)
7.
 3 Dolch Sight Words Memory Cards
- Pre-K Dolch Words (40 words)
- Kindergarten Dolch Words (52 words)
- 1st Grade Dolch Words (41 words)
- 2nd Grade Dolch Words (46 words)
- 3rd Grade Dolch Words (41 words)
- Noun Dolch Words (95 words)
7.4 Fry Sight Words Memory Cards
- 1st 100 Fry Words (100 words)
- 2nd 100 Fry Words (100 words)
- 3rd 100 Fry Words (100 words)
- 4th 100 Fry Words (100 words)
- 5th 100 Fry Words (100 words)
- 6th 100 Fry Words (100 words)
- 7th 100 Fry Words (100 words)
- 8th 100 Fry Words (100 words)
- 9th 100 Fry Words (100 words)
- 10th 100 Fry Words (100 words)
7.5 Top 150 Written Words Memory Cards
- 1st 50 Words (50 words)
- 2nd 50 Words (50 words)
- 3rd 50 Words (50 words)
To download a template, right-click and select Save As.
These Memory Game Cards are governed by the the Creative Commons Attribution 3.0 Unported License. This license lets you use the cards in any manner you want, as long as you leave the attribution logo on the cards. We made these cards so you could use them, and we are only too happy if you use them in your school, library, daycare facility, or for-profit tutoring business. You do not need to contact us for permission to use the materials.
↑ Top
- Primary Games
- Learning Games for Kids
- DolchWord.net
↑ Top
Leave a Reply
FREE Editable Groundhog Sight Word Matching Game
This post contains affiliate links for your convenience. View our full disclosure policy here.
Sight words make up nearly half of the words your child will encounter, so it is so important to practice them often and learn to read them fluently.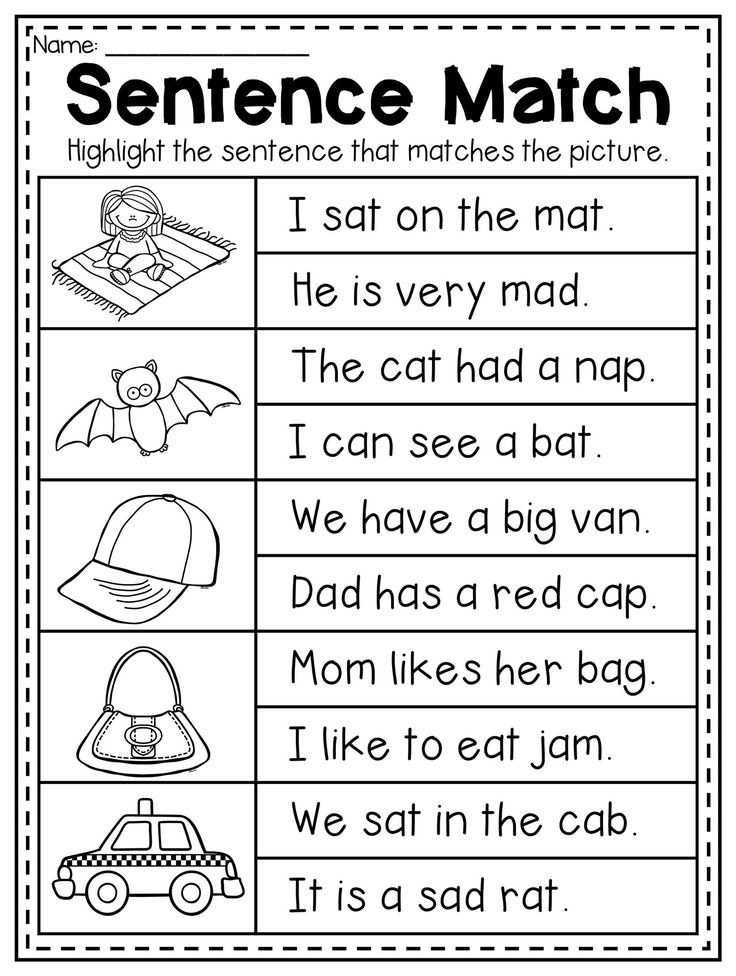 Sight word activities don’t have to be boring though! This free and editable Groundhog Sight Word Matching Game is an engaging activity that is perfect for any time of year, but especially near Groundhog Day for some themed learning fun!
*Pair with our EDITABLE Sight Word Games and Centers for Pre-K & Kindergarten!
Groundhog Sight Word Matching Game
This sight word matching game is perfect for any Pre-K or Kindergarten classroom! I know that I have kids working on various sight words. Some kids need words that other kids don’t. Because this game is EDITABLE, I love being able to quickly change the words while still allowing my kids to play the same game as their peers!
How to Prep
This activity is super simple to prepare. All you need are the printed cards – literally, that’s it!
Start by typing in your preferred sight words into the printable (download below). This sight word game is EDITABLE – that means you can type in any words you want!
Next, print and cut apart the cards and you have a hands-on matching game!
After printing the cards, I recommend laminating them to keep them sturdy, especially if you are using them in a classroom for repeated use.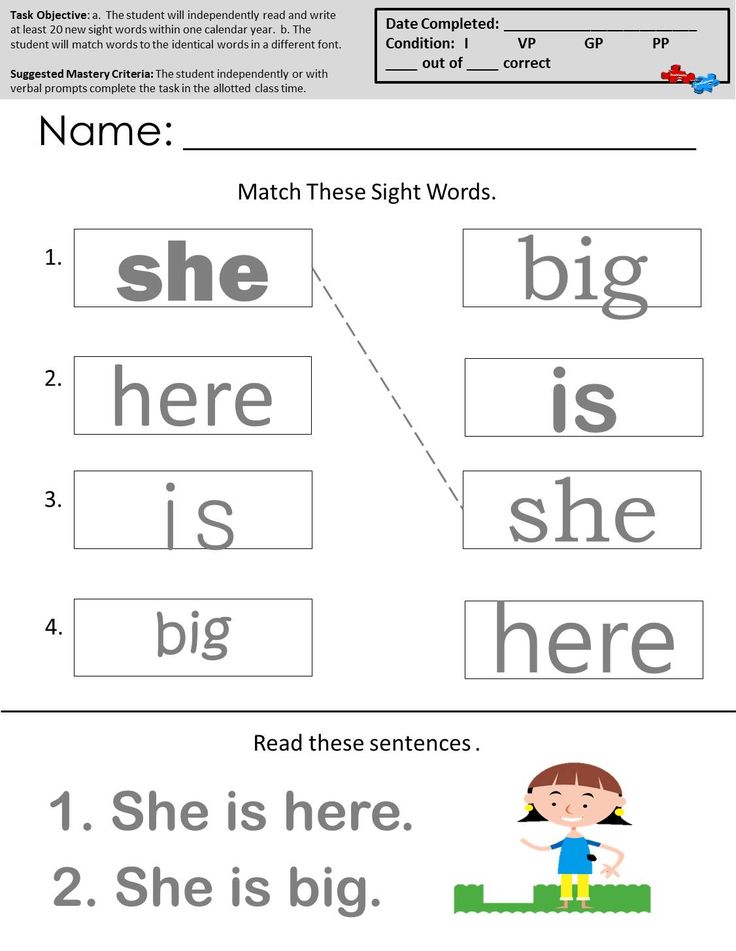
Time to Play
One set of cards is green and the other is blue. I like to lay out one set on a table so the students can see all of the sight words. I put the other set in a small grab bag or basket for the kids to draw out of.
The students will pick one card from the small bag or basket, read the sight word, and then find its match from the cards on the table!
Having to read a word, then find it and read it again helps kids put the word to memory.
Flip all of the sight word cards face down on the table and you can turn this activity into a super fun game of Memory!
Grab Your FREE CopyReady to work on sight words with your kiddos? Get your free copy of the editable Groundhog Sight Word Matching Game by clicking the large, yellow download button at the end of the post!
Want unlimited access to even MORE of our activities and resources?Then be sure you request your invite so that you can be the first to hear when the doors open again for our Print and Play Club!
With instant access to hundreds of printables by topic and skill (no more scouring the internet!), every TKC resource, video lessons, a digital games vault, teacher resources, and much more – your planning time just got easier.
- Author
- Recent Posts
Alex
Founder at The Kindergarten Connection
Alex is a Transitional Kindergarten teacher with a passion for making learning fun and engaging. She's earned a Bachelors degree in Elementary Education, and Masters Degrees in Special Education and Curriculum Design. Alex is a former night owl turned early bird and playful learning enthusiast. Alex lives with her husband and their beloved and high-energy cat, Fitz.
Latest posts by Alex (see all)
How to correctly aim from an open rear sight
Briefly and simply about how to correctly aim from open rear sights, about focusing the gaze, what is a “smooth front sight” and “crown” when aiming why you can’t “aim”, but you need to shoot with two eyes open.
Contents
How to aim correctly
Any firearm is equipped with sights, because without them it becomes extremely difficult, and sometimes impossible, to hit the target with a weapon.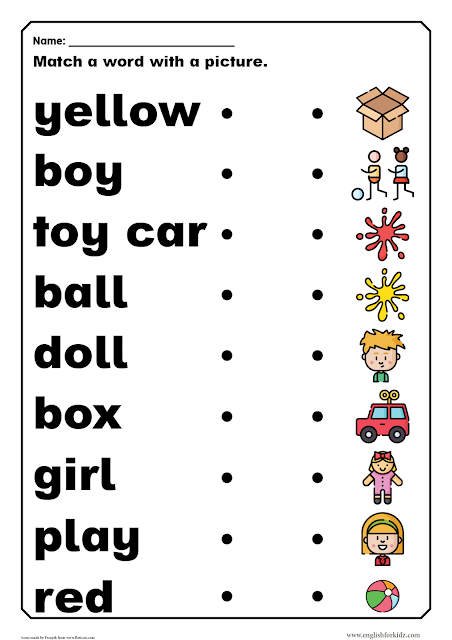 It will not be a big exaggeration if I say that the sight is a rather conditional device. Its task is to help the shooter to combine the flight path of the bullet fired from his weapon with the target. There are quite a few varieties of sights and they continue to be improved: designers and shooters are experimenting with front sights of various shapes, rear sights, and reticle.
Sights are usually divided into several types: sights open, diopter, optical. In fairness, it must be said that diopter sights are also a kind of open sights that differ from the classic open sights ts e in face: its function is performed by a round hole - a diopter, which comes in different diameters. It is also worth adding that collimator sights can conditionally be attributed to optical sights.
However, within the framework of this article, I propose to talk about classic open rear sights , which in the vast majority of cases can be seen on domestic carbines and rifles.
Why our gunsmiths or the army over the past 100-odd years have chosen exclusively the “front sight” (rectangular front sight and a semicircular slot), and not, for example, a more accurate diopter, one can only guess. But we have what we have. In addition, with the "whole fly" you can also shoot quite accurately. Which is what we need to know.
Shooter with a rifle with a diopter sight.Source: olympic.org
Aiming
If we disassemble the process of aiming into components, then this is, first of all, placing the head on the butt: with or without a cheek or cheek pad - it does not matter. The attachment of the head should be the same from time to time - so aiming will be more uniform, and therefore correct. The attachment should be carried out at the required distance from the rear sight and at such a height that will allow the aiming eye of the shooter to be on the aiming line of his weapon (the line passing from the shooter's eye through the slot of his sight (the rear sight) and the top of the front sight to the aiming point on the target). I will not describe how to determine which eye to aim with: you have probably already heard more than once about the method of determining the directing (dominant) eye.
When the head is applied correctly, the shooter should see in the rear sight the front sight aimed at the right place on the target (we will not talk about aiming in place or “under the bleed” now, since this is a separate topic within the conversation about zeroing in weapons). The most important thing in this is to control the correct position of the front sight in the rear sight and the position of the front sight relative to the target. Everything seems to be pretty easy. But the god of aiming is in the details. Although in this case it would be more appropriate to talk about the devil, hiding in the details and spoiling the result of the shooting.
Eye focusing and even front sight
The human eye is designed in such a way that it is not able to simultaneously focus on objects at different distances - rear sight, front sight, target. If you see the rear sight clearly, then the position of the front sight in the rear sight, and the target even more so, will be difficult to distinguish. If you focus on the target, vaguely controlling the front sight in the rear sight, the result will also not be very good. Therefore, shooting theorists and practitioners insist that you need to look not at the target and not at the rear sight, but at the front sight. Yes, in this way it is hard to see the rear sight - well, let it be. Is the target blurry? It doesn’t matter, because its size is visible (“apple”, sawn-off - it doesn’t matter). So the monotonous observation of a “smooth front sight” (more on that in a few words) on the size of the target is the key to proper aiming. Not shooting, no, but aiming, because in the process of shooting an important role is played by the correct handling of the descent, which is not possible to talk about in this article. Source: V. Iodko “To help the shooting sports coach”
"Smooth fly"? How is that? And here's how: the front sight should always be in the middle of the slot of the sight (pillar), and the top of the front sight (its upper edge) should be on the same level with the upper edges of the slot. Shooting with "removal" or "corrections" of the front sight in the rear sight (to the left or right of the center, above or below the edge) has not yet brought satisfaction to anyone. A "smooth front sight" in the sight should always be, period.
Bullet deflection to the side when the front sight is displaced in the sight slot.
Source: A. Yuriev, Shooting Sports
"Crown"
Now it's time to touch on another phenomenon associated with aiming the front sight in the rear sight. This phenomenon is called "crown" in some sources. Depending on the lighting and peculiarities of vision, quite often the rear sight and front sight are perceived by the eye indistinctly and seem to double - their lower part is blacker, and the upper one is more gray, transparent. As you know, uniformity is important in aiming. Therefore, one must accustom oneself to position exactly the visible black edge of the top of the front sight within the black edges of the rear sight, and not the “crown”. Accurate shooting is also possible in the case of a “smooth front sight” along the gray trimmings of the front sight and rear sight, but I will object that from time to time the STP (middle point of impact) with this method of aiming will “walk” vertically, since the “crown” also changes depending on from lighting, etc.
There is not much space left in the article to touch on two more important issues: aiming and binocular aiming.
Aiming is bad
Aiming is called too long aiming, leading to eye strain, general muscle fatigue and, often, jerking of the trigger. The nature of aiming is the same: the desire to hit very well and accurately. Yes, you need to shoot accurately, but quickly. For well-trained shooters, the shot process takes a few seconds. Aiming and "wandering around the target" for 10-15 seconds does not make sense - the result will most likely be unsatisfactory. If you feel that you are “hung” with aiming, delay the shot. Of course, if a bear does not run at you and the situation allows it.
Shoot with your eyes open!
A few words about binocular aiming. Binocular aiming is a technique of aiming when the shooter does not close the “non-shooting” eye. Many shooters with the right eye, for example, find it extremely difficult to keep their left eye open when aiming, as they cannot comfortably observe the sights while seeing the weapon as if projected from the left. Comfort in shooting is generally a relative concept: look at what preparations and positions the arrows are often forced to shoot from. Comfort is on the spectator stand or on the couch at home, and in shooting it is an inexorable process of training and honing the shooters of the necessary shooting technique.
So you need to shoot with your eyes open, training the brain to perceive first of all the picture from the shooting eye. There are several pluses here. Firstly, you avoid unnecessary tension of the facial muscles and overstrain of the working eye. And secondly, you see what is happening next to you and the target. In some situations, this is extremely useful.
Well, that's it. I hope this note will prompt the reader to some new thoughts and arouse in him the desire to improve his aiming technique. And we will help with the targets.
Correct aiming and accurate shots!
Author — Russ | Tac-T.ru
Algorithm for intraoral X-ray examination and description of dental images
Rogatskin D.V. Until recently, radiation diagnostics in dentistry was considered as an additional method of examination, that is, optional, without which, in principle, a full-fledged treatment can be carried out. However, in the 21st century, the situation has changed dramatically, new technologies, new specialties and new requirements for the examination and treatment of patients have appeared. Currently, not a single civilized dental appointment is complete without a detailed radiodiagnostic examination of the patient, and it can be argued that radiation diagnostics in dentistry is now one of the main and most popular research methods. The main difference between digital radiography (radiovisiography) and traditional radiography is that in this case, instead of a film, the image receiver is a sensor that perceives radiation and transmits information to a computer. The equipment required for radiovisiography sequentially consists of a radiation source, a device for reading information, a device for digitizing information, and a device for reproducing and processing images. Modern low-dose generators with a minimum timer value are used as a radiation source, designed to work as part of a visualographic complex. The visiograph itself consists of a sensor, which is a sensor based on a CCD or CIMOS matrix, an analog-to-digital converter, and a computer program designed to optimize and store images. Original digital images may look slightly different from conventional film images at first glance, so they need to be processed using the software options. The highest quality image is the image that is closest to analog in visual perception, therefore, even despite the highest technical characteristics of the visiograph, the quality of the final image largely depends on the capabilities of the program and the specialist’s ability to work with it. To date, the most common and popular method of radiation examination in outpatient practice is intraoral radiography of teeth, or an intraoral photograph of a tooth. Sometimes intraoral pictures of teeth are called sighting, which is wrong. A shot is called an image taken outside the standard stacking, and standardized studies are named according to the positioning method. At a therapeutic appointment during endodontic treatment, at least three intraoral images of each examined tooth must be taken: Ideally, maximum information about the topography of the roots and the condition of the periodontal tissues can be obtained during polypositional radiography. In this case, three images are taken for diagnostic purposes - one in a straight line, with an orthoradial beam direction, and two in an oblique projection - with a distal-eccentric (Fig. 1) and mesial-eccentric beam direction (respectively, straight, posterior oblique and anterior oblique projections). The most important aspects of successful intraoral radiography are the standardization and consistent correction of manipulations. Under the standardization of manipulations is meant the ability of a specialist conducting a radiological examination to choose the method that is optimal for each case and take a series of identical images, regardless of the position, condition of the patient and the time separating one examination from another. All over the world, dentists themselves are directly involved in the production and description of intraoral images of teeth, therefore, each qualified specialist must not only master the basics of positioning techniques, but also know the algorithm for describing the intraoral radiogram of a tooth (IRZ, IO dental radiograph). Firstly, the term "rarefaction", or rarefaction (from rare - rare), implies a decrease in tissue density due to a decrease in the amount of a solid component (decalcification), but without destroying the basic structure of bone tissue. In the classical version, rarefaction is a sign or characteristic of osteoporosis. In the process of development, for example, of a radicular cyst, and in any other periapical processes, the bone in the periapex is not preserved, it is completely destroyed, and, thus, the term "rarefaction" absolutely incorrectly characterizes the pathological process existing in the periapex. Second, to describe the shape of a two-dimensional figure in a drawing, use the term "contour" rather than "boundary." Thirdly, a qualified reading of a snapshot consists of three stages - ascertaining, interpreting and concluding. In addition, dentists traditionally "see" only the destruction zone and completely ignore the zone of intoxication represented by perifocal osteosclerosis. There are many more similar nuances, but if we summarize all of the above and take into account certain traditions of describing a tooth image, the following algorithms can be recommended as a scheme. 1. Pulpitis. 1.1. On the intraoral periapical image (as an option, IRZ, intraoral radiogram of the tooth) of tooth N, pathological changes in the bone tissue in the region of the root apex are not visually determined (option: there are no visible pathological changes). 1.2. The expansion of the space of the periodontal ligament in the periapical region is determined. 1.3. Expansion of the space of the periodontal ligament with fragmentary destruction (remodeling, deformation) of the closing plate of the alveolar wall 1.2.1. The shadow of the filling material in the canal is not traced. 2. Acute and chronic apical periodontitis (K04.4; K04.5). 2.1. On the intraoral periapical X-ray of tooth N, pathological changes in the bone tissue in the region of the root apex are not visually determined. 2.2 . The expansion of the space of the periodontal ligament in the periapical region is determined. 2.3 . Expansion of the space of the periodontal ligament throughout. 2.4 . Expansion of the space of the periodontal ligament throughout, destruction of the hard plate of the alveolus (lamina dura) in the periapical region. 2.5. In the periapical region, there is an increase in the density of the bone pattern in the form of perifocal osteosclerosis without clear contours, clinically corresponding to the state after endodontic treatment with residual intoxication. 2.6.1. In the periapical region, a shadow is visually determined, corresponding in density and configuration to the filling material. 2.6.2. The shadow of the filling material is determined in the form of several fragments (conglomerate) located in close proximity to the apex (at a distance of N mm). 2.6.3. It is defined as a continuous linear structure, corresponding in density and configuration to a fragment of a gutta-percha pin (the length is indicated). 2.7.1. 2.7.2. Tracked throughout. 2.7.3. It can be traced fragmentarily, radiologically the apex is obturated. 2.7.4. It can be traced fragmentarily, located near the wall, the shadow of the filling material is heterogeneous (other), the apex is not obturated. 2.7.5. Can be traced from the mouth for ½ of the length of the root, the lumen of the root canal in the apical part of the root is not visually determined (not traced). 2.7.6. The lumen of the root canal is not visible throughout the root. 2.7.7. In the region of the middle third of the root, a shadow of metallic density is visually determined, the configuration corresponding to a fragment of an endodontic instrument (canal filler? other, the length of the fragment is indicated). 3. Periapical abscess (K04.6-7), apical granuloma, radicular cyst (K04.8). 3.1. In the region of the root apex, destruction (ratiolucency, radiolucent) of the bone tissue is visually determined without clear contours, in the form of an area of reduced density, with partial preservation of the characteristic bone pattern (the length is indicated). 3.2.1. Radiolucency is determined, corresponding to the destruction of bone tissue, extending (for example) from the middle third of the distal surface of the root N to the region of the interalveolar septum. 3.2.2. In the area (for example) of the middle third of the root, a linear decrease in the density of the pattern with a transverse extent is determined, clinically corresponding to a violation of the integrity of the hard tissues of the root (fracture) without displacement of the fragments. 3.3. In the region of the root apex, radiolucency is visually determined, corresponding to the destruction of bone tissue, with clear rounded contours (the length is indicated). 3.4. A focus of bone tissue destruction with clear contours of a rounded shape (the length is indicated), along the contour of the focus, an increase in the density of the bone pattern of the surrounding tissue in the form of perifocal osteosclerosis without clear contours is determined along the entire length. 3.5. In the lumen of the focus of destruction, a shadow is determined, corresponding in density and configuration to a fragment of a filling material (gutta-percha pin, a fragment of an endodontic instrument). 3.6. With clear contours of a rounded shape, with a tendency for the process to spread towards the periapical region of such and such a tooth (the adjacent tooth is indicated). 3.7. Extending to the region of the interradicular septum. 3.8. The visually determined area of enlightenment (destruction) of the bone tissue is partially (in full) projected onto the area of the alveolar bay of the maxillary sinus (mandibular canal, piriform opening, etc.). 3.9. The cortical plate of the lower wall of the maxillary sinus in the area of the radiolucency projection is preserved throughout (it can be traced in fragments, not traced). 3.10. The cortical plate of the lower wall of the maxillary sinus in the area of the projection of destruction is preserved throughout its entire length, there is a change in its configuration and an increase in the density of the pattern of the surrounding tissues, which is defined as a rounded formation protruding into the lumen of the sinus. About the author Rogatskin Dmitry Vasilievich, radiologist LLC Ortos, Russia, Smolensk Rogatskin D. V., radiologist, LLC Ortos, Russia, Smolensk Annotation. Radiation diagnostics in dentistry is one of the main and most popular research methods. The article describes the popular methods of radiation diagnostics, provides a description of intraoral images, as well as algorithms for specific clinical situations. Algorithm for intraoral radiation research and description of dental images Annotation. Radiation diagnostics in dentistry is one of the main and most popular research methods. The article describes the popular methods of radiation diagnostics, provides a description of intraoral images as well as algorithms in specific clinical situations. Key words: radiology; radiovisiography; intraoral picture.

Popular imaging techniques
 If the orthogonal projection is performed correctly, provided that the visiograph program is accurately calibrated and there is no projection distortion for the incisors and premolars, some measurements can be taken from the diagnostic radiogram. For multi-rooted teeth, it is preferable to measure the length of the canals using endodontic instruments (Fig. 1), an apex locator, or a three-dimensional image.
  1). In relation to each specific case, the mesial or distal inclination (angulation) of the tube in the horizontal plane is selected (for more details, see: Rogatskin D.V., Ginali N.V. Art of dental radiography, 2007).
  That is, if the diagnostic or measurement image is recognized as high-quality, each subsequent clarifying and control must be made with the same spatial and technical settings, and each subsequent image must be identical to the previous one (Fig. 1, 2).
Description of intraoral images
 Unfortunately, practitioners do not always interpret the image logically and use incorrect notations. For example, such a common expression as "rarefaction of bone tissue with clear boundaries" already contains three errors.
  Statement means the actual description of a two-dimensional pattern in the negative image mode obtained during the study. Interpretation is a comparison of the obtained graphical data with the clinical experience of a specialist, on the basis of which a conclusion is made, that is, a radiological diagnosis is made. Thus, the definition of “clearly demarcated bone tissue” implies a statement of the visual detection of a focus of radiolucency (radiolucency) with a clear contour, which clinically corresponds to bone tissue destruction in the presence of an apical granuloma or radicular cyst. In the same way, it is incorrect, for example, to use the term “periodontal gap” in the description, since such an anatomical formation does not exist. The correct name of the structure surrounding the root visible in the picture is the space of the periodontal ligament (periodontal ligamentum).
  This image element, represented by a zone of bone tissue compaction along the edge of destruction, indicates the presence of chronic intoxication and outlines the true extent of the pathological focus (Fig. 3). Perifocal osteosclerosis corresponds to the state of chronic abscess formation and does not occur in the presence of sterile destructive processes (benign tumors, cysts of various origins (Fig. 4), apical granulomas outside the state of suppuration (exacerbation).
in the periapical region. 
 The shadow of the filling material in the canal is not traced.