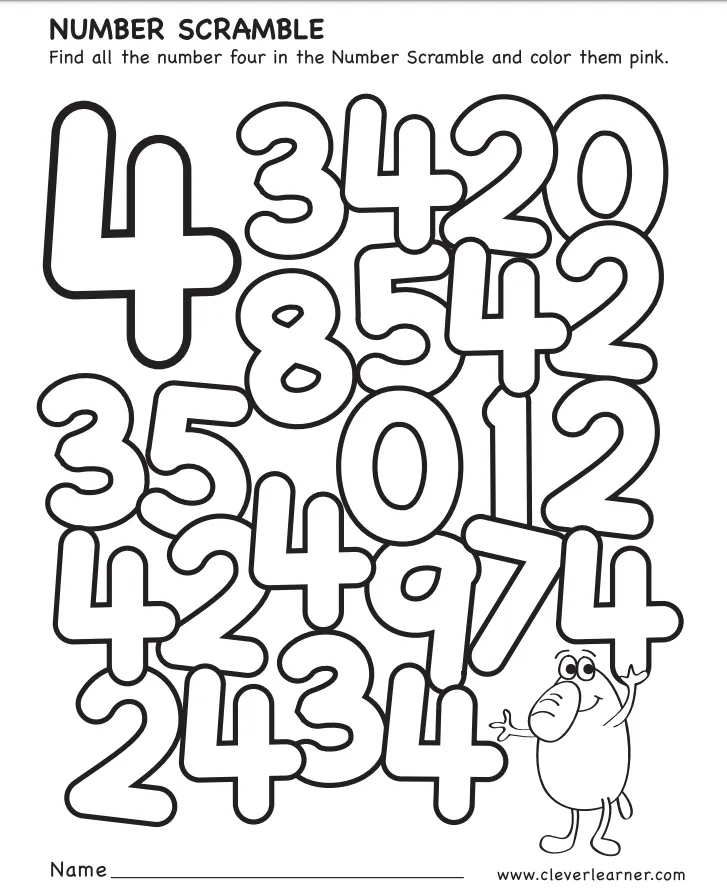
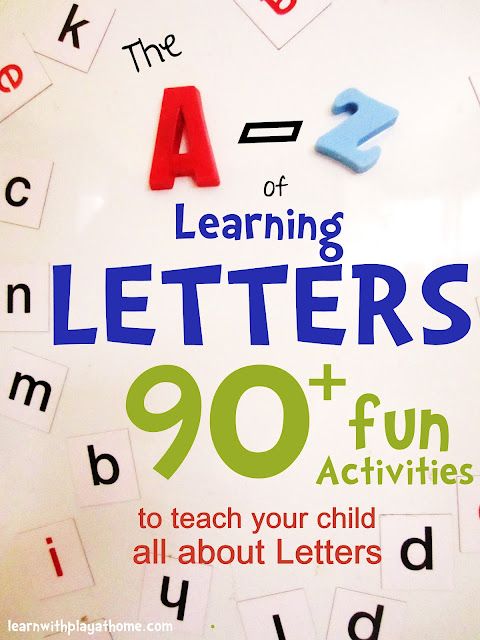
Number cut outs 1 10
Large Numeral Printables and More
By Karen Cox | Affiliate Disclosure | Filed Under: Numbers and Counting
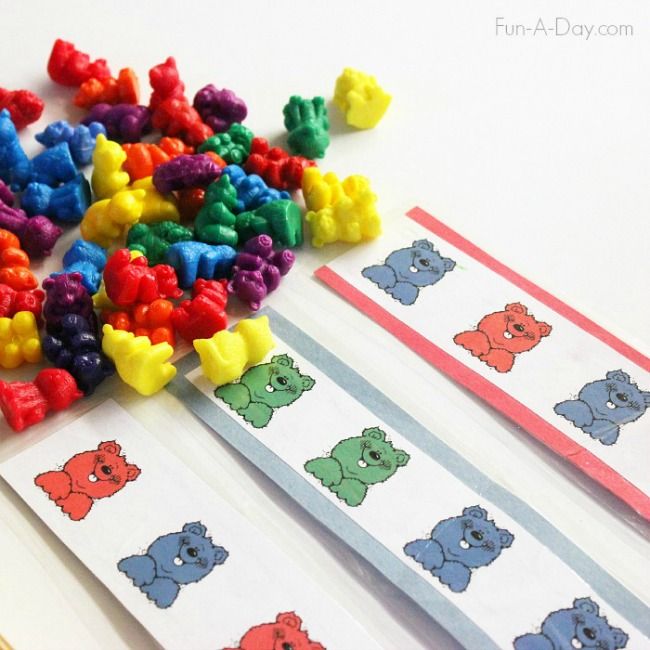
Print these large number sheets for a variety of number activities. These are great as posters for the wall or to make number books. Have children count out stickers, foamie stickers, mini paper shapes, pom poms, or other items. The possibilities are endless.
I have mini craft punchers that I use to cut out shape pieces from construction paper (these can be purchased from a craft store). I have found craft punchers in all kinds of shapes for holidays or themes, such as shamrocks, ladybugs, snowmen, hearts, cars, and many more. Just print out the numeral sheets, and have children count out the correct amount of paper cutouts to glue or stick onto the numeral.
To download, click the numerals below.
Kids can dot these numbers with bingo dot markers, or have them place manipulatives (counting bears, colored chips, flat marbles) on each dot on the numbers. Each number page shows a ten frame representing the number and a gumball machine with matching number of gumballs.
Bingo Dot Marker Numbers Printable
Use these five frame, ten frame, and twenty frame cards for all kinds of lessons and games. These can be printed on colored card stock paper if you want them to be colorful. I like to copy multiple sets in different colors, and then I know all the yellow cards go together, all the green cards go together, etc. You could also use these cards along with the numeral cards and dot cards you will find further down and have children count and match them. These cards are the exact same size which makes it easy to use together.
Five Frame Cards | Ten Frame Cards | Twenty Frame Cards
These cards include numeral cards 1-30, number dice cards 1-12, and random number dot cards 1-12. These are all sized the same so they can be used together. These can be printed on colored card stock paper if you want them to be colorful. I like to copy multiple sets in different colors, and then I know all the yellow cards go together, all the green cards go together, etc.
Here are a few ways to use them:
- Have children match the numeral cards to the ten frame cards above.
- Have children match the numeral cards to the dotted dice cards.
- Have children match the numeral cards to the random dotted cards.
- Have children match the dotted dice cards to the random dotted dice cards.
Numeral Cards | Number Dice Cards | Random Number Dot Cards
These printable number tiles can be use so many ways. Add them to the Writing or Math Center for kids to glue onto paper. Use them as a learning manipulative by laminating the tiles to use during Small Group lessons. The large number tiles set includes numerals 0-30. The small number tiles set includes numerals 0-9. The reason this set stops at 9 is because if you use higher numbers, you will just put two number tiles together.
Large Number Tiles 0-30 | Small Number Tiles 0-9
This printable Ten Frame Book can be used to practice counting by adding stickers, stamps, or bingo marker dots to the ten frames.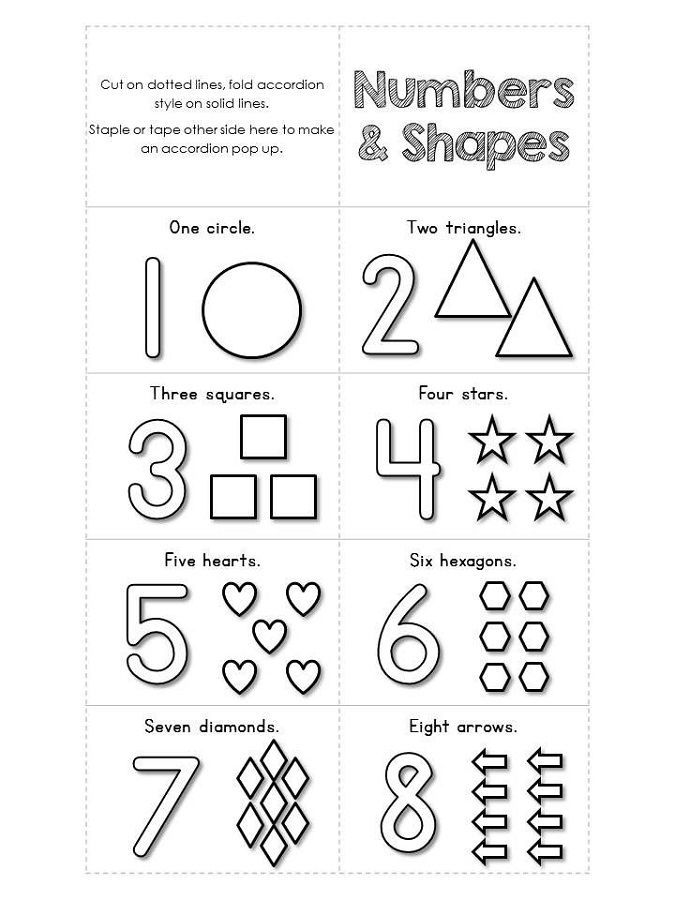 Choose stickers or stamps that match your theme, or just have fun with it and let children use the stickers or stamps that interest them most.
Print and make copies for students, cut, and staple.
10 Frame Book Printable
Use these printable Brick Block Number Cards for children to practice numeral recognition and formation. These cards are small and can be added to individual work boxes. You can also use them to create kits for distance learners. (I put these in a pencil box with Legos and a small dollar store base plate.)
Brick Block Number Cards
You might also like these Number Resources…
Originally published 2008
57 Comments Tagged With: Math Printables
About Karen Cox
Karen is the founder of PreKinders.com. She also works as a full-time Pre-K teacher in Georgia. Read more...
SEARCH
Reader Interactions
1 to 10 Numbers - Etsy.de
Etsy is no longer supporting older versions of your web browser in order to ensure that user data remains secure. Please update to the latest version.
Take full advantage of our site features by enabling JavaScript.
Find something memorable, join a community doing good.
(1,000+ relevant results)
How many piano keys - how many piano keys, white and black in a standard instrument
There are 88 keys in an ordinary piano:
- black - 36;
- white - 52.

The keyboard starts with "la" of an incomplete subcontroctave consisting of 3 notes, and ends with "to" the fifth octave, which is limited to this note. The current standard dictates that each instrument has 88 keys. Since the mid 70s. of the last century, mass production of such pianos began. Until that time, there were 85 - that's how many keys a piano has. The 5th octave was completely absent in it, the 4th octave did not have all the keys: there were 10 keys with the last “la”. Instruments produced before the mid-70s had 7 octaves.
How many keys does the piano have
This musical instrument contains 88 keys divided into octaves, this number is in line with the standard, which you need to pay attention to when buying. In a standard piano, the first note is "la", denoting the most rough and dull sound for human perception, and the last - "do" - the limit of the highest sound.
It is difficult for a novice musician to master such a wide range at first, but the instrument's tonality allows you to choose full-sounding combinations of notes.
Classic keyboard
Black and white 88 keys arranged on the piano create an acceptable human range of 16-29 kHz: it allows you to enjoy music, enjoy listening to it. The necessary indicators are strictly controlled in the production of pianos.
Electronic Synthesizers
One of the specifications of the electronic synthesizer is the keyboard. There are two of its parameters: the principle of sound production and dimensions. According to the parameters, educational or full-size keyboards are distinguished. Based on this, synthesizers with a number of 32-61 keys have been developed for beginners and children. Models designed for professionals have 76-88 keys.
How many white and black keys
These 88 keys form 7 octaves, consisting of 12 keys: 7 white keys (fundamental tones) and 5 black keys (semitones).
Two octaves are incomplete.
We determine the number from the photo, without counting
Comparing the right sides of the old and new keyboards with 85 and 88 keys, you can find a significant difference. The way to determine the number of white keys is as follows: the instrument has 85 keys, if the right side begins with one white key after the black one; 88 - when the last key on the right does not have a characteristic cutout. The total number of keys is determined by black notes: if their last group contains 2 keys, this indicates the presence of 85 keys on the instrument. When instead of two there are 3 keys, then their total number is 88.
Let's sum it up
The number of keys for pianos and pianos is 88 for standard modern instruments, 85 for samples produced before the 70s. XX century. Standard synthesizers have 32-61 keys, while semi-professional products have 76-88. Depending on the arrangement of white and black keys along the edge of the instrument, you can understand how many keys the piano and piano have in total.
10 simple life hacks for working in SolidWorks
It is possible to design complex structures in one CAD or another for years, without learning many small, but time-saving features. Today we will tell you how to increase your productivity when working with SolidWorks.
CAD, which will be discussed, is one of the most popular in the world. It appeared back in 1993 and has been developed by Dassault Systèmes for many years now. This allowed SolidWorks to become an indispensable tool for automating the work of an industrial enterprise at the stages of design and technological preparation of production. Those who use this CAD every day or are just starting to master it, will surely find among our life hacks those that they did not know about.
Quick drawing creation of imported projects
The first life hack is related to importing files. It often happens that in a loaded project, the details turn out to be scattered, not tied to the “bones”. In the usual case, you have to go into the model, move its elements, match them in the right angles. All this leads to the loss of a large amount of time - the most valuable resource of the designer.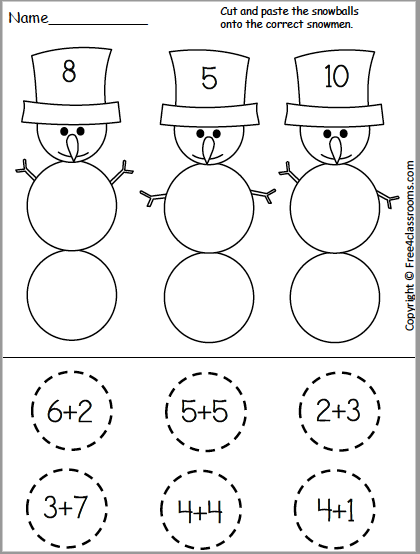
Most of these complications can be avoided. If you need to draw a part that is not bound to any plane, just go to the drawing view, and then open the part again and select a pair of surfaces on it. After that, the part can be positioned as needed: select the required scale, quality level, and other properties necessary for the drawing.
Also
related to
Creating unusual cuts
The second useful tip for everyone who works with SolidWorks is to create non-standard cuts along the required path.
It often happens that the customer needs to show some complex cutout or internal cavity on a part or assembly. To do this, you need to open a regular drawing in Sketch mode. The trajectory of the cut can be any, as long as the lines are combined into a chain and completely intersect the part. Let's say it can be a cut along the axes of the holes. Then just select the "Create standard section" item in the menu. That's all, the desired section is ready.
Working with hard to see elements
Many designers are unaware that SolidWorks has a dedicated Loupe tool. Often you can find drawings or sketches, the lines of which are very difficult to properly consider and read correctly. Because of this, you can, for example, encounter open sketches, etc. In order not to constantly scroll the scale, just press the G button and move the magnifying glass to the desired place in the drawing. A simple but not so often used feature.
Detect conflicts in assemblies
In separate assemblies, there can be quite a lot of various mates, and mostly standard ones are used. But every year in SolidWorks there are more and more of their types. By moving the assembly, you will find that it is capable of assuming impossible positions. For example, parts of the structure penetrate each other. In order to avoid this, it is enough to activate the "Stop on conflict" checkbox in the "Move components" sidebar.
Now, when elements touch (interference), they will be highlighted in color. At the same time, a warning tone will sound. This will accurately determine the real degrees of freedom of the structure.
Also
related to
Extend or trim objects
Probably every designer knows about these functions. But for some reason, not everyone imagines their possibilities in their entirety.
For example, with a standard extension of an object in a sketch, this extension continues to the first line encountered. But if you hold down the mouse button and drag further, then the extension will go to any other point of intersection with other lines. Similarly, this possibility can be used for cutting. You can evaluate the usefulness of this simple life hack on sketches with a large number of lines, “saving” a huge number of clicks.
Path in assemblies
And again about a large number of conjugations. Let's say we need to set the trajectory of the assembly. This may be necessary, for example, for subsequent animation and presentation to the customer.
In the menu for selecting additional types of conjugation, use the item "Path conjugation". Now it is enough to set a sketch of the trajectory and bind the desired movable element of the assembly to it. For example, the end element of a manipulator arm. After that, the object, when dragged with the mouse, will move strictly along the specified path. You can also activate conflict detection at the same time. This works equally well with both 2D and 3D sketches.
Also
related to
Equations for parametric design
Significantly reduce the time for the production of parts and assemblies allows the "Equations" function. By setting a number of global variables for a part (in the simplest case, the length, width, and height for a box), you can change one of its properties, automatically causing changes to all the others. In essence, we are talking about the transition to parametric design. And the “Configurations” tool allows you to store a part in different (specified through equations) versions as a whole.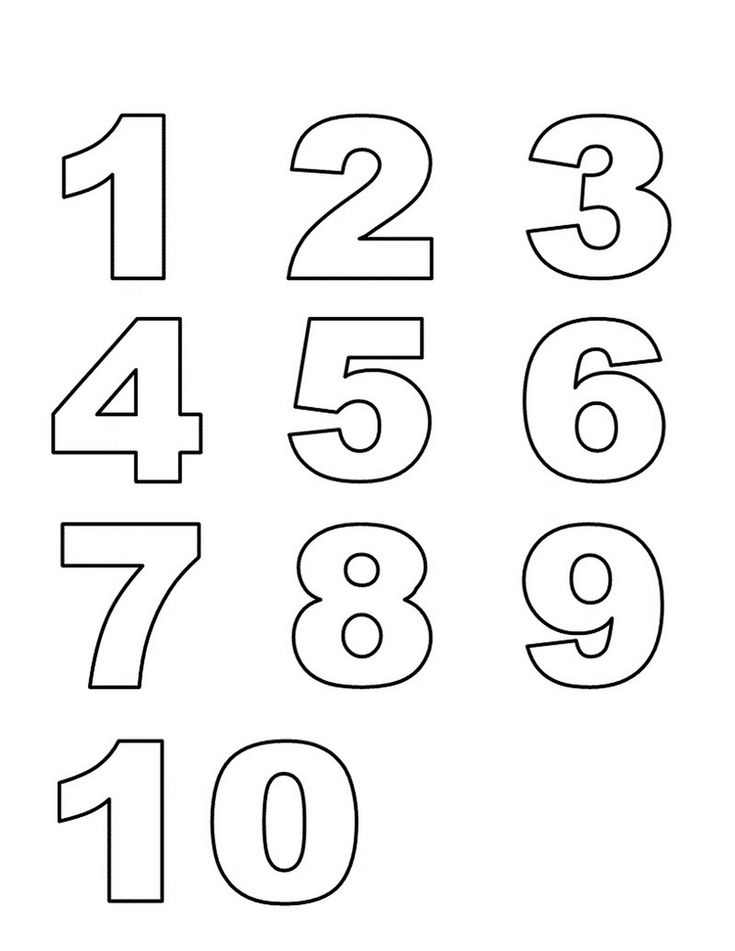 This makes searching much easier and saves disk space.
Bitmap-to-vector conversion
Perhaps there is no such designer, and even a designer, to whom the customer has never provided a bitmap image as a starting point for a project.
This usually requires creating a separate plane in SolidWorks, placing the image on it, and then outlining it with vector lines. Only after that you can proceed to the main work. But it can be done much easier.
To do this, you need to create a regular sketch on a plane, and then go to the tab "Sketch Tools" - "Sketch Pictures". We load a graphic file into the project and make it contrast using the “dropper”.
On the “Sketch picture” side tab, we use the same “eyedropper” as a selection tool (but you can also use the “lasso”), after which it remains only to press the “Start vectorization” button in the interface. Now the bitmap image can be deleted altogether - the vector image will remain and you can work with it.
Also
related to
Return to full view of part
Ingenious in its simplicity, the function allows you to quickly return to the original view of the part or assembly. In very complex projects, where you constantly need to change the scale and peer into the smallest elements, some time is spent on finding the object of study and moving to it using the mouse wheel. You can save precious time by just pressing the F button. A fraction of a second - and you have a general view of the desired element.
Fully defined sketch
Often in complex drawings, you can simply forget to put down some non-basic size due to inattention. As a rule, the case ends with the fact that the drawing is returned from the customer or from the production department with the corresponding question. The need to open the drawing again each time and figure out what is not indicated there can lead to a serious loss of time. Especially if it happens multiple times.