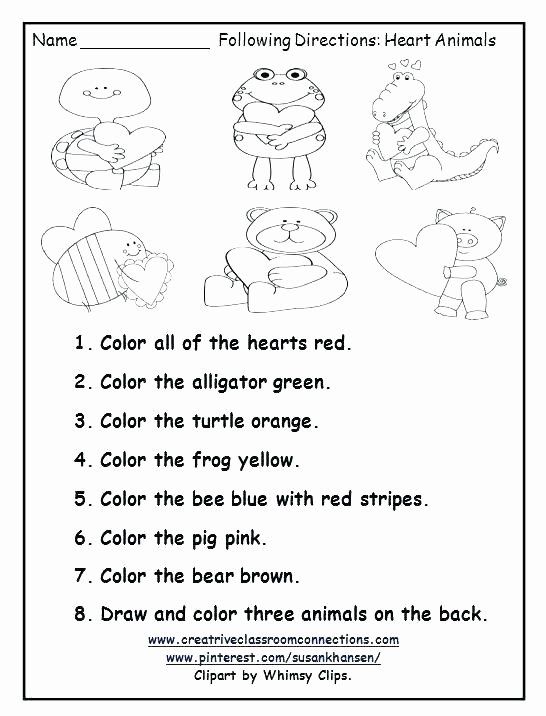
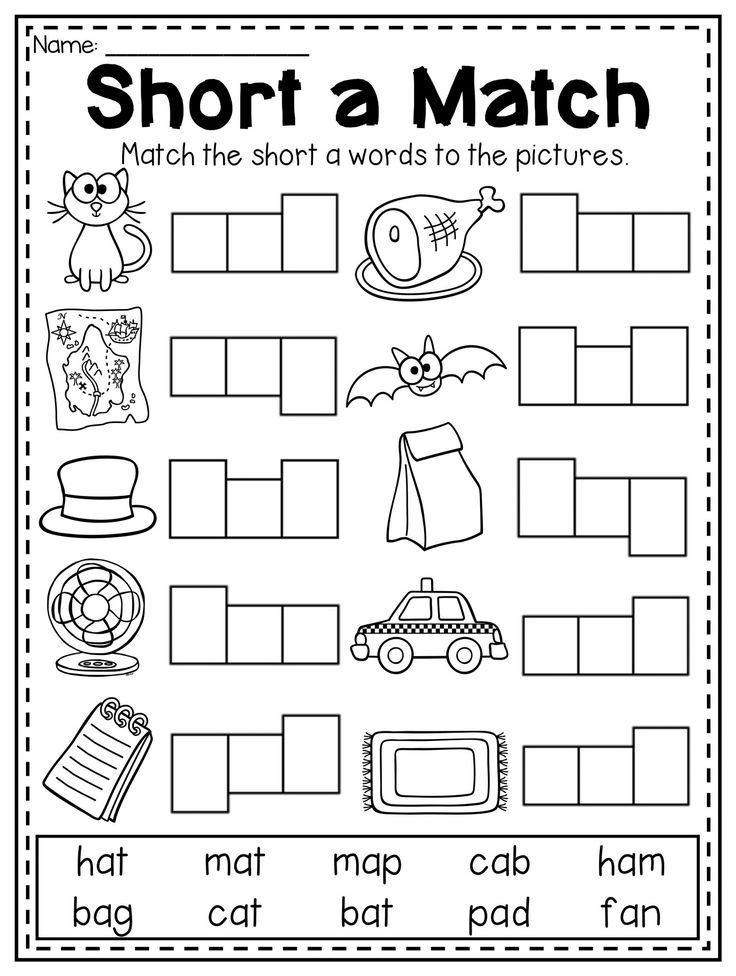
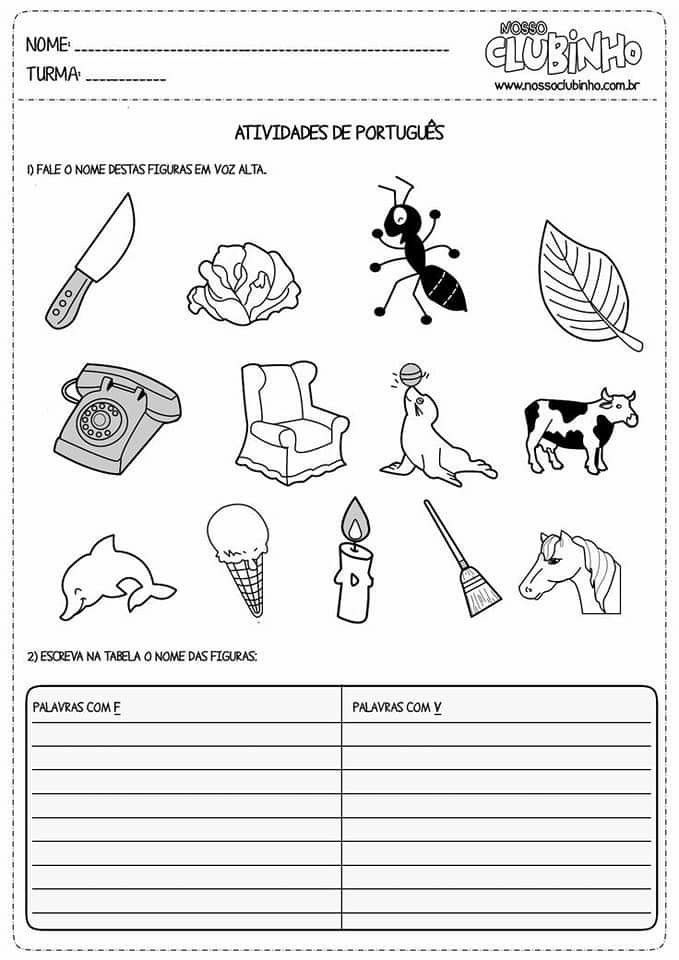
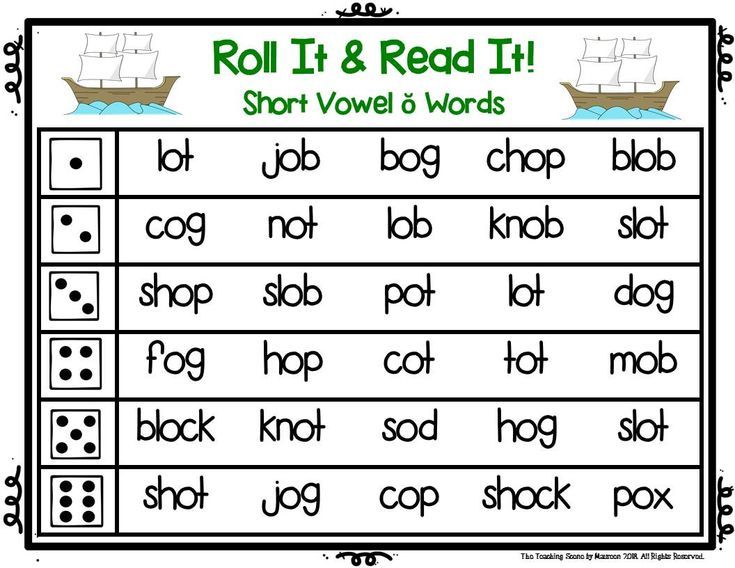
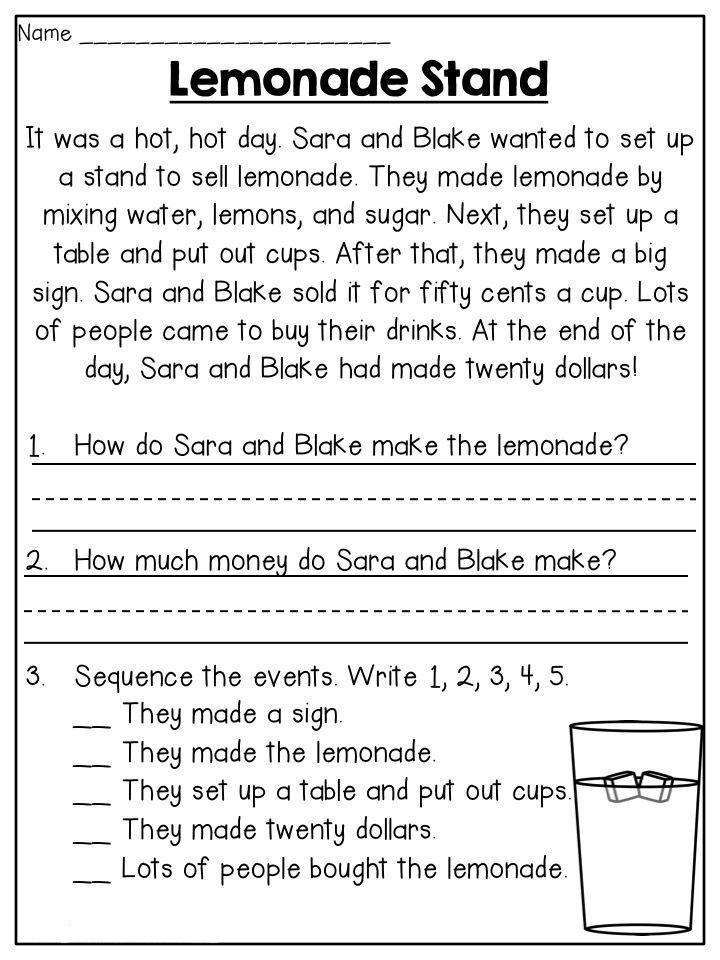
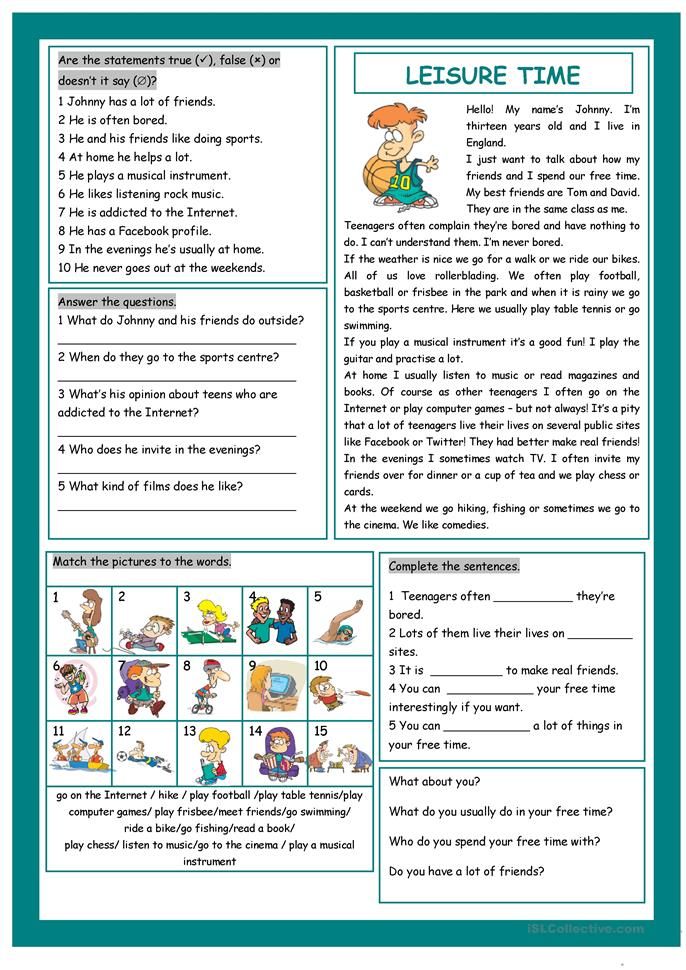
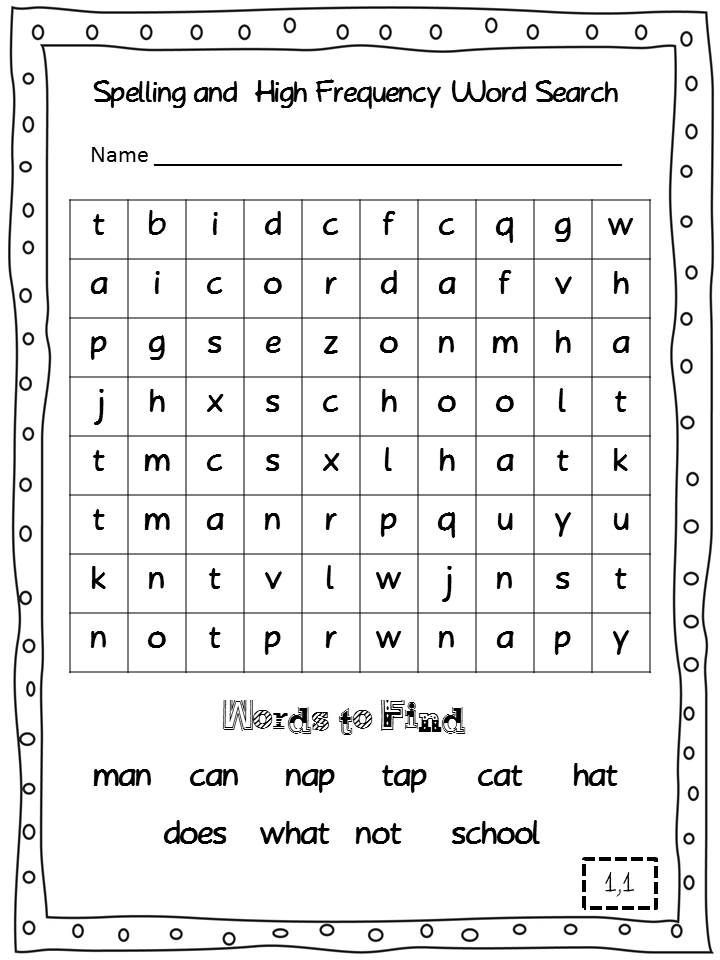
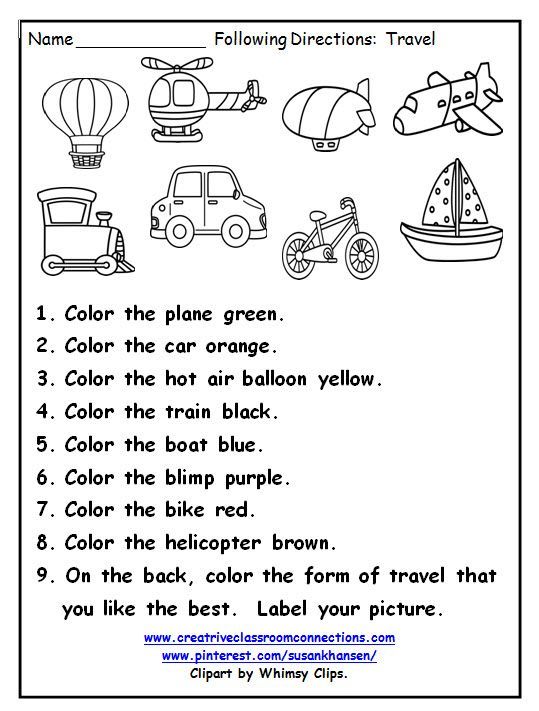
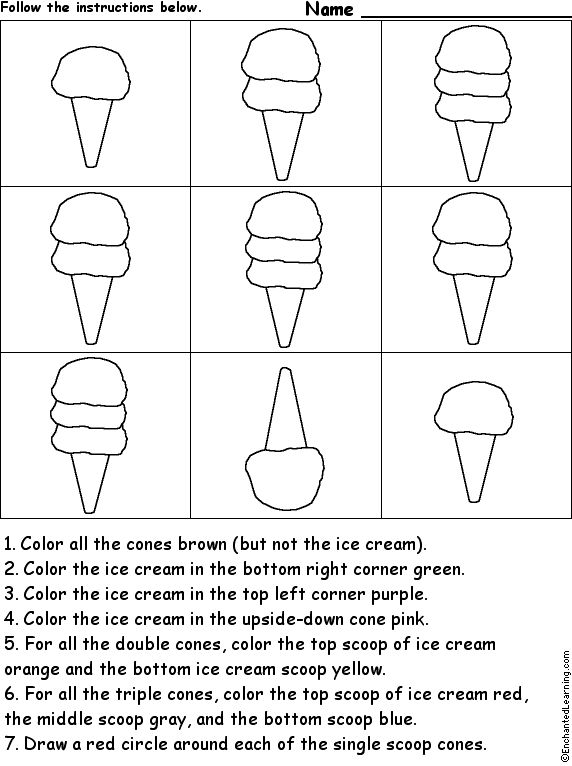
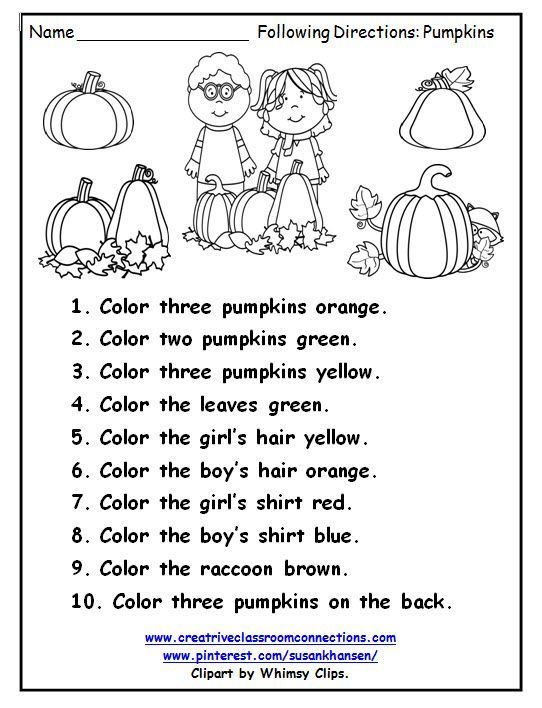
Follow the instructions worksheet
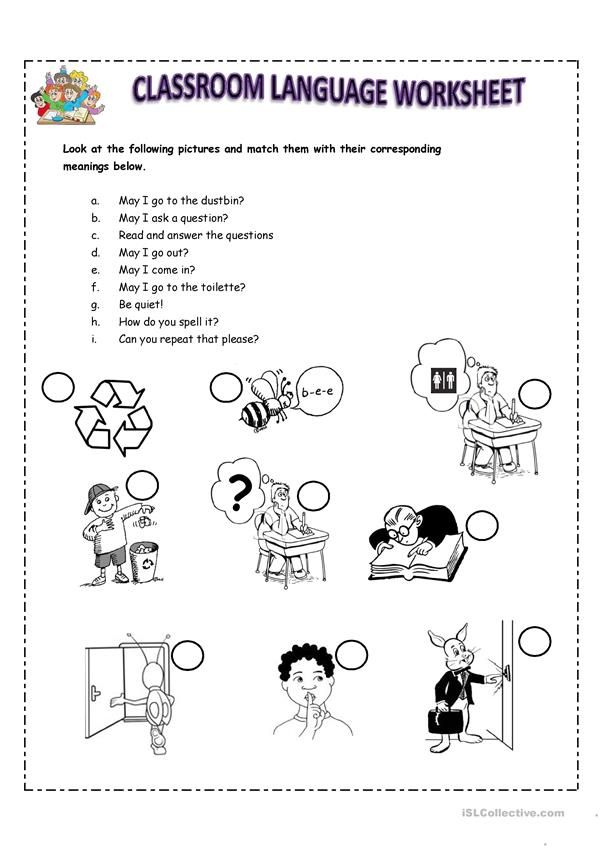
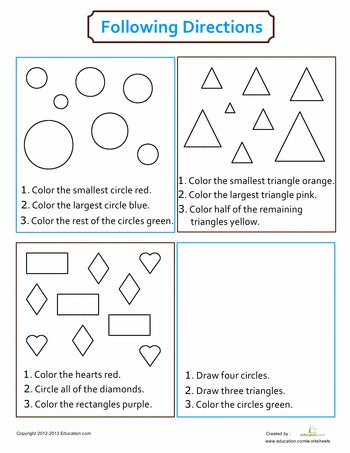
Following Directions Worksheets
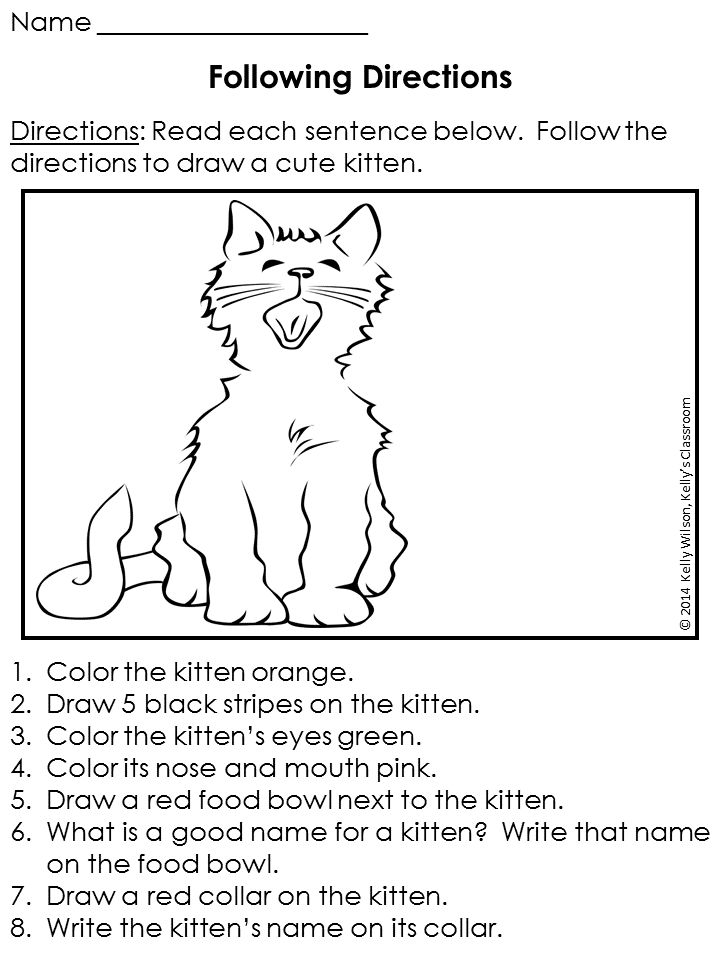
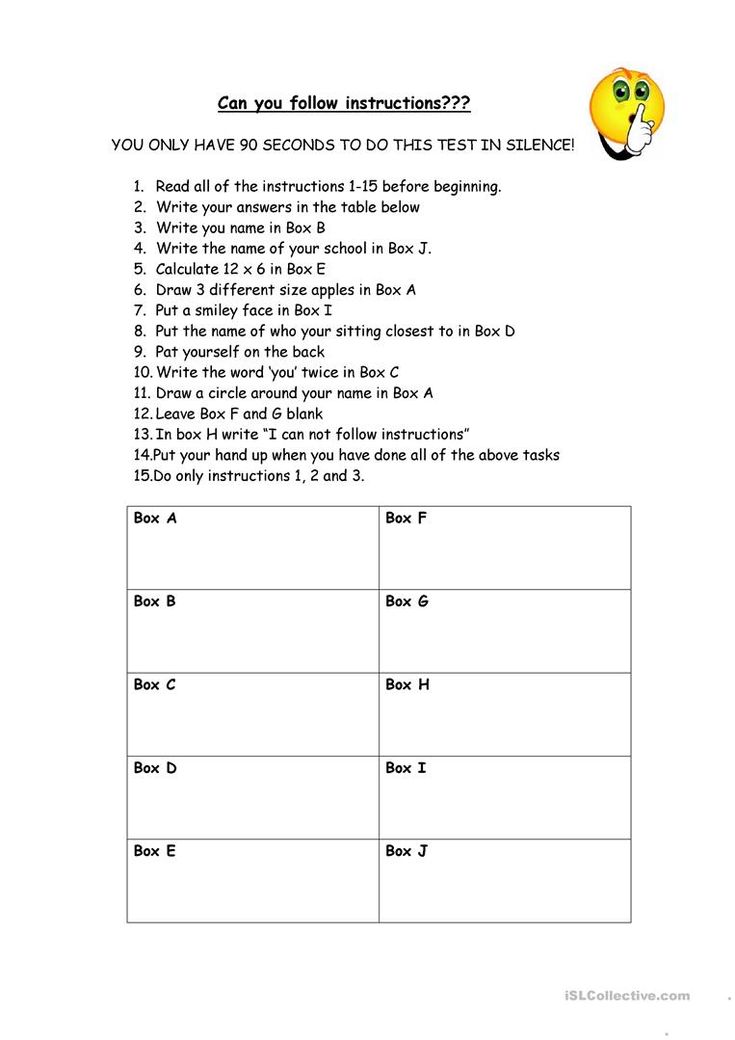
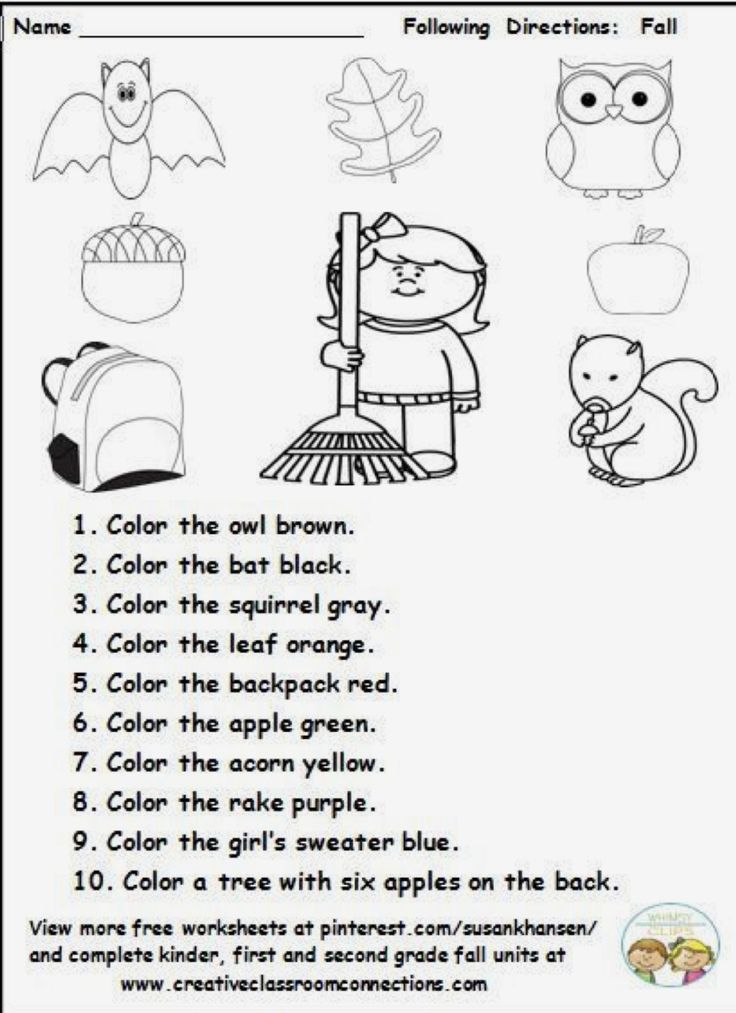
Students often do not follow directions or even read them for that matter. This reminds me of a teacher I worked with back several years. She was so fed up with students not reading directions that she decided to make a power move that will last with those students forever and probably till this day still sits with them. What she did is give a test that was a significant portion of their grade. In the second line of the directions she wrote that if you only wrote your name and the date and handed in the tests immediately, you would be given a one hundred percent. Guess how many students got a one hundred? None of them, but they will remember that forever. Follow directions to the letter often helps us be more efficient and make certain things are done properly. This is a skill that many people just don't take the time to realize is a huge issue for the current generation of students. Every notice how even video games don't come with instructions anymore? When toy companies realize that instructions are not what there customers value, it confirms it as more factual.
The answers to almost all of these worksheets are simple and not time consuming at all. We recommend that you visit these worksheets many times throughout the course of the school year. It will truly help your students grow not only as students, but as responsible citizens. The worksheets that are featured here will encourage students to be more diligent when they are reading directions and pace themselves to follow them as indicated. We break the level of tasks down by grade level this is due to the expected skills required to accurately gauge the skills of the students. I won’t recommend jumping up in level too much as the reading and writing skills that are required are much different.
Get Free Teacher Printables In Your Inbox!
Click the buttons to be transported to all the pages for that grade level. They are ordered by school year.
For the younger students. In most cases we target non-readers, but there are plenty of sheets for readers as well.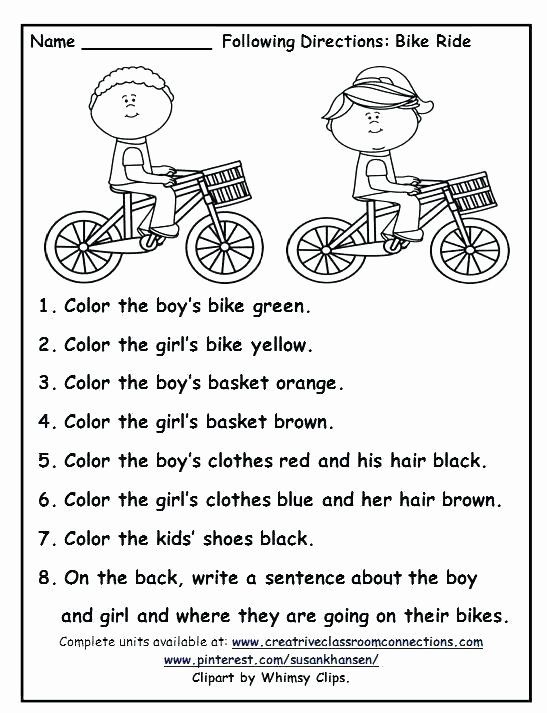 Students should be to understand the concept of directions and start to make their way on to following them.
Students should have a good handle on reading and be able to follow directions independently. Basic math fact skills are necessary for some of the sheets found at the bottom of that topics page.
Middle level students are the most notorious non-direction reading age level. I would hammer them with these sheets throughout the school year. We had a teacher tells us that they add one of these to all their major tests throughout the school year.
I like to leave one of these with my substitute teachers, every single time I am out. I like to make it extra credit through the school year too.
How to Make Sure Students Are Following Instructions
For a teacher, it is imperative to get your point across the table to your students. Some teachers get pretty anxious when students do not follow their instructions, confusing both parties but causing trouble only for the teacher responsible.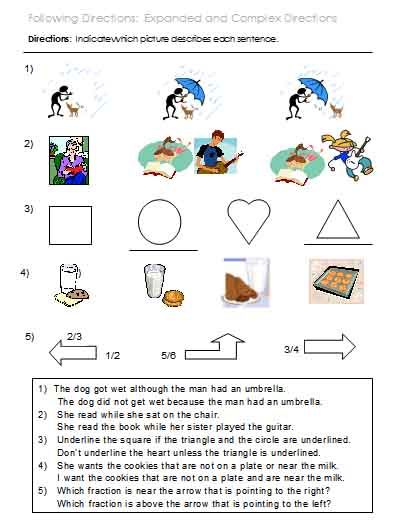 Nor does the teacher understand how to make herself more straightforward, nor do the students make an effort to ask questions.
Students usually run away from the hard stuff, and teaching them using complex methods, can exacerbate the situation as it becomes impossible to penetrate their minds. Due to this barrier, students find it easier to disturb the class decorum by not following what they are asked to do.
If your pesky students are stressing you and you don't know how to get students to listen and follow your instructions, you are in the right place to look for answers. We bring you the Dos and Don'ts in a classroom that you can follow to maintain your power over the students.
Ways To Manage Your Classroom
1. Use your hand gestures while giving the instructions, such as signaling towards the door to order someone to go.
2. Use an appropriate voice and look in their eyes when you ask them to do something. You cannot expect a student to listen if you have nervousness in your tone or are looking elsewhere while talking to them.
3. Make them redo their mistakes. Instead of just issuing warnings or detentions, you must ask them to rectify their mistakes by doing it right this time. For example, you asked the class to stay in their seats and not create a ruckus in your absence, but the classroom is in shambles when you get back. Then, it would be best to ask the students to clean it by themselves instead of calling any helper.
4. Instead of asking "any questions?" you should ask questions to which the students must answer. This would engage them in the lecture, and they will also be able to analyze the topic they just heard. Prompting questions can be: "what is your opinion about the theme that the author uses?" or, "Can you highlight the difference between the concepts from the last lecture to today's?"
5. Give a time limit to get the amount of work done. If you don't give timeframes for any assignment or solve a sample question, students become relaxed and do not submit work on time. This only delays your work and spoils your effort.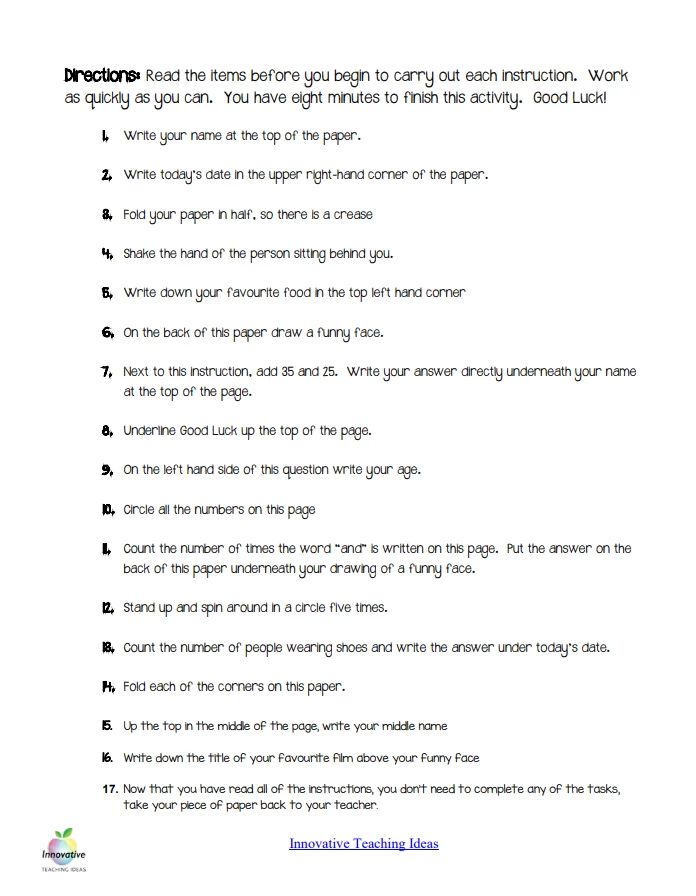
6. Use attention getters to start a lesson. Usually, students cannot concentrate on a topic if it's boring, or they feel lethargic (mainly after recess). It would help if you created catchy introductions for such topics to get undivided attention from students.
7. "3 Before Me" rule. Instead of replying to all the repeated queries about the lecture from each student, you can ask them to use the "3 Before Me" rule, i.e., to ask three other classmates for answers before bringing it up to you. It will also save your time, as you will get feedback about changing your strategy for the topic.
8. Do not hold grudges. Even if they are troublemakers making your job a lot more complicated, you must not hold grudges against the students. The students are the teacher's responsibility and even if they do things to get a reaction out of you, just let it slide. Look for solutions instead of arguing or lowering the grades.
The only way to manage a classroom efficiently is to abide by these rules and consistently work on them. It will bear fruit in no time.
Staffing and Recruiting Firm | Johnson Service Group
JSG NOTICE REGARDING COVID-19 (CORONAVIRUS) 8/15/2022
For Candidates
Is your current position fulfilling you, pushing your strengths, and providing you a positive work environment to keep you challenged? By working with JSG, we’ll pair you with the right company to enhance your professional growth and enrich your life.
Learn More
For Clients
With over 35 years of experience in the staffing industry, JSG is the only full-service recruitment firm you’ll need to find the right professional to fill your critical positions. We customize our approach to fit your needs, while building a long-term relationship with you. Let us help you find the right person for the team, so you can focus on growing your business.
Learn More
Timesheets / Expense Reports
JSG ePay
Health / Medical Plans
Section 125 Premium Only Plan
Employee Forms
401(k) Savings Plan
Supplementary Coverage
Safety and Workers’ Compensation
Looking for job search advice, hiring tips, or job market trends? Head over to the JSG blog to uncover information straight from industry experts!
How to Make your Job Opening More Appealing to Candidates
Read more
https://jsginc.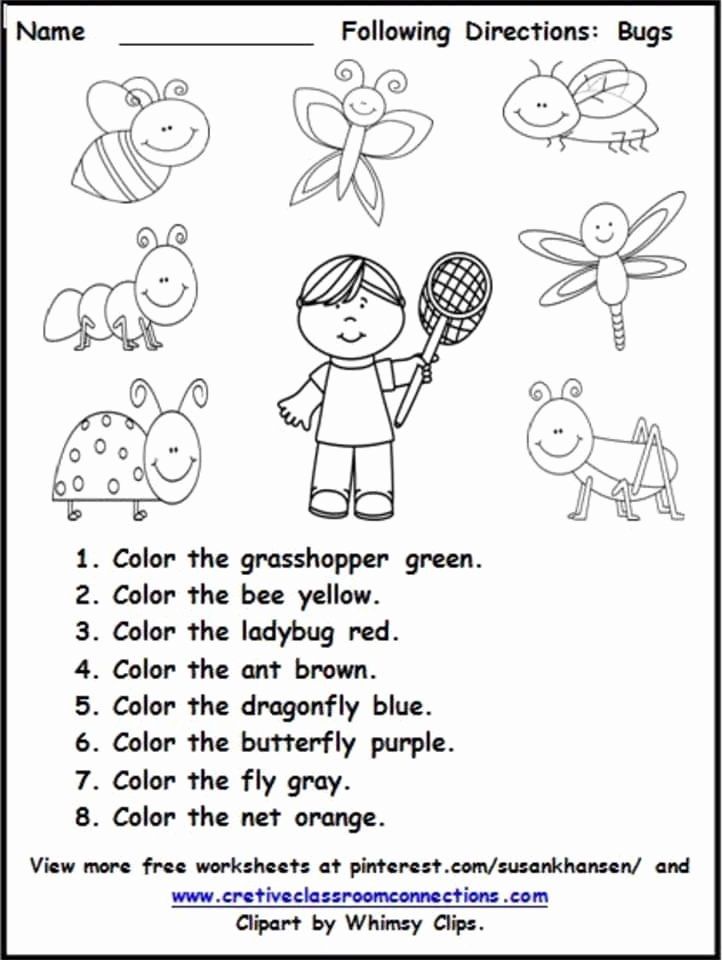 com/wp-content/uploads/2023/03/Program-Evolution-14.png 1050 1650 Natalie Kral https://jsginc.com/wp-content/uploads/2019/07/JOHNSON-SERVICE-GROUP.png Natalie Kral2023-03-09 14:24:562023-03-09 14:24:56How to Make your Job Opening More Appealing to Candidates
3 Easy Ways to be More Intentional During the Interview Process
Read more
https://jsginc.com/wp-content/uploads/2023/03/Program-Evolution-9.png 975 1650 Natalie Kral https://jsginc.com/wp-content/uploads/2019/07/JOHNSON-SERVICE-GROUP.png Natalie Kral2023-03-01 10:37:582023-03-01 10:37:583 Easy Ways to be More Intentional During the Interview ProcessAre You Being Offered Fair Compensation?
Read more
https://jsginc.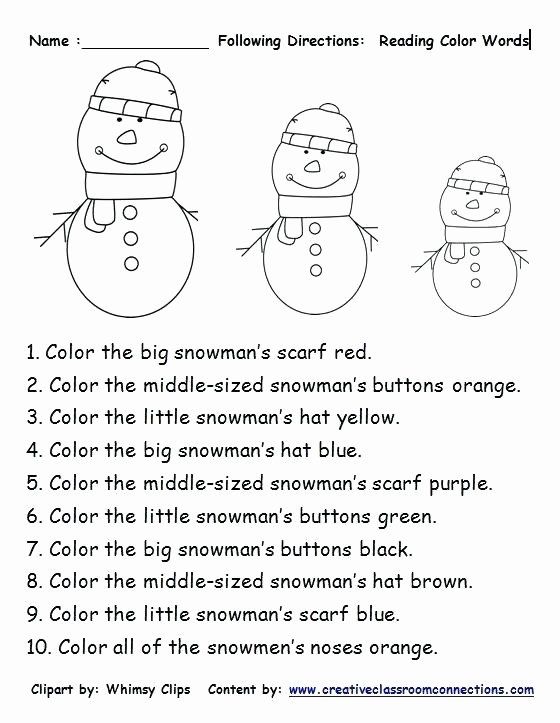 com/wp-content/uploads/2023/02/Program-Evolution-8.png 975 1650 Natalie Kral https://jsginc.com/wp-content/uploads/2019/07/JOHNSON-SERVICE-GROUP.png Natalie Kral2023-02-21 15:08:222023-02-21 15:08:22Are You Being Offered Fair Compensation?
Johnson Service Group
A leading national human resource staffing agency and technical service company.
Stay Connected!
Stay apprised to the latest at JSG and subscribe to JSG Ink Newsletter. Our newsletter provides the latest jobs, news, and industry trends.
Never miss out on your next dream job!
AWARD-WINNING STAFFING SERVICES
Contact Us
800-323-4987
1 E Oak Hill Dr, Ste 200
Westmont, IL 60559
Contact Us
Privacy Policy
Site Map
Join the Team
© Copyright - Johnson Service Group | Website By: Well Dressed Walrus
Printing different business cards on one sheet in Publisher
Publisher
Creation
Creation
Printing different business cards on one sheet in Publisher
Publisher for Microsoft 365 Publisher 2021 Publisher 2019 Publisher 2016 Publisher 2013 Publisher 2010 Publisher 2007 More. ..Less
When printing business cards, it is best to use a ready-made template. Avery backing and other blank sheets with perforations will work with many business card templates you can find in Publisher or online.
To learn how to set up mail merge to print different names or addresses on a sheet of business cards, see Create labels with different addresses. For instructions on how to print sheets, see the final steps in the mail merge procedure.
If you only want to print a few different business cards and are willing to manually enter the information for them, follow the instructions in this article instead of mail merge.
-
Open the menu File and select the command Create .
-
Type business cards into the search box to find the template online.
Tip: Enter an Avery card base number (for example, Avery 8871) or another manufacturer's base number in the search field to find compatible templates.
-
Find a template with multiple business cards on one sheet and click Create or select one business card, click Create and add other cards as follows:
-
Click Page Layout and expand the window Page Setup .
-
Select the sheet size from the list Layout type and then select Multiple pages per sheet . Pay attention to how many pages fit on a sheet.
-
Click Insert > Page to add a business card to the sheet. Repeat this step for other business cards.
-
-
Enter the required information on each business card.
-
On the File tab, select Print .
-
If you selected a template with one business card and added pages to it, make sure that in group Options in section Pages check box Multiple pages per sheet is selected. Also make sure Layout Options is set to the correct paper size and orientation.
-
Press the button Print .
-
Open the menu File and select the command Create .
-
Click Business cards .
-
In the list of Templates available , select Installed templates and templates from the Internet or narrow your search by clicking Installed templates or Internet templates .
-
Click the selected template and then click the New button.
-
On the Page Layout tab, in the lower right corner of the Page Setup group, click the arrow.
-
Select the sheet size from the list Layout type and then select Multiple pages per sheet .
 Pay attention to how many pages fit on a sheet. Press button OK .
 -
Click Insert > Page to add a business card to the sheet. Repeat this step for other business cards.
-
Enter business card details on each page.
-
On the File tab, select Print .
-
Under the Pages field, select Multiple pages per sheet and click Seal .
-
Open the menu File and select the command Create .
-
Click Business cards .
-
Click the template and click the New button.
-
Select Insert > Page .
-
In the Add Page dialog box, enter the desired number of pages. For example, to print 10 different business cards on one sheet, insert 9 pages.
-
Click Before current or After current and make sure Add blank pages is selected.
-
Enter business card details on each page. Alternatively, you can create a separate file for each business card and then copy them to the main file:
-
Click Edit > Select all or press CTRL+C in the source file.
-
In the main file, click one of the blank pages you have inserted.
-
Select Edit > Paste or press CTRL+V.
-
Repeat these steps for each business card you have added.
-
-
On the File tab, select Print .
-
Under Publishing and Paper Options tab under Print Options select Multiple pages per sheet and press the button Print .
Notes:
-
If the main publication uses a master page, it may need to be skipped on pages with copied publications. In the main publication, navigate to the page that contains the master page objects you want to hide and select View > Ignore main page .
-
If you want to print your publication at a specific location on a sheet, set the row, column, horizontal and vertical gap values in section Additional print options . For details, see Print labels, postcards, name tags, and business cards at a specific location on a sheet.
-
To make it easier to align a publication with specific brand paper or print multiple pages of a publication on one sheet by turning on crop marks, and then print a test sheet on a sheet of plain paper. Overlay the manufacturer on a test print, hold them up to a light to check if they align correctly, make any necessary changes to the settings in Advanced Print Options , and then test print again to make sure the alignment is correct. You can turn them off after leveling a post.
Create and print business cards in Publisher
Print on both sides of the paper (manual duplex)
| • | If you are using the Macintosh ® printer driver, see Duplex printing. |
Manual duplex printing from paper tray
| 1 | In the printer driver, select the Advanced tab, click the 2-Sided Printing icon, then select the Manual 2-Sided print mode, and on the Basic tab, select Tray 1 for Paper Source. |
| 2 | Send the data to the printer, and then click OK on the computer screen. The printer will automatically print all even-numbered pages on one side of the paper first. |
| 3 | Remove the printed even-numbered pages from the output tray and put them back in the paper tray with the side to be printed on (blank side) down. Follow the instructions on the computer screen. |
| 4 | The printer will now automatically print all odd pages on the other side of the paper. |
Note
| When placing paper in the tray, remove all sheets from the tray first. |
Top of page
Manual duplex printing from the manual feed slot
Note
| Use plain paper or recycled paper. Do not use bond paper. |
| 1 | In the printer driver, select the Advanced tab, click the 2-Sided Printing icon, select the Manual 2-Sided print mode, and on the Basic tab, select Manual Feed as the Paper Source. | ||
| 2 | Open the manual feed slot cover. | ||
| 3 | Using both hands, slide the manual feed slot guides to the paper width you want to use. | ||
| 4 | Using both hands, insert the paper into the manual feed slot with the side to be printed first facing up. | ||
| 5 | Remove the printed even-numbered pages from the output tray and put the first printed sheet back into the manual feed slot with the side to be printed on (blank side) facing up. Follow the instructions on the computer screen. | ||
| 6 | Repeat step 5 until all odd pages have printed. |
Top of page
Manual duplex paper orientation
The printer starts printing from the second page.
If you want to print 10 pages on 5 sheets of paper, the first sheet of paper will print page 2 first, then page 1. The second sheet of paper will print page 4, then 3.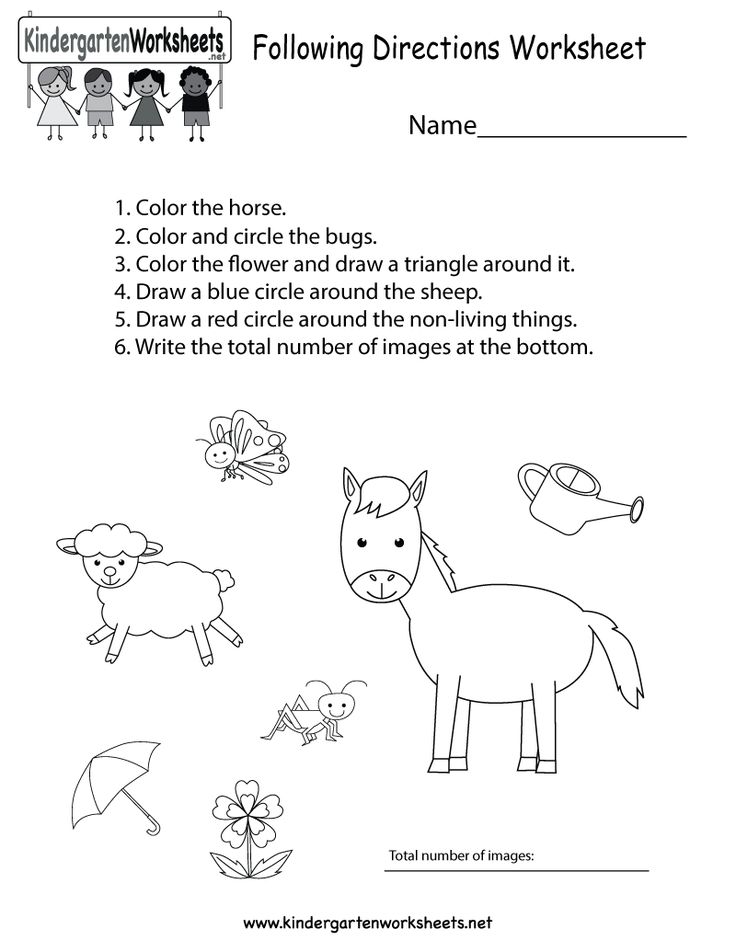 The third sheet of paper will print page 1 first. 6 and then 5 and so on.
When performing manual 2-sided printing, insert paper into the tray as follows.

 Then put the pages printed side up in the tray. (Do not place printed pages on a stack of blank sheets.)
  Follow the instructions on the computer screen. Repeat this step until you have printed all even pages.