How many sight words
Sight Words for Kindergarten & Kids
Site Search
Site Search
Shop Now
Teaching Tips
September 17, 2020
0
3 mins
No matter whether kindergarten children will be learning in person, online, or a hybrid of the two, parents and teachers are still focused on ensuring their emerging readers develop a love for reading while learning to read effectively and efficiently. One critical skill that children need in order to build solid foundational reading skills is sight word recognition.
What Are Sight Words?
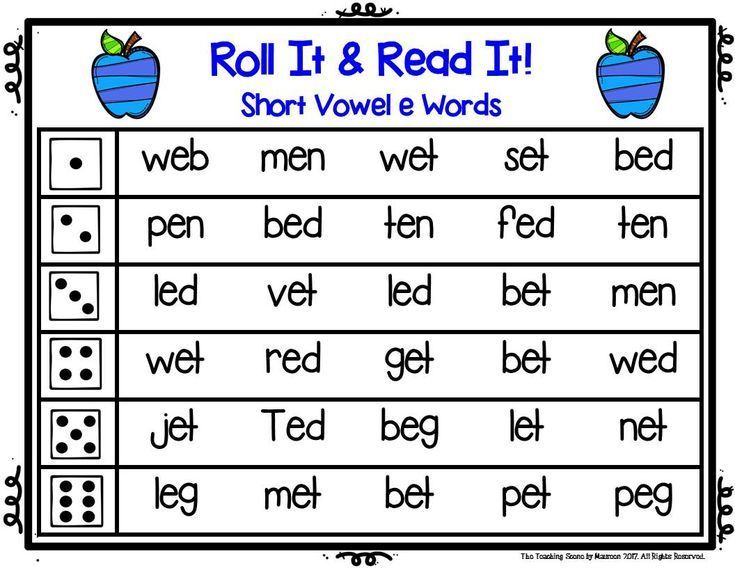
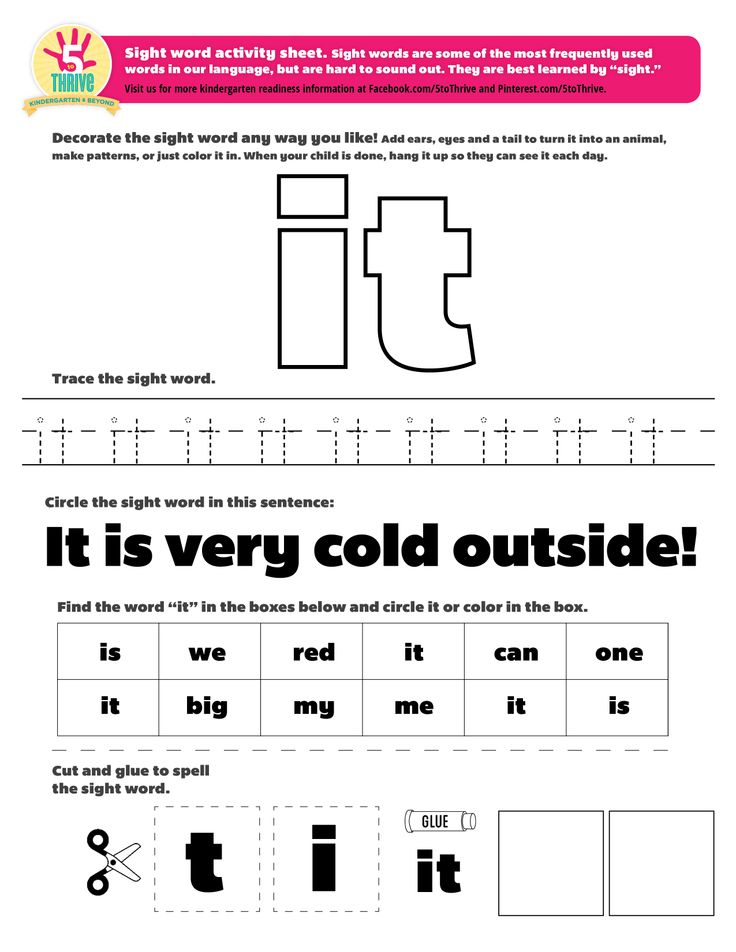
When we teach children to read, we are basically helping them to crack a code. Children learn to hear and say the sounds of the alphabet and then how to blend those sounds to make words. These sounds usually follow basic spelling rules or phonetic principles, but there are some words that did not follow rules. These words are called sight words.
Most sight words cannot be decoded or sounded out, and they are also difficult to represent with a picture. As a result, children must learn to recognize these words automatically, or at first sight. Children who are able to quickly and instantly recognize sight words are more likely to become more fluent readers who read at a good speed because they are not stopping to try to decode every word. When children recognize sight words within three seconds, they are also more likely to comprehend what they are reading. Children who are able to instantly recognize sight words are more likely to be confident readers because over 50-70 percent of the general English text is made up of sight words.
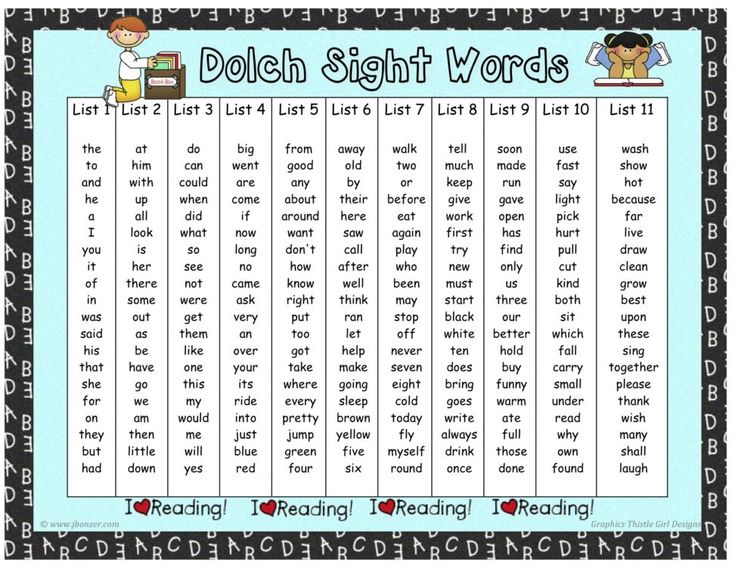
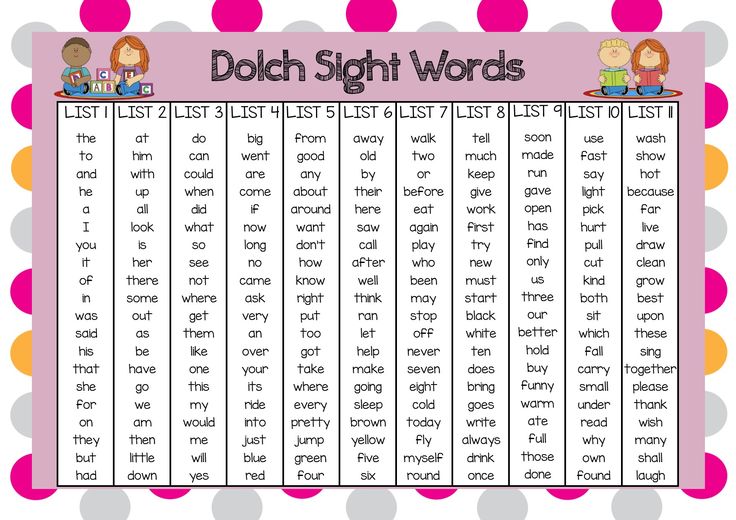
There are several sight word lists for emerging readers. One list is called the Dolch Word List, created by E.W. Dolch in 1936. The list contains 220 of the most commonly used words that should be recognized by first sight. The list is divided by grade level from Pre-K through third grade, but many educators believe that these words should be mastered by first grade. In addition to the 220 sight words, the Dolch Word List also includes 95 high-frequency nouns.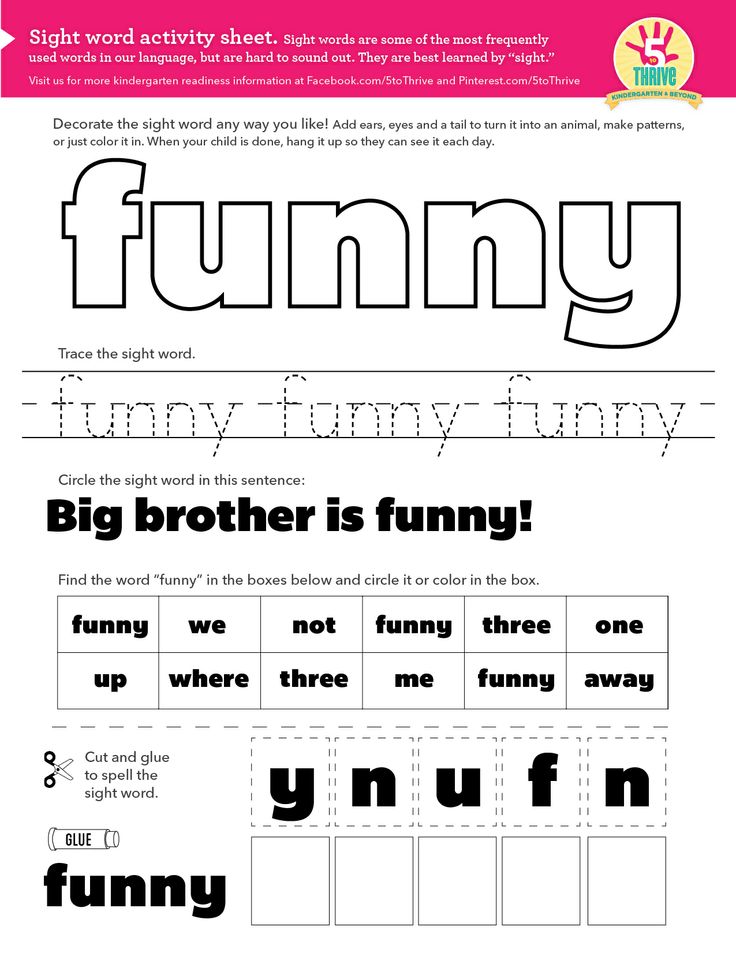 In the 1950’s, Dr. Edward Fry expanded the Dolch Word List to include 1,000 commonly used words in the English language. Fry updated the Fry Sight Word List in 1980, which is comprised of the most commonly used words in books, newspapers, and other publications. Like the Dolch Word list, the Fry Sight Word List is made up of both sight words and high-frequency words and is divided by grade level. Teachers will generally pull from one or both of these lists to create the sight words that children should learn. It is important for parents to keep in mind that children are expected to be able to instantly recognize sight words they have learned previously.
Examples of Sight Words for Kids
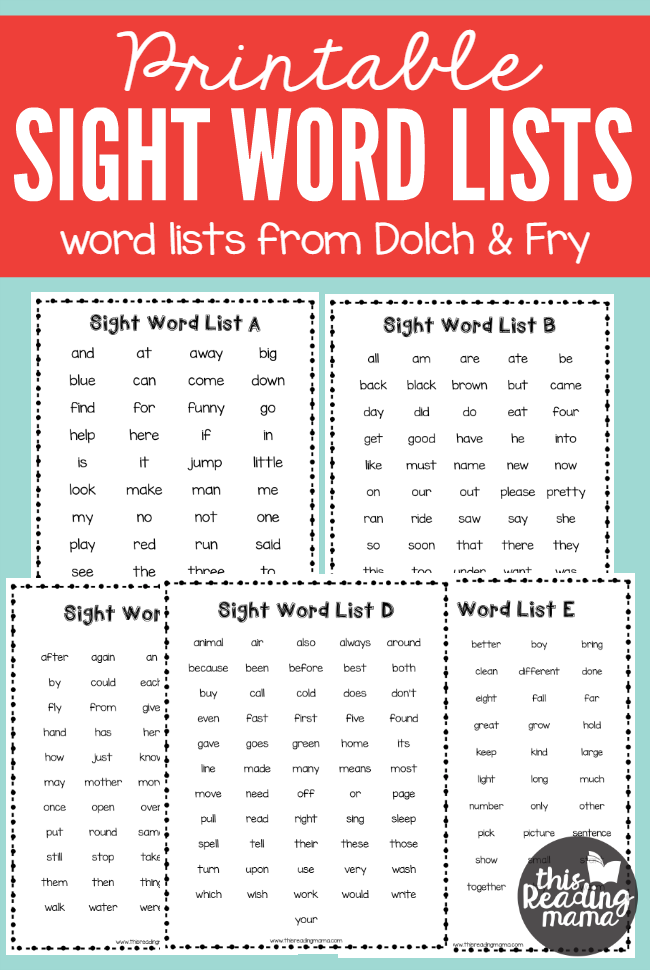
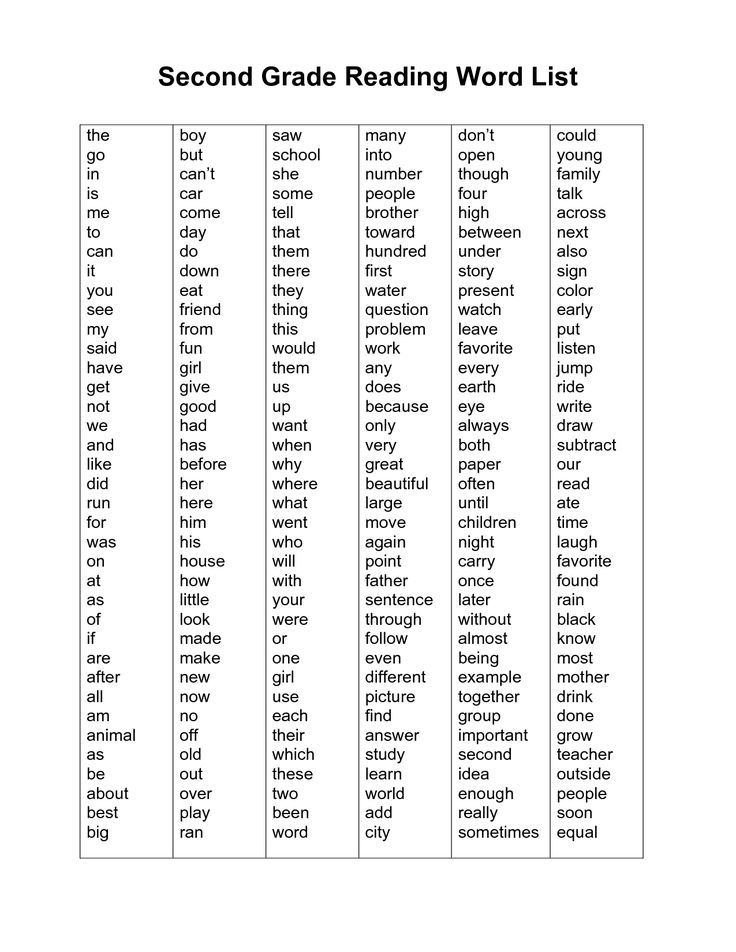
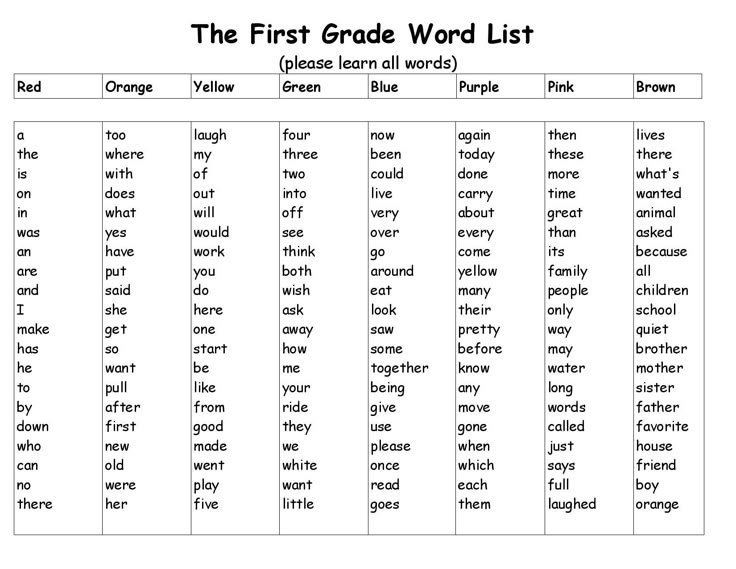
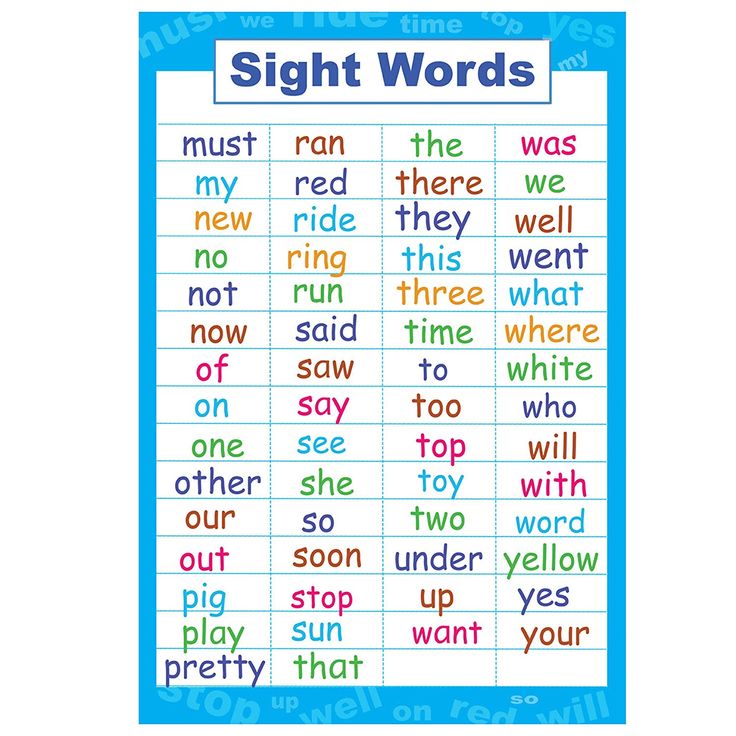
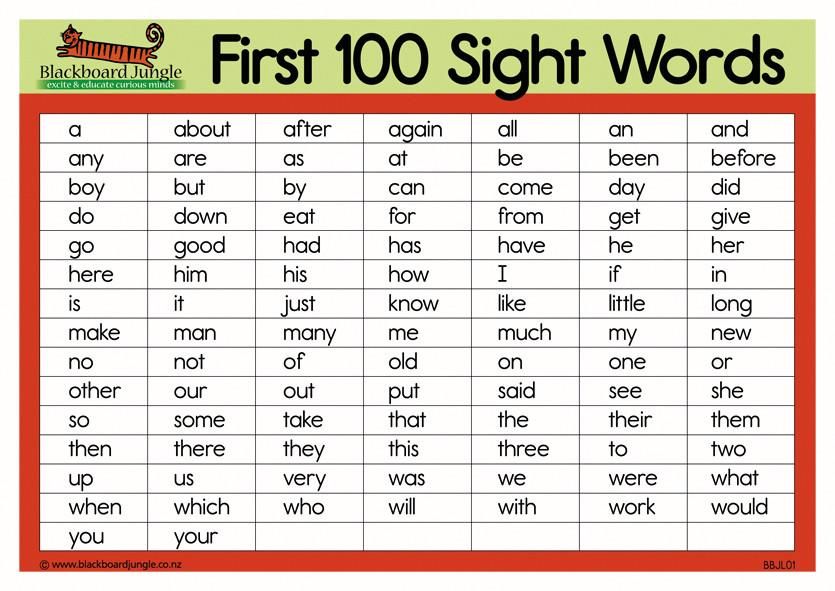
Here is a list of sight words and high-frequency words for Pre-K, kindergarten, and first grade that have been taken from both the Dolch Word and Fry Sight Word Lists.
| Grade | Sight Words |
| Pre-K (40 words) | a, and, away, big, blue, can, come, down, find, for, funny, go, help, here, I, in, is, it, jump, little, look, make, me, my, not, one, play, red, run, said, see, the, three, to, two, up, we, where, yellow, you |
| Kindergarten (100 words) | about, all, am, an, are, as, at, ate, be, been, black, brown, but, by, call, came, could, day, did, do, each, eat, first, four, from, get, good, had, has, have, he, her, him, his, how, if, into, like, long, made, many, may, more, must, new, no, now, number, of, oil, on, or, other, our, out, part, people, please, pretty, ran, ride, saw, say, she, sit, so, some, soon, than, that, their, them, then, there, these, they, this, time, to, under, use, want, was, water, way, well, went, were, what, when, which, white, who, will, with, word, would, write, yes, your |
| 1st Grade (100 words) | add, after, again, air, also, America, animal, another, answer, any, around, ask, back, because, before, boy, change, different, does, end, even, every, fly, follow, food, form, found, give, going, great, hand, high, home, house, just, kind, know, land, large, learn, let, letter, line, live, man, mean, men, most, mother, move, much, must, name, need, near, off, old, only, once, open, over, page, picture, place, point, put, read, right, round, same, say, sentence, set, should, show, small, sound, spell, still, stop, study, such, take, tell, thank, things, think, through, too, try, turn, us, very, walk, want, well, why, work, world, year |
Site Words FAQs
Q: What is the difference between sight words and high-frequency words?
A: While both sight words and high-frequency words are important, they are not the same.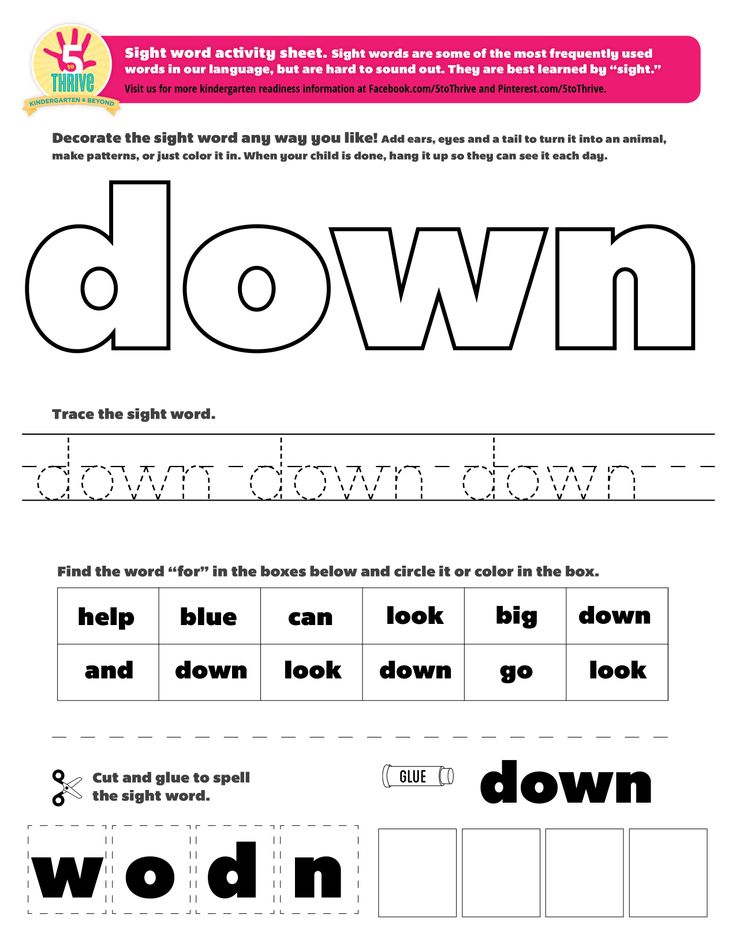 Sight words are words that cannot be decoded, so knowing spelling rules or phonics will not help a child sound out the word. High-frequency words are commonly used words that students need to know. Some high-frequency words are decodable using spelling and phonics rules, and some are not. As a result, it is important to help students recognize both sight word and high-frequency words by sight, so that they can recognize them automatically. As you begin to introduce spelling rules, phonics and syllabication to Kindergarten children, be sure to highlight high-frequency words they have memorized that fit a given rule. Regardless of whether the word is a sight word or high-frequency words, they both must be taught explicitly and systemically so that children will know them automatically.
Q: When should sight words be taught?
A: While most Pre-K children are able to master some sight words, it is important to remember that children learn language skills at different rates. They also have different interest levels when it comes to learning words.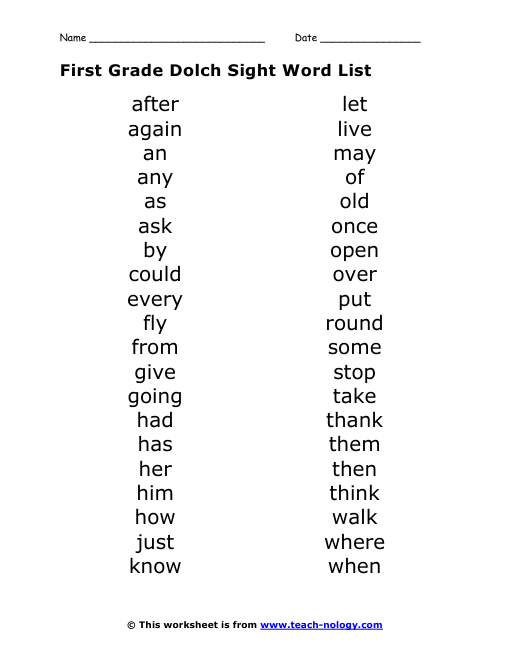 Some children are eager and ready to learn while others may not be. As a result, there is no specific age to begin teaching sight words. So try some fun sight word activities with your two- or three-year old children, but do not push if they are not interested. Let your child’s developmental readiness and interest level guide you.
Q: How many sight words should kindergarteners learn?
A: There are varying opinions as to how many words children should learn. Some literacy experts like Tim Shanahan believe that kindergarteners should master 20 sight words by the end of kindergarten. The Dolch word list has 40 words listed for Pre-K students and some school districts require that kindergarteners learn 100 sight words by the end of the school year. Consider your children’s progress and interest levels as well as your school district’s expectation to help decide on the appropriate number of sight words for your children.
Q: What order should I teach sight words?
A: There is no one set prescribed order to teach sight words. Some teachers and parents teach the sight words from the Dolch or Fry lists in alphabetical order. Others use the lists and create their own order. Consider using the Frequency Fry List that has words ranked by the frequency of use for reading and writing. To help children learn sight words and get them to stick, create your own lists to teach students the words not only in isolation, but also in context. For example, if you decide to read a specific book, teach the sight words from the book you are reading. This gives children practice reading the word in isolation and also helps them to see how the word is used in language.
Q: How many sight words can be taught in a day?
A: Before determining a set number of sight words to teach, it is important to focus on the number of words that children are actually learning. It is important to consider the quality of their learning, not the quantity. Make certain that children can recognize sight words instantly and accurately before rushing to complete a certain number of words.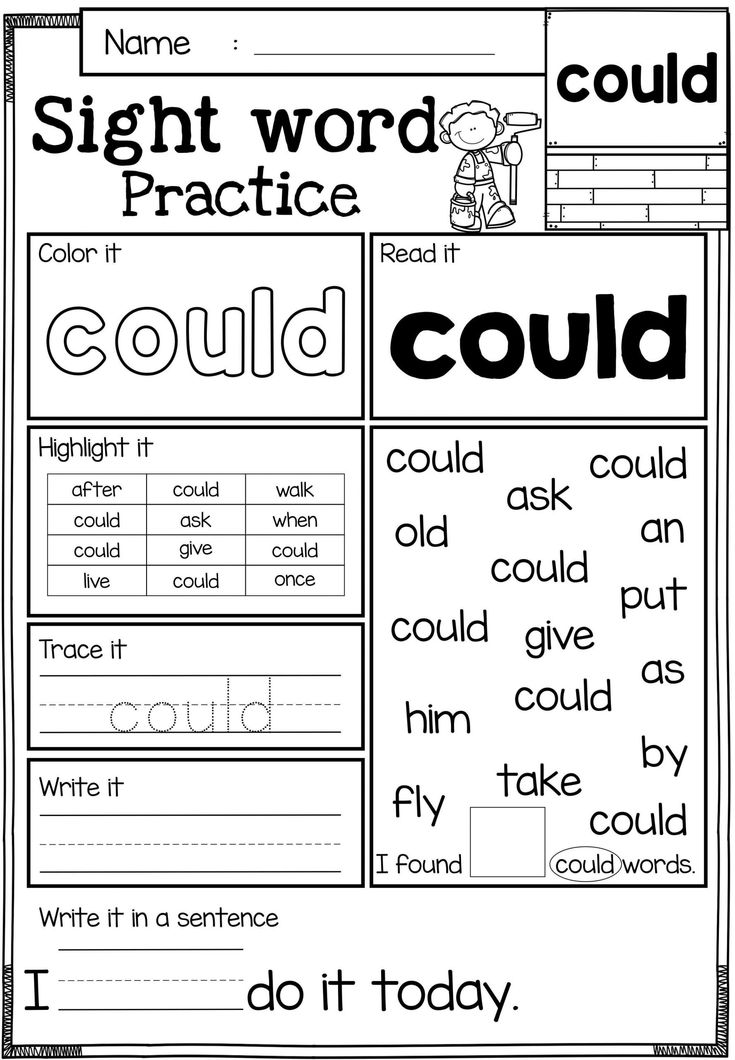 Before starting, be sure to consider the child’s age, motivation and memory skills. Keep in mind that a child who can instantly and accurately name 50 sight words is building a more solid reading foundation versus a child who “kind of knows” 100 words.
Start by introducing children to three to five new words during a given lesson. During the next day’s lesson, review the previously introduced words. If children remember all of the words, consider introducing three to five new words. If children do not remember the previous words, review the previously introduced words and wait to introduce new words. Also, consider reducing the number of words you introduce in each lesson to one or two words if children are struggling or feel overwhelmed.
Learning Without Tears Knows Sight Words!
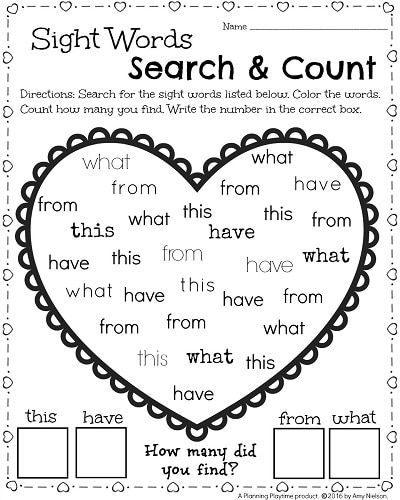
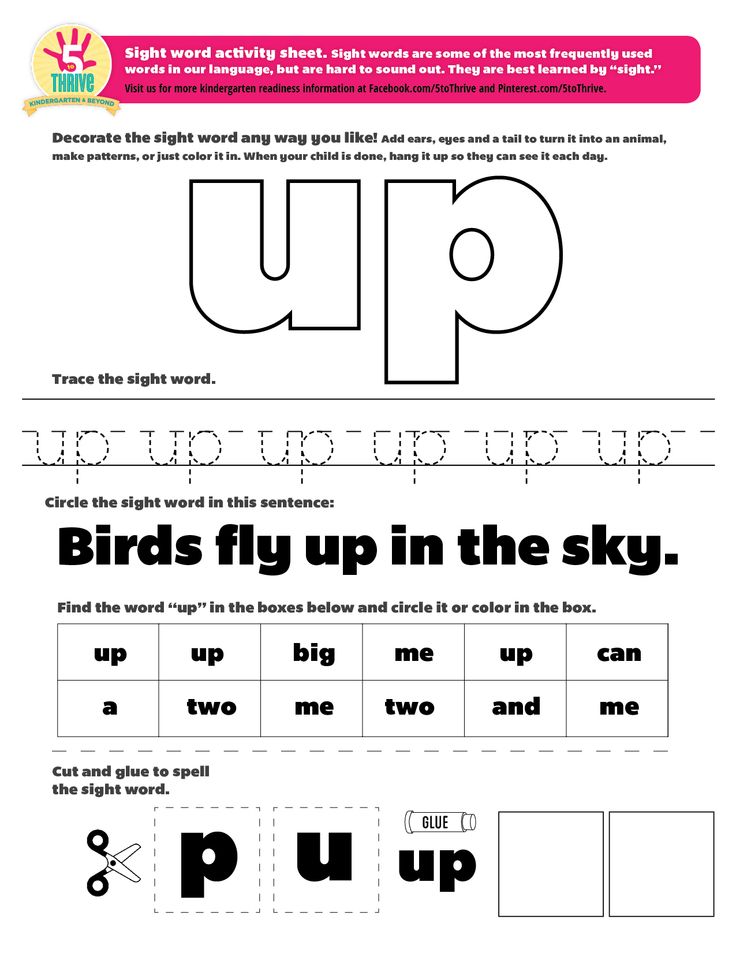
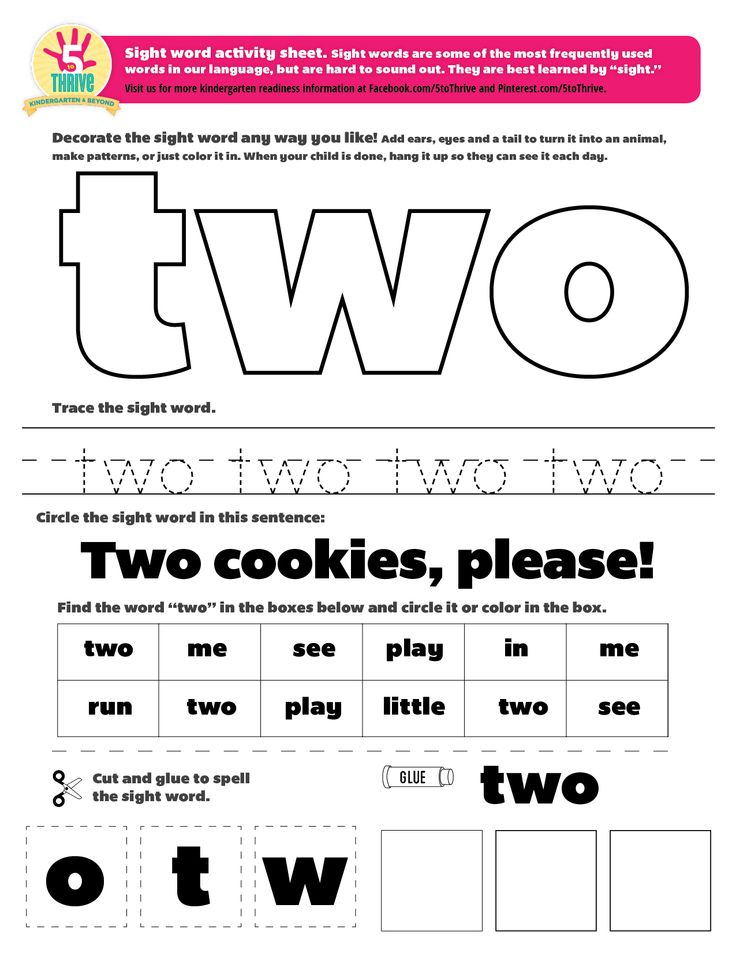
There are lots of fun, engaging strategies to teach children sight words. Before you begin teaching sight words, make certain you have broken down the word lists into manageable and differentiated lists for your students.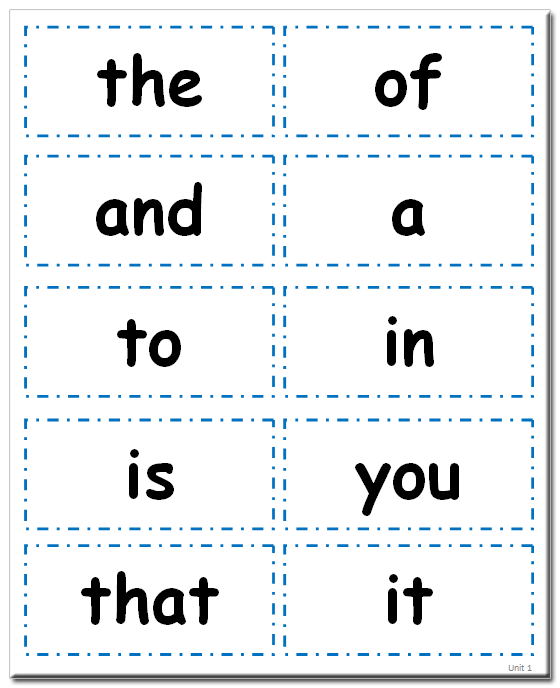 Secondly, no matter whether you are teaching your children in person or virtually, it is important to devote at least 15-20 minutes a day to teaching sight words. Lastly, make learning sight words is a fun and interactive activity. Below are 10 engaging sight words activities to do with your children.
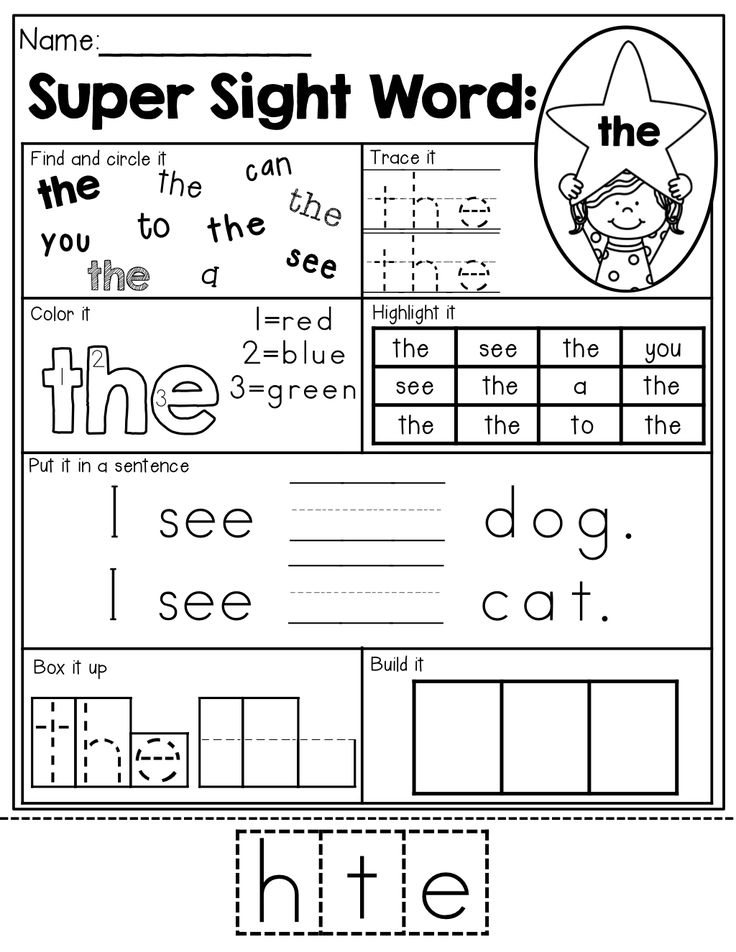
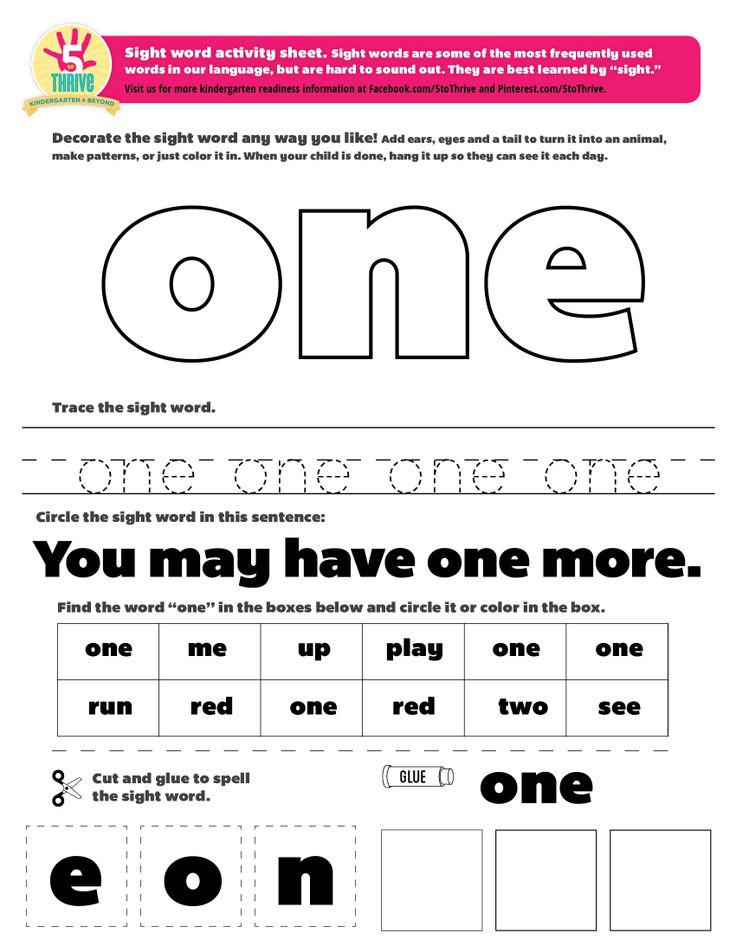
Sight Word Concentration – On index cards, write the same sight words on two separate cards. Make two piles – one with the word and the other with the matching word. Mix the two piles and place them face down. Have children take turns to find the matching cards. Consider having children write down the words that they found. Use Learning Without Tears’ A+ Worksheet Maker to create worksheets where they can copy the words.
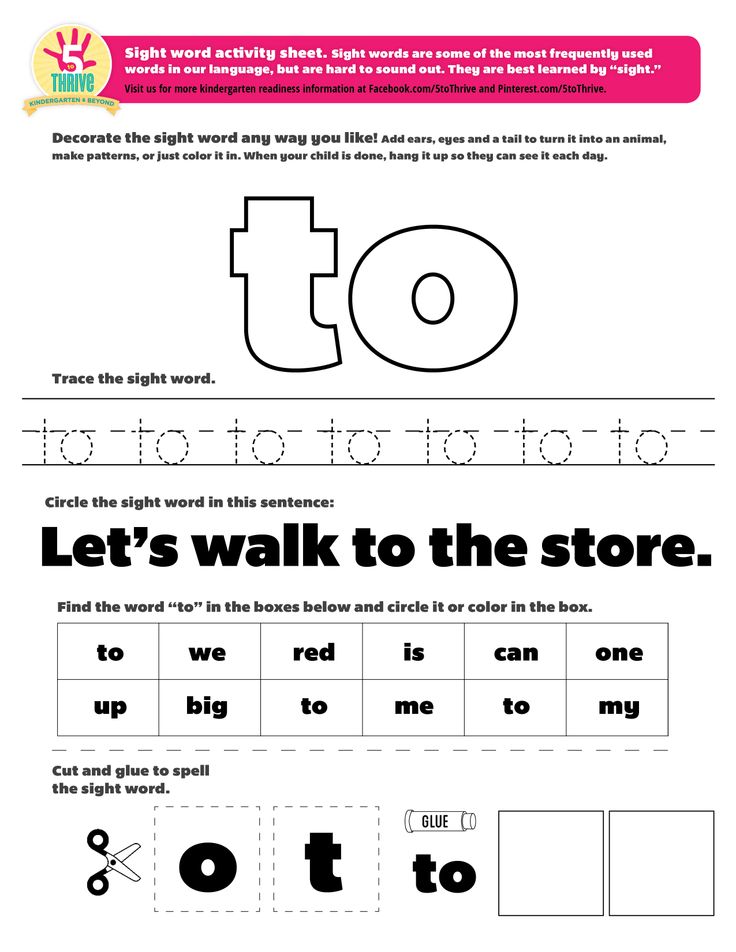
Build-A-Sight Word – Children love building words with manipulatives like magnetic alphabet letters. Learning Without Tears’ Magnetic Lowercase & Blackboard Set contains magnetic lowercase letters and a magnetic blackboard with double lines so that children can build and write sight words.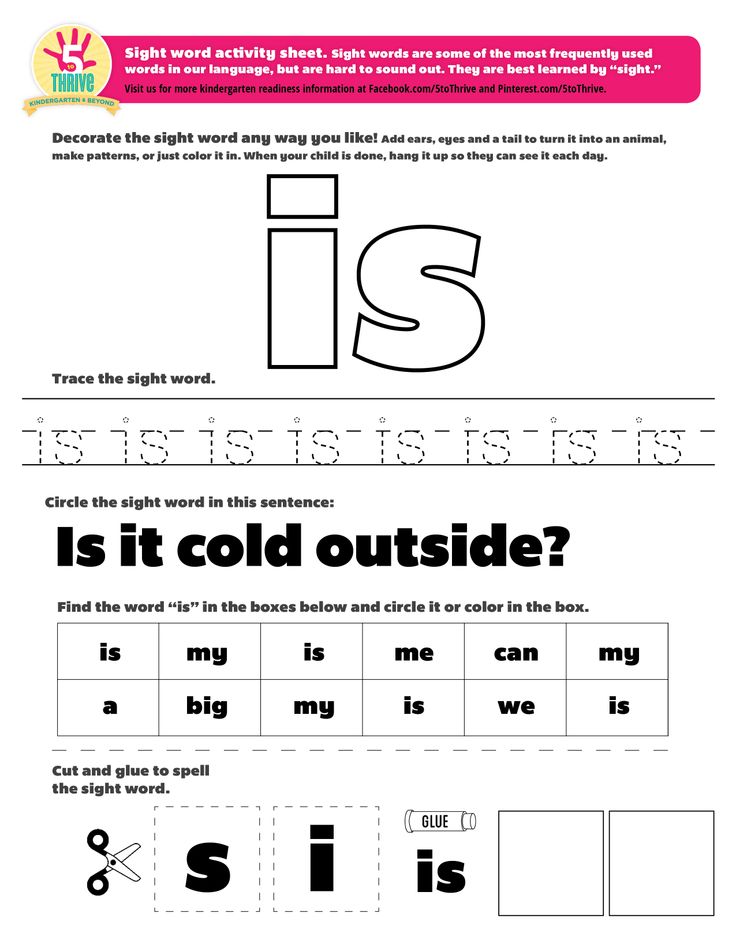 Children can also build sight words using Learning Without Tears’ free Make Your Own Letter Cards.
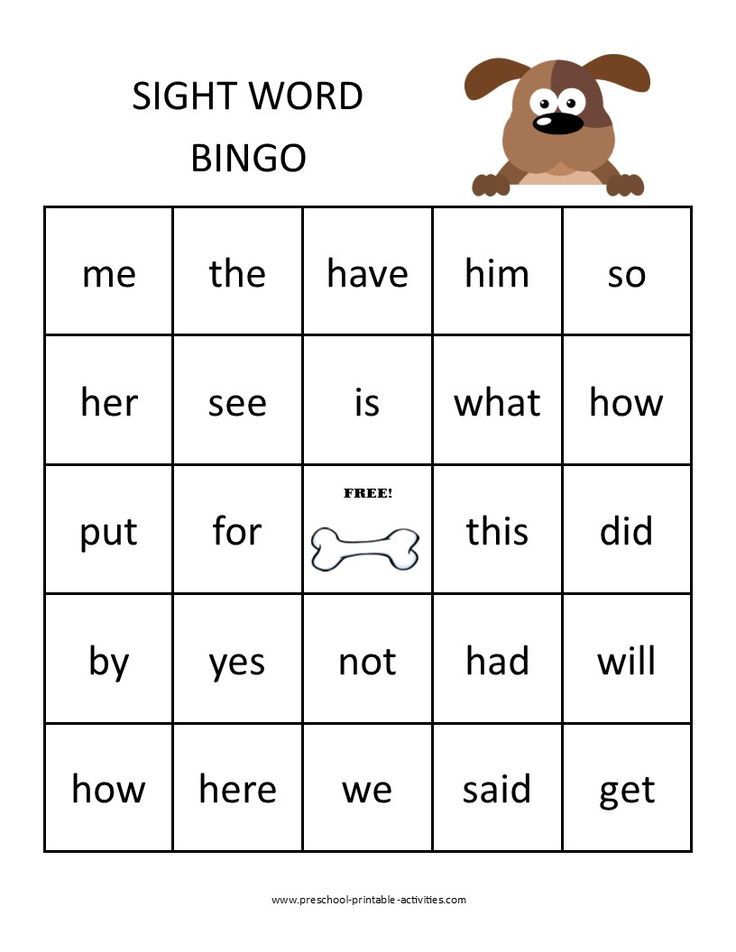
Sight Word Bingo – Create individual bingo cards using sight words that you have introduced. You can also give students a blank board and have them write the words in the boxes from a list you provide. Be sure to have the words written on index cards and pull them out of a container to call the sight words. Students should place a marker on the word when it is called. Students must yell "Sight Word Bingo!" when they have covered a vertical, horizontal, or diagonal row.
Stamp Out Sight Words – Using alphabet cookie cutters, have students stamp out letters using dough, then have children build sight words. Model for students first, then have them do it with you. After guiding them, have them try to build it independently. This fun activity is also great for building fine motor skills.
Sentences with Sight Words – Learning Without Tears’ Sentence School is a great way to help students learn sight words and write sentences.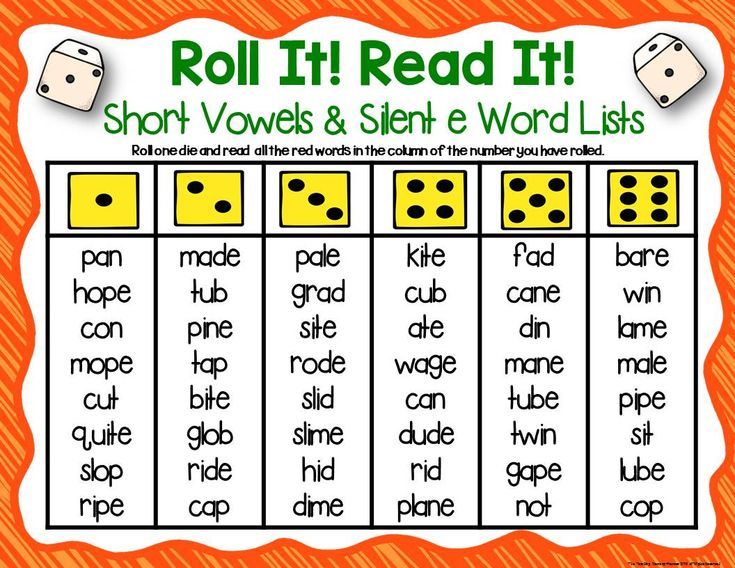 Students will love the engaging, hands-on lessons, and the guide is a great resource for teachers and parents alike.
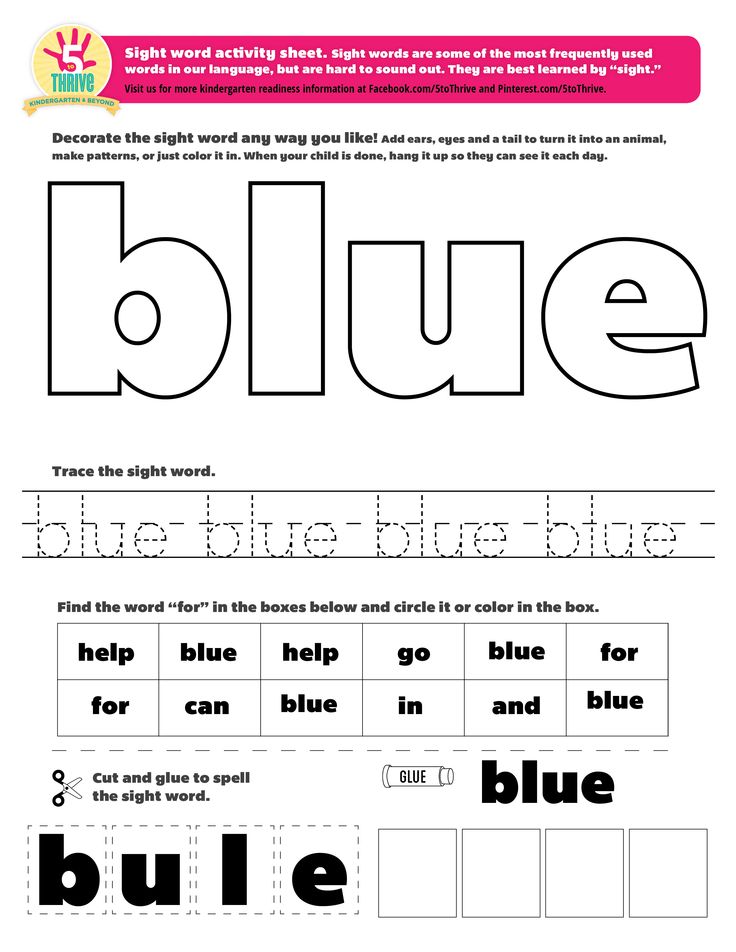
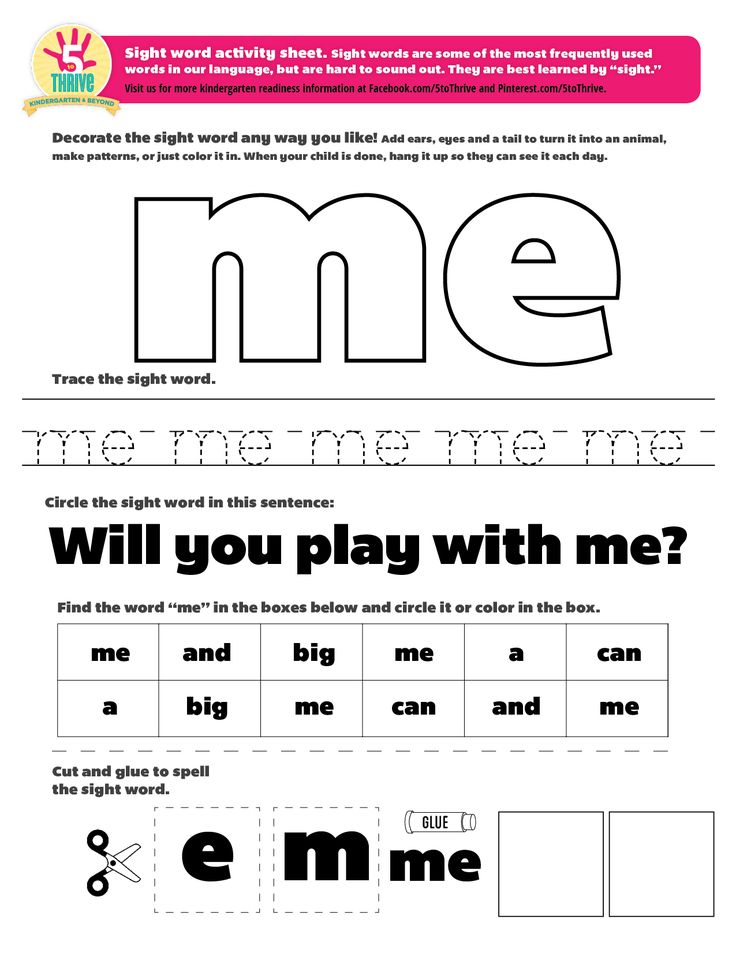
Sight Word Detective – Show children a sight word with a missing letter. Have children act as detectives to find the missing letter. You can play as a whole class, in teams, or individually. To make it more challenging, remove more than one letter. Also consider using the word with the missing letter in a sentence to help children practice context clues. You can write letters on a white board or use magnetic letters.
Sight Word Scramble – Using magnetic letters or letter cards, mix up the letters of the sight word and have children unscramble the words to reveal the correct spelling of the sight word. You can involve more children by giving each child a letter and have them spell out a sight word.
Sight Word Sing-a-Long – Music is a great teaching tool for children and adults. Learning Without Tears has lots of fun, engaging, and catchy songs to help students learn sight words.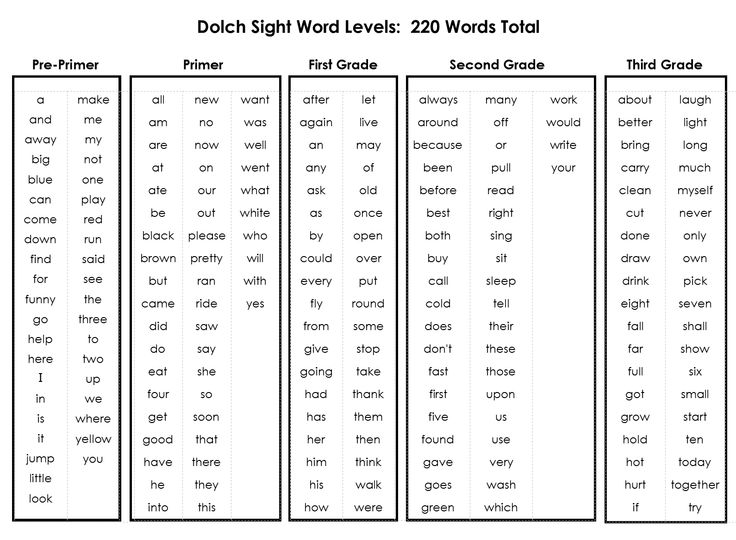 Consider displaying the lyrics from Learning Without Tears’ Rock, Rap, and Learn CD on a white board and have children circle all of the sight words. Lyrics to all songs are located on Learning Without Tears’ Handwriting Interactive Teaching Tool.
Read and Write Engaging Stories – Children feel more confident and excited when they begin to recognize words in a book. When reading to children, help them to identify sight words. Learning Without Tears’ MatMan Book series contains lots of sight words. Give sight word readers to children to begin reading on their own. After reading a story, write the sight words that they see and have children copy them. Also, encourage your students to create a funny story by writing down a sentence from each child. Circle all of the sight words they use.
Hand Activity Sight Words – To help children recognize sight words automatically and make them stick, teach them the attributes of the words using Learning Without Tears’ Hand Activity Method.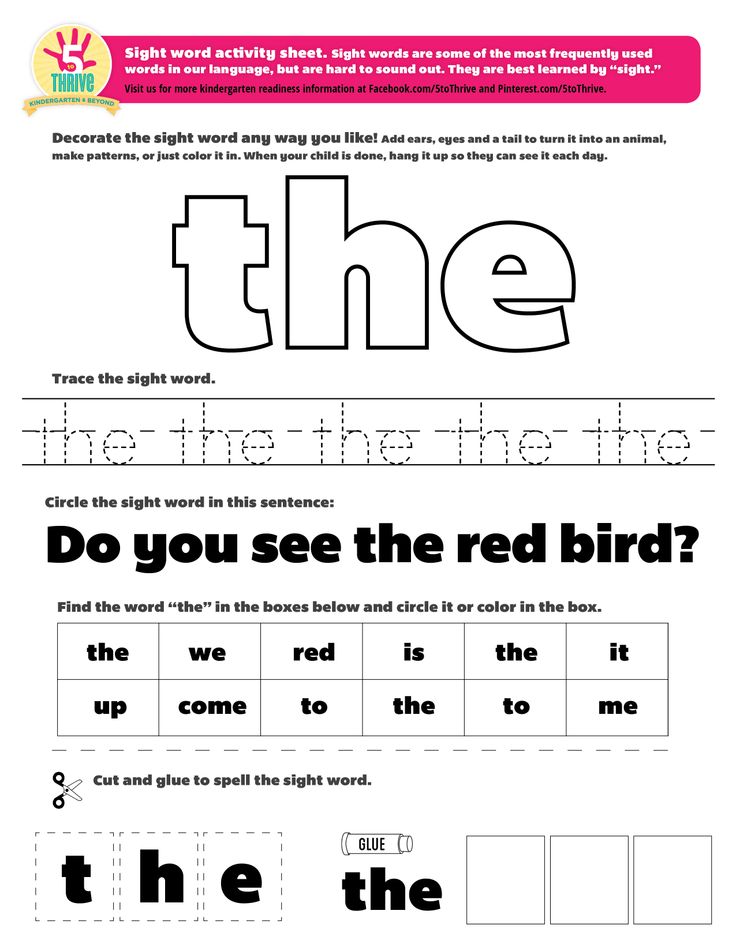 Some lowercase letters are tall (b,f,h), some are small (a, e, n), and some are descending (j, p, y). Have them use their hands to spell out the words or use the hands and letters from LWT’s Magnetic Lowercase & Blackboard Set to help them visualize the words. Also, consider highlighting other attributes of words—like the number of letters, consonants, and vowels—in order to help students connect with sight words.
Explicitly teaching children sight words in a fun, engaging manner will help to build their reading rate, fluency, and confidence. Sight words will build a solid foundation for students to become proficient readers. Have fun!
Related Tags
Readiness
Readiness, Summer, Teaching Tips, Multisensory Learning
5 Ways to Support Your Students this Summer
June 7, 2022
0 5 minutes
Readiness, Summer, Teaching Tips, Multisensory Learning
4 Guidelines to Support Students Over Long Breaks in Learning
February 14, 2022
0 5 mins
Ask the Experts, Teaching Tips, Multisensory Learning, Readiness
Pint-Size Book Authors: Using Early Readers as Mentor Texts
September 10, 2021
0 3 min
There are no comments
Stay Connected and Save 10%Sign up for our newsletter and get the latest updates, Classroom tips & free downloads.
Comments
Dolch Sight Words List | Sight Words: Teach Your Child to Read
All the Dolch sight word lists, divided by grade, also available as printable PDFs.
More
Five techniques for teaching Dolch sight words. Learn proven ways to introduce words, reinforce learning, and correct mistakes.
More
Print a set of Dolch sight word flash cards, or use our generator to create your own custom cards.
More
Print cards and game boards for 18 Dolch sight word games. A fun way to reinforce sight words lessons!
More
The Dolch Sight Words list is the most commonly used set of sight words. Educator Dr. Edward William Dolch developed the list in the 1930s-40s by studying the most frequently occurring words in children’s books of that era. The list contains 220 “service words” plus 95 high-frequency nouns. These words comprise 80% of the words you would find in a typical children’s book and 50% of the words found in writing for adults. Once a child knows this list of words, it makes reading much easier, because the child can then focus his or her attention on the remaining words.
The Dolch words are commonly divided into groups by grade level, ranging from pre-kindergarten to third grade, with a separate list of nouns. There are a total of 315 Dolch Sight Words.
- Pre-K Dolch Sight Words
(40 words)a, and, away, big, blue, can, come, down, find, for, funny, go, help, here, I, in, is, it, jump, little, look, make, me, my, not, one, play, red, run, said, see, the, three, to, two, up, we, where, yellow, you
- Kindergarten Dolch Sight Words
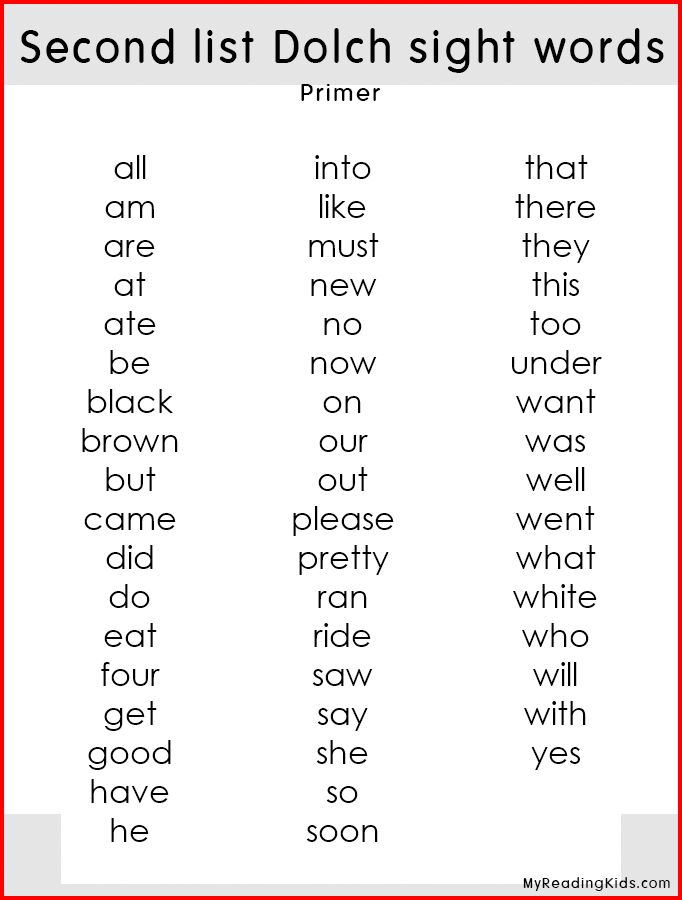
(52 words)all, am, are, at, ate, be, black, brown, but, came, did, do, eat, four, get, good, have, he, into, like, must, new, no, now, on, our, out, please, pretty, ran, ride, saw, say, she, so, soon, that, there, they, this, too, under, want, was, well, went, what, white, who, will, with, yes
- First Grade Dolch Sight Words
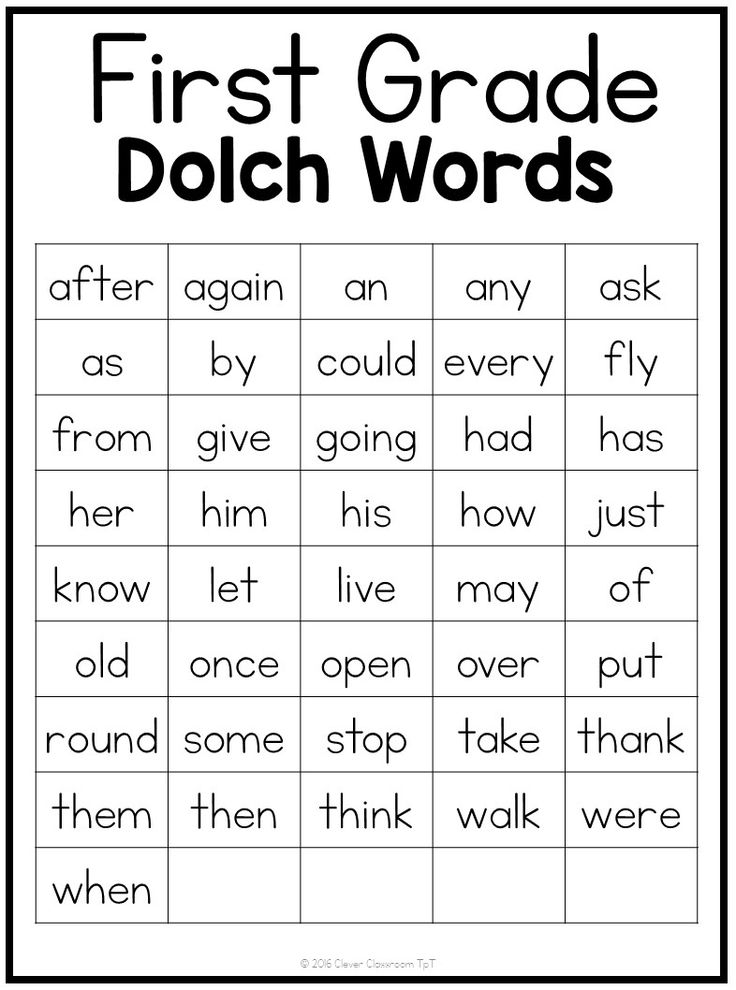
(41 words)after, again, an, any, as, ask, by, could, every, fly, from, give, going, had, has, her, him, his, how, just, know, let, live, may, of, old, once, open, over, put, round, some, stop, take, thank, them, then, think, walk, were, when
- Second Grade Dolch Sight Words
(46 words)always, around, because, been, before, best, both, buy, call, cold, does, don’t, fast, first, five, found, gave, goes, green, its, made, many, off, or, pull, read, right, sing, sit, sleep, tell, their, these, those, upon, us, use, very, wash, which, why, wish, work, would, write, your
- Third Grade Dolch Sight Words
(41 words)about, better, bring, carry, clean, cut, done, draw, drink, eight, fall, far, full, got, grow, hold, hot, hurt, if, keep, kind, laugh, light, long, much, myself, never, only, own, pick, seven, shall, show, six, small, start, ten, today, together, try, warm
- Noun Dolch Sight Words
(95 words)apple, baby, back, ball, bear, bed, bell, bird, birthday, boat, box, boy, bread, brother, cake, car, cat, chair, chicken, children, Christmas, coat, corn, cow, day, dog, doll, door, duck, egg, eye, farm, farmer, father, feet, fire, fish, floor, flower, game, garden, girl, goodbye, grass, ground, hand, head, hill, home, horse, house, kitty, leg, letter, man, men, milk, money, morning, mother, name, nest, night, paper, party, picture, pig, rabbit, rain, ring, robin, Santa Claus, school, seed, sheep, shoe, sister, snow, song, squirrel, stick, street, sun, table, thing, time, top, toy, tree, watch, water, way, wind, window, wood
- All Dolch Sight Words by group
- All Dolch Sight Words in alphabetical order
Leave a Reply
Algorithm for intraoral X-ray examination and description of dental images
Rogatskin D. Until recently, radiation diagnostics in dentistry was considered as an additional method of examination, that is, optional, without which, in principle, a full-fledged treatment can be carried out. However, in the 21st century, the situation has changed dramatically, new technologies, new specialties and new requirements for the examination and treatment of patients have appeared. Currently, not a single civilized dental appointment is complete without a detailed radiodiagnostic examination of the patient, and it can be argued that radiation diagnostics in dentistry is now one of the main and most popular research methods. The main difference between digital radiography (radiovisiography) and traditional radiography is that in this case, instead of a film, the image receiver is a sensor that perceives radiation and transmits information to a computer. The equipment required for radiovisiography sequentially consists of a radiation source, a device for reading information, a device for digitizing information, and a device for reproducing and processing images. Modern low-dose generators with a minimum timer value are used as a radiation source, designed to work as part of a visualographic complex. The visiograph itself consists of a sensor, which is a sensor based on a CCD or CIMOS matrix, an analog-to-digital converter, and a computer program designed to optimize and store images. Original digital images may look slightly different from conventional film images at first glance, so they need to be processed using the software options. The highest quality image is the image that is closest to analog in visual perception, therefore, even despite the highest technical characteristics of the visiograph, the quality of the final image largely depends on the capabilities of the program and the specialist’s ability to work with it. To date, the most common and popular method of radiation examination in outpatient practice is intraoral radiography of teeth, or an intraoral photograph of a tooth. At a therapeutic appointment during endodontic treatment, at least three intraoral images of each examined tooth must be taken: Ideally, maximum information about the topography of the roots and the condition of the periodontal tissues can be obtained during polypositional radiography. In this case, three images are taken for diagnostic purposes - one in a straight line, with an orthoradial beam direction, and two in an oblique projection - with a distal-eccentric (Fig. 1) and mesial-eccentric beam direction (respectively, straight, posterior oblique and anterior oblique projections). The most important aspects of successful intraoral radiography are the standardization and consistent correction of manipulations. Under the standardization of manipulations is meant the ability of a specialist conducting a radiological examination to choose the method that is optimal for each case and take a series of identical images, regardless of the position, condition of the patient and the time separating one examination from another. That is, if the diagnostic or measurement image is recognized as high-quality, each subsequent clarifying and control must be made with the same spatial and technical settings, and each subsequent image must be identical to the previous one (Fig. All over the world, dentists themselves are directly involved in the production and description of intraoral images of teeth, therefore, each qualified specialist must not only master the basics of positioning techniques, but also know the algorithm for describing the intraoral radiogram of a tooth (IRZ, IO dental radiograph). Unfortunately, practitioners do not always interpret the image logically and use incorrect notations. Firstly, the term "rarefaction", or rarefaction (from rare - rare), implies a decrease in tissue density due to a decrease in the amount of a solid component (decalcification), but without destroying the basic structure of bone tissue. In the classical version, rarefaction is a sign or characteristic of osteoporosis. In the process of development, for example, of a radicular cyst, and in any other periapical processes, the bone in the periapex is not preserved, it is completely destroyed, and, thus, the term "rarefaction" absolutely incorrectly characterizes the pathological process existing in the periapex. Secondly, to describe the shape of a two-dimensional figure in the figure, use the term "contour", not "boundary". Thirdly, a qualified reading of a snapshot consists of three stages - ascertaining, interpreting and concluding. Statement means the actual description of a two-dimensional pattern in the negative image mode obtained during the study. In addition, dentists traditionally "see" only the destruction zone and completely ignore the zone of intoxication represented by perifocal osteosclerosis. This image element, represented by a zone of bone tissue compaction along the edge of destruction, indicates the presence of chronic intoxication and outlines the true extent of the pathological focus (Fig. There are many more similar nuances, but if we summarize all of the above and take into account certain traditions of describing a tooth image, the following algorithms can be recommended as a scheme. 1. Pulpitis. 1.1. On the intraoral periapical image (as an option, IRZ, intraoral radiogram of the tooth) of tooth N, pathological changes in the bone tissue in the region of the root apex are not visually determined (option: there are no visible pathological changes). 1.2. The expansion of the space of the periodontal ligament in the periapical region is determined. 1.3. Expansion of the space of the periodontal ligament with fragmentary destruction (remodeling, deformation) of the closing plate of the alveolar wall 1.2.1. The shadow of the filling material in the canal is not traced. 2. Acute and chronic apical periodontitis (K04.4; K04.5). 2.1. On the intraoral periapical X-ray of tooth N, pathological changes in the bone tissue in the region of the root apex are not visually determined. 2.2 . The expansion of the space of the periodontal ligament in the periapical region is determined. 2.3 . Expansion of the space of the periodontal ligament throughout. 2.4 . Expansion of the space of the periodontal ligament throughout, destruction of the hard plate of the alveolus (lamina dura) in the periapical region. 2.5. In the periapical region, there is an increase in the density of the bone pattern in the form of perifocal osteosclerosis without clear contours, clinically corresponding to the state after endodontic treatment with residual intoxication. 2.6.1. In the periapical region, a shadow is visually determined, corresponding in density and configuration to the filling material. 2.6.2. The shadow of the filling material is determined in the form of several fragments (conglomerate) located in close proximity to the apex (at a distance of N mm). 2.6.3. It is defined as a continuous linear structure, corresponding in density and configuration to a fragment of a gutta-percha pin (the length is indicated). 2.7.1. The shadow of the filling material in the canal is not traced. 2.7.2. Tracked throughout. 2.7.3. It can be traced fragmentarily, radiologically the apex is obturated. 2.7.4. It can be traced fragmentarily, located near the wall, the shadow of the filling material is heterogeneous (other), the apex is not obturated. 2.7.5. Can be traced from the mouth for ½ of the length of the root, the lumen of the root canal in the apical part of the root is not visually determined (not traced). 2.7.6. The lumen of the root canal is not visible throughout the root. 2.7.7. In the region of the middle third of the root, a shadow of metallic density is visually determined, the configuration corresponding to a fragment of an endodontic instrument (canal filler? other, the length of the fragment is indicated). 3. Periapical abscess (K04.6-7), apical granuloma, radicular cyst (K04.8). 3.1. In the region of the root apex, destruction (ratiolucency, radiolucent) of the bone tissue is visually determined without clear contours, in the form of an area of reduced density, with partial preservation of the characteristic bone pattern (the length is indicated). 3.2.1. The radiolucency is determined, corresponding to the destruction of bone tissue, extending (for example) from the middle third of the distal surface of the root N to the region of the interalveolar septum. 3.2.2. In the area (for example) of the middle third of the root, a linear decrease in the density of the pattern with a transverse extent is determined, clinically corresponding to a violation of the integrity of the hard tissues of the root (fracture) without displacement of the fragments. 3.3. In the region of the root apex, radiolucency is visually determined, corresponding to the destruction of bone tissue, with clear rounded contours (the length is indicated). 3.4. A focus of bone tissue destruction with clear contours of a rounded shape (the length is indicated), along the contour of the focus, an increase in the density of the bone pattern of the surrounding tissue in the form of perifocal osteosclerosis without clear contours is determined along the entire length. 3.5. In the lumen of the focus of destruction, a shadow is determined, corresponding in density and configuration to a fragment of a filling material (gutta-percha pin, a fragment of an endodontic instrument). 3.6. With clear contours of a rounded shape, with a tendency for the process to spread towards the periapical region of such and such a tooth (the adjacent tooth is indicated). 3.7. Extending to the region of the interradicular septum. 3.8. The visually determined area of enlightenment (destruction) of the bone tissue is partially (in full) projected onto the area of the alveolar bay of the maxillary sinus (mandibular canal, piriform opening, etc. 3.9. The cortical plate of the lower wall of the maxillary sinus in the area of the radiolucency projection is preserved throughout (it can be traced in fragments, not traced). 3.10. The cortical plate of the lower wall of the maxillary sinus in the area of the projection of destruction is preserved throughout its entire length, there is a change in its configuration and an increase in the density of the pattern of the surrounding tissues, which is defined as a rounded formation protruding into the lumen of the sinus. About the author Rogatskin Dmitry Vasilyevich, radiologist LLC "Ortos", Russia, Smolensk Rogatskin D. V., radiologist, LLC Ortos, Russia, Smolensk Annotation. Radiation diagnostics in dentistry is one of the main and most popular research methods. The article describes the popular methods of radiation diagnostics, provides a description of intraoral images, as well as algorithms for specific clinical situations. Algorithm for intraoral radiation research and description of dental images Annotation. Radiation diagnostics in dentistry is one of the main and most popular research methods. The article describes the popular methods of radiation diagnostics, provides a description of intraoral images as well as algorithms in specific clinical situations. Keywords: radiology; radiovisiography; intraoral picture. Key words: radiation diagnostics; radiovisiography; intraoral image. Georgy Gubich, a Kalashnikov specialist in the field of civilian small arms, talks about the rules for using a closed mechanical diopter sight More than a year ago, the article “Mechanical sights. Types and features ”, where I tried to give information for reflection on what are the fundamental differences between open and closed sights, as well as describe the differences in aiming methods. I think this happened due to the fact that, in fact, some readers perceived the analytical material as the rules for aiming with a diopter sight, and even superimposing on it the established aiming technique with an open mechanical sight. Therefore, in this article I focus on the rules for using mechanical sights - open and diopter. But first, let's turn our attention to the ability to achieve shooting targets by taking the rules for using scopes out of context. I would like to start with quotes from a book that can rightfully be considered the quintessence of Soviet methods of sports shooting - A.A. Yuryev, "Sport Shooting", Moscow, FIS, 1962 (Second Edition): “An indispensable condition for correct aiming should be such a mutual arrangement of sights (regardless of the types of sights) in which a “smooth front sight” is maintained. When aiming with an open sight, a “flat front sight” will be such a visible arrangement of sighting devices in which the front sight falls in the middle of the sight slot, and the top of the front sight is flush with the upper edges of the slot. “When aiming with a diopter sight with a “flat front sight”, the top of the rectangular front sight (or the center of the hole of the ring front sight) will be aligned with the center of the diopter hole.” Thus, the “flat front sight” for an open sight is the top of the front sight at the same level as the top of the rear sight, the side gaps (if any) are the same size, and the “flat front sight” for a diopter sight is the top of the front sight in the center of the diopter hole. For open sight: 1. Front sight in the middle of the slot 2. The top of the front sight is at the level of the mane of the rear sight The figures presented in this article are schematic and not capable of conveying the full picture, but will help you visualize the main theses of the article. For diopter sight: 1. The top of the front sight is in the center of the rear sight hole Separately, it is worth focusing on the fact that in the case of a diopter sight, we are talking about the top of the front sight, and not its other part (middle, 2/3, etc.). Perhaps you yourself have encountered similar manifestations in your practice: From the point of view of directly building the correct sighting line, you can aim not with the top of the front sight, but, for example, with its base or protection, and, subject to the condition of uniformity, such options will also work. But there is no need to talk about ease of use. We must not forget about the different types of flies, types of protection and the position of the flies relative to the protection (because the vertical displacement of the STP when bringing the weapon to normal combat is often carried out by screwing in or twisting the front sight), and getting used to centering relative to the diopter hole, for example, a round front sight , you can run into a problem when picking up a weapon that does not have a trigger. Regardless of the conditions, the position of the top of the front sight in the center of the diopter is optimal. Again we return to quotes from the book of A.A. Yuryev "Sport Shooting" (Second Edition, Moscow, FiS, 1962): “Thus, the accuracy of aiming depends on the ability of the shooter to always keep the “smooth front sight” in the same way and combine its top with the lower edge of the “apple” of the target (with the aiming point). At first glance, the aiming scheme outlined above seems simple and understandable. But when the shooter wants to put it into practice, he will face many difficulties during shooting. The main practical difficulties that arise in front of the shooter during aiming are due to the peculiarities of the structure of the eye and its work as an optical apparatus in the process of aiming. “. Based on practice, the vast majority of shooters, when shooting from a rifle, try to see the front sight sharply, being forced to somewhat neglect the sharpness of the image and the cut of the sight and the "apple" of the target. At the same time, one should not be embarrassed by the fact that the sight slot is perceived as fuzzy and, as it were, doubled ... " At first glance, everything is quite simple, obvious and has long been known. Almost the same thing can be seen in the manual on shooting (NSD), for example: "119. To aim, you need to close your left eye, and look with your right eye through the slot of the sight at the front sight so that the front sight falls in the middle of the slot, and its top is on a par with the upper edges of the mane of the aiming bar, i. © Guide to the 5.45 mm Kalashnikov assault rifle (AK74, AKS74, AK74N, AKS74N) and 5.45 mm Kalashnikov light machine gun (RPK74, RPKS74, RPK74N, RPKS74N). Moscow: Military publishing house of the Ministry of Defense of the USSR, 1976. We level the front sight vertically and horizontally - and "there will be happiness." It is worth noting that the NSD does not say anything about what specifically needs to be focused on, therefore, the correct formation of the skill remains on the conscience of the leader at the training place. This is what concerns working with an open sight. Further about the diopter. And again we return to A.A. Yuryev’s “Sport Shooting” (Second Edition, Moscow, FiS, 1962): “A diopter sight greatly facilitates and simplifies aiming, since the shooter is relieved of the need to see one of the three objects (sight slot) during shooting, which is closest to the eye, and therefore the most inconvenient for visual perception. The role of the slot in the diopter sight is performed by a small round hole (diopter). When aiming, the shooter needs to look through it and see only two objects - the front sight and the target. To aim with a diopter sight, the shooter, looking through the diopter hole with his right eye, brings the top of the rectangular front sight under the lower edge of the target "apple" or places the "apple" of the target in the center of the front sight ring. During aiming, the shooter should not particularly divert his attention to searching for the center of the diopter hole and aligning the top of the front sight with it; due to the sense of symmetry of the eyes, this work is able to perform automatically and involuntarily. If the shooter makes an inaccuracy in determining the center of the hole and the location of the top of the front sight in it, and the line of sight turns out to be somewhat shifted to the side, there will be no big mistake in aiming, because the point of the diopter hole itself is relatively small. Thus, in order to ensure accurate and uniform aiming with a diopter sight, the shooter must basically mobilize all his attention to correctly and uniformly position the top of the front sight relative to the aiming point, while carefully maintaining the same clearance. Likewise, there are no secrets. If we turn to foreign sources, for example, an analogue of our NSD - Field manual, we will find that it says about the same principles of a “smooth front sight”. Figure 4-15. Correct sight alignment But in reality, many have doubts, bordering on distrust, regarding the possibility of automatically centering the front sight in the diopter ring. The fact is that here we are hindered by stereotypes formed by the experience of working with "open mechanics". If you are shooting for the first time using a diopter sight, then instinctively you want to center the geometric center of the visible part of the front sight. We have already seen that this is not true, although, as discussed in the first article, a small shift will not lead to catastrophic consequences. It must be remembered that the top of the front sight is located in the center of the rear sight hole, and not its geometric center. With the development of the skill, this error disappears rather quickly, and the eye puts the top of the front sight in the center of the rear sight ring. Let's look at this through the prism of the real conditions for the use of weapons. If you need to make an accurate shot, for example, at a distant small target, you can always take a fraction of a second to control the position of the top of the front sight in the diopter hole, while preparing a quality preparation for an accurate shot. And again we return to quotes from A.A. Yuryev’s “Sport Shooting” (Second Edition, Moscow, FIS, 1962): “... the tension associated with closing the left eye, painful for many, especially for beginners shooters. Another disadvantage is that closing one eye is almost always accompanied by more or less tension in the muscles of the eyelids and pressure of the eyelid of the aiming eye on the eyeball; the latter affects the light-refracting apparatus and thereby negatively affects visual acuity. The third point that adversely affects the accuracy of shooting is the involuntary expansion of the pupil of the open eye in response to covering or closing the other. Based on this, it is best to turn off the second eye from the work not by physical means - by closing, but by psychological suppression of the visual impressions of the open, not aiming, left eye. To consciously suppress the perception of the picture by the “guided” eye, the following training method can be used: at the initial stage of mastering the aiming technique, the shooter closes his left eye, then learns to aim with both eyes, first slightly squinting his left eye to produce an accurate shot, then gradually opening his eye more and more , proceeds to shoot with both eyes open. The described training methodology allows achieving a high quality of aiming in classical bullet shooting and, for example, in applied military exercises AK-3 and AK-4, and if other skills necessary for firing a shot are available at a high level, a high level of shooting accuracy. And now let's move away from the mentioned conditions a little, when: And consider, for example, the conditions for performing exercises according to the rules of the international confederation of practical shooting from a carbine in the open air. A beige cardboard target against a sand bank or a white target against a snowy shooting range will have low contrast and may be poorly lit, such as side or contrast light. Or another situation: the bullet shooter knows for sure that it makes no sense to look at the target after the shot - black holes in the black "apple" of the target at 50/100/300 meters still cannot be seen. The practical shooter also knows not to look at cardboard targets. But, after shooting at a metal falling target - “popper”, even if the shooter is mentally able to make a good “mark” of the shot and the sound of a bullet hitting was heard, it is necessary to look at the target and make sure that the target has fallen. Otherwise, it will be considered unaffected. And here a diopter sight is more convenient than an open one - refocusing, if it is needed at all, is much easier and faster. In these cases, the use of diopter sights makes it possible to significantly simplify these tasks: there is no need to level the front sight in the rear sight, as already mentioned in the quote from Sports Shooting - the eye performs this function involuntarily; increasing the depth of field makes aiming easier, there is no need for additional accommodation of the eye. In a diopter sight, when focusing on the front sight, the “blurring” of the target is much less than when looking through an open sight. If we are guided by the contents of the manuals on shooting (NSD), then for the successful completion of tasks in combat, at a minimum, it is necessary: If you close one eye while shooting, at least 30% of the field of view is cut off. "Skillfully shoot at all kinds of targets" A properly trained shooter should be able to do this regardless of the type of sight on his weapon. Do not forget also about the ability to determine the distance to the target, as well as the removal of the aiming point in accordance with the excess of the trajectory, if necessary. “Observe the results of the fire and skillfully correct it” It is worth noting here that the manuals list specific methods of observation and evaluation: bursts of hits, bullet tracks and changes in the behavior of the enemy. front sight, the top of a clearly visible front sight on the target blur. If the paths of tracer bullets are more or less visible at the same time, then observing the bursts will require a shift in the gaze to the target and the space surrounding it. And how long will it take to transfer focus from the front sight to the target, for example, at 200 meters, and back? A second and a half? Plus or minus. So it turns out - either the correct aiming picture, or a timely and, with a greater degree of probability, an effective shot. Let's imagine a more realistic situation. The enemy in camouflage disguises himself in thickets and moves at the same time. How can you generally fire at such a target, focusing on the front sight, while observing the results of the shooting and adjusting it if necessary, if the target is already barely distinguishable and changes its position? The answer is simple - when using an open sight, aiming in accordance with the canonical rules from the textbook is often impossible. They shoot, sacrificing accuracy - focusing on the target with blurry front and rear sights. And with the advantages of a diopter sight, expressed in an increase in the depth of field and the absence of the need for perfect focusing on the front sight, aimed fire at a complex target merging with the background is real: tracks are visible (when using tracer bullets), bursts of hits are visible and enemy behavior is visible - remains on place, took cover or fell stricken. Do not forget also that when looking through an open sight, the shooter, maintaining a "smooth front sight", does not see the space below the level of its top. When looking through the rear sight, there is an observable field below the top of the front sight. Why do dissatisfaction and denial arise among those who, having extensive experience in shooting with an open mechanical sight, tried to shoot with a diopter sight? As a rule, everything lies in the wrong use. Shooters complain about the narrow field of view in the sight, about the rear sight itself, which blocks part of the view, that the front sight is “impossible” to center in the diopter ring. But, if you follow simple rules, which, unfortunately, are little known, then everything becomes much simpler and clearer. Secondly, If you have just started to master shooting using a diopter aiming device, you need to focus on the location of the upper cut of the front sight in the center of the diopter. In the future, to make any significant effort to center the top of the front sight in the rear sight ring, as already mentioned not only by me, but also quoted from, I’m not afraid of this word, the greatest work on teaching the technique of producing a well-aimed shot, there is practically no need - eye will do so involuntarily. Thirdly, the canonical rule "focus on the front sight." But, depending on the conditions, due to the increase in the depth of field of the depicted space, in order to achieve the goals of making a shot, it is possible to shift the focus of vision to the target without losing the quality of aiming. And again, briefly about the rules of shooting using a diopter sight (after determining the range to the target, setting the sight and / or taking out the aiming point and forming the correct position, which will ensure the necessary removal of the eye from the sight): SUMMARY ANY mechanical sighting device allows you to make an accurate shot, provided that the shooter is able to distinguish the target, it's just a matter of skill. V.
V. 
Popular imaging techniques
 Sometimes intraoral pictures of teeth are called sighting, which is wrong. A shot is called an image taken outside the standard stacking, and standardized studies are named according to the positioning method.
 For multi-rooted teeth, it is preferable to measure the length of the canals using endodontic instruments (Fig. 1), an apex locator, or a three-dimensional image.
  V., Ginali N.V. Art of dental radiography, 2007).
  1, 2).
Description of intraoral images
 For example, such a common expression as "rarefaction of bone tissue with clear boundaries" already contains three errors.
  Interpretation is a comparison of the obtained graphical data with the clinical experience of a specialist, on the basis of which a conclusion is made, that is, a radiological diagnosis is made. Thus, the definition of “clearly demarcated bone tissue” implies a statement of the visual detection of a focus of radiolucency (radiolucency) with a clear contour, which clinically corresponds to bone tissue destruction in the presence of an apical granuloma or radicular cyst. In the same way, it is incorrect, for example, to use the term “periodontal gap” in the description, since such an anatomical formation does not exist. The correct name of the structure surrounding the root visible in the picture is the space of the periodontal ligament (periodontal ligamentum).
  3). Perifocal osteosclerosis corresponds to the state of chronic abscess formation and does not occur in the presence of sterile destructive processes (benign tumors, cysts of various origins (Fig. 4), apical granulomas outside the state of suppuration (exacerbation).
in the periapical region. 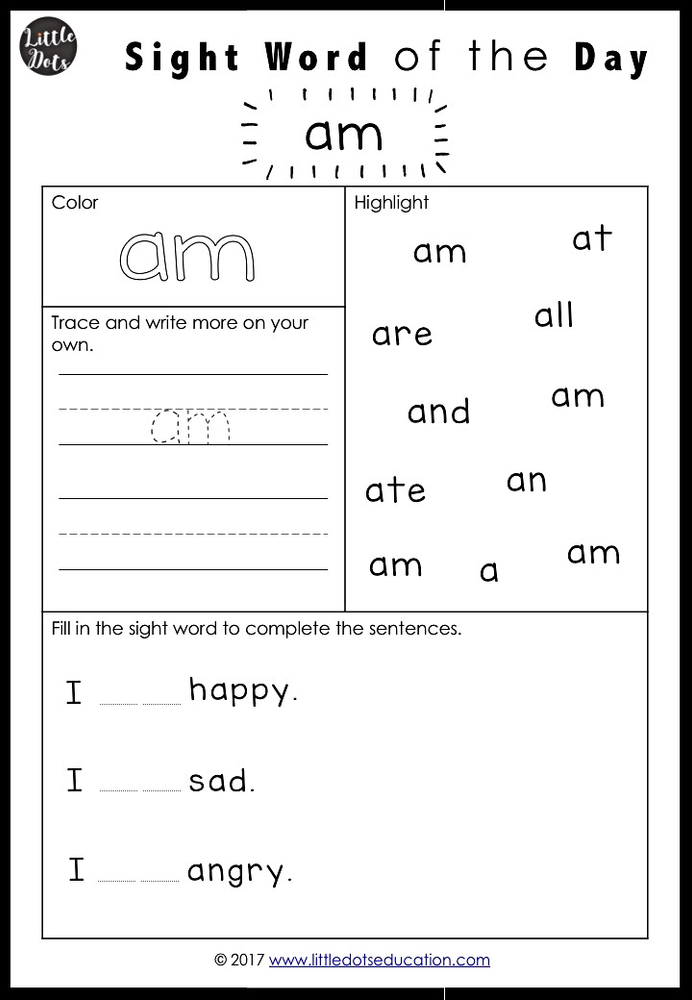
 ).
). 
Kalashnikov Club | The basis of a precise shot: rules for aiming
 It turned out that the article, in addition to not convincing everyone, in some cases raised even more questions than it answered, and sometimes even led to outbursts of rage in an attempt to deny the obvious.
 .. the eye cannot simultaneously clearly see objects located at different distances from it, in this case, the sight slot, the front sight and the “apple” of the target. So, if you clearly see the front sight, then the target and the slot of the sight will be perceived by the eye as blurry; if you focus your vision on the target, the front sight and the slot of the sight will be blurry. Some shooters, while aiming when firing from a rifle, “run across” their gaze from the front sight to the slot, then to the third object - the target, doing this quickly and several times until they combine all three points on one straight line. This method of aiming causes rapid fatigue of the muscular apparatus of the eye and can be used in the initial form of learning to aim, and then only at first. With this method of aiming, it is very difficult for the shooter to conduct, for example, high-speed shooting when it is limited by time. The same applies to standing shooting, when the athlete does not have the opportunity to pay much attention to aligning and refining the position of the front sight in the slot.
 Therefore, while aiming when shooting from a rifle, the shooter must sacrifice something and strive to clearly, sharply see only one of three objects: either the front sight, or the slot, or the target.
 e., take an even front sight.
RIFLE MARKSMANSHIP M16A1, M16A2/3, M16A4, AND M4 CARBINE (Change 4). Washington: US Army, 2006.
RIFLE MARKSMANSHIP M16-/M4-SERIES WEAPONS (Change 1). Washington, DC : HEADQUARTERS DEPARTMENT OF THE ARMY, 2011.
The referenced Field Manual FM3.22-9, although without much detail, mentions that centering the front sight in the rear sight hole ring, the eye is able to perform independently.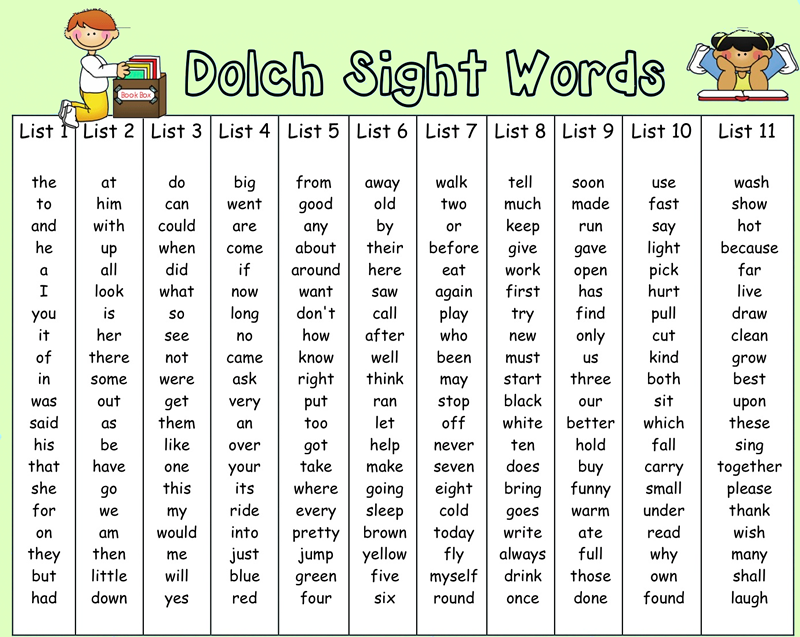
 And if you need to make a quick shot, your focus will be on the target, which you will automatically place in the center of the diopter, and small possible deviations of the front sight (which, by the way, is more clearly visible due to the effect of increasing the depth of field) from the center of the rear sight ring will not give a significant absolute deviation of the bullet from the aiming point, tk. if you needed to make a quick shot, then most likely the target is close and large-sized.
Let me draw your attention to one more nuance from our NSD, namely, to the part where it is written “you need to close your left eye”! As is often the case in manuals, there is no description and explanation of why it is necessary to squint your eyes, since such documents are made according to the “read-do” principle and are aimed (or contribute) to simplifying the procedures for further copying to students. It can be assumed that in this way an attempt is made to increase control over the sighting image and the "smooth front sight" by cutting off half of the visual field or, which may be even more priority, an attempt to forcibly get rid of the problem of determining the "leading" eye.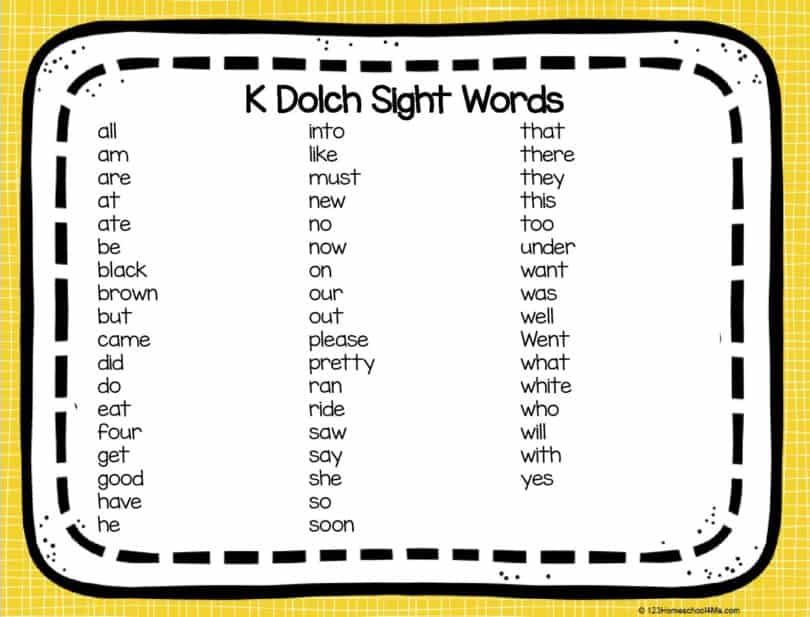
It follows from the text that closing one's eyes has many negative aspects. 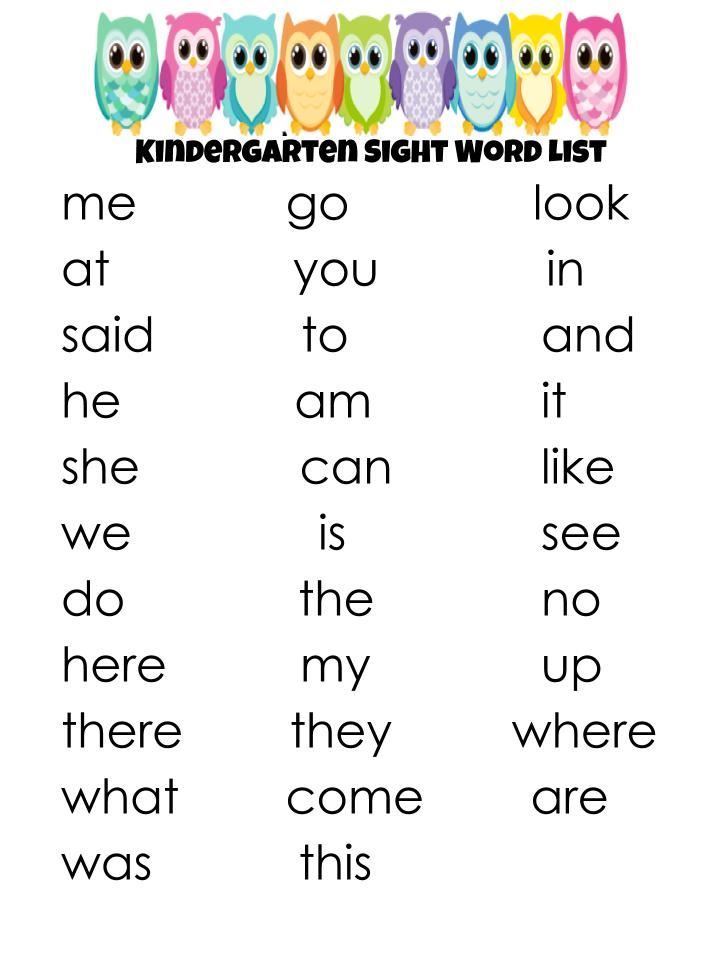 In case of lack of time for full-fledged training, it is possible to use a simple algorithm in training the shooter: close your eye - level the front sight.
 Under such conditions, keeping a "smooth front sight" and combining its top with a faintly distinguishable target will become a non-trivial task. And in the case of using “focus on the front sight”, it will lead to the need for constant refocusing of the eye (accommodation) from the front sight to the target and back to clarify the correct aiming.
 Is it right to close your eyes in this case? The question is rhetorical.
First, position the eye at a distance of 4-8 cm. At this distance from the eye to the diopter hole, a balance is maintained between the angle of the field of view through the diopter hole and the ease of intuitively positioning the top of the front sight in the center of the hole.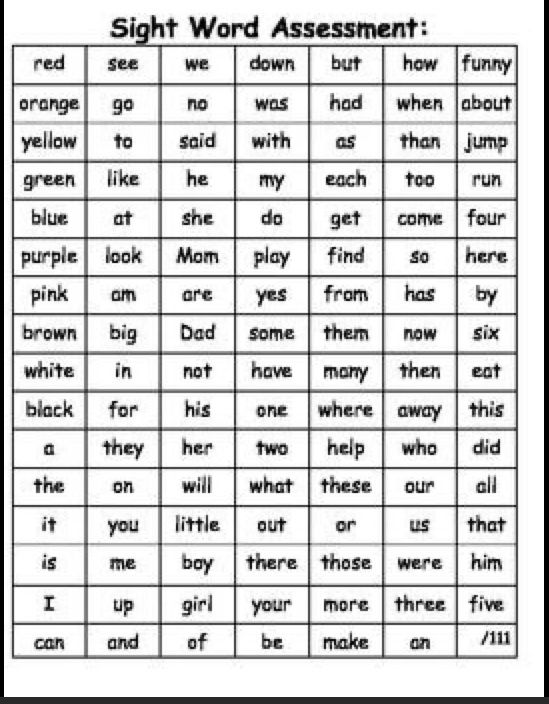 In this case, the rear sight ring blurs into a ghostly shadow and becomes almost invisible. A shooter who does not close his eyes when shooting cannot lose part of his field of vision at all, because the brain will supplement the entire missing picture from the right pupil with information from the left. The required distance from the diopter to the eye can be maintained either by correcting the manufacture, or by changing the length of the adjustable stock. By the way, it is not possible to install a diopter sight on any type of small arms, precisely because of the requirements for the distance to the eye.
  The same thing was mentioned in the first article, when the ability of a diopter sight to reduce parallax was briefly described. You can read more about this effect in a recently published translation of a practical study on this topic.
Learn more

