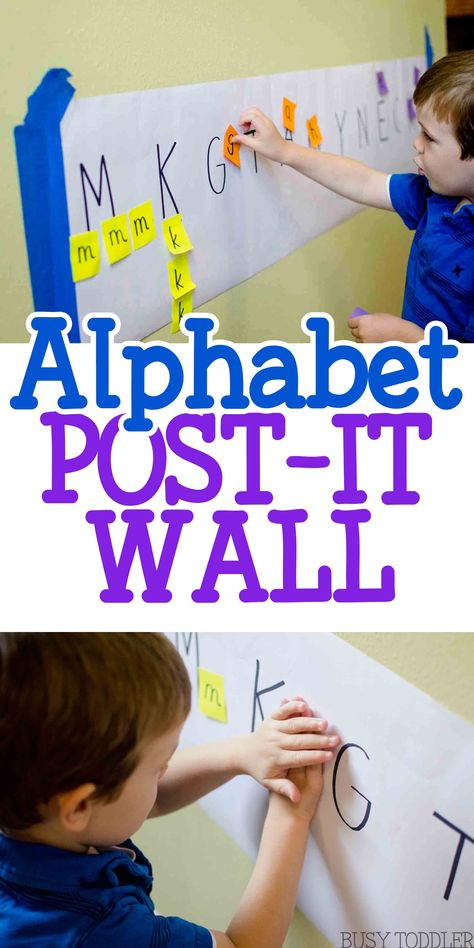
Learn how to write name
How to Teach a Child to Write Their Name: Simple Steps
- Share
If you want to learn how to teach a child to write their name for the first time, it can be tempting to whip out a piece of paper and start tracing letters.
If your child is still in preschool, she needs to develop important pre-writing skills before moving onto pen and paper.
Read on to find out how you can go about preparing your child and eventually teaching her how to confidently and correctly write her name.
When Should a Child be Able to Write Their Name?
Firstly, you may be wondering if your 3 or 4-year-old should be able to write their name or why you are practising so often and your child is still not properly writing it.
It’s important to understand that children first start randomly forming and experimenting with letters as part of the developmental stages of drawing.
Scribbles and lines turn into loops and spirals and then shapes.
At some point, between 2 and 4, shapes that vaguely resemble letters start to emerge (like the capital letter T or V). These are not yet necessarily formed on purpose.
At around the age of 4, your child will probably start to “write” on his drawings, which means he is experimenting with forming letters he sees often – in his environment, his name written on his artwork, etc.
He may proudly announce that he is writing. Your child is probably more exposed to his name than any other word if it’s written on his belongings, his artwork and especially if a parent is trying to practise it often.
The simple answer is don’t worry about it. There is no age that your child must know how to write his name. It will probably start emerging around 4 years, maybe a little earlier or later.
If your child is too young developmentally to be expected to write, then the same applies to his name.
While it is inappropriate to start teaching and expecting your child to write, it is understandable that you may want to practise just his name.
There are ways to do this that are fun and developmentally appropriate and that will not cause stress or worse, boredom!
Should Children Write their Names with Capital Letters
It is easier for a young child to learn their name in capital letters first, as these are made up of simpler lines and curves.
Your child will also experience more success when actually being able to form the capital letters.
While many still believe in only capitalizing the first letter, this article on teaching capital letters first is an excellent explanation of why it’s best not to introduce a young child to lowercase letters.
The occupational therapist states:
“No matter how excellent the instruction, not all five-year-olds have the underlying spatial-temporal perceptions or visual motor skills to support learning lowercase.”
When a child learns to form the letters incorrectly, it becomes more difficult later on to form the letters properly.
Here is a common example of how children write a letter ‘a’ when they don’t have fine motor control yet, or they have not been taught the correct formation.
They tend to draw a circle and then attach a line or stroke onto the side. This will not be an easy habit to undo.
Here is an example of how to teach an older child the correct formation. Start at the top, go around to the left, all the way back up, then straight down.
This particular font has a flick at the bottom. Some schools use a font similar to this, or one where the ‘a’ has a straight line without a flick.
This does not matter too much. It is more important to focus on the correct direction and to not lift the pencil to form the line going down.
How Do You Teach a Child to Write Their Name?
Writing is a process of developing many skills, and the very last step in that process is writing letters on a piece of paper with a pencil or pen.
Children begin writing by the first grade because by then they have developed the necessary fine motor control to
write correctly and control their pencil.
For preschool children, the first step in the puzzle is to develop their fine and gross motor skills, and later to start learning to write their names by being introduced to letters in many different informal ways.
Put away the worksheets, boring traceables, online apps and any other activity that isn’t play-based.
There’s a reason children are wired to play for the first few years of their life. It’s how they learn. Everything else is a waste of time.
Here is a quick breakdown of the steps involved in teaching your child to write their name.
1.
Develop General Fine and Gross Motor SkillsIn order for children to be able to write – a skill that requires fine motor control – they need to first develop their gross motor skills.
Think of this as starting large and going smaller over time.
Gross motor skills can be built through everyday movement and play activities.
Children should experience movements such as climbing, running, swinging, jumping, skipping and playing with balls.
They will naturally develop these muscles during free play and you can also play games with your children to specifically work on these skills.
Children develop their gross motor skills first and later their small muscles strengthen.
Fine motor activities include drawing, painting, playing with beads, using pegboards, threading, lacing, etc.
These are all vitally important as children must have good muscle control before they can hold a pencil and write.
Start with these fine motor skills toys you probably already have at home.
2. Let Your Child See Their Name Often
An important step in learning to write a name is name recognition.
A child who sees her name often will start to understand what it represents, imprint it in her memory, and have greater success when attempting to write it.
Write your child’s name on the top left-hand corner of her pictures. This also teaches how we write from left to right and top to bottom in English.
Label her belongings, her bedroom door if possible and any other places that are appropriate.
To help you teach the letters, print your child’s full name out in big on a piece of paper or banner and keep it visible during all the following activities.
3.
Walk the LettersUsing chalk, draw one letter at a time of your child’s name in huge letters on concrete or paving. The letters should be big enough for your child to walk around them.
Practise correct formation by starting in the correct place and moving along the letter in the correct sequence. Use language to explain the formation.
Let’s start here. Walk all the way up. Turn around and go down all the way to the bottom.
4.
Use Messy PlayMessy play is the best way to teach name recognition and writing. Focus most of your attention on these kinds of activities.
Try to use all the senses if possible – touch, sound, smell, taste and sight.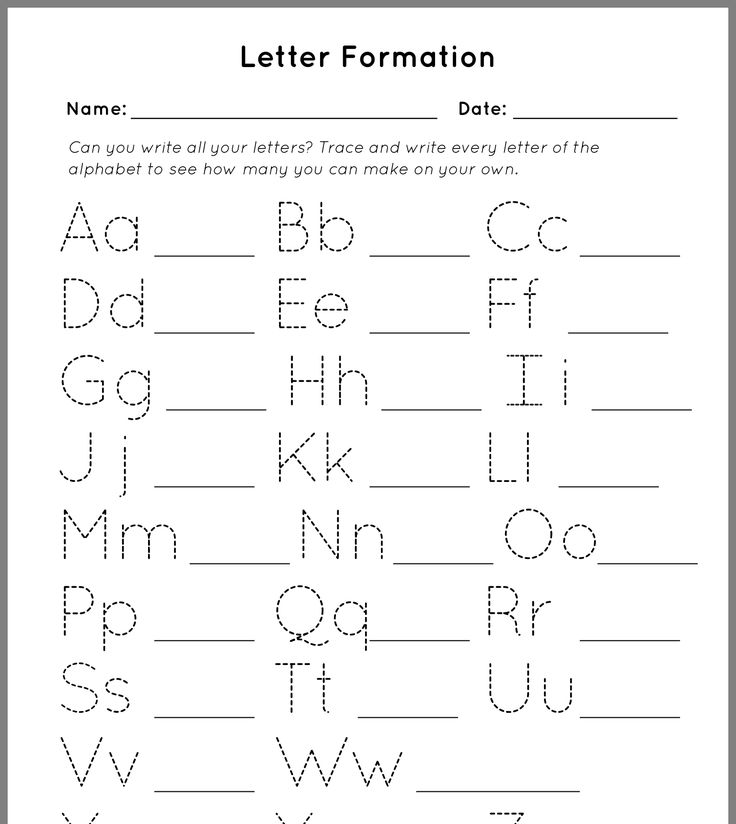 When more senses are incorporated, the concepts are learned quicker and associations are made.
This post contains affiliate links for educational products that I personally recommend. If you purchase through one of them, I earn a commission at no extra cost to you. Read the terms and conditions for more details.
The messier the activity is, the more likely your child will remember the letters they were playing with and their shapes.
- Use a large paintbrush dipped in water to trace over medium-sized letters drawn in chalk on the paving.
- Form letters in shaving cream.
- Form letters in a tray of sand or in the sandpit.
- Bake letter cookies.
- Say the letter sounds out loud as you form them (not the name ‘bee’ but the sound ‘b’).
- Write the letters on big pieces of sandpaper and get your child to trace them. Feeling the rough texture is an excellent way to imprint the formation in your child’s mind.
- Use finger paint to trace over letters on large paper.
- Using playdough, build each letter in the name. Try making something that starts with that sound.
5.
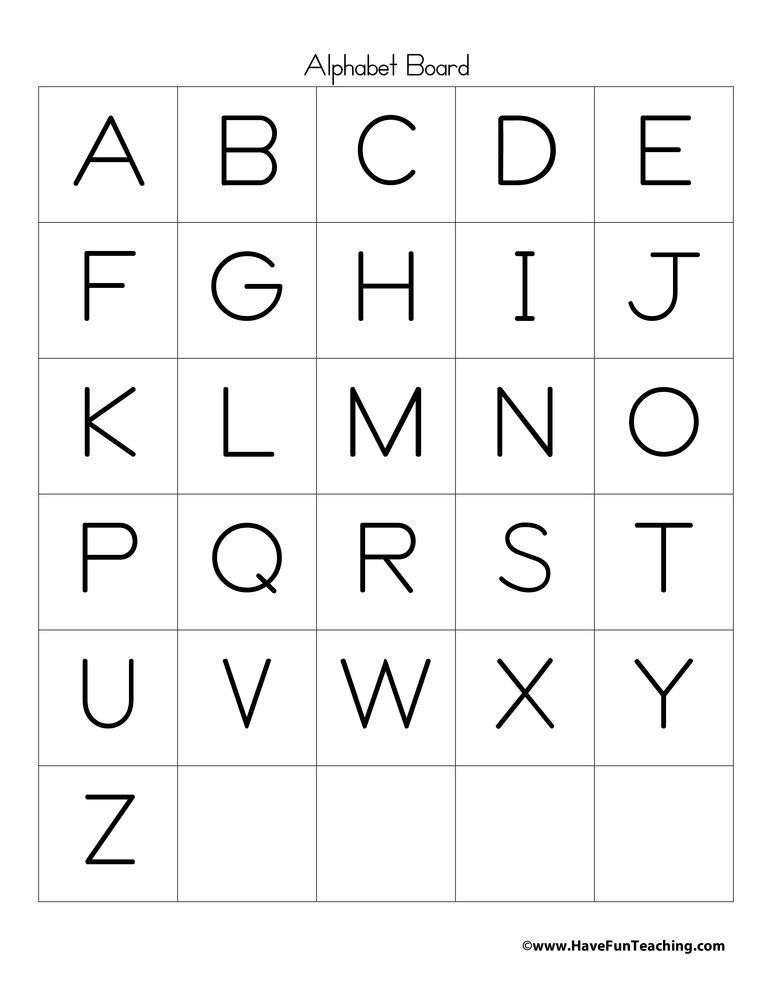
Play with LettersLet your child play with plastic, foam, rubber or wooden letters.
Feel the letters and trace them with your fingers. Build your name with the letters. Say the sound of each letter.
Fridge magnets are a great way to play with and feel letter shapes.
6. Do
Pre-Writing ExercisesMaking lines and patterns is a great way to introduce the shapes and formations found in letters. Try these pre-writing exercises too.
7.
Start Tracing LettersWhen your child is older (and ready) and you have practised letters in multiple ways, they can start tracing big letters on paper.
- Print each letter onto an A4 paper.
- Get your child to trace over each letter with their finger.
- Ask them to trace that letter onto your back.

- Then take coloured wax crayons and trace the letters a few times.
Over time, you can start to decrease the size of the letters. Print your child’s name in grey letters or dotted letters and ask them to trace the letters in pencil.
Later, write their name softly on their work and get them to trace over it, until they are writing it independently, using the correct formation.
If your child experiments with writing their name before the process is complete, don’t stop them. Allow them to experiment with writing freely.
Remember to have fun and let your child progress through the steps at her own pace.
Get FREE access to Printable Puzzles, Stories, Activity Packs and more!
Join Empowered Parents + and you’ll receive a downloadable set of printable puzzles, games and short stories, as well as the Learning Through Play Activity Pack which includes an entire year of activities for 3 to 6-year-olds.
Access is free forever.
Signing up for a free Grow account is fast and easy and will allow you to bookmark articles to read later, on this website as well as many websites worldwide that use Grow.
- Share
A simple way to practice name writing
PSPKK12316 Comments
This post contains affiliate links. As an Amazon Associate I earn from qualifying purchases.
Sharing is caring!
Is your child struggling to write his name independently? Try this simple strategy for kids who are close to entering kindergarten but still need some help writing their names.
(This post contains affiliate links.)
This Reading Mama and I have been sharing our top tips for getting little learners ready for kindergarten. So far we’ve talked about interactive read alouds and concepts of print.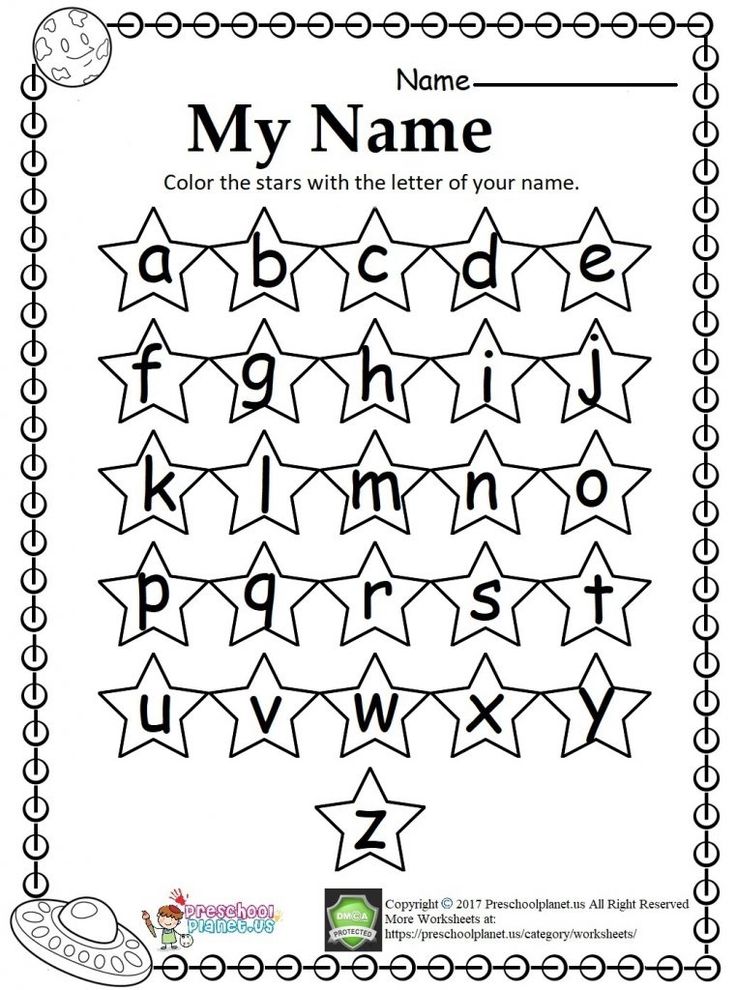 Today we’ll talk about teaching your child to write his or her name.
Try hands-on activities first!
Before you have your child practice name writing with a pencil, you’ll want to do a lot of hands-on activities to help him recognize and form the letters of his name. You’ll find some quick name activities in this post and even more of our favorite name activities here.
Your child needs to know two things to write his name on paper…
- how to hold a pencil correctly – (try these tips)
- how to spell his name
While it is helpful, it’s not absolutely necessary that your child knows how to form all the letters of the alphabet, or that he knows the distinction between upper and lowercase letters before he writes his name.
However, if your child is close to entering kindergarten, please know that most kindergarten teachers prefer that children enter school writing their names with a capital followed by lowercase letters. In the sample images below, you’ll see capital letters throughout the name… because my little guy has a while until he’s in kindergarten. 🙂
A fun song to help kids learn to spell their names
Before our kids are ready to write, we’ve taught them how to spell their names by singing their names to the tune of “There was a farmer who had a dog.” Most names – except very long ones – can work with this tune, if you modify it just a bit.
An example:
There was a girl who liked to play,
And Emily was her name-o!
E-M, I-L-Y,
E-M, I-L-Y,
E-M-I-L-Y,
And Emily was her name-o!
Try this simple strategy to practice name writing
What if kindergarten is on the horizon and you need a quick way to practice name writing? Your child can make a lot of progress in just a few weeks by trying this simple strategy.
You will need:
- a pad of blank paper or blank paper stapled together
- a pencil or skinny marker
Turn to the first page in the pad of paper. Have your child write his name the best he can, even if it takes up the whole page.
If your child is new at this, hold his hand as he writes, saying the names of the letters as you do so.
Have your child write his name on a new page each day. Provide as much support as necessary. You may need to hold your child’s hand for some letters and not for others.
After a month of this, your child may surprise you by writing his name just the right size! At this point, if you’d like, you may introduce writing on a plain line and then – if it doesn’t frustrate your child – basic handwriting lines.
If writing is a struggle for your child, using a marker is a good first step. But do be sure that your child can also write his name with a pencil before starting kindergarten.
Other ideas for name writing:
- Write your child’s name using a highlighter. Have him trace it using a pencil.
- Write your child’s name on a card.
 Have him copy it by using his finger to “write” his name in a sensory tray of shaving cream, salt, or sugar.
 - Play a name fishing game with this free printable.
- Have your child “sign in” to do an activity – whether that’s have to have a snack or enjoy some screen time.
Check out the rest of our kindergarten readiness tips!
Free Spelling Games
Get this fun variety of sample spelling games from the membership site! The download includes resources for spelling CVCE words, long vowel teams, and multi-syllable words.
Sharing is caring!
Filed Under: Writing in Pre-K, Writing Tagged With: Pre-K, kindergarten
You May Also Enjoy These Posts:
Digraph say & cover
Single player digraph games
Trackbacks
How to learn to write beautifully - Lifehacker
August 16, 2020 Likbez Life
There are only two keys to success: thoughtful preparation and daily practice.
1. Decide why you need it
There are many reasons why you want to improve your handwriting. And you should find yours. Firstly, it will make you act more consciously and increase your motivation. And secondly, it will tell you what handwriting nuances you need to focus on correcting. nine0003
Perhaps you just want to be more legible. Or you feel the need to make the handwriting more "bossy" - to give it confidence, clarity, showiness. Or maybe you are driven solely by an aesthetic feeling. Understand yourself, this is important.
2. Assess your current handwriting
Take a sheet of paper and write a few sentences on it so that they form two or three paragraphs. Do not try to display the letters "beautifully", write naturally - the way you always do it. nine0003
When you're done, put the sheet in front of you and analyze any visible imperfections in the handwriting. Do it not in general (“like a chicken paw!”), But trying to highlight specific points.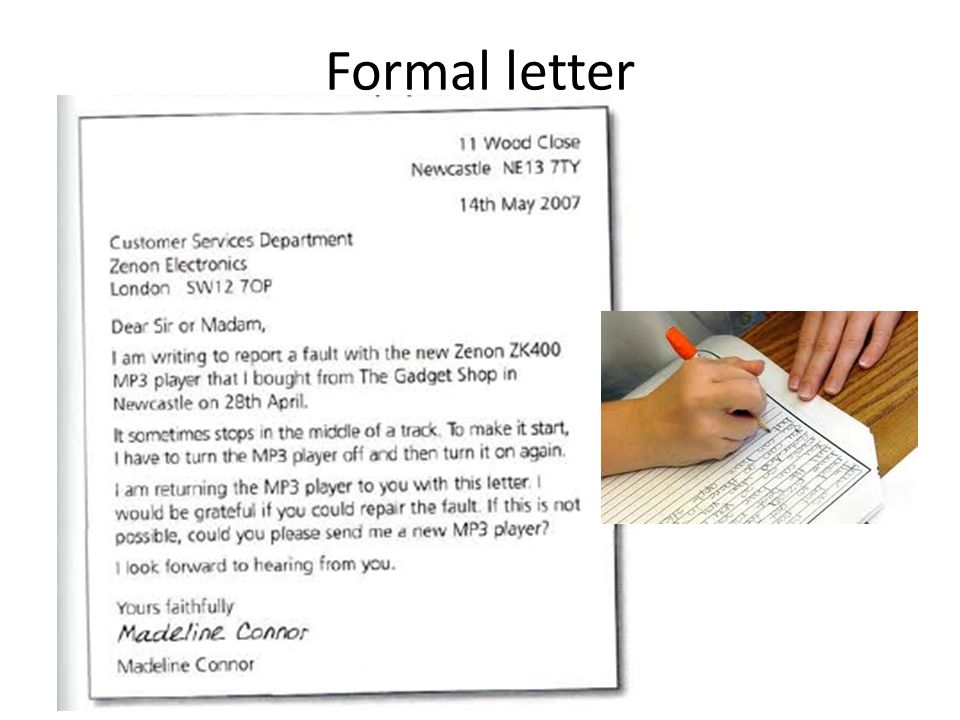
- Letter shape. Perhaps they are too narrow and angular? Or vice versa, overly rounded, with intricate loops? Maybe they duplicate each other - for example, "p" in your performance looks like "and"?
- Tilt. In classic beautiful handwriting, all letters have the same slight slope to the right. nine0020
- Letter height. Ideally, it should be the same and such that the icons are readable. And how are you?
- Writing letters. When analyzing, it may turn out that you depict the same element in different ways. A classic example is the difference in the shape of the letter "t": sometimes its printed version is used, and sometimes it is written.
- Letter spacing. It must also be balanced.
- The arrangement of letters on the horizontal. They should not jump or go up and down towards the end of the line. nine0020
- Press. The pressure of the pen on the paper should be uniform throughout the text. But it often happens that in one place we put too much pressure on the pen, and in another, on the contrary, it seems to slip off the paper, which makes the text look sloppy and hard to read.
For clarity, you can underline or circle the most “outstanding” parts of the text with a contrasting color. This will help you to focus on those shortcomings that you want to get rid of. For example, if you note that the letter "g" comes out crumpled, shrinking at the end, in the future you will try to make it more uniform. nine0003
3. Find a source of inspiration
Beauty is a relative concept, and “beautiful” (in your opinion) handwriting can be completely different. Look for an example of one you like.
Perhaps it will just be perfectly even "school" lines:
900igr.netOr elegant calligraphic:
AlphabetMan Youtube channelOr maybe you crave originality and you prefer left-handed handwriting? If possible, print out the examples you find and lay them out where they will catch your eye. For example, hang it on the refrigerator door. Attach as a sticker to the monitor. Or over your desk. nine0003
This will help the "correct" handwriting to stick in your visual memory and encourage you to subconsciously copy "good" examples.
4. Exercise for your hands
Handwriting is responsible for what physiologists call fine motor skills - a set of coordinated actions of the hand and fingers. If you are trying, but handwriting is a problem, then perhaps the problem is just in motor skills. There is only one way out: to train your hands.
Among the most effective and at the same time simple ways is an air letter. Take a pen or pencil, bend your arm at the elbow (at an angle of about 70-80 degrees) and start writing imaginary words right in the air. Make the letters large - in this case, when writing out, not only the hand and fingers will be involved, but the entire limb from the shoulder, including the wrist and forearm. This is important: you get less tired if you write with your whole hand, and this will help keep your handwriting more clear and even. nine0003
Such exercises should be carried out regularly. For example, spend 3-5 minutes on them in the morning, afternoon and evening.
5.
 Make sure you are holding a pen or pencil correctly YouTube channel “I want to know everything”
 The writing utensil should lie on the left side of the middle finger of your right hand (if you are left-handed, on the right side of the middle finger of your left hand). The tip of the index finger holds the pen or pencil on top. Large supports on the left (for left-handers - on the right). When you write, the hand should rest on the top joint of the bent little finger. nine0003
All three fingers holding a pen or pencil are slightly rounded and do not grip the stationery too tightly.
Raise your index finger to check for correct grip. The pen (pencil) should not fall.
6. Choose quality stationery
To achieve perfect handwriting, you need to enjoy writing. Therefore, look for accessories that do not scratch the paper, but leave a soft, distinct mark on it. Find the line thickness you like. Experiment with colors. nine0003
The quality of paper should also be approached biasedly.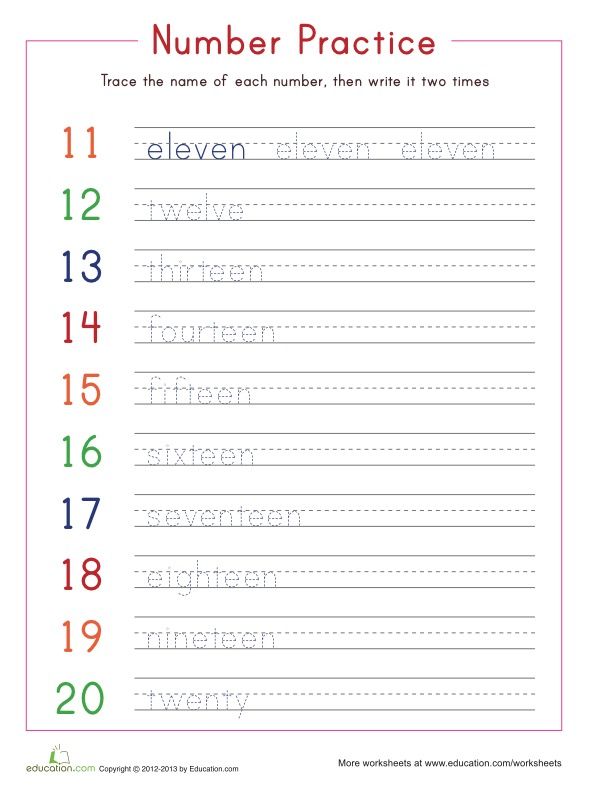 Choose office sheets with a weight of about 90 grams per square meter with a moderately smooth, but not glossy surface.
7. Imagine that you are not writing on paper, but on water
This will make your movements softer and smoother. In addition, you will start to write a little slower, which is an important condition for beautiful handwriting.
8. Practice writing basic lines
Before you start drawing beautiful letters, make sure your hand remembers how to write basic elements. We are talking about simple vertical and diagonal lines, circles, semicircles. nine0003
Only after you learn how to automatically display verified dashes and curls, you should move on to the text.
You can train with the help of special recipes, including those designed for future first-graders. Such aids are sold in stationery stores and on the Internet. A big plus for copybooks is that they are drawn with lines that will help you control the slope and size of your elements.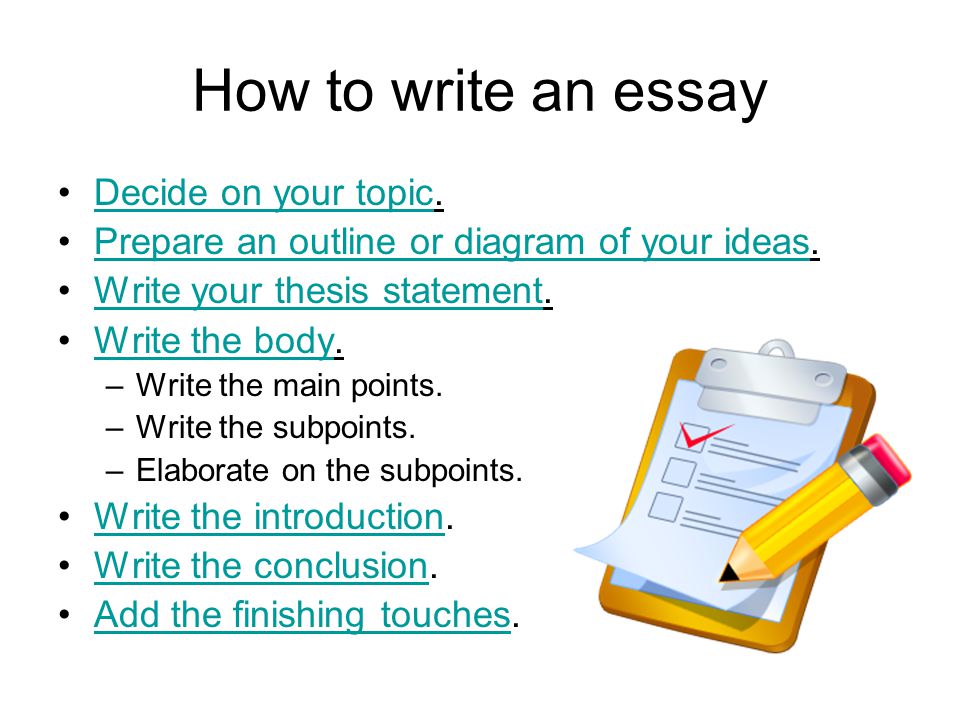
Another option to fill your hand is doodling. This is the name of the amateur drawing technique based on intuitively selected patterns. Doodling can be practiced anywhere: at a meeting, on public transport, talking on the phone. All you need is a pen and a notebook whose pages you will fill with intuitive patterns. nine0003 YouTube channel camellia8885
Dudling develops coordination and the habit of smoothly moving a pen or pencil across paper. And in this technique you can create real masterpieces. But that's a slightly different story.
9. Practice writing letters every day
Here again, regular copybooks will help. Practice them daily - the hand should learn the correct spelling.
It takes 21 days to form a habit and automatic actions. Not so much if the reward is really beautiful handwriting that you can be proud of. nine0003
A little life hack: when starting to write texts, at first try to print letters a little larger than usual.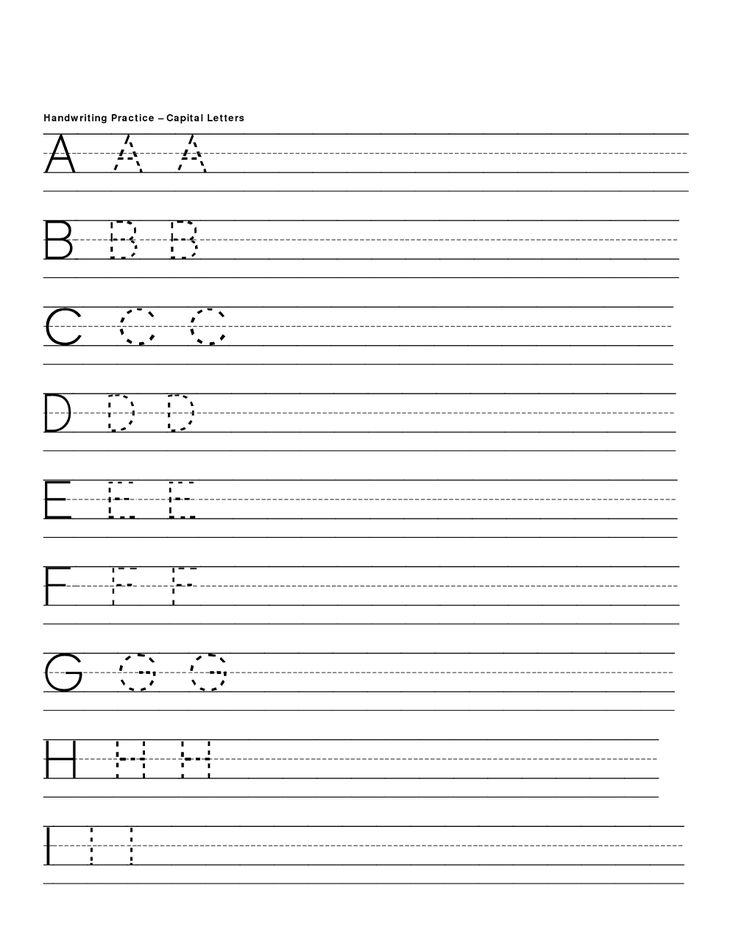 Such characters are easier to parse. This means that it will be easier for you to find and eliminate defects in the form, slope, spacing between letters.
As handwriting improves, lines can return to normal size.
Read also 🖋📝🎨
- 6 benefits of writing every day
- Handwritten notes make you smarter
- How to teach your child to write
- How to learn to draw, even if you don't believe in your talent
- What is lettering and how to make money from it
Calligraphy - how to learn to write beautifully
Calligraphy blogs focus a lot on how to create beautiful letter shapes with pen and ink, but it is not so easy to find information on everyday letter! In this post, I'll reveal eight tricks for creating beautiful handwriting with any pen you like. You can also download copybooks to hone your handwriting! nine0003
Many people think that calligraphy is beautiful handwriting, but it is not. In general, in calligraphy, letters are stylized and decorated - it is closer to art than to simple writing. Writing, on the other hand, is a collection of familiar techniques and a style of daily notes. Unlike calligraphy, speed and convenience are more important in everyday writing. And since everyone has a unique handwriting, it means that the possibilities for its improvement are endless! Here are eight tricks to help you do just that.
Contents:
Write with a pen that is comfortable for you
And then to each his own. Finding the very pen that you work with will be oh so difficult! For myself, I chose the Pilot G2 05 because of the wide strokes, body and nice dark black ink color. I also like how easy it is to write with her - you don’t have to strain your hand to make a clear stroke.
Now the choice of pens is really huge, so I advise you to go shopping. Grab a couple here, a couple there and try it out! And it doesn't matter which pens you prefer: gel pens, fountain pens, fountain pens... The one with which you feel the connection will be ideal. nine0003
Hold the pen freely, without tension
A gentle, easy grip is the foundation of good handwriting. An easy grip is obtained when the muscles of the hand are not overstressed and the nails do not begin to turn white from strong pressure.
Many grip the pen so tightly that the hand begins to ache in the first minutes of writing. We often do this involuntarily, so make it a habit to mentally check every few minutes to see if you are holding the pen freely.
Warm up to start
Whether you're going to write in cursive or block type, you'll find it hard to write neat letters without warming up. Start with a couple of curls and after such a warm-up, neat and confident letters will begin to come out from under your hand. For this exercise, a field of spirals from copybooks is perfect. nine0003
Or you can just wind up a couple of curls “out of boredom” about this shape.
Don't be afraid to twist the paper
We were taught from childhood to hold the paper strictly and evenly in front of us.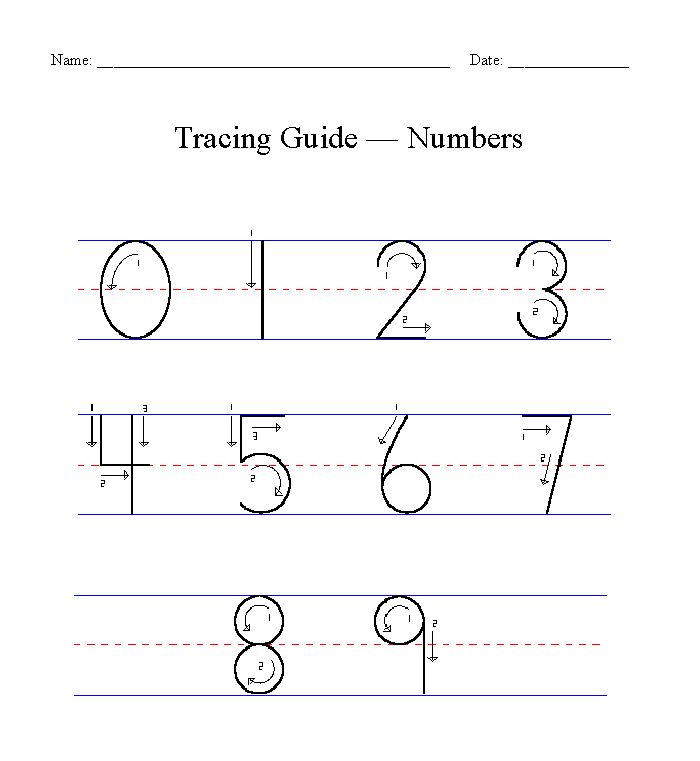 If it's comfortable for you, great! And if still not, feel free to twist the sheet. A lot really depends on what angle you put it at!
Most right-handed people are fine with the normal upright position...but not me. I find it much easier to write in italics - my main style - when the page is rotated 90 degrees. And this is not a joke: the video below confirms it!
The comfortable leaf position is different for everyone, so feel free to try different angles. For right-handers, I advise you to first lay the sheet vertically and turn it to the left until writing becomes easy and comfortable. For lefties, I also suggest starting from a vertical position, but turning the sheet to the right.
Exercise in copybooks
If you want to consistently work on your handwriting, I have prepared copybooks for you! These are three worksheets mainly for italics, and you can download them from this link. With their help, you can practice writing flourishes, capital and lowercase letters, as well as words and whole sentences. nine0003
Italics presented in cursive are not strictly typewritten. On the contrary, I focus on the style of letters and words that I use every day. These characters are easy to write and flow smoothly into each other.
Practice at every opportunity
Handwriting, like almost everything in life, needs to be improved by constant practice. The more good habits and styles that appeal to you that you use in writing, the better your handwriting will become.
You can practice in different ways: for example, write someone not an email or a message, but a handwritten letter. If you have the time and desire, start keeping a diary. You don't have to make long notes - just a couple of notes about how your day went!
Write on ruled paper or lined paper
Beautiful and even words - the shortest way to neat handwriting! When writing a letter, put a piece of notebook paper under the white sheet.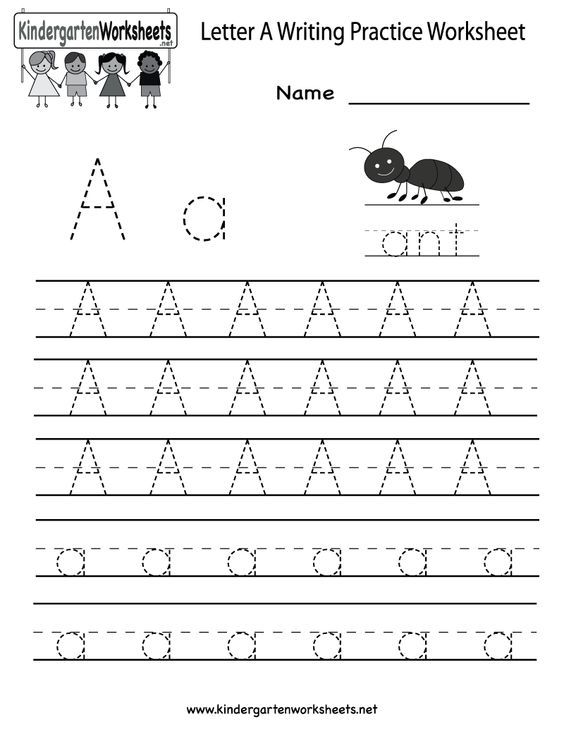 It will certainly show through, and you can use the lines of the sheet as guides so that all lines of the letter are even. And if you don't mind lined sheets, write directly on them. nine0003
In addition to this point, always use an underlay. It doesn't matter which sheet you choose for the letter, there should always be another one below it. Any pen for some reason begins to write better on a slightly softer surface of two sheets of paper.
Choose your own writing style
Handwriting is changeable, individual and constantly evolving. Unlike calligraphy, where you will always write roughly the same way, here you will have days of good handwriting and days of bad handwriting (as in the notes below). nine0115
No matter what your handwriting looks like, it is a wonderful reflection of your personality. That's why people love to get handwritten because the lines remind them of you. So don't aim for a radical change, it is better to concentrate on creating clear and beautiful letters that will be easy to read.