Lesson plan on shapes for preschoolers
Free Shapes Preschool Lesson Plans
In order to be ready for kindergarten, preschoolers benefit from learning their shapes. Here are 16+ shape activities for preschoolers that are already formatted into weekly lesson plans. Just download them from the end of this post.
Already-Planned-For-You Shape Activities for Preschoolers
Get your free preschool lesson plans at the end of this post.Learning shapes is the most basic skill within the geometry discipline of math, so it makes sense that we spend some time teaching our preschoolers about shapes.
But there’s more to shapes than just their names. These preschool shape activities will take you beyond just memorizing shape names.
FAQ About How to Teach Shapes to Preschoolers
The following are the most frequently asked questions about how to teach shapes to preschoolers and toddlers.
How do you teach preschoolers about shapes?
Like many early childhood concepts, the more variety and the more hands-on activities you can offer the better your preschooler or toddler will learn. Make a shapes sensory bin. Read books about shapes. Hide shapes around the house and seek them out. Cut out shapes from construction paper and glue them together to make artwork. These are a few examples of how to teach shapes to preschoolers.
What shapes should preschoolers know?
By the time a preschooler is bound for kindergarten, they should be able identify the following shapes:
~ circle
~ square
~ triangle
~ rectangle
~ oval
~ rhombus
~ heart
~ star
You can find this and more in my Toddler & Preschool Assessment & Portfolio Pack.
Why teach shapes in preschool?
Teaching shapes to your preschooler is more than just teaching them to name them. Learning shapes helps children identify and organize visual information. Learning shapes also helps children understand other signs and symbols, such as street signs or icons on a computer app.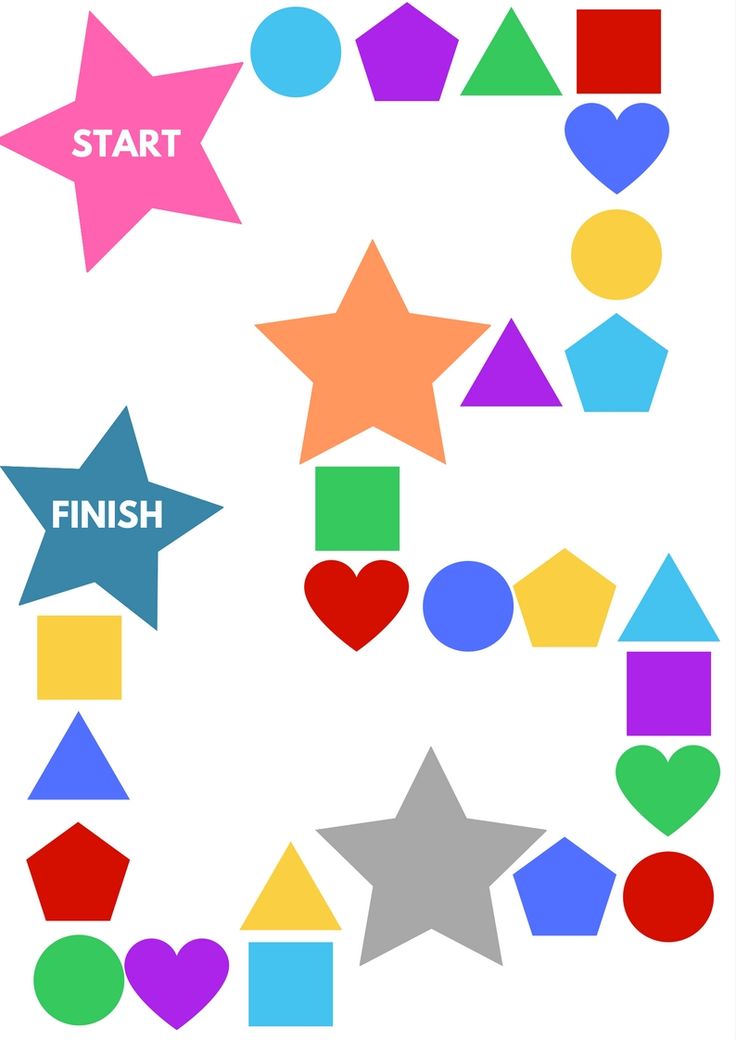
Hands-on Preschool Shape Activities
These shape activities are available in a download at the end of this post. They offer 16+ activities to complete over the course of a week and are a part of my Learn At Home Preschool Lesson Plans.
To see more of my free Learn At Home Preschool Lesson Plans, just click below.
>>> Learn At Home Preschool Lesson Plans Collection <<<
Literacy Activities for a Shapes Theme
Building Letters & Shapes Using Pipe Cleaners – Did you know that learning shapes help children recognize letters? Letters are very similar to shapes. The letter V is a triangle missing a side, and the letter O is just a circle. Using pipe cleaners, invite your preschooler to build some basic shapes. Can you turn any of those shapes into a letter or number with a quick tweak? What new letters/numbers can you make?
Shapes and Letters Collage – Using an old magazine or two, invite your preschooler to cut out all different kinds of shapes.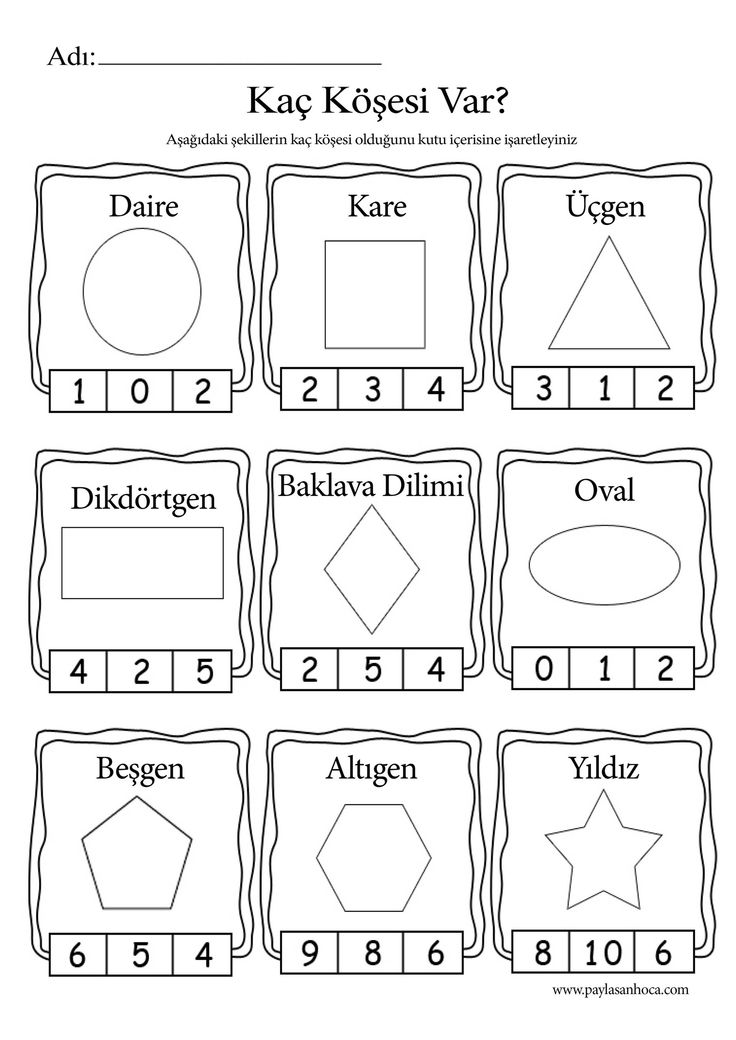 While looking for shapes, encourage them to look in the magazine for the letters in their names. Look for favorite toys or foods, too! Cut everything out and assemble on a collage. Invite your preschooler to talk about their collage and name all the items they picked out. Then display it proudly!
Don’t Forget Picture Books About Shapes
When I first started teaching, there weren’t many picture books to help teach shapes to preschoolers. But things have changed! Here is a book list featuring my favorite shape books to read to my preschoolers.
Math and Science Activities for a Shapes Theme
Geometry Shape Train – Help your preschooler learn about the different properties of shapes by manipulating them to fit into a specific shape or design on paper. This activity develops spatial awareness and shape recognition. Print the train template and the shapes, and match the shapes to fill the train! Your growing engineer will love this activity!
Shape Activities with Movement – Grab some painters tape and make a few large shapes on the floor. Encourage your preschooler to trace the shape with their hand (and foot!) and hop, dance, or slide across the shape. This is a good activity for rainy days, too.
Which Shape is the Strongest? – Fold three pieces of construction paper into differently-shaped tubes. Fold one tube into a triangle, one into a square, and the other into a cylinder. Test which tube is the strongest when putting various items with a similar weight on top.
Playful Learning Activities for a Shapes Theme
Body Shapes – What shapes can you make with your body? Invite your preschooler to lie on the floor and try to make different shapes. What if you worked with a sibling or friend? What shapes can you make then? Take pictures of your preschooler and show them the shapes they made.
Mirror, Mirror Game – Face your preschooler and have them attempt to copy all your movements. Be silly! Run in place! Act like a monkey! Then switch roles and copy your preschooler. Can you make shapes with your body or hands? Challenge your preschooler to name “new shapes” they might create with their bodies while you copy them.
Sock Basketball – Help with the laundry by tossing clothes into the basket. Roll up clothes into a ball (or sphere) and toss them into the laundry basket. Two points for making it in on the first try! Make it into a fun game and gather all the laundry from around the house to be a big helper.
Download your free shape activities for preschooler at the end of this post.Social-Emotional Activities for a Shapes Theme
Kid Yoga – Devoting time to stretch, move, and center our bodies is great for people of all ages! Go to YouTube and watch the video Kids Yoga Alphabet. Join in with the instructor and encourage your preschooler to practice some of the alphabet shape movements. If they are hesitant, allow them to watch and begin when they are ready. Encourage taking deep breaths, trying to be calm and centered, and model making mistakes as you try different poses. Keep it fun and engaging!
Drawing Confidence – Go to YouTube and listen to the book A Drawing Game by Anitha Murthy. After listening, invite your preschooler to do just like the young girl in the book and think of the shapes when she intends to draw something. As children get older, they often struggle with their drawing not matching the idea in their head or get frustrated when it doesn’t come out as they had hoped. Encouraging your preschooler to always think of the shapes when drawing will help them feel confident and like a true artist!
Just Plain Fun Activities for a Shapes Theme
Shape Flower Craft – This fun craft allows your preschooler to get creative with shapes and colors. Cut out various shapes from construction paper…the more the better! Challenge your preschooler to use the shapes to make various flowers. How many different designs can they come up with? If you have a preschool class, make an entire flower garden of shapes to hang on the wall!
Shape Pizza Craft – Kids love pizza! So why not make a shape pizza using construction paper? Invite your preschooler to draw various shapes on colored paper that represent the toppings. Circles for pepperoni, rectangles for cheese, triangles for pineapples…the options are endless! Glue them all down on a large circle for your pizza crust and have fun being a pizza chef! This is also a great activity to add to your Food and Nutrition Theme.
Playdough Shapes – Get creative with playdough shapes! Make houses, pizza, cakes, cars, and more. What shapes are used to make these different items?
Our Favorite Toys to Teach Shapes
You don’t need specialty toys or manipulatives to be an effective teacher, but if you’re looking for some shape manipulatives, these are some of the most used in my own classroom.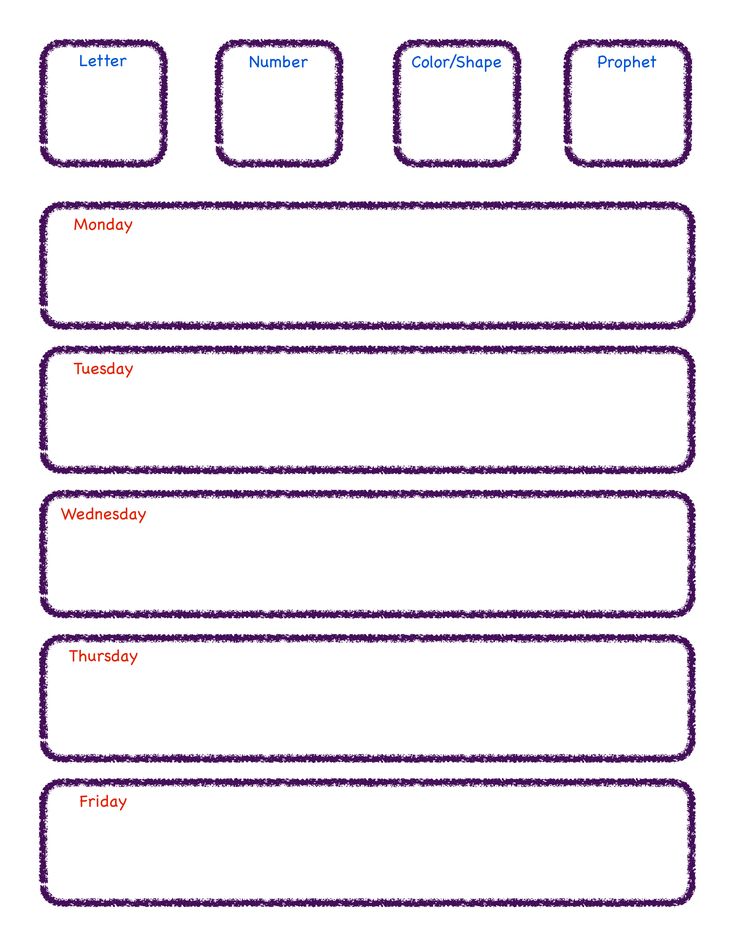
Safe Online Activities for a Shapes Theme
Online Story – Go to YouTube and listen to the book Round is a Tortilla: A Book of Shapes by Roseanne Thong. As you are listening, review any unknown words with your preschooler. Encourage your preschooler to answer the questions on each page as you read to make this book even more interactive.
Learn Shapes with Pete the Kitty – Follow along with our favorite Pete the Kitty and learn shapes and colors! And who doesn’t love Pete the Cat?!
Shapes are Everywhere Song – This song offers a great way to help your preschooler identify the names of the shapes, as well as where we see these shapes in our everyday lives.
Get Your Free Preschool Shape Activities Here
These shape activities ate written up as lesson plans to be completed in about a week’s time, but you can use them any time of year! Grab your free Learn At Home Preschool Lesson Plans by clicking the image below.
You Might Also Like These Lesson Plans
This Shapes Preschool Math Unit includes everything you need to teach beginning geometry and shapes in preschool math!
It gives you the lesson plans and the centers, as well as smaller daily math activities to keep your students learning. Not only will your preschoolers learn how to identify basic shapes, but they will also develop spatial awareness skills.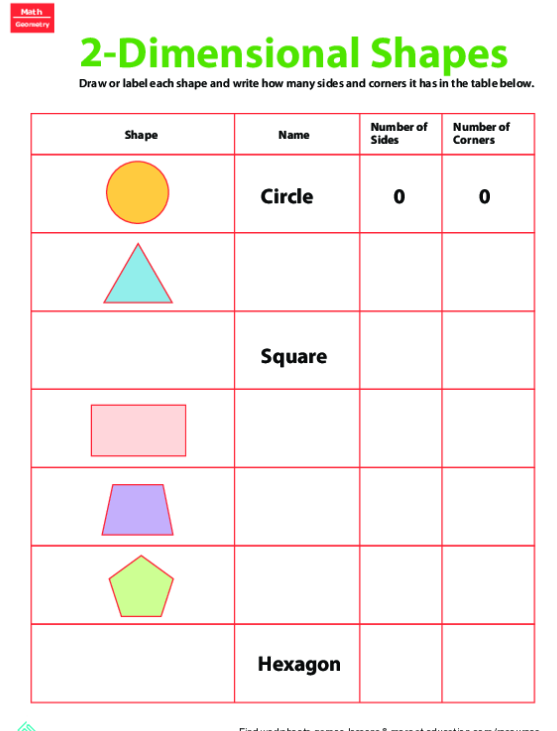 From matching and sorting to graphing shapes and tracing, your preschooler will gain a strong foundation in geometry with these lesson plans.
With four complete weeks of lesson plans and over 36 hands-on activities, your preschooler will love math, too!
Sarah Punkoney, MAT
I’m Sarah, an educator turned stay-at-home-mama of five! I’m the owner and creator of Stay At Home Educator, a website about intentional teaching and purposeful learning in the early childhood years. I’ve taught a range of levels, from preschool to college and a little bit of everything in between. Right now my focus is teaching my children and running a preschool from my home. Credentials include: Bachelors in Art, Masters in Curriculum and Instruction.
stayathomeeducator.com/
Shapes Lesson Plan
Notes:
This is a really fun, interactive lesson for learning shapes and it has some great activities.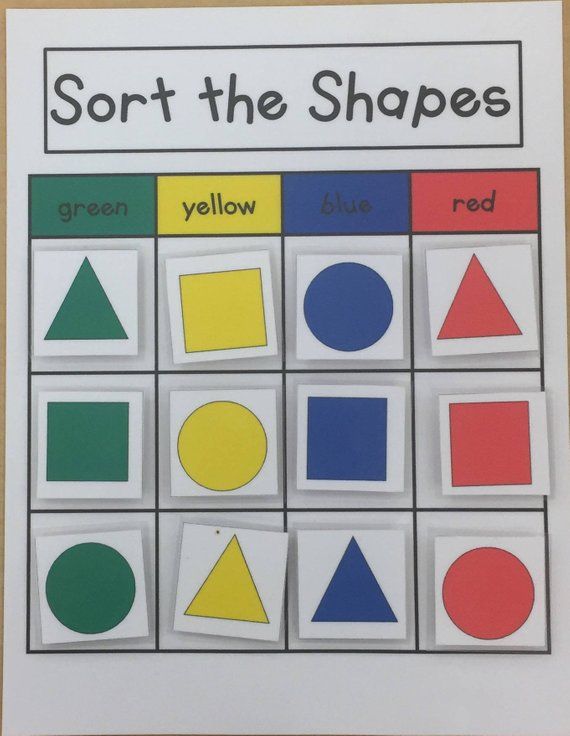 If possible, teach this lesson after you have taught the Parts of the Body lesson (as you will be recycling vocab from that lesson).
Lesson Procedure:
Warm Up and Maintenance:
See our "Warm Up & Wrap Up" page.
New Learning and Practice:
1. Teach the shapes vocab
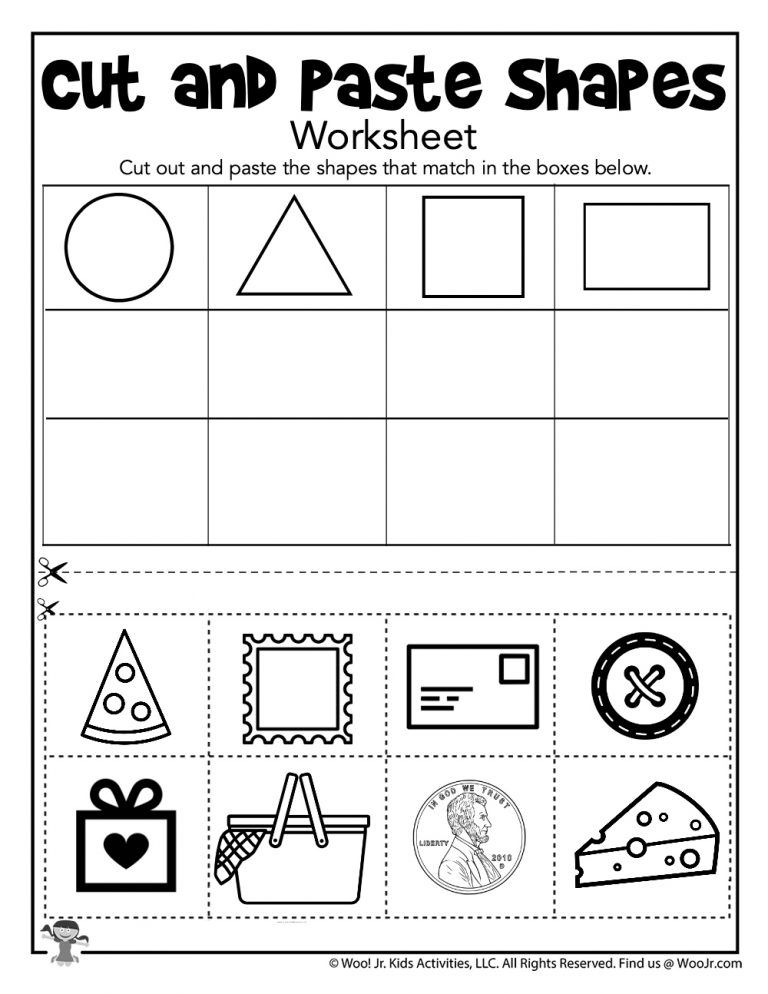
Before class, prepare the shapes from the shape craft sheet. Cut out the shapes from the sheet for yourself and also enough for each pair of students (these will be used in a pair work activity later on). It would be a good idea to print on card or even laminate the shapes so you can reuse them.
Start off by showing the large square and teaching / chorusing "square". Hand the square to a student who says "square" and passes it on to another, each student saying "square" as they pass it around. Do this for all the shapes. You can also elicit colors and sizes (e.g. a "big, yellow, square", "a small, blue square", etc.).
2. Play missing shapes
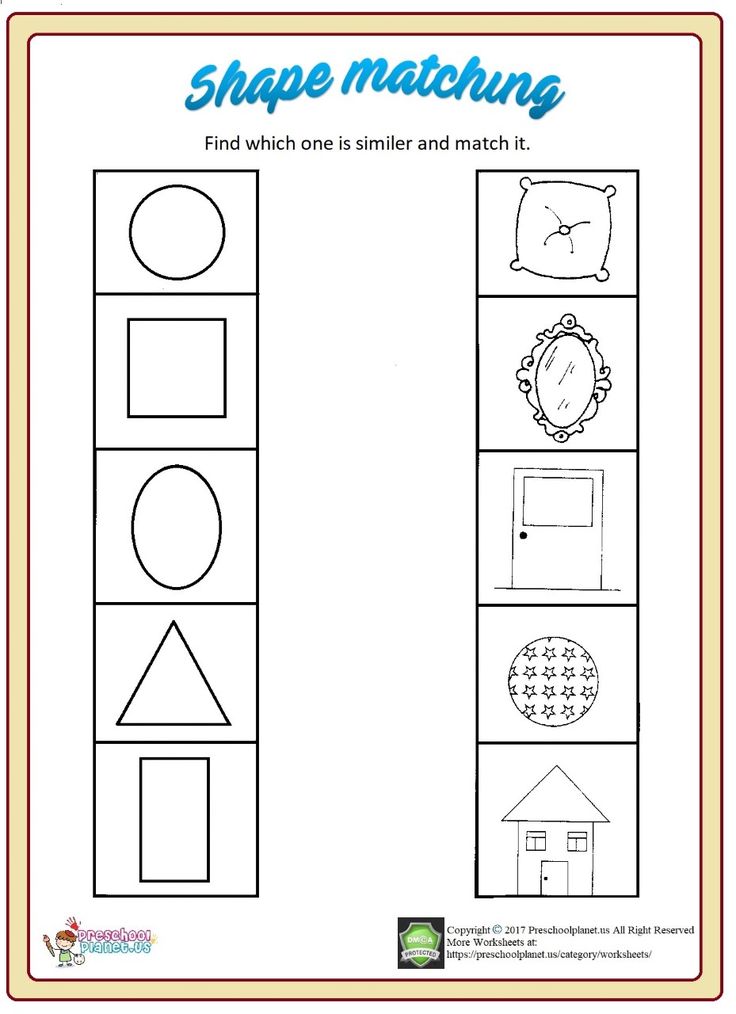
Spread the shapes out on the floor and gather everyone around. Tell everyone to close their eyes. Take away one shape and say “Open your eyes”. Everyone must guess which shape is missing.
3. Play shape touch
With the shapes still spread out on the floor, say "Hands up in the air" – once all hands are up say “touch a (green) circle” – and have everyone quickly touch (not slam!) a green circle. Do this for all of the shapes.
4. Do "Play-doh" shapes
Put kids in small groups and give each group some pots of play-doh. Have some play-doh for yourself. Everyone is going to make play-doh shapes. Start with a shape and model how to make it with the play-doh and have everyone make the shape. Do this for all four shapes.
5. Show the Mr. Shape Face craft
Everyone will be unaware that the cut-out shapes actually make up a facepicture. Bring everyone's attention to the board. Make sure each of your shapes has some sticky plastic or blue-tak on the back. Hold up the large square and elicit the shape. Stick it to the board. Then hold up the large triangle, elicit that shape and stick it to the nose position. Keep doing this with all of the shapes until you have a complete head. Everyone will enjoy watching a face grow out of the shapes they have been playing with. Elicit / teach the face vocab for each face shape (e.g. a triangle nose, a rectangle mouth, etc.).
6. Play "teacher says" for face vocab
With the shapes still on the board, get everyone to stand up and say "Teacher says touch your (nose)". Everyone should touch their nose. Do this for all of the face vocab. Then say "Touch your hair" without the "Teacher says" part and indicate that they shouldn’t touch when "Teacher says" is omitted. As everyone gets the hang of it go faster and faster.
7. Sing the "Mr. Shape Head" song
Keep Mr. Shape Head on the board and use it with the song. The song poster is also helpful as it shows the order of the shapes as they are sung in the song – so you can put this on the board as well. Play the song through one time, pointing at the shapes on the board as they are sung. Next, get everyone to stand up – teach the gestures (see below) and then play the song again and sing along doing all of the gestures.
Lyrics for "Mr. Shape Head"
Chorus:
Mr. Shape Head, how are you?
Mr. Shape Head, how are you?
Mr. Shape Head, how are you?
How are you this morning?
Verse 1:
My eyes are square, but I’m okay
My ears are circles, but I’m okay
My nose is a triangle, but I’m okay
For I am Mr. Shape Head
Chorus
Verse 2:
My head is square, but I’m okay
My mouth is a rectangle, but I’m okay
My hair is a triangle, but I’m okay
For I am Mr. Shape Head
Chorus
(download MP3 here)
Gestures for "Mr. Shape Head"
Some simple actions can be used with this song:
- For the Chorus, touch your head for the "Mr. Shape Head" parts and then do the question gesture (palms up, looking puzzled) for the "How are you?" parts.
- For the verses, make shapes with your fingers for each shape and place on the part of the face as it is sung (e.g. "My eyes are square" – make two square shapes with your fingers and place over your eyes; for "My ears are circles" make two circle shapes with your fingers and place over your ears; etc.).
- For the part of the verse "but I’m okay", do a thumbs up with both hands.
- For the end of each verse "For I am Mr. Shape Head", move your already thumbs up gesture to point your thumbs inwards to your body.
We also have a video that you can stream in class to sing along with (Internet connection required):
8. Read classroom reader "Mr. Shape Head"
Let's follow the song with a reader which uses the structures from the song. Before class, download and print off the reader "Mr. Shape Head" and its corresponding reader worksheet from our website. Give the worksheets to your students to color as you read through the story. As you go through each page, point to the shapes in each picture and elicit the shapes, colors and face parts, for example:
Teacher: (reading from page 4) "Let's put your head back on. Where is your square head?" ... Ok, what shape is his head?
Students: Square!
Teacher: (pointing at a square eye) ... Is this his head?
Students: No!
Teacher: (pointing at a circle) ... Is this his head?
Students: No!
Teacher: Where is his square head? (invite a student to touch the picture)
Student: Here.
Teacher: Ok, let's check (turns over to page 5) . .. Yes, good job! What color is his square head?
Students: Yellow!
Teacher: Yes, that's right! Ok, color the yellow square on your worksheets.
etc.
Get the students really involved in the story by asking lots of questions and getting them to touch their face parts along with the story.
---
Alternatively, watch our video version of the reader (Internet connection required):
9. Do the Mr. Shape Head craft
Put students in pairs and give each pair the shapes. Together they can make Mr. Shape Head. Circulate as everyone is doing the activity and ask questions (e.g. "What is this shape?", "What is this?"). You can play the Mr. Shape Head song in the background as everyone is doing this activity.
Extension activity – an optional, fun game is to play a version of "Pin the tail to the donkey". Blindfold one student and give him a shape to put on the yellow square. Then get another blindfolded student to add another shape. Keep going until all the shapes are used up. The final head will be all over the place but it will have been great fun!
Wrap Up:
1. Assign Homework: "Mr. Shape Head" worksheet.
2. Wrap up the lesson with some ideas from our "Warm Up & Wrap Up" page.
SUMMARY OF THE LESSON ON THE TOPIC: "GEOMETRIC FIGURES" IN THE SENIOR GROUP | Lesson plan in mathematics (senior group) on the topic:
LESSON SUMMARY ON THE TOPIC: "GEOMETRIC FIGURES" IN THE SENIOR GROUP
Purpose:
- to improve knowledge about geometric shapes and the shape of objects;
Tasks:
Educational:
- to consolidate knowledge about geometric shapes;
- to form the experience of independent overcoming of difficulties under the guidance of a teacher on the basis of the reflective method, the experience of self-control;
- improve the ability to correlate a figure with a quantity, compare aggregates and establish equality between them;
- to exercise in solving logical problems and problems of ingenuity;
- to form in children an interest in mathematics, a sense of confidence in their knowledge.
- train mental operations - analysis, comparison, generalization, abstraction.
Developing:
- develop attention, memory, speech, fantasy, imagination, logical thinking, creativity, initiative;
- develop fine motor skills of hands.
Educators:
- to bring up positive motivation for learning, interest in mathematics;
- cultivate a friendly attitude towards each other.
Display material:
halt nameplates; toy Old Man - Forester, the image of numbers from 1 to 7 on A4 sheets of paper for physical education, geometric shapes, a magnetic board, a tray, red and yellow flowers made of cardboard, a poster with a picture of a flower meadow, a poster with a picture of a geometric country.
Handout:
- number cards from 1 to 5; sets of geometric planar and volumetric figures, album sheets by the number of children.
- worksheets with tasks "geometric trees", "geometric houses", "geometric swings". Sheets of paper cut from colored paper geometric shapes.
Methods and techniques: explanation, indication, explanation, questions, display, game technique, encouragement, pedagogical assessment.
Lesson content:
Ι. Introductory part:
Organizational moment.
Greeting game "Our smart heads"
Our smart heads
They will think a lot, deftly.
Ears will listen,
Mouth will speak clearly.
Hands will clap,
Feet will stomp.
The backs are straightened,
We smile at each other,
The lesson begins.
ΙΙ. Main part.
Educator: - Attention, guys! I want to tell you that today we want to make a trip. I know the magic words that will help us go on a journey to the land of geometric shapes. What geometric shapes do you know? (children's answers).
Teacher: a circle, an oval, a triangle, a rectangle, a square are plane figures. There are also volumetric figures - a cube, a ball, a cylinder.
In a geometric country, geometric figures are everywhere.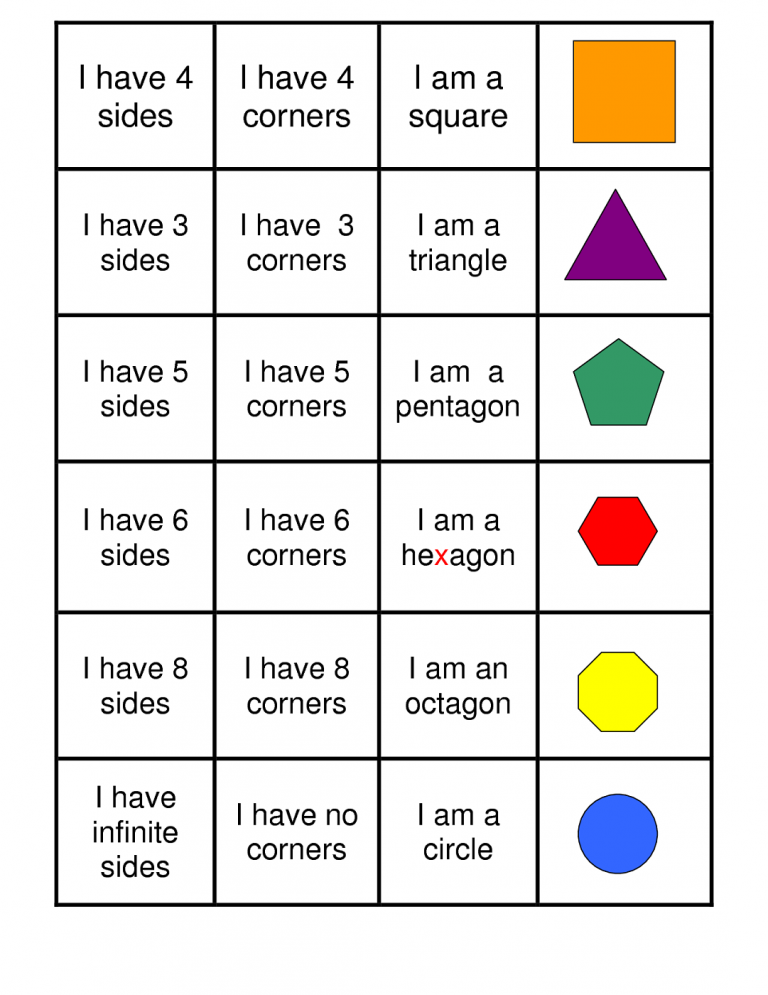 And the Old Man will go with us - the forest man, he knows all the paths in the country of geometric shapes. We have a lot to go through today and many problems to solve along the way. So let's go on a magical journey.
"Let's stomp our feet - clap our hands"0003
0003 0003 0003 0003 0003 0003 Here we are in the country of geometric shapes.
Our first stop. It's called "Difficult Problems".
- Let's sit at a halt and solve all the puzzles.
Guys, sit down at the tables.
Exercise "Geometric trees"
Here are cards that show trees with crowns that look like geometric shapes. Count how many trees are in the picture? (Five trees).
Show a tree with a round crown (oval, triangle, rectangle, square).
What is the number of trees with a round crown (oval, triangular, rectangular, square)?
Educator: - Well done, guys! You have completed the task, and we are moving on.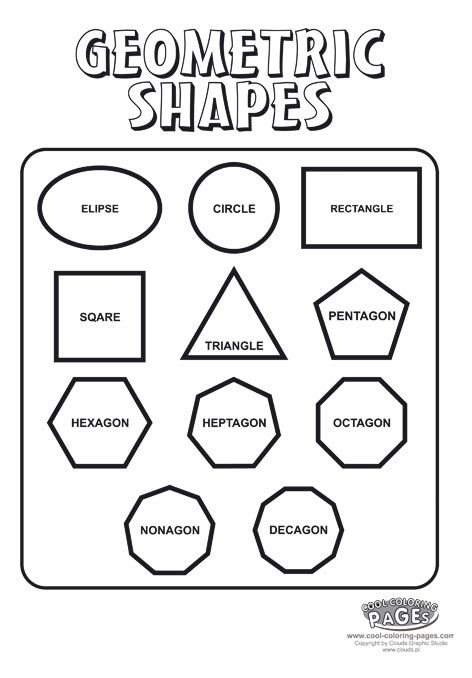
We walked, we walked, we walked, we walked, we came to the second halt "Guess-ka".
This halt is located on Geometric street.
- Consider the houses of the geometric country.
- In what house do you think what geometric figure lives?
- Whose house is the highest (lowest)?
- Whose house is the widest (narrowest)?
- To whose house does the longest (shortest) path lead?
- There are envelopes on your tables. They have cards with numbers on them. Lay out a series of numbers from the cards.
- Show the card with the number, how many floors are in the square house (2) (rectangular (2), triangular (2)).
- Well done, you did a great job.
Exercise "Geometric swing"
- There is a magic swing in the land of geometric shapes. Geometric figures ride on a swing. On the left side of the swing, sit three circles to ride. And on the right side, plant squares, one less than circles. What can be done to make circles and squares equal? (Add one square or remove one circle. )
)
We walked, we walked, we walked, we walked and came to the third halt.
Exercise “Arrange geometric shapes on a sheet”
- And now take sheets of paper from the edge of the table and prepare cardboard geometric shapes for work.
- Place a square in the upper right corner.
- Put a circle in the middle of the sheet.
- Place a triangle in the lower left corner.
- Put the oval in the upper left corner.
- Place a triangle in the lower right corner.
- Well done guys, you did a great job.
Count and Do Dynamic Pause
Now, guys, let's take a break.
Get up from the tables and come to me.
We are waiting for physical education!
How many dots are in this circle (5),
Let's raise our hands so many times.
How many sticks to the point (6),
How many we will stand on our toes.
How many green Christmas trees (4),
Let's make so many slopes.
How many circles we have here (7),
How many jumps we will make.
- In the country of geometric figures, the Old Man-forester really likes it and he would like to stay here. He asks you to help him build a house, and for the construction he brought material. Here's what he brought (showing building material).
- Let's help build a house for the Old Man-forester? (children's answer)
- What figures are suitable for construction? These are cubes, they are voluminous, they have corners, edges, faces. One face of a cube is a square.
- What is the difference between a cube and a square? (flat square, three-dimensional cube)
- How is a cube different from a ball? (there are corners, can't roll).
- What is the common property of a cube and a ball? (they are both voluminous)
Educator: - Why is it convenient to build from cubes? (they do not roll, voluminous).
- From what figures did we build the house? (children's answers).
- Guys, who were you during the construction of houses? (builders).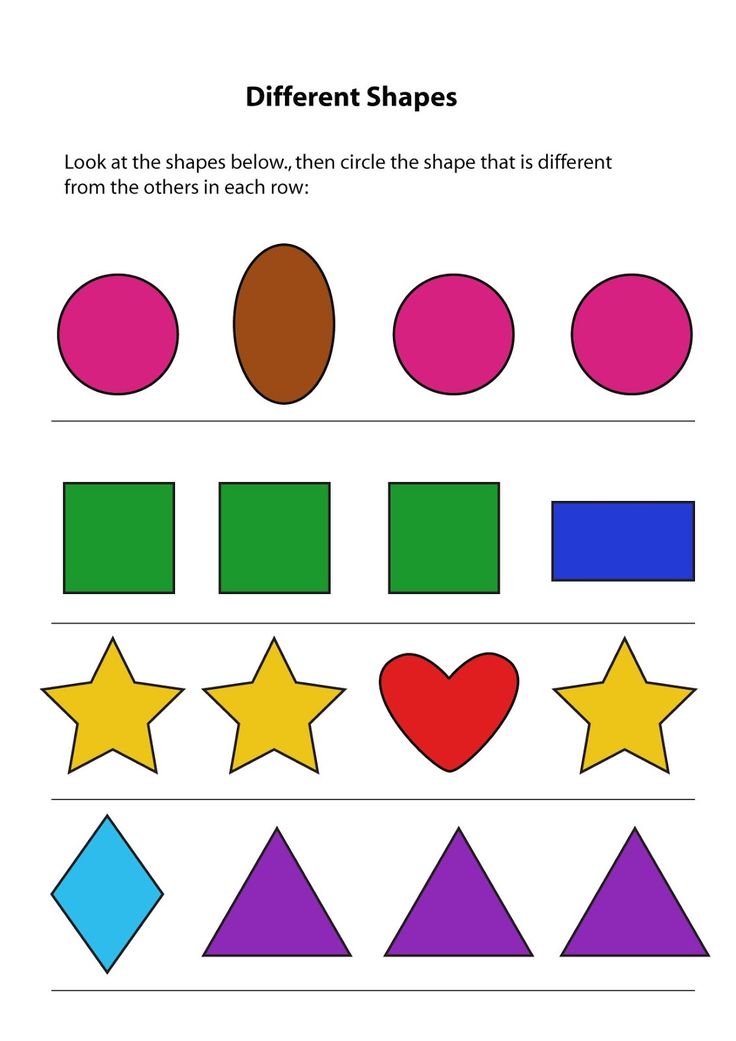 And who are the builders? (children's answers)
Educator: - Building a house is not an easy task. You must have been tired while you were building, let's cheer up a little.
Physical education:
- 1, 2, 3, 4, 5 - we want to become builders (claps, hands to the sides)
Together we raise the boards (hands up)
We quickly hammer nails (fist to fist)
paint with a brush new house (turn around, “paint with a brush”)
To make it comfortable in it.
1, 2, 3, - the house is built - look! (jumping, hands to the sides).
Educator: - Well, how is the Old Man - the forest man, did the guys build a house for you?
- Well done guys! The old forest man, in gratitude for your help, gives you this chest. Shall we look into it? Look, these are sweet treats!
- Well, how sad it is, but it's time for us to return home, we overcame all the paths without hesitation.
- Close all your eyes, and we will count backwards from 3 to 1.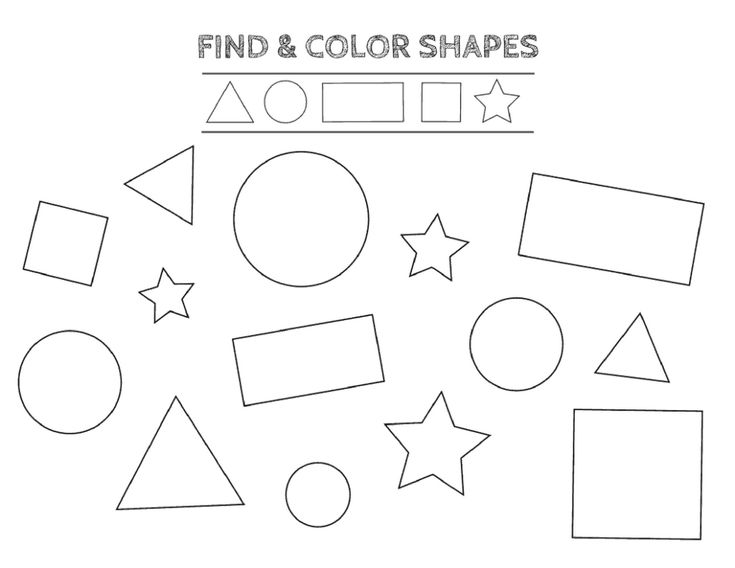 Here we are in the group, but I think that we will visit the wonderful country of geometric shapes more than once.
ΙΙΙ. Summing up:
- And now evaluate your participation in the trip. If you are satisfied with your success today and evaluate your work as "excellent" - take a red flower on a tray and stick it on a poster with a picture of a flower meadow, and if you think that something did not work out for you and you could do better - take and paste a yellow flower. (Children evaluate their work).
Today you visited a fairy tale where everything is connected with mathematics. All of you tried, listened attentively, and therefore coped with all the tasks.
- What tasks did you find interesting? Which ones are difficult? What tasks did you complete faster?
- The lesson is over, thanks to the Old Man-forester for our fabulous journey!
Outline of a lesson for children with disabilities on the development of elementary mathematical concepts Topic: Geometric shapes
Outline of an individual lesson for children with disabilities on the development of elementary mathematical concepts
Subject: " Geometric shapes "
The lesson is intended for children of older preschool age.
Purpose: Generalization of previously acquired knowledge about geometric shapes and their properties.
Correctional and educational tasks:
1. Strengthen the child's ideas about geometric shapes.
2. Exercise the child in identifying geometric shapes based on verbal description and visual perception.
3. Continue to develop the ability to classify geometric shapes according to one of the signs.
4. Learn to design objects from geometric shapes, learn to recognize geometric shapes in surrounding objects.
5. Practice the skills of coherent, dialogic speech.
Correction and development tasks:
1. To promote the development of spatial representations, figurative and logical thinking, visual memory, attention, creative imagination, fantasy.
2. Develop fine motor skills.
Correctional and educational tasks:
1. To form psychological contact, mutual understanding and cooperation, perseverance, diligence.
2. To develop emotional responsiveness, goodwill.
Equipment: d/and "Dyenysh's Logic Blocks", d/and "Pick a Figure", pictures of geometric shapes, pictures with fairy-tale characters, coloring books, colored pencils, a set of geometric shapes-templates.
Lesson type:
Course of the lesson
1. Organizational moment. - Hello, (child's name)!
Fairy-tale heroes Masha and the Bear came to our lesson today.
They did not come empty-handed, and prepared tasks and questions for you to which you will have to find the correct answers.
2. Updating previously acquired knowledge:
Teacher:
Look what Masha and the Bear brought you. The teacher lays out on the table geometric figures from the d / and "Logic Blocks of Youngysh"). Let's remember what these shapes are called and name their colors. (The child alternately names the shapes and their colors). Well done, now let's play! Now I will mix all the shapes, and you will have to find and give me all the yellow triangles. (The child finds yellow triangles and gives them to the teacher). Okay, now find all the blue circles. (The teacher calls all the figures and their colors in turn, the student finds the right ones). See what shapes are left and name their colors. Well done, you did very well!
3. The game "Remember" (training of visual memory and voluntary attention):
Teacher:
- You coped with the first task, well done! Now look carefully at this row of figures and try to remember everything. (The teacher shows the child a strip of paper with drawn figures for 20 seconds, the child looks and remembers) And now I will hide the picture, and you try to remember and name all the figures that were depicted on it. (The child names the figures) Well done, now arrange the figures as they stood in the picture. Okay, let's see if you got it right! (The teacher shows the child a sample, finds errors together with the student. The game is repeated several times.
4. "Magic bag" (a game for developing tactile sensations, recognizing geometric shapes):
Teacher:
- Look what I have! This is a "magic bag" and today you can play with it. Close eyes! (the child closes his eyes, the teacher places one geometric figure at the bottom of the “magic bag” (using the geometric figures from
d / and “Logic Blocks Youngish”. Now put your hand in the box and try to determine which figure is hidden in it. Get the figure can't!
(The game is repeated several times. Opening his eyes, the child calls the color of the figure).
5. Finger game "Kittens" (development of thinking, visual perception, fine motor skills).
Teacher:
- Before we continue to play, let's stretch our fingers! Look at me carefully and repeat the movements
(Put your hands together,
press your fingers together.
rest your elbows on the table)
Our kitty has ten kittens,
(we shake our hands without separating them).
Now all the kittens are in pairs:
Two fat, two dexterous,
Two long, two cunning,
Two smallest, the most
And the most beautiful.
(we tap with the corresponding fingers
against each other from the thumb to the little finger).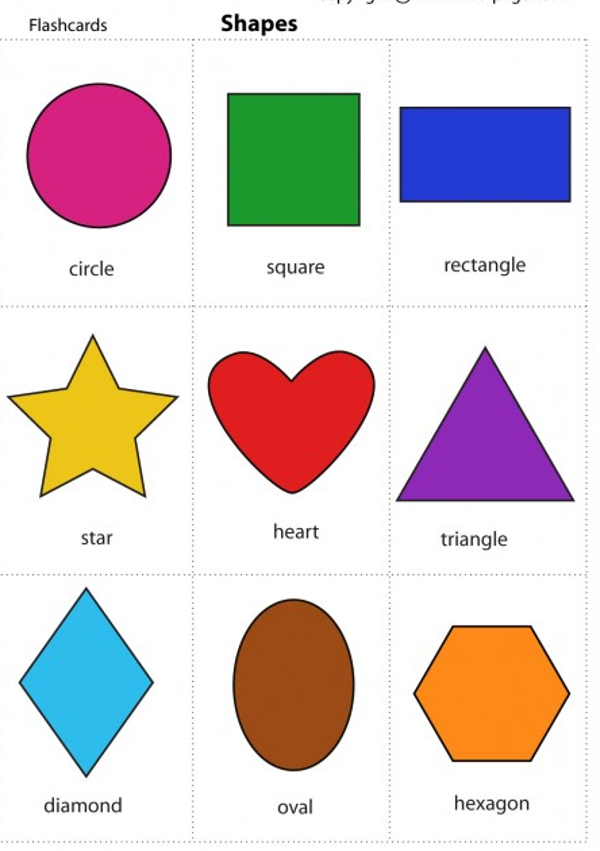
- And now count, how many kittens do we have in the picture?
Compare kittens. How are they similar and how are they different?
- Count how many triangles are in the picture?
- And how many circles?
- And now, let's color our kittens.
7. "Funny pictures" (training of fine motor skills, development of visual perception, imagination)
Teacher:
- Our fingers have a rest, now let's work a little. Let's dream up with you and make funny pictures from the figures, and then we will make an application out of them. (If the child has difficulty completing the task and cannot independently compose a picture using geometric shapes, the teacher offers him a sample).
Game "Pick a figure" (training of visual perception, attention, logical thinking, coherent speech).
-And now I put in the center a figure with the image of a circle (oval, triangle, rhombus, etc.),
and you have to choose the pictures corresponding to the figure.