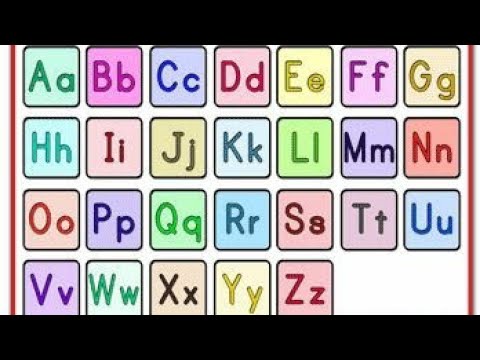
Lower and uppercase alphabet printable
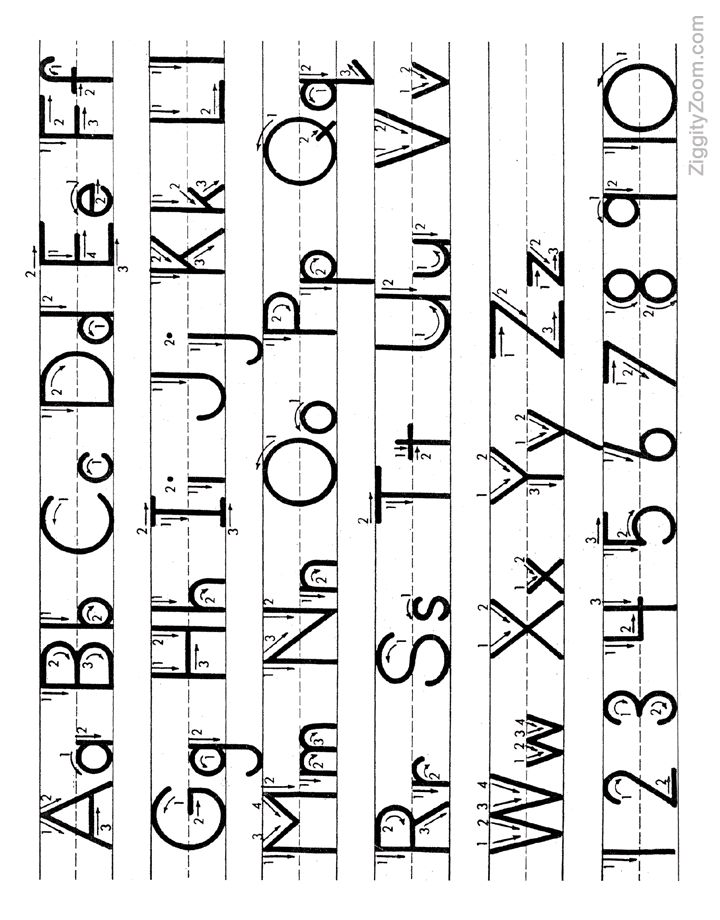
A-Z Uppercase Lowercase Letter Tracing Worksheets
Learning the ABC and practice writing the alphabet is among the very first things that kids spend a lot of time with teachers and parents exploring, teaching and learning together. At this very early age, learning should be experienced through playing, practicing and repeating to make the whole process fun and easy for kids to absorb and remember.
In previous posts, I presented a lot of alphabet coloring pages to help kids recognize all the letters from A-Z through coloring activities with both uppercase and lowercase letters. In this post, I’m introducing to you series of alphabet manuscript tracing worksheets. Happy playing & learning!
Related worksheets
:
NEW! Cursive uppercase and lowercase handwriting practice sheets
Number practice worksheets
Free book report and writing worksheets
-
Blank Handwriting Practice Sheet
-
Blank Handwriting Practice Sheet with Guidelines
-
-
Alphabet Tracing Worksheet Letter A through Z Uppercase
-
Alphabet Tracing Worksheet Letter a through z Lowercase
-
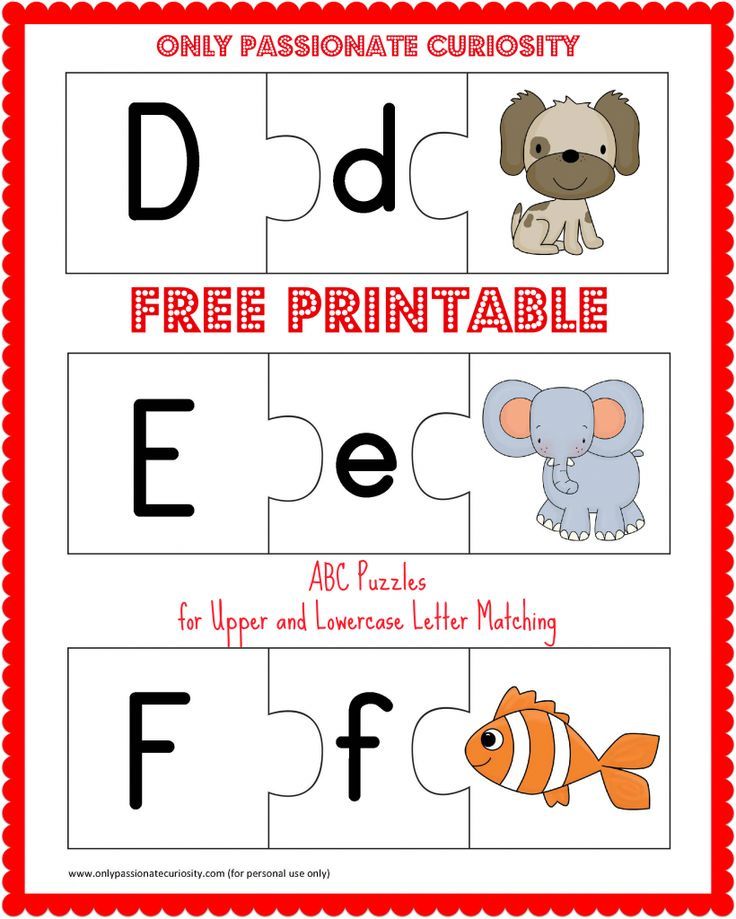
Alphabet Tracing Worksheet Letter Aa through Zz Uppercase & Lowercase
Letter A Writing Practice Sheet
Letter B Writing Practice Sheet
Letter C Writing Practice Sheet
Letter D Writing Practice Sheet
Letter E Writing Practice Sheet
Letter F Writing Practice Sheet
Letter G Writing Practice Sheet
Letter H Writing Practice Sheet
-
Alphabet Tracing Worksheet Letter A
-
Alphabet Tracing Worksheet Letter B
-
Alphabet Tracing Worksheet Letter C
-
Alphabet Tracing Worksheet Letter D
-
Alphabet Tracing Worksheet Letter E
-
Alphabet Tracing Worksheet Letter F
-
Alphabet Tracing Worksheet Letter G
-
-
Alphabet Tracing Worksheet Letter H
-
Alphabet Tracing Worksheet Letter I
-
Alphabet Tracing Worksheet Letter J
-
Alphabet Tracing Worksheet Letter K
-
Alphabet Tracing Worksheet Letter L
-
Alphabet Tracing Worksheet Letter M
-
Alphabet Tracing Worksheet Letter N
-
Alphabet Tracing Worksheet Letter O
-
Alphabet Tracing Worksheet Letter P
-
Alphabet Tracing Worksheet Letter Q
-
Alphabet Tracing Worksheet Letter R
-
Alphabet Tracing Worksheet Letter S
-
Alphabet Tracing Worksheet Letter T
-
Alphabet Tracing Worksheet Letter U
-
Alphabet Tracing Worksheet Letter V
-
-
Alphabet Tracing Worksheet Letter W
-
Alphabet Tracing Worksheet Letter X
-
Alphabet Tracing Worksheet Letter Y
-
Alphabet Tracing Worksheet Letter Z
I’ve been using these alphabet tracing worksheets for my kids to practice writing when they were at preschool and kindergarten.
If you are a teacher or parent who happen to use the materials on this site and have feedback or suggestions for future materials, please feel free to add your comment using the form located at the bottom of the page. Much appreciated!
Posted in: Learning the alphabet, Tracing pages, Writing worksheets | Tagged: Alphabet tracing sheets, Featured posts | 8 Comments
Free Printable Upper and Lower Case Alphabet Templates
70 shares
Free Printable Upper and Lower Case Alphabet Templates
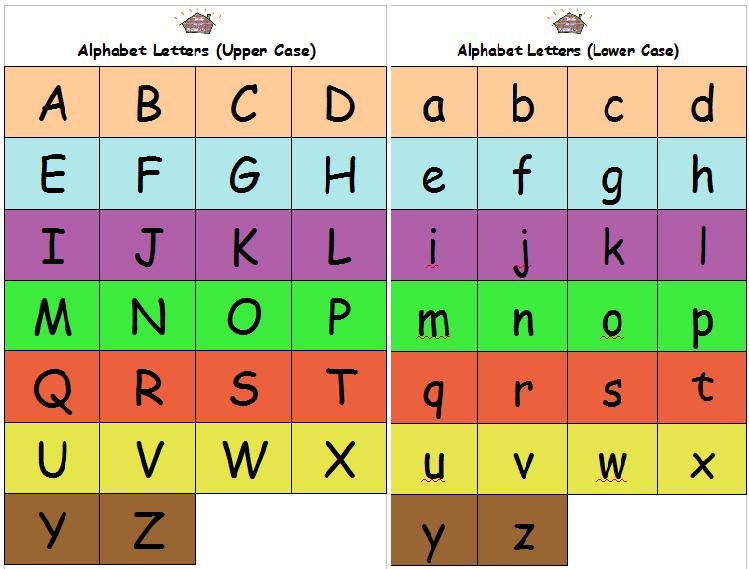
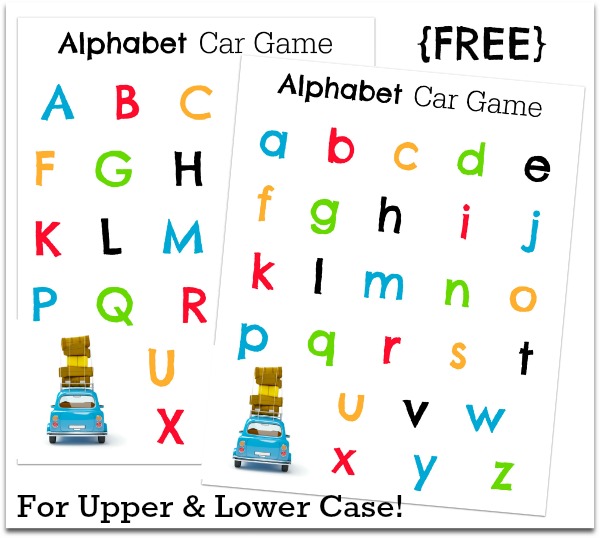
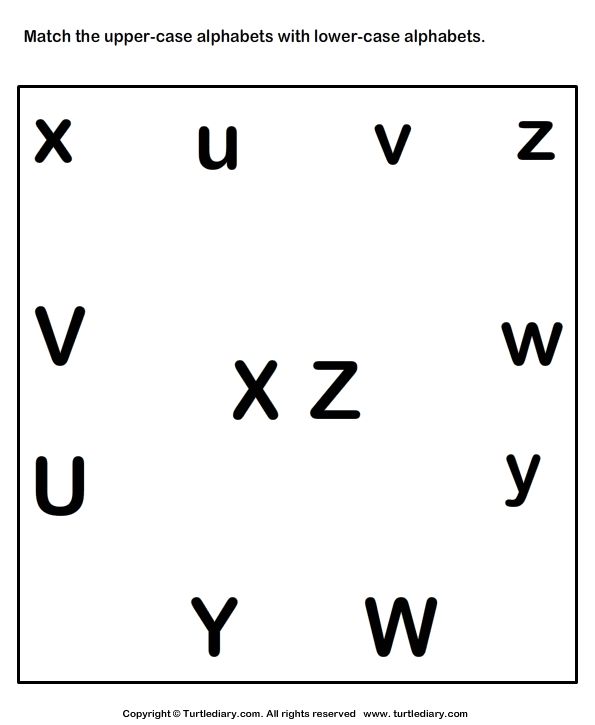
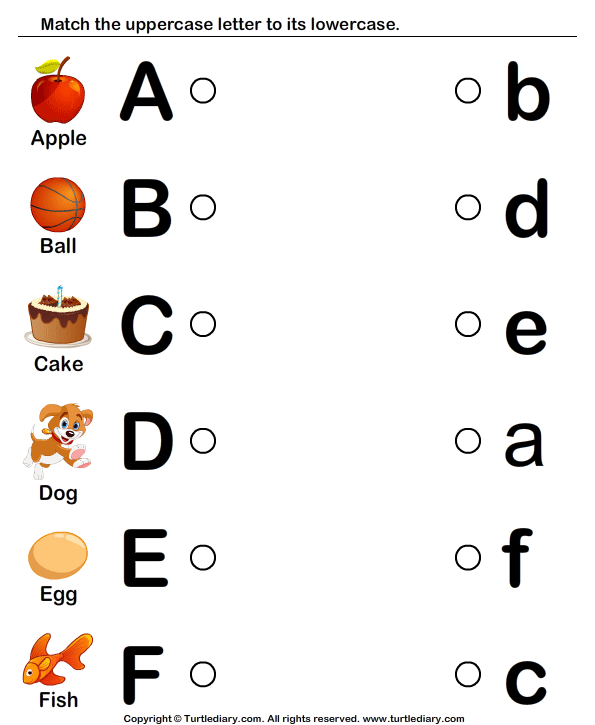
Learning about the letters of the alphabet? Download these upper and lower case printable alphabet templates. Such a simple printable but so many creative options! These alphabet templates can be used as coloring pages, as craft templates, as sensory sheets, and so much more! Practice letter recognition, letter sounds, and alphabetical order.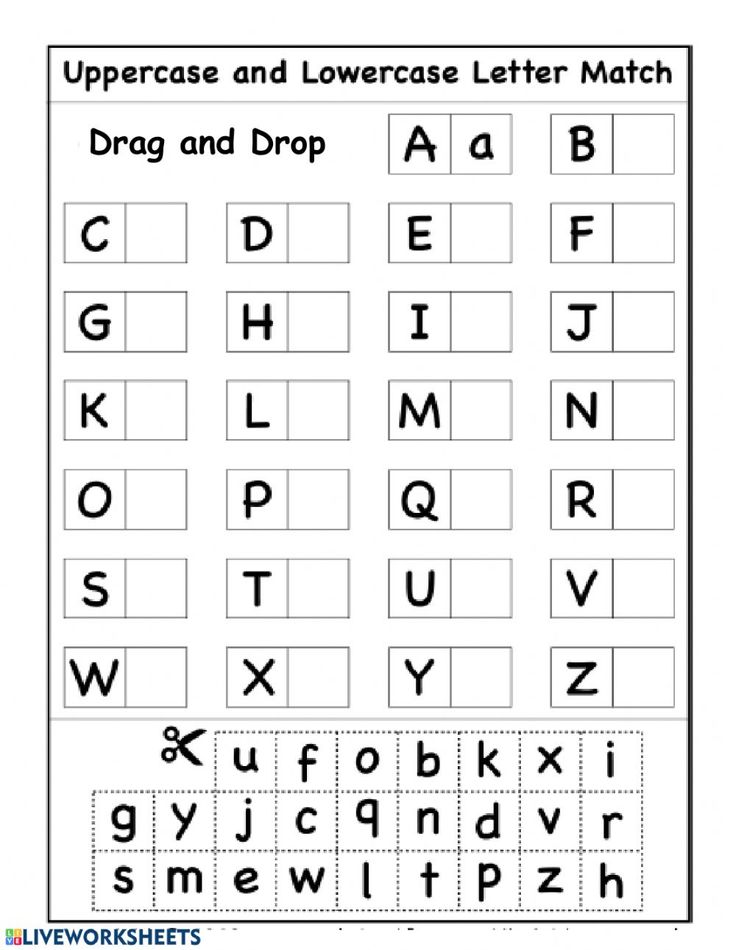 Practice upper case and lower case letters from A to Z. Download these free letter templates below.
Affiliate links have been included for your convenience. Please see our full disclosure if you’d like more information.
Fill in the uppercase or lowercase letters with do a dot markers, letter alphabet rubber stamps, balled-up tissue paper, cut-up bits of construction paper, playdough, gems, or magazine clippings with images that start with that particular letter.
Which Alphabet Letter Printable Pages are Included?
52 pages – one upper case or lower case letter per page.
- Upper case letter A
- Upper case letter B
- Upper case letter C
- Upper case letter D
- Upper case letter E
- Upper case letter F
- Upper case letter G
- Upper case letter H
- Upper case letter I
- Upper case letter J
- Upper case letter K
- Upper case letter L
- Upper case letter M
- Upper case letter N
- Upper case letter O
- Upper case letter P
- Upper case letter Q
- Upper case letter R
- Upper case letter S
- Upper case letter T
- Upper case letter U
- Upper case letter V
- Upper case letter W
- Upper case letter X
- Upper case letter Y
- Upper case letter Z
- Lower case letter a
- Lower case letter b
- Lower case letter c
- Lower case letter d
- Lower case letter e
- Lower case letter f
- Lower case letter g
- Lower case letter h
- Lower case letter i
- Lower case letter j
- Lower case letter k
- Lower case letter l
- Lower case letter m
- Lower case letter n
- Lower case letter o
- Lower case letter p
- Lower case letter q
- Lower case letter r
- Lower case letter s
- Lower case letter t
- Lower case letter u
- Lower case letter v
- Lower case letter w
- Lower case letter x
- Lower case letter y
- Lower case letter z
Save Money on Printing
If you’d like to save money on printing, I encourage you to check out HP Instant Ink.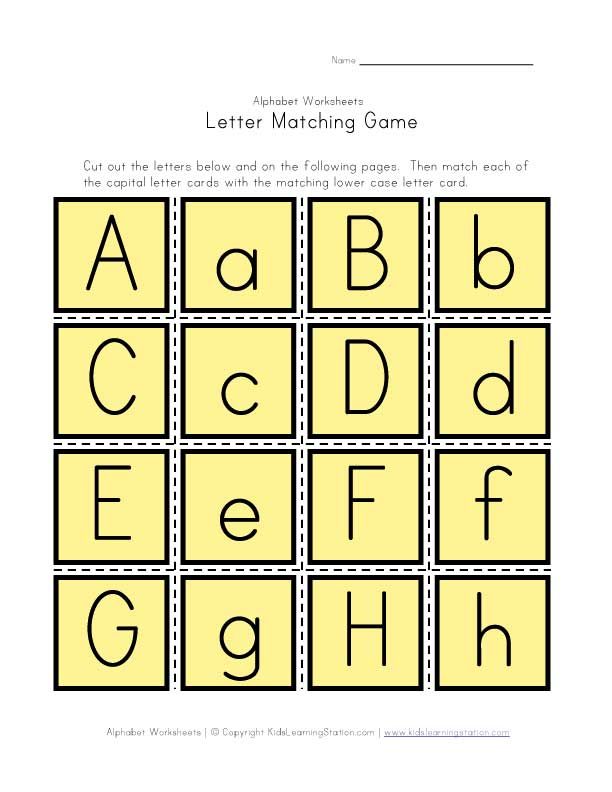 I’ve been using them for years and have saved SO MUCH money! It’s easy too – they know when your ink levels are running low and automatically send you new cartridges!
In fact, they gave me an exclusive unique link to share with you! You can try them out by clicking here and you’ll get three months free! Check out HP Instant Ink here.
Supplies you may need
- Printer paper or cardstock
- Scissors
- Glue
- Pencil
- Crayons, markers, or watercolor paints
- Googly eyes
- Yarn
How to Organize Your Alphabet Letter Printable Templates
- If you decide to print out more than a few of the letter templates, you may want to contain them a bit.
- If you’d like, you can either hole punch them and place them in a binder, or punch them with this and bind them to create your own alphabet book!
- You could even cut them out a bit (or print them two to a page) and paste them into a spiral notebook along with your other printables or coloring pages.
Similar Coloring Pages
More Coloring Pages You’ll Love
- Cat Coloring Pages
- Donut Coloring Pages
- Fruit Coloring Pages
- Ice Cream Coloring Pages
- Unicorn Coloring Pages
Enjoy Watching this Alphabet Song While You Work on Your Letter Printables!
How to Gain Access to this FREE Printable
If you are already a current newsletter subscriber, please log in to the resource library here. If you are not a current newsletter subscriber, please sign up for our newsletter here. Forgot the password? The password can be found in any email we’ve sent. Please see below for the direct link to the resource library for this printable.
This printable can be found on page 34 of the resource library.
If you’d prefer, you can also purchase this set of upper and lower case printable alphabet templates here and have the file sent immediately and directly to you.
If you enjoyed this post, please share it on social media. Or, pin this to save it.
Follow us on Facebook, YouTube, Pinterest, Instagram, and Twitter, and please sign up for our newsletter to receive updates and FREE printables.
Visit our printable shop to see even more fun printables!
What else would you like to see from The Art Kit? Let us know in the comment section below.
Do you love these letters of the alphabet outline coloring pages?
Let us know in the comment section!
70 shares
Alphabet, letter on A4 sheet for printing.
Alphabet, letter on A4 sheet for printing.
| Window to the World
| |||
cut and print templates
Our life is full of events, many of which are real holidays. And on such days you want something special, this also applies to the design of the celebration itself. And some designs are directly related to writing beautiful texts that attract the eye. In this regard, today we want to show you how you can make holiday inscriptions in an original way using beautiful letters in Russian, and also how you can design the inscription so that it stands out. This and more is below in the article.
Main article
Beautiful Russian letters for poster design: templates with photos to cut out and print
Posters reflect the essence of the event, most of them depict some symbolic things, names, inscriptions. If the poster is made in a bright style, then it will definitely attract the eye and interest. It is important not only to create a poster with colorful pictures and high-quality images, but also to make inscriptions for a specific style. Here are some examples that you can save, print and cut.
Beautiful capital letters of the Russian alphabet for cutting: templates
Capital letters can set the tone for the beginning of a sentence. They must be big and beautiful. With the help of such techniques, the attention of a person is attracted, since the beginning of the text immediately intrigues.
If you want to use lowercase capital letters for your text , you can find the file for downloading them in one archive below.
Beautiful block letters of the Russian alphabet for decoration: templates
You can print comic posters or those written in an informative style.
- You can make all the printed letters yourself using large sheets of paper and a pencil.
- If it doesn't work the first time, you can always correct and erase the excess.
- You can also use stencils, which are enough to circle, decorate, and your inscriptions will be ready.
- If you're good at redrawing, you can use our examples below.
Capital letters of the Russian alphabet in a beautiful font: templates for cutting and printing
Uppercase letters are more delicate and airy. It is easy to write a love message, a beautiful congratulation or a note for a loved one in cursive.
Beautiful Russian letters for nicknames: samples
Most people have a nickname, that is, a pseudonym under which they are recorded in social networks or other structures. A nickname often reflects what its carrier is like. And the handwriting will give your nickname a character, make it voluminous, characteristic just for you.
Beautiful Russian letters for a tattoo: photo
Recently, tattoos are gaining wild popularity, especially text tattoos. A tattoo is a reflection of a person’s soul, expresses something that cannot be expressed in words, which, in general, is not necessary. Some people write the name of the one they love, others prescribe their values, priorities. And the more beautifully written, the more it attracts attention. Capital letters are best suited for tattoos - light, airy letters with “squiggles”.
Beautiful Russian graffiti letters: stencils
Graffiti is another direction of painting, which is typical for the design of streets and buildings. Inscriptions of this kind existed long before the appearance of those that are present on the local streets. Street painting often reflects the artist's view of a particular position. There are a lot of fonts for this style, as each avant-garde artist sees the situation in his own way, and uses his own unique handwriting.
Beautiful letters of the Russian alphabet with curlicues: samples
Letters with all sorts of curls look interesting and unusual, they can be used in writing magic and fairy texts. Or in any other to which you want to apply them.
Beautiful letters of the Russian alphabet with monograms: pictures
Who doesn't love monograms? There are probably very few of them. Monograms are used everywhere: in the interior, in decor, in murals, in design, and even in text design.
Beautiful curly letters of the Russian alphabet: pictures
Curly letters as well as other interesting texts can be designed. They come in different types and sizes. And the design of the illustrations will help set the tone for your idea.
Beautiful carved letters of the Russian alphabet: pictures
Carved letters will look best in the "composition" of fabulous, magical texts, especially if you make them on thick paper and rather large.
Beautiful letters of the Russian alphabet in A4 size: print and cut
Here you can see the letters in large format, as well as download and print. New Year letters of the Russian alphabet
New Year - why not create a poster on the winter theme? The following letters are suitable for registration.
Calligraphic letters of the Russian alphabet: photo
Some people cannot boast of calligraphic handwriting, so a stencil or printed version of the text comes to their aid. The following are variants of the calligraphic type alphabet.
Beautiful letters of the Russian alphabet for children: pictures
Video: Volumetric beautiful letters of the Russian alphabet
The Russian alphabet is large and rich, it has 33 letters, each of which is beautiful in its own way. Therefore, before using foreign words, pay attention to how beautiful Russian letters are. With their help, you can design thousands of posters, and none of those written in a foreign language can be compared with them.
Need help?
Do you want to know 1C: Accounting? Sign up for a free first lesson!
Continue. Typically, the font size is set by choosing from a list. In this case, everything is the same. Type your letter, select it with the mouse and set the desired size. That's just the creators of Word and other programs by no means thought that to someone will come to mind to put like this font size, in which one letter occupies the entire A4 sheet. For this reason, in the font size selection list, the maximum size is not so big - "only" 72 points.
If there is no desired size, then you can simply write it in the selection list, as shown in the figure, since the font size selection list is editable (what-what???). Unclear? Then you urgently need to learn Windows.
One more time. Select your letter, then erase what is written there in the font selection list, and write what you need. What number to write? This generally depends on which type of font is selected. Pick up until your letter is exactly the size of an A4 sheet. In my example, this is 800 points (more precisely, I was too lazy to select).
There was an important part of the article, but you can't see it without JavaScript!
Other Ways to Enlarge a Letter to A4 Size
As you can see, the above method of stretching a letter to cover the entire A4 sheet has an obvious drawback - no matter how you increase the font size, the letter stubbornly does not want to become centered on A4. In the example below, this drawback is completely eliminated and the letter is located exactly in the center of the A4 sheet.
website_
In this example, the problem is solved in a different way, but again in Word. It is worth remembering that almost any task has more than one way of implementation. You just need to be good at what you are doing. However, method number one is much more popular - few people want to think!
How to print numbers on the entire A4 sheet in Word
A very similar task - in my opinion, it is completely similar to the one discussed above. To create huge numbers for the size of A4, you can use all the same methods that I showed in. So if you need to make one number fit on the sheet (1, 2, 3, 4, 5, 6, 7, 8, 9 or the number 0), then consider that you can already do it. Well, this, of course, if you carefully read what was written above.
And in addition to this, perhaps I'll show you another way to increase the inscriptions to the entire sheet.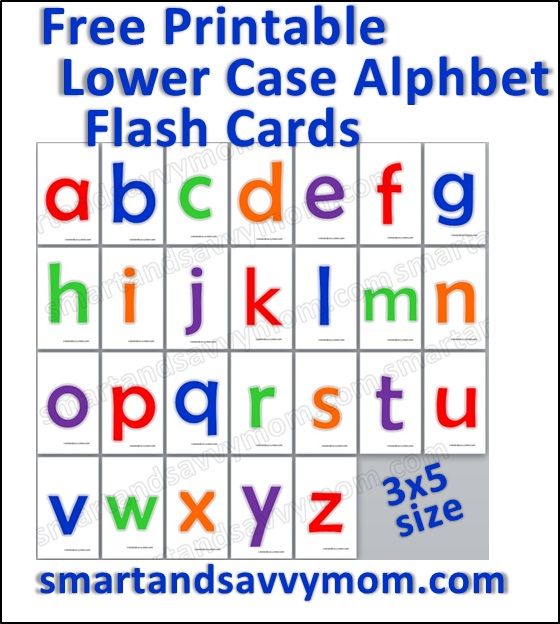 Namely, contour symbols in A4 size. An example is shown in the figure. True, there is already a fill there, but you can guess for yourself how to remove it ... (hint: shape properties).
website_
Why is this needed? Well, for example, in order to color it all later. :) And indeed - after all, color printers are not so common. By the way, you can read about printing color images on a black and white printer.
To make a figure in the entire A4 sheet, first remove the margins or make them as narrow as possible (about changing the margins). After that, from the Ribbon menu in the "Insert" section, select WordArt and add it to the sheet. Then just increase the font, everything is clear. It is only worth considering one feature.
Use the text frame markers around the edges to expand the margin so that your number will fit. Otherwise, it will go beyond the borders of the frame and part of the figure will not be visible. You also need to center the text so that it is in the middle of the sheet. To do this, drag it outside the border of the frame (usually down).
Features of printing letters in A4 size
There are some features of printing text such sizes, which I did not show above (lazy). You can watch it in a demo video where I show the process of creating giant letters in Word.
Video tutorial on increasing letters and numbers in Word to the size of an A4 sheet
A fairly simple example shows how to make a letter or number of huge size. Large inscriptions are usually printed from such letters. How to do it, look at the video.
There are many types of special garlands sold in stores, but to make this day truly unique, we suggest making decorations yourself.
Here we have collected interesting ideas and master classes that will help you make Happy birthday garland from paper, fabric or felt!
As well as ready-made templates and layouts for printing!
A garland with the letters "Happy Birthday" can be made in 15 minutes, or half an hour if you don't rush.
Download and print the template
Of course, if you wish, you can sit and come up with patterns, and then draw them yourself. But in order to make this task a little easier for you and speed up the process, we have collected interesting and original garlands of Happy Birthday templates, they can simply be downloaded and printed , and then use to create holiday garlands.
Template #1
Completely finished garland template. You just need to download (click on the red button) . Print. And assemble according to the instructions below.
Pattern #2
Letters in two colors: soft green and pink. The letters of the entire alphabet - print and collect the right words. How to attach to a thread or a bow - described below
Template #3
Flags and colorful rectangles. Choose the one you like. Print on a color printer and letters can be entered with a marker of any color!
How to make a garland
Just imagine how many wonderful inscriptions you can make with these templates! They are suitable for birthdays and any other holiday, or even just to make an unexpected surprise to a loved one.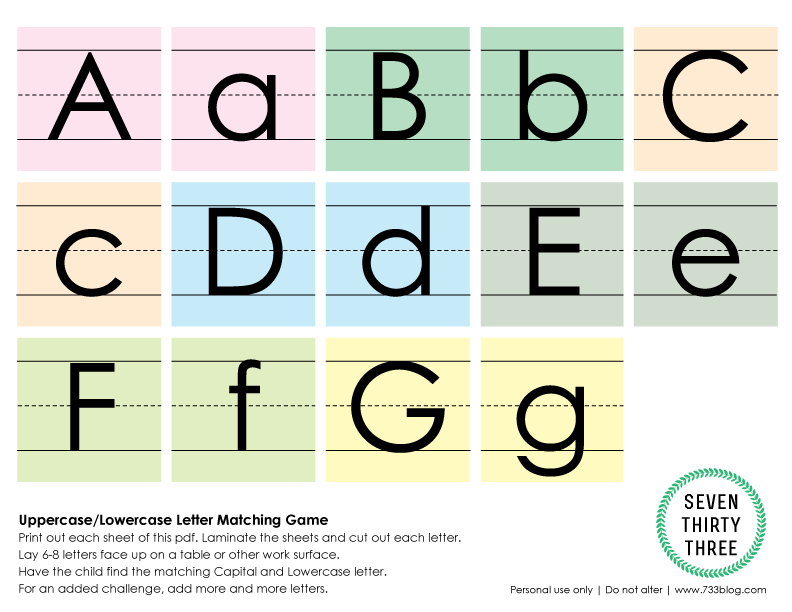
- The bottom line is that there are stencils of all the letters of the alphabet, which can be printed and folded into the desired inscription .
- And it is not necessary to print the entire alphabet, select only the individual letters you need .
- If you wish, you can add some decorating elements to the stencils of letters .
- To save ink, the letters are designed in a textured style, you can also use printer settings to control ink consumption.
TIP: to save paper: print one letter, flip the paper over and print another letter on the other side.
How and with what to fasten the letters of the garland
To make a birthday garland, it is not enough to print stencils, you also need to fasten and hang them somehow. Let's look at options on how this can be done.
We fasten the letters on one long thread
For this you will need:
- letter templates,
- thick thread or ribbon,
- hole punch, scissors.
Work progress:
- Using a hole punch, make 2 holes in each letter from the top , and then you need to string the letters on a rope or ribbon.
- If the thread is thin, fold it several times, sometimes looks even more interesting that way.
- It is important to string the letters in the correct order, so as not to remake them later, so it is better to first arrange the letters as you need and take one at a time.
WARNING! You need to tie a knot on each letter so that they do not move out of their place and do not bunch up.
TIP: don't tighten the rope too much and it will sag towards the middle, if the rope is taut, it's a waste of time.
We tie the letters with a bow
This method of fastening is suitable if you cut out the letters not along their contours, but leaving more space in reserve, otherwise the bows may partially overlap the letters (there you need to look at the situation, if the letters are very large, then everything will be in order).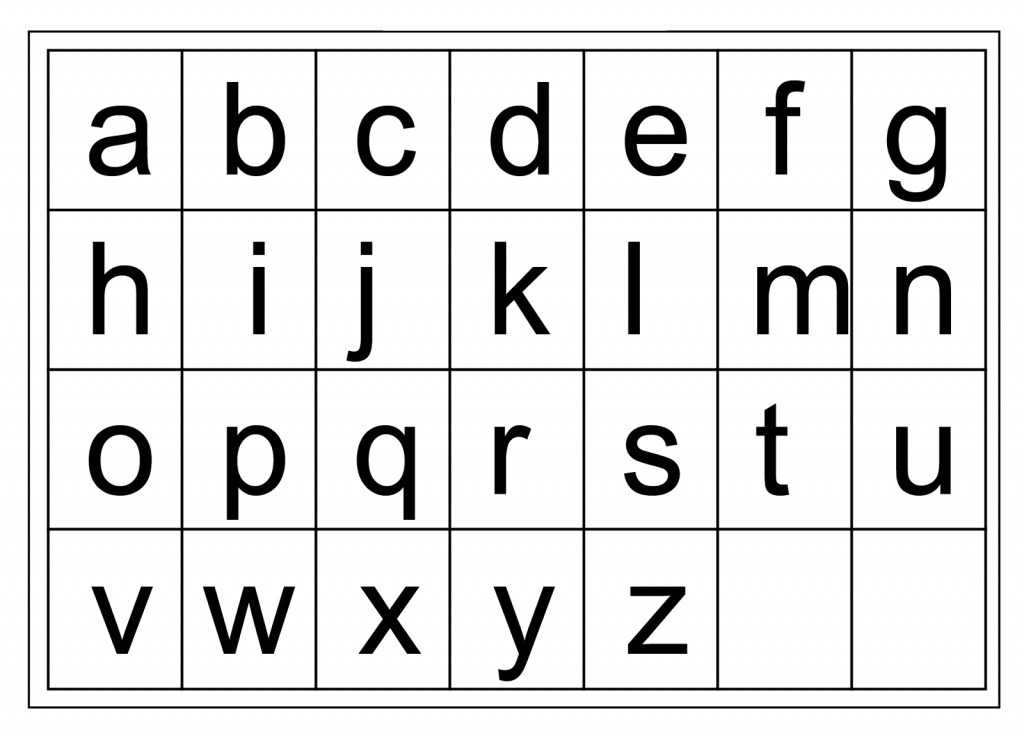
You will need:
- letter templates,
- thick thread or ribbon,
- hole puncher and scissors.
As you can see, all the same materials as in the previous method. Only here we will tie adjacent letters with separate threads.
Progress:
- Punch with 2 holes in each template and arrange them in the order in which you will take them.
- Take the first and second letters and tie them with a bow . To make the process more streamlined, you can immediately cut the required number of ribbons of the same length.
- When the first two letters are connected, do the same with the second and third, and so on until the end. Your garland is ready .
Fasten the garland with clothespins
Recently, this type of fastening can often be seen at various photo-dryers, that is, photo exhibitions.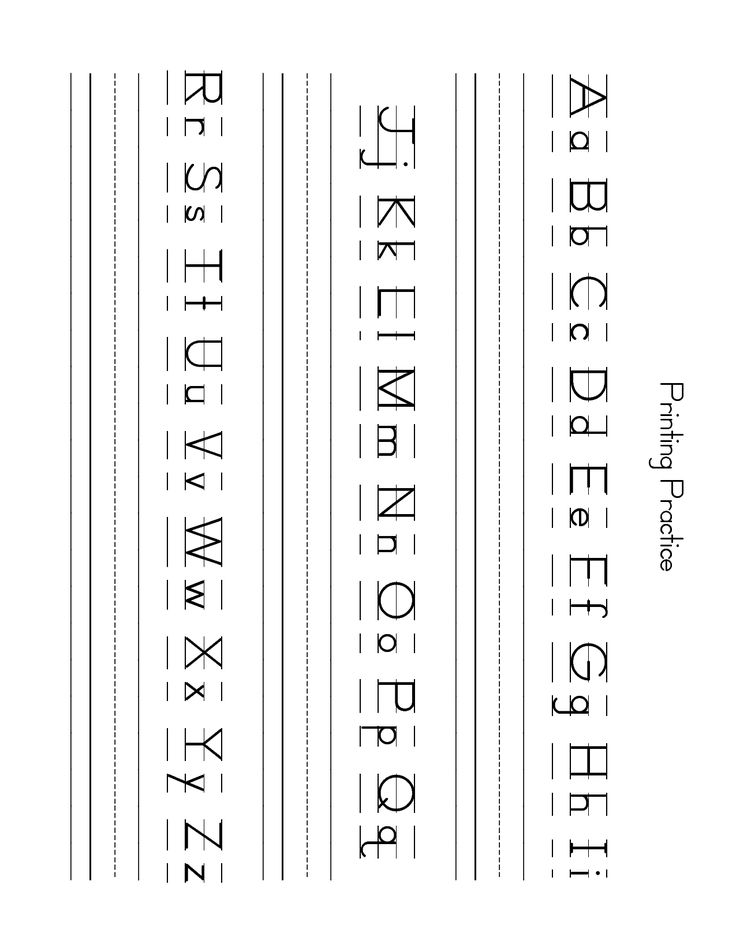 The method is convenient and fast, and also does not require a hole punch, which is an important advantage for those who do not have one.
Work progress: Attach the letters one by one with clothespins to a long piece of string. All!
How to attach: in all these methods, the last step is to attach the finished garland to the wall. Of course, no one will punch nails for the sake of a garland, so the ends of the rope can be stretched and tied to any protruding objects (cornice, cabinet handle, pipe, etc.).
Wall mount with tape
Another option is to attach with adhesive tape (if the surface does not deteriorate), and in this case it is better not only at the edges, but in several other places so that the garland does not fall. On the wallpaper, you can carefully prick the pins and hook the rope behind them.
Happy Birthday Felt Garlands
Here you will have to work harder, but the result will show how much care is invested in the creation of such a garland.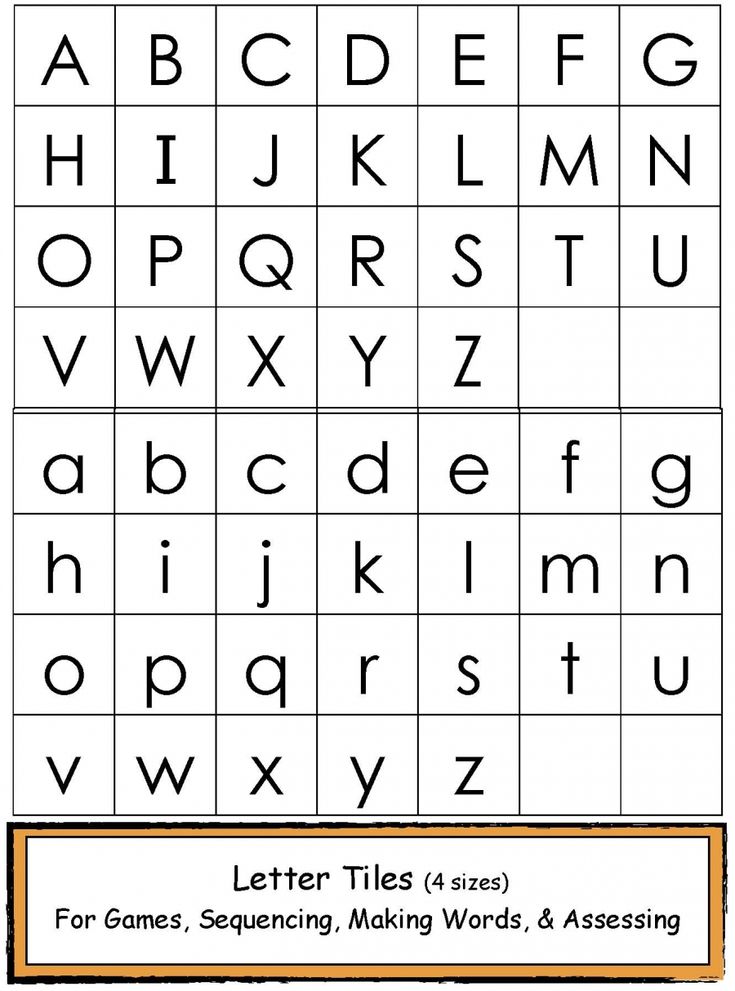 We have prepared two master classes that will not leave you indifferent.
You will need:
- Colored felt or felt fabric (quantity depends on the inscription)
- Self-adhesive paper (or freezer paper if you can find one in our stores)
- Letter stencils
- Scissors or utility knife
- Rope, ribbon or thick thread (to which you will attach the letters)
- White thread (for sewing layers of fabric)
- Sewing machine (if not available, you can do everything by hand)
- Clothespins
Work progress:
Step 1:
- On self-adhesive paper , print the stencils of the letters you want to write on . You choose the size of the letters yourself, depending on how you want to see the inscription and how much space you have for it on the wall.
- Cut out rectangles with letters , and then to each of them the same size empty rectangle of paper and cloth.

- Fold the rectangles described in the previous paragraph so that the fabric is between the paper, the lines of the letter should be at the top.
- When using with self-adhesive paper, simply stick it on both sides of the fabric , if you find freezer paper, go over the top on both sides with an iron, this will hold the layers together.
Cut out the letters. Carefully peel off the paper on both sides. We got these pretty letters:
STEP 2:
- Now we're going to make the letters thicker so they look better and don't twist as much on the rope. To do this, put the letters from the fabric on another layer of felt or felt and iron.
- Laying a machine or hand stitch along the contours of letters about 1-2 mm from the edge. We recommend a white thread, as it looks good on all colors of the fabric, otherwise you will have to select a separate thread for each letter, and this is just an additional unnecessary waste of time and money.
- Cut out each letter along the outline. They are ready, it remains only to attach.
- Hanging a long rope fixing its ends to the wall. With clothespins we cling to it each letter in the required sequence to get the selected inscription.
Now the garland is ready to please the birthday boy and surprise the guests!
Happy Birthday poster on fabric
Probably each of you at least once in your life, at least once at school, drew a congratulatory poster. The manufacturing method proposed in this master class takes this art to a whole new level. Patchwork quilts have long delighted many with their warmth and comfort, and you won’t be surprised by them, but a patchwork poster, I’m sure, will be a complete surprise and an original novelty.
You will need:
- Pieces of felt or felt fabric (in this case 9 pieces)
- Scissors or utility knife
- Letter stencils
- Adhesive pad (e.
 g. doublerin or interlining)
 - Ironing iron (or any cotton fabric)
- Wooden stick
- Thick thread for fastening
Work progress:
- Arrange the pieces of felt or felted fabric to form a rectangle. Consider the combination of colors so that everything looks harmonious and holistic together.
- Adjust the patches so that they overlap by about 1.5 cm.
- Place an adhesive tape along the edges of the bottom patches, its width is equal to the width of the overlapping fabrics, i.e. 1.5 cm.
- Gently iron the fabric. We advise you to use an iron, so as not to spoil the surface of the fabric itself.
- You can trim the poster to the correct size.
- The top edge of the poster needs to be finished. To do this, wrap it inside out by about 1.5-2 cm, it depends on the thickness of the stick, which you will then insert into the resulting hole. Secure the lapel with hand or machine stitching.
- On top of the fabric poster, lay out the printed and cut-out stencil letters to get the desired congratulatory inscription.
- Lightly circle the letters with a small or thin piece of soap, they are then easily erased. It is possible with a pencil, but then you need to cut these lines as well.
- Cut out the letters.
The last thing to do is insert a wooden stick into the hole in the top of the poster and tie a thick thread or ribbon along its sides. Hang up the poster and enjoy the festive mood!
Garlands: Fabric marker
This master class will also have templates, but you do not need to cut out the letters. Such a garland looks very neat and beautiful, and will surely please the birthday man.
And the most important advantage of fabric garlands is that they can be stored for a long time!
You will need:
- fabric, paint or marker,
- letter patterns,
- scissors, ruler,
- thick thread, glue.
Work progress:
- Find or buy a fabric similar to the one shown in the photo. A fabric like burlap works well. It should be light in color with a discreet pattern that will complement the letters, and not draw attention from them to itself.
- Cut the fabric into even rectangles. In this case it is 17x12 cm .
- Choose a letter stencil of your favorite style and print it out. Then lay each letter on a separate piece of fabric and circle.
- Paint over the letter and let it dry. A marker would work too.
- The color should be contrasting and stand out well against the background of the fabric, not merge so that the inscription can be read even from afar.
TIP: As an alternative, you can cut out the templates in thin plastic or film, attach to the fabric and immediately sketch
- Now you need to attach the letters to the thread, forming a garland.
 Determine how far apart they should be and glue on a thick thread. You can also attach each letter with two clothespins.
Happy Birthday Garland Ideas
Also look at other options for birthday garlands: with glitter, with balloons! Get inspired and let this day be truly special and unique for you!
Before starting to learn the Russian language, any student must learn its basis - the alphabet. You need to learn it at the very first lesson and you need to master this knowledge properly.
Any word of the Russian language consists of sounds, which are the basis of the shell of any word. Each word consists of a different sound design. Of great importance is the combination of letters in the word, as well as stress.
In any language, including Russian, transcription is used to distinguish letters in words. It is transcription that helps to understand how a word sounds, giving it a generally accepted written form.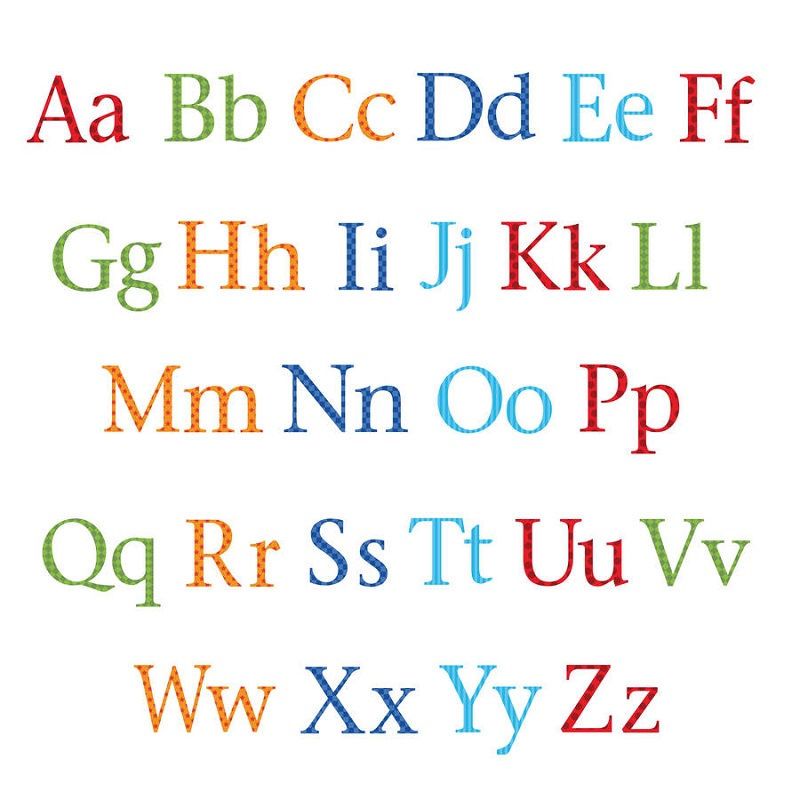 The transcription will show the softness of the consonants, which syllables are in the word, and also where the stress is located and which letters fall under it.
The letters of the alphabet can be divided into groups such as vowels and consonants. In addition, vowels can be stressed, these are only six letters. Stressed vowels are those that, when pronouncing a sound, do not encounter obstacles in the oral cavity. You can put your hand to your throat and feel how the ligaments vibrate. Any vowel can be shouted and sung. It is vowels that are the basis of any word, but stressed syllables sound distinct, and unstressed ones are more colorless.
Consonants usually encounter obstacles in their pronunciation. Usually such sounds are quite difficult to pronounce if they are in a row. The Russian language does not have words that consist only of consonants. Consonants can also be divided into voiced and deaf, as well as paired and unpaired sounds.
Large capital letters
Studying the alphabet, it is necessary to study the spelling of letters, as well as punctuation marks. Large capital letters will be very important and necessary for all further education of children. To form handwriting, you will need to show the child different fonts that are used to write a particular capital letter.
For the correct design of letters while writing, you can make memos for children. You just need to take sheets of paper that are A4 format, on which you can print suitable and various stencils with capital letters. Use a wide variety of fonts so that children best remember how to write one or another letter of the Russian language. Such pictures can be colored, you can draw small elements of jewelry on them, but so that they do not distract from the information that the stencils contain.
You can use classic fonts with combs, original spelling, floral and festive decoration, the main thing is to show imagination and involve children in the creation of such an alphabet, it will be interesting for them to decorate and color capital letters on A4 paper.
Small letters
Learning how to write lowercase letters is just as important as uppercase letters.