Phonic sound of letter a
What is the Phonic Sound of ‘a’ | Language Pronunciation Lesson
This video lesson is designed for children aged 3-6 years to teach them the phonic sound of the letter “a” and how to pronounce the words starting with it.
Learning the phonics sounds of the alphabet is the first step in learning spelling and vocabulary. Phonics helps children read faster and more fluently.
What is phonics?
Phonics is a method of teaching children how to read and write. It helps children listen to, identify, and use distinct sounds in English to distinguish one word from another. There are three types of phonics:
- Those produced by letters that do not sound like its letter name, such as the “o” in “to,”
- Those produced by letters in combination, such as the “tion” in the word “distinction,”
- Those produced by only letters that sound like their letter names, such as the “o” in “of.”
With phonics, individuals or groups of letters are matched with the sounds of spoken English. As an example, the sound k can be spelled as c, k, ck, or ch.
Benefits of learning the phonic sound of “a”
- It helps the child to identify words when they hear the words/ sentences
- It helps the child to understand how sound changes in letters when used in combination with letters.
- It helps children to write the correct spellings of the words they hear or read.
- Children can easily associate letter sounds with word beginnings.
Let us start the journey of phonics with the pronunciation of letters.
Pronunciation of ‘a’, or Sounds of letter ‘a’
In phonics, the letter ‘a’ has five distinct sounds. Let us look at these five sounds:
Below, the sounds are abbreviated in both International Phonetic Alphabet (IPA) and the American Heritage Dictionary (AHD) notations.
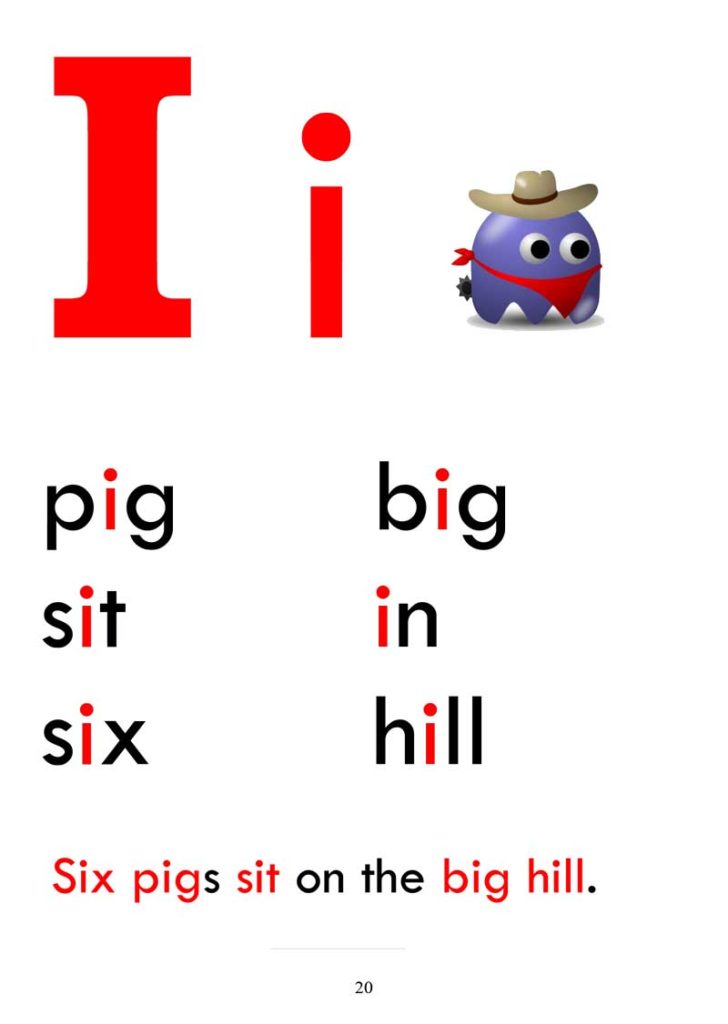
Sound 1 of the letter a:‘a’ producing short vowel sound–æ (IPA) and ă (AHD)
Examples: apple, bat, cat, cap, man
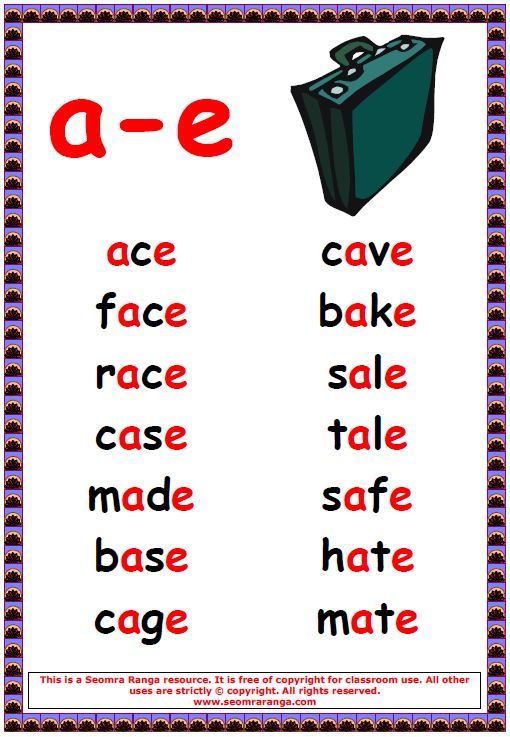
Sound 2 of the letter a:‘a’ producing long vowel sound–eɪ (IPA) and ā (AHD)
Examples: snake, cake, bake, gate, made
Sound 3 of the letter a:
‘a’ producing long a sound-aa–ɑː (IPA) and ä (AHD)
Examples: mask, car, bath, ask, grass
Sound 4 of the letter a:‘a’ producing o sound–ɔː (IPA) and ô (AHD)
Examples–wall, call, war, fall
Sound 5 of the letter a:‘a’ producing e sound–ɛ (IPA) and ĕ (AHD)
Examples–any, many, anything, anywhere
In this video, the child will explore the short vowel sound of the English letter ‘a’, and learn words starting with it, such as an axe, apple, ant, and arrow.
The sounds of the letter ‘a’ are repeated for each word so that the child can hear and pronounce the words accurately.
More Pronunciation videos:
- Pronunciation of the letter ‘b’
- Pronunciation of the letter ‘c’
- Pronunciation of the letter ‘d’
- Pronunciation of the letter ‘e’
For more English language resources, visit: https://theglobalmontessorinetwork.org/language-lessons/
Video created by: Strykun Olena
Phonics: In Practice | Reading Rockets
Phonics instruction teaches common letter-sound relationships, including sounds for common letter patterns, so that readers can apply them in decoding unfamiliar words.
The purpose of phonics instruction
In this section:
Only a small percentage of English words have irregular spellings and letter-sound relationships. This means that nearly all English words can be read by applying knowledge of letter-sound relationships and blending sounds together to form a whole word. To learn more, see How Words Cast Their Spell.
Being able to decode words effortlessly (convert spelling into speech sounds) means children are able to focus their attention on comprehending what they read.
Beginning phonics lessons
Regardless of grade, start phonics lessons with consonant letter sounds that are easy to pronounce and less often confused with similar letter sounds. This enables students to master one letter sound before having to learn a similar letter sound. For example, students may confuse the letter sounds for t and d. Since the letter t is more common, instruction should introduce t many lessons before introducing d.
Learning sounds for letters is basically rote learning, and for rote learning, the use of memory cues can be very helpful. For instance, for short a, children can learn that the letter a looks like an apple with a broken stem, and short a represents /a/ as in apple.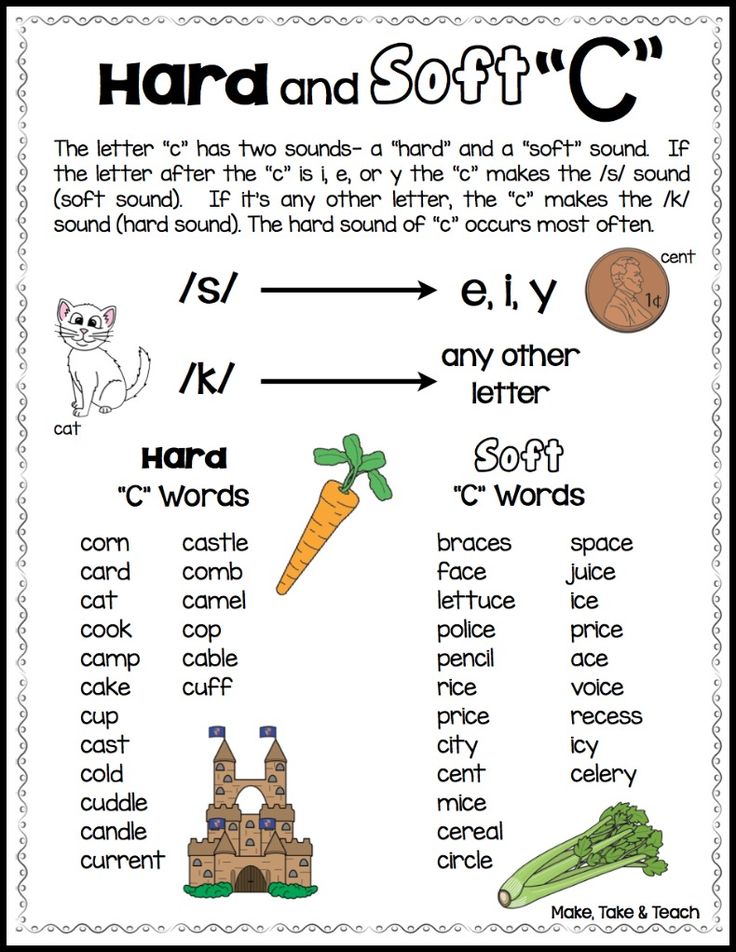 Multi-sensory activities, such as repeatedly tracing the vowel letter and saying its sound, are often useful as well.
Start explicit phonics instruction with short vowel words because these vowels have one predictable spelling (with few exceptions) and are the most commonly occurring vowel sounds in English. Because the short vowel sounds are highly confusable, they should be taught individually, not all at the same time.
Phonics Terms
- Phoneme
The smallest unit of sound in our spoken language. Pronouncing the word cat involves blending three phonemes: /k/ /ae/ /t/. - Grapheme
A written letter or a group of letters representing one speech sound. Examples: b, sh, ch, igh, eigh. - Onset
An initial consonant or consonant cluster. In the word name, n is the onset; in the word blue, bl is the onset.
- Rime
The vowel or vowel and consonant(s) that follow the onset. In the word name, ame is the rime. - Digraph
Two letters that represent one speech sound (diphthong). Examples: sh, ch, th, ph. - Vowel digraph
Two letters that together make one vowel sound. Examples: ai, oo, ow. - Schwa
The vowel sound sometimes heard in an unstressed syllable and that most often sounds like /uh/ or the short /u/ sound. Example: the "a" in again or balloon. All English vowels have a schwa sound. - Morpheme
The smallest meaningful units of language. The word cat is a morpheme. Not all morphemes stand alone as words; some are attached to words, usually as affixes. These are called bound morphemes. Examples include: non-, -est, -ing, -er, -ion.
Kindergarten phonics lessons
Phonics lessons in kindergarten focus on students becoming automatic at letter naming, single-grapheme letter sounds, and reading single-syllable words with short vowel spellings. Instruction may include common digraphs (ch, sh, th, wh, and ck). For some kindergarten students, articulating some consonant sounds may be difficult, but this does not prevent them from reading and comprehending words with those sounds.
To learn more about when kids learn different consonant sounds, see this Speech-Sound Development chart.
Back to top
First grade phonics lessons
In first grade, phonics lessons start with the most common single-letter graphemes and digraphs (ch, sh, th, wh, and ck). Continue to practice words with short vowels and teach trigraphs (tch, dge). When students are proficient with earlier skills, teach consonant blends (such as tr, cl, and sp).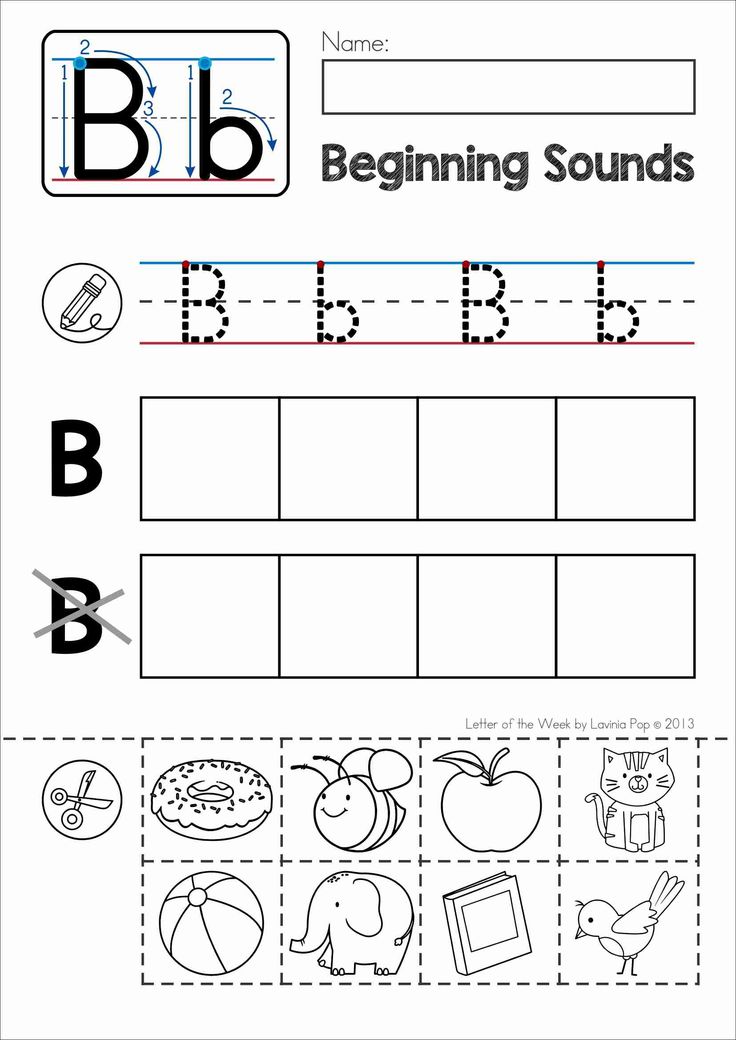
Ensure students understand the difference between blends, digraphs, and trigraphs: that each letter in a blend retains its own sound, while the letters in digraphs and trigraphs represent one sound.
In first grade, we may also include two-syllable words with short vowel sounds (e.g., cat∙fish, pic∙nic, kit∙chen). Inflectional endings such as ing, er, and s would also be included. When students have mastered short vowel spelling patterns, introduce r-controlled (e.g., er, ur, or, ar), long vowel (e.g., oa, ee, ai), and other vowel sound spellings (e.g., oi, aw, oo, ou, ow).
Teaching of common syllable types is also very useful for first-graders. By the end of first grade, typical readers should be able to decode a wide range of phonetically regular one-syllable words with all of these letter patterns and syllable types, including one-syllable words with common inflectional endings (e. g., sliding, barked, sooner, floated).
Teaching syllable types in first grade
Teaching children about syllable types is useful because vowel sounds in English vary, and knowledge about syllable types can help children determine the vowel sound of a one-syllable word. Later, once they have learned some rules for dividing long words, children can also apply their knowledge of syllable types to decode two-syllable and multisyllabic words.
Instruction in syllable types should focus on children’s abilities to classify words correctly (e.g., sort one-syllable words that are closed from one-syllable words that are not closed) rather than on children’s abilities to recite rules or definitions. However, it is very important for us to present clear, consistent definitions of the syllable types, in order to avoid inadvertently confusing instruction.
The six syllable types common in English are closed, silent e, open, vowel combination, vowel r, and consonant-le. The chart below lists these syllable types along with their typical vowel sounds, definitions, some examples, and some additional comments.
The specific order in which syllable types are taught can vary substantially, depending on the phonics program being used. However, the closed syllable type is usually taught first, because closed syllables are common in English, and it is virtually impossible to write even a very simple story for children that contains no closed syllables. Conversely, consonant-le syllables always occur as part of two-syllable (or longer) words, so that syllable type would often be taught last.
| Syllable Type (Synonyms) | Vowel Sound | Definition | Examples | Comments |
|---|---|---|---|---|
| Closed | Short | Has only one vowel and ends in a consonant. | splash, lend, in, top, ask, thump, frog, mess | The main prerequisite when children learn the closed syllable type is that they first have to be able to classify letters as either vowels or consonants.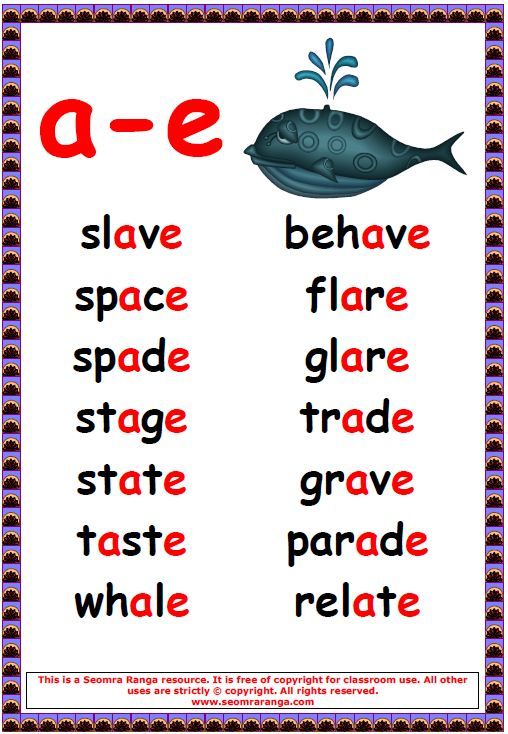 |
| Silent e (magic e) | Long | Has a –VCE pattern (one vowel, followed by one consonant, followed by a silent e that ends the syllable) | plane, tide, use, chime, theme, ape, stroke, hope | Words like noise, prince, and dance are not silent e, even though they end in a silent e, because they do not have the -VCE pattern; noise has a –VVCE pattern and prince and dance have a -VCCE pattern. |
| Open | Long | Has only one vowel that is the last letter of the syllable. | he, she, we, no, go, flu, by, spy | This syllable type becomes especially useful as children progress to two-syllable words. For example, the ti in title, lo in lotion, and ra in raven are all open syllables. |
| Vowel combination (vowel team) | Varies depending on the specific vowel pattern; children must memorize sounds for these individual vowel patterns. | Has a vowel pattern in it (e.g., ay, ai, aw, all, ie, igh, ow, ee, ea). | stay, plain, straw, fall, pie, piece, night, grow, cow | Vowel patterns do not always involve two vowels but can also consist of a vowel plus consonants, if this pattern has a consistent sound (e.g, igh almost always represents long /i/; all almost always represents /all/). Also, some vowel patterns can have more than one sound. For example, ow can represent long /o/ as in grow or /ow/ as in cow. For these patterns, children learn both sounds and, when decoding an unfamiliar word, they try both sounds to see which one makes a real word. |
| Vowel r (bossy r, r- controlled) | Varies depending on the specific vowel r unit; children must memorize sounds for these units (e.g., ar, er, ir, or, ur). | Has only one vowel followed immediately by an r | ark, charm, her, herd, stir, born, fork, urn | Does not include words in which the vowel r unit is followed by an e (e. g., stare, cure, here) or in which the r follows a vowel combination (e.g., cheer, fair, board). These words can usually be taught as silent e (in the first case) or vowel combination (in the second). g., stare, cure, here) or in which the r follows a vowel combination (e.g., cheer, fair, board). These words can usually be taught as silent e (in the first case) or vowel combination (in the second). |
| Consonant-le | Schwa | Has a –CLE pattern (one consonant, followed by an l, followed by a silent e which ends the syllable) | -dle as in candle, -fle as in ruffle, -ple as in maple, -gle as in google, -tle as in title, -ble as in Bible | Consonant-le syllables never stand alone; they always are part of a longer word. Also, they are never the accented syllable of a longer word. |
Video: Learning ‘b’ and ‘d’ and Reading Short Vowel Words
In this video, reading expert Linda Farrell works with Aiko on a common letter reversal — confusing the letters ‘b’ and ‘d’. Ms. Farrell coaches Aiko to look at the letters during b/d practice and to look at the words while she works with Aiko to read short vowel words accurately. See more videos here: Looking at Reading Interventions.
Back to top
Second grade, third grade, and beyond
As students enter Grade 2, they should be learning to decode a wide range of two-syllable and then multisyllable (i.e., three syllables or more) words. Instruction in decoding these longer words should include attention to common syllable division patterns and syllabication rules.
Common syllable division patterns
To decode words of more than one syllable, children need a strategy for dividing longer words into manageable parts. They can then decode the individual syllables by applying their knowledge of syllable types and common letter-sound patterns, blending those syllables back into the whole word.
The chart below provides some useful generalizations for teaching students how to divide (syllabicate) two-syllable words with various common patterns, in order to decode them. These generalizations also are useful for decoding multisyllabic words, those with three or more syllables.
| Pattern | Generalization | Examples | Comments |
|---|---|---|---|
| Compound | In a compound word, divide between the two smaller words. | back/pack, lamp/shade, bed/room, bath/tub, work/book | To be a true compound word, each of the smaller words must carry meaning in the context of the word (e.g., carpet is not a compound word, because a carpet is not a pet for your car or a car for your pet). |
| VCCV | If a word has a VCCV (vowel-consonant-consonant-vowel) pattern, divide between the two consonants. | or/bit, ig/loo, tun/nel, lan/tern, tar/get, vel/vet | There is an exception if the two consonants form a consonant digraph (a single sound), as in bishop, rather, gopher, or method.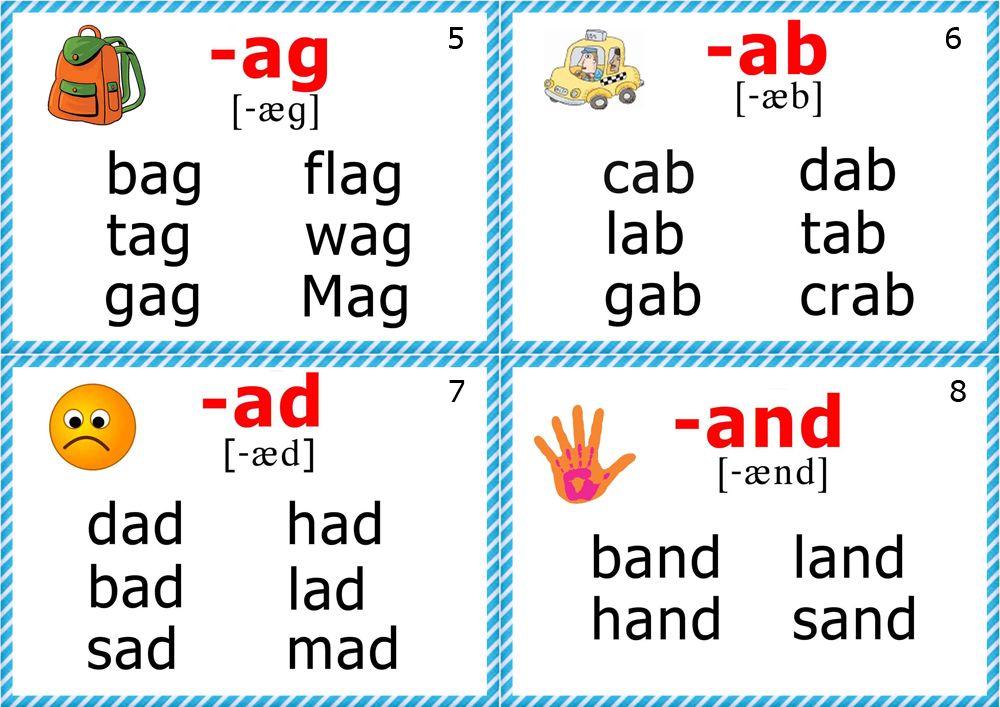 In these cases, treat the word as a VCV word, not VCCV (see below). In these cases, treat the word as a VCV word, not VCCV (see below). |
| -CLE | If a word ends in a consonant-le syllable, always divide immediately before the -CLE. | ma/ple, stum/ble, i/dle, nee/dle, gig/gle, mar/ble, tur/tle | |
| -VCV | If a word has a VCV (vowel-consonant-vowel) pattern, first try dividing before the consonant and sounding out the resulting syllables; if that does not produce a recognizable word, try dividing after the consonant. | hu/mid, ra/ven, mu/sic, go/pher; plan/et, com/et, tim/id, bish/op, meth/od, rath/er | To recognize the correct alternative, the child needs to have the word in his/her oral vocabulary. If the student does not recognize the correct alternative, we can have them try both options (e.g., hu/mid with a long u vs. hum/id with a short u). Then, if necessary, just tell the child the correct pronunciation of the word, with a brief explanation of its meaning.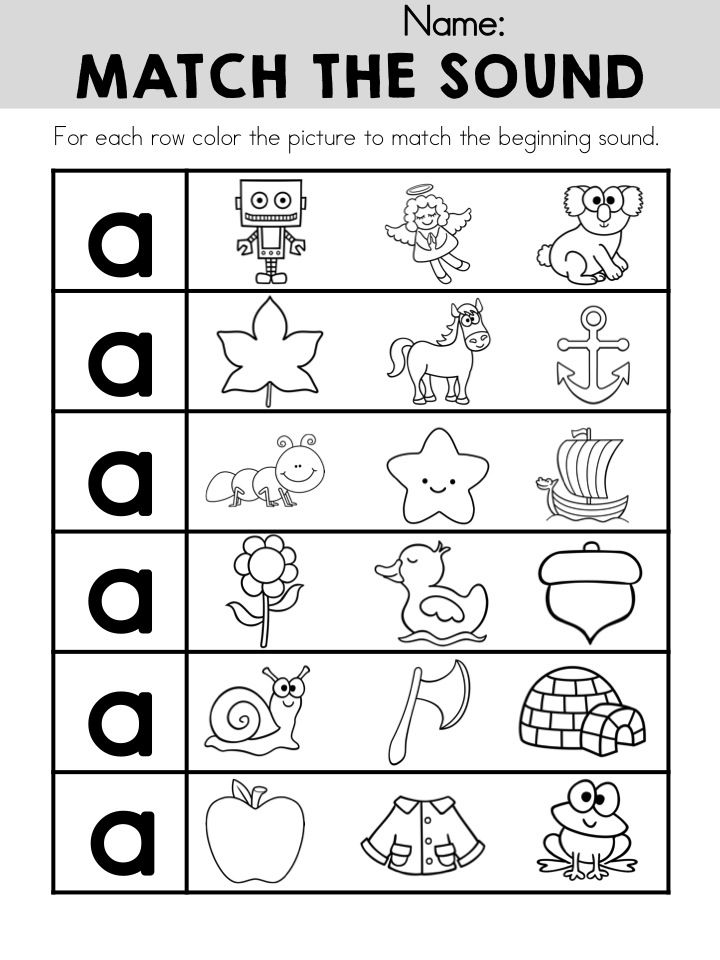 |
| Prefix | In word with a prefix, divide immediately after the prefix. | pre/view, mis/trust, un/wise, re/mind, ex/port, un/veil | See below. |
| Suffix | In a word with a suffix, divide immediately before the suffix. | glad/ly, wise/ly, sad/ness, care/less, hope/ful, frag/ment, state/ment, na/ture, frac/tion | Depending on its origin, the base word in a word containing prefixes or suffixes will not always be a recognizable word. However, the key point is that, when dividing a longer word, prefixes and suffixes are units that always stay together as patterns; never divide in the middle of a prefix or in the middle of a suffix. |
Continue explicit phonics instruction through second grade with increasingly complex spelling patterns. By third grade, shift explicit phonics instruction mostly to explicit morphology instruction. Students move from learning about letter/sound relationships to sounds for prefixes, suffixes, roots, base words, and combining forms.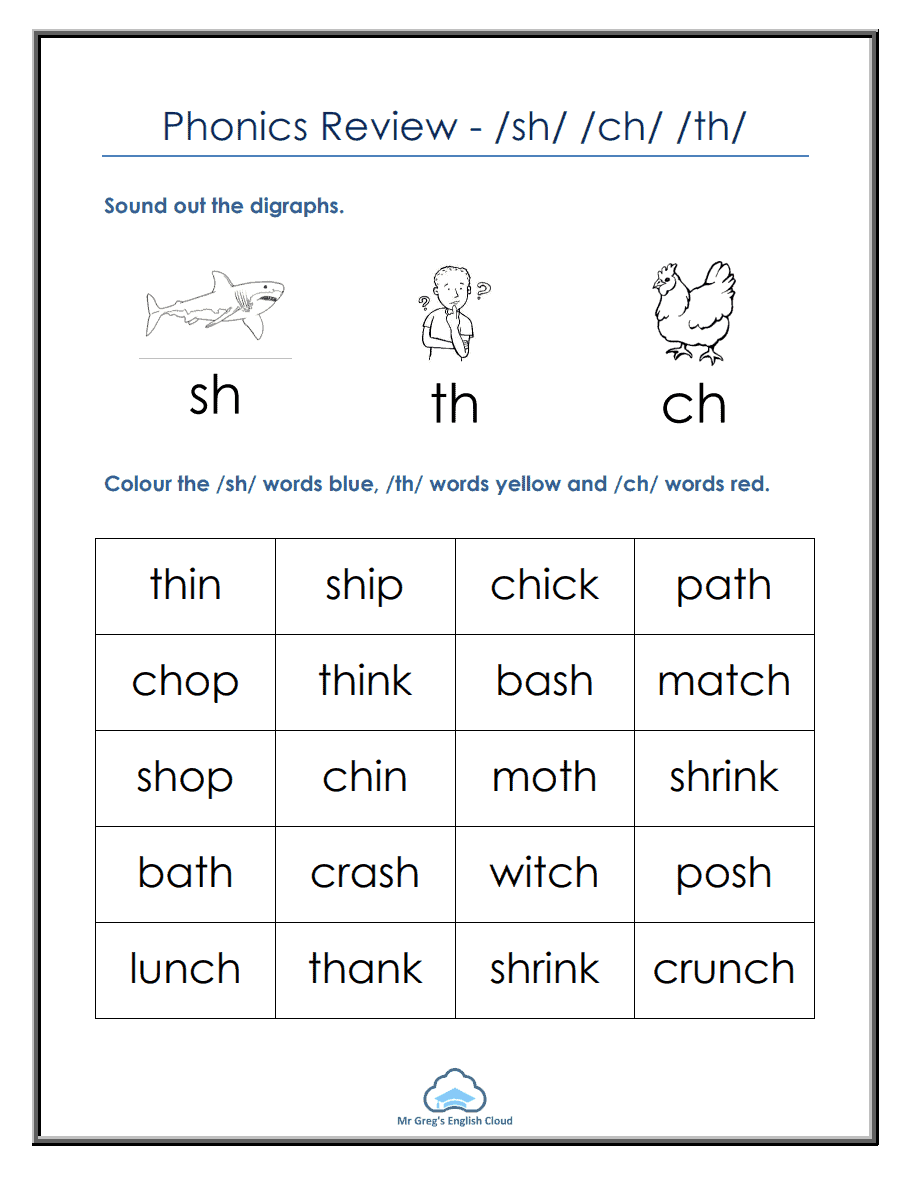
Vocabulary and spelling can be integrated with instruction in reading words. For example, as children learn to read the root geo, they learn that it means earth and that it will have a stable spelling across related words such as geology, geologist, geological, geography, geographic, etc.
Although many word-reading skills are developed by the end of Grade 3, children may be learning some of these skills even beyond Grade 3. Developing an understanding of etymology (word origins) is one example of this more advanced kind of skill for reading words.
For instance, j is pronounced /h/ in words of Spanish origin, and this pronunciation is retained in English words borrowed from Spanish, such as jalapeno and junta.
As another example, words that end in –ique such as boutique, antique, and mystique are borrowed from French and retain the French pronunciation for this pattern, /eek/.
Children do not need to learn sounds for all letter patterns in every language, but if they understand that many words in English are borrowed from other languages, and that these words often retain at least part of their pronunciation in the original language, this can benefit their word reading as well as their spelling.
Back to top
Phonics lesson planning
Lesson plans for explicit phonics instruction start with a clear, achievable objective. An objective may be learning two to three new consonant sounds, one new vowel sound, or a new phonics concept (e.g., in one-syllable words, ck spells the sound /k/ after one vowel letter and only at the end of a word). Lesson plans will likely span many days and include multiple layers of instruction and practice.
Lesson plans can start with a review and include previously taught concepts throughout the lesson. Lessons pull forward everything taught previously.
New concepts (e.g., letter sounds) are explicitly taught before being practiced. All practice should include an “I do, We do, You do” practice. In “I do,” model the activity. In “We do,” guide the group through practice. In “You do,” have students practice individually and model proficiency.
Build scaffolded instruction and practice into activities. Each subsequent practice activity contains less scaffolding until students are independently proficient. Practice activities move from isolated skills to skills that are more complex. For example:
- Students read and spell letter name and letter sounds in isolation.
- Students read words sound by sound.
- Students read word chunks and word patterns.
- Students read whole words, sounding out only to resolve reading errors.
- Students spell words sound by sound, and practice spelling chains where only one letter changes from one word to the next (e.g., sap to lap to lip to lit to slit)
- Students may learn word meanings to understand sentences and passages, but vocabulary instruction is typically outside the phonics instruction block.
- Students read decodable phrases, sentences, and passages once for accuracy and again for fluency.
- Students spell short decodable sentences.
Have students read individually for accuracy and again for fluency while reading lists as well as sentences and passages. This need not be included in every activity.
Assess each student’s skills individually before introducing new concepts. When individual students have not mastered the objective, use your best judgment. Should the group move forward? Should the individual student receive extra practice? The answer will vary based on the composition of the group and the proportion of students in it who are struggling.
Back to top
Sample beginning phonics lessons
Phonics lessons flow naturally out of phonemic awareness activities. For example,
- In phonemic awareness, ask students to segment words with the sounds short a, /m/, /p/, and /t/.
- Explain that the letter m spells the sound /m/, etc.
- Have students individually practice saying letter names in isolation.
- Have students individually practice reading letter sounds in isolation.
- Introduce three to four irregularly spelled high-frequency words to learn by sight.
- Ask students to segment words with the sounds short a, /m/, /p/, and /t/, and then arrange letter tiles to spell the segmented words.
- Demonstrate how to point to each letter and say the sound. Then blend the letters to read words (called "touch and say" or "touch and read").
- Have students individually practice sounding out three to five words, then re-read the words they sounded out previously.
- Ask individual students to read a list of words (comprised of only the sounds explicitly taught and practiced to date).
- Students read once for accuracy and again for fluency.
- When a student misreads a word, guide the student through sounding out the word. Then the student re-reads the whole group of words to the end by reading accurately.
- Lead students in a review of the irregularly spelled high-frequency words taught earlier in the lesson and from prior lessons. Learn more in this article, A New Model for Teaching High-Frequency Words.
- Guide students through reading phrases, sentences, and (eventually) passages comprised of decodable words with the sounds explicitly taught and practiced to date along with some irregularly spelled high-frequency words.
- Students read once for accuracy and again for fluency.
- When a student misreads a word, guide the student through sounding out the word. Then the student re-reads the whole phrase, sentence, or portion of the passage to the end by reading accurately.
- Students spell letter sounds, decodable words, and short decodable sentences.
Beginning phonics lessons introduce only three or four new consonant sounds and only one new vowel sound in a lesson. Continue with this lesson until all students in the group are reading at 95–98% accuracy on a first attempt.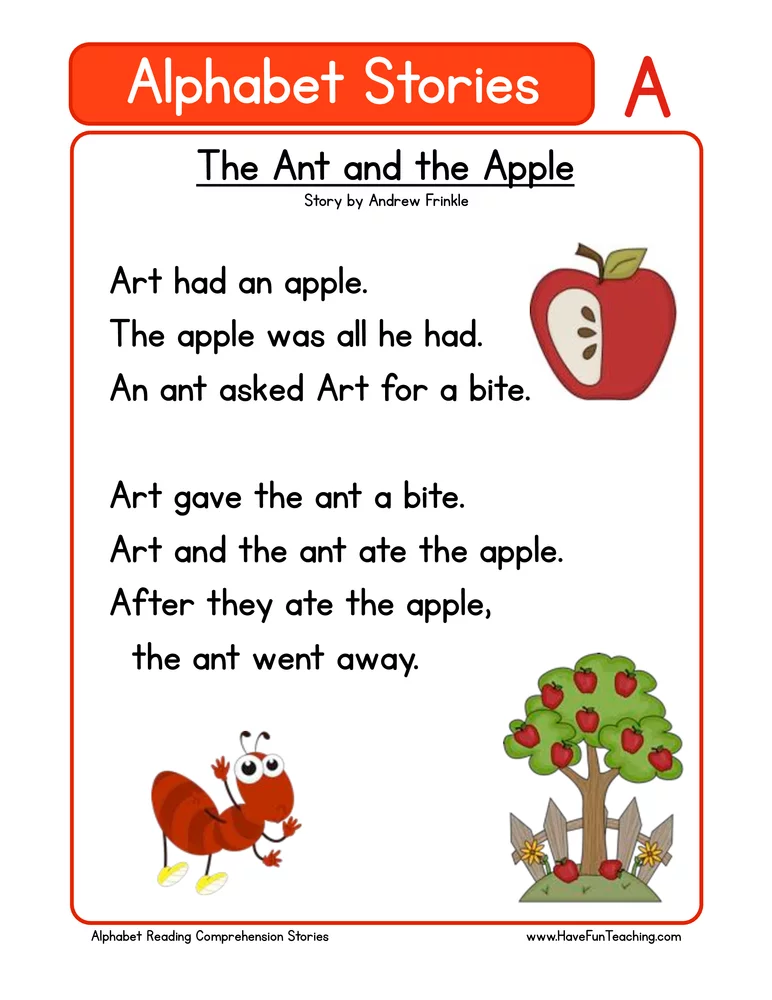 Move to the next lesson, introducing another three or four consonant sounds and another new vowel sound.
Children in a general education classroom will vary widely in how easily they acquire word recognition skills. We should make use of flexible groups to meet the needs of children who can move ahead quickly in their word-reading skills, or conversely, the needs of those who require more practice.
Children who consistently perform at a high rate of mastery in their word recognition skills can focus on other valuable literacy activities such as independent reading and writing, while we are working with flexible groups who require continued phonics instruction.
Back to top
Phonics lesson routines
Include instructional routines in lesson activities. Instructional routines are repeatable routines used to practice a new skill.
For example, guide the reading group to use "touch and say" to read a list of words containing the lesson’s focus letter sounds. The steps for the activity are:
- Model "touch and say" with one word.
- Have the group use "touch and say" to read three words together.
- Have each student use "touch and say" to read five words and then re-read the list without "touch and say."
- Ask the whole group to read the same five words chorally. Use this routine daily during the phonics lesson as the activity that precedes reading whole words.
Instructional routines reduce students’ memory load. Students do not have to remember the steps in a routine while simultaneously remembering the new concept. As a result, routines provide support and stability and improve the pace of the lesson.
Moats, L. and Hall, S. (2010). LETRS Module 7: Teaching Phonics, Word Study, and the Alphabetic Principle (Second Edition). Longmont, CO: Sopris West.
Back to top
Instruction for all: the value of a multisensory approach
Teaching experience supports a multisensory instruction approach in the early grades to improve phonemic awareness, phonics, and reading comprehension skills. Multisensory instruction combines listening, speaking, reading, and a tactile or kinesthetic activity.
NOTE: Research does not yet have definitive answers about how multisensory instruction works. Literacy expert Tim Shanahan offers this perspective in his blog post, What About Tracing and Other Multisensory Teaching Approaches?.
Phonics instruction lends itself to multisensory teaching techniques, because these techniques can be used to focus children’s attention on the sequence of letters in printed words. As such, including manipulatives, gestures, and speaking and auditory cues increases students’ acquisition of word recognition skills. An added benefit is that multisensory techniques are quite motivating and engaging to many children.
Multisensory activities provide needed scaffolding to beginning and struggling readers and include visual, auditory, kinesthetic, and tactile activities to enhance learning and memory. As students practice a learned concept, reduce the multisensory scaffolds until the student is using only the visual for reading. Employ the multisensory techniques to fix errors and then practice without the scaffold.
Examples of multisensory phonics activities:
- Dictate a word using say, touch, and spell. Students say each sound in the word and place a manipulative (e.g., a tile with a letter or letter pattern on it, such as sh, ch, ck) to represent each sound in the word.
For example, when we say fin, students move the letter tiles for f, i, and n, to spell the word, while at the same time saying and stretching the sounds orally. If we then say fish, students replace the tile with n on it with one that has an sh.
Subsequent examples of words in the chain could be wish, wig, wag, bag, brag, and so on. The activity should use only letter sounds/pattern sounds that children have been taught.
Letter tiles also should represent sounds at the phoneme level.
 For example, fish would be spelled with three tiles (f, i, sh), because it has three phonemes, whereas brag would be spelled with four tiles (b, r, a, g), reflecting four phonemes.
Place ending spelling patterns and beginning consonants (or consonant blends) on cards. Have students work in pairs and arrange as many words as they can on a table. Do a table walk and have each pair read the words they created. Give other teams an opportunity to create a new word.
- Organize spelling around the vowel letter. Assign a gesture to each vowel sound. Dictate a word and have students make the gesture for the vowel sound in the word.
- Assign a gesture to /sh/ and /ch/. Dictate words. Ask students to individually make the gesture associated with /sh/ or /ch/ when they hear those sounds in a word.
- Paddle pop: Teach letter clusters such as ing and ink.
 Write these clusters on card stock and staple to popsicle sticks. Dictate words and ask students to pop up the paddle containing the letter cluster in the word.
- Sounding out words:
- Single syllable "touch and read": Students touch each letter with a finger or pencil point and say the letter sound, then sweep left to right below the word and read the word.
- Multi syllable touch and read: Students touch each syllable with a finger or pencil point and say the syllable, then sweep left to right below the word and read the word.
Include two or three of these multisensory activities in each lesson: speaking, listening, moving, touching, reading, and writing. They fully engage the brain and make learning more memorable. These activities can be fun games or part of a daily practice routine.
Multisensory activities are the scaffold for early practice. As students become proficient in the new skill or concept, reduce and then remove the multisensory scaffolds.
Back to top
Adapting instruction for different readers
Research supports explicit phonics instruction for beginning readers and for struggling readers whose reading skills did not develop as expected. Two areas that affect reading acquisition are working memory and executive function.
Working memory refers to the memory we use to hold and manipulate information. For example, when a beginning reader sounds out a word, the student holds the letter shapes, sequence, and sounds in working memory to first sound out the word, then blend the sounds and read the word. Information held in working memory is fragile and held briefly (approximately 10 seconds) unless actively engaged.
If not attended to, the information in working memory vanishes. While this is true for everyone, some of us sustain information in working memory for seconds longer, some for less time. There are techniques that help students practice attending to information in working memory. See the articles, 10 Strategies to Enhance Students' Memories and Making It Stick: Memorable Strategies to Enhance Learning.
Executive function refers to the part of the brain that governs attention, impulse (starting and stopping), organization, reasoning, processing speed, and other higher order functions. It is the area of the brain that gets things done. It is also the last area of the brain to fully mature (mid to late 20s). Learn more: Executive Function Fact Sheet.
To support students who struggle with working memory, attention, executive function, or processing speed issues, the following instructional adaptations can be helpful:
Itemized instructions
Hand out itemized instructions, and discuss what is expected in each step. Teach students how to check each step in a process off the instruction sheet to track work completed. Students with working memory and executive function weaknesses benefit greatly from learning how to use lists.
Intermittent instructions
Whenever possible, provide intermittent instructions so students do not need to remember a long list of steps. Remind the class to check any itemized instructions.
Instructional routines
Use repeated routines to practice skills and complete assignments. Repeated routines are not boring to students. They reduce the memory load on students and enable them to focus on new skills or concepts.
Repeat-safe environment
Build into the explicit instruction, practice, and assessment an opportunity to repeat instructions or information. It can be as simple as, “Anyone need me to repeat that?” or “Can I repeat the instructions for the next steps?” or “Remember. You can always ask me to repeat something.” This creates an environment in which students with attention or working memory weaknesses feel safe asking for instructions or information to be repeated.
Rehearsing
Rehearsing can include having students state something aloud before writing. It can also include briefly practicing an activity that will later be assigned as homework. By rehearsing, a procedural memory or episodic memory is created which later supports students when they attempt to work independently.
Note taking
Explicitly teach note taking and build it into classroom routines. Every student will benefit by note taking as a study skill, as a stage of writing, and as an organizational tool. There are different note taking strategies depending on the task. Explicitly teach those note-taking strategies, and build them into lesson procedures. If students learn multiple note-taking strategies, you will need to review with them which one to implement in each setting, especially for students who struggle with working memory or executive function.
Writing aids
- Provide a list of words pertinent to the writing assignment which have new or difficult spellings. This reduces the load on working memory by helping remove an obstacle to writing.
- Provide an itemized rubric of the things the writing assignment must contain and explicitly teach the class to review their writing for each item on the list. Students with working memory weaknesses cannot easily review their writing for multiple things (e.
 g., check punctuation at the same time as checking for at least three supporting details and the reasons they support the topic sentence).
Organizational and place-keeping strategies
Being organized and knowing how to break a complex task into subtasks are not always innate skills. This is especially true for students with working memory and executive function weaknesses.
We support all students by taking time to explicitly teach how to be organized: how to organize a binder, how to break a complex task into logical steps, how to allocate time on homework, etc. This requires more time at first, but as the school year progresses, less time is required. Students will benefit from this skill set through the rest of their academic careers.
Back to top
References
Barkley, R. (1997). Behavioral inhibition, sustained attention, and executive functions: Constructing a unifying theory of ADHD. Psychological Bulletin, 121(1), 65–94.
Gathercole, S. and Alloway, T. (2008). Working memory and learning: A practical guide for teachers. Thousand Oaks, CA: Sage Publications.
Giedd J., Blumenthal J., Jeffries N., Castellanos F., Liu H., Zijdenbos A., Paus T., Evans A., & Rapoport J. (1999). Brain development during childhood and adolescence: A longitudinal MRI study. Nature Neuroscience 2(10), 861–3.
Next: Phonics Assignments >
Speech therapy lesson on the topic "Differentiation of letters A-O" | Methodological development in speech therapy (Grade 1) on the topic:
Topic: "Differentiation of letters A-O"
Purpose: to teach children to identify "reference" signal signs that distinguish mixed letters (and, accordingly, the sounds they designate), to consolidate the connections between phoneme - articuleme - grapheme - kinema; to form the skill of sound analysis and synthesis; develop auditory and visual perception, spatial orientation.
Equipment: mirrors, sound rulers, cards with letters a and o, letters a and o cut out of sandpaper, cards with missing letters a and o, deformed text, plot picture for spatial orientation, elements of letters.
Course of the lesson
1. Org. moment.
Guys, look, we have guests. Say hello and sit down. Open notebooks. Where is the dash going? Shade.
2. Repetition of the material covered (orientation in space)
Look carefully at this scene picture. What is to the right of the window? What is to the left of the window? What is above the bed? What is under the table? What is between the bed and the painting?
3. Explanation of the new topic.
Today our guests came to our lesson – a girl Olya and a boy Alik. Look at them carefully, Olya's teeth hurt very badly, she groans all the time: oh-oh-oh. And here is Alik the goalkeeper. He plays hockey. Look at what club he has, what do you think, what letters are hidden in their portraits? Olya? (letter o) At Alik? (the letter a). Well done! See what elements the letter o (oval) consists of.
a) clarification of letter elements.
Find this item on your desk and place it to your left.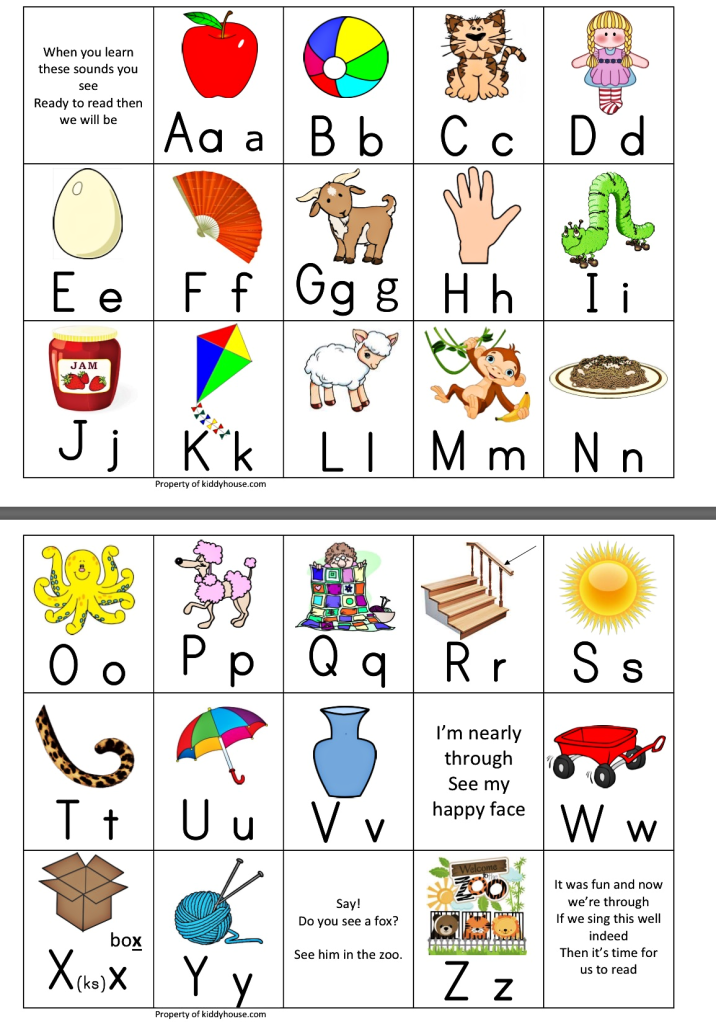 What are the elements of the letter a? (oval and hook). Correctly! Find these elements on the table and lay out the letter a to your right. What is the difference between the letter o and the letter a? How many elements does the letter o (one) have. At the letter. a? (two). What element is added to the letter a? (hook).
Write down the date and topic of the session a-o (a-red, o-pink).
Today we will learn to distinguish between the letters a and o.
b) fixing the elements of letters.
Write the letter a on a new line in red and write what elements it consists of (oval and hook). On the next line, write the letter o in pink and indicate what elements it consists of (an oval). Underline the word hook with green pen. This is the element that distinguishes the letter a from the letter o.
c) tactile control.
You have these letters cut out of sandpaper on your tables. Circle the letter a and the letter o with your finger. And now, each time tracing the letter a with your finger, write it in your notebook in red up to half a line. Outlining the letter o with your finger, also write it in a notebook, but in pink, the remaining half of the line.
d) identification of a letter with a sound.
Guys, what sound is denoted by the letter a? Say it (“a”), and what sound is indicated by the letter o under stress? Say it ("oh"). Take a mirror and look at the articulation of these sounds:
- "a" - the mouth is wide open,
- "o" - the lips are oval.
And say it again. What are these sounds? (vowels) Why? (exhalation does not meet an obstacle, we sing them). Guess what sound I'm making? (silent articulation of the sounds "a" and "o").
Oh, what is this? Someone is flying! Guys, look at this Drakosha! The dragon took Olya and Alik away. Horrible! Together with the disappearance of Olya and Alik, all the letters a and o disappeared. Probably, Drakosha wanted to write something, and he needed Olya and Alik along with the letters a and o. How can we be now?
e) development of phonemic hearing.
I think I hear something. Guys, Drakosha hissed that he would give us Olya and Alik if you can distinguish the sounds “a” and “o” by ear.
I say the syllables and you circle the corresponding letter a or o.
Syllables: na, do, po, sha, ko.
e) deep study of sounds.
And now we listen to the words: bridge, cry, horse (close your eyes and bite your tongue) throne, saw, horses, poppies, umbrella, cinema, flower.
Guys, it's strange, we completed the task, but Olya and Alik are still in the tower. The dragon is still hissing.
g) development of sound analysis and synthesis skills.
Guys, we need to complete one more task. Find the place of the sounds "a" and "o" in the words and substitute the corresponding letter to the sound bar.
Words: bridge, doctor, around, somersault, lingonberry, teacher, inkwell.
Our friends are gone again. What else does Drakosha want from us? Guys, Drakosha says that he just deceived us.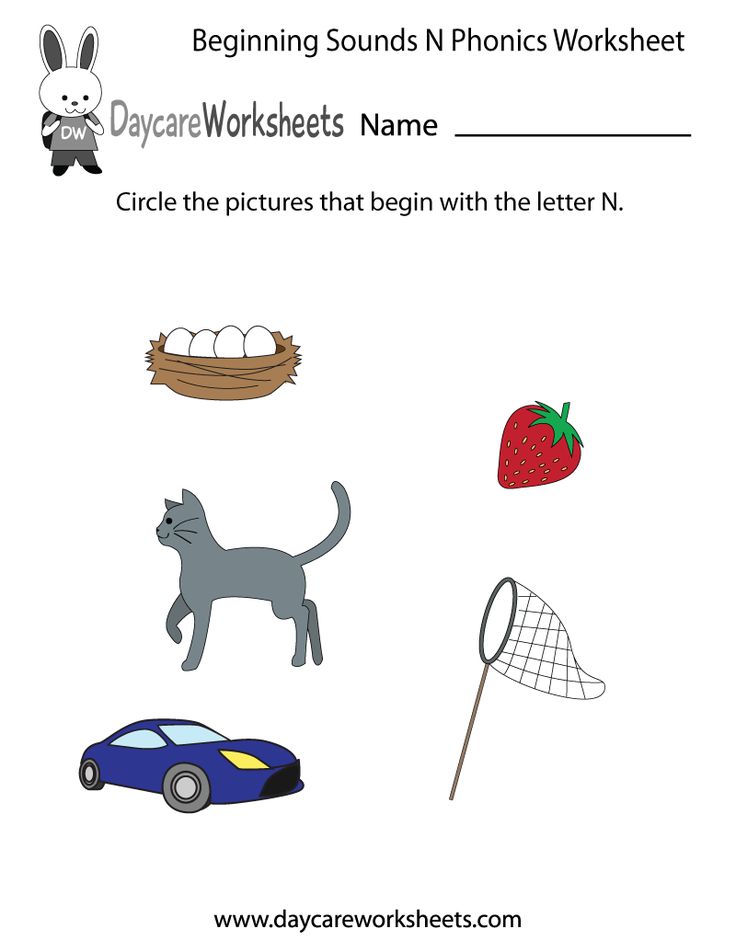 Since you are so smart and know everything, he wants to see if you can handle the next task.
h) practice writing letters.
Write the letters a and o correctly in words. How do you think we will cope with this task? We take red and pink pencils in our hands and insert the missing letters a and o in the cards (a - red, o-pink). Let's check.
i) physical minute (orientation in space)
- Alina, please come out to the blackboard.
- Vilena stand behind Alina, and Kristina stand in front of Alina.
- Vilena, where are you standing, using the preposition for?
- Alina, where are you standing?
- Christina, where are you standing?
j) working with deformed text.
What good fellows you are, you coped with the task so well and quickly. But what is? Drakosha again gives the task. The most difficult. Hopefully the last one.
Now you have to look at the sentence already written by Drakosha, read it, and if he made mistakes, then correct them (the sentence is attached to the board).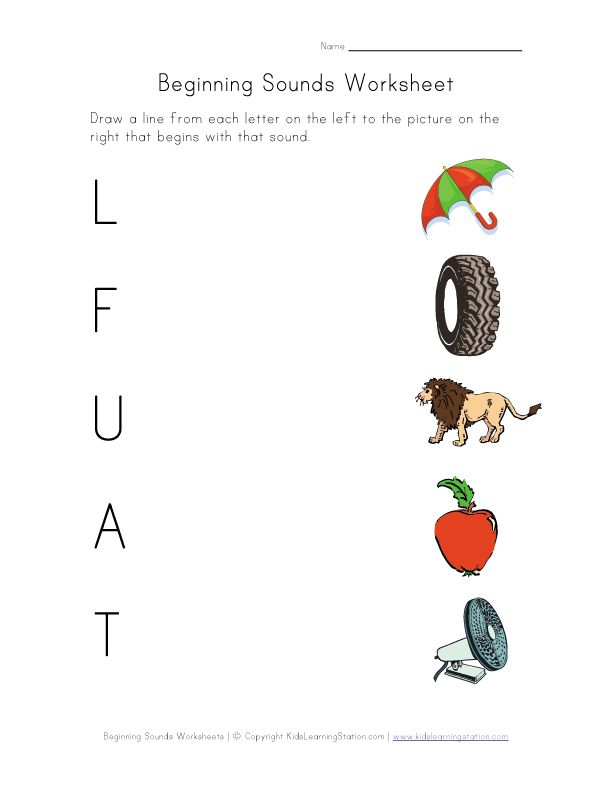
Papo gave me a hurricane,
I completed the urak on time.
And I expect a reward for this -
A sweet, festive cake.
Guys, it turns out that Drakosha doesn't know how to write the letters a and o. This is probably why he stole these letters along with Olya and Alik. Let's fix the mistakes. Attach the appropriate letters a and o.
4. Summary of the lesson.
Guys, Drakosha felt ashamed that he was so illiterate. He released Olya and Alik, and asks for forgiveness for having stolen our friends. Drakosha says that she will not behave so badly again. He asks once again to say how the letters a and o differ from each other (the second element, a hook is added to the letter a). Olya and Alik also thank you for saving them. And they are very interested, what is Olya's favorite letter, and what is Alik's? Are there any of these letters in the spelling of your names?
Let's say goodbye to Drakosha and our friends. Come to us again.
This lesson is over. You are free.
How to remove the sound of pressing keys on a laptop. How to add sound on a computer using the keyboard. How to enable keyboard sounds
Share on social. networks:
Working at a computer should always be as user-friendly as possible, regardless of whether you are relaxing for online games, watching movies, searching for interesting information on the network, or doing a daily routine of typing or working with tables, applications, sites, special programs. Therefore, in addition to standard settings, each user builds an interface for himself. In this article, we will look at how to turn off the sound on the laptop keyboard if it annoys you or distracts you from the main process.
Mute when dialing a number
It should be noted that the instructions described above apply only to the keypad for typing. If you want to turn off the sound that appears when dialing a number, then this can be done through the Contacts application. Open this app and go to settings.
Open the "Sounds and vibration" section in the application settings.
And mute the keypad sound when dialing a phone number.
After that, exit the settings of the Contacts application and try dialing the phone number. If everything was done correctly, then the sound will no longer appear.
The Windows operating system has accessibility features that make it easier to use your computer. One of these functions sounds the pressing of special switch buttons. This function helps a person to understand whether you have turned on the switch or turned it off. This result is achieved very simply: the sound when turned on is different from the sound when turned off. These keyboard sounds are very easy to use, but some people may want to turn off keyboard sounds because they interfere with concentration, while others may want to turn on keyboard sounds. In any case, you have come to the right place.
Switch buttons that make a sound
The switch buttons, after pressing which you can hear keyboard sounds, include three buttons, each of which has the word Lock in its name:
- Caps Lock
. If this button is enabled, then everything you write will be displayed in capital letters. To switch to lowercase letters, you need to turn off this function.
If this button is enabled, then everything you write will be displayed in capital letters. To switch to lowercase letters, you need to turn off this function. - Scroll Lock
. This mode is used very rarely. And this very mode does not have any specific purpose and depends on the software in which this button will be used. - Num Lock
. In the enabled mode, the numeric keypad is activated, which is located on the right side of the keyboard. Accordingly, when the state is off, the right numeric keypad does not work. When disabled, these keys may perform other functions, which may vary from keyboard to keyboard.
Turn off keyboard sounds when pressing buttons * Lock
To turn off the sound warning when pressing button Caps Lock
,
Scroll Lock
or
Num Lock
Next, you need to go to the window
Change keyboard settings
. In the last window, you need to uncheck the box next to
Enable sound switches
. If you uncheck this item, then you will turn off all keyboard sounds and you will be happy.
How to turn on keyboard sounds
The process of turning on the sound of the switches is completely the same as the process of turning off the sound of the sound described above. The only difference is that you need to check the box next to Enable sound switches,
to enable keyboard sounds.
With these very simple actions, you can easily manipulate the presence or absence of the keyboard sound when you press the Caps Lock, Scrool Lock or Num Lock buttons.
Often, in the process of work, new owners of mobile personal computers have the following question: “How to turn on the sound on a laptop?” It is to his decision that this material will be devoted. There are many reasons that lead to this problem. Each of them will be discussed in detail in the article brought to your attention.
Step 5. Checking the “Windows Audio” service
Go to Services - Administrative Tools - Control Panel - Settings - Start
(or through the command line: on the Start keyboard, then "Run", in the command line, type services. msc on the keyboard. Click OK.
In the window that appears, find the "Windows Audio" section.
If the service runs automatically
Otherwise, if the service is disabled, you need to enable it.In the context menu of the service, select "properties"
In the "Properties" dialog box, do the following:
- Enable startup type "Auto"
- For Windows7, Vista, click the "Start" button; for Windows XP, the "Start" button
- Click "Apply" and "OK";
If it doesn't help, go to the next step.
Test
So, how to turn on the sound on a laptop? First you need to find out what the problem is. To do this, close all applications and go to the audio controller control panel. It is usually located in the lower right corner of the desktop, on the taskbar. The appearance of its label depends on the manufacturer of the device. For example, Realtek-branded devices use a bright orange speaker. Next, the audio controller and go to the "Speakers" tab, and then move to the "Speaker Configuration" tab. The acoustic system is drawn on it. First, click on the left audio signal output device, after which a test signal should immediately appear. Then we perform a similar procedure for the right speaker. If the sound does not appear, then the problems are either in the operating system or in the hardware resources of the mobile computer. But if, when closing a program, the sound appeared, then you need to check its settings. This procedure must be performed at each stage of the operation. After all, somehow you need to check whether a positive result has been achieved, whether the performance of the speaker system has been restored. By the way, the above option is the easiest way to turn on sound on a laptop.
Using the tray
Before proceeding with any manipulations, check the volume level by opening the tab in the tray. Perhaps the sound slider is just not set to high. This icon is located on the taskbar near the clock, usually in the form of a loudspeaker (horn). If you right-click on it, you will find the mixer.
To increase the value, simply move the slider up.
Sometimes users do not find the icon on the bar. In this case, on laptops, the keyboard and volume up or down buttons will help. The location of these keys varies by model.
If the horn icon is missing and you do not know how to increase the volume on a Windows 10 laptop, then it can easily be returned to the panel. Follow the instructions below:
Just turned off the sound on the keyboard
The most common reason that a mobile PC user thinks about how to turn on the sound on a laptop is to turn it off from the keyboard. Each such device has an extended functional keyboard. Its symbols are indicated in blue or red (each manufacturer has its own way). Among them, there are three keys with a loudspeaker logo. On the first of them, it is crossed out - with its help, the speaker system is completely turned off. The second speaker is depicted with one arc (on some models of mobile personal computers it is replaced by a triangle pointing down, or an arrow with exactly the same direction) - lowering the sound. The last, third key is the exact opposite of the previous one - it increases the volume. It shows a loudspeaker with three waves (may be a triangle pointing up, or an arrow). You can activate their input using a special key - "Fn". It is usually located in the bottom row of the keyboard between Windows and Alt. Therefore, we hold down "Fn" and the key on which the speaker with three waves is depicted (or an arrow pointing up, or a triangle with exactly the same direction). Before using this method, you need to look at the state of the audio service icon. If it shows a red crossed out circle, then this method can really be applied. Otherwise, with the normal appearance of the shortcut on the taskbar, there is no point in using this method.
Soundbar
Keyboard drivers are not always installed correctly. In this case, using "Fn" and the increase key will not give the desired result. Alternatively, you can use a soundbar. Its label in the form of a white speaker is located in the lower right corner of the monitor screen. We click on it with the right mouse button. In the list that opens, select the "Mixer" item. Next, in the mixer panel, raise the overall volume slider up. After that, without fail, we check the presence of a sound signal. Another function that this system utility performs is to improve the sound on a laptop due to an extended set of options. To do this, just click on the logo at the top, and in the window that opens, set the required volume and signal gain levels. In a similar way, the problem is solved when the sound is quiet on the laptop.
Step 1: Check volume controls
Locate the speaker icon in the lower right corner of the monitor. If the icon is not displayed, (as in Windows XP) go to settings - control panel - section "Sounds and audio devices" (more details in step 4 about Windows XP). After clicking on the icon, make sure that the volume slider is not all the way down, and that the sound is not muted. Sometimes there is also a volume button on the keyboard.
Call the context menu with the right mouse button and open the "Volume Mixer". In the dialog box, check if all controls are enabled. If the controls are active, turn them on.
If nothing can be done in these settings and the sound does not appear, everything is grayed out (the parameters are disabled), then proceed to the next step: checking the audio device for operability in the task manager (p. 3). If there are problems, you need to reinstall the audio driver (p. 6).
Reboot
After the necessary manipulations have been done with the keyboard and soundbar, and the sound has not appeared, you must perform a full reboot of the mobile computer. To do this, perform the following sequence of actions:
- We go to "Start", then to the triangle next to the button that says "Shut down".
- In the list that opens, select the "Reboot" item.
- We are waiting for the end of this operation and perform testing according to the previously described method.
BIOS
Another option that there are problems with sound on a laptop is to disable the sound card in BIOS. In this case, you need to log into the basic I/O system and do the following:
- We turn on a completely turned off laptop.
- When the first image appears on the screen, find out how to enter the basic settings next to the text "Press X to Setup". In this case, "X" is the information we are interested in. Press this key or a combination of them. Everything must be done promptly. If the manufacturer's logo is displayed when starting the PC, then you need to press "ESC" before this to hide it.
- In the BIOS, go to the "Advanced" section.
- Next, use the cursor keys to find the item with the word "Audio" in its name. It must be set to "enabled". It can be installed using either the keys "F5" and "F6" or "PgDn" and "PgUp".
- Once the desired result is obtained, press "F10". In response to the request, we save the changes made.
- After the reboot, we must perform the testing procedure.
The reasons that could lead to such a shutdown of the sound system may be the following: either someone played a joke on you or you have a virus on your computer.
Tips and Tricks
Every child loves to learn everything by experience, and the laptop is no exception - he will definitely click different buttons with interest and enthusiasm, finding out what the result is. If your PC from time to time uses your advanced child, who wants to watch cartoons, or an interesting video on YouTube, then in order to prevent him from deleting your important data at the time of viewing, you can simply block the entire keyboard for a while.
Important! If over time you want to hide some information from prying eyes on your home or work computer, then there is nothing difficult about it. Read detailed instructions on how to create a transparent folder on your desktop.
This can be done through the standard Windows features through the control panel menu, but it is easier and faster to use special applications. One of the best in this regard is Kid Key Lock. The interface is clear and accessible, and shutdown occurs in just 2 clicks.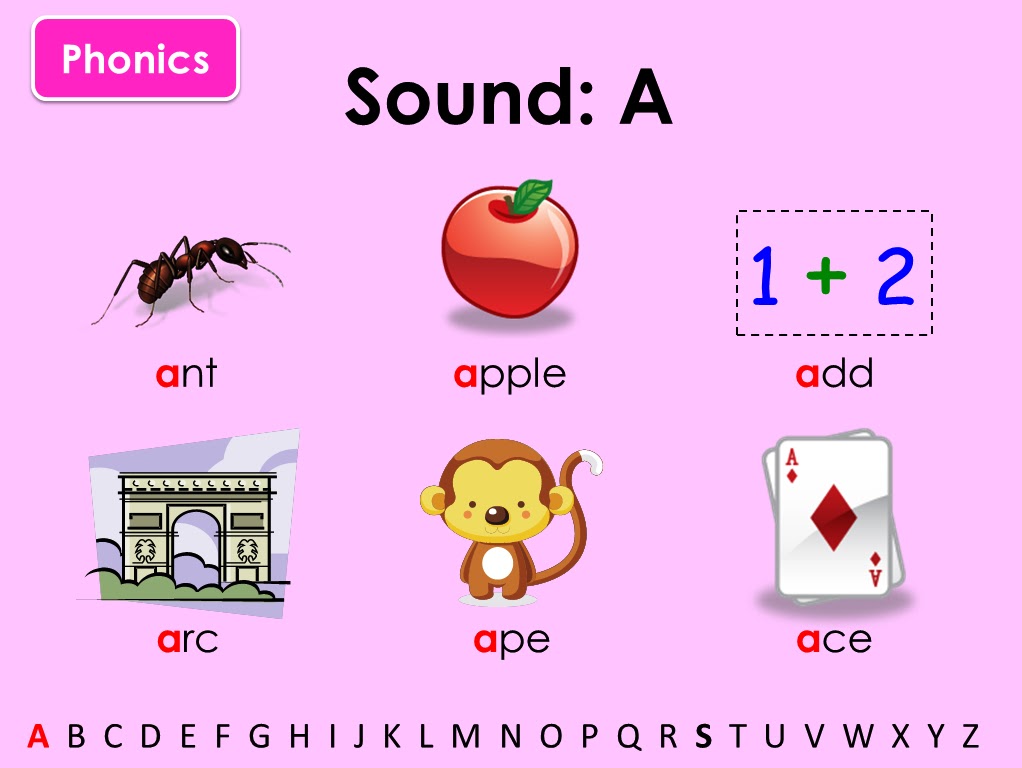
Important! This program does not have to be downloaded, and it is available for free.
Another option for special software is KeyFreeze. True, you will have to download and install the application on your laptop.
Driver
At the final stage of recovery, install drivers. They allow you to install sound on a laptop and organize its output. The installation version of this software can be taken from the official website of the device manufacturer or found on the CD, which must be included with the mobile computer. We launch it and, following the instructions of the wizard, install the drivers. In the end, it is recommended to do a full reboot of the machine and only then test for sound.
Other methods
Depending on the specifics of your particular computer and its keyboard, you can use keyboard shortcuts to mute the sound on your laptop:
- fn+F5;
- fn+ crossed out speaker icon.
Important! You can also disable sound effects in Punto Switcher if you use it.
Audio service
Another possible reason for the lack of sound on a laptop is that the audio service is not running. To run it, perform the following manipulations:
- Go to Start.
- Open the Control Panel.
- Then you need to expand "Administration".
- Go to the "Services" tab.
- Find "Windows Audio" and run it.
After that, an icon in the form of a white speaker will appear in the lower right corner of the screen. If desired, you can further implement sound amplification on a laptop. To do this, go to the mixer according to the previously described method and open the advanced settings. On the tab, check the box next to the inscription "Equalizer". We make a single click on the button with three dots. All sliders in the new window are set to the maximum, save the changes. But it makes sense to do this in cases where the speakers on your mobile computer are quiet.
Using third-party programs
Special programs will help you increase the volume on your laptop. For example, let's talk about three.
- VLC is the most popular program of all. For those who are not particularly professional users and do not want to understand all the nuances, the developers have prepared auto-tuning. In addition, the player reads a huge number of formats. Download VLC.
In addition to increasing the volume in the lower right corner, you can use the settings - equalizer and select the type of music. You can go to them in the "Tools" - "Effects and Filters" menu. - Razer Surround for those who listen to everything on headphones from a laptop. The program has a list of parameters for sound calibration. Download Razer Surround .
Has an equalizer.But all this is available in the paid version. The screenshot shows the features of the free and PRO versions.
Price is $19.99. Another disadvantage is the mandatory registration with confirmation by email.
- DFX Audio Enhancer is a plug-in that supports most players.
 It is designed to adjust the sound quality and is used if the player's functions are not enough.
Instructions for troubleshooting sound problems on your computer.
Why might my computer cut out sound? How to fix this annoying misunderstanding? Sometimes the user can adjust the sound on the computer from the keyboard, but still, if the sound is gone, then pressing the keys does not make sense. First you need to find out the cause of the malfunction, and then eliminate it. Here are some common reasons why your computer may cut out sound.
- Speaker or headphone failure
- Audio settings are incorrect
- The sound card or motherboard is defective
- Software crashes due to viruses
- Incompatible applications or drivers are installed xp.
Speakers or sound card?
All steps completed, but no result: there was no sound, and no. In this case, most likely, the problems are hidden in the hardware resources of the mobile personal computer.
 Now we need to find out what exactly does not work for us. To do this, we connect the external one to the green output of the laptop, for example, headphones, and perform testing according to the previously given method. If there is sound, then the speakers are out of order. Otherwise, you have problems with the sound card. A logical question arises: "How to restore sound on a laptop in each of these cases?" The first one is very simple. We carry the laptop to the service center, where the inoperative speakers will be replaced. But in the event of a breakdown of the sound card, everything is much more complicated. It cannot be unsoldered from the PC main board. The only solution in this case is the use of speakers or speakers that are connected via the USB interface.
 Step 2: Physical connection of the audio output
Before checking the settings and sound card status, make sure that the speakers (or headphones) are properly connected and that they (speakers) are turned on.
 On the audio card, the speaker connector is usually marked in green.
 If the computer has more than one sound card, make sure that the speakers are connected to the connector of the working card (which is used by the system). Check if the wire connecting the speakers and the system unit has come off.
If possible, check the speakers on another computer or connect another audio device to the audio output and check the sound.
You can also check if the mute/unmute button on the keyboard has been accidentally pressed. Some computer keyboards have this button.
Results
As part of this material, a step-by-step guide was given on how to turn on the sound on a laptop. By following all the recommendations, in most cases, you can restore the sound system of a mobile computer. The exception in this case is the failure of the sound card or speakers. But even with such a complex breakdown of the computer, possible solutions to this problem are proposed.
You can turn off the keyboard sound on a Lenovo tablet or smartphone in just a few steps.
 However, an inexperienced user may look through the settings sections for a long time and not find the desired item. We decided to create a useful guide that will help solve this issue. So, you need:
 - Go to settings and select "Personal data" -> "Language and input".
- Select the settings icon located to the right of Google/Android Keyboard.
- Uncheck the "Key Sound" box.
Go to the “Sound” settings section and uncheck the “Screen click sound” checkbox.
Note!
In applications, the sound will still remain, in order to turn it off, you can use the volume rocker.
After completing all the steps, the keyboard sound on the tablet will be muted.
Video
As you can see, you can turn off the sound on the laptop keyboard in a couple of minutes, as well as use other features. Let nothing distract you from your main goals!
Optimized for touch screen devices, Windows 10 includes a touch keyboard that appears whenever the user places the cursor in a text field.
 By default, when you press virtual keys, the on-screen keyboard makes a sound that can annoy you and interfere with your concentration. So, you can easily turn it off.
 This is done in the following way.
After opening the application "Settings" , go to the section "Devices" , switch to tab "Input" and set switch "Play key sounds when typing" to position "Off" .
If the computer has a normal screen, you will not have additional input options in the system settings and, in order to disable sounds when pressing virtual keys, you will have to use the registry tweak .
Command regedit in the window "Run" open the registry editor and expand the branch 9 in the left column0003
You can copy this path and paste it into the search field Regedit , it will be even faster.
Now, in the right part of the editor window, using the context menu, create a new 32-bit parameter of type DWORD .
Name it EnableKeyAudioFeedback and set its value to .
For the changes to take effect, log out and log back in, if in the future you suddenly want to return the default settings, delete the created parameter or change its value from to 1 .
Question for connoisseurs: When you press any key, sounds are made, you can’t turn them off, they start to annoy when you work at the computer for a long time. In the program, the sound and in general in all settings I could not find anything about it.
Sincerely, Olga Varennikova
There is no sound on the tablet
If there is simply no sound on the tablet, then first of all you need to press the volume rocker and determine the current volume level. If the sound was muted, then you need to use the volume up key.
Flew codecs
If the sound is not played only when watching a video, then you need to install a codec pack. You can find them in the Google Play app store.
 Below is a link to VLC Player (codecs are already built into it).
 The speaker is out of order
If you updated the codecs, increased the volume, and there is still no sound, then the problem may be that the speaker is broken. In this case, you must take the gadget to a service center.
The sound process has been completed
If any acceleration applications are installed on the device, then it may well happen that the process responsible for the sound has been disabled. You need to restart the tablet, and if this does not help, then you will have to do a Hard Reset (do not forget to save all the data on removable media first).
Pinouts:
Disabling the sound on a Lenovo tablet is quite simple. It only takes a few minutes to do this.
Most modern gadgets run on the Android operating system. This is quite natural, because the interface is very simple and there are many functions, and applications are offered in the online store for a variety of tastes.
 When using a smartphone or tablet, each person arranges the settings for himself, so that it is convenient and navigating through the menu does not require unnecessary movements and actions. In this article, we will look at how to turn off the sound of the keyboard on Android so that when writing messages in instant messengers or queries in search engines, you do not attract too much attention to yourself.
 We make silent dialing on the phone
There is absolutely nothing complicated here - just use the standard settings and turn off the sound of the keyboard on Android in 2 clicks. This can be done in 2 ways.
Method 1
Step by step the whole process will look like this:
- Open the settings section by going to them through the main menu or by clicking on the gear icon at the top of the screen.
- Scroll through the opened list almost to the very end.
- Select the “Language and input” item, in which you now need to find the Google keyboard settings.
- We look at the items of this menu, uncheck the box next to “Key sound”.
Method 2
If you need right now, this second to turn off the sound at all during any smartphone actions:
- Open the quick settings menu.
- Set the phone mode to “Silent”.
Important! If you are just starting your acquaintance with this technique and everything does not always go smoothly, you should not make a big problem out of it. Simply follow the simple step-by-step instructions for the desired settings to make it work for you. To help you, we have prepared the following reviews:
How to increase the volume
A large number of people still use Windows 7. Based on this, we will consider step by step the first way to increase the volume on a Windows 7 laptop. With such a system, it is best to increase through the standard OS settings on Windows.
- Close the settings and check the sound.
Learn more