Salt and flour dough
Best Salt Dough Recipe for Ornaments & Crafts
Our test results for the best salt dough recipe for DIY ornaments, crafts, gifts & Christmas decorations, with great tips on baking & drying.
Everyone loves salt dough crafts. It’s inexpensive, fun and non-toxic to work with for kids and family, especially around holiday time. So, what is the best easy salt dough recipe? Why does my salt dough puff up when baked? Is it better to bake or air dry salt dough? What’s best to seal salt dough?
These were the questions many of us had when creating our first salt dough projects. So I decided to test 4 most popular recipes, different baking temperatures and techniques to find the best salt dough recipe that is most durable and easy to work with.
Today I am going to share all my findings with you, plus some beautiful salt dough Christmas crafts and decoration ideas to make!
* Some resources in article are affiliate links. Full disclosure here .
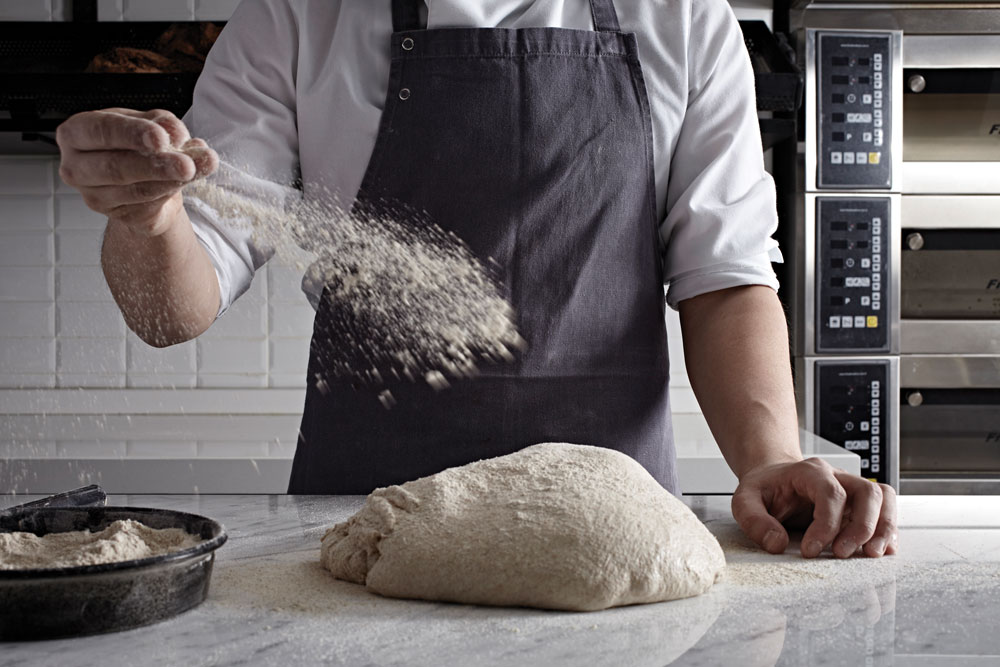
How to make salt dough
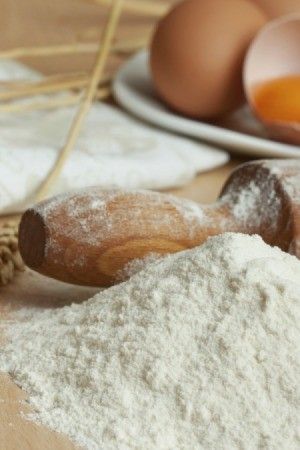
The ingredients for salt dough are very simple: just flour, salt and water. The most popular salt dough recipes call for the ratio of 1 cup of flour, 1/2 to 1 cup of salt, 1/2 cup to 1 cup of water. ( See our tests in next step to find the best salt dough recipe!)
Mix all the ingredients in a large bowl, knead a little bit until smooth, that’s it! You can make salt dough ahead of time and store them in airtight plastic bag or container for about 5 days or even longer.
Testing the best salt dough recipe ratios
I tested the following ingredients ratios using all purpose flour and regular table salt.
*NOTE: add 1-2 tablespoon more water if the dough is too stiff
- Recipe 1: 1 cup of flour, 1 cup of salt, 1/2 cup of water*
- Recipe 2: 1 cup of flour, 2/3 cup of salt, 1/2 cup of water*
- Recipe 3: 1 cup of flour, 1/2 cup of salt, 1/2 cup of water*
- Recipe 4: 1 cup of flour, 1/2 cup of salt, 1 cup of water
Final results: recipe 2 and 3 are my favorites! Now let’s go into details of why.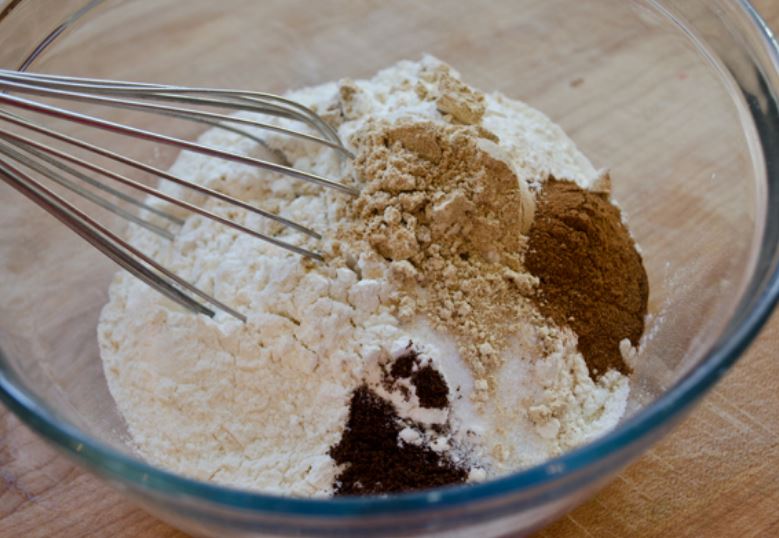
IMPORTANT: keep our furry friends safe! Many things safe to humans such as salt dough, play dough, and even chocolate, can be harmful if eaten by dogs or other pets. So please take necessary precautions, and remind others too!
Which salt dough recipe is the easiest to work with?
We tested each dough by making some stamped salt dough ornaments using rolling pin and cookie cutters. Recipe 1 has the most salt and the texture felt gritty to work with. Recipe 4 was nice but a little soft and sticky, and it took longer to bake than the others. I would add a little more flour to this recipe to make it better in future.
Recipe 2 and 3 are both nice and smooth to work with.
Which salt dough recipe dries the fastest and strongest?
They were all very durable without any cracking. I was able to break a test piece made from recipe 1 when I tried very hard, but I could not break any pieces made with the other recipes.
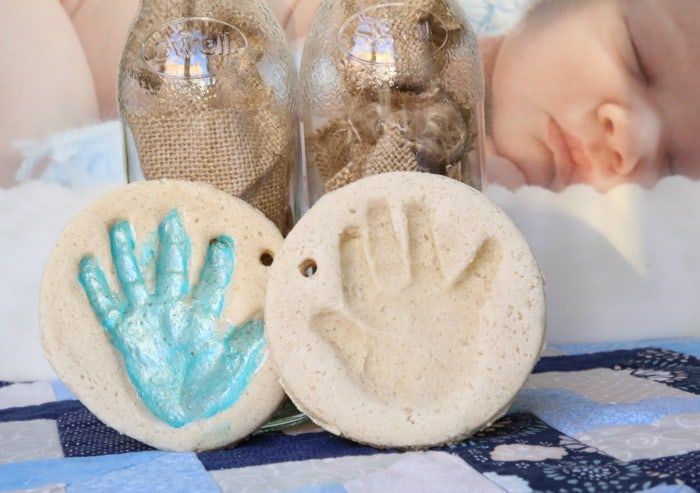
Which recipe is the best for making impressions such as salt dough handprints?
As you can see, they are all good enough to catch the fine details in these leaf impressions.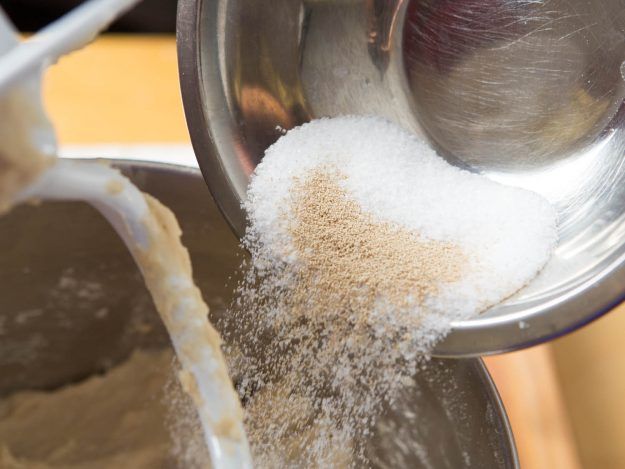 However recipe 3 and 4 retains the most details. They should all be great for salt dough handprint ornaments ad keepsakes.
If you want to make a project like these stamped vintage salt dough Christmas ornaments below with small details, choose recipe 3 or 4!
Is it better to bake or air dry salt dough ornaments?
The short answer is: it is better to bake your salt dough at 190 to 200 Fahrenheit oven temperature on a baking sheet. The salt dough ornaments will come out with nice color and retain their shape much better than those baked at hotter temperatures. My favorite is actually a “hybrid” method of baking and air drying salt dough, which I will share below!
If you have some kind of heat vent that create hot and dry air, you can definitely put your salt dough creations near the vent to air dry. Otherwise, air drying in normal to cool temperature takes a very long time, and the salt dough can discolor over the course of a few days.
How long does it take for salt dough to bake until dry?
The thicker and wetter the dough, the longer the amount of time it takes to dry.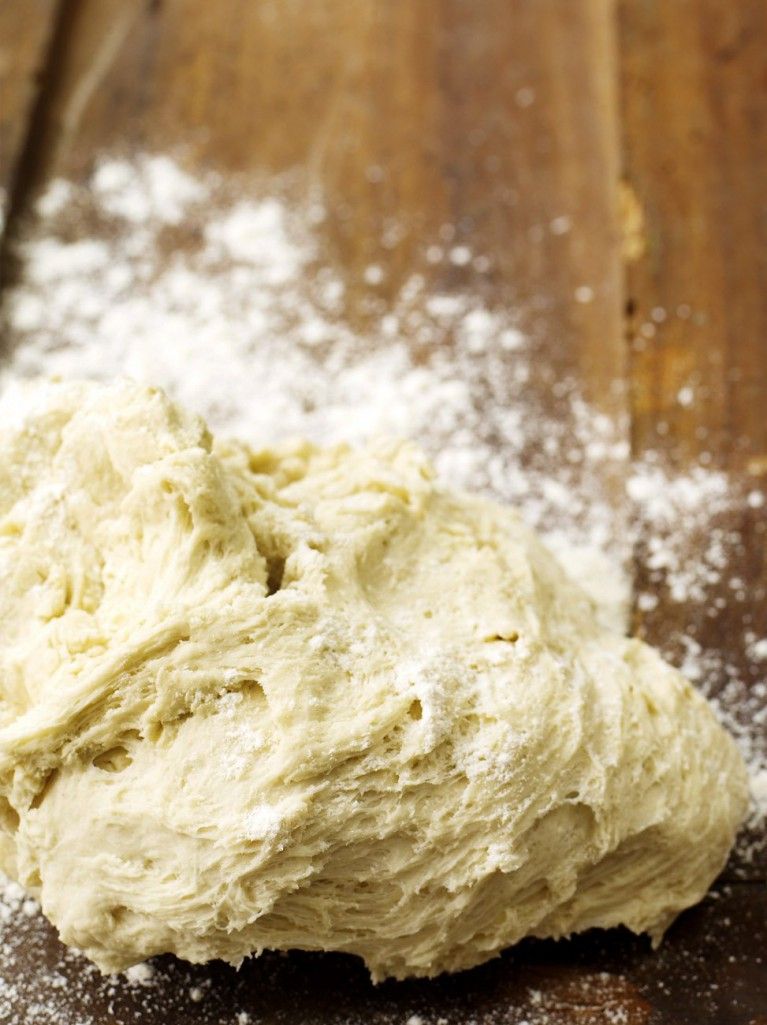 For 1/8” to 1/4” thick dough, it can take 3 to 6+ hours.
However, you don’t have to leave you oven on the entire time. My favorite way to bake salt dough is to put them in the oven, let the oven heat to 200, leave it on for about 20-30 minutes, then turn the oven off so the dough keeps drying in the residual heat for the 1-2 hours, or overnight if it’s bed time.
Repeat this process for 3-5 times, your salt dough ornaments will be ready for decorating!
Why do my salt dough Christmas ornaments puff up?
Salt dough can get puffy like a pita bread, or curl in all directions if we bake them too hot.
It is totally understandable we want to bake them hotter so they dry faster. If you don’t mind them getting a little puffy or darker in color, go for it!
However, if you want them relatively flat, bake them at 200 Fahrenheit, or use a flat weighted sheet pan on top to keep them flat if you bake them at 225 F to 325 F. Keep in mind the dough turn a darker color if baked at these temperatures.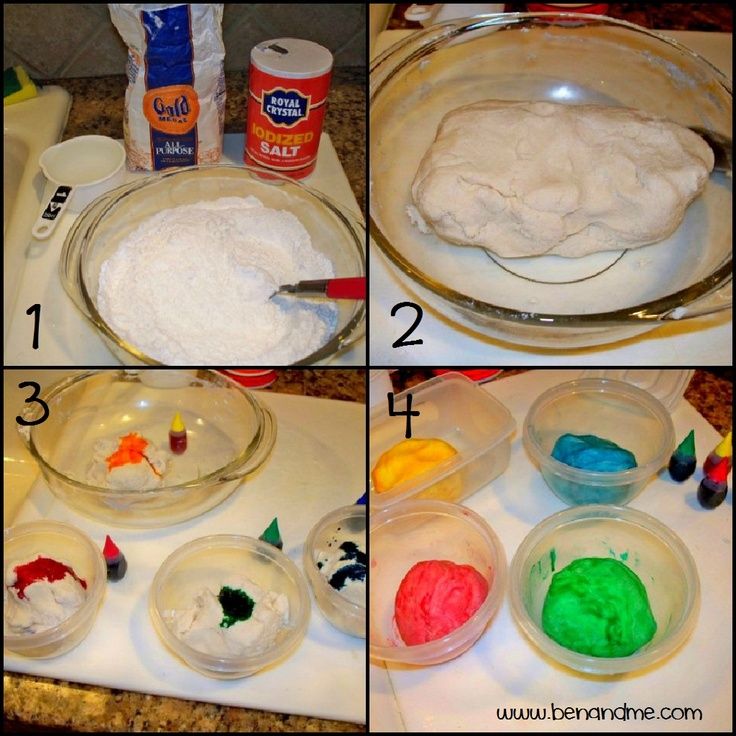
Is there a no-bake salt dough recipe?
Yes! Here’s our homemade air dry clay recipe with baking soda / cornstarch and glue! It is also more white than salt dough. I have to say I like both salt dough and the air dry clay for different reasons!
What’s the best sealer to seal homemade salt dough crafts?
Mod Podge is great for sealing homemade salt dough ornaments and crafts, such as these DIY salt dough photo ornaments we just made here! Some people use varnish, polyurethane spray or resin for even more durability, especially when they intend to sell their salt dough creations.
If you paint the salt dough with acrylic paints, that can act as a sealer as well.
That’s it for today! If you have any questions or tips to share, feel free to leave us a comment and we will make sure to reply!
Stay tuned for more slat dough projects! See you soon!
Easy Salt Dough Recipe for Kids (3 Ingredients!)
Jump to RecipeThis simple and easy salt dough recipe is the perfect rainy day activity… Kids will master valuable kitchen skills while learning how to make salt dough, and then spend hours playing with it!
Salt Dough Recipe for Kids
We encourage our kids to get outside and play as much as possible during the summer, but inevitably there’s going to be those rainy days when outside play isn’t an option — like today…
Rather than turning to video games and television for entertainment though, I gathered up my younger three children for a quick kitchen lesson on how to make salt dough.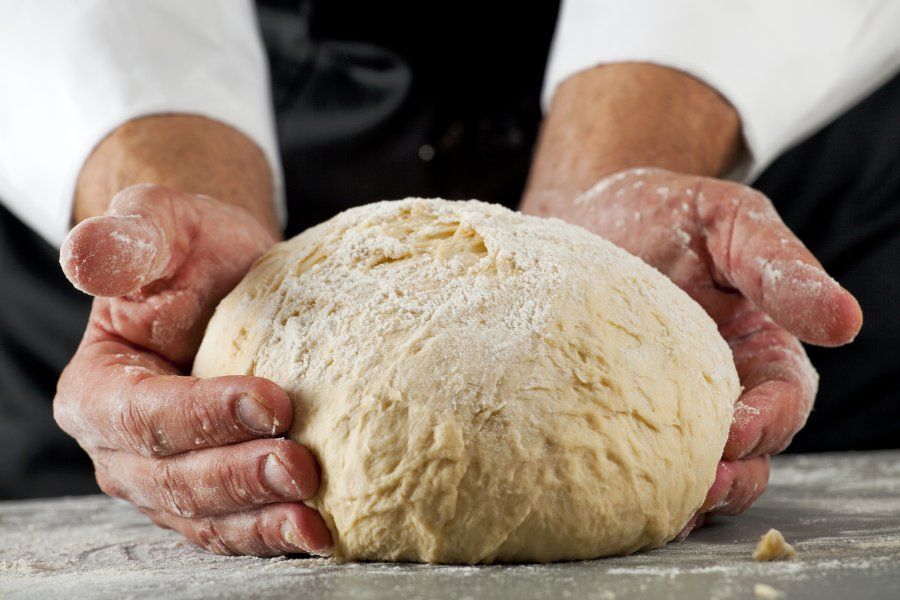 And it actually turned out to be loads of fun AND educational! #momwin
Learning How To Make Salt Dough
While my kids think making and playing with this salt dough recipe is all fun and games, they’re actually learning a whole slew of valuable skills — like brushing up on their math, how to measure solids and liquids, and what happens when you mix certain ingredients. Just to name a few!
RELATED: How To Make Oobleck With Cornstarch and Water
And with only three ingredients — flour, salt, and water — this simple salt dough recipe is the perfect intro to kitchen basics. Luckily, I picked up some inexpensive fresh flour and salt at the grocery store earlier this week in anticipation of a rainy day!
I gave Camden the job of measuring out the flour, showing her how to level it off for a consistent measurement.
Addie measured the salt, again leveling it off using a butter knife.
And I helped Drew measure the water, showing them all how the liquid should be level with the lines on our Pyrex measuring cup.
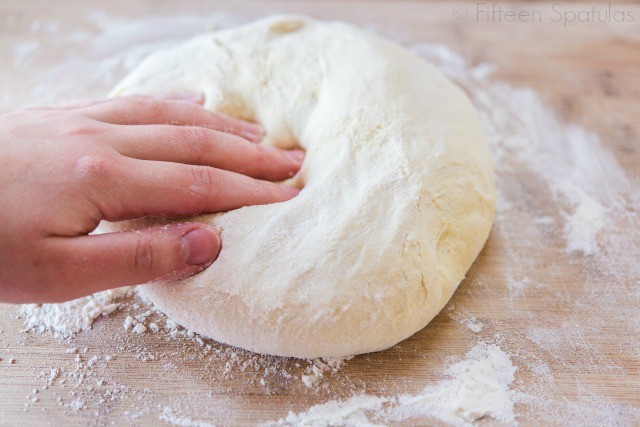
Then they all took turns mixing the salt dough, and I gave a quick demonstration on how to knead dough. You know they were getting quite antsy to start playing by this point!
They had a blast playing with their salt dough. I gave them a kid-sized rolling pin and some cookie cutters to use. This kept them busy ALL afternoon! These plastic clay tools are super inexpensive and would be fun to play with, as well.
RELATED: 4-Ingredient Glitter Slime Recipe (No Borax!)
Ingredients
- 2 cups all-purpose flour*
- 1 cup salt
- 1 cup water
Instructions
- Combine the flour and salt in a large mixing bowl.
- Gradually add water while stirring and mixing to form a dough with a Play-Doh like consistency.
- Form the dough into a ball and knead for approximately 5-7 minutes, until the dough is smooth and firm. Additional water may be needed, depending upon humidity.
 Add a teaspoon of water at a time until the dough reaches the proper texture. On the other hand, if the dough is too sticky, add more flour by the teaspoon until it's no longer tacky.
 - Store the salt dough in a Ziploc bag when it's not in use to prevent it from drying out.
Notes
I recommend covering your work/play area with an inexpensive plastic tablecloth to make cleanup easier!
How Long To Bake Salt DoughIf you want to bake your salt dough crafts, place them on a foil-covered baking sheet in a 250-degree oven. Baking time will vary depending on the size and thickness of your crafts. For each 1/4" in thickness, allow approximately a half hour of baking time, or bake until surface turns light golden brown. Turn each piece frequently so that they dry out evenly. If an area puffs up, poke a hole in it with a pin or toothpick to release the air.
*Gluten-Free Salt DoughIf you or your child has a gluten sensitivity, substituting your favorite gluten-free flour one for one will work well in this recipe.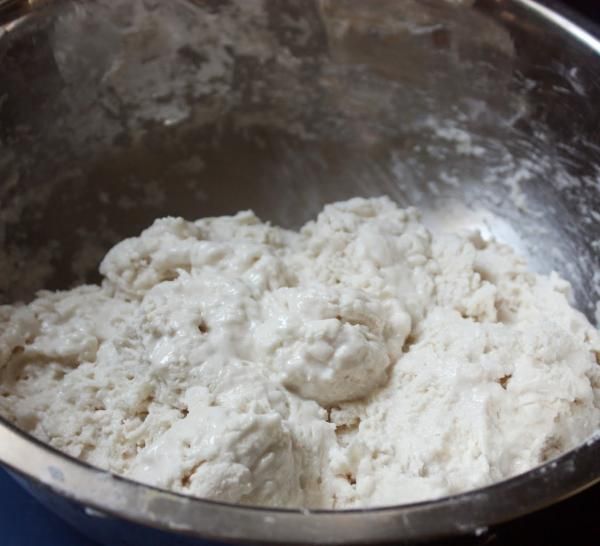
Recommended Products
As an Amazon.com Services LLC Associates and member of other affiliate programs, I earn from qualifying purchases.
-
Silicone Rolling Pins For Kids (2-pk.)
-
Heavy Duty Plastic Table Cloth
-
Plastic Clay Tools For Kids (10-ct.)
Nutrition Information:
Yield: 1 Serving Size: 2.5 cupsAmount Per Serving: Calories: 0Total Fat: 0gSaturated Fat: 0gTrans Fat: 0gUnsaturated Fat: 0gCholesterol: 0mgSodium: 0mgCarbohydrates: 0gFiber: 0gSugar: 0gProtein: 0g
Important: while salt dough may look good enough to eat, it should not be consumed. Young children should be supervised while playing with salt dough playdoh.
No Bake Salt Dough Recipe
You can store salt dough in an airtight container for future use.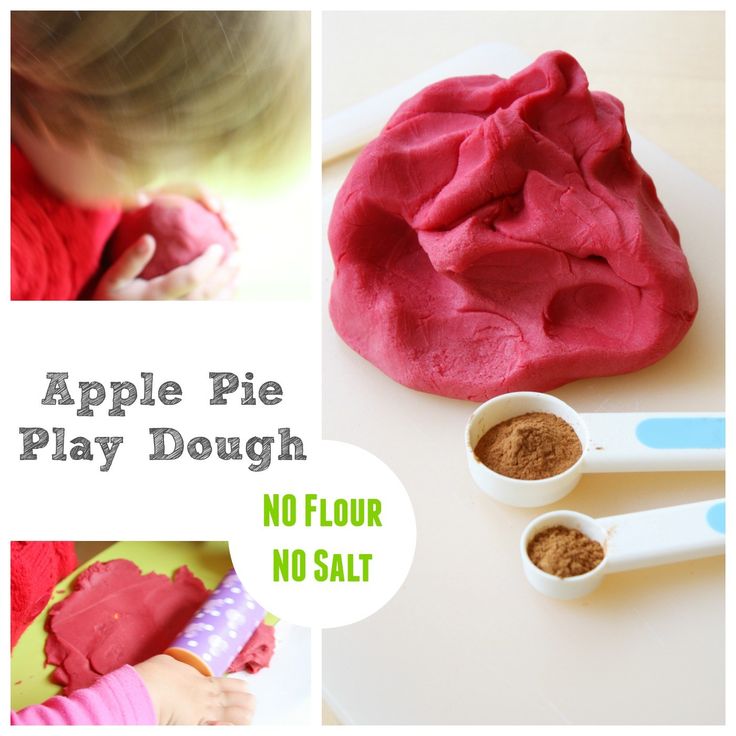 Or you can let your creations dry and paint them with acrylic paints.
RELATED: DIY Easy Bake Oven Recipes
If you do want to speed up the drying process by baking them, just place your salt dough crafts on a baking sheet and pop them into a 200-degree oven. Baking time will vary based on the size and thickness of your crafts, so just keep a close eye on them.
I’d love to see how your salt dough crafts turn out… Tag me @Unsophisticook on Instagram or use the hashtag #Unsophisticook so I can check them out. Enjoy!
How to Make Salt Dough for Modeling / Step by Step Guide - Article from the "Cooking with Kids" section of Food.ru
30 years ago, salt dough was the only alternative to the hard and stubborn blocks of plasticine. Now there are more analogues: kinetic sand, slimes, hardening mass for modeling. But salt dough still remains one of the favorite materials for home creativity. Easy to prepare, plastic and completely natural, it is appreciated by parents and children like it.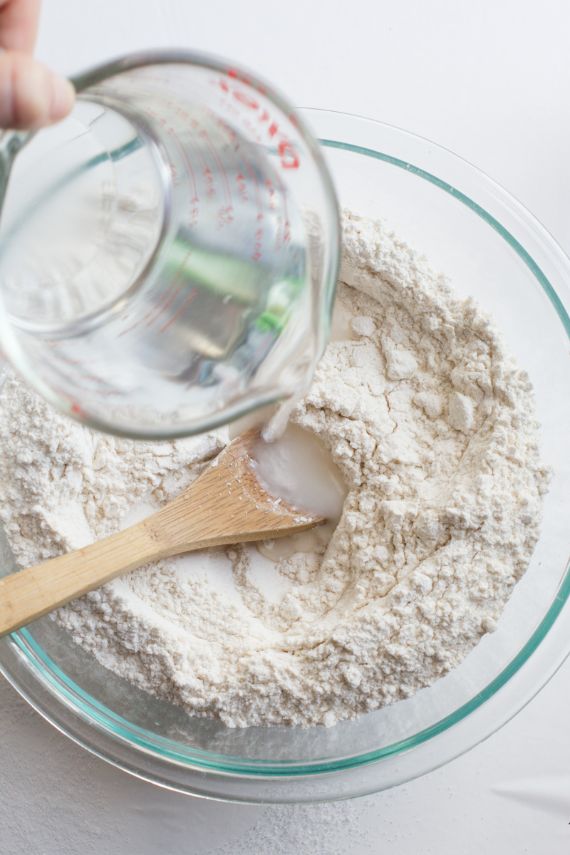
Salt dough suitable for modeling with children from one year and older. The mass prepared according to the classic recipe is safe. There are no chemical components in it, it is soft, plastic and at the same time tasteless: it is pleasant to crush it in your hands, but it is not very good to eat it. The baby will spit out such a dough, even if he first pulls it into his mouth.
What you need for salt dough
Basic ingredients are white wheat flour, salt of the finest grinding and warm water. If the salt is coarse, it can be ground in a coffee grinder.
Additional ingredients - sunflower oil and glycerin for greater elasticity, PVA glue for strength and food coloring. You can buy them in the pastry department or use cocoa, beet juice and spinach. It is better to add glycerin and glue only to the dough from which children over 3 years old will sculpt. They can already be explained that the mass for modeling does not need to be eaten.
How to make dough
There are more than a dozen options for salt dough - there are recipes with the addition of starch, rye flour, hand cream, citric acid. Let's dwell on the three most popular and simple.
Classic recipe for salt dough
-
Pour 300 g of salt into a bowl or saucepan and pour in 200 ml of warm water.
-
Dissolve the salt and add 300 g of flour, knead the dough.
-
The consistency can be adjusted: if the dough crumbles, add water, if it is too sticky, add more flour.
-
Add food coloring, gouache or vegetable juices.
After kneading, wrap the dough in polyethylene and refrigerate. You can start sculpting in a few hours, and store the mass in the refrigerator for about a month.
This option is suitable for the smallest children.
Salt dough recipe with glue
-
Combine 300 g salt and 130 g flour in a saucepan.
-
Dissolve a tablespoon of PVA glue in 100 ml of water.
-
Pour in the liquid in small portions and knead the dough.
-
Add food coloring, gouache or vegetable juices.
Salt Dough Recipe
-
Mix 130 g flour, 2 teaspoons baking soda and 100 g salt in a saucepan.
-
Pour in 200 ml of water and a teaspoon of vegetable oil.
-
Cook over low heat until the dough sticks to the spoon.
-
When the dough begins to thicken, add food coloring.
-
Let the mixture cool down and knead the dough thoroughly.
How to dry crafts
Salt dough crafts can simply be left in the air for a few days or dried in an oven at 60-70 degrees for an hour. To prevent the dough from cracking at room temperature, do not place the craft near the battery or heaters. When drying in the oven, wait until the crafts have cooled down and only then take them out.
How to decorate works
Use gouache that has not been diluted with water. Watercolor will wet the dough and can ruin the figure. After drying, you can cover the toy with water-based varnish.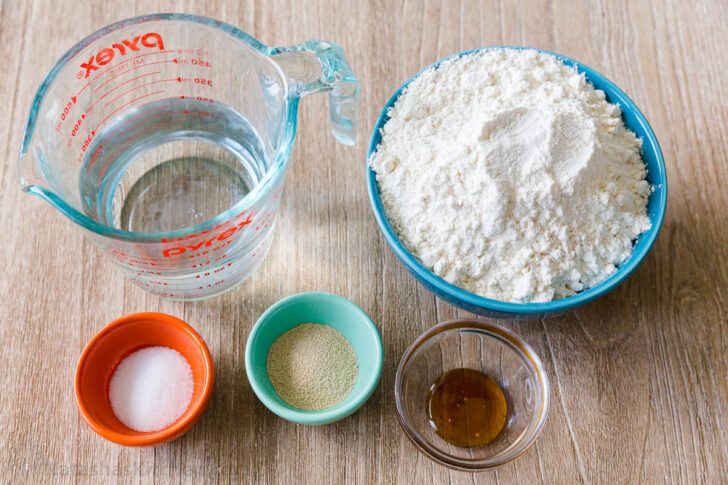
What can be done?
Get your little one involved in making real dough pies, the recipe of which can be found on our website. They may not turn out as smooth and beautiful as mom's, but the joy of joint creativity will be no less than from working with salt dough.
The perfect salt dough recipe. Tips for beginners
I'm here: home ›
Creativity
›
Crafts
›
Plasticine
› The perfect salt dough recipe. Beginner Tips
From plasticine
A real miracle when a shapeless plastic mass turns into a playful kitten or a fabulous house. I suggest you feel like a magician and prepare the perfect salty dough for future masterpieces.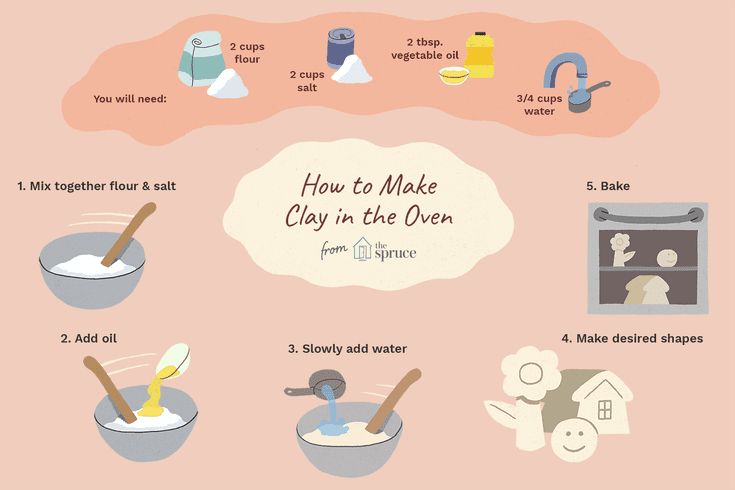
1253 t.0
Weight, which keeps its shape perfectly floats and does not deteriorate over time, - dream of all lovers modeling. And the dream of all parents - safe plastic mixture without allergens and harmful additives . Salt dough skillfully brings everything together these qualities and thanks to baking better preserved than plasticine.
figurine from salt dough will become an exquisite decoration of your rooms and a wonderful tool for games. How to make salt dough soft and pliable, and even for a long time to keep flour mixture? Desert Boy Knows answer!
Classic salt dough recipe
modeling from salt dough is not a new occupation. The origins of this type of creativity are lost deep in the history of our culture. Remember only Kolobok from a folk tale and the custom of baking larks on Candlemas. Hold the basic salt dough recipe for crafts - continue traditions of ancestors with pleasure!
For making salt dough for you will need:
- 1 glass of fine salt
- 2 cups of flour
- half a glass water,
- 5 Art.
 l. sunflower oil,
 - natural juice or gouache (optional).
K cause!
AT In a deep bowl, mix dry ingredients: salt and flour. Add sunflower oil and pour some water. Knead the dough. To give the mixture a certain color, carefully stir in the carrot (beetroot) juice or diluted in water gouache. If necessary, small add water or flour in portions to adjust the viscosity of the dough.
Important! It is best to store the finished dough in refrigerator no more than a day, tightly wrapping the mass with cling film.
Salt dough recipe for sophisticated works
If a you plan to make thin embossed figurines or miniatures salt dough, to the classic recipe you have to add a secret ingredient. Which? Read on - I'll tell you everything!
For making salt dough in a special way the recipe you will need:
- 1.
 5 cups of flour
 - 1 a glass of salt
- 125 ml of water
- 1 Art. l. PVA glue or starch
- food dye.
K cause!
Prepare deep container. Mix flour and salt and add 125 ml of water. Mix thoroughly Ingredients. Now add a dining room a spoonful of starch or PVA glue. Starch increases the plasticity of the mass, and the glue increases its strength. PVA can be replaced 2 tsp wallpaper glue diluted in water, according to instructions. At the end add food coloring and mix well. If you need a lot of different colors, divide the dough into several pieces and add the colors you want. Merry creativity!
Preparing tools for working with salt test
From salt dough can be made that anything - toy products, animals, flowers and luxurious paintings. But so that your the work looked original and intricate, you will need different tools. You don't need to buy anything, use items that are at hand.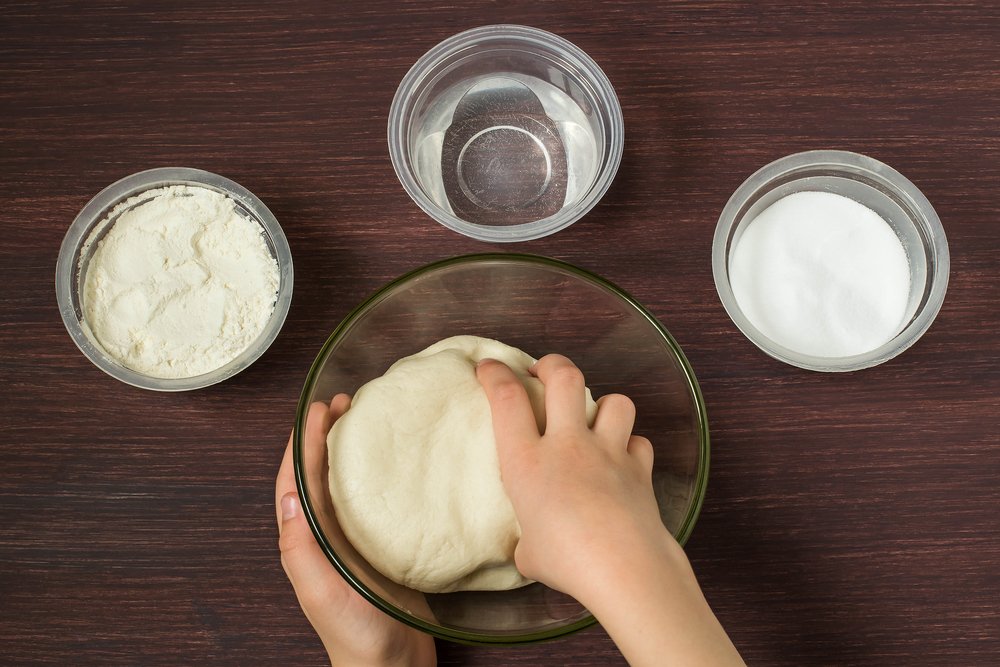
For creating unique patterns on the surface salt dough is ideal:
- curly rolling pin or water bottle
- toothpicks (for punching holes)
- caps from markers,
- rod from a ballpoint pen
- knife for plasticine,
- molds for cookies,
- buttons,
- beads,
- pasta,
- lace and other stamps for embossing,
- press for garlic.
Boldly Experiment with patterns and shapes! AT in case of failure, the item is easy to fix or blind again.
How to dry products from salty test?
To the finished craft pleased the eyes for a long time your guests, it needs to be right dry. Remember: the main rule of drying salt dough products - no sudden changes in temperature.
There are two ways to dry figurines from salt dough:
1. The simplest is natural. Just leave the figurine to dry room temperature for several days or weeks. In no case can dry the product on a hot battery - it will crack or crumble. Too humid room is also not suitable - the dough, like a sponge, absorbs moisture and can easily get wet. The natural way is extremely easy, however, oh-so-very slow. And to us want to go faster, right?
2. Drying in the oven. Put down figurine on parchment in a cold oven and bake on low heat, gradually increasing the temperature. Regularly turn the product over so that it baked evenly on all sides. After finishing work, the craft immediately do not take it out - let it cool in the oven.
Vo drying time for salt dough refer to the following table.
| Low products (thickness up to 2 cm) | Volumetric work (more than 2 cm thick) |
| one hour at 50 °C | 1–2 hours at 50 °C |
| 1-2 hours at 75 °C | 2-3 hours at 75 °C |
| one hour at 100 °C | 1–2 hours at 100 °C |
| one hour at 125 °C | 2 hours at 125 °C |
0. 5–1 hour at 150 °C 5–1 hour at 150 °C | one hour at 150 °C |
Dry dough products can be turned off oven. Warm it up properly and put it down figurines in heat. Wait until the oven cool down. Repeat the process for several once.
In time to work with salt dough fail inevitable. However, don't be upset and put your hands down. If during the drying the craft is cracked or fell away from it detail, return the toy shape will help construction glue PVA or Moment.
cracks and irregularities can be smoothed out by small files for metal. Such for sure found in dad's tools.
Finished it is better to varnish the product - so it longer pleasing to the eye his talented master.
More sculpting ideas here:
- Mushroom polymer clay panel,
- Animals plasticine,
- Interesting plasticine products.
Learn more