Shape recognition for preschoolers
10 Hands-On Shapes Recognition Activities for Preschoolers
- Share
Teaching children about shapes should be a fun, hands-on experience. It is by experiencing concepts through the body and the senses that real learning happens in the early years.
Scroll down to the section ‘10 simple shapes recognition activities’ for some great ideas.
Why is it Important to Learn About Shapes?
An important part of child development, shape recognition is about more than just being able to spot the basic shapes. It’s important for building early maths, reading and other areas too.
Shapes are found all around us and take many different forms, both two-dimensional and three-dimensional.
Children learn that shapes have properties – such as lines, curves, sizes, lengths and positions in space, and that all physical objects have shape.
They develop their visual perception (when the brain interprets what the eyes see) as they are exposed to shapes around them.
Shapes are a part of mathematical concepts (like geometry) and are also used in many scientific and technical fields.
The recognition of shapes is crucial for learning to read and building early literacy skills.
Letters are made up of shapes and children need to learn to distinguish, recognize and remember the specific shapes in order to read fluently. Shapes are the first ‘symbols’ children learn to interpret. [source]
How Do You Teach Shape Recognition?
The best way for children to learn about shapes is through play. They need many opportunities to touch and see three-dimensional shapes in their daily lives.
These concepts can also be taught through shape recognition games and activities that are planned specifically to introduce the concept of shape.
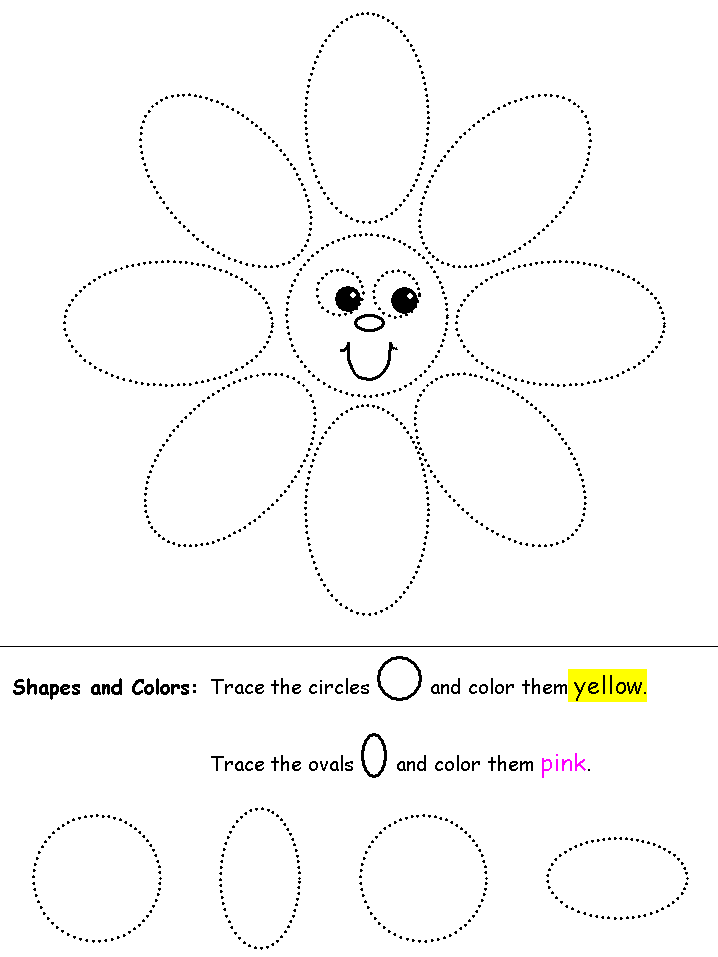
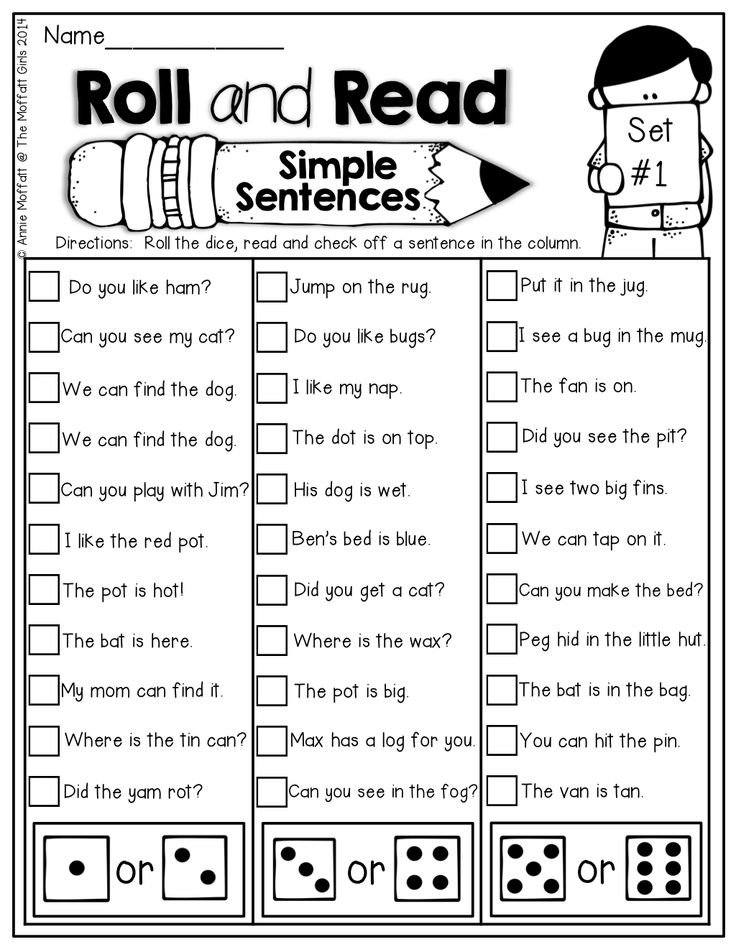
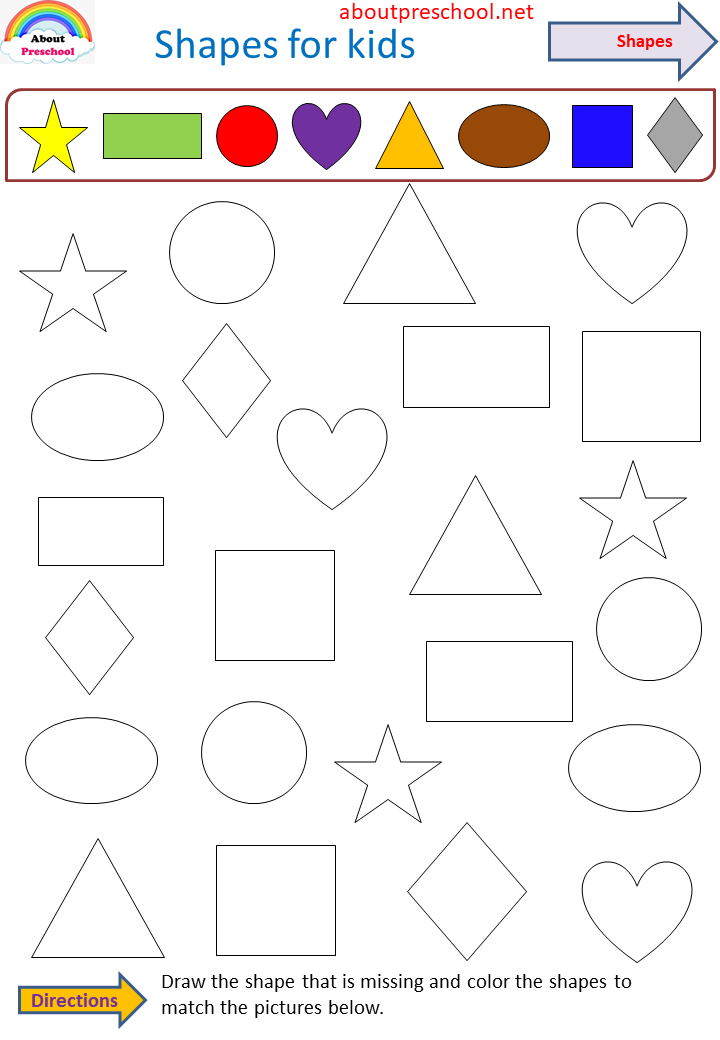
Activities like tracing and worksheets are best kept for much older children as these are unlikely to hold a child’s attention for long, and they are not really meaningful to a young child.
It is more important to focus on doing hands-on activities during preschool so that a child fully understands the properties of shapes by experiencing them with their body and all their senses.
It is also important for parents and teachers to actively teach the vocabulary about shapes. They need to hear concepts such as:
- Straight lines or curvy lines
- Sides
- Surfaces
- Size – bigger, smaller, longer, etc.
- Round, pointy
- 2-dimensional, 3-dimensional
- The names of shapes – oval, rectangle, triangular prism
This can be done in natural ways during a conversation:
- Is your dinner plate round?
- What else is round in our house?
- This picture of a tent looks like a triangle – it’s pointy at the top.
When teaching the shapes, remember children learn these in a concrete-pictorial-abstract way, as they do many other concepts.
They learn the shape of a physical object, then later learn to associate a picture of a shape with the physical object. After that, they can recognize an abstract representation of a shape.
An example of this is playing with a beach ball and learning that it is round; then understanding that a picture of a ball represents a round, circular shape; then identifying a simple circle drawn on paper.
10 Simple Shapes Recognition Activities and Games
Here are some simple shape activities to try at home or school.
1. Shape Sorting
Sorting is an important mental concept and it’s easy to do with shapes.
Provide a container of shapes – cutouts, wooden or plastic shapes – and get kids to sort them according to different criteria.
Here are some examples:
- Shapes with straight edges vs shapes with curved edges
- Shapes with 3 sides and shapes with 4 sides
- Shapes with corners and shapes without corners
- 2D vs 3D shapes
Here are more fun sorting activities for preschoolers.
2. Body Shapes
Play a movement game with shapes. Say the name of a shape and ask children to make the shape with their bodies.
Get them to straighten up into a tall rectangle, puff their arms out to the side to make themselves round, stand with legs far apart and arms pointed above you to make a triangle, etc.
Before you show or help with ideas, see if the kids can figure out on their own how to make these shapes. They may think outside the box and find new ways to make the shapes.
This is a great activity for body awareness.
3. Block and Ball Play
Children need regular exposure to shapes by playing with blocks, balls and other toys during their free play time.
This is an activity that doesn’t need much regulation by an adult but is as important as planned shapes activities.
4. Playdough Shapes
Give kids playdough and shape cutters and let them explore different shapes this way.
Make a batch of easy homemade playdough and this will keep kids occupied for hours.
If you don’t have cutters in the form of shapes, then improvise with tins (round), plastic containers (square and rectangle), etc.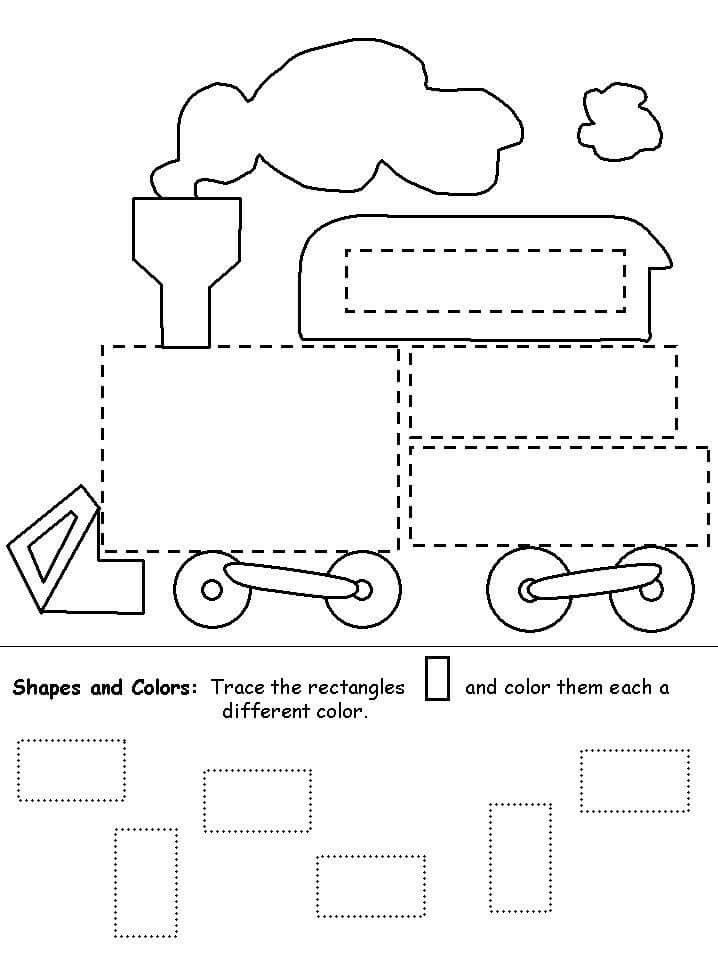
5. Yummy Shapes
For a tastier version of the above activity – that will leave a bigger imprint on kids’ memory – make shapes out of cookie dough and then eat them after!
6. Find the Shapes
Show children an example of a simple shape, such as a circle, and challenge them to find as many items as they can around them that have the same shape. (Here are more games about circles to try).
They could also draw pictures of all the things they can think of that have a circle shape.
This teaches kids that shapes are part of their world.
7. Build With Shapes
If you have plastic or wooden shapes that are relatively flat, let your child ‘build’ pictures out of them using the shapes.
They could construct a house or a person, for example, by learning to use the shapes to substitute the various parts they need.
These shapes can also be made out of cardboard.
8. Feel the Shape
Use the same shapes from the activity above to do a sensory activity.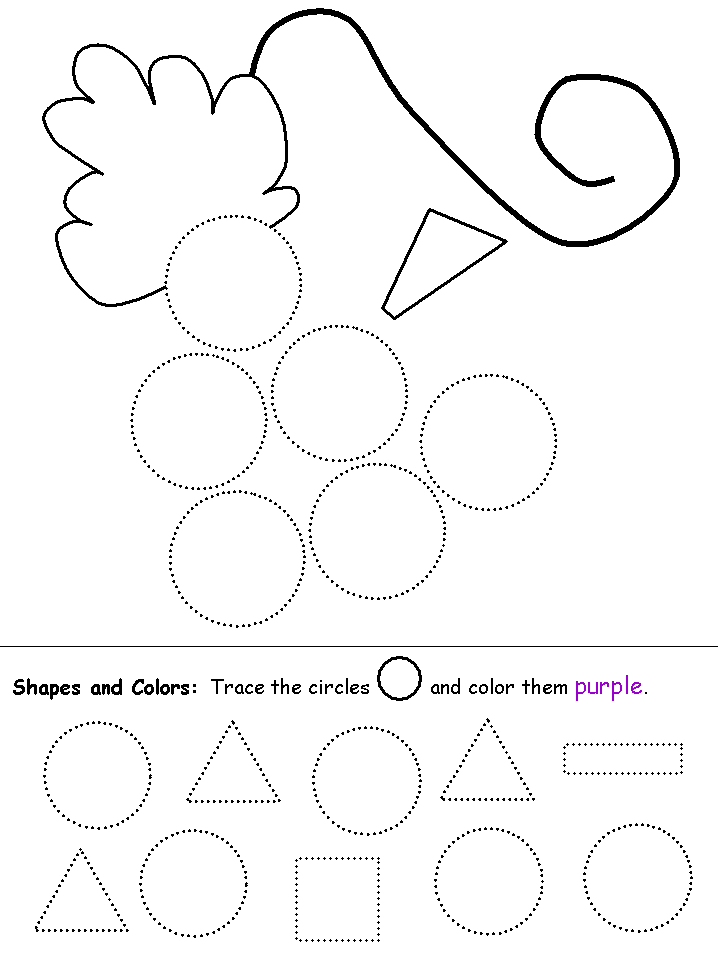
Blindfold a child, then give him a shape or ask him to pick a shape out of a bag. He must describe the shape (it is round and has no straight edges), then say what the shape is.
If he guesses right, he can keep the shape. If not, it goes back into the bag. This can be turned into a game to see how many shapes each person can accumulate.
9. Shape Stamping
Provide poster paints on trays and get kids to stamp shapes onto them.
Use blocks for these shapes or make potato prints, sponge shapes, etc. Use your imagination.
10. Shape Pictures
A fun art activity, this can be attempted after children have had ample opportunity to make shape pictures out of real shapes.
Provide lots of pre-cut paper shapes in various colours, white paper and glue.
Get kids to make their own shape pictures. Let them use their creativity and do not try to guide their creations.
Definitely don’t give them a model to copy! This should be a form of process art, where the learning is in the doing, not the final product.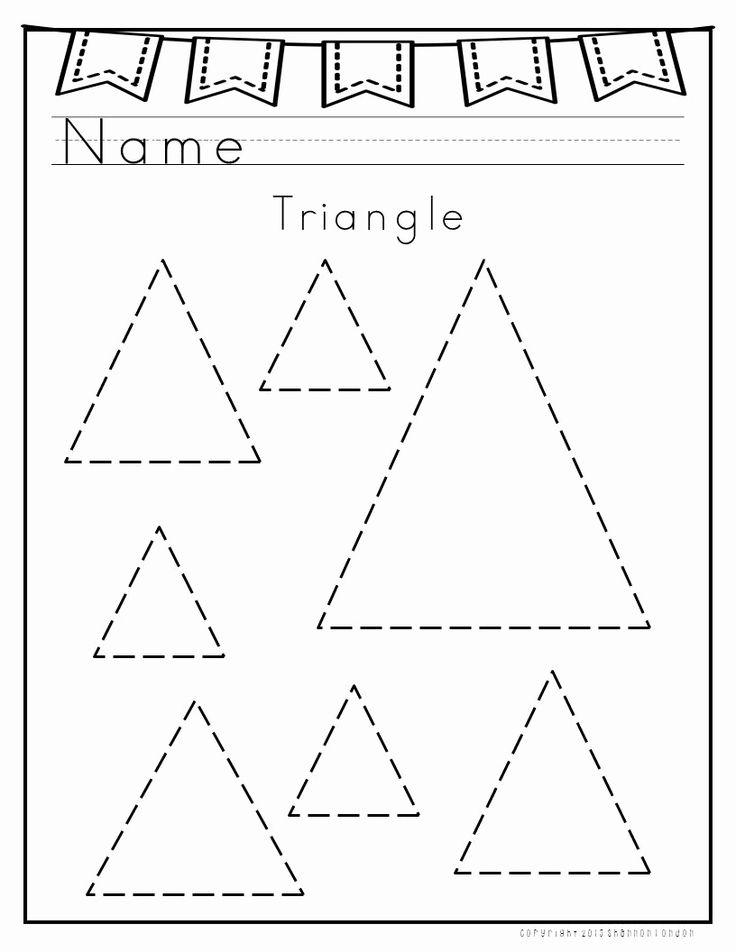
If you are looking for more creative art ideas, try these shape crafts for preschoolers.
Sources:
Natanson, J. 1998. Learning Through Play: A parent’s guide to the first five years. Tafelberg Publishers Limited: Cape Town.
Pieterse, M. 2007. Language and School Readiness. Metz Press: Welgemoed.
Get FREE access to Printable Puzzles, Stories, Activity Packs and more!
Join Empowered Parents + and you’ll receive a downloadable set of printable puzzles, games and short stories, as well as the Learning Through Play Activity Pack which includes an entire year of activities for 3 to 6-year-olds.
Access is free forever.
Signing up for a free Grow account is fast and easy and will allow you to bookmark articles to read later, on this website as well as many websites worldwide that use Grow.
- Share
How to Teach Shape Recognition to Preschoolers with Fun Activities
You are here: Home / Math / How to Teach Shape Recognition to Preschoolers with Fun Activities
by Sheryl Cooper
Inside: How to Teach Shape Recognition to Preschoolers with Fun Activities with Free Printable
One of the areas we have to cover in our preschool assessments is shapes. I am always looking for ways to build shape recognition skills, but I want them to be playful and authentically blend in with our other hands-on activities.
I decided to put together my own collection of shape recognition activities by doing a little searching.
After weeding out the results, I came up with over 16 ideas that I knew would be perfect. Not only are they fun, but they involve building other skills, too. I always love that!
So put away those flashcards, my friends. These fun activities will help your preschoolers learn to identify circles, triangles, squares, rectangles, and ovals.
👉 Bonus! I created a shape matching activity printable for your children. Scroll towards the bottom of this post to get the download.
I’ve also put together a collection of activities for math and literacy that are also hands-on and appropriate for this age group:
- Preschool Math Activities
- Preschool Literacy Activities
How to Teach Shape Recognition to Preschoolers with Fun Activities
Build shape recognition using toys.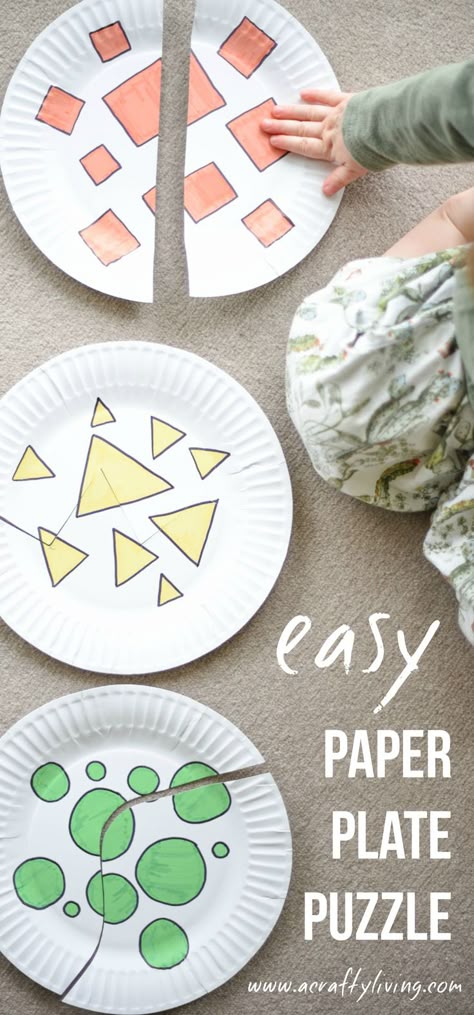
Mix colors while stamping circles from paper tubes.
Take apart your nesting toys to stamp shapes with paint.
Make a simple shape collage. (Homegrown Friends)
Go on a shape hunt at the playground (free printable included). (Buggy and Buddy)
Paint with different shapes of foam blocks. (Meri Cherry)
Make a shape puzzle using blocks you already have. (Twodaloo) (ETA: Unfortunately website is no longer running.)
Trace shapes on a chalkboard. (Hands On As We Grow)
Create a fine motor shape bin. (Stir the Wonder)
Make a shape sorting activity from an ice cube tray. (Mess for Less)
Make paper roads in different shapes and trace with cars. (Adventures of Adam)
Play shape hopscotch indoors! (Housing a Forest)
Use colored construction paper to create a train color sorting activity. (Mom Inspired Life)
More shapes activities:
Toddler Triangle Shapes Activity
15 Activities for Teaching Squares
Shapes Art Using Toys
Teaching Circles to Toddlers and Preschoolers
Going on a Circle Hunt Circle Time Activity
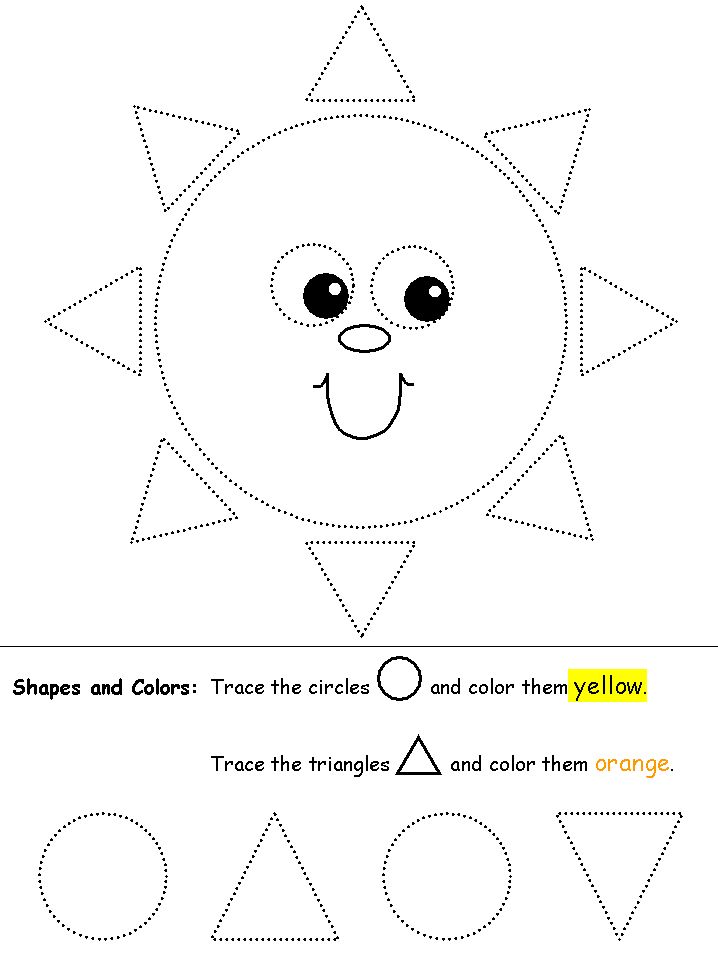
Here’s a simple shape matching activity for your children to try today! Click on the photo for the link to the PDF download:
More shape fun for your preschoolers!
These clever little rhymes teach children how to draw the shape and what objects in real life look like that shape.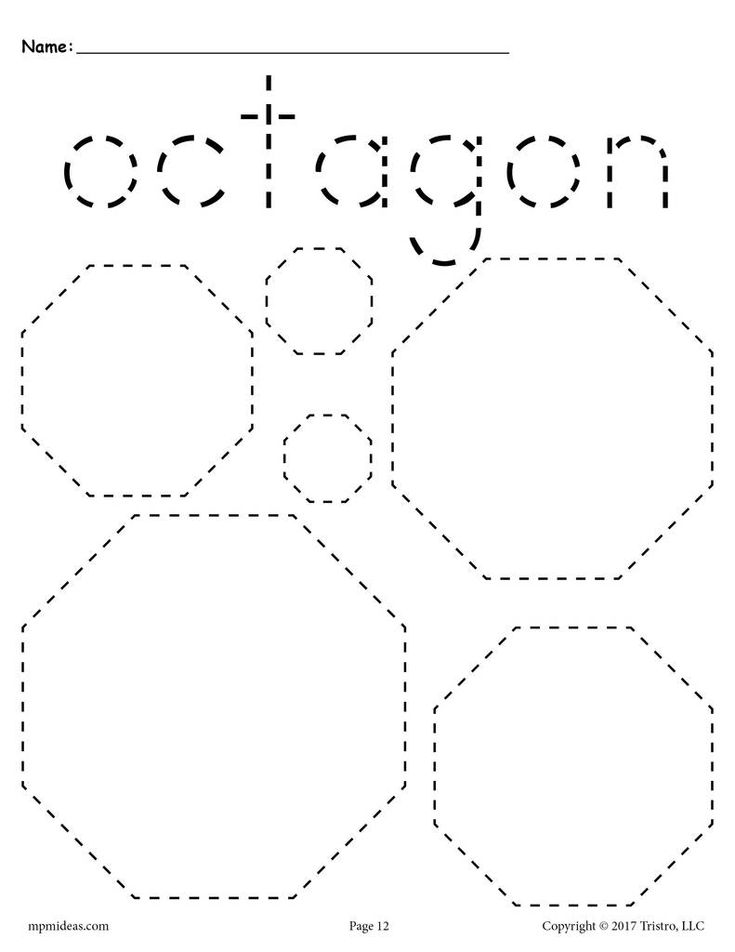
Along with 8 shape rhymes, you’ll also receive the audio version of the chants and printable shape booklets!
Click here for more information.
FREE CIRCLE TIME PLANNER!
Get your FREE circle time planner as a gift when you subscribe to my free weekly newsletters.
Here is my Privacy Policy
Filed Under: Math, preschool, Toddler Math Tagged With: preschool, printable, shapes
About Sheryl Cooper
Sheryl Cooper is the founder of Teaching 2 and 3 Year Olds, a website full of activities for toddlers and preschoolers. She has been teaching this age group for over 20 years and loves to share her passion with teachers, parents, grandparents, and anyone with young children in their lives.
Reader Interactions
Learning Geometric Shapes: Games for Preschoolers
One of the important aspects of the development of mathematical concepts in preschoolers is the study of the basics of geometry.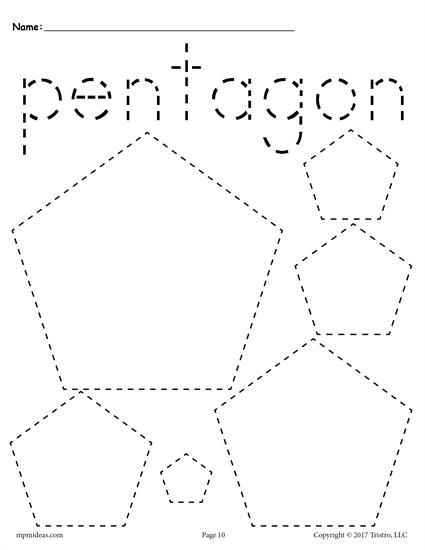 In the course of acquaintance with geometric shapes, the child acquires new knowledge about the properties of objects (shape) and develops logical thinking. In this article, we will talk about how to help a preschooler remember geometric shapes, how to properly organize games for teaching geometry, and what materials and aids can be used to develop a child’s mathematical abilities.
At what age can one start learning geometric shapes?
Many parents are wondering if young children need to get acquainted with geometric shapes. Experts believe that it is optimal to start classes in a playful, relaxed form from the age of 1.5. Until this age, it is appropriate to pronounce to the child the names of the shapes of objects that the baby meets in real life (for example, “round plate”, “square table”).
Introducing the child to geometric shapes, be guided by his reaction. If your baby started to show interest in them at an early age (by playing with the sorter or looking at pictures), encourage his curiosity.
At the age of 2, the baby should be able to distinguish between:
- Circle;
- Square;
- Triangle.
By the age of 3 you can add:
- Oval;
- Rhombus;
- Rectangle.
At an older age, a child can memorize such shapes as a trapezoid, a pentagon, a hexagon, a star, a semicircle. Also, children visiting the Constellation Montessori Center get acquainted with geometric bodies with interest.
How can I help my child remember geometric shapes?
Teaching a child geometric shapes should take place in stages. You need to start new figures only after the baby remembers the previous ones. The circle is the simplest shape. Show your child round objects, feel them, let the baby run his finger over them. You can also make an application from circles, mold a circle from plasticine. The more sensations associated with the concept being studied, the child receives, the better the baby will remember it.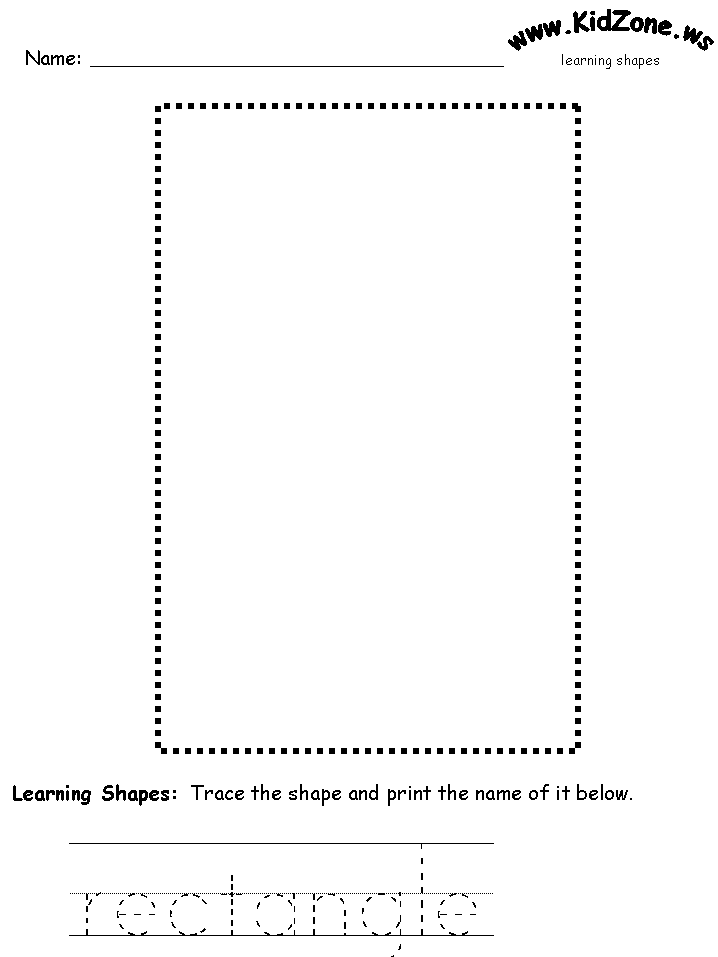
Three-dimensional figures can be used to get acquainted with the forms. It can be made by a designer, a sorter, lacing, frame inserts. Since at an early age the visual-effective type of thinking is most developed, various actions with figures will help to remember them better.
How children of different ages perceive geometric figures
The operations that a child can perform with geometric figures and how he perceives shapes depend on the age of the baby. In accordance with age characteristics, the following stages of training can be distinguished:
- In the second year of life, the baby is able to visually recognize familiar figures and sort objects according to shape.
- At 2 years old, a child can find the desired shape among a number of other geometric shapes.
- By the age of 3, babies can name shapes.
- At the age of 4, a child is able to correlate three-dimensional figures with a flat image.
- At senior preschool age (and sometimes even earlier) you can start studying geometric bodies (ball, cube, pyramid). Also at this age, the child can analyze complex pictures consisting of many shapes.
Regardless of the child's age, try to pay attention to the shapes of the surrounding objects and compare them with known geometric shapes. This can be done at home and on the go.
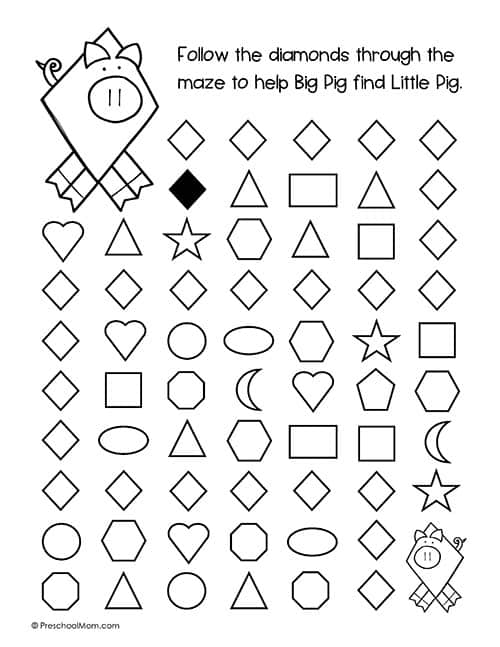
Games for learning geometric shapes
For a child to be interested, learning geometric shapes should take place in a playful way. You should also select bright and colorful materials for classes (you can buy them in a store or do it yourself). Here are some examples of games and tutorials for learning geometric shapes:
- Sorting. Games with a sorter can be started from the age of 1. Invite the child to find its window for the figure. So the child will not only memorize geometric shapes, but also develop fine motor skills, thinking and spatial representations, because in order for the part to fall into the hole, you need to turn it at the right angle.
 You can also sort any other items, such as building blocks, Gyenesch blocks, or counting material.
 - Insert frames. In fact, this manual is similar to a sorter. For each geometric figure, you need to find its place.
- Geometric lotto. To play, you will need a field with the image of geometric shapes and handout cards with each figure separately. A child can take small cards out of a chest or bag, and then look for their place on the playing field. This game also perfectly trains the attention of the baby.
- Geometric appliqué. Cut out various geometric shapes from paper and, together with your child, make a picture out of them (for example, you can make a Christmas tree from triangles, a house from a square and a triangle).
- Drawing (including stencils).
- Modeling.
- Laying out figures from counting sticks.
- Geometric mosaic.
- Laces with geometric shapes.
- Card games.
- Guess by touch.
- Active games. Draw geometric shapes on the pavement with chalk. Ask the child to imagine that the figures are houses that you need to run into on a signal. Next, you name a geometric figure, and the child runs to it.
In addition, educational cartoons can be used to study geometric shapes. Here is one of them:
Conclusions
Learning the basics of geometry at preschool age is an important part of developing a child's mathematical and sensory representations. Acquaintance with the figures should occur gradually (first, simple figures - a circle, a square, a triangle). To keep your child interested, study geometric shapes in a playful way. Your assistants in this can be such educational aids as insert frames, mosaics, lotto, sorters, sets of geometric shapes and bodies, stencils. You can also study geometric shapes on the street: just talk to your child about what you see around and what shapes these objects look like. Then the kid will definitely learn to distinguish geometric shapes and remember their names.
Conclusion
Montessori environment has been specially created for the comprehensive and harmonious development of each child in the children's center "Constellation". In the process of free work in it, children not only get acquainted with the basics of geometry, but also develop their cognitive processes, fine motor skills, learn to write, read, and count. In addition, the Montessori environment gives the child the opportunity to fully demonstrate independence and responsibility. We will be glad to see you and your baby at our center!
Prepared by a Montessori teacher
Malysheva Evgenia
Geometric shapes in 1st grade. Recognition tasks and tasks for constructing a triangle, circle, rectangle in mathematics lessons
Publication date: .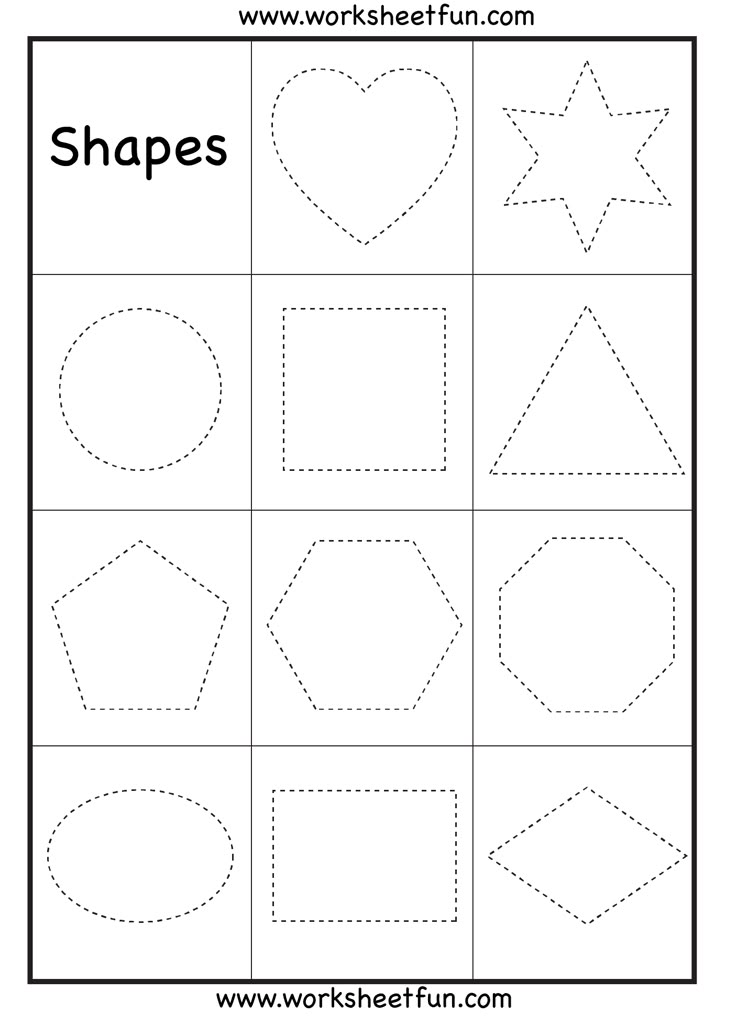
Tasks with answers on the topic: "Shape recognition". "Determining the sides of various geometric shapes"
Additional materials
Dear users, do not forget to leave your comments, feedback, suggestions. All materials are checked by an antivirus program.
Download: Geometric shapes: triangle, circle, rectangle (PDF) Simulator for the textbook Peterson L.G.
1. Problems for recognition of geometric shapes: triangle, circle, rectangle
1.1. What is the name of this figure? Write its name: ___________.
1.2. What is the name of this figure? Write its name: ___________.
1.3. What is the name of this figure? Write its name: ___________.
1.4. How many triangles are in the picture: ___________.
1.5. Measure the length of each side of the triangle and write them: _________.
1.6. Measure the length of each side of the rectangle and write them: _________
1. 7. Draw a red rectangle. Two of its sides are 3 cm, and the other two are 5 cm.
1.8. Draw a blue rectangle. Two of its sides are 4 cm, and the other two are 8 cm.
1.9. Draw a black rectangle. Two of its sides are equal to 5 cm, and the other two are equal to 2 cm.
1.10. Try to draw a red triangle with sides equal to 5, 5 and 2 cm.
1.11. Try to draw a blue triangle with sides equal to 4, 6 and 5 cm.
2. Tasks for finding similar figures.
2.1. What shapes are similar to a cone?
2.2. What shapes are similar to a cylinder?
2.3. What shapes are similar to a cylinder?
2.4. What shapes are like squares?
2.5. What shapes are similar to a triangle?
Practical tasks on the topic: rectangle, quadrilateral.
1. Draw a quadrilateral with 4 cells in length and width. Shade it and check which sides it has (equal or unequal). Instruction. The teacher will tell the students that such a quadrilateral is called a square (the children have already seen the square, and now they have built it themselves).
2. On a separate sheet of checkered paper, we will mark the tops of the figures and then cut out these figures with scissors.
Mark the vertices of the square so that they are 6 cells apart from each other, draw the sides of the square and cut out the square along these sides with scissors, try to build and cut more precisely.
How many vertices does a square have? how many corners? how many sides? Are all sides of the cut square equal? How can this be checked?
Note. When the square is cut out, the students must be told that the points where the sides meet are called the vertices of the figure. You can check if the sides of the square are equal by cells.
3. Cut out the rectangle so that it is 6 squares long and 4 squares wide. First mark the vertices of the quadrilateral, and then draw the sides and cut along the sides. How many vertices, how many corners, how many sides does a quadrilateral have? Are all the sides of this figure the same (equal)? Shade slightly this quadrilateral.
4. Cut out the triangle. Pre-outline the top of it.
Note. You can first suggest marking, say, 6 cells at the base of the triangle, and 4 cells at the height, and do not give any instructions to cut out another triangle, giving students complete freedom. Have the children shade it and answer questions about how many vertices, corners, and sides it has. They must be told that a triangle is a part (shaded) of a plane bounded by three sides. You don't need to memorize these definitions.
5. Place a 3 kopeck coin. on paper and circle it more carefully with a well-sharpened pencil. You will get a curved closed line, which is called a circle. Shade the cells that are inside the circle, and cut out this paper coin - you will get a circle. Figure out how to get a bigger circle and how to make it smaller than what you have. Which coins should be taken to get a bigger circle, and which coin to get a smaller circle?
Note. Children have to be introduced to the circle in this period, since they use it as didactic material.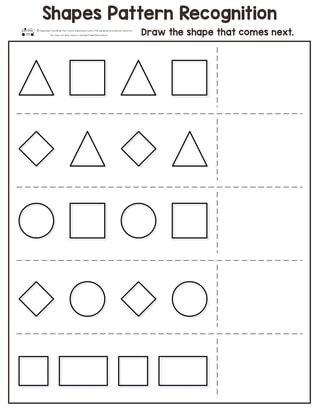 9models. Where else do you see right angles?
Put two dots on the tops of the cells at a distance of 4 cm from each other, from these points put dots, up the line of cells at a distance of 3 cm. You will get four points. Connect them straight. What figure turned out inside these lines? Shade it slightly. Using the right angle model, check what angles this shape has. Using a ruler (or a strip, or a compass) / determine if there are equal sides here.
Note. Children will find that in this figure all 4 corners are straight, and with stripes they will establish the equality of opposite sides. After that, you can tell the children that figure II can be called a rectangle and that the long side of the rectangle is called the length, and the short side is called the width of the rectangle.
8. Draw a rectangle in notebooks, which has: 1) a length of 6 cm and a width of 3 cl; 2) length 5 cm and width 1 cm.
9. Construct a rectangle whose length is equal to the width. What is the name of such a rectangle?
Note.