Shapes pre k
Teaching Shapes in Preschool
Do you teach shapes in your preschool or pre-k classroom? If you’re looking for fun, hands-on activities for teaching shapes that will get your kids excited about learning, then you’re in the right place!
Teaching Shapes in Preschool
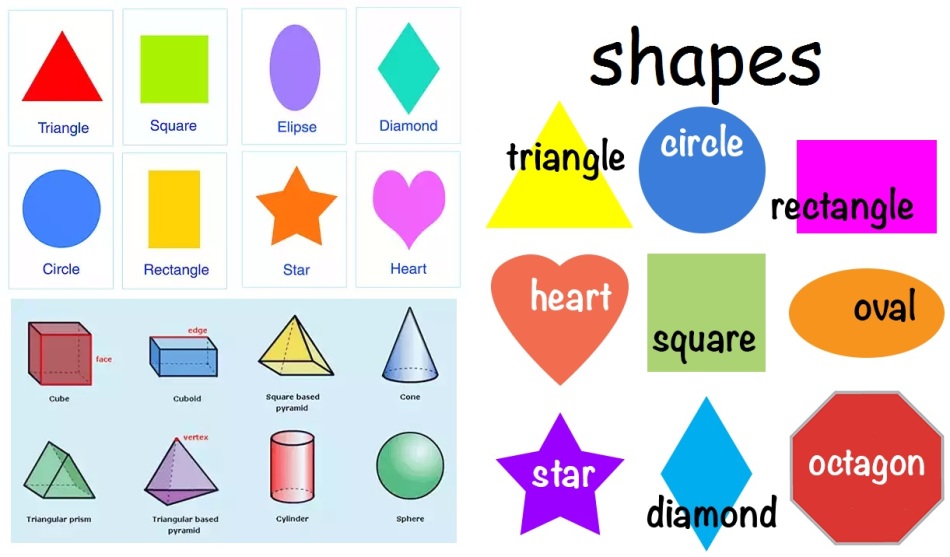
Learning about 2D shapes is an important early math skill. There are so many different ways to teach your little learners about shapes, but the most effective methods will be those that provide opportunities for hands-on learning.
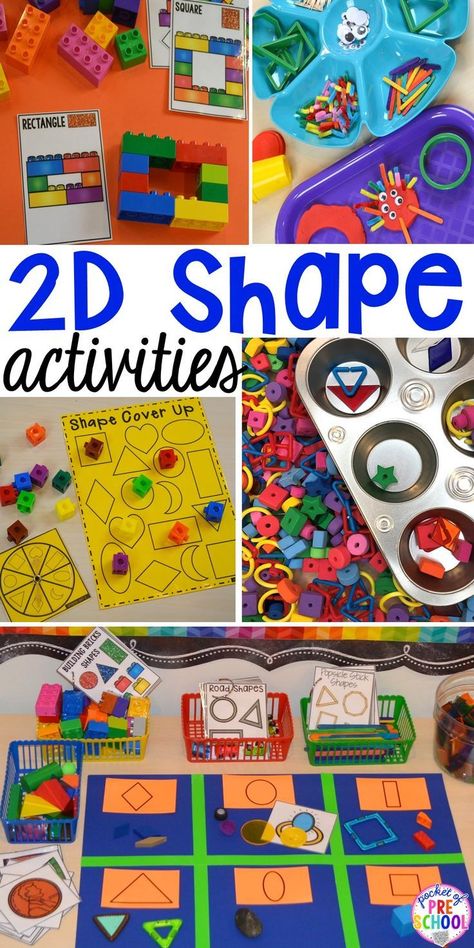
2D Shape Activities
Shapes are a Skill
This might be a surprise to some, but shapes are a skill, not a unit of study. A skill develops over time and needs to be reviewed and reinforced throughout the year.
Teaching Shapes with Manipulatives
Your little learners will benefit the most from exploring and creating with shapes all over the classroom, not just in the math center.
You can put shape manipulatives like pattern blocks, geoboards, and magnetic shapes in your classroom centers. I like to keep a color and shape bingo game in my puzzles and games center all year long.
Hands-On Learning
If you really want your students to learn shapes, you can provide them with hands-on activities for learning shapes all year long.
These road shape mats pictured above are a perfect example of a fun, hands-on learning activity your kids will love!
Embedding shapes into your units of study is a more effective approach because it will help your kids learn and remember the names of the shapes being taught.
Pattern Blocks
Another fun way for teaching shapes is to use pattern blocks. These pattern block mats are the perfect shapes activity.
Your little learners will be practicing shape matching, and they’ll also be flipping and turning the shapes on the mat. Matching, flipping, and turning shapes is the foundation of geometry.
Geoboard Shapes
These geoboard shapes task cards can be used all year long.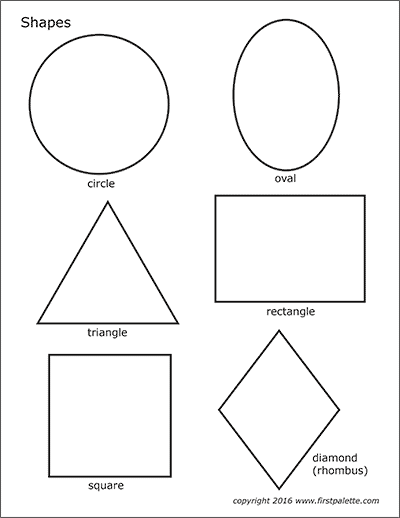 Not only are they fun for your kids to use, but they’re also great for developing those important fine motor skills.
Craft Stick Shapes
Making shapes with craft sticks is a super fun and inexpensive way to learn shapes! Use these done-for-you craft stick shape cards to create a hands-on shape learning experience your kids will love!
Play Dough Shapes
Do your kids love playing with play dough? These play dough shape mats are a great way to introduce shapes to your little learners! They’ll love rolling “snakes” and making shapes on their mats. They’ll also be developing visual discrimination skills by searching for the picture that doesn’t belong and fine motor skills with tracing.
Teaching Shapes
When teaching your little learners about shapes, remember to talk about how many sides each shape has. Don’t be afraid to use real math language, like sides and vertices. Using real math language will help your students develop important academic vocabulary.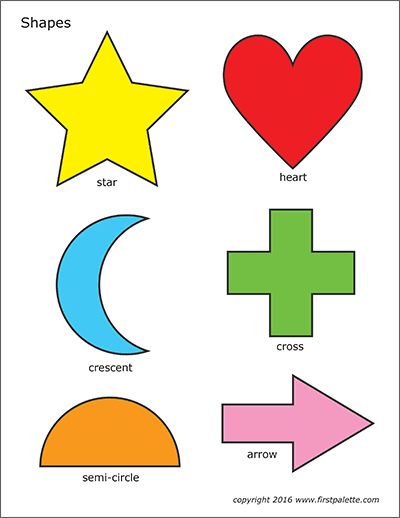
When you use shape manipulatives in your classroom, your little learners can feel, touch and count the number of sides and vertices each shape has. You can even talk about how a circle doesn’t have any sides or vertices!
Shapes in the Math Center
You can also incorporate shape activities into your math center throughout the year to reinforce shape recognition.
Shape Books
More Math Ideas from Pre-K Pages
Related Links
Prekinders
2D Shape Activities for Preschool, Pre-K, and Kindergarten
Learning about 2D shapes is a must for every early childhood classroom. I’m here to share with you my favorite, go-to 2D shapes activities! Some teachers may do a shapes theme or unit (like me), some may do a shape of the week, and some sprinkle in shape activities all year long. These activities will work for all types of classrooms and teaching styles! Grab your lesson plan binder, and let’s get started! Want all shape printables now? You can find them in my Shapes Unit on TPT HERE.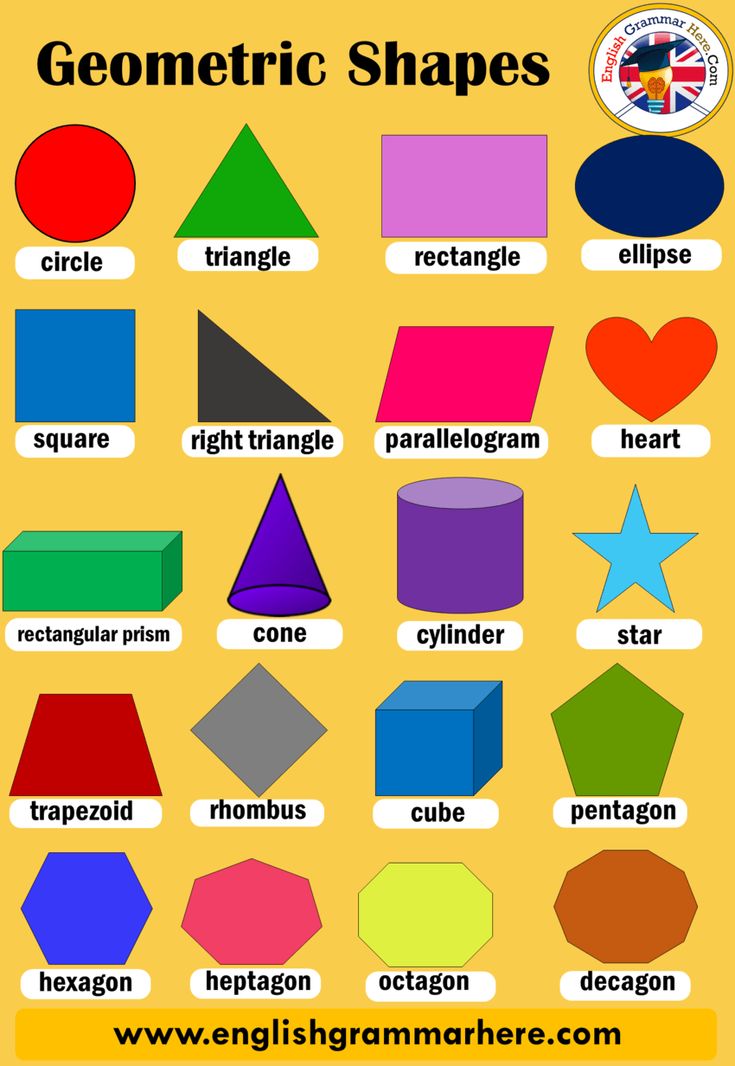
This post contains affiliate links.
Shape Manipulatives
When setting up a shape activity, the first thing I do is go into my supply closet and pull out all my shape games, manipulatives, and puzzles. Pattern blocks, shape cookies, and shape magnet blocks are distributed into various classroom centers. Students need to be playing, manipulating and creating with shapes all over the classroom, not just in the math center!
I love this 2D & 3D shape building set! It’s a ton of fun and comes with shape cards.
Toothpick Shapes
Toothpick Shapes are a fun and interactive way to learn shapes! Students can make shapes with toothpicks and play dough or marshmallows. When teaching your little learners about shapes, it’s important to teach about the sides and vertices too. Use those big vocabulary words! Feel, touch and count the number of sides and vertices a shape has. Don’t forget that a circle doesn’t have any sides or vertices!
In the Discovery Center: Learning about math and science
In the discovery center, I set up a shapes exploration table. The wall has shape posters with real photographs, the back of the table is lined with shape building cards and manipulatives and translucent shapes. There is a sorting board with shape flashcards on top. It’s just a poster board I made with tape. Super simple! The basket is filled with real objects and shape cards students can sort. This exploration table gives students the opportunity to talk about, touch, feel, build, and manipulate shapes with a peer or independently.
Shape Building Blocks Cards! This is a close up of the building block shape cards. Students use the blocks to create the shape on the card. After the shape theme is over, put the shape building cards in with your manipulatives or STEM drawers!
Geoboard shape cards! I put these shape geoboard cards in my geoboard basket. Students can make the shapes with loom bands on the geoboard. To introduce this activity, I put it out for table time as an arrival activity. It’s also great to build those little fine motor muscles too!
Shape cover up! Cover up is a fun game to practice matching shape! Students spin the spinner and cover the matching shape. I love these translucent spinners for my math games. This game is in my Shapes pack. It comes in four different levels.
Shapes graph it! This is another fun shapes game that my students love. It’s also a great opportunity to talk about more, less and equal to. Try using magnet bingo chips to cover the graph then using a magnet wand at the end to make the game even more exciting.
In the Sensory Table
This shape sensory table is filled with shaped manipulatives and a few cupcake pans for sorting. It has foam shape beads, shape chains and translucent shapes. Perfect for sorting, lacing, and linking together. And you guessed it, it’s great for their fine motor, too!
Transition Activity
Shape sort! Transition activities are the perfect time to do a quick assessment or learning check. We have snack after music and movement time. I always plan a transition activity for that time for several reasons. The first is so the whole class isn’t lined up at the same time to wash their hands, which is just asking for crazy behaviors to occur.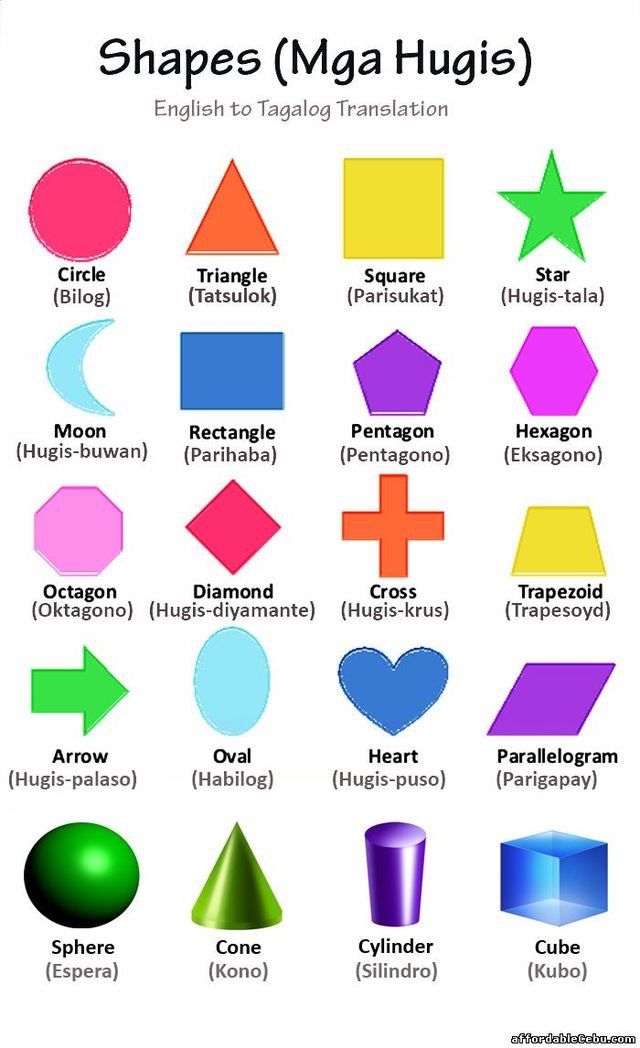 The second is because it’s another time I can squeeze in more learning! What I do is call on a student and give them a card to sort. It’s a quick and easy way for me to check and see if they know or don’t know a shape.
In the Library Center
Sand writing trays with shape flashcards! Students can write and draw shapes in the sand. This tray is from a lacing set but you can use any small tray you have. I know some teachers use foil pie plates or kid plastic divided dinner plates for writing trays.
Shape mini books! After we make a shape mini books together during small group or table time, I put them in the center. They LOVE making them! Staplers scare me a bit with my little learners so I put in this stapleless stapler! It’s amazing!
Shapes emergent reader! For a small group activity, students create their own shape emergent reader. After they are complete and we have read them a few times together, they are put in the library center for students to read.
In the Art Center
My students LOVE play dough trays so I try to make one for each theme we do. In this activity, they create play dough shape monsters. Students use the shape cookie cutters to create the body. Then add arms, legs, eyes and hair using cut up pipe cleaners, small popsicle sticks, toothpicks, and googly eyes. The tray is from the Dollar Tree.
Play dough shape mats! Students can create play dough shapes on these shape mats. They can make the shape by rolling play dough snakes or by molding the dough.
Shape Prints! It’s great fine motor and makes beautiful pieces of art for your classroom. We cut up paper towel tubes for this circle printing project.
We printed with wooden shape blocks too!
Shape collages! It’s important to provide activities for students to create new items using shapes. In fact, it’s a learning objective/standard in many states. Students need to be able to manipulate shapes to create new shapes, objects or pictures. Shape collages are the perfect activity to address this learning objective.
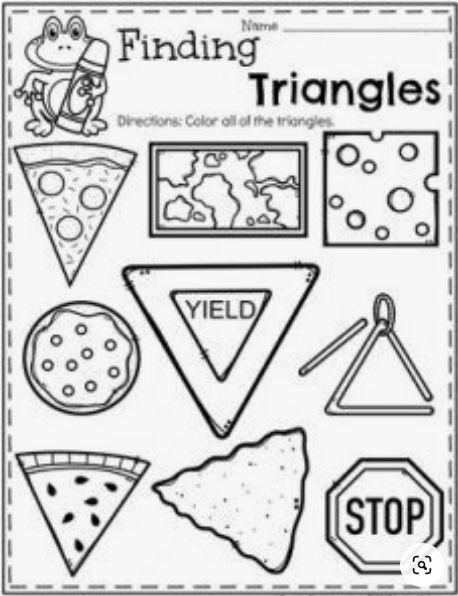
Single shape collages! You can also have students create shape collages using just one kind of shape. One year my students were struggling with triangles so we created triangle shape collages. Students were finding triangle shapes, talking about triangles (how they are alike and different), and making pictures with triangles!
Dramatic Play
You can change the dramatic play center to so many different things for a shape theme but my favorite thing to do is a Pizza Restaurant. There are shapes all over a pizza restaurant. The pizzas can be different shapes and the slices too! Then the toppings are so many different shapes too. You should totally try it!
Make learning about shapes FUN by providing your students with hands-on learning experiences and play! Want all the 2D Shape printables in this post? Click HERE to grab my 2D Shapes unit from my TPT store. It’s packed with over 200 pages of shape building cards (legos, geoboards, popsicle sticks, toothpicks, play dough), posters, sorting mats, worksheets, games & MORE.
Learning about shapes is a fun theme and concept to do with little learners and you can check more fun shape activities by clicking on the image below!
Love these shape activities? Pin this image!
Creating a form that contains a subform (form with a one-to-many relationship)
When working with relational data (that is, related data that is stored in different tables), it is not uncommon to want to view multiple tables or queries in the same form . For example, you might want to view a customer's data from one table and their order details from another at the same time. Subforms are a handy tool for this kind of task, and you can quickly create them in Access in several ways.
In this article
-
About Subforms
-
Create or add a subform
-
Create a form containing a subform using the Form Wizard
-
Adding one or more subforms to an existing form using the Subform Wizard
-
Create a subform by dragging one form onto another
-
Opening a subform in a new window in the designer
-
Change the default view of a subform
-
Adding related data to a form without creating a subform
Information about subforms
A subform is a form inserted into another form. The main form is called the main form, and the form nested in it is called the subform. A combination of a form and a subform is sometimes also called a hierarchical form, a combination of a main form and a detail form, or a combination of parent and child forms.
Subforms are especially useful for displaying data from tables or queries with a one-to-many relationship. A one-to-many relationship is a relationship between two tables where the primary key value of each record in the master table matches the value in the corresponding field or fields of multiple records in the related table. For example, you can create a form that displays employee information and contains a subform with each employee's orders. The data in the "Employees" table is the "one" side of the relationship. The data in the Orders table is on the "many" side of the relationship - there can be multiple orders for each employee.
1. The main form displays data on the "one" side of the relationship.
2. Subform displays data on the many side of the relationship.
The main and subforms interact in such a way that only those records that are related to the current entry in the main form are displayed in the subform. For example, if the main form displays Olga Zueva's data, the subform displays only her orders. If the link between the main form and the subform has been broken, then the subform will display the orders of all employees, not just Olga.
The table below defines some of the terms associated with the subform. Access will process most of the information if you use the procedures that you use in this article, but it's good to know what changes happen next.
| Term | Definition |
| Subform control | A control that embeds one form within another. |
| "Source object" property | A property of a subform control that specifies which object it displays. |
| Table | Simple display of data in rows and columns, as in a spreadsheet. A subform control displays a table when the source object is a table or query, or a form with its Default Mode property set to Table Mode. In these cases, the subform is sometimes referred to as a table or subtable. |
| "Subordinate fields" property | A property of a subform control that specifies the field or fields on the subform that will bind it to the main form. |
| "Basic fields" property | A property of a subform control that specifies the field or fields on the main form that will link it to the subform. |
 It can be thought of as a "representation" of another object in the database, be it another form, table, or query. A subform control has properties that let you associate the data it displays with the data in the main form.
Notes:
-
Before following the steps in this article, we recommend that you set up relationships between tables. This will allow Access to automatically create links between the main and subforms. To view, add or edit relationships between tables in a database, on the Working with Databases tab in the group Show or Hide press button Data scheme .
-
When a subform control has a form as its source object, it has the fields placed on it and can be viewed as a single form, ribbon form, or table.
 One of the benefits of creating a subform from a form is the ability to add calculated fields to the subform, for example: [Quantity] * [Price] .
 -
You can also insert a table or pivot view into a form by creating a subform control whose source object is a table or query. For more information, see Adding Related Data to a Form Without Creating a Subform.
Top of page
Create or add a subform
The table below provides guidance on choosing the procedure that is best suited for a particular situation.
| Scenario | Recommended procedure |
| You need to create a main form and a subform in Access and link them. | Create a form containing a subform using the Form Wizard |
| You want to use an existing form as the main form, but create a new subform in Access and add it to the main form. | Adding one or more subforms to an existing form using the Subform Wizard |
| You want to use an existing form as the main form and add one or more existing forms to it as subforms. | Create a subform by dragging one form onto another |
Create a form containing a subform using the Form Wizard
Use this procedure to create a new form and subform combination using the Form Wizard. It's also the fastest way to get started if you haven't created any forms that you plan to use as a main or subform.
-
On the Create tab, in the Forms group, click the Form Wizard button.
-
On the first page of the wizard, in the drop-down list Tables and Queries , select a table or query. For example, to create an Employees form to display a list of orders for each employee in a subform, select Table: Employees (the one side of a one-to-many relationship).
Note: The order in which tables and queries are selected does not matter.
-
Double-click the fields in the table or query that you want to include in the form.
-
On the same page of the wizard, in the drop-down list Tables and Queries , select another table or query. In this example, we'll select the Orders table (the "many" side of the one-to-many relationship).
-
Double-click the fields in the table or query that you want to include in the form.
-
When you click "Next" assuming that the links are set up correctly before starting the wizard, the wizard will ask you how do you want to view the data? - for which table or query.
 Select the table on the "one" side of the one-to-many relationship. In this example, to create the "Employees" form, you would click "Employees". The wizard will display a small outline of the form. The page should have the following graphic:
 The box at the bottom of the form image indicates a subform.
Note: If query Select how data is presented is not displayed, this means that Access could not find a one-to-many relationship between the selected tables or queries. The wizard continues, but no subform is added to the form. If you want to check relationships between tables first, click Cancel .
-
Select the radio button Subforms at the bottom of the wizard page and click the button Next .
-
On page Select the appearance of the subform: select the desired layout option and click the Next button. Both layout styles arrange the subform data in rows and columns, but the ribbon layout has more customization options. You can add color, images, and other formatting to a ribbon subform, but the tabular layout is more compact, as is the tabular view of a table.
-
On the next page of the wizard, select a formatting style for the form, and then click Next . If you selected Tabular on the previous page, the selected style formatting is also applied to the subform.
-
On the last page of the wizard, enter the form titles. Names are automatically assigned to forms based on the titles entered, and subform labels are assigned based on the titles of the subforms entered.
-
Specify the mode in which you want to open the form: form mode (so you can view or enter data) or Design view (so you can change its structure). Then press the button Done .
Access creates two forms, a main form that contains a subform, and the subform itself.
Top of page
Adding one or more subforms to an existing form using the Subform Wizard
Use this procedure to add one or more subforms to an existing form. For each subform, you can create a new form or use an existing one.
-
In the Navigation Pane, right-click an existing form and select Constructor .
-
On the tab Design, in the Controls group, click the down arrow to open the Controls collection, and make sure that the Use wizards check box is selected.
-
On the tab Design in the group Controls select item Subform/Report .
-
On the form, click where you want to place the subform.
-
Follow the wizard's instructions.
After clicking the button Done a subform will be added to the form. If a new form is created for a subform instead of using an existing one, a new form object will be created and added to the navigation pane.
Creating a subform by dragging one form onto another
Choose this procedure if you want to use an existing form as a master form and add one or more existing forms to it as subforms.
-
In the Navigation Pane, right-click the form you want to use as the main form and select Constructor .
-
Drag the form you want to use as a subform from the navigation area onto the main form.
Access adds a subform control to the main form that is linked to the form that was dragged from the Navigation Pane. It will also try to link the subform to the main form based on the relationships defined in the database.
-
Repeat this step to add more subforms to the main form.
-
To check if the link was created successfully, on the Home tab , in the Modes group, click the Mode button, select the command Form Mode , and use the main form's record selector to view several records. If the subform correctly displays data for each employee, the procedure completed successfully.

If validation does not work, this means that Access was unable to link the subform to the main form and properties Subform fields and Main fields of the subform control were left blank. Set the values for these properties manually by doing the following:
-
In the Navigation Pane, right-click the main form and select Constructor .
-
Click the subform control once to select it.
-
If the Properties Window task pane is not displayed, press F4.
-
In the properties window, open the tab Data .
-
Click the "Build" button next to the property field "To child fields".
The dialog box Link to subform fields will open.
-
In the Fields and Descendants list, select the fields with which you want to link the forms, and click OK. If you don't know which fields to use, click the Suggest button to have Access try to determine the linking fields.
Tip: If you don't see the field that you want to use to link forms, you might have to edit the record source of the main or subform so that the field is present. For example, if the form is based on a query, you should ensure that the binding field is present in the query results.
-
Save the main form and switch to form mode, then check if it works correctly.
Opening a subform in a new window in the Designer
If you want to make changes to the structure of a subform while working on the main form in the Designer, you can open it in a separate window:
-
Click a subform to select it.
-
On the tab Design in the group Service click the button Subform in the new window .
Top of page
Changing the default view for a subform
When a subform is added to a form, the subform (or report) control displays the subform according to its property Default mode . The values that can be set for this property are listed below.
-
Simple form
-
Band molds
-
Table
-
Divided form
When creating a subform, this property can be set to Tape forms or Simple form . However, if you set property Default Mode of the subform to Table Mode , it will be displayed as a table in the main form.
To set the value of the Default Mode property of the subform, follow these steps:
-
Close all open objects.
-
In the Navigation Pane, right-click the subform and select Design .
-
If the properties window is not displayed, press the F4 key.
-
Make sure Form is selected from the drop-down list at the top of the properties window.
-
On the Format tab of the properties window, set the Default Mode property to the desired value.
Note: If the desired mode is not listed, make sure the Mode... property is set to Yes . For example, if you want to select option Table Mode , make sure property Table Mode is set to Yes .
-
Save and close the subform, and then open the main form to check the results.
Top of page
Forms
Forms in 1C:Enterprise are designed to display and edit information contained in the database. Forms can belong to specific configuration objects or exist separately from them and be used by the entire application solution as a whole.
For example, the Nomenclature lookup can have several forms that will be used for specific purposes - editing a lookup element, displaying a list, etc. :
:
Along with this, there may be general forms that do not belong to specific configuration objects - general forms.
Basic shapes
Each configuration object can be used to perform certain standard actions. For example, for any directory, you may need to display a list of its elements, display individual elements of the directory, display a group of the directory, select elements and groups of elements from the directory. For any document, the list of such actions will be much smaller: viewing the list of documents, selecting from the list of documents, and viewing a single document.
To ensure the performance of such standard actions with the data of objects of the applied solution, for each of them there is a set of basic forms that will be used when performing the corresponding actions. Any of the forms subordinate to this object can be assigned as the main one. For example, the catalog Nomenclature can have the following main forms:
And for the document Receipt of goods and services, the composition of the main forms will be different:
Thus, if the user wants to view the list of the catalog Nomenclature or the list of documents Receipt of goods and services, the system will open the corresponding form assigned as the list form for these objects.
Auto-generated forms
An important feature of the 1C:Enterprise 8 system is the mechanism of auto-generated forms. This mechanism relieves the developer of the need to create all possible forms for each of the configuration objects. It is enough for the developer to add a new configuration object, and the system itself will generate the necessary forms at the right moments of the user's work to display the information contained in this object.
Thus, the developer needs to create his own forms of application solution objects only if they must have differences (different design or specific behavior) from the forms automatically generated by the system.
Form to data link
The fact that the form belongs to one or another configuration object does not determine the composition of the data that is displayed in the form. The fact that the form belongs, for example, to the Nomenclature directory allows you to assign it to one of the main forms for this directory, but does not determine in any way what kind of data this form will display and what its behavior will be.
In order to associate a form with data, form attributes are used, which indicate the list of data displayed by the form. All forms, by themselves, have the same behavior, no matter what data they display. However, one of the form attributes can be assigned as the main one for it (it is highlighted in bold), in which case the standard behavior of the form and its properties will be supplemented depending on what type the main form attribute has:
For example, if the document Receipt of goods and services is assigned as the main attribute of the form, then when the form is closed, the system will request confirmation of recording and posting this document. If, say, the Nomenclature reference book is assigned as the main attribute of the form, then such a confirmation request will not arise when the form is closed.
Form structure
The main feature of the forms is that they are not drawn by the developer in detail, "by pixels".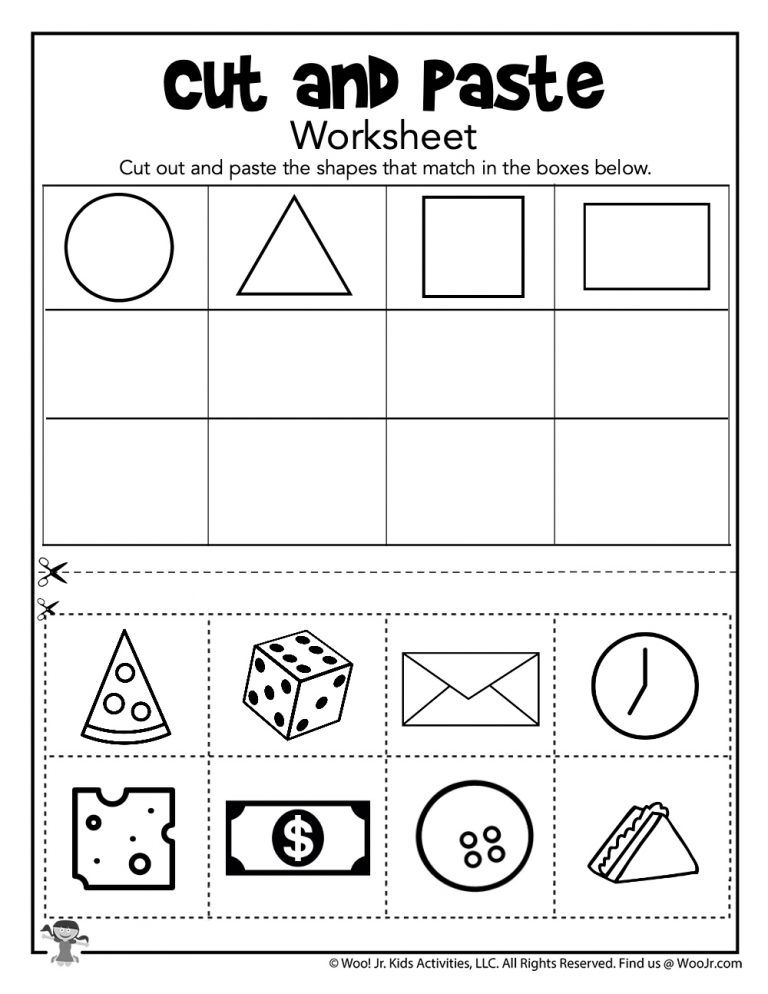 A form in a configuration is a logical description of the composition of a form. And the specific placement of elements is performed by the system automatically when the form is displayed.
The part of the form that is displayed (visible to the user) is described as a tree containing form elements.
Elements can be input fields, checkboxes, radio buttons, buttons, etc. In addition, an element can be a group of other elements. A group can be represented as a panel with a frame, a panel with pages (tabs), the page itself, a command panel. In addition, an element can be a table that also includes elements (columns). The element structure describes how the form will look like.
All functionality of the form is described in the form of details and commands. Details are the data that the form works with, and commands are the actions performed. Thus, the developer in the form editor must include the necessary details and commands in the form, create form elements that display them, and, if necessary, arrange the elements into groups.
Based on this logical description, the system automatically generates the appearance of the form for display to the user. At the same time, the system takes into account various properties of the displayed data (for example, type) in order to arrange the form elements as conveniently as possible for the user.
The developer can influence the arrangement of elements with various settings. It can determine the order of elements, indicate the desired width and height. However, this is just some additional information to help the system display the form.
In forms, the developer can use not only the commands of the form itself, but also global commands used in the command interface of the entire configuration. In addition, the ability to create parameterizable commands that will open other forms based on the specific data of the current form has been implemented. For example, this can be a call to a report on balances in the warehouse that is currently selected in the invoice form.
Mold mechanics
The functioning of managed forms has the following distinctive features:
- Form exists on both client and server
It performs client-server interaction (transfer of data and design properties of elements) - Form does not work with application objects
The form uses special universal objects FormData... Application objects work only on the server and only during certain operations
When opening a form:
- Object read from database
- Object is converted to form data
- Object is removed from memory
- Form data is sent to the client
When writing data from a form:
- Form data received from client
- Form data is converted to object
- Object is written to database
- Object is removed from memory
Form editor
To create and modify forms, a developer can use the form editor, which has convenient tools for graphic design of forms of varying complexity.