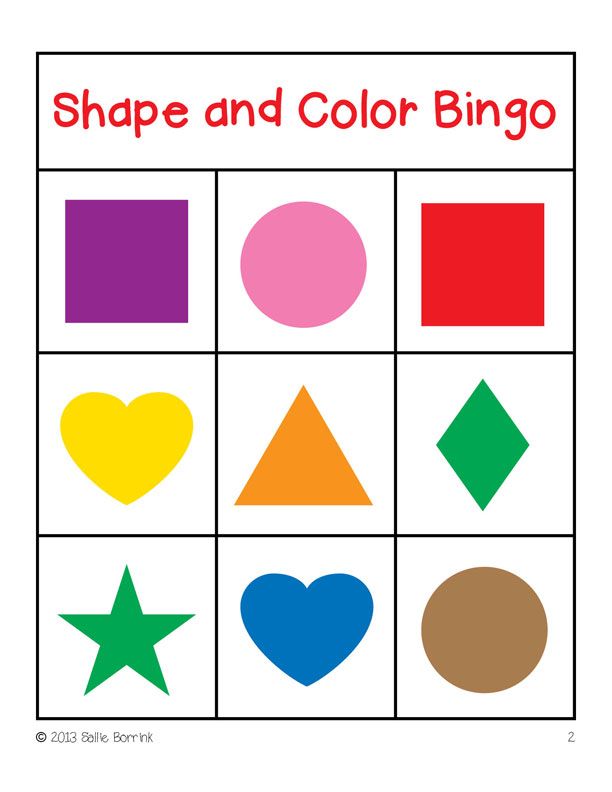
Special kids shapes and colors
Day 20: Shape and Colors
This article is part of the 31 Days of Pinterest Hacks series. Find the main page for this series here.
Many toys on the market today aim to “teach” babies and toddlers shapes and colors—among other skills. They sell parents the idea that young children can comprehend these abstract concepts.
Activities pinned on Pinterest tend to do the same for early childhood learners. When we come across these, we assume that all children must learn shapes and colors in preschool (or at this developmental level). What if I challenge you in this article? What if I tell you that you can skip “teaching” shapes and colors to a neurodivergent or disabled child?
Shape and color worksheets should be avoided with neurodivergent or disabled children until they fully understand these concepts.
You’re not skipping shapes and colors altogether. However, it’s not necessary for children to master these concepts—specifically if they are not developmentally ready. Just because publishing companies suggest all kids need to learn shapes and colors doesn’t mean you need to begin there with the child you support.
- Color is an abstract concept. Concrete thinkers may struggle with abstract concepts.
- Shape is an early numeracy concept. Like most numeracy concepts, shapes, too, are abstract.
- Children requiring fine motor and eye-hand coordination support may find drawing shapes challenging.
- Distinguishing colors is difficult for children who are color-blind.
While it may be a challenge to learn these concepts, there are ways you can expose a child to the concepts. However, unless you know that the child is at this developmental stage, do not make it a goal for them to know how to name, point, sort, match, compare, or reproduce shapes and colors. You’d be setting up the child for frustration.
Sequence for learning about shapes and colors
Shapes
- Explore shapes in our world.
 Since figures are all around us, the child is already internalizing differences in the objects they touch and see. Allow them to explore in this way without needing to label the shapes.
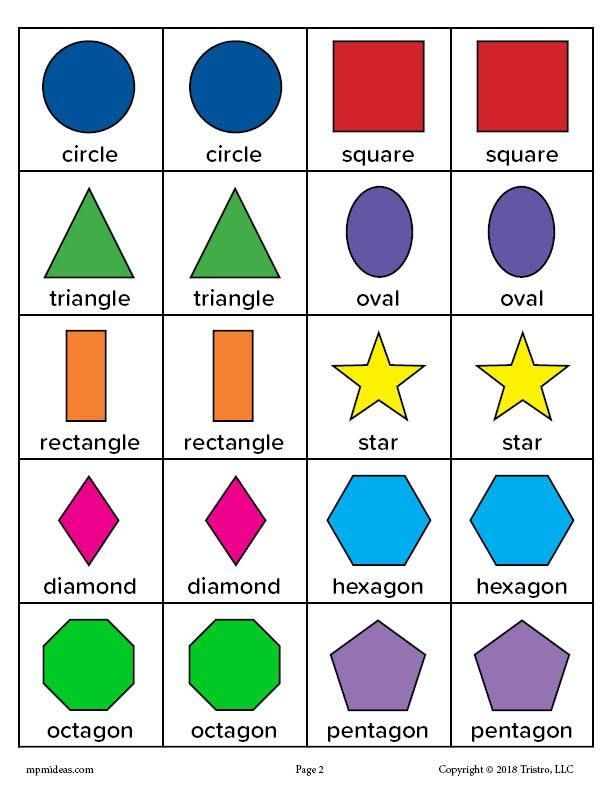
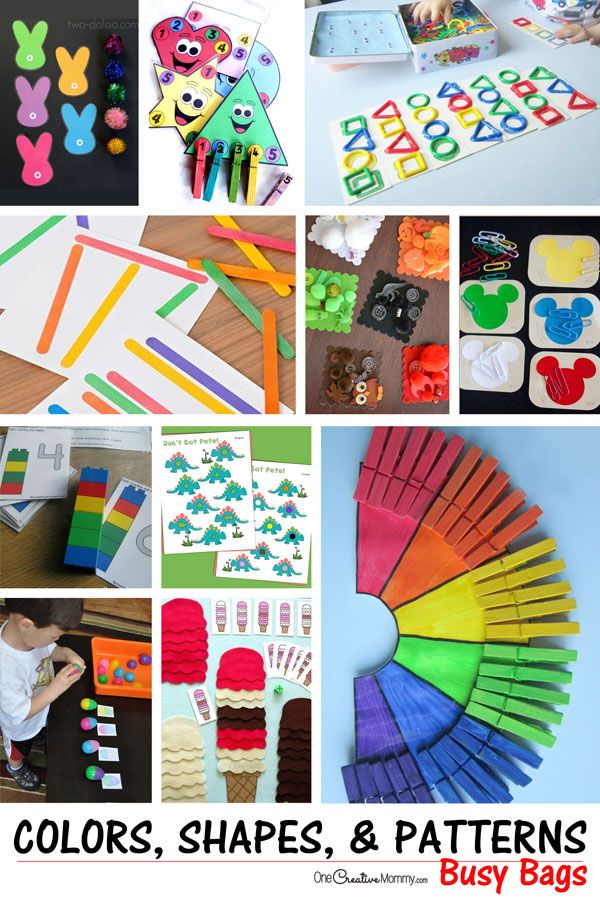
 - Different colors, same shape. In a sensory bin, offer objects of one shape in various colors for the child to explore. If you choose circles, find as many circular objects as possible to place in the sensory bin. The colors and size do not matter as long as they are all circular. Allow about a week to explore these objects until the child internalizes the shape. You can begin to use the word “circle” as you pick up the objects and feel them “Round, round, round. Circle.” Point out circles in the child’s world for the rest of the week. Change to another shape in different colors the following week, and so on.
Felt shapes can be used in a sensory bin or on a flannel board as long as it’s the same shape, even if color and sizes differ.
- Explore shapes in books.
 Be careful with too many shapes being pointed out at once. Books intended to teach shapes will bombard a child with all of the shapes in one book. Instead, take control of that book and, while exploring circles that week, only go to the circle pages in the book. There is no rule that states you have to read an entire book front to back—especially non-fiction books. “Ooh, look. Circle. Round, round, round. Circle,” while you trace the circles and the child observes. Repeat with other shapes the following week.
You can find a variety of shapes and color books on the market. If you look through a shape book, don’t read it front to back. Use it to point out the one shape you are highlighting that week.
- Trace the shapes. Eventually have the child trace the shapes themselves. Since they’ve observed you do this, you can guide them hand-over-hand (with consent), tracing circles in a book or if an object is flat enough. Repeat your verbal routine.
 “Ooh, Look. Circle. Round, round, round. Circle.” Repeat with other shapes the following week.
Shape sorters can be confusing at this stage. For the time being, use the shapes in your sensory bins (according to the instructions above), but do not have the child try to fit the shapes into the hole. That would be working on a more advanced skill they are not yet working on.
- Draw the shapes. Finally, have the child draw the shapes. Do not go to pencil and paper as this would then become handwriting skill practice. Draw the shapes in the air with a pointer finger, hand or foot (guide hand-over-hand, or hand-over-foot, with consent), on the floor, and, if the child can tolerate it, in the sand, in playdough, in flour, in sugar, etc. Let the child internalize the forms with their body. Then, move on to doing the same with a tool in their hand. Using a stick, a flashlight, a rhythm stick, etc., guide the child’s hand (with consent) as they draw the shapes in the air, on the floor, on the wall, etc.
 Again, use the verbal routine, “Circle. Round, round, round. Circle.” Repeat with other shapes the following week.
Colors
- Explore colors in our world. Just like shapes, encourage the child to take in the colors of the world. Children’s toys are full of them, but also, those nature walks provide lots of visual stimulation for children. Take it all in without naming the colors. Just explore.
- Different shapes, same color. Again, introducing one color per week (beginning with the primary colors), prepare sensory bins with one color but different kinds of objects. For instance, you can have an entirely yellow bin with yellow balls, yellow cars, yellow scarves, yellow ribbons, yellow stars, etc. The objects and size do not matter, so long as everything is yellow. Let the child internalize the color, begin naming it, and sign it if the child uses ASL. “Yellow. Yellow. Yellow.” Point out yellow in their world for the rest of the week. Repeat with other colors the following week.
- Colors in books. Just like with shapes, you don’t need to read an entire book dedicated to colors. Simply go to the pages with yellow and point to the colors. “Ooh, Look. Yellow. Yellow. Yellow,” as you point to all the yellow on the page. Repeat with other colors the following week.
Fictional books such as this one help children learn color words through rhythm and rhyme. While this is great exposure and extremely fun to jive to, hold off on reading this until you’ve introduced each of the colors in the book (as directed in this article).
Use color books by pointing out only the pages with the color they’re working on that week.
- Two colors, one shape. To help them discriminate between colors introduce two colors at the same time (after all have been introduced as above) using identical shapes. For instance, you may have two star shapes, but one is red, and the other is yellow. “Red. Yellow,” as you point to each one separately.
 Dedicate the week to these two colors. Add one more color over time. Do not test the child. Let them observe what you’re doing and saying. They will internalize it through gentle repetition.
 - Experiment with color. Working with art materials is a concrete way for the child to interact with color. Just like everything else suggested above, begin with that one color of the week. Only paint with yellow for the entire week. Color with the yellow crayon, play with the yellow playdough, use a yellow marker, etc. It’s OK that everything is yellow, including the trees. You’re introducing that one color and reinforcing it in every way you can without expecting the child to name, point, sort, match, compare or reproduce them. However, if you find that this does begin to happen, it’s time to celebrate! Hurray! You’ve done a thorough job of exposing the child to colors (or shapes)! They’re beginning to transition from abstract to concrete.
Note: I am not a therapist; therefore, if the child is color blind, I highly suggest consulting with their therapist for strategies for dealing with color blindness.
What concerns do you have regarding the teaching of shapes and colors?
Are you looking for additional support? I offer personalized consultations offering ideas such as these!
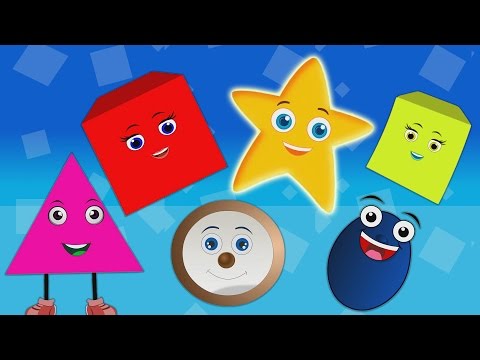
Colors & Shapes - Learn Color on the App Store
Description
A free game for kids that teaches colors and shapes through fun learning games!
When you look out the window, what do you see? Colors and shapes, green trees, square windows, a whole world of things to identify! Colors and Shapes is a fun and educational game for preschool children that helps teach object matching and color recognition skills. It's a beautiful world out there. Help your children learn to recognize and draw it!
Colors and Shapes focuses on basic tracing, matching, and building skills kindergarten kids need to train. It features a number of unique mini-games designed to increase a child's ability to recognize and match shapes, identify and pair up colours, and even solve puzzles through simple touch screen interactions. It's incredibly easy to use and provides a fun learning environment kids will love.
Colors and Shapes includes the following mini-games:
1. Painting - Kids love colouring games! Fill in the blank objects with all kinds of fun paint, then identify the objects one by one. A fun way for children to recognize colours and shapes.
2. Collecting - A fun and challenging game where children tap the correct colored objects and gather them in a basket!
3. Look-alikes - Match up the different items by picking the ones with the same colour. A challenging but fun way to learn colours and drawing skills.
4. Matching - Outlines are at the top of the screen, and a handful of shapes are at the bottom. Challenge your kids to match them up!
5. Tracing - Help your kids trace shapes by following the outline on the screen. Great for teaching shape patterns and recognition.
6. Building - Drag and drop animated pieces on the screen to create a shape in the middle.
Colors & Shapes - Learn Coloring For Toddler Kids is a great learning experience for toddlers, preschoolers, kindergarteners, and children of all ages. Parents will appreciate the customizable difficulty settings. Kids will have a great time learning to recognize different colors and shapes, completing all of the mini-games, and earning sticker rewards!
Best of all, Colors and Shapes is absolutely free! No annoying third party ads, no in-app purchases, just pure educational fun for you and your family.
Note to Parents:
When creating Colors and Shapes, we wanted to create the most entertaining and educational game possible for both parents and their children. We're parents ourselves, and we know how frustrating intrusive third party ads and in-app purchases can be. That's why we decided to release this game for free. You and your child can enjoy an uninterrupted learning experience without having to worry about micro-transactions and the like. Just sit down and start learning. It's exactly the sort of educational experience we want for our children, which is why we know your family will love it, too!
Best wishes from the parents at RV AppStudios
Version 1.3.9
New in this update:
- Performance improvements
- Small bug fixes
- New rewards & animations
Ratings and Reviews
845 Ratings
Replaced our subscription app!
We have all these educational apps and they are great for both the 2 yr old and 4 yr old. I love the variety of settings I can choose to customize the learning experience and that both kids can have their own profiles.
There are a few dialect/pronunciation ‘quirks.’ Today I noticed “oinch” instead of orange. I have heard this regional pronunciation before, but it’s still strange. Also, kids can’t easily navigate around the app. The activities are labeled with words instead of icons so it can be hard for my kids to communicate what activity they want to do.
You have to hold and swipe to get back to the main menu. Great for keeping kids where you want them if you only want them in one activity. However I let my kids choose how they use their time. There are little to no stopping points within each activity, like you find in almost any other game. My kids eventually want to try different things. They get frustrated I have to do it for them. Still FIVE stars
For the developers:
1. The arrow to advance to the next page is sometimes hard to hit for adults, let alone kids. A larger, more centrally located button would be more intuitive.2. Icons to label activities
3. Add/increase stopping points
4. Allow adults to turn off the “lock” on the exit feature
5. Consider combining activities in one app so there is an interdisciplinary option.
Thanks for you your great games:)
Great apps for 3 year old
My 3 year old loves the app and the other ones in this developer’s series.
Cute graphics and fun for preschoolers. Love the encouragement from the characters (“good job! I believe in you!”). My review is an update after the sound was “fixed”. If your app sound doesn’t work, make sure the sound is NOT toggled off/muted. On an iPad, it’s very easy for a preschooler to mess around and turn off the noise even though you can turn up the volume and hear other apps. So strange. Anyway, download this app if you have a preschooler, you child will love it and so will you.
It seems that the ringer/silent switch on your iPhone is enabled, please make it disable to get the sound. Hopefully, this will fix the issue. Please update review and rating from 3 star if this fixes the issue. 🙏 Every review from parents matters to us since this is a passion project. :)
Satisfied
I would highly recommend this to everyone who a young one.
Imagine you can even change the language. My granddaughter is 18 months and I have been doing this for 2 months and she identifies 3/4 of her alphabet and numbers Furthermore she can trace them With her fingers
The developer, RV AppStudios LLC, indicated that the app’s privacy practices may include handling of data as described below. For more information, see the developer’s privacy policy.
Data Not Collected
The developer does not collect any data from this app.
Privacy practices may vary, for example, based on the features you use or your age. Learn More
Information
- Seller
- RV AppStudios LLC
- Size
- 159.8 MB
- Category
- Education
- Age Rating
- 4+, Made for Ages 0–5
- Copyright
- © 2022 RV AppStudios
- Price
- Free
- Developer Website
- App Support
- Privacy Policy
More By This Developer
You Might Also Like
teaching colors to children in English
How to keep your child from getting bored and not turn learning into torture.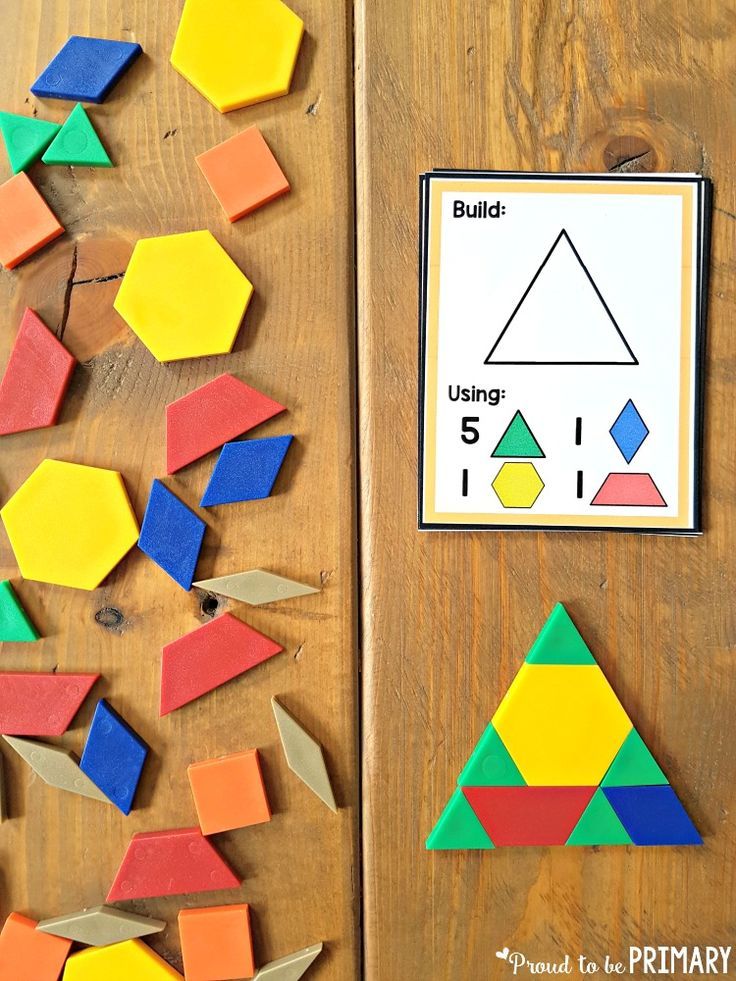
In this article you will find all the information about how the colors will be in English with translation for children. As well as games, interesting memory rhymes and much more to help your child learn English flower names.
The human eye can distinguish a huge number of shades of our bright and diverse world. The average person is well versed in about 150 primary colors, but a professional can already distinguish up to 10 thousand shades under certain conditions.
But for children, everything is much simpler: in order to understand the world around them and describe it, they need to know only a few basic colors in their native language. Today we will tell you how best to present basic colors in English for children so that they are interested, and parents do not get bored.
Basic colors and concepts
Before you teach your child about colors, you need to be sure that you yourself know the basic concepts and definitions.
Color .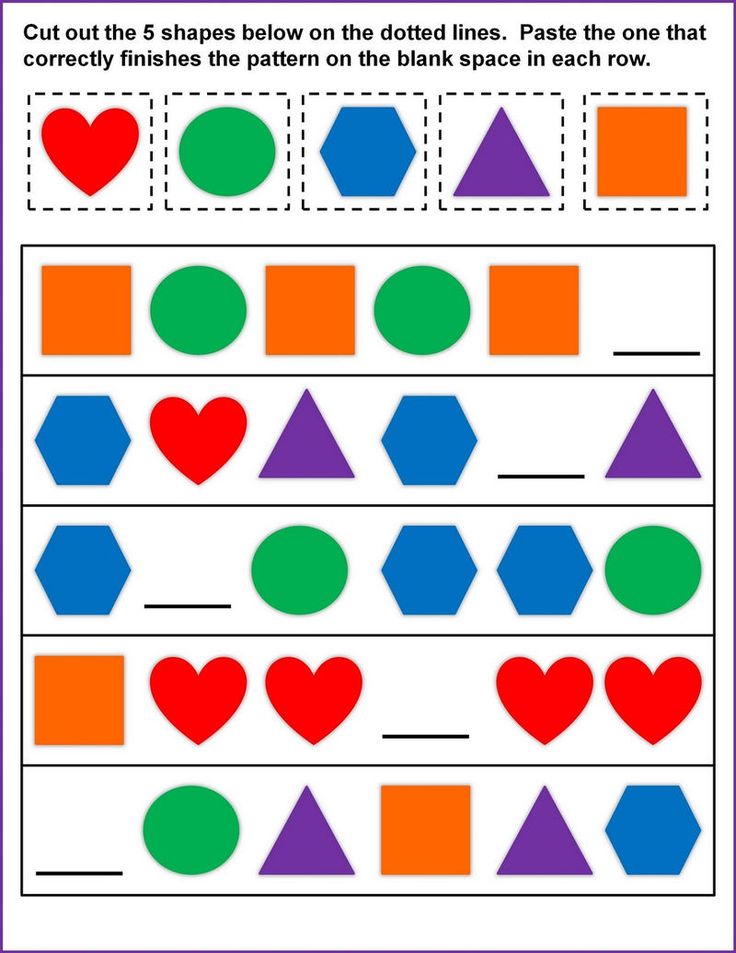 This is how the word "color" is translated into English.
Note that the "-ur" ending is the British spelling. In American English, this word would be spelled "color". It is included in the top differences between British and American English, which you can read more about in this article. By the way, the gray color will also have different spellings: gray (BrE) and gray (AmE).
Each color has a huge number of shades (shades), they can be warm (warm) or cold (cool), neutral (neutral) or saturated (intense / vibrant).
There are 15 primary colors, which are considered basic and are the basis for other shades.
Of which 3 are neutral:
- white
- black
- gray
And 12 - the rest:
- red
- orange
- brown
- beige
- yellow - yellow
- light green
- green
- light blue
- blue-green
- blue
- violet / purple
- pink / magenta
If you need English for children, you don't have to learn colors all at once. Start with the primary colors: red (red), green (green), blue (blue), yellow (yellow) and, of course, do not forget about black (black) and white (white).
Complex colors can be designated by simply adding two basic names. For example: red-orange (red-orange), blue-violet (blue-violet) and so on. However, such colors in English for children should be used only when the child is already well aware of the names of the primary colors. And how the baby to learn them - read below.
Learn colors: games and memory
The easiest way for a child to memorize the colors that often surround him in everyday life and in subjects familiar to him. Fruits and vegetables are good for this purpose. Learning colors in this way, English for children will not be another boring activity, but an exciting game. And parents, in turn, will be able to easily feed the child with healthy products, which is sometimes not so easy to do.
Look in the refrigerator. Which of the products available there can clearly demonstrate color to a child? Here are the simplest examples: green apple, orange carrot, yellow banana, red tomato, white milk, brown potato, and so on. True, not all of them can be found in the refrigerator, so it is better to take children's toys or cards as examples of colors such as purple, pink, blue, beige and black.
For practice, ask your child questions about the color of an object in English. So you will not only repeat the colors with him, but also learn the names of the things around you. Visual demonstrations are one of the best ways of remembering not only for children, but also for adults, because visual memory is also connected to auditory memory. If you don't have the items you need, you can always use ready-made picture cards or other simple and clear images.
Even during everyday activities and games with children, you can start a dialogue game with them and ask questions about colors:
What color is this apple? (What color is this apple?)
— It's green. (It's green)
What color is this banana? (What color is this banana?)
— It's yellow. (He is yellow)
and so on.
One of the good and versatile items for learning colors with a child is regular colored pencils. The standard set contains all the colors you need to learn, and the process itself can easily be turned into another game.
Ask your child questions about color, taking different pencils out of the box one by one:
What color is this pencil? (What color is this pencil?)
— It's pink. (He's pink)
— And what color is this one? (What color is this one?)
Blue. (Blue)
and so on.
The same pencils can be used to create color cards. Cut out rectangles from white cardboard and color them, signing each of them with a color in English. Cards can be taken with you and entertain the child during a walk. For example, taking out a green card, ask him to remember the name of the color and find it on the street. The child, in turn, must find a green object (grass, leaves, etc.) and show it to you.
When the child knows the basic names of colors and can easily distinguish them, you can move on to more complex exercises at home, which will not only help him remember the colors, but also keep him busy for a while.
First, ask him to draw you the subject you learned color from. For example, yellow banana, red tomato, pink pig, etc. When the child can easily cope with this task, complicate it as follows: let the child draw something using an unusual color for this. Purple lemon (violet lemon), pink banana (pink banana) and more, what your imagination is capable of.
One of the easiest ways to learn primary colors is, of course, the rainbow. It consists of seven bright colors, the names of which should already be known to the child in Russian. Therefore, when your baby can name all the colors of the rainbow in the correct order without errors, then you can replace the Russian names of colors with English ones. For clarity, it is better to use the image of the rainbow or draw it yourself.
Play a puzzle game with your child: take colored cards and show them to your child and say the wrong color. He, in turn, must correct you and say the correct color in English. Believe me, the child will enjoy correcting you and “winning” in this game.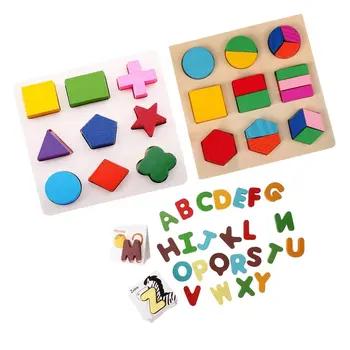
Another variant of the mindfulness game is to take cards already well known to the child, ask him to close his eyes, remove one of the colors and ask him to name the color that is missing.
Also, in learning colors in English with a child, parents will come to the aid of cartoons and educational videos. As a rule, all children's cartoons are bright and colorful. The main and secondary characters have their own distinctive colors, and that's exactly what you need to ask them to name the child during the next viewing.
There are many ways to make English fun for toddlers. Colors can also be taught with the help of special verses and "agreements". These are such short rhyming couplets that end in the name of a certain color in English.
Here are some of them:
I will catch fish in the sea,
In the blue sea, blue - blue
Hey, look here quickly:
Gray bunny jumps - gray
Ripe, fresh apples color
English red - red
White snow flies in winter,
White, in English - white
White snow began to melt,
And the earth turns black
We picked ripe apples,
Yellow-yellow, it means - yellow
Orange box full,
All orange
The boy Styopa ate grapes,
Purple he is purple
Frog, look,
All so green - green
We all like chocolate,
He is brown, he is brown
Mischievous pig
pink
You can always come up with your own agreements and rhymes.
There is also an English verse for memorizing flowers and things around the child:
Let's learn the colors song together
An apple is red, a lemon is yellow
Leaves are green, the sky is blue
Carrot is orange, berries are purple
Night and day for black and white
Rainbows are always bright
Let's sing a flower song together
Apple - red, lemon - yellow
Leaves are green, sky is blue
Carrots - orange, berries - purple
Night and day - black and white,
Rainbows are always bright
And here is a funny song with color memorization actions:
If you are wearing red, shake your head.
If you are wearing blue, touch your shoe.
If you are wearing green, bow to the queen.
If you are wearing yellow, shake like Jell-O.
If you are wearing black, pat your back.
If you are wearing brown, turn around.
If you wear red, shake your head.
If you're wearing blue, touch your boot.
If you wear green, bow to the queen.
If you're wearing yellow, shake like jelly.
If you're wearing black, pat yourself on the back.
If you're wearing brown, turn around.
As you can see, English is not that difficult: colors for kids are a simple and fun topic if you get creative with it. Here are some more tips for learning colors with kids:
- Look in the mirror
We often need colors to describe someone's appearance. Start with yourself and your child. Name your eye color (I have green eyes - I have green eyes) and ask the child to say what color his eyes are. Remember with him the colors of the eyes of mom, dad, grandma, grandpa and other family members.
- Look around
It will be easy enough for a child to learn colors when he sees them in front of him regularly. For example, taking a banana out of the refrigerator, ask the child to remember its color in English (yellow), ask what T-shirt he wants to wear today (black, white or blue - black, white or blue), what color is his toothbrush, cup and so on.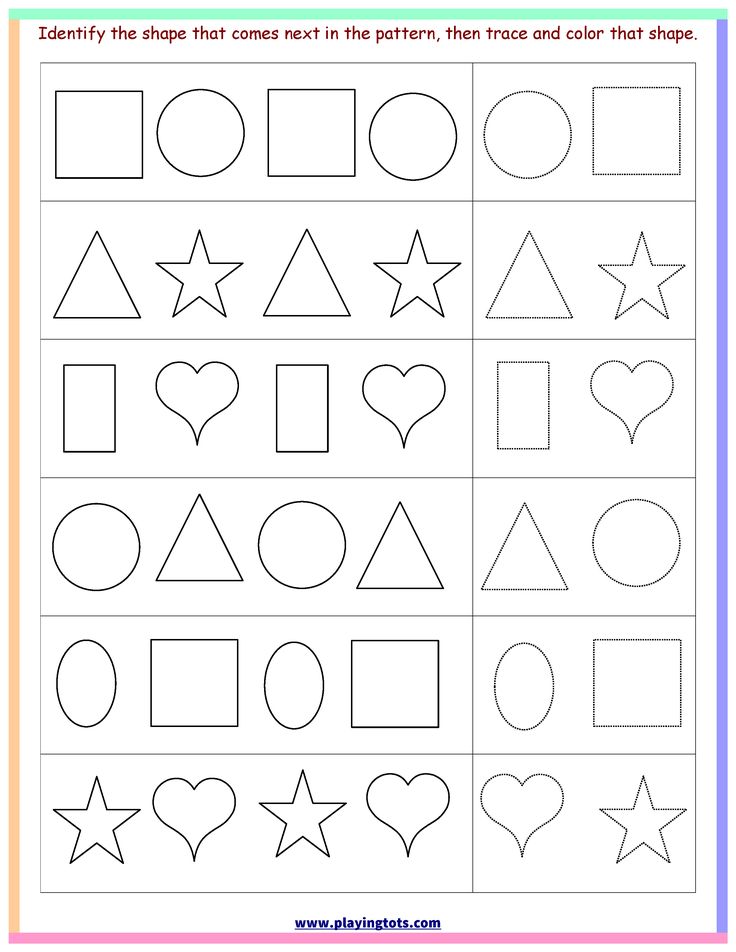
- Make stickers
Connect visual memory to the study of colors: choose objects at home that best match a particular color and stick stickers with the name of the color on them. After that, you can complicate the task and add the name of the subject itself so that the child expands his vocabulary. For example: brown chair (brown chair), white lamp (white lamp), red book (red book), etc.
- Repeat
As soon as you learn the basic colors in English with your child, look for any convenient opportunity to practice them. It is best to talk about everything that meets the child around. At the same time, it is worth making simple, but whole sentences, and not learning colors out of context. Let the child name the color of a certain object not just like that (blue, yellow, green), but with a complete sentence: The sky is blue (The sky is blue), The grass is green (Green grass), This bus is yellow (This bus is yellow), etc. .d. This will help him, firstly, immediately form speech and be able to express his thoughts more fully, and, secondly, will allow him to expand his basic vocabulary.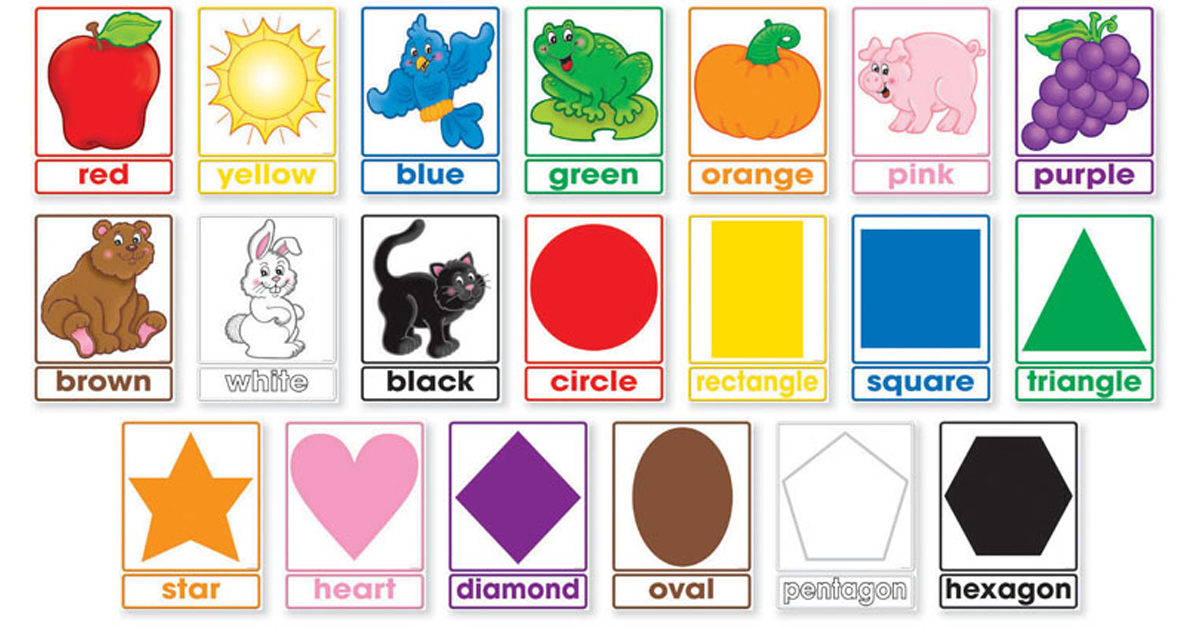
We hope that you have found many useful tips and ideas in this article on how to have fun learning colors in English with your child so that he will remember them for a lifetime.
The history of school uniforms in Russia
Home | Useful information | The history of school uniforms in Russia
Today, school uniforms are the subject of fierce debate among schoolchildren, their parents and teachers. The arguments of both sides equally have the right to exist. But there were times when such disputes would have seemed at least strange, and the form was an indispensable part of the life of every student.
In 1834 school uniform was officially introduced in Russia. Nicholas I, who reigned then, ordered the wearing of uniforms for all civil servants, he could not ignore the students. The appearance of the form in the 19th century changed several times, but it remained until the revolution of 1917.
Uniform for high school students resembled military uniforms and bureaucratic overcoats at the same time. With a certain similarity of all types of uniforms, there were some differences in it, the main purpose of which was to determine which gymnasium or real school the student belongs to. The production of school uniforms was not put on stream, and therefore they were bought at the expense of parents or trustees. That is, wearing a gymnasium uniform meant origin from the privileged strata of society, because sewing a complete set, consisting of a cap, tunic and overcoat, was not at all cheap. City schools also had their own uniform, but most often the children of poor and poor parents who studied in them were limited only to uniform caps.
The Smolny Institute for Noble Maidens became the first educational institution in Russia, whose pupils wore a single uniform. Even under Catherine II, students were divided into four groups by age (6 - 8, 9 - 11, 12 - 14 and 15 - 18 years old), while each group wore simple dresses of a certain color - coffee, blue, gray and white, respectively.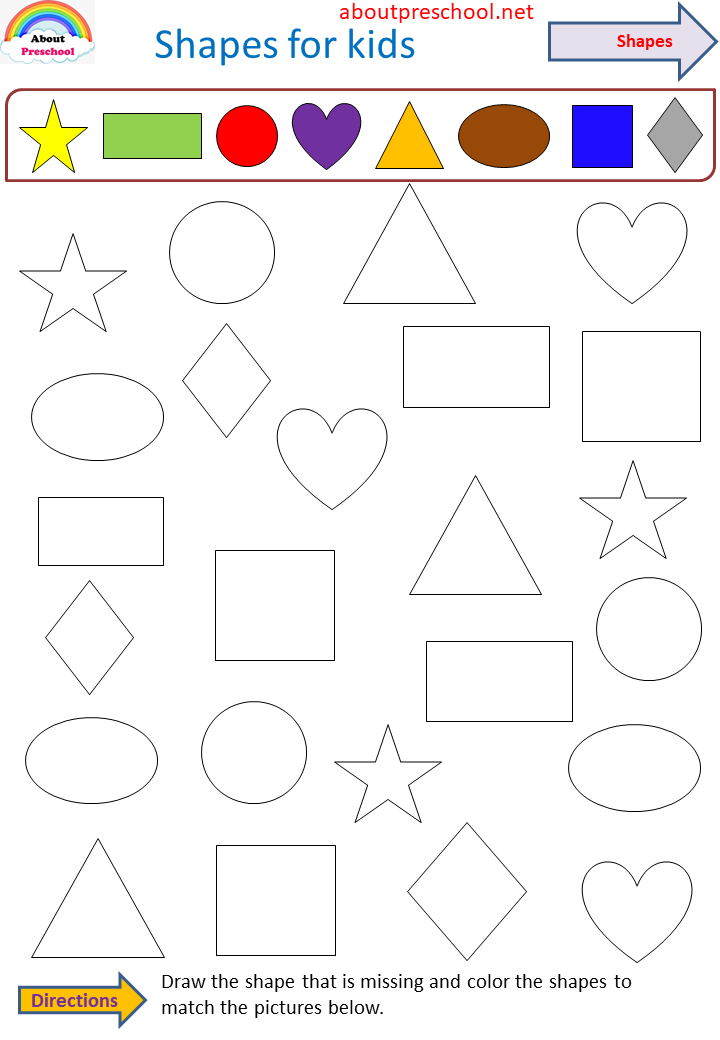 . Dresses were complemented by aprons, armlets and a cape. In the future, the form was changed several times, but the general principle was preserved. Gymnasiums and boarding schools for girls, which arose at a later time, also basically used the same colors for uniform dresses: blue, green and brown.
The Tsarskoye Selo Lyceum stands out among the establishments for boys. From the very moment of its foundation, there was a special uniform, a lyceum uniform. Lyceum students wore a dark blue caftan with a red stand-up collar. The uniform was complemented by a white camisole and white linen. In 1825, when the issue of uniforms for students of St. Petersburg gymnasiums was being decided, it was the uniform of the Lyceum that was taken as the basis.
But all these were only special cases, but since 1834, the whole of Russia has already dressed in uniform. Nicholas I, who most of all valued order and discipline, in his "Regulations on Civil Uniforms" did not deprive students and gymnasium students of their attention.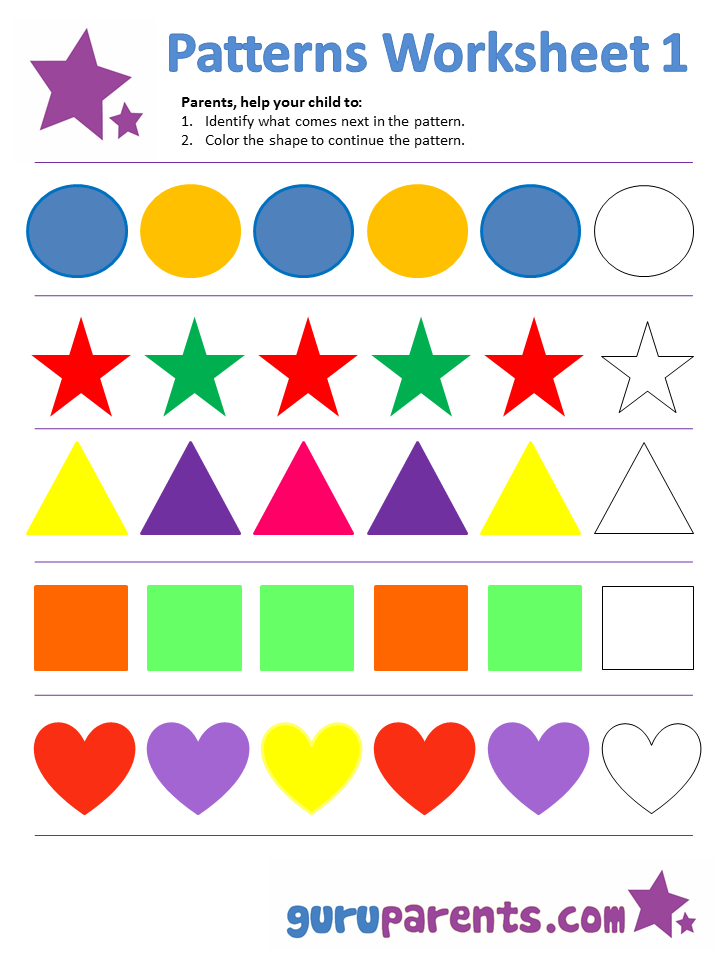 Before the next emperor, Alexander II, ascended the throne, gymnasium students were required to wear blue jackets and uniforms with red collars, created in the likeness of the uniform of the guards.
In 1855, the uniform changed, instead of the Nikolaev uniform, it was now prescribed to wear a dark green semi-caftan. The color of the trim, buttons, caps, as well as the emblems of educational institutions have not changed. In the future, the form continued to change, sometimes partially, sometimes dramatically. So, for example, in 1864, the cut and some elements of the gymnasium uniform became different, but the color - dark green - remained the same. But after four years, uniforms again become dark blue, as in Nikolaev times. It is in this form that it will be preserved in the memory of generations and will "survive" until the revolution.
In the 70s In the 19th century, high school students living in boarding houses and shared apartments also began to wear special home clothes - gray half-caftans made of cloth and trousers of a darker shade. Separately, it is worth noting that wearing a uniform in those years was mandatory not only during classes and official events, but also in public places and on the street outside school hours. The inspector could at any time check to what extent the appearance of the gymnasium corresponded to the charter.
In the early 1880s, caps were replaced by uniform caps. The cap was both a matter of pride and the subject of a wide variety of manipulations, that is, an extremely useful and multifunctional thing. It was polished and bent in a special way, decorated with straps, shoes were wiped with it, water was drunk from it, various small objects were hidden in it. Only the students of the lower grades had their caps in their original form; for everyone else, this would have been truly indecent.
The same can be said about the manner of wearing the uniform in general. Junior students, as a rule, were forced to put on all the elements of the uniform as it was supposed to according to the protocol. Another thing is high school students, who were unofficially allowed to deviate somewhat from the norms. According to the rules adopted by the gymnasium students themselves, the gymnasium number was broken off from the cap while they were on the street, and the comrades watched each other even more vigilantly than their teachers - for the observance of decorum within the walls of the gymnasium. The reason is quite obvious - it was much easier for a high school student who committed a public offense to remain unidentified in this way.
School uniforms appeared in women's gymnasiums in 1886, when women's education began to develop especially actively. A brown dress and a black apron are the classic uniform of all state women's gymnasiums. Private gymnasiums had a free choice of uniform colors, and could also introduce color grading for different ages. Dress and everyday uniforms differed in small details - a white lace collar and an apron. In addition, according to the charter, any additional dress could be sewn.
Neatness was the main requirement for the hairstyles of schoolboys and girls. Primary school students, for example, were shaved almost completely before the start of the school year. Girls were supposed to braid their hair in braids with bows of black and white silk. However, in the era of the birth of the women's movement and later, until 1917, some female students - "emancipe" - wore short haircuts to demonstrate their beliefs. Of course, it was impossible for younger girls to do this without the risk of disciplinary action, or even exclusion.
At the beginning of its existence, the Soviet government resolutely rejected the old form for students among other "remnants of the past". The school uniform is recognized as one of the attributes of the enslavement and dependence of the student. Of course, there were also purely economic reasons - neither the impoverished state nor the no less impoverished parents had the means to sew uniforms.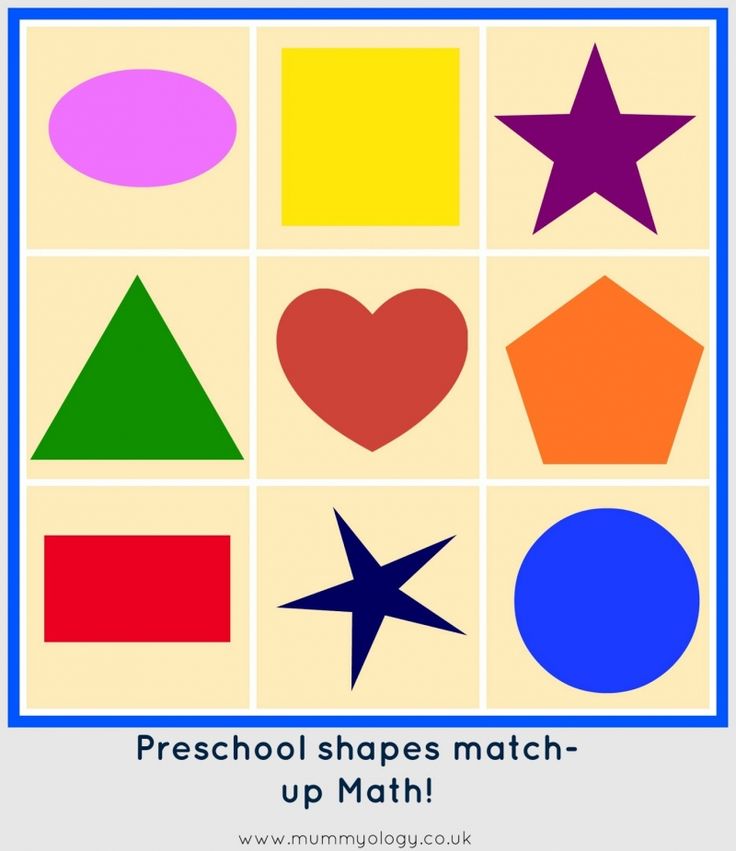 The mass elimination of illiteracy and the availability of school and higher education to all sections of society made the school uniform insignificant, if not harmful, and its abolition in those realities made life easier for many. However, at 1948 uniforms will be returned to secondary schools. Even earlier, in some educational institutions, for example, in vocational and technical schools or pioneer camps, uniforms were introduced. In secondary schools, the uniform was almost completely copied from the gymnasium and was acquired at the expense of the family.
The designed school uniform for girls remained practically unchanged until its abolition: a brown dress, white collar and cuffs, a black apron, which was replaced by white on holidays. At the same time, the style and some details could differ depending on personal preferences and fashion trends. However, this can be said about the schoolgirls of the 60s. and later - up to this point, the length of the skirt, for example, was strictly regulated.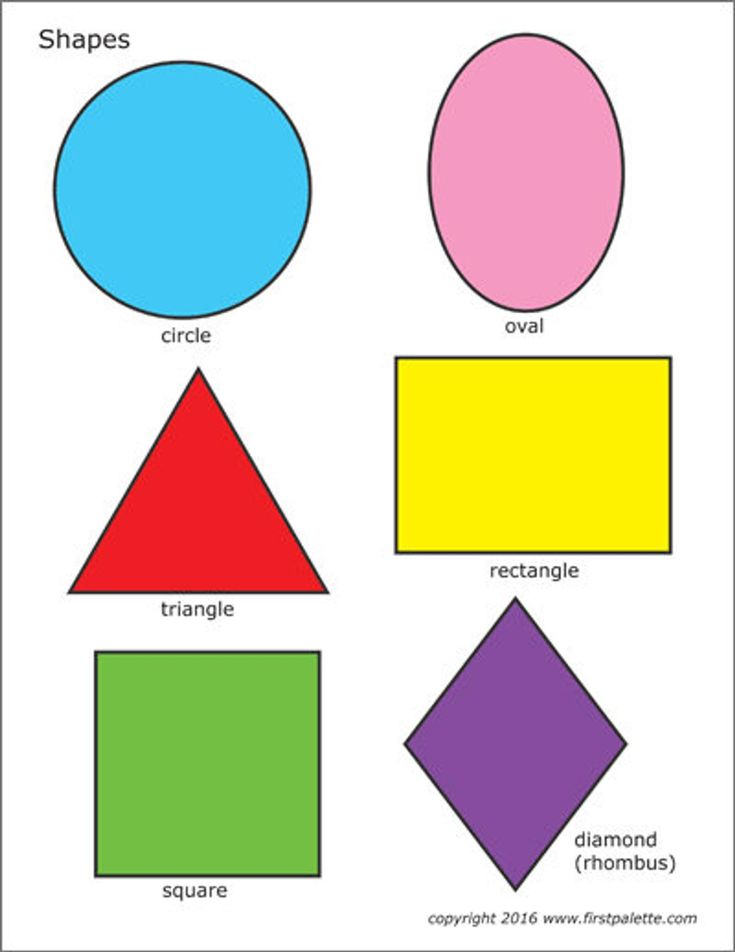 Along with the uniform, it was supposed to wear knee-highs or tights and strict closed shoes. Hair must be cut short and modest, or braided with black, brown, or white bows. The wearing of jewelry and the use of cosmetics was strictly forbidden. Teachers strictly monitored the observance of these rules and most often did not allow students who violated them to attend classes.
The most radical changes took place in the 1980s. XX century. A new uniform for high school girls has appeared: an A-line skirt, a vest and jacket, and in some parts of the country also trousers for cold weather, all of which are blue. This form made it possible to combine different options and wear a variety of blouses.
Boys in Soviet times "changed clothes" more often. The first option consisted of gray or dark gray military-type tunics and long trousers. The uniform was complemented by a cap with a visor, a belt with a buckle and dark boots or low shoes, always cleaned to a shine. Hairstyles for boys should be short and neat. Then the tunics gave way to gray woolen suits, which in the 70s. were replaced by all blue suits (jackets with patch pockets and trousers). In the 80s. The high school students were dressed in blue trouser suits.
Another obligatory element of the uniform for both sexes was the October or Komsomol badge and a red pioneer tie, depending on age.
In 1992, after a series of relaxations, the school uniform was finally abolished, which marked the victory of democracy, as in 1917 - the victory of the revolution. Today, as then, we come to the idea of the return of form. Of course times have changed. A single school uniform for all regions of the country is an almost impossible task and, by and large, unnecessary. Assessing the current situation and previous historical experience, we can say that the school uniform has a number of advantages that should not be forgotten - it contributes to the organization of the educational process, allows you to create unity and a sense of belonging within each particular school.