Teaching sight words at home
Easy Peasy Ways to Practice Sight Words at Home
You guys, I’m not going to lie… this working, teaching, and generally “staying at home” thing is killing me. I love teaching. It is in my blood (literally, my grandfather was a teacher and so are quite a few of my cousins!) But, homeschooling my son these past few weeks have been hard. We’ve got a great routine set up, but sometimes there’s only so many fun and engaging activities one person can come up with. That’s why when it comes to practice sight words at home… I am all about low commitment. It’s gotta be easy or it isn’t going to happen, am-I-right? So, today I’m sharing 5 different ways we’re practicing sight words at home in very easy-peasy ways.
These suggestions are for activities that can be done at home, but many can be used in the classroom. Looking for more sight word ideas? Check out this post for more classroom ideas!
Set Up for Success
Before you can dive into practicing sight words at home, you need to make sure you have a list of required sight words for your student. Many school districts post this information on their web pages. You can also contact your child’s teacher. If you’re still not sure, there are lists available from Fry and Dolch (these are the most common)
Now that you have your list, it’s time to make some flashcards. These babies are very simple to make. Index cards and a marker are all you need. You could even get a little fancier by changing the color of the marker for each list (if your list is sectioned). Then, place the lists in quart size zip baggies and place all those into a gallon-sized baggie.
But, let’s be honest… the word of the game: keep it simple.
Looking for more resources to use while distance learning? Check out this section of my Amazon Store!
Activities to Practice Sight Words with Flash Cards
Sight Word Memory
This is a personal favorite of my son. So simple… select 5-10 sight word cards. Create a double of each word. Then, mix up the cards and lay them down in neat rows and columns. From there, taking turns, select two cards to turn over. Have your student read each word pair. If they match, they get to keep the pair. If they don’t, turn the cards back face down. Play until all cards are matched. My son loves to read all his matches at the end.
“I Spy” Sight Words
This is a fun play on the classic “I Spy” game. To complete, lay 10-15 cards down face up. Then, describe a word that’s on the card, using the words, “I spy…”. For example, for the word America, you might say, “I spy a word that begins with a capital letter A”. Play until the word is guessed. Have your child point to the word, then read the sight word and keep it if it’s correct. Play until all the cards are collected. Don’t forget to read through the cards at the end.
Sight Word Scavenger Hunt
This version of a scavenger hunt is perfect for when the littles need to get up and moving.
To play, tape up 15-20 sight words around your house. ( I like to limit it to 2-3 rooms) Then, have your child walk around and “find” the words.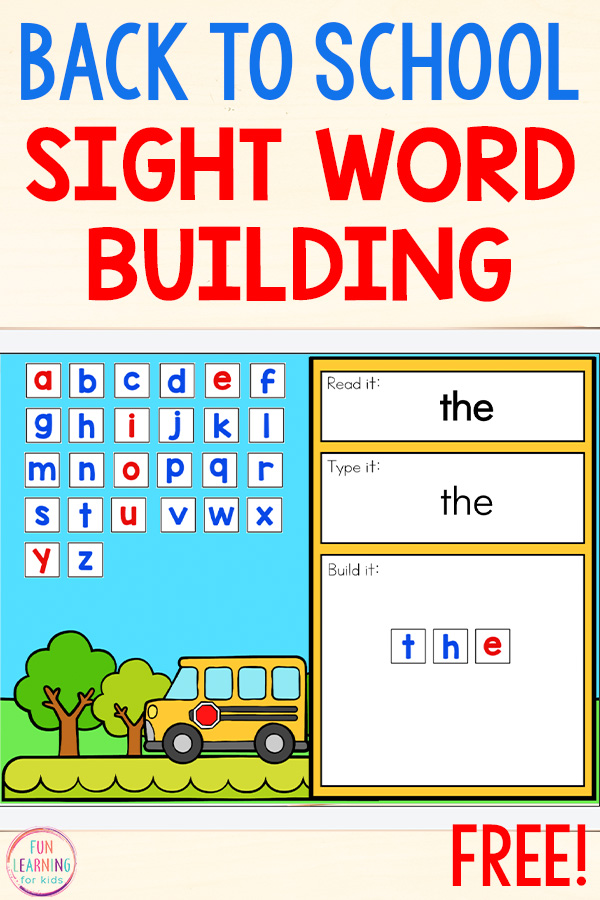 When they find them, have them say the word and collect the card. Play until all the cards are collected. Review the words at the end.
For an easy extension, have your child select 4 words and write them in a sentence on a sheet of paper or in a sight word journal.
I know sometimes pulling out the sight word flashcards can be a little much, that’s why I’m sharing a few activities you can play without actual cards.
Activities to Practice Sight Words without Flashcards
Sight Word Hunt
As students’ abilities in reading grow, they are excited to see words they “know” in text. After reading a book, have your student go on a “sight word” hunt for specific words. Once they find the word, students can read the sentence it belongs to. Alternatively, you can have students keep a tab of the words they’ve found by writing them on a sheet of paper or in a sight word journal.
Remember, this game is about finding the sight words, so it’s ok if they can’t read the book they are using on their own.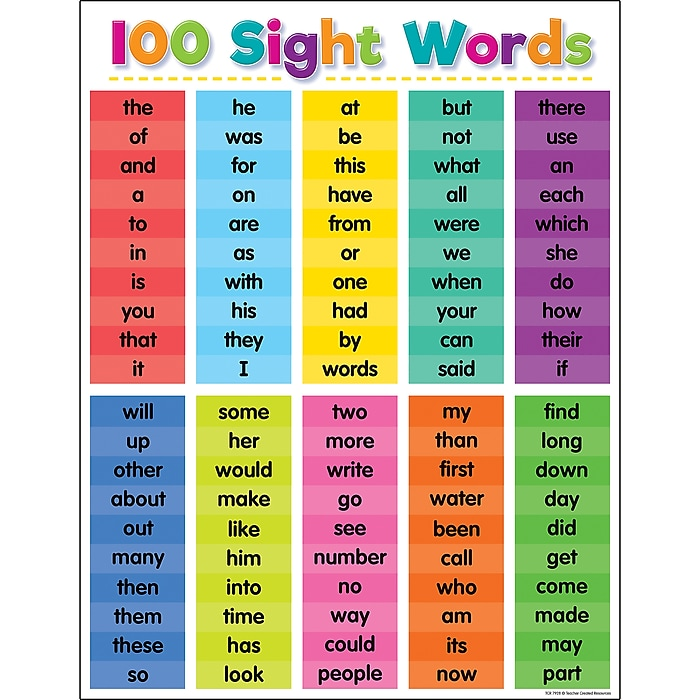 Be sure to encourage your reader as they move through. Also, keep length in mind… too long and your child will lose interest. One to two pages is probably enough or when they’ve found about 10-15 words.
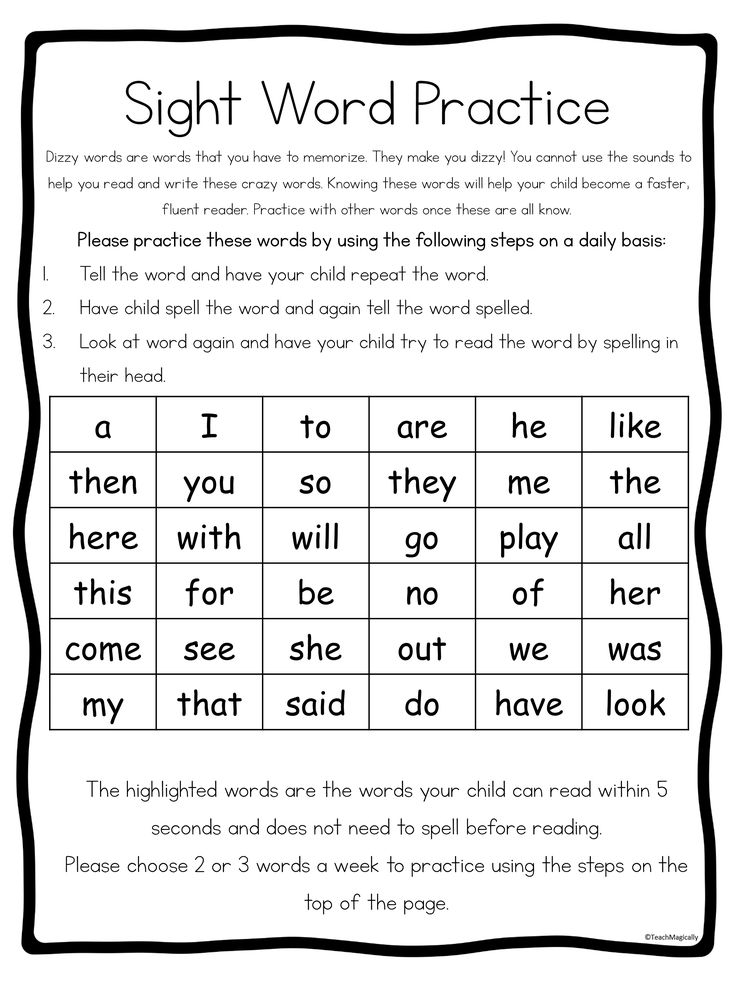
Read, Spell, Read, Spell, Read
This last one is a great way to not only practice sight words, but it’s also a way to help students how to spell sight words. Many sight words are not easy to “sound out”, leaving students struggling when it comes to using them in their writings. This simple strategy helps to combat that by including a letter by letter practice part.
To complete, students need a piece of paper and a pencil. Then, say the word for the student. Have them say it back, then spell the word out loud. As you spell it, the student will write it out. Then, have them read it again (swooping their finger below the word) and then spell it letter by letter again. Repeat this until it has been read and spelled three times. Continue to the next word.
This strategy is effective, but can easily be overused and tire out the learner. Keep this activity short with reading and saying only 3-4 sight words in a session.
So those are just a few super low commitment ways you can continue the learning while staying safe at home. Sight word practice while at home is an important part of helping our learners stay on track. Do you have another activity you’d like to share? Be sure to comment below!
Other Helpful Blog Post
Looking for more helpful ideas? Check out these posts below!
- Building Sight Word Fluency the Easy-Peasy Way
- Beginning Chapter Books for 2nd Grade
- Prefix Word Study
Sign up to snag these!
Receive all these classroom management tools right to your inbox!
First Name
Email Address
We use this field to detect spam bots. If you fill this in, you will be marked as a spammer.
Powered by ConvertKitSight Word Activities for PARENTS
in activities, ELA, homework, kindergarten, parental involvement, printables, sight words - 9 comments
Last week, after a meeting at church, I chatted with a sweet friend.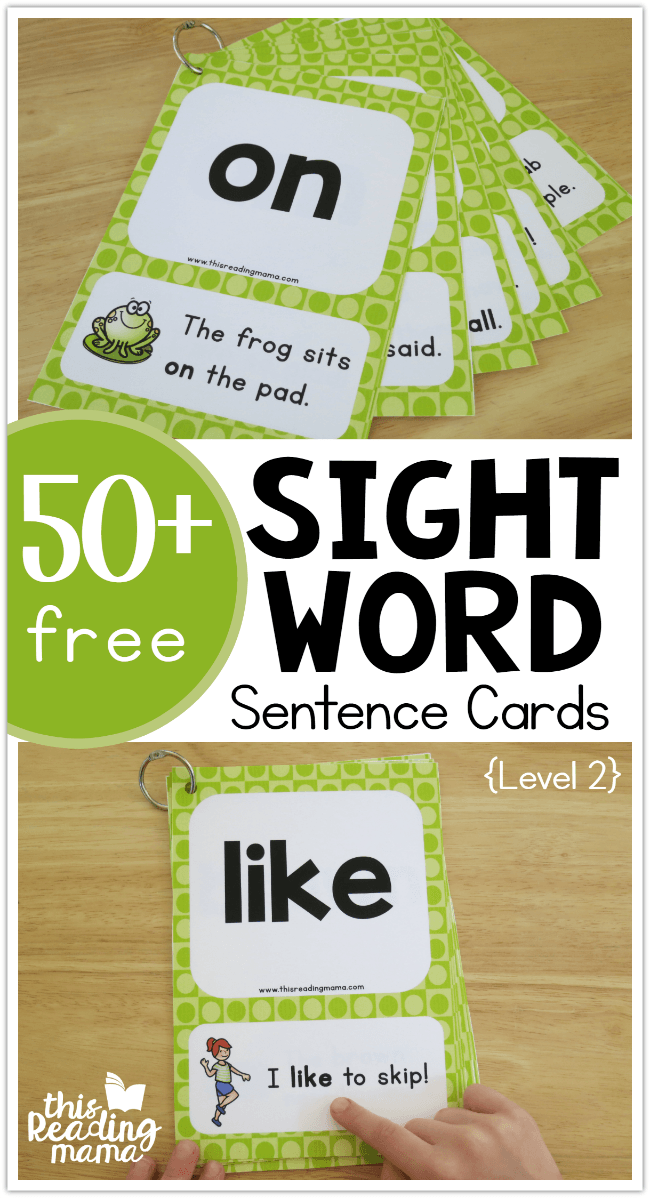 She asked me, "Liz- what in the world are SIGHT WORDS, and do you have any ideas for how my daughter and I can practice them at home?" (Her cutie had just started Kindergarten...) Before long, a few other Moms joined in on the conversation, and I knew right away I wanted to write a blog post sharing EASY and FUN sight word activities that parents can do at home with their kiddos.
Just as parents help their child study for a weekly spelling test, they can also help their child read and review their weekly sight words. This blog post is filled with ideas for PARENTS to help their children practice and review their sight words at home to compliment what the teacher is doing at school.
Sight word activities at home should be...
1. Tactile/Hands On
2. Games/FUN
3. Visual
You want your child to have an opportunity to build, touch, and experience the sight words so that his or her brain can make a connection between the letters and the word itself. It's all about exposure, repetition, and practice.
1. Glitter Sight Word Flip Books
(This video explains how to make them.)
2. Whipped Cream/Shaving Cream Writing
Spray some whipped cream or shaving cream on the counter or table. Have your child spread it out and then practice writing his sight words. Provide a flashcard or list for reference. It's all about practice, repetition, and exposure to the words. Don't worry if your child needs to look at the word list.
3. Sand/Sugar letters
Get a school supply box or cookie sheet with edges and fill it with play sand or granulated sugar. Have your child practice writing sight words in the sand with his or her finger. It's all about the touch! *Hint: You do not need very much sand!*
4. PlayDoh
Flatten a piece of play doh and use a toothpick or skewer to write sight words in the PlayDoh. Kiddos can also form long snakes with the PlayDoh and then build the words with PlayDoh.
5. Build the Word
Build the word using magnetic letters, cut up pool noodle pieces, alphabet cereal, or with yummy items from the pantry!
Brynn had a blast with this pool noodle sight word activity. Such a cutie.
Find out more about the pool noodle sight words.
PULL AND PEEL TWIZZLERS
They are so easy to bend and shape. So much easier and less messy than PlayDoh. Delicious too! :)
Sight Word Snacks: Pull and Peel Twizzlers, pretzel sticks, raisins, chocolate chips, spaghetti noodles, Cheerios, Cheez-It letters, animal cracker letters, string cheese...
6. Go Fish
Make a set of playing cards with index cards using the words of the week or the words your child needs to review. (2-4 per word) Deal the same number of cards to each player and then leave a "Go Fish" pile in the middle.
7. Memory
Make a set of playing cards using the words of the week. (Two per word) Place all of the cards upside down. Each player flips over two cards and reads the words aloud. If the words match, the player keeps the pair. The player with the most matches wins. *If you child has A LOT of words to learn, start with just a few and then add more to the memory game as they become more comfortable with the words. Your child will be extremely frustrated if they have 20 cards in the game and they can't read any of them, so start simple.*
8. Hopscotch
Grab some chalk and make a hopscotch board in your driveway. Fill in the week's sight words, and have your child hop across while practicing the words. While you are outside enjoying the weather, let your child decorate the sidewalk or driveway with all of his or her sight words.
9. Hide & Seek Sight Words
Write the weekly sight words on sticky notes. When your child is not looking, hide the words all over the house! After you hide the words, let your child loose to go find all of the hidden words. For extra practice, your child can write the words after he or she finds them. This game is so easy and endless fun!
Tip: Collect found words on a clipboard.
10. Printable Board Games
I love this editable game from Playdough to Plato. It's FREE! I love that you can type in the words that you want on the game board. So cute and fun for practicing new sight words. (If you don't have a TpT account, you will need to sign up to download the freebie.)
11. SWAT Game
Write all of the weekly sight words on index cards. Grab a fly swatter. Yes, a fly swatter. :) Call out one of the words. As quickly as possible, your child SWATS the word with the fly swatter. Silly fun! If your child is struggling with ALL of the words, just start with 2-3words. Add a few more words as they become more familiar with the words.
12. Sight Word Password
Kids love secret passwords. Use this love of passwords to help learn sight words. Pick the trickiest word of the week and make that the "password." Write it on a big piece of construction paper and post it somewhere in your house that gets a lot of traffic (i.e. the bathroom, the fridge, the pantry...). To enter the pantry, everyone in the family must read the password. Hearing Mom, Dad, and older sister say the "password," as well as looking at it and making a connection with it throughout the week will help your child remember it as well. Remember, it's about exposure, repetition, and practice.
If you are a teacher, please feel free to share the link to this blog post with parents in a weekly e-mail, class newsletter, during Parent Teacher Conferences, etc. Please e-mail me at [email protected] if you have any questions.
If you would like to download the sight word cards I used, visit my TpT store.
Vision test at home - how to test your eyesight on a computer? Online tests
Experts from the Lucky Look optician network told how to check your eyesight at home - on a computer or phone.
Sign up for a free vision test
Contents
- Effectiveness of home vision test
- Visual acuity test
- Test for nearsightedness and farsightedness
- Astigmatism test
- How to deal with home vision test results
You should understand that an examination at home is not a substitute for a complete eye examination by an ophthalmologist. It is rather an auxiliary tool that allows you to detect changes in the state of your vision in time and understand that it is time to seek help from a specialist.
Only timely detection of violations and their prompt correction can minimize harm to health and protect the body from possible negative consequences. It is recommended to visit an ophthalmologist at least once a year even if nothing bothers you. But this is primarily your area of responsibility - to monitor the state of your vision and quickly respond to the changes noticed.
Therefore, the methods proposed by us are not a substitute for a face-to-face visit to a specialist, but can be used as an additional tool for self-diagnosis!
What will the eye test at home show?
The same applies to the diagnosis of various disorders - myopia, hyperopia and other vision pathologies. Only a doctor can determine this, and the diagnosis will be made after a comprehensive examination of the organs of vision.
But you can suspect that you have these disorders based on the results of a home check and contact a specialist to confirm or refute the diagnosis.
Sign up for a free vision test
Visual acuity test according to the Sivtsev table
The well-known table with letters was developed by the Soviet ophthalmologist Dmitry Sivtsev, it is also perfect for home checking.
The table includes 12 lines with letters of different heights. The top line is the largest, the lower the line, the smaller the size of the letters. Accordingly, the more lines a person clearly sees, the sharper his vision.
Two values are indicated next to each line - D and V. The first, D, indicates the distance from which a person with good eyesight is able to clearly see all the letters of the selected line. The value of V characterizes visual acuity.
You will need a printed table for verification. A4 format is enough, but it is important to first change the page settings to landscape orientation. The table must be hung on the wall, while focusing on the 10th line - it should be at the level of your eyes. It is better to dim the light in the room, and additionally illuminate the table. Step back about 5 meters and proceed to the vision test.
If you are unable to print, you can check your visual acuity online: display the test chart for vision on the monitor and step back 5 meters. If possible, move the computer higher so that the table is at eye level.
If you have not had vision problems before, start checking immediately from line 10 - this is what people with 100% vision see. Can't make out some or all of the letters? Smoothly move along the table above, until the line on which you can clearly distinguish all the letters. Each eye must be checked separately, it is better to close the second eye with the palm of your hand during the test, but make sure that the covered eye does not close.
With 100% vision there will be the following indicators: no more than one error in the rows V=0. 3-0.6 and no more than two errors in the rows V>0.7. If you make more mistakes in any of the rows, visual acuity is reduced. In this case, it is worth contacting an ophthalmologist as soon as possible for a complete diagnosis.
Sign up for a free vision test
Lines 11 and 12 are not indicative. If you can clearly see all the letters of these lines, then you have an excessively high visual acuity, but you can talk about this only if you examine the letters without strain, squinting and excessive eye strain. This condition is not a pathology, but rather indicates the features of your vision or the structure of the eyes.
How to prepare for the test?
Give your eyes a proper rest before the test – spend at least half an hour without a computer, tablet, phone or book. It is better to do simple household chores that do not require significant visual load.
If you wear glasses or lenses, it is recommended that you remove your correctives at least 10 minutes before the test.
How often should I repeat the home visual acuity test?
If you do not experience any change in your visual acuity in your daily life, check once every one to two months.
Peculiarities of testing in children
If you want to test your child's vision, you can find a special analogue of the Sivtsev table on the Internet, where pictures are shown instead of letters. However, in the case of children, we strongly advise you to visit an ophthalmologist and not rely on the results of a home vision test.
Duochrom test for visual impairment
The duochrome test allows you to suspect nearsightedness (myopia) or farsightedness (hypermetropia) using a two-color image. This check can be carried out online, on a computer or phone. If you wear glasses or lenses, stay in them for the duration of the test - the test can also show if your corrective is correct.
Sign up for a free eye test
The distance to the monitor during the eye test should be 50-70 cm. Determine the desired distance and look at the picture: if the letters on a green background seem clearer to you, this may indicate the presence of farsightedness. And vice versa - clearer letters on a red background may indicate the presence of myopia.
Let us clarify once again: a home vision test in front of a computer will not replace a full-fledged examination by an ophthalmologist, so even if you have passed the test and suspected any violation, the specialist will have the final say.
How to prepare for the test?
Give your eyes a little rest - relax, close your eyelids and sit for at least 5-7 minutes. If you are using corrective aids, remain in them for the duration of the test.
Testing only makes sense if you are in good health. Any ailment - headache, fever or illness - can affect the results.
How often should the home test for myopia/farsightedness be repeated?
This test method does not require frequent repetition. It is enough to pass the test a couple of times a year. It is also possible to take the test if you have changed the means of correction, but only after the vision has adapted to the new glasses or contact lenses.
Home astigmatism test
The simplest and most straightforward home astigmatism test is the Siemens star. Expand the image to full screen, step back 3-5 steps and start checking. Each eye must be tested separately, as in the case of a visual acuity test, cover one eye with the palm of your hand, but do not squint.
Normally, a person sees a circle with both eyes. However, if you have astigmatism, you may notice during inspection that the picture has changed shape to an ellipsoid. With this visual disturbance, it seems that the rays blur and overlap each other, not reaching the center.
Sometimes a person notices an inversion: the background becomes black and the rays become white. This effect can also indicate the presence of astigmatism.
However, various factors can affect test results, including lighting and eye moisture! Therefore, you cannot rely on an online test alone; it is necessary to confirm the diagnosis at an ophthalmologist's appointment.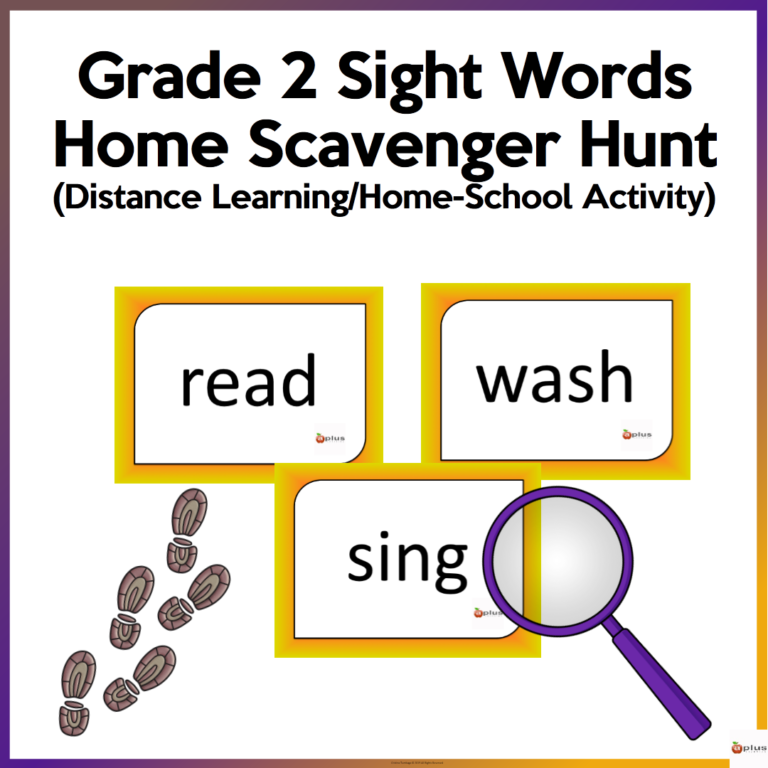
Sign up for a free vision test
How to prepare for the test?
Check your eyesight for astigmatism in the morning. Corrections must be removed at least 10 minutes before the test. The room should be sufficiently lit, and the brightness of the monitor should be dimmed to medium values.
How often should the test be repeated?
Incorrect perception of the Siemens star can indicate not only astigmatism, but also other visual impairments. You should repeat the test every few months, but make sure that the conditions - lighting, distance from the monitor, well-being - do not change.
What to do if you suspect vision problems after a home check
Visit an ophthalmologist as soon as possible and check your visual acuity and other parameters on professional equipment. As we have already said, it is simply impossible to check your eyesight normally at home. To diagnose or rule out possible problems, the doctor assesses not only your visual acuity, but also the general condition of your eyes
To exclude the presence of vision problems or respond in time to their appearance, undergo a preventive examination by an ophthalmologist at least once a year.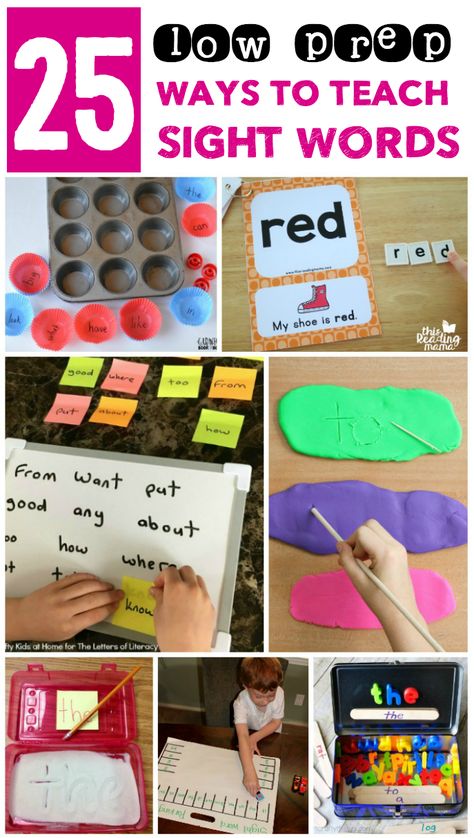
eye acuity tests
THE MOST EFFECTIVE AND SAFE WAY TO STOP PROGRESSIVE MYOPIA (myopia) IN CHILDREN AND ADULTS IS ORTHOKERATOLOGY (NIGHT, OK LENSES). SINCE 2013, ROOT REFRACTIVE THERAPY IS INCLUDED IN THE LIST OF MANDATORY RECOMMENDATIONS AS THE MOST SAFE WAY TO BRAKING THE MYOPIC PROCESS.
Contents
- How often should I have my eyes checked?
- Why is it important to check your eyesight?
- How to test your eyesight at home
- What to do if deviations are found?
- Video test
Modern life, with its abundance of gadgets, environmental conditions adversely affects a person's vigilance. In addition, it naturally worsens with age. To prevent problems and keep your eyes clear for as long as possible, you need to have your vision checked regularly. You can do this in two ways: go to a clinic where doctors will diagnose and prescribe appropriate treatment, or check your eyesight at home for prevention. In this article, we will tell you how to independently check your eyesight at home for yourself and your child.
An eye test using charts is called visometry.
How often should I have my eyes checked?
Adults and children should have their visual acuity checked regularly. Each age has its own frequency of visits. Particular attention should be paid to vision at the time of development and formation of the body, so teenagers need to do an eye test twice a year. Young children and people over the age of forty need to see an eye specialist every year, and adults every two years. Diagnostics for infants has not been developed.
If you have a tendency to myopia, farsightedness, astigmatism, or simply spend more than eight hours a day at the computer, you should be examined more often.
Optometrists recommend a preventive eye exam once or twice a year. This will allow you to monitor the dynamics of changes and effectively restore vision in case of problems.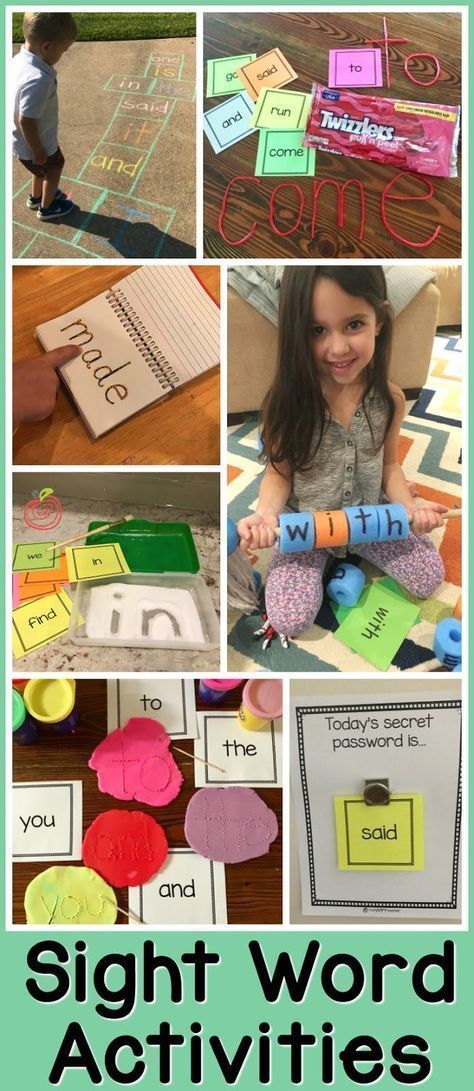 The effectiveness of treatment in the early stages is more than 80%, before everything will be started.
Why is it important to have your vision checked?
It is much easier to fix eye problems at the initial stage than to wait until the eyesight has completely deteriorated and then start treatment. Regular preventive eye exams are important to detect abnormalities and monitor progress.
Even if now you can see well near and far, do not neglect trips to the optometrist. Remember, with age, visual acuity decreases, and you may not notice this, since the deterioration process occurs gradually.
Diagnosis at home does not give a 100% reliable result. Please do not self-medicate based on it. Consult an ophthalmologist for a qualified selection of glasses, lenses and treatment.
How to check your eyesight at home
Can you check your eyesight at home? - Yes, you certainly may. To do this, there are several types of testing that can be completed in 3-5 minutes using a computer online or a mobile phone. After the end of the test, you will be able to roughly estimate the visibility of letters, numbers and images in the tables.
If abnormalities are detected after passing the tests, this is a serious reason to visit an ophthalmologist to accurately check the sharpness of your vision.
It is impossible to independently determine your visual acuity at home! To do this, you need to undergo a comprehensive eye examination on special equipment in the clinic.
Sivtsev table
This is the most popular visometry method in Russia. With this table, the eyes were checked not only for us, but also for our parents, and even grandparents. The Sivtsev table is the most common way to test eyesight throughout the former USSR.
How to use the Sivtsev table:
- Print the table in full size (it will take 3 A4 sheets) and hang it on the wall;
- Move five meters away from the table;
- Try to read the letters written in 12 lines, first with one eye, then with the other.

The eye not being tested should be covered with thick paper or cardboard. If neither is available, just cover your eye with your palm. Do not close your eyes for the test to be reliable.
If your eyesight is fine, you can easily read the first ten lines. If not, then urgently go to the ophthalmologist for a more detailed examination and treatment of vision.
Sivtsev's table is used only for diagnosing myopia. Farsightedness cannot be determined from this table!
Snellen table
Snellen table is the English equivalent of Sivtsev's table. On the table in eleven rows there are letters of the Latin alphabet. The verification takes place in the same way as described above. As in the Sivtsev table, in each row the letters are in decreasing order. The only difference is that the distance between the patient and the table is greater. Six meters instead of five. This test is not very common in Russia.
Orlova Chart
Orlova Chart is used to check vision in children of primary and preschool age.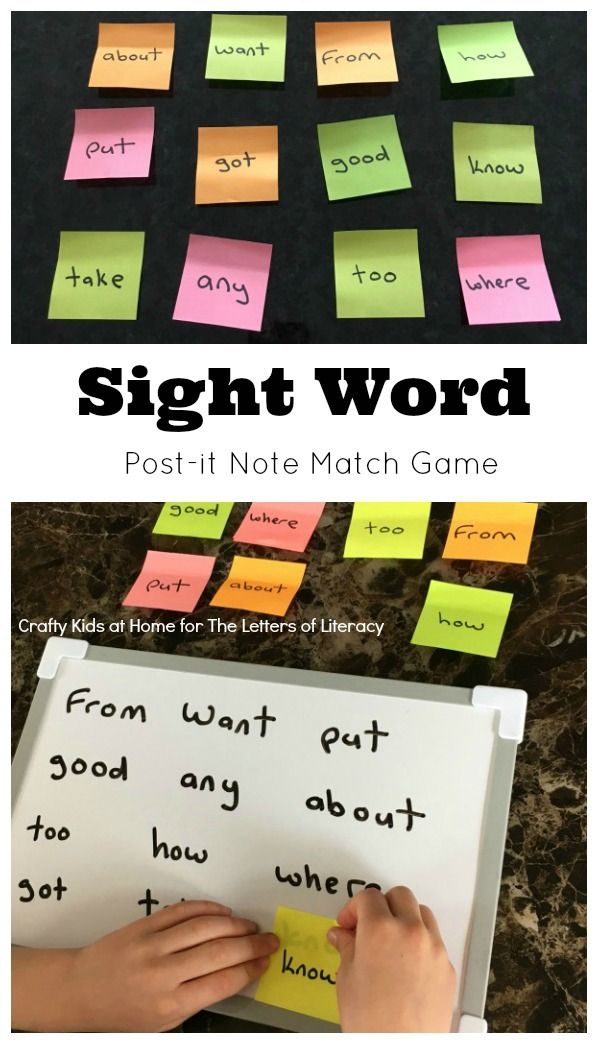 As a rule, children at this age do not yet know how to read and get confused in letters. Therefore, in the Orlova table, the letters are replaced by pictures.
How to test a child's vision using Orlova's chart
- Print out the chart in full size and fix it on the wall;
- Take the child 5 meters away from the table;
- Cover one eye with the palm of your hand or a piece of cardboard and ask him to name what is drawn in the pictures in all lines, starting from the very top. Repeat testing with the other eye.
A good result is considered if the child was able to name what is drawn on the tenth line. Then there is nothing to worry about and vision is in order.
Before you start testing, explain to the child what you want from him, show him the pictures in the table and make sure he knows what they are called.
Amsler table
The Amsler table is also called the Amsler grid or grid. This testing helps identify abnormalities in the central visual fields that cause macular degeneration over time.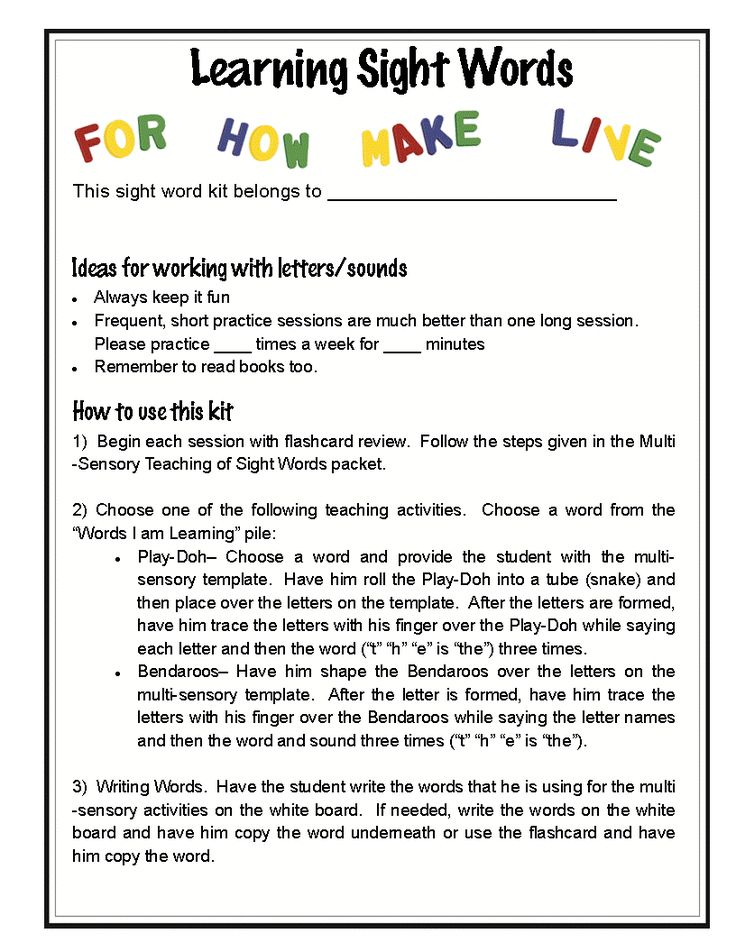 The test is especially indicated for people from 40-45 years old who are prone to this disease.
Amsler's table got its name for a reason - outwardly it resembles a sheet from a squared notebook with a thick dot in the middle. The test with this table is very fast, no more than 10 seconds, and simple. It is enough to print the table or open it on the monitor in full size.
How to pass the Amsler test
- Print the picture with the grid or open it on your monitor or phone screen;
- Place at eye level at a distance of 30 cm;
- If the person being tested wears glasses or lenses in everyday life, have them put them on before taking the test;
- Both eyes are alternately tested, so cover the left eye with the palm of your hand or thick cardboard and test with the right eye. Then vice versa. Do not close your eyes or put pressure on them so that the test result is reliable.
- Stare at the center circle for five seconds, and then slowly approach the table at 10 centimeters and look at the circle for another five seconds.
 Return to starting position.
 - Repeat the procedure for the second eye.
Unlike the previous tests, what is important here is not what the testee sees, but how. If everything is in order with vision, the fields in the table will be visible without distortion, evenly and clearly. If any of the fragments of the mesh is distorted, you should immediately contact an ophthalmologist so that he can select a treatment.
Rohrbe's table
A whole group of scientists worked on this test, the name of the test is an abbreviation of the capital letters of their surnames.
According to the principle of use, this table resembles the Sivtsev table. Vision is tested in the same way.
Hang the sheets, and in the Rohrb test there are two of them at a distance of five meters and read first with the left eye, then with the right, which letters are written. On one of the sheets there are four rows of large letters, on the other - 12 lines with letters gradually decreasing.
Both Cyrillic and Latin characters can be used in the table.
Bailey-Lovey Chart
The Bailey and Lovey Eye Testing System (ETDRS) is recognized by many eye clinics as the most accurate and effective. The main difference between this table and Sivtsev, Rorb or Snellen is the same number of letters in a row.
Each row consists of five letters, letter spacing and line spacing are different. All gaps are calculated in such a way as to reduce unnecessary strain on the patient's eyes when reading and get a more objective and reliable result. Some Russian clinics "Russified" this system, replacing the alphabet.
Pole's optotypes
Optotypes are tables used to test visual acuity. They depict letters or numbers, all sorts of symbols and small drawings. On the optotypes of the Pole there are circles and strokes.
The test is placed close to the patient's face to check central visual acuity. Some optometrists simply show three fingers - according to the number of strokes in one of the optotypes.![]() This test is used in the military registration and enlistment office and is familiar to everyone who went to pay their debt to the Motherland.
This test is used in the military registration and enlistment office and is familiar to everyone who went to pay their debt to the Motherland.
Astigmatism Test or Siemens Star
Astigmatism is an unpleasant defect, which is long and difficult to correct. To determine it at an early stage, you need to do an appropriate test. It's very simple:
- Print or display the test image on the monitor. It looks like a star with diverging rays;
- Place it at eye level at a distance of 30 cm;
- Cover one eye with a palm or thick cardboard and look at the image with the other eye;
- Repeat the procedure for the other eye.
If the child and you do not have astigmatism, then during the test all lines will be parallel and the same color. If they change color, blur, are uneven, have gaps... Bad news, you need to go to the doctor.
Color blindness test
A person suffering from color blindness cannot distinguish the colors of objects in front of him. The visual organs do not transmit this information to the brain. To test for color blindness, colored cards are used, inside of which certain numbers are encrypted. This test is called the Rabkin table. The rules for using this table are simple:
- Print Rabkin's table on a color printer. You can do the test from a computer screen, but the color resolution of the monitor may distort the reliability of the results.
- Look at each picture for 10 seconds.
Each image contains some number or number. Passing the test means that all numbers have been found.
Duochromic test
This test is suitable to check if there is nearsightedness or farsightedness.
What the test looks like: it is a circle consisting of two halves, red, green. To pass:
- Print the test on a color printer. Checking your eyesight with a monitor may not be effective in this case. May affect the brightness settings, color rendering of the screen;
- Look at the printed image for a minute, pay attention to which side seemed to you more saturated and brighter;
If green seems brighter than red, you definitely have a tendency to farsightedness.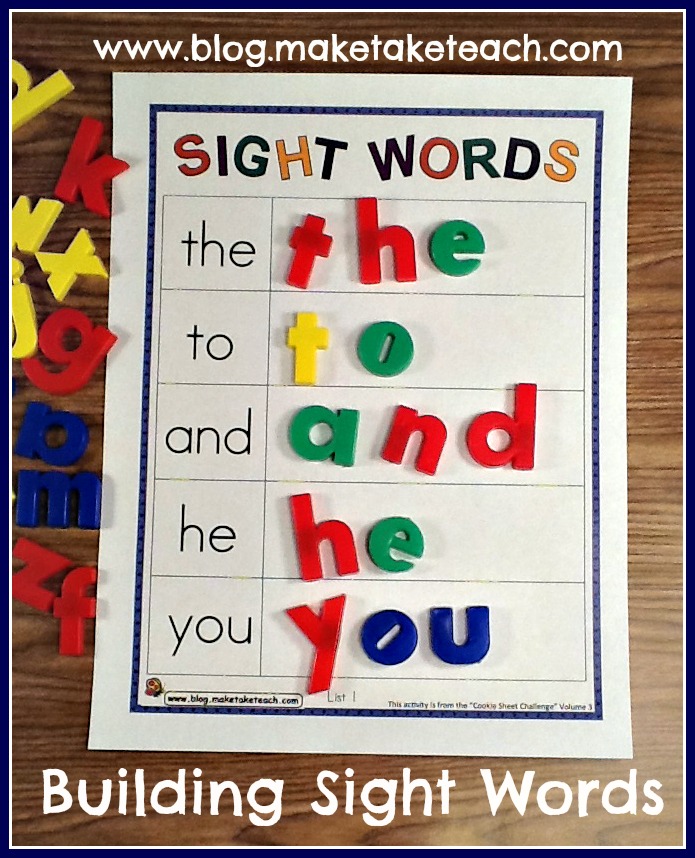
And if red turned out to be brighter in your opinion - myopia.
Home screening tests are not suitable for diagnosis. Only for control and prevention. Be sure to visit an ophthalmologist every six months. This will help avoid serious problems in the future.
What to do if deviations are found?
Did you notice any abnormalities after the eye examination at home? Do not rush to diagnose yourself on the Internet, especially prescribe treatment.
Entrust your health to the specialists of the ElitPlus clinic. Ophthalmologists will conduct a comprehensive diagnosis of vision and prescribe treatment.
If necessary, vision correction can be performed by the apparatus method or by the orthokeratology method - using night lenses.
Attentive and competent staff and attending physicians, advanced technologies and experience - everything so that every patient can see the world in all its colors!