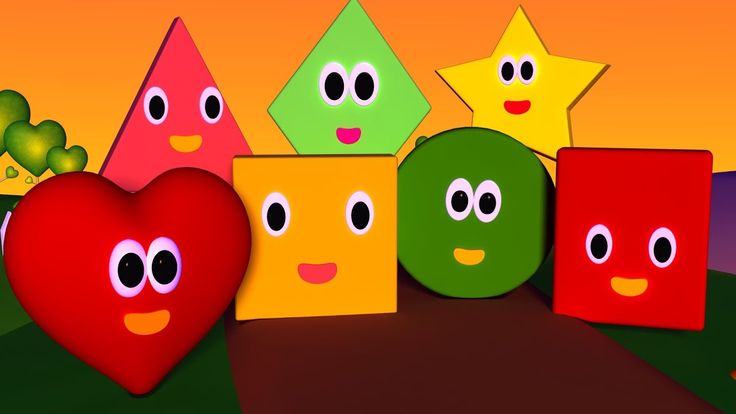
We are the shapes
|
|
||

20 Rhymes, Action Songs & Finger Plays
I have always loved singing finger plays and action songs with young children – in both my classroom and at home with my own daughters.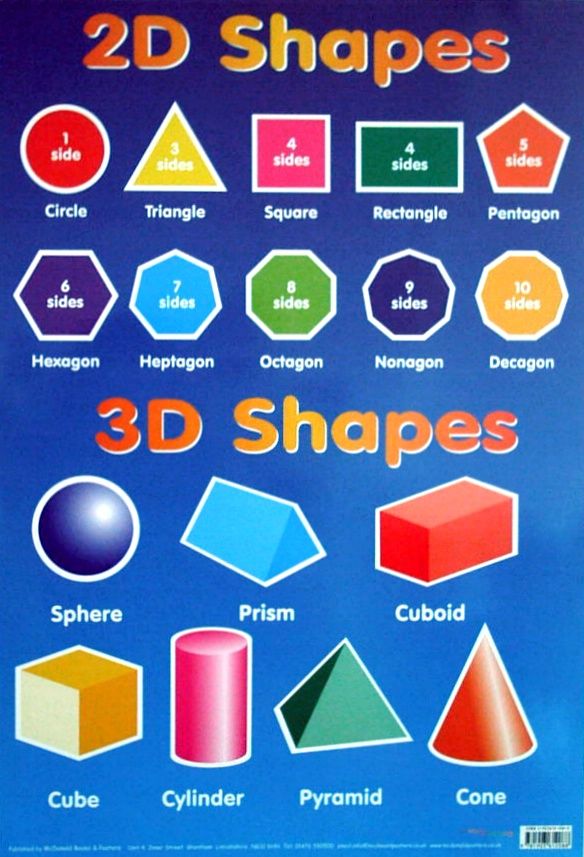 In fact, even now I am known to break into song at a moments notice when something we are doing triggers a memory of a finger play they loved when they were little.
Finger plays and action songs are songs, chants or rhymes that use hand and body movements to accompany the words being spoken or sung. Getting children to move as they learn is fabulous engaging the visual, auditory and physical systems of the body with a learning concepts – which makes finger plays and action songs about concepts, such as the list below about 2D shapes, a valuable learning tool.
And this form of learning has been used for centuries, as mothers and grandmothers have sung songs and rhymes to teach early skills and concepts like counting and naming colours, even in the years before preschool and kindergarten existed.
RELATED: See our complete collection of fun, themed children’s rhymes, songs and finger plays. Perfect for preschool and kindergarten
Songs to Sing about 2D ShapesDo You Know What Shape This Is?
(sung to The Muffin Man)
Do you know what shape this is?
Shape this is? Shape this is?
Do you know what shape this is?
I’m holding in my hand? (hold up a different shape each time you sing)
If You’re Holding
(sung to If You’re Happy and You Know It)
Before singing, give each child a 2D pattern block to hold.
If you’re holding a square stand up!
If you’re holding a square stand up!
If you’re holding a square, if you’re holding a square
If you’re holding a square stand up.
Repeat with other shapes
Where Is…?
(sung to Where Is Thumbkin?)
Before singing, give each child a 2D pattern block to hold.
Where is triangle?
Where is triangle?
Here I am, here I am. (children holding triangles hold them in the air)
How are you today, sir?
Very well, I thank you,
Run away, run away. (children hide shape behind their back)
Repeat with other shapes
Make a Circle, Make a Square
(sung to Oh My Darling Clementine)
Make a circle, make a circle,
Draw it high in the sky.
Use your finger, use your finger,
Make it round, as round as pie.
Make a square, make a square,
Make the lines nice and straight.
Make a square, make a square,
You could draw one or draw eight.
Make a triangle, make a triangle,
Always start at the top.
Make a tent shape for a triangle,
Use three lines, and then you stop!
Shapes Song
(Sung to Frère Jacques)
This is a square, this is a square,
How can you tell? How can you tell?
It has four sides,
All the same size,
It’s a square, it’s a square.
This is a circle, this is a circle,
How can you tell? How can you tell?
It goes round and round,
No end can be found,
It’s a circle, it’s a circle.
This is a triangle, this is a triangle,
How can you tell? How can you tell?
It only has three sides,
That join to make three points,
It’s a triangle, it’s a triangle.
This is a rectangle, this is a rectangle,
How can you tell? How can you tell?
It has two short sides,
And it has two long sides,
It’s a rectangle, it’s a rectangle.
The Square Shape Song
(Sung to Twinkle Twinkle Little Star)
Put your square shape in the air,
Hold it high and keep it there.
Put your square shape on your back,
Now please lay it on your lap.
Put your square shape on your toes,
Now please hold it by your nose.
Hold your square shape in your hand,
Now will everyone please stand.
Wave your square shape at the door,
Now please lay it on the floor.
Hold your square shape and jump, jump, jump,
Now throw your square shape way, way up.
Sammy Square
Sammy square is my name
My four sides are just the same
Turn me around, I don’t care
I’m always the same
I’m Sammy Square.
Square Rhyme
Here’s a shape that you will know (form square with fingers)
A square is its name.
It has four corners and four sides
That measure all the same.
Related: 15 Hands On Activities for Learning About 2D and 3D Shapes
Circle Song
(sung to Row, Row, Row Your Boat)
Have children stand together in a circle
Come on, all join hands,
Make a circle round.
Circle left, circle right, (side step to the left and then side step to the right)
Turning all around.
Coins, wheels, buttons and rings,
All are circles round.
Everywhere you go today,
Circles can be found.
Circle Song
(sung to If You’re Happy and You Know It)
A circle is a shape that goes round,
A circle is a shape that goes round
A circle is a shape that goes round,
And round and round.
A circle is a shape that goes round.
Tiptoe slowly on the circle and go round.
Tiptoe slowly on the circle and go round.
Tiptoe slowly on the circle,
And go round and round and round.
Tiptoe slowly on the circle and go round.
Suzy Circle
I’m Suzy circle
I’m happy as can be
I go round and round
Can you draw me?
Circle Rhyme
The circle is a shape (form circle with fingers)
That’s easy to be found.
It has no corners on it
It is completely round.
Tommy Triangle
I’m Tommy Triangle
Look at me
Count my sides
One, two, three.
Triangle Rhyme
The triangle is a simple shape (form triangle with fingers)
I think you will agree.
Count its sides and corners
And you will find just three.
Rectangle Song
(sung to Old McDonald)
My rectangle has four sides, EIEIO!
But all four sides are not the same, EIEIO!
With two sides big and two sides small,
My rectangle has four sides, EIEIO!
On my rectangle can be found, EIEIO!
Four right angles all around, EIEIO!
With two sides short and two sides tall,
Yes, two sides big and two sides small,
My rectangle has four sides, EIEIO!
Rectangle Song
(Sung to B-I-N-G-O)
There is a shape that has four sides,
But it is not a square no.
It’s a rectangle, it’s a rectangle, it’s a rectangle,
It is not like a square no.
Two sides are long, two sides are short,
They are not the same no.
It’s a rectangle, it’s a rectangle, it’s a rectangle,
The sides are not the same NO.
Ricky Rectangle
Ricky Rectangle is my name
My four sides are not the same
2 are short and 2 are long
Count my sides, come right along
1-2-3-4
Harry Heart
Harry Heart is my name
The shape I make is my fame
With a point on the bottom
And two humps on top
When it comes to love
I just can’t stop!
The Queen of Hearts
The queen of hearts made some tarts (make a heart shape with fingers)
All on a summer’s day.
The knave of hearts stole those tarts
And took them clean away!
Opal Oval
Opal Oval is my name
The circle and I are not the same
The circle is round, as round can be
I’m shaped like an egg as you can see.
You might also like to check out our collection of 15 Preschool Counting Songs, Finger Plays and Rhymes.
Christie Burnett is a teacher, presenter, writer and the mother of two. She created Childhood 101 as a place for teachers and parents to access engaging, high quality learning ideas.
Possessive pronouns in English: forms and usage
English possessive pronouns are a basic topic for language learners. They are in many ways similar to the corresponding pronouns in Russian, but they have their own characteristics. What - we will tell in this article.
One of the differences between English and Russian is that possessive pronouns have two types: simple and absolute form. Let's figure out what this difference is and how not to get confused in different forms.
Possessive pronouns
Possessive pronouns indicate the ownership of an object. They are used when we want to say that this item is mine, yours, or, for example, his.
Possessive pronouns are formed from personal ones. Personal forms replace nouns and stand in the position of the subject. They vary in person, number, and gender. Let's remember what personal pronouns look like in English:
Each personal pronoun has a possessive form in English:
The above forms are called relative possessive or simple possessive. They can replace nouns with the indicator 's or the construction with the preposition of to convey the idea of belonging.
Philip's house / house of Philip - Philip's house → His house - His house
The form of the English possessive pronoun is determined by the gender, number and person of the person to whom the object belongs. The number of objects in question does not affect the form of the pronoun: the pronoun does not agree in number with the object. Let's demonstrate with examples:
my / your / his / her books
our / your / their book - our / your / their book
The meaning of possessive pronouns is to convey the connection between the subject and the person to whom the subject belongs. When we say "mine" or "our", we indicate to whom the object belongs. But a reference to a noun does not mean direct possession of the subject, as, for example, in the phrases my house (my house), his book (his book). The value of belonging can be indirect and only indicate who we refer to in such constructions:
his passion for drawing my homework - my homework
Such pronouns can also refer to animate persons:
your grandmother his child - his child
A typical use of possessive pronouns in English is to refer to parts of the body:
my arm - my arm
his head - his head
He took my hand - He took my hand
Possessive pronouns can be added to a construction with a full noun:
my husband's house / house of my husband
Usage in a sentence
Simple possessive pronouns in English are placed before nouns and are not used without it.
The function of such pronouns is that of the adjective. They answer the question "whose?" and characterize the following object: my room (my room) / our son (our son) / his game (his game).
In combination with a noun, possessive pronouns can take different positions in a sentence. For example, to act as a subject definition:
My pen is on the table
Their car looks like a new one
Your grandmother is such a nice person
A noun with a possessive pronoun can take the position of a direct object:
I can't find my pen
We have just seen his car
She invited my wife - She invited my wife
Or stand in the position of an indirect object:
I will be in their house this Sunday
I was there with your father
He wants to talk to our son
It is not possible to use an article with a possessive pronoun. The pronoun itself in sentences replaces the article:
We have just seen a car
We have just seen his car
The book is on the table
Your book is on the table
Also, possessive and demonstrative pronouns cannot be used together in English.
We have just seen that car
We have just seen his car
This book is on the table
Your book is on the table
Adjectives can be added to constructions with possessive pronouns. Such definitions refer to the subject, the belonging of which is reported in the phrase. The position of the adjective in this case is between the possessive pronoun and the noun to which it refers:
We have just seen his new car
Your blue pen is on the table
I will see their wonderful house this Sunday
Absolute possessives
Absolute possessive pronouns in English differ in form from relative ones. For them, the first person singular form of my becomes mine, and in other persons and numbers, the ending -s is added. Since the simple possessive form of the pronoun he already ends in -s (his), no additional indicator is added here and the absolute form is the same as the simple one.
Forms of absolute possessive pronouns:
- mine - my
- yours - yours
- his - his
- hers
- ours - our
- yours - your
- theirs - their
Let's add absolute forms to the already familiar table of personal and possessive pronouns in English:
Note that the inanimate it does not form an absolute possessive form, and the pronoun its is not used as such. In such cases, it is possible to use only the simple form of the pronoun with a noun:
The cat plays with its toy
The formation of the absolute form will be incorrect:
The cat plays with its toy and the dog with its → The cat plays with its toy and the dog with its ball
The use of absolute possessives in a sentence
The difference between the absolute form of possessive pronouns is that they do not adjoin the corresponding nouns, but are used independently. Their function in a sentence is that of a noun, not an adjective. Therefore, sometimes such pronouns are called independent.
When the absolute form of the English possessive pronoun is in the position of the subject, this means that the noun has already been used in speech. Since there is no noun in such forms, its appearance earlier in the text is necessary to determine which object is being discussed.
Where is your book? Mine is on the table - Where is your book? mine is on the table
Such pronouns can appear in sentences as part of a predicate:
This pen is mine - This is my pen
The whole world is yours - The whole world is yours
Another use of independent possessive pronouns is constructions with the preposition of to indicate the ownership of an object.
John is my friend → John is a friend of mine - John is my friend
Absolute forms of possessive pronouns can appear in various positions in a sentence. For example, as a subject:
My husband prefers to stay at home and yours adores travelling
Or in direct object position:
I cannot find my book, I only see yours - I cannot find my book, I only see yours
Independent possessives are also used in place of an indirect object:
He always spends time with their children and never with ours - He always spends time with their children and never with ours
As with simple forms of possessive pronouns, absolutes cannot be used with articles. It is also impossible to use possessive and demonstrative pronouns together in English. Such suggestions would be wrong.
Error: We have just seen the his car. But the hers looks more fashionable.
Correct : We have just seen his car. But hers looks more fashionable - We just saw his car. But her car looks more stylish.
Error: I can't find that book but this yours is on the table.
Correct : I can’t find that book but yours is on the table - I can’t find that book, but yours is on the table.
Unlike simple forms of possessive pronouns, independent pronouns do not allow the use of adjectives. Since such words are not used with nouns, the adjective that is attached to the noun is impossible in such constructions. If the speaker wants to use an adjective, then the absolute form must be replaced by a combination of a simple possessive with a noun.
Error: We have just seen his car. But hers new looks more fashionable.
Correct : We have just seen his car. But her new car looks more fashionable - We just saw his car. But her new car looks more stylish.
Error: I can't find my pen but yours red is on the table.
Correct : I can’t find my pen but your red pen is on the table - I can’t find my pen, but your red pen is on the table.
The use of independent possessive pronouns in English allows you to get rid of unnecessary repetition of words. From the use of such pronouns, it is already clear which object is being referred to, so the repeated use of a noun is redundant. Compare the following sentences:
This pen is my pen → This pen is mine (This is my pen)
Where is your book? My book is on the table → Where is your book? Mine is on the table (Where is your book? Mine is on the table)
My husband prefers to stay at home and your husband adores travelling → My husband prefers to stay at home and yours adores travelling
I cannot find my pen, I only see your pen → I cannot find my pen, I only see yours (I cannot find my pen, I only see yours)
He always spends time with their children and never with our children → He always spends time with their children and never with ours (He always spends time with their children and never with ours)
Often independent forms of English possessive pronouns are used as an opportunity to contrast one object with another:
We have just seen his car.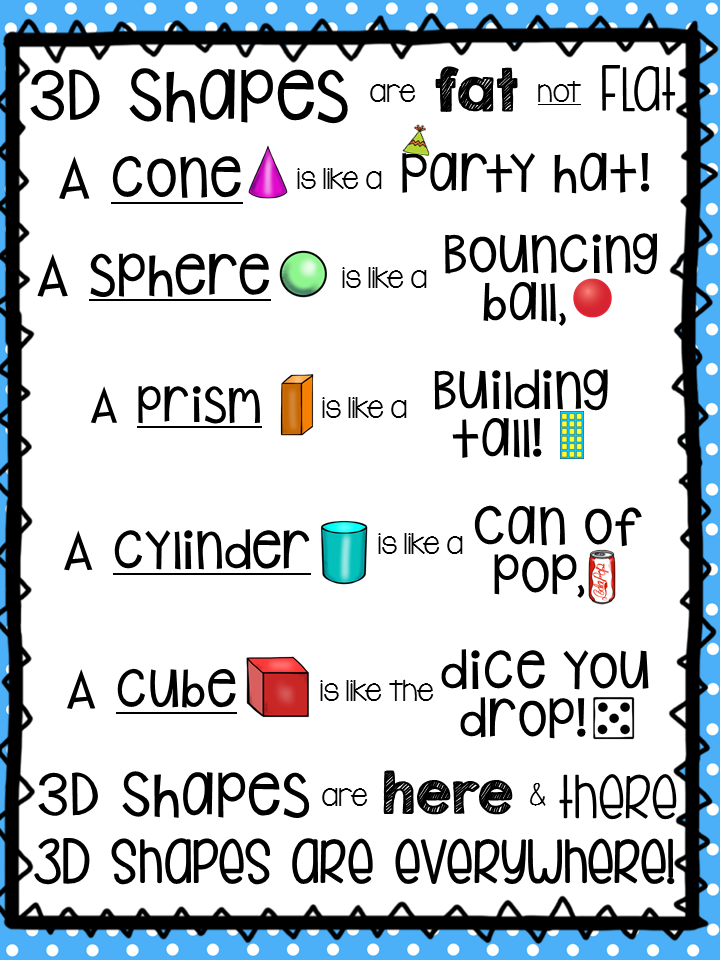 But hers looks more fashionable - We just saw his car. But her car looks more stylish.
I can't find my book but yours is on the table - I can't find my book, but yours is on the table.
As we can see, there are many differences between simple and absolute forms in English. The two kinds of possessive pronouns differ in form and in their use in sentences. But despite this, the meaning of the two types of pronouns when translated into Russian is the same.
Forms
A form in Access is a database object that you can use to create a user interface for a database application. A "linked" form is directly linked to a data source, such as a table or query, and can be used to enter, edit, or display data from that source. It is also possible to create an "unbound" form. It doesn't bind directly to a data source, but it also contains command buttons, labels, or other controls that are required to work with the application.
This article focuses on linked forms. They can be used to control access to data (for example, to determine which fields or rows of data should be displayed). For example, some users may only need a few fields from a table with many fields. A form containing only these fields will make it easier for such users to work with the database. You can also add buttons and other functions to your form to automate common actions.
Forms can be compared to windows through which users see and access a database. An effective form speeds up work with the database, as it eliminates the need to search for the necessary information. A visually appealing form makes working with the database more pleasant and efficient, and helps prevent incorrect data entry.
Note: This article assumes that you have already created a table (or a query based on one or more tables) and want to create a form to view or work with data.
In this article
-
Create a shape with the Shape tool
-
Create a split shape with the Split Shape tool
-
Create a form that displays multiple records using the Multiple Items tool
-
Create a Form Using the Form Wizard
-
Create a shape with the Blank Shape tool
-
Layout view and design view
-
Setting up a form in Layout view
-
Modifying a Form in Design View
Creating a shape with the Shape tool
The Shape tool allows you to create a shape with a single click. When used, all fields of the underlying data source are added to the form. You can start using the new form right away, or modify it in Layout view or Design view to better suit your needs.
Creating a shape with the Shape tool
-
In the Navigation Pane, click the table or query that contains the data that you want to display in the form.
-
On the Create tab, in the Form group, click the Form button.
The new form will be displayed in layout mode. In this mode, you can make changes to the structure of the form while viewing the data. For example, if necessary, you can adjust the size of the text fields according to the data.
If Access detects a table that has a one-to-many relationship with the table or query that was used to create the form, then the data table is added to the form that is based on the associated table or query. For example, if you create a simple form based on the Employees table and a one-to-many relationship is defined between the Employees and Orders tables, then the data table will display all records in the Orders table that are related to the current employee records. If the data table on the form is not needed, it can be deleted. If there are multiple tables that have a one-to-many relationship with the table that was used to create the form, then Access does not add the data tables to the form.
Creating a split shape with the Split Shape tool
A split form allows you to display data in two views at the same time - Datasheet View and Form View.
A split form differs from a combination of forms and subforms in that both split form views are linked to the same data source and are always in sync with each other.![]() When you select a field in one part of the form, the same field in another part is selected. Data can be added, changed, or deleted in each part of the form (provided that the record source allows updating and the form settings do not prohibit such actions).
When you select a field in one part of the form, the same field in another part is selected. Data can be added, changed, or deleted in each part of the form (provided that the record source allows updating and the form settings do not prohibit such actions).
Working with a split form allows you to take advantage of both views in one form. For example, you can use the tabular part of a form to quickly find a record and then view or edit it in form view.
To create a split shape using the Split Shape tool:
-
In the Navigation Pane, click the table or query that contains the data that you want to display in the form. You can also open a table or query in Datasheet view.
-
On the Create tab, in the Forms group, click the Other Forms button and select the Split Form command.

The new form will be displayed in Layout view. In this mode, you can make changes to the structure of the form while viewing the data. For example, if necessary, you can adjust the size of the text fields according to the data. For more information about form views, see About Layout View and Design View.
How to create a form that displays multiple records using the Multiple Items tool
If the form was created using the Simple Shape tool, it can only display one record at a time. If you want to create a form that displays multiple records but is more customizable than a table, use the Multiple Items tool.
-
In the Navigation Pane, click the table or query that contains the data that you want to display on the form.
-
On the Create tab, in the Forms group, click the Other forms button and select the Multiple elements command.
A new form will be created and displayed in Layout view. In this mode, you can make changes to the structure of the form while viewing the data.
When using the Multiple Items tool, the form generated by Access looks like a table. The data is arranged in rows and columns, and you see multiple entries at the same time. However, the Multiple Items form provides more customization options than a grid, such as the ability to add graphics, buttons, and other controls. For more information about customizing a form, see Customizing a Form in Layout View and Customizing a Form in Design View.
Creating a form using the Form Wizard
Instead of the various tools described above, you can use the form wizard to precisely select the fields that should be displayed on the form. You can also set up grouping and sorting of data and use fields from several tables or queries, if the relationships between such tables and queries have been previously configured.
-
On the Create tab, in the Forms group, click the Form Wizard button.
-
Follow the instructions on the Form Wizard pages.
Note: To add fields from multiple tables or queries to a form, do not click Next or Finish after selecting fields from the first table or query on the first page of the Form Wizard. Instead, repeat these steps to select a different table or query, and click any additional fields that you want to include in the form.
 Press button 9 to continue0007 Next or Done .
 -
On the last page of the wizard, click Finish .
Creating a shape with the Blank Shape tool
If the form wizard or tools do not suit you, you can start with an empty form. This can be a very quick way to create a form, especially if you only plan to add a few fields to it.
-
On the Create tab, in the Forms group, click the Empty Form button.
An empty form will open in Layout view and the area Field list will be displayed.
-
In the Field list area , click the plus sign ( + ) next to one or more tables that contain the fields you want to include in the form.
-
To add a field to a form, double-click it or drag it onto the form.
-
After adding the first field, you can add several fields at once. To do this, select them by holding down the CTRL key and then drag them onto the shape.
-
Order of tables in area List of fields may vary depending on the selected part of the form. If the field you want to add is not visible, select another part of the form and try again.
-
-
Using the tools in the group Header on the tab Designer , you can add a company logo, name or date and time to the form.
-
To add other types of controls to the form, select the ones you need in the group Controls in tab Designer .
To expand the selection of controls, switch to Design view. To do this, right-click the form and select Designer .
Understanding Layout and Design views
Layout View is an intuitive view that you can use to make almost any change to an Access form.
The form is being executed in Layout view. Therefore, you can view your data in the same way as when using a form. However, in this mode you also change the structure of the form. Because you can see the form data when you change it, this view is useful for adjusting the size of controls and performing almost any other task that affects the look and feel of the form.
If you encounter a task that cannot be completed in Layout view, you can switch to Design view. In some situations, a message appears in the application telling you that you need to enter design mode before making any changes.
Constructor The constructor represents the structure of the form in more detail. It displays the title, details, and footer of the form. The form is not executed when it is displayed in design mode. Therefore, you cannot view the underlying data when you make changes to the structure. However, certain tasks are easier to perform in Design view. The options available are listed below.
-
add other kinds of form controls, such as bound object frames, page breaks, and charts;
-
change sources for text fields in the fields themselves without opening their property page;
-
resize sections of a form, such as its title or details section;
-
change some form properties that cannot be changed in layout mode.
Setting up a form in Layout view
After creating a form, you can easily customize its structure using Layout view. You can move controls around and resize them based on the data itself. You can add new controls to the form, and you can also set properties for the form and its controls.
To switch to Layout View, right-click the form name in the Navigation Pane and select Layout Mode .
The form will be opened in layout mode.
You can use the property page to change the properties of a form, controls, and sections. To open it, press the F4 key.
To add fields from a base table or query to the form structure, use area List of fields . To display area Field List :
You can drag fields directly from area Field list to the form.
-
To add a single field, double-click it and drag it from the Field List area to the desired section of the form.
- Learn more
- Humpty dumpty sat on the wall nursery rhyme

- What 5th graders should know in math
- How to encourage reading in the classroom

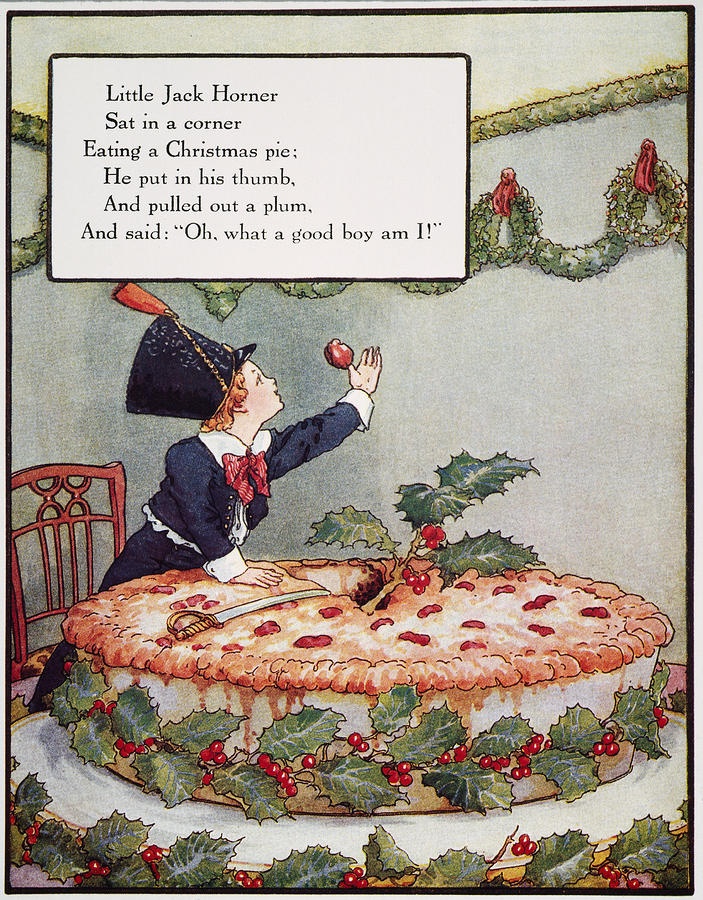
- Jack horner rhyme
- Fun way to teach reading
- Lesson plan on vowels for kindergarten

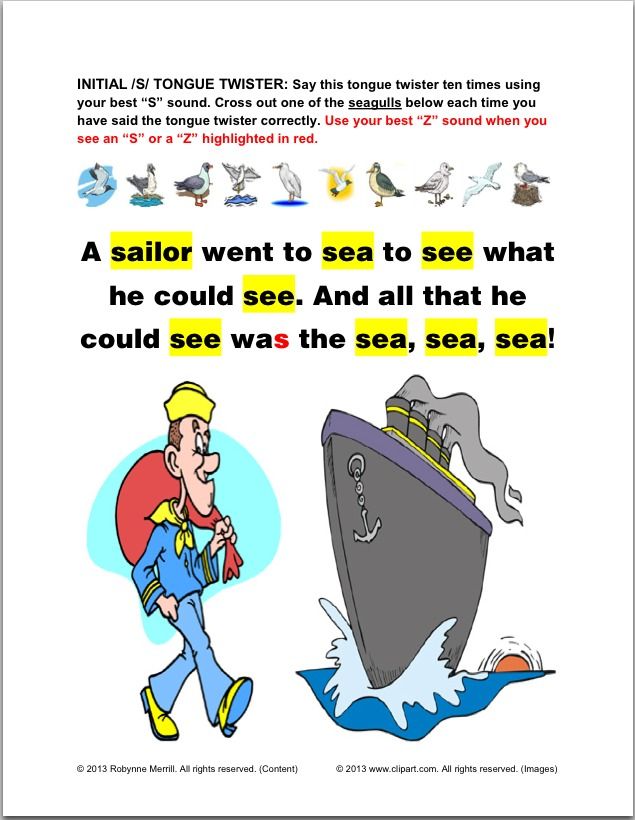
- Tongue twisters for preschoolers
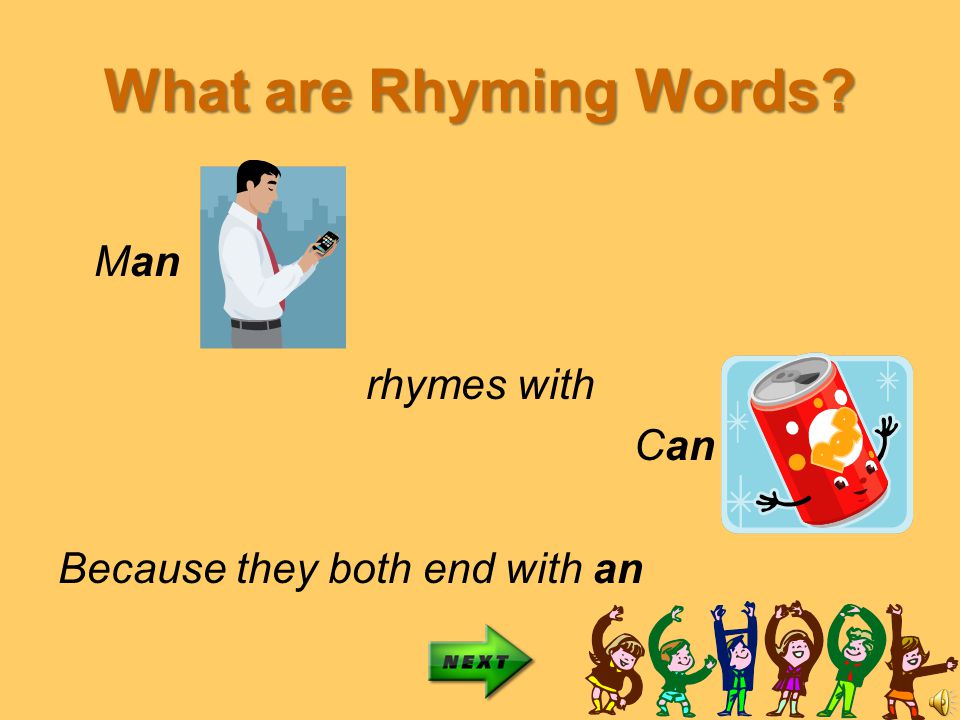
- Have rhyme words
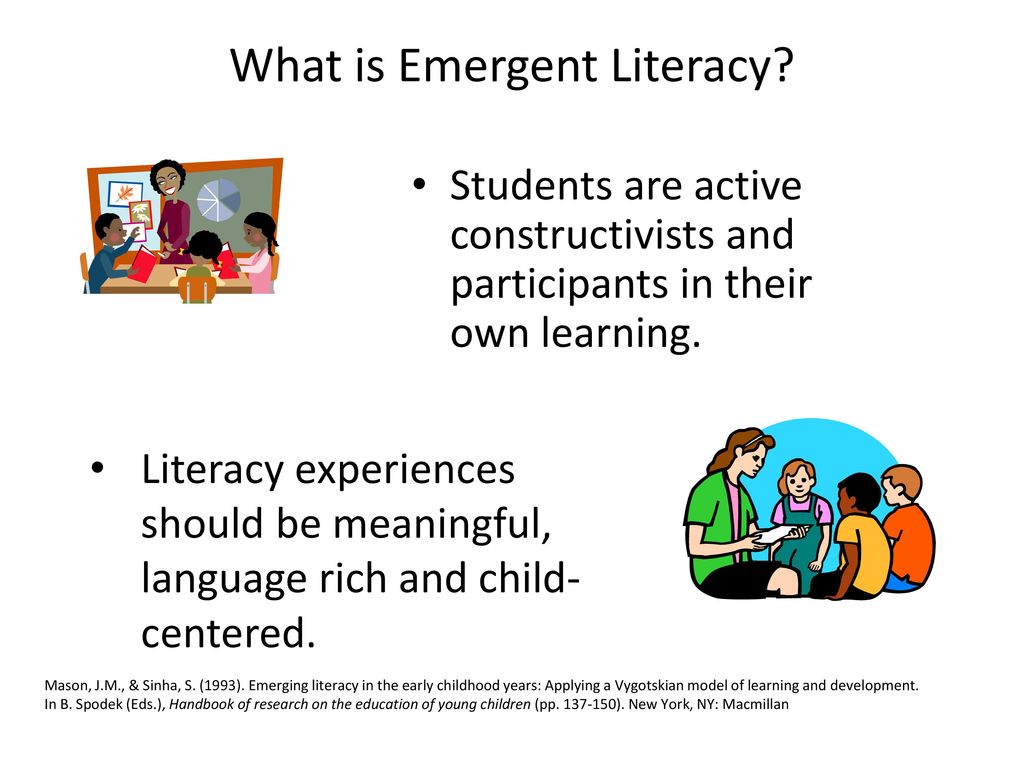
- What is early literacy
- Short descriptive words
- Follow directions quickly