Following directions printable
Following Directions Worksheets
Students often do not follow directions or even read them for that matter. This reminds me of a teacher I worked with back several years. She was so fed up with students not reading directions that she decided to make a power move that will last with those students forever and probably till this day still sits with them. What she did is give a test that was a significant portion of their grade. In the second line of the directions she wrote that if you only wrote your name and the date and handed in the tests immediately, you would be given a one hundred percent. Guess how many students got a one hundred? None of them, but they will remember that forever. Follow directions to the letter often helps us be more efficient and make certain things are done properly. This is a skill that many people just don't take the time to realize is a huge issue for the current generation of students. Every notice how even video games don't come with instructions anymore? When toy companies realize that instructions are not what there customers value, it confirms it as more factual.
The answers to almost all of these worksheets are simple and not time consuming at all. We recommend that you visit these worksheets many times throughout the course of the school year. It will truly help your students grow not only as students, but as responsible citizens. The worksheets that are featured here will encourage students to be more diligent when they are reading directions and pace themselves to follow them as indicated. We break the level of tasks down by grade level this is due to the expected skills required to accurately gauge the skills of the students. I won’t recommend jumping up in level too much as the reading and writing skills that are required are much different.
Get Free Teacher Printables In Your Inbox!
Click the buttons to be transported to all the pages for that grade level. They are ordered by school year.
For the younger students. In most cases we target non-readers, but there are plenty of sheets for readers as well.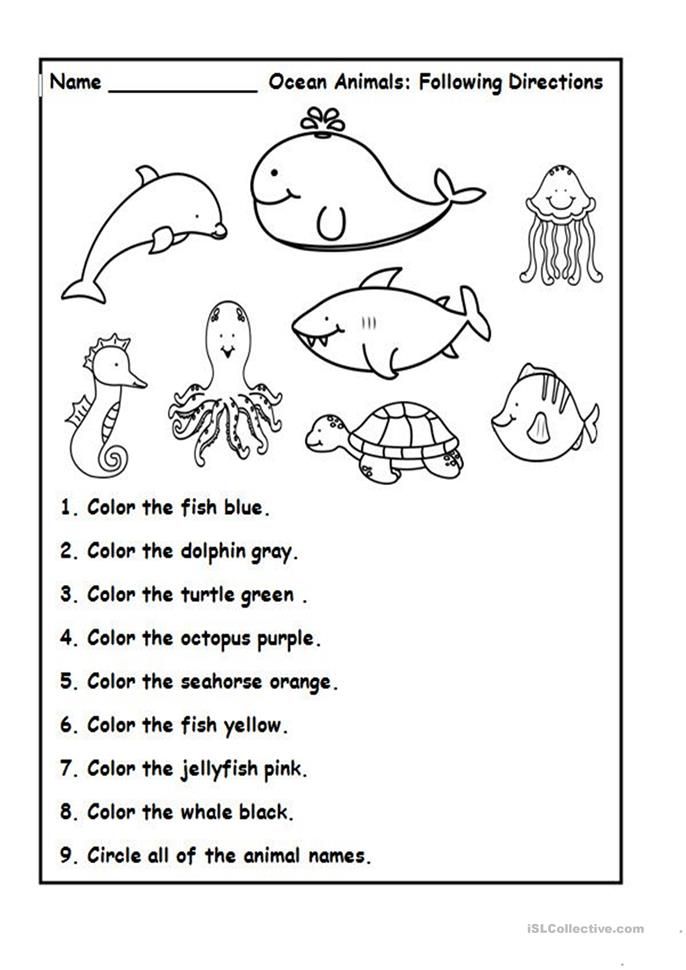 Students should be to understand the concept of directions and start to make their way on to following them.
Students should have a good handle on reading and be able to follow directions independently. Basic math fact skills are necessary for some of the sheets found at the bottom of that topics page.
Middle level students are the most notorious non-direction reading age level. I would hammer them with these sheets throughout the school year. We had a teacher tells us that they add one of these to all their major tests throughout the school year.
I like to leave one of these with my substitute teachers, every single time I am out. I like to make it extra credit through the school year too.
How to Make Sure Students Are Following Instructions
For a teacher, it is imperative to get your point across the table to your students. Some teachers get pretty anxious when students do not follow their instructions, confusing both parties but causing trouble only for the teacher responsible.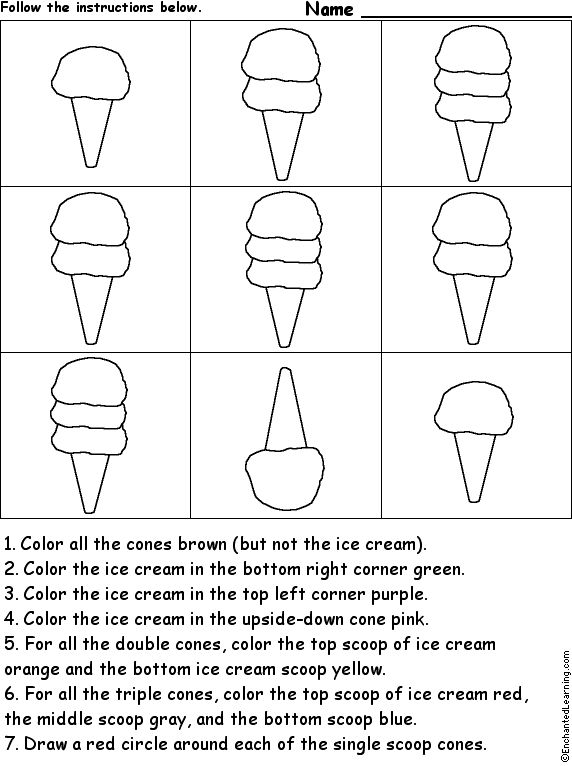 Nor does the teacher understand how to make herself more straightforward, nor do the students make an effort to ask questions.
Students usually run away from the hard stuff, and teaching them using complex methods, can exacerbate the situation as it becomes impossible to penetrate their minds. Due to this barrier, students find it easier to disturb the class decorum by not following what they are asked to do.
If your pesky students are stressing you and you don't know how to get students to listen and follow your instructions, you are in the right place to look for answers. We bring you the Dos and Don'ts in a classroom that you can follow to maintain your power over the students.
Ways To Manage Your Classroom
1. Use your hand gestures while giving the instructions, such as signaling towards the door to order someone to go.
2. Use an appropriate voice and look in their eyes when you ask them to do something. You cannot expect a student to listen if you have nervousness in your tone or are looking elsewhere while talking to them.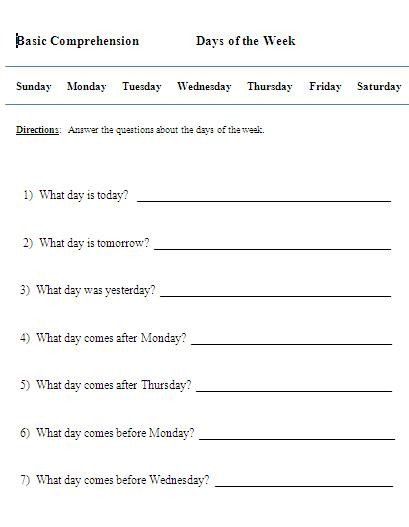
3. Make them redo their mistakes. Instead of just issuing warnings or detentions, you must ask them to rectify their mistakes by doing it right this time. For example, you asked the class to stay in their seats and not create a ruckus in your absence, but the classroom is in shambles when you get back. Then, it would be best to ask the students to clean it by themselves instead of calling any helper.
4. Instead of asking "any questions?" you should ask questions to which the students must answer. This would engage them in the lecture, and they will also be able to analyze the topic they just heard. Prompting questions can be: "what is your opinion about the theme that the author uses?" or, "Can you highlight the difference between the concepts from the last lecture to today's?"
5. Give a time limit to get the amount of work done. If you don't give timeframes for any assignment or solve a sample question, students become relaxed and do not submit work on time. This only delays your work and spoils your effort.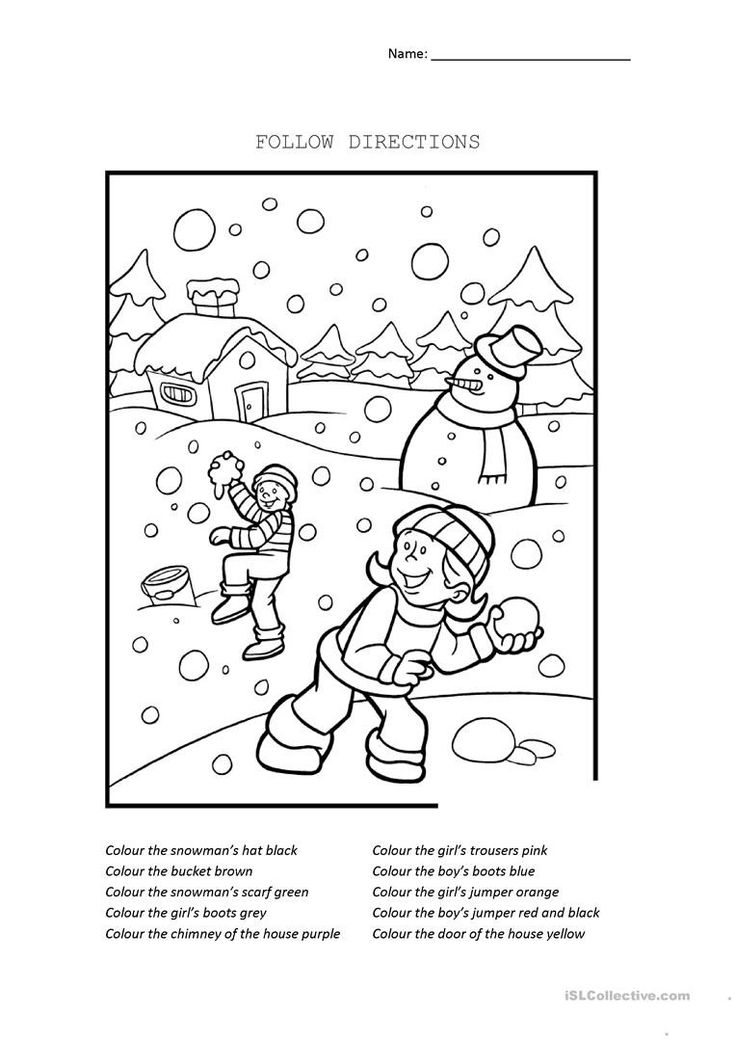
6. Use attention getters to start a lesson. Usually, students cannot concentrate on a topic if it's boring, or they feel lethargic (mainly after recess). It would help if you created catchy introductions for such topics to get undivided attention from students.
7. "3 Before Me" rule. Instead of replying to all the repeated queries about the lecture from each student, you can ask them to use the "3 Before Me" rule, i.e., to ask three other classmates for answers before bringing it up to you. It will also save your time, as you will get feedback about changing your strategy for the topic.
8. Do not hold grudges. Even if they are troublemakers making your job a lot more complicated, you must not hold grudges against the students. The students are the teacher's responsibility and even if they do things to get a reaction out of you, just let it slide. Look for solutions instead of arguing or lowering the grades.
The only way to manage a classroom efficiently is to abide by these rules and consistently work on them.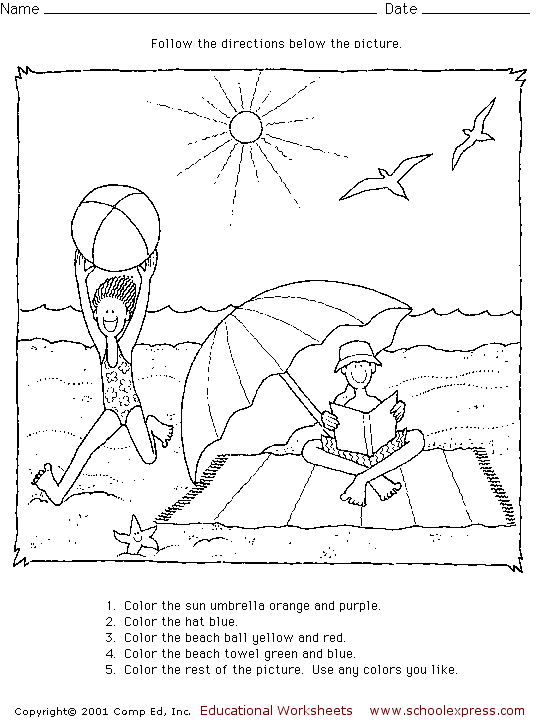 It will bear fruit in no time.
19 Activities for Middle School Students to Improve Following Directions
Whether 1-step directions or multi-step directions, students need practice and clear expectations. Students follow hundreds of directions every year at school and at home. In order to improve their ability to process oral directions and listening skills, you can incorporate fun activities into your school day.
Try some of these 19 activities and notice the difference you will see over a period of time, as students improve with following directions.
1. Science Experiments
Incorporate your school curriculum into teaching kids to follow directions. Using science experiments in your school setting will improve academics, engage students, and strengthen students' following directions skills and abilities.
Learn More: Moms
2. Learn to Code
Further developing science skills and learning to code are beneficial for so many reasons.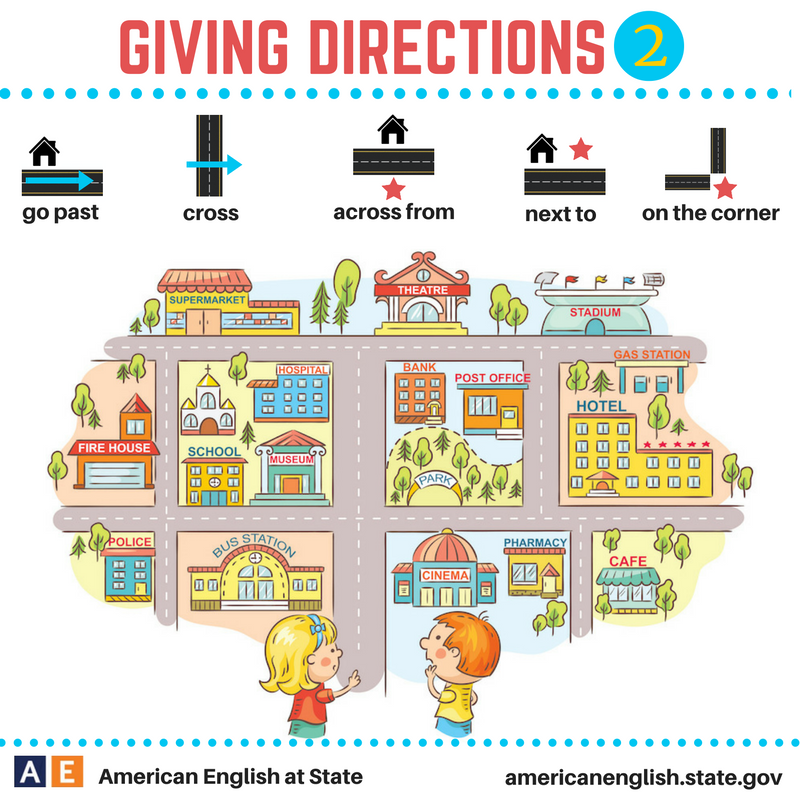 In addition to helping students learn computer science skills, they can also work on fine motor skills and improve following directions skills. Coding is ideal and appropriate for all grade levels.
Learn More: Teach Your Kids Code
3. Following Direction Logic Puzzle
This worksheet takes on the form of a riddle or secret code to be solved. For students who need a break from screen time, let them try to decipher the code by solving the riddles. The following directions worksheet is a good way to also encourage critical thinking and problem-solving skills.
Learn More: Centervention
4. Paper Folding Activity
Simple instructions will be easy to follow and form a unique craft! This activity uses multi-step directions to have students create a paper masterpiece. Students will need to pay attention to directions and details to be successful in this awesome activity.
Learn More: Speech Snacks
5.
 Boat Craft
 This fun and challenging activity allows some creative freedom but requires multi-step directions as well. This activity is great for upper elementary teachers or middle school teachers to use with their students.
Learn More: Pedia Staff
6. Building From Scratch
This activity will require key listening skills. Teaching students to make something with their hands is a great way to improve following directions. This is ideal for motor skills as well. Students may have a harder time working with their hands, so making the teacher aware of expectations is key.
Learn More: Moms
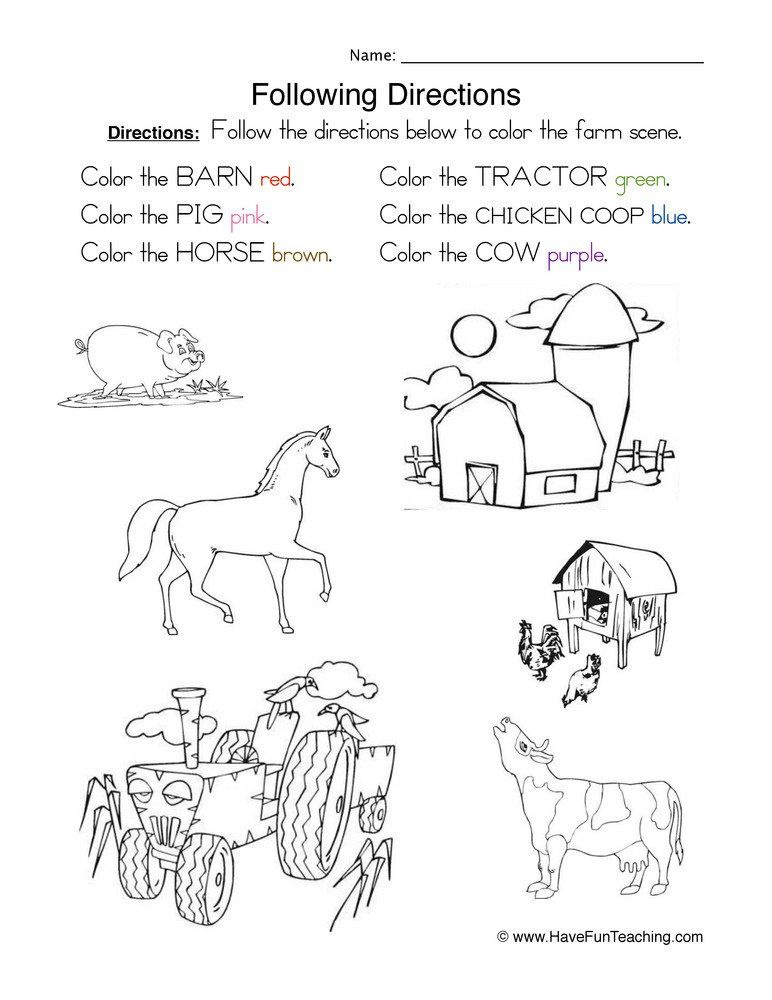
7. Coloring Worksheets
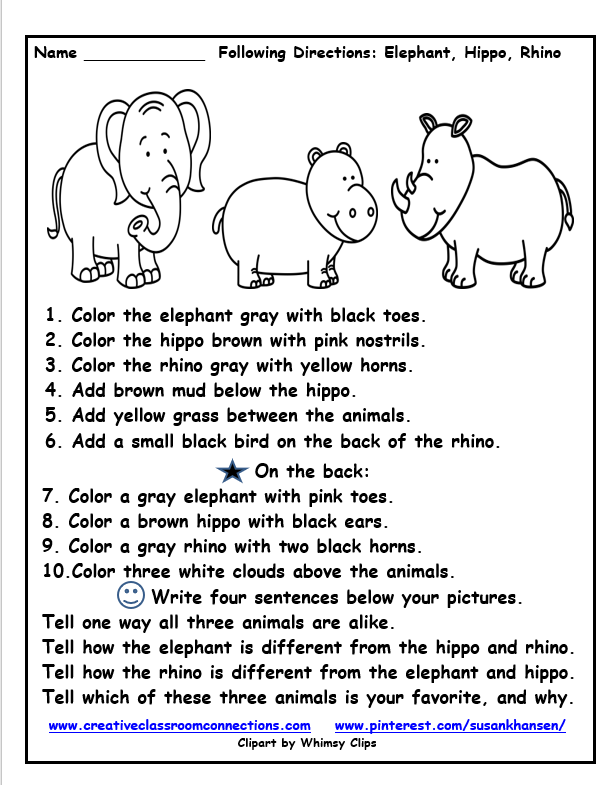
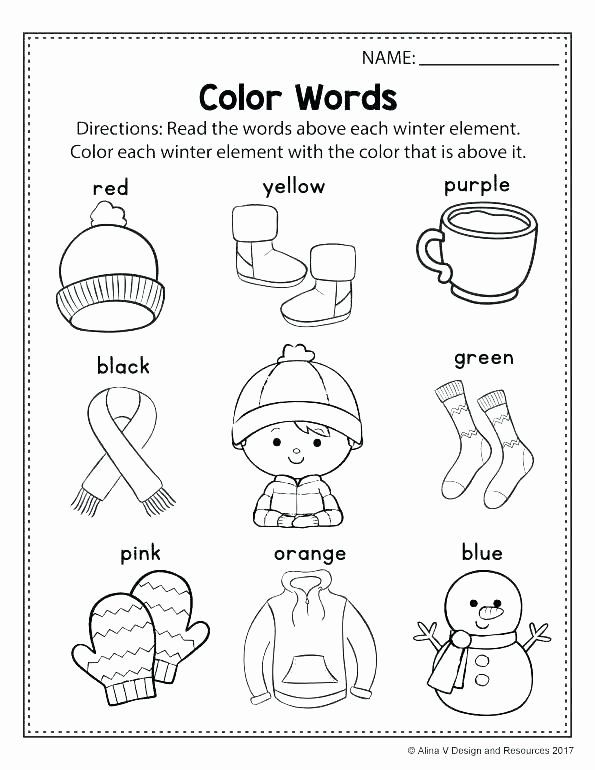
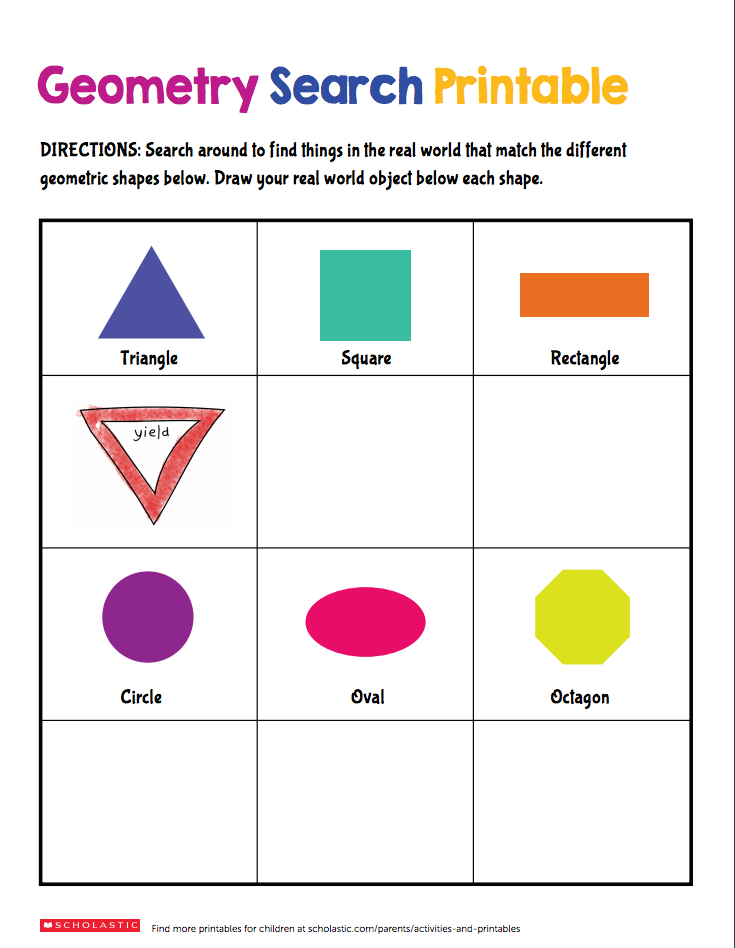
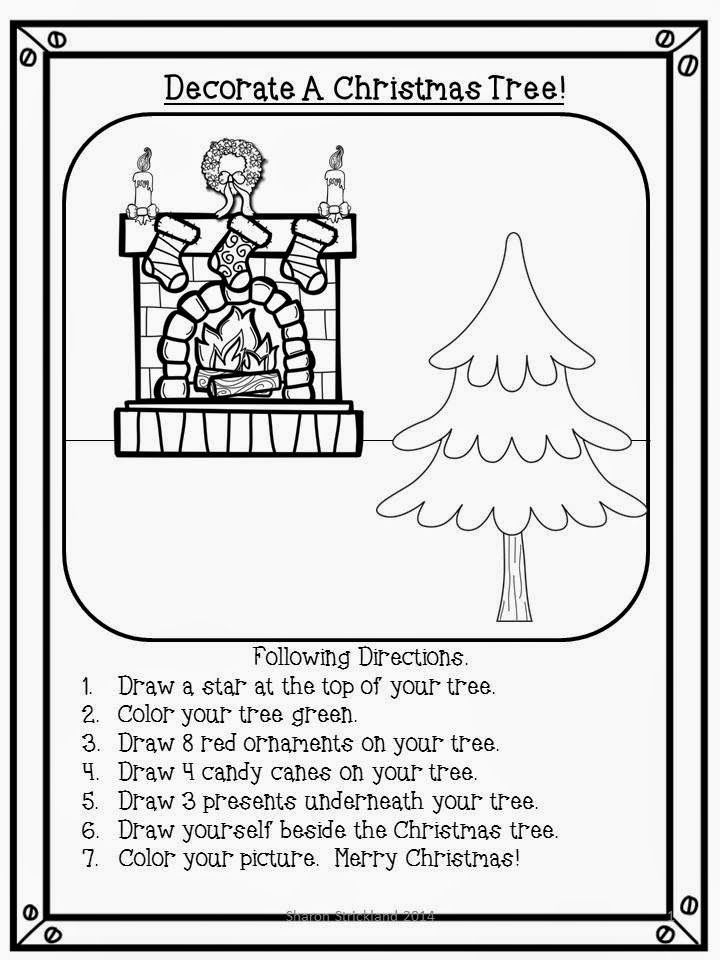
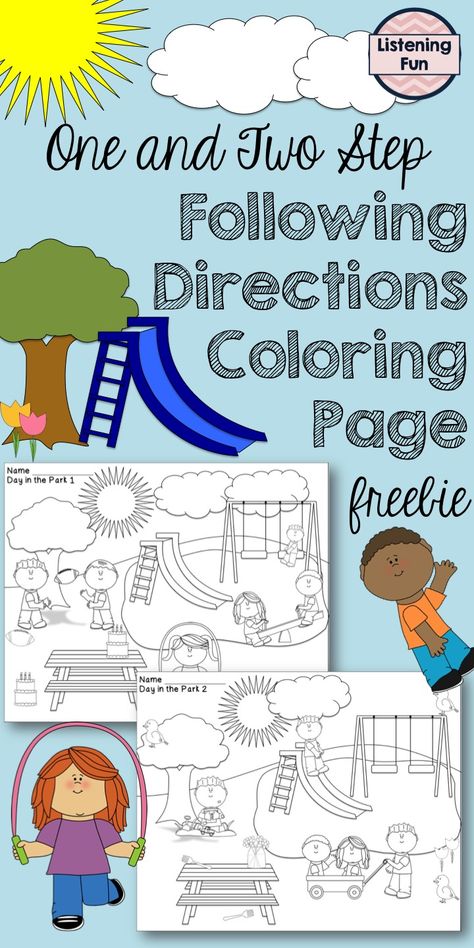
Giving the child directions for this printable activity is key. Lists of directions are included for students to read themselves or for the teacher to call out to them. Precise directions will help students know when to do each step in the process.
Learn More: Tam Aqua K12
8.
 Summer Olympics Following Directions Game
 This adorable summer Olympics game is great for following directions. Perfectly themed activity sheets are designed for listening activities that focus on teaching students 1-step directions, 2-step sequential directions, and even 3-step sequential directions.
Learn More: Speech Time Fun
9. Leaf Craft
This leaf craft is a perfect hands-on activity for teaching students the importance of following directions. As they listen and perform each task in each step, students' following directions skills will improve with practice.
Learn More: Inspontaneous Speech
10. Following Directions Map
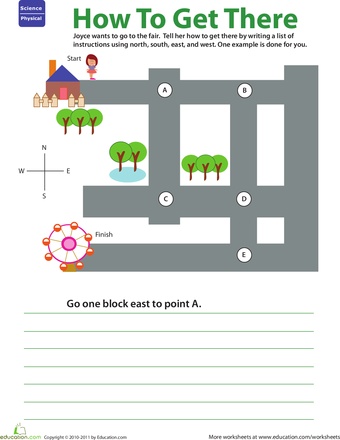
These easily printable maps are easy to use. There are several themes to choose from. Each is accompanied by a list of instructions. Students can read them or listen as teachers read them aloud.
Learn More: Making Learning Fun
11.
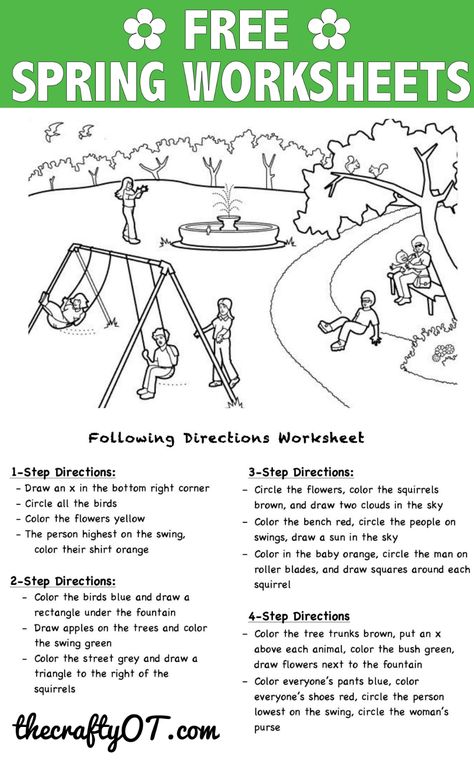 Star Wars Directions Game
 Fun games, like this Star Wars following directions game, are great for helping students practice how to properly follow directions. This interactive game allows students to work within groups and collaborate and interact with others.
Learn More: Teach This
12. Glyphs
Glyphs are a fantastic resource for upper elementary and middle school students who need to practice following directions. Students will use white drawing paper to draw a picture, based on listening to directions and using what applies to them individually.
Learn More: Teach With Me
13. Before and After Statements
These before and after statements are great for older kids. This is a way to let students interact in groups and follow directions. On slips of paper, you will write in events and use them to complete this activity.
Learn More: Miss Barrett Speech Language
14.
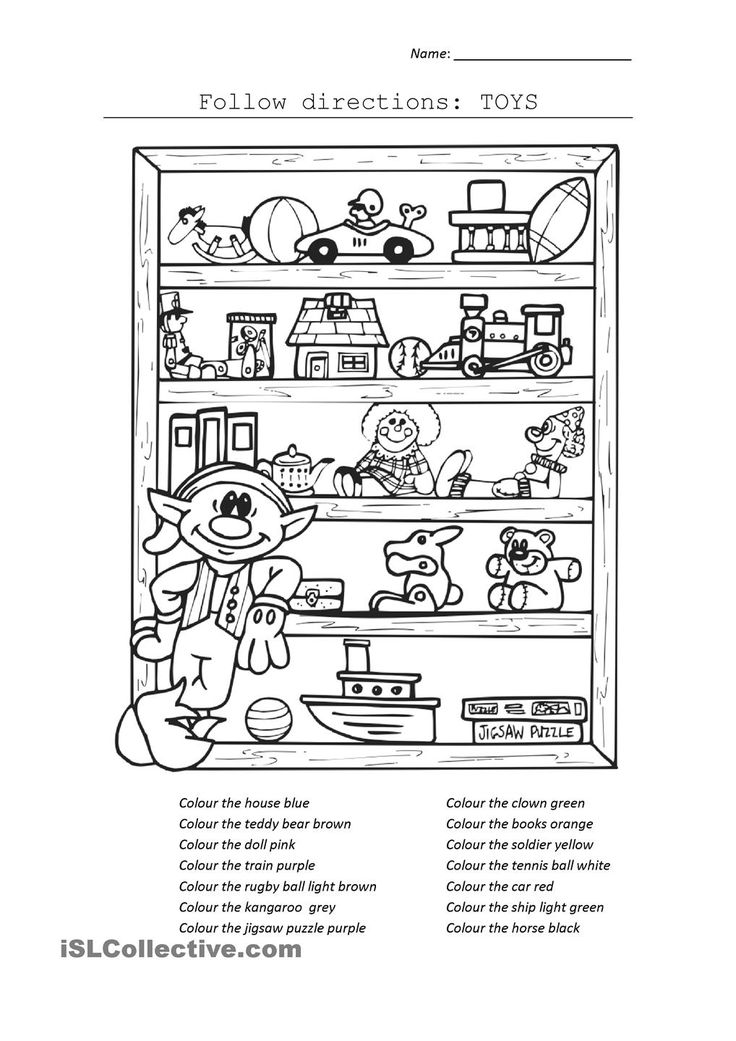 Listening Skills Holiday Sheet
 These printable worksheets will be helpful for children with language skills needing improvement or for students to practice following directions. They are holiday themed and ideal for key listening skills and multi-step directions.
Learn More: Resources From Rachel
15. Can You Follow Directions Quiz Sheet
This fun quiz-type sheet is helpful in assessing how well students follow directions. This is a great way to see if they can follow targeted directions and if not, where the breakdown occurs so you will know what to work on.
Learn More: The Worksheets
16. Following Directions: Directions Sheet
This directions sheet is a breakdown of 4-step directions. Each section requires students to look ahead to see what to do, when to do it, and how to do it. They are working to follow directions in each step.
Learn More: The Worksheets
17.
 Relay Races
 Relay races get students up and moving. Teachers can customize this activity to get students to practice following directions in a nontraditional way. Students can follow directions and work with their teams to see who can win each challenge.
Learn More: Mr Physed
18. Following Direction Worksheet
This following directions activity is good for working on following directions and literal directions. Students can cut and place items in places, dependent on prepositional directions. This is especially good for bilingual students.
Learn More: The Worksheets
19. Paper Airplanes
Constructing paper airplanes is fun and ideal for practicing following directions.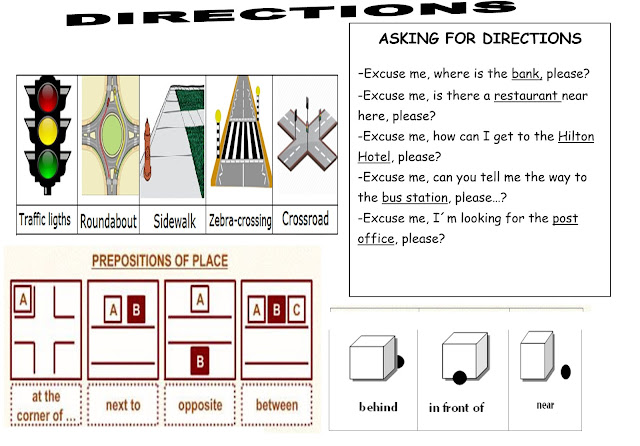 Let students use a template and guide for directions or orally tell them what to do. Either way, they will get good practice and finish with a nice end result.
Learn More: Speech Snacks
Manual printing
Offset and digital manual printing, high quality printing and fast production. As for paper, black-and-white offset printing using thin paper is used to print instructions for various technical products and medicines, and full-color offset printing using offset or newsprint is used to print colorful instructions, for small print runs it is better to print digitally.
Instructions - there are both in the form of leaflets and multi-page, belonging to the category of technical and accompanying documentation and describing the product and the rules for using it.
Contents
- 1 There are different kinds of instructions.
- 2 The following materials are used to bind the instructions:
There are different types of instructions.
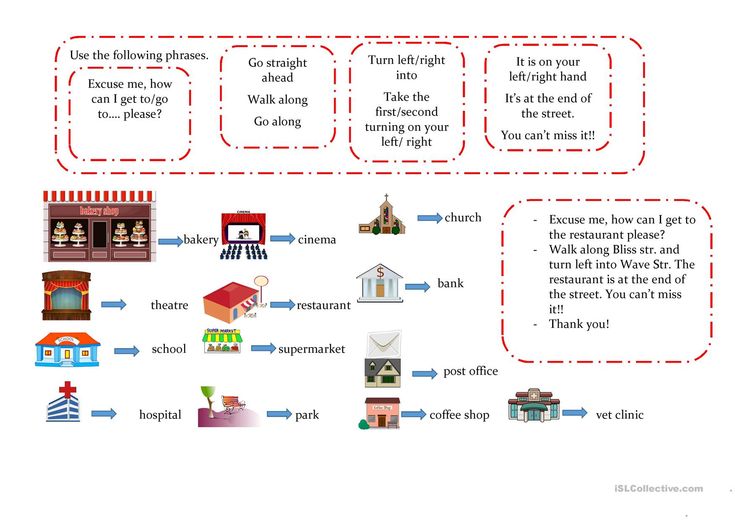
Instruction manual is a description of the characteristics and rules of use, as a rule, technically complex products and devices, such as equipment, machine tools, cars, medical equipment and other complex devices. In addition to describing the technical features of the product itself and its various parts, the sequence of its assembly, recommendations for setting up, information about possible breakdowns and malfunctions and how to eliminate them, work processes are indicated, the designations of function buttons are given, detailed illustrations, drawings and diagrams are attached. When creating such an instruction, you should not pursue design frills, it should be made in a strict style, perhaps, perhaps, small colored inserts, for example, a company logo, or other small design elements, because the most important thing here is the availability of information.
This manual is important and must be kept as an important document so that if a problem is discovered, you will be able to fix the problem yourself without resorting to the service center.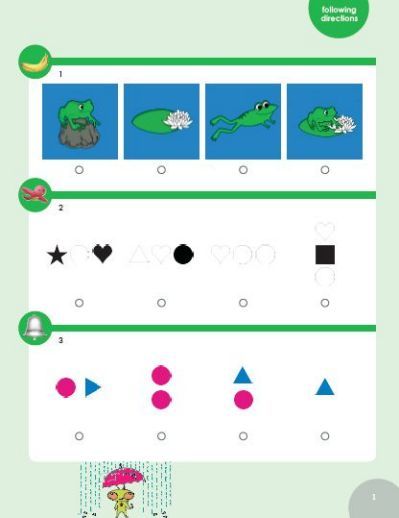 Such an instruction should not wear out very quickly, and therefore should be printed on good paper and have a quality binding.
There are also instructions that describe how to perform an action, for example, filling out a document, the behavior of a massage, doing some kind of sport. In such instructions, you can embody a variety of design solutions and make them in the form of a colorful booklet with a color cover or color inserts, and use beautiful bright photographs or drawings for clarity.
If for exported products the implementation of instructions in several languages is of a recommendatory nature, then for many types of goods intended for sale on the territory of the Russian Federation, the presence of instructions in Russian is a prerequisite. Follow the instructions in the form of a leaflet, brochure or booklet.
There are several types of instruction paper:
- the same weight as the paper in block
- heavier than block paper or card stock
- transparent plastic or colored
- laminated with gloss or matt laminate
The following materials are used to bind the instructions:
- plastic spring, color and circumference may vary
- metal spring also available in different sizes and colors
- staple in the amount of one, two or three pieces
The process of manufacturing instructions consists of the following stages: translation (if we are talking about foreign goods or technology), layout (layout, design, etc.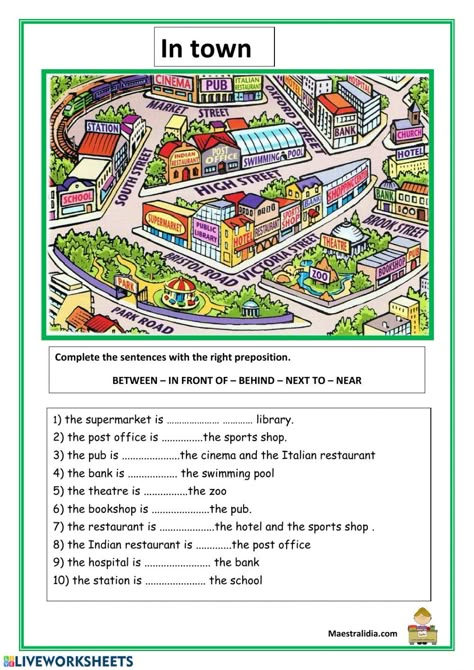 ), printing and post-printing.
Making instructions is a very responsible task, because instructions not only contain important information for the consumer, but also generally affect the formation of a general idea of the brand, thus being a way to promote new products and services to the market. Therefore, its high-quality performance will affect both the number of sales and whether the consumer will be satisfied with your product, continue to buy it in the future, and possibly recommend it to friends.
The process of printing instructions is a very difficult task in technical terms, this is primarily due to the number of folds in the manufacture of instruction sheets, which can be parallel or perpendicular. However, the experienced specialists of our Moscowbrand printing house are quite capable of such a task, their knowledge and rich experience allow them to cope with even the most technically complex tasks related to the production and printing of instructions.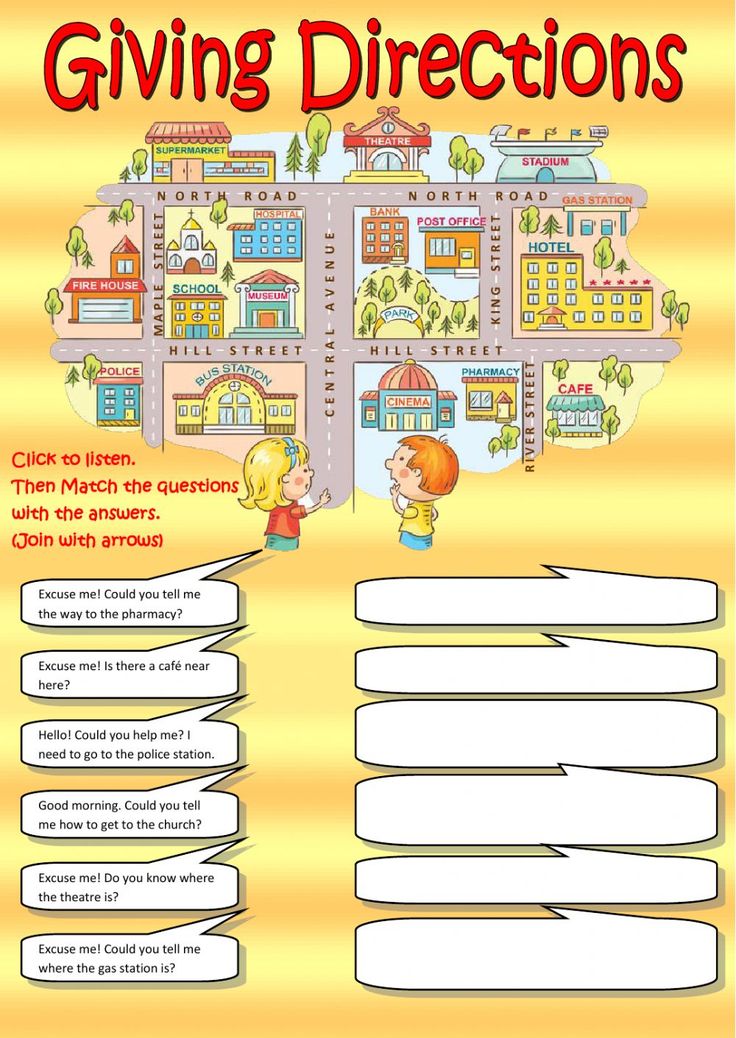
We will help you to prepare instructions, warranty cards, technical data sheets and other accompanying documentation for both mass products produced in small, medium and large batches, as well as for single items, while providing you with a full package of services: design layout development, printing , assembly, binding.
In order to produce and print high-quality, presentable and inexpensive instructions, the MoscowBrand printing house and the most modern technologies, so you can order from us: unique cover
You can get all the information you need about prices, terms and features of manufacturing a particular circulation from our managers by contacting us in any way convenient for you.
Tips for Preparing Your Publication for Printing
If you need print options that are not available on a desktop printer, you can print your publication on a commercial printer that can reproduce the job on offset presses or high-quality digital printers.
For example, you might want to print a high-volume publication, print special documents (such as vellum or cards), or use anchoring, cropping, and finishing options.
Whether you need hundreds of copies or even thousands, a commercial printer may be the most economical and efficient way to print your publication.
Publisher has many features that make it much easier to prepare your publication for printing to commercial printers and copy stores. The following tips will help you prepare your publication for output at a commercial printer or copy shop.
Tip 1: Discussing a project with a commercial printer
Reach out to a commercial printer before and during development to save time and money later.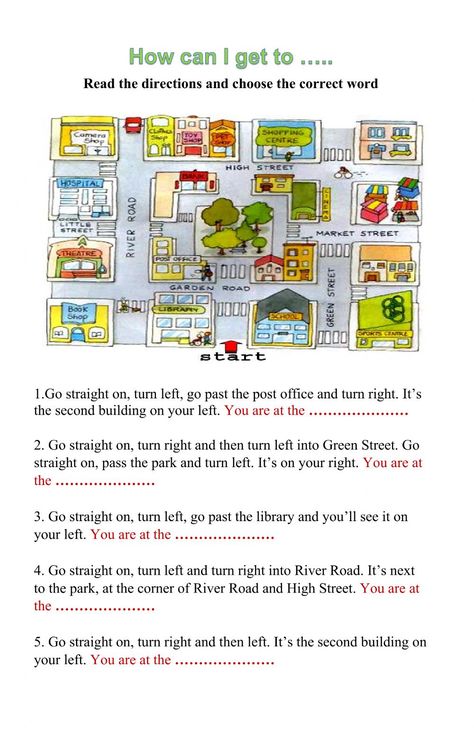 Before starting a project, describe the project and goals, and review the printer's requirements.
Discuss the following before creating a publication:
-
Ask if the Publisher printer accepts files. If you can't find a commercial printer, you can ask about other ways to print your publication. Most commercial printers accept PostScript PDF files and provide instructions for creating these files from the publication.
-
Tell the printer about the project's printing requirements, such as quantity, quality, paper, paper size, recommended color model, binding, folding, cropping, budget, file size limits, and deadlines. Always ask if the printer has the right items in stock.
-
Tell the printer if the publication will include scanned drawings and, if so, whether you will scan them yourself or with a commercial printer or service.
-
Ask if there will be any prepress tasks, such as intercepting and deleting pages.
-
Ask for any recommendations that can save money.
Tip 2: Choose your color model early
Before you spend a lot of time designing your publication, decide if you want to print your publication in color. If you've printed your publication to a high quality digital color printer, you don't have to worry about color. Digital color printers accurately reproduce millions of colors. If you are planning to print your publication at offset presses, you have several color model options.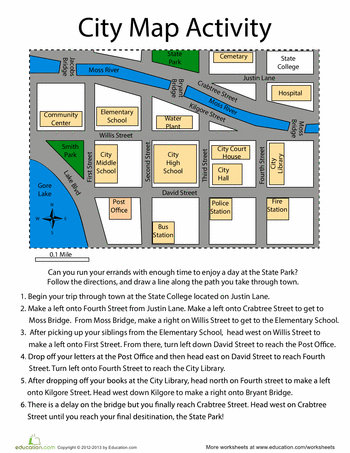
Offset printing requires a professional push operator to set up and start a print job. Typically, each ink required to print a publication requires more setup for the operator and adds to the cost. The required number of branches depends on the color model.
When setting up color printing for a publication, you can select one of the following color models:
Any color (RGB)
When printing with a digital color printer (such as a color desktop printer), the RGB (red, green, blue) color model is used. When printing multiple copies, this is the least expensive color model to print. RGB colors have the highest degree of variability of any color model, making it difficult to match colors between print jobs.
Single color
When printing in one color, all content in the publication is printed as shades of a single pen, usually black.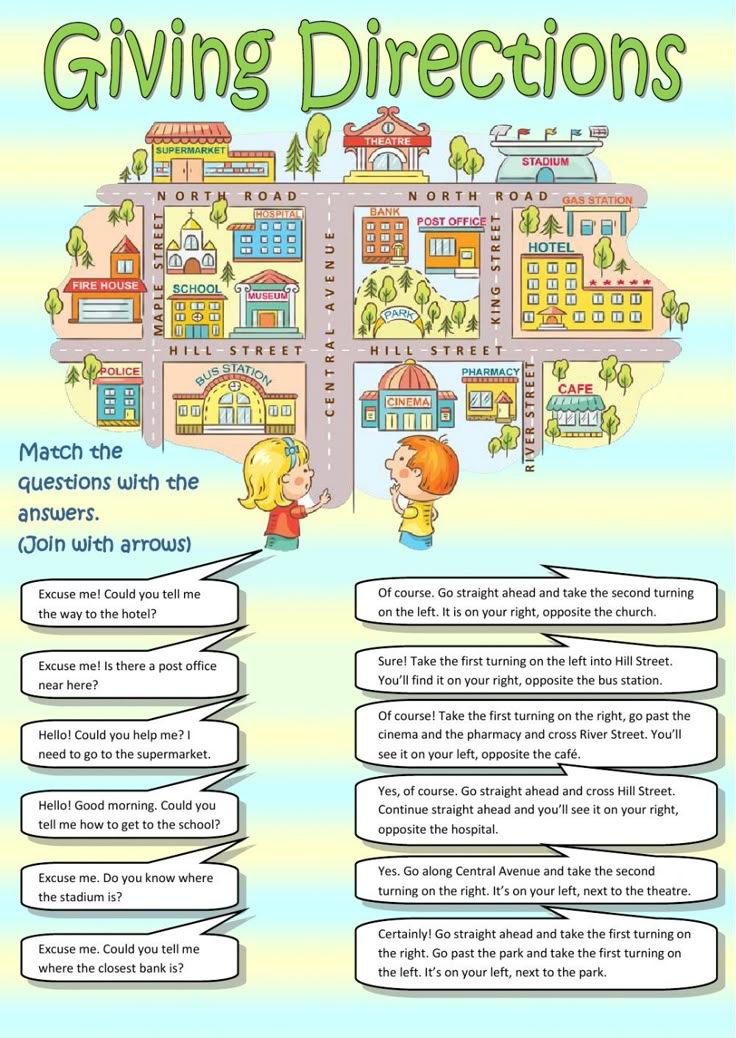 This is the least costly color model to print when offset is pressed, as it requires only one ink input.
Spot colors
When printing with spot color, all publication content is printed as a tint of one handwriting (usually black) and a tint of one complementary color, a spot color that is typically used as an accent color. Publisher uses FUNCTION® INSTRUCTION colors for jobs with spot colors.
This color model requires a minimum of two ink patches and may increase the cost of printing when offset is pressed with each ink added.
Note: In some cases, printing spot colors can be more expensive than using process colors. As a rule, this deals with short-term processing of jobs.
Process colors
If you use this color model, the publication is printed in full color by combining various percentages of the cyan, magenta, yellow, and black process color ink, which are typically abbreviated to CMYK (Cyan, Magenta, Yellow, Key).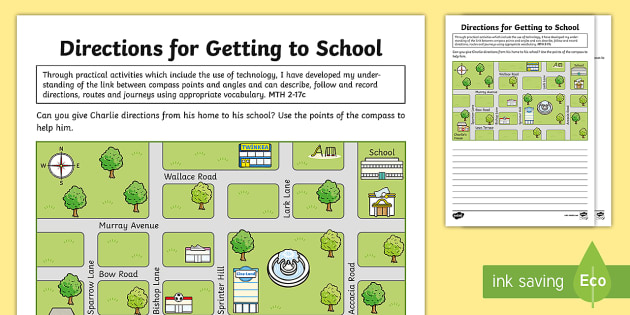 While these four colors can be combined to give you an almost complete range of colors, you may not be able to get some colors. For example, the CMYK color model cannot produce colors or highly saturated colors.
Printing a process color always requires setting the pressure with four CMYK ink patches. It also requires the skill of a press operator to build the impression of one ink snippet with others, which is called registration. These requirements make process color printing more expensive than spot printing.
Processing and spot colors
This color model is the most expensive to print because it combines process color printing (four forks) with one or more spot colors. This color model is used only when both a full color, a highly saturated color, or a color color that cannot be created with CMYK is required.
Color selection
When you select a color model in Publisher, the color picker only displays colors that are available in the color model you selected. For example, if the color model is set to Single Color, you can only select line, fill, and text colors that can be created with a single ink color. When the color model is set to Spot Colors, you can only select line, fill, and text colors that can be created using Spot Colors.
Tip 3: Make sure your publication pages are the correct size
Before creating a publication, you must decide what size the finished printed publication should be. Contact a commercial printing service.
Once you have determined the page size you want, set it in the Page Options dialog box.
Verify that the page size you selected in the Page Setup dialog box is the correct size at this point. Changing the page size after you start developing a publication is difficult. In addition, your commercial printer will not be able to print your publication to a different page size than you configured.
It is important to note that in page setup and printing, page size and paper size are two different things:
-
Page size always indicates the size of the finished page after truncation.
-
Paper Size always indicates the size of the paper you are printing your publication on before truncation.
In many cases, the paper size must be larger than the page size to allow for bleed and print marks, or to print more than one page per sheet of paper.
If you want to print multiple copies or pages on one sheet of paper to create a booklet, you can easily do so in Publisher. Printing multiple pages on one sheet so that they can be flattened and cut to form a sequence of pages is called inactive.
Tip: For best results, contact a commercial printer before setting up publishing. Your commercial printer may use a third-party program to install publishing.
As a general rule, whether or not you use a heading, you should set the page size to be the final size of the element.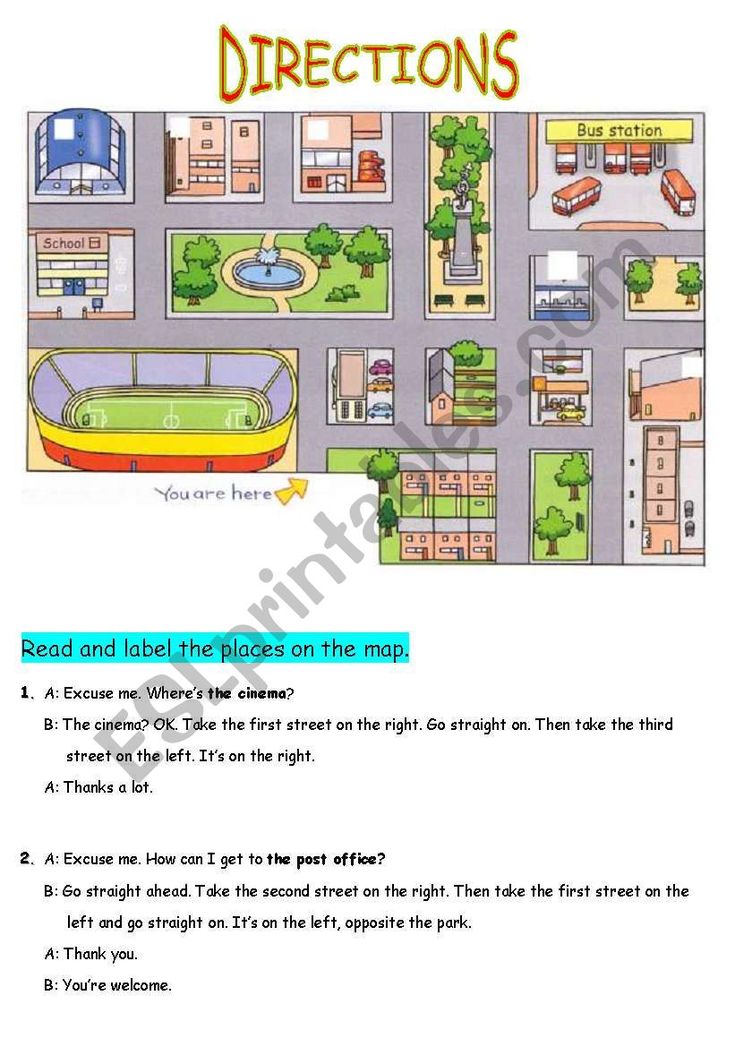
-
Business card, index and postcard sizes If you want to print multiple small items, such as business cards, on a single letter-sized sheet (8.5" x 11"), set the publication page size as card size (2" x 3.5" for business cards) , not the size of the paper they will be printed on. The Page Setup dialog box lets you set the number of copies to print per sheet.
Procedure
-
On the Page Page Builder tab, click the dialog box launcher in the Page Setup group.
- In the Page Setup dialog box , under Layout Type, select Multiple Pages Per Sheet or another suitable option.
-
In the " Options" section, enter the desired values in the fields "Side margin ", " Top margin ", " Horizontal gap" and "Vertical gap ".
-
Press button OK .
Depending on the selected paper size and the margin values entered, Publisher fits any number of copies of the item on the page. The Publish window still shows only one copy, but when you print a Publisher publication, there are multiple copies on the same sheet of paper.
-
-
Folded booklet sizes If your publication is a single sheet of paper that will be folded one or more times, such as a multi-fold booklet or postcard, the page size should match the finished page size before folding. You should not treat each panel of the booklet as a separate page. For example, if your publication is a three-folder booklet that you will be printing on letter-sized paper, click page size Letter in the Page Setup dialog box.
-
Booklet Sizes If the publication is a brochure with multiple folded pages (such as a catalog or magazine), the page size must match the size of one page after the folded section. For example, if your publication's page size is 5.5 inches x 8.5 inches, you can print these pages side by side on both sides of a single-letter piece of paper.
 The booklet printing feature in Publisher arranges pages so that when you combine and fold printed sheets, the pages appear in the correct order.
 For booklet setup, see Customizing and Printing a Letter Size Booklet or Bulletin.
-
Complex assemblies Some may include a large number of pages printed on one sheet, which are then folded multiple times and cut off on three sides to create a group of sequentially numbered pages. This can only be done using a third party program.
Tip 4: Permission to obtain output
If there are elements in the publication that you want to print on the page border, set them as brushes. The brush is where the element extends the publishing page. The publication is printed to a paper size larger than the finished page, and then cut off.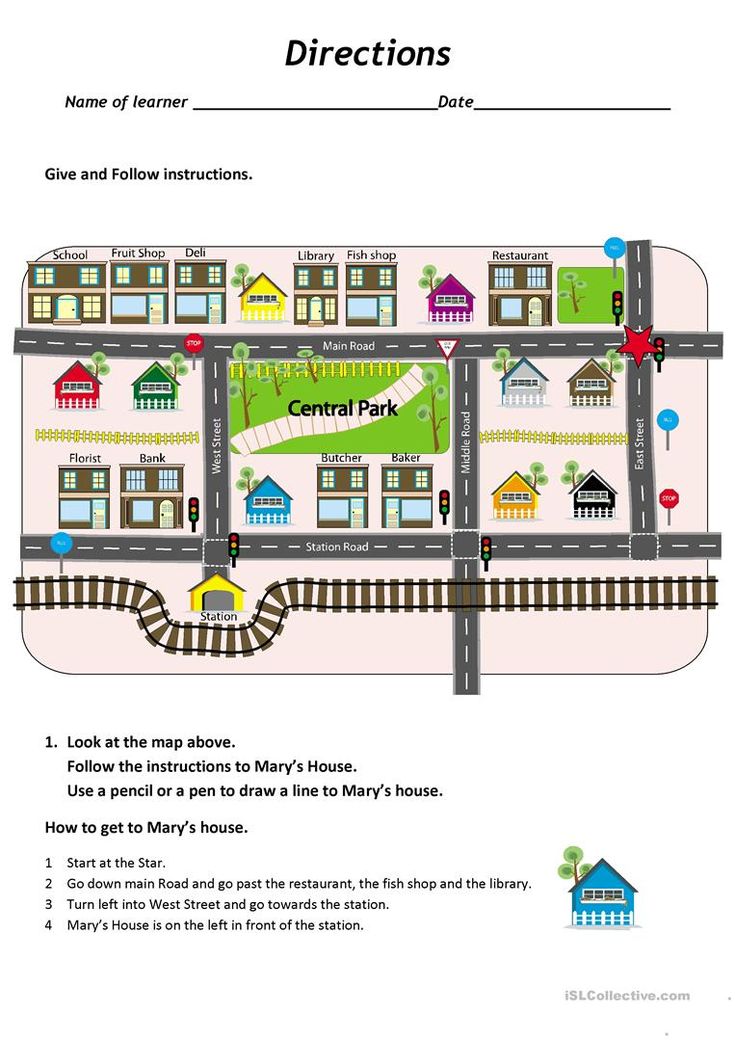 Problems are necessary because most printing devices, including offset presses, cannot print to the edge of the paper, and paper cutting can leave thin, white, non-printing edges.
To create a brush in Publisher, enlarge the elements you want to remove so that they extend from the edge of the page by at least 0.125 inches.
If the element is an AutoShape created in Publisher, it can be easily stretched. However, if the shape is a drawing, you need to be more careful not to get the drawing out of proportion or lose the part of the drawing that you want to keep when the page is truncated.
Tip 5: Avoid artificial font styles
Fonts are usually designed with different fonts to represent font variations. For example, the Times New Roman font actually has four fonts:
-
Times New Roman
-
Times New Roman Bold
-
Times New Roman Italic
-
Times New Roman Bold Italic
To make it easier to use variations, when you apply bold or italic formatting to text in Publisher, Microsoft Windows applies the appropriate font, if available. For example, if you select some text in Times New Roman and click Bold on the Formatting toolbar, Windows will replace the Times New Roman Bold font.
Many fonts do not have separate fonts for representing bold and italic. When you apply bold or italic formatting to these fonts, Windows creates an artificial version of the font in that style. For example, the Font Sans MS font does not have an italic font version.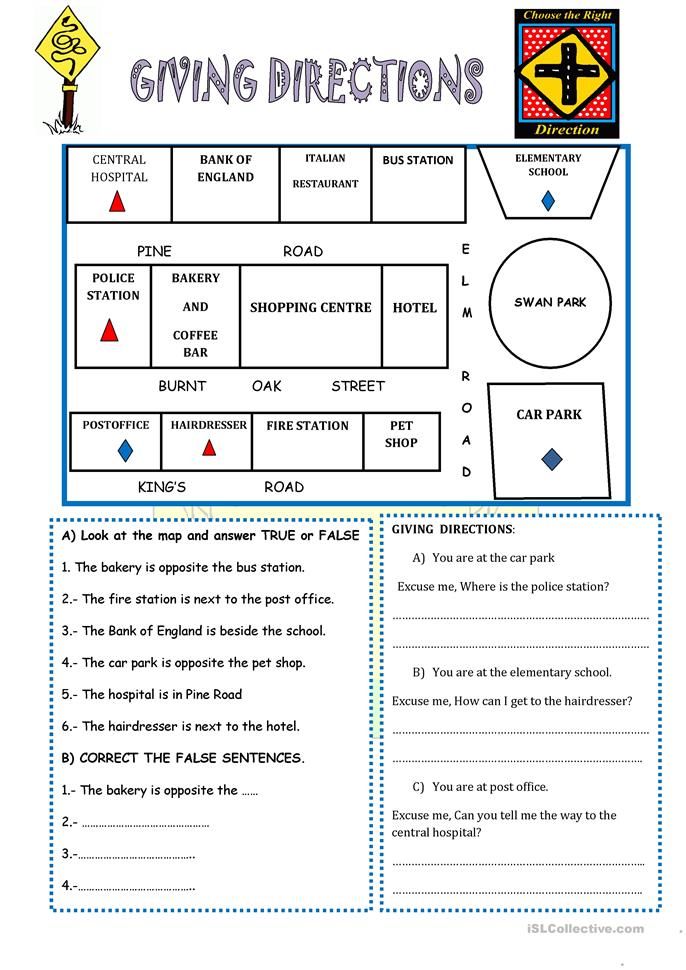 When you apply italic formatting to text in the "Sans MS" Application, Windows makes the text italic by separating the characters.
Most desktop printers print faux font styles as expected, but high performance prints such as image sets usually do not print faux fonts properly. Make sure you don't have artificial font styles in your publication when giving it to a commercial printer.
Check the individual fonts you want to print
To make sure you don't have artificial font styles, you need to know what fonts you use and what options are available as individual fonts. To see which fonts were used in a publication:
To see which font style options are available as individual fonts, follow these steps.
-
From menu Start select Run .
-
In the Run dialog box, in the Open box, enter fonts and click OK .
The Fonts window opens and displays a list of all fonts and font variants installed on the computer.
-
Make sure the fonts you use in your publication have separate fonts available for the styles you want to use.
If a font is specified with only one option, separate fonts are not available for bold, italic, or italic formatting. Most fonts that only have one font available are decorative fonts and are not meant to be used in other variations.
Tip 6: Avoid using shades for small text
If colored text has a small font size, use colors that are solid spot colors or colors that can be combined with process solid colors.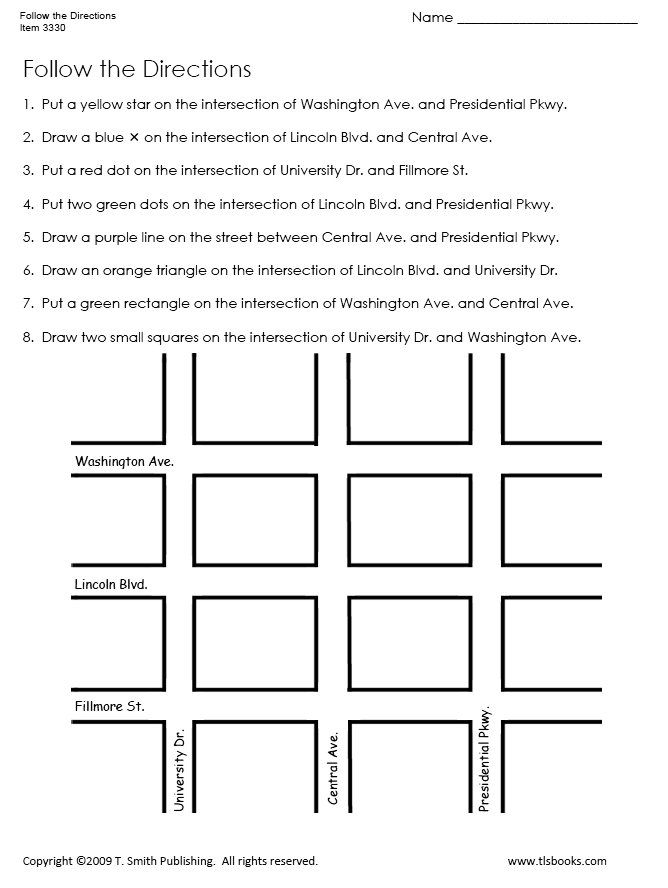 Avoid using a color cast.
Publisher prints shades as a screen or ink solid color percentage. When viewed as a dot, the screen is displayed as dots. For example, 50 percent green prints as a 50 percent solid green handwriting screen.
If the text outline has a small font size, then the dots on the screen may not be enough to clearly determine the shape of the characters. The resulting text is blurry or replaced and difficult to read. If the tint is a process color (using multiple patches), the fork registration may not be properly aligned, which can result in fuzzy edges being added to the text.
If you want to color text in small font sizes, make sure you use colors that will print as solids, not shades. Below are some possible color options.
-
Black
-
White
-
Blue
-
Magenta
-
Yellow
-
Red (100 percent magenta, 100 percent yellow)
-
Green (100 percent blue, 100 percent yellow)
-
Blue (100 percent blue, 100 percent red)
-
100 percent shade of any spot color
Note: For text with a large font size (approximately 18 dots or more), shading is not a problem. Don't forget to discuss the fonts you want to display on a commercial printer.
Tip 7: Appropriate size for digital photos and scanned images
Graphs created by a drawing program, a scanning program, or a digital camera consist of a grid with other colored squares called pixels. The more pixels a picture has, the more detailed information it shows.
Image resolution is expressed in pixels per inch (ppi). Each image has a finite number of pixels. Zooming in on the picture reduces the resolution (less than PPI). Decreasing the picture scale increases the resolution (more PPI).
If the picture resolution is too low, it will print more blocky. If the image resolution is too high, the file size of the publication becomes unnecessary and it takes longer to open, edit, and print. Pictures with more than 1000 PPI may not be printed.
If the picture resolution is larger than the printer resolution (for example, an 800 pixel image on a 300 pixel printer), the printer takes longer to process the image data without displaying more information in the printout. Try matching the picture resolution with the printer resolution.
Color graphics that you plan to print on a commercial printer must be between 200 and 300 pixels. Images can be higher resolution (up to 800 pixels ppi), but they must not be lower resolution.
Note: Sometimes, instead of PPI, you can see the resolution of the picture, expressed in dots per inch (dpi). These terms are interchangeable.
Effective resolution
An image contains the same amount of information whether it is scaled larger or smaller in the publication. If you want more information to be shown when you zoom in on an image, you need to start with a picture with a more effective resolution.
Each image in a publication has an effective resolution that takes into account the image's original resolution and its Publisher scaling effect. For example, a picture with an original resolution of 300 pixels per inch, when enlarged twice, has an actual resolution of 150 pixels per inch.
To find the actual resolution of an image in your publication:
-
On the View tab, check the box next to Graphics Manager.
-
In the task area Graphics Manager, under Picture Selection, click the arrow next to the picture and select Details .
-
In the "Details" window , field " Effective resolution" displays the resolution in dots per inch (dpi).
High resolution pattern reduction
If you only have a few graphics that are too high resolution, you may not have a problem printing them. If you have multiple high-resolution graphics, your publication will print more efficiently if you lower the resolution.
Important: Before you reduce the resolution of a graphic, contact your commercial printing service to find out how.
You can reduce the resolution of one, several, or all pictures in Publisher by compressing them.
-
In Publisher, select one or more pictures that you want to reduce the resolution of, right-click one of them, and select Format drawings" .
- In the Format Picture dialog box, open the Picture tab.
-
Press button Compress .
-
In the Compress Pictures dialog box, in section Weekend target data" press the button " Commercial printing" .
-
Under Apply compression options , specify whether to apply compression to all or only selected pictures, and then click OK .
-
If a message appears asking you to optimize patterns, press the 9 button0141 "Yes" .
A 300-ppi version of the same picture or pattern replaces the original high-resolution image or pictures.
Tip 8: Use related drawings
When you insert pictures into your publication, you can embed them in your publication or link them to picture files. Inserting pictures into a publication as links reduces the size of the publication and allows the printer to edit any of the pictures individually or manage colors for all of them in one batch.
When inserting linked pictures, be sure to transfer the picture files with your publication to a commercial printer. If you use the Pack and Go Wizard to prepare your publication for commercial printing, the associated graphics will be included in the packaged file.
Delivery of a publication with linked pictures is especially important when using encapsulated PostScript (EPS) graphics because you cannot save a picture from Publisher in EPS format.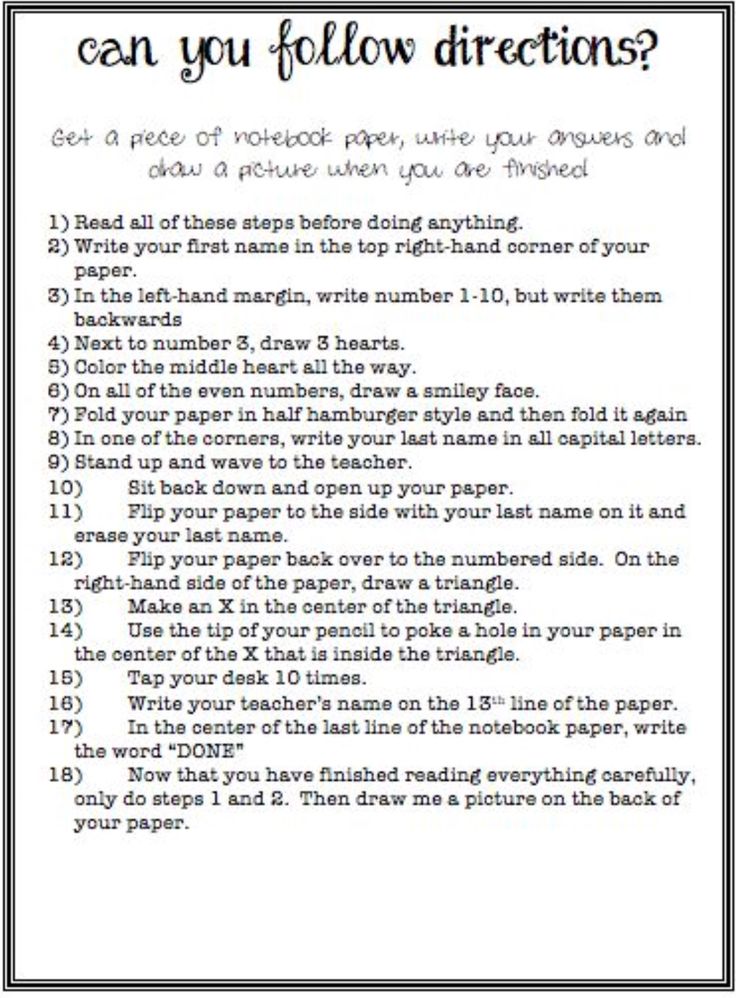 An EPS image is available for a commercial printer only if provided as a separate linked file.
To insert a picture as a link, do the following:
-
In menu Insert , move the cursor over the field Picture and select the option From file .
-
In the Insert Picture dialog box, navigate to the desired picture and click it.
-
Click the arrow next to the button Insert , then select Link to file .
Tip 9: Prepare the publication file using the Pack and Go Wizard
The Pack and Go Wizard packs the publication and its associated files into a single compressed file that can be taken to a commercial printer.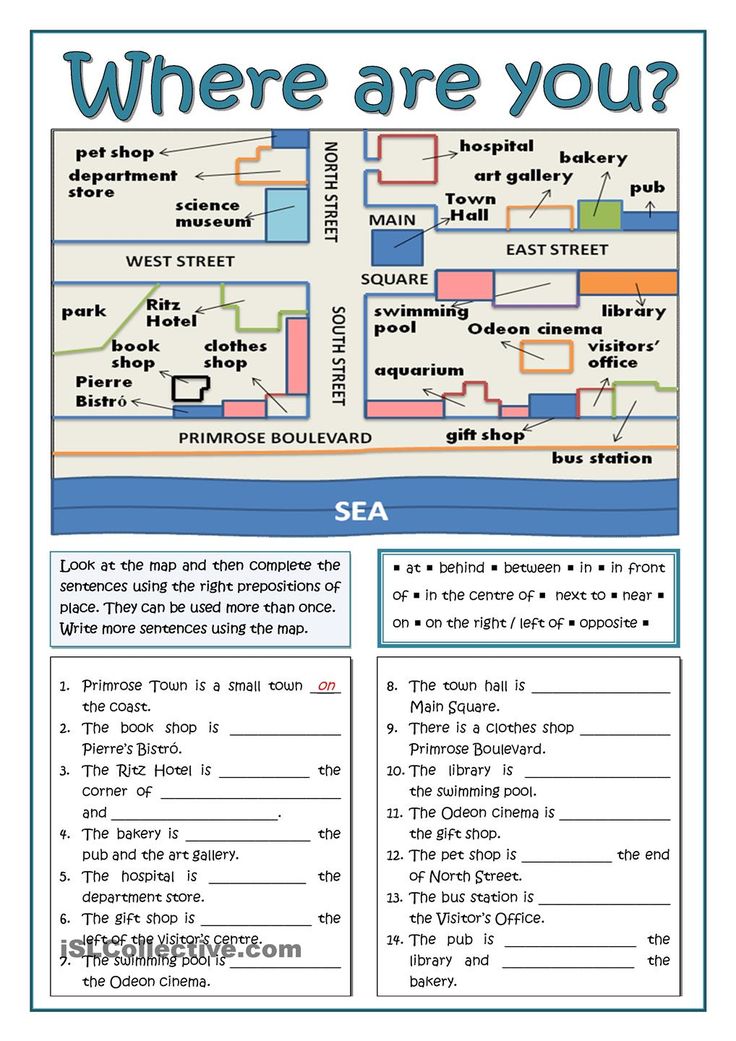 When you use the Pack and Go Wizard, Publisher does the following:
-
Saves a copy of the file and embeds TrueType fonts that grant permission to embed.
-
Creates a compressed archive file that includes the publication and all related graphics.
-
Creates a PDF that the printer can use.
Note: You can only save a PDF or XPS file from the 2007 Microsoft Office system after installing the add-in. For more information, see Save or convert to PDF or XPS.
-
Copies the packed file to the selected drive.
Learn more

