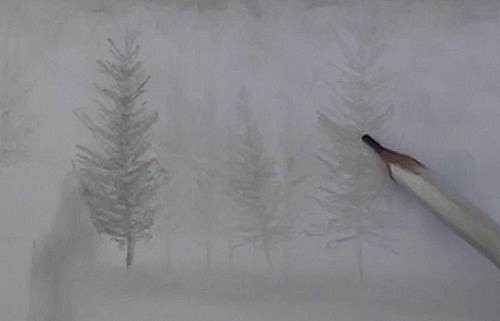
How to draw a snow storm
Easy How to Draw a Snowy City Tutorial Video and Coloring Page
28 Easy Winter Drawing Ideas and Winter Coloring Pages | 2nd Grade | 3rd Grade | 4th Grade | 5th Grade | Painting
Below you’ll find an easy step-by-step tutorial for how to draw a Snowy City Tutorial Video and a Snowy City Coloring Page. The swirly sky is kind of a nod to Van Gogh’s Starry Night.
Jump to Tutorial
Go to Video
Coloring Page
Snowy City Tutorial Video
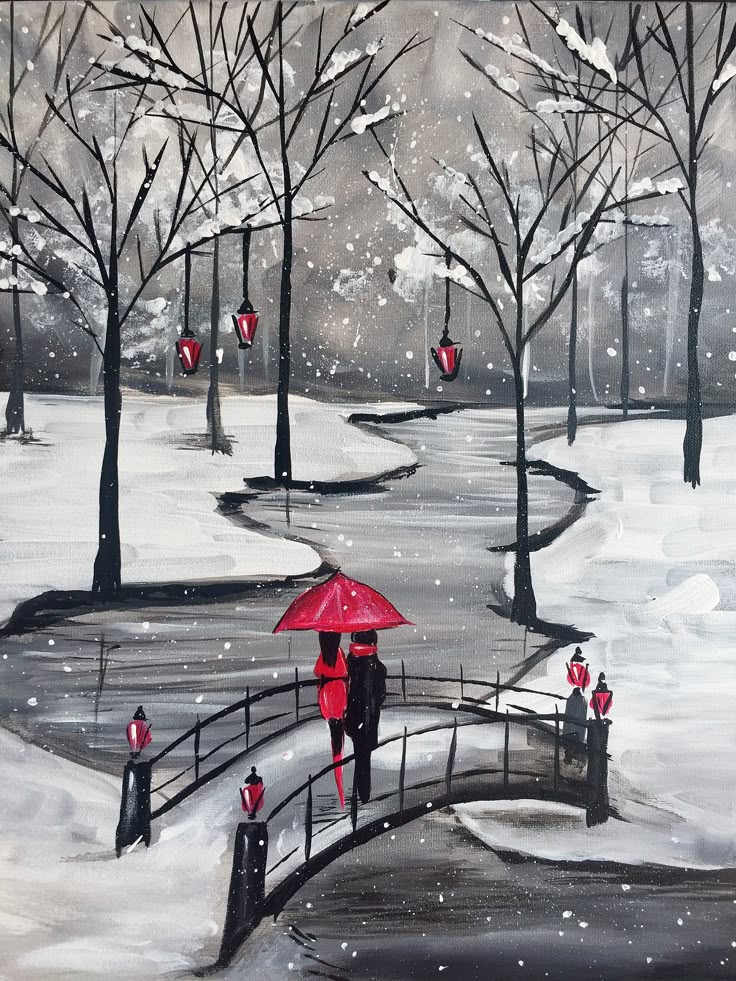
The best painting projects often come from some of the simplest of drawing projects. This snowy city sky is a series of buildings, with snow-topped roofs, sitting below a swirly sky. Easy to draw, and thus easy to paint.
The extra fun little twist to this painting is that the swirls in the sky, which are kind of “Starry Night” looking, are traced again with more blue paint after the first layer is dry. The extra paint creates a deeper layer of blue and makes those swirls look all the more mesmerizing.
For maximum results, I recommend using liquid watercolor paint on real watercolor paper. Years of painting with students taught me that it was the only way to get that really pretty textured color that watercolors are famous for.
Use the Button below to download a PDF Tutorial
How to Draw a Snowy City PDF
Save me to your Pinterest Board!
Snowy City Coloring Page
Open the Snowy City Coloring Page
Materials for Snowy City Drawing
- Drawing Paper. This is the good stuff you can buy in bulk for a good price.
- Pencils. Don’t waste your money on the cheapest brand. These make nice dark lines.
- Black Marker. A permanent marker will give you a nice dark black color.
- Oil Pastels. This is the brand I have used for years on all my murals. The rich color just glides on the paper.
- Note: All of the above are Amazon affiliate links.
Step by Step Directions for Snowy City
Time needed: 1 hour.
Draw and Paint a Snowy Winter Night
- Draw a snow base line.
- Draw three large buildings with snow tops.
- Add smaller buildings on the left.
- Add smaller buildings on the right.
- Fill the buildings with windows.
- Start the large swirls in the sky.
- Continue the swirls in the background.

- Trace with a marker and paint the buildings.
- Paint the sky. Add another paint line over the swirls.
Splatter white tempera paint when dry.
Student Art Gallery
More Winter Drawing Projects
Post Tags: #QR Code
Similar Posts
Make a Snowstorm in a Jar | Snowstorm in a Jar Science Experiment
SHARE THIS:
While Mother Nature is creating flurries on the other side of your windows, you can make a storm of your own — right at your kitchen table. Gather kids of all ages, and generate a fizzy storm in a jar using household ingredients. Here is everything you need to know about this perfect snow day science experiment.
Materials
- Water (about 1 cup)
- Baby oil
- Glitter
- Alka-Seltzer
- White paint
- Blue food coloring (optional)
- Mason jar
- Stir stick
Instructions
1. Fill your jar about three-fourths full with baby oil. In a separate bowl, blend water and a few tablespoons of white paint.
2.Add as much glitter and blue food coloring to the oil as you’d like, and then top off the jar with your water and paint mixture.
3. Drop your Alka-Seltzer tablet into the jar, and take a step back.
The Science Behind This Experiment
This experiment works for a few reasons. Because oil is less dense than water, the water will naturally sink to the bottom of the jar. When the Alka-Seltzer is dropped into the jar, its interaction with the water creates pressure in an upward direction, and the oil pushes it back down. This pressure back and forth is part of what creates the snowstorm. The other element is the interaction between water and sodium bicarbonate in the Alka-Seltzer, which generates carbon dioxide gas. The combination of these factors creates a blizzard every time!
Whether the temperature is plummeting outdoors or you just want to bring a bit of winter fun to a summer day, your snowstorm in a jar is a foolproof way to get kids interested in science. With under $10 in ingredients, a whimsical lesson plan awaits!
SHARE THIS:
Related Posts
Inspire Discovery with 39 Awesome Science Toys for Kids
Is your child searching for answers about the world around them? These fun science toys for kids will help inspire them on their quest for knowledge.
Sugar Water Density Experiment
What happens when you combine blue, green, yellow, and red water in a single glass? Brown, right? Not necessarily! Make this mesmerizing rainbow in a glass by fiddling around with water density.
Saturn
Saturn, the second-largest planet in the solar system, has been amazing and inspiring astronomers since the discovery of its rings in the 1600s.
MORE FROM OUR BLOG
Snow lions. From concept to completed work.
Alex Rhino
About me: My name is Alexander Voroshev. Nickname Alex Rhino. Nick is Archangel. I am engaged in 3d graphics, concept art and CG in general in any of its manifestations :) My website on the Internet is www.alexrhino.com
In this tutorial I will explain and show the creation of Snow Lions from sketch to completion. Of course, there are no finished works, but you can get closer to a very, very decent result so that you are not ashamed to upload it to the gallery;)
I will tell you what tools and techniques to use, what points to pay attention to, and how to bring the work to the final stage. You will see how the finished work can differ from the sketch and understand why this happens (may happen).
Coming up with the drawing, I decided to depict a pride of snow lions: a female is seriously wounded in a battle and a lion and two lion cubs are standing around her). The snow lion is a creature invented by me from a symbiosis of a polar bear and a lion.
First, create a new empty file of size 3200 by 1800 (or more. It all depends on the performance of your computer).
So let's start with a sketch. (Studying the lesson, you can not blindly copy the work, but draw something of your own within the framework of this style. The principles of work will be relevant for drawing most works in this style and setting.).
First, sketch out a sketch of the composition in general terms. You can just roughly throw in the locations of creatures, environments, etc. Then lighten the layer (press ctrl + U and move the lightness slider to the right) and create a new layer above the old one ( ctrl + shift + N ). On a new layer, draw the sketch in a little more detail, but don't go too deep. They will not be needed at this stage and in general it will be a waste of time. Details will be drawn later.
Now let's move on to working with color.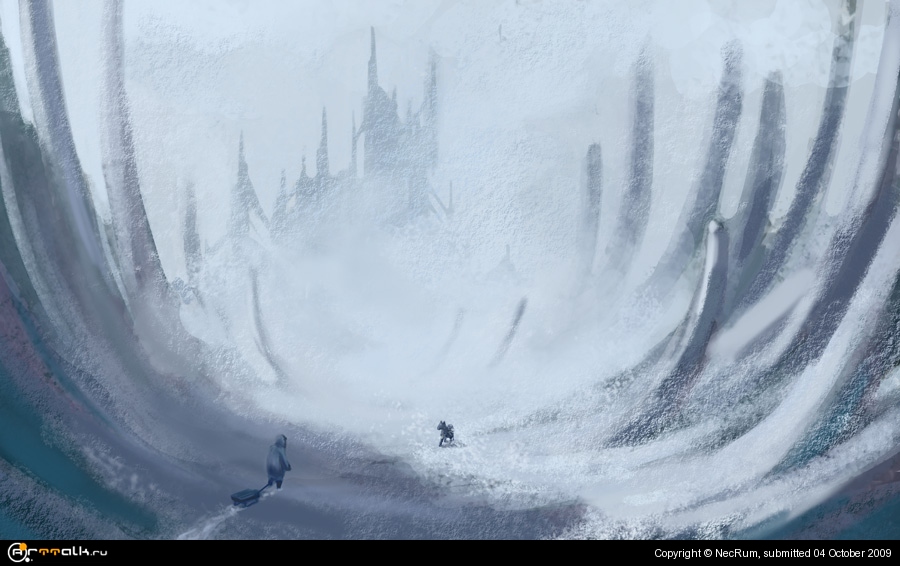 Create a new layer below the sketch layer. Name it Color . For the thumbnail, set the Opacity to around 60%. (don't paint on the Background layer!)
Select a soft-edged brush and roughly paint on the overall color scheme of the future work. Do not try to convey the color as it will appear in the final work, but do not skimp. You should get something like this:
Now lock the sketch layer. And create a new empty layer below it. Name it Mask 1. Let me remind you that you should have the sketch layer at the very top. Choose a hard-edged brush and paint a mask for the left lion cub. The opacity of the brush should be 100%.
Now merge the Color and Background layers by selecting the Color layer and pressing Ctrl + E . Now left click on the Mask 1 layer while holding Ctrl . And then when the selection appears press Ctrl + J to create a new layer from the selection. Hide the Mask 1 layer.
Name the layer Small 1. Press Ctrl + Shift + U to change the layer to grayscale. At this stage, we do not need color. Draw with a brush with hard edges the details of the muzzle. Then go over the layer with a regular round brush with an Opacity of 80, painting the fur of a lion cub. At this stage, you do not need to meticulously draw each hair. Now we are only interested in the direction of the wool, ( Note the hypothetical light source and wind direction, considering where the wool will be folded or flattened and how the chiaroscuro will be positioned ).
In my case, the wind blows from right to left and the hair of a young lion cub on the left will not bend, but rather will be pressed to the body, except for thick hair on the shoulder blades, on the cheeks, etc.
Having finished drawing the wool pattern, let's move on to its drawing. Select the Smudge tool (finger) and set its pressure to 80%. Then select the brush shown in the image below. This is a standard brush.
And start "smoothing" the coat, now taking into account its direction.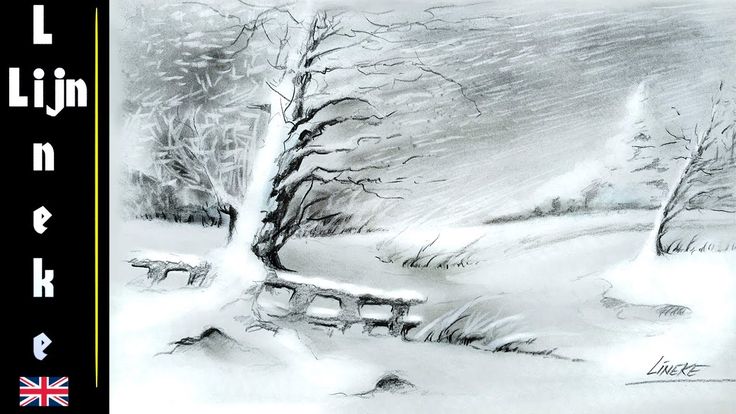 Set the brush size not too small and not too big - 10-11 px . Shown below is the direction in which strokes move with the Smudge tool . Make sure that the wool acquires a more or less realistic shade, and not just “squishy”. Don't drag too long with the brush. Small short strokes will give quite a decent result.
If at this stage you will have large spots with a solid color - add a few small white spots with a regular brush (Brush) size 10-12 px.
Draw the wool on the edges of the object with light movements with your “finger”, so that they are not too sharp and large. (At this point, paint ONLY shadows that appear naturally on the lion cub. Don't paint shadows that other objects might cast!)
When the wool pattern is ready, let's move on to the preliminary dyeing of the lion cub.
To do this, click on the Small 1 layer with the Ctrl key pressed. Then press Ctrl + H to hide the selection. Select the Brush tool. Select a 45 px brush with soft edges. Turn on the brush's Color mode and set the Opacity to 20%. Then color the Small 1 layer with the colors you defined for the lion cub in the Color layer. Use the Eyedropper tool ( I ) and create some color samples in the Swatches palette for convenience. Determine the primary colors and color the lion cub.
Repeat the same manipulations for the second lion cub, as well as for the lying lioness.
Note that the wind is blowing against the coat of the right cub. Don't forget to add fur that goes up on the nape, back, etc.
The pattern of the fur of a lying lioness is a bit more complicated. The diagram shows in which directions to move the Smudge tool when drawing fur. To achieve greater realism, watch a domestic cat or look at photos with animals.
Paint the wounds on the body of the lioness with a brush in Normal mode and immediately in color. Painting it over a gray color in Color mode will not give the best option. For blood, 2 shades #7E0202 and #3E0000 are enough. Smudge them lightly with the Smudge tool to give the effect of blood and hair sticking together, but don't overdo it!
In the end we come to this result:
Here I decided to revise the composition of the picture and removed the male standing behind the lioness. It adds drama to the plot. Lion cubs seem more defenseless.
In any painting, not only the quality of the work is of great importance, but also its emotional perception. You can draw each hair for a long time, but not achieve the desired result, or you can make a few strokes, but create a mood. Keep that in mind ;)
It's time to work on the Background layer. Go to it and draw a snow cover. To do this, use a soft-edged brush with an Opacity of 28%. Mark dark and light places and then create a more or less soft blend between them. You can use grayscale, and then paint with a brush in Color mode. This is both easier and more convenient. And you will not have to suffer, choosing a color. Now the main thing is the relief.
Paint the rocks with a small brush set to 100% Opacity. Choose black color and paint the stone area. Then put a few (3-4) white or gray spots in white and gray. Select the Smudge tool and the brush you used for the fur. Lightly create the texture of the stone. It is not necessary to draw every chip. Just make it look voluminous and embossed.
Smudge the snow and rocks to accentuate the relief and soften the transitions. Tool pressure level - 70-80%.
As a result, we arrive at the following result:
After evaluating the composition, I decided that the drawing is too stretched and includes many details that do not carry any load. Selecting the stones on the right and left with the Polygonal lasso tool, I made copies of them ( Ctrl + J ) and moved the layers with them to the very top. With the layer with the right stone, I partially covered the right lion cub, and placed the sharp stones on the left in the middle of the lioness's tail.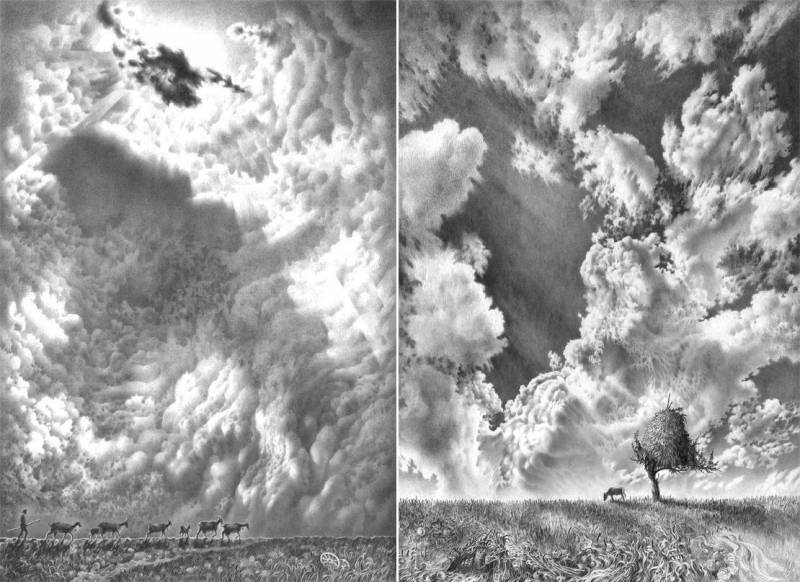 In this way, I managed to reduce the size of the composition and add details to its central part. Crop the excess part of the picture with the Crop tool.
Instead of the mountains outlined in the background, I decided to draw the sky and a snowstorm. Firstly, it visually approximates and limits the main part of the composition, and secondly, it eliminates details and space that do not carry a semantic load.
On top of all layers, create an empty layer (call it Snow) and draw on it the snow lying on the backs of the lions, the snow lying near the paws and stomach, and so on. To do this, you can use standard brushes. Or you can create your own brushes. A good lesson on Photoshop brushes can be found here http://render.ru/books/show_book.php?book_id=482
Your task at this stage of the work is to draw a snow storm on the Snow and Background layers. Vary the size, opacity and shape of the brushes to achieve the best result. Consider the direction of the wind and the shape of the objects (in some places the wool will bunch up, for example, near the paws, on the right side of the tail of the lioness, etc. ).
).
The result should be something like this:
You can add another blank layer and finish the storm if some points do not suit you. There is no limit to perfection!)
Now it's time to merge the layers and process them together. Turn off all guide layers and press Ctrl + Shift + E . The layers will merge into one layer. Now draw the flowing blood on the belly of the lioness and a puddle of blood on the snow in front of her, process the fur with the Smudge tool in the place where the lion cub is leaning on the lioness on the left so that the border is not sharp. In general, gently go over the Smudge tool in all the places that you consider necessary to process.
Then create an empty layer on top and paint snow over the area with the blood and the areas you processed to get rid of the blurry borders that stand out from the mass. Merge the layers again.
With a soft brush set to Color (25%), paint the whole picture, now taking into account the glare from the snow, the light of the sky, etc.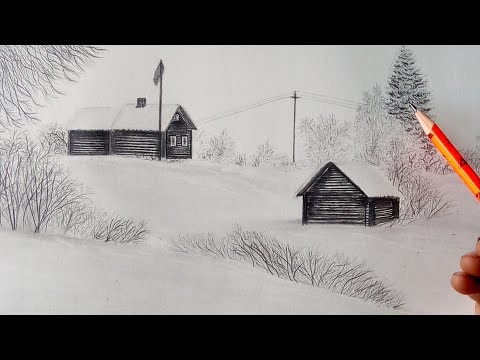
Now there are only a few small operations left to do and the job is done.
First select Image > Adjustments > Variations , darken the image a bit by clicking the Darker button and add a yellow tint by clicking More Yellow .
Press OK.
Select Filters > Artistic > Paint Daubs and set the following options:
This will add some sharpness to the picture. This work is almost completed. It remains only to go through it with the Dodge tool and Burn tool in those places where you need to darken or, conversely, brighten the picture. Set the pressure level to 25-30%
Good luck :)
610 0 850 64
30
2007-04-02
Normal such making off. 4/4 from me. A little more technical stuff. But thanks - there are practically no good makings in Russian.
2007-04-03
I think the finale is too dirty
2007-04-03
Liked the Makingoff. It will surely come in handy for many.
2007-04-03
To be honest, I'm not thrilled. The idea is good but the execution is 3/5.
2007-04-05
what is "Makingoff"?
2007-04-05
at first there was one lion at the top on the sketch, but at the end there was none. What happened?
2007-04-06
"Here I decided to revise the composition of the picture and removed the male standing behind the lioness. This adds drama to the plot." - read carefully, the lesson describes the entire process of creation. And don't just look at the illustrations))
2007-04-07
Archangel, amazingly accurately broken down into stages of creation. I tried to do the same for birds (shadows, wind, etc.) very well done! The same is true for human hair. The same goes for creature textures. If I could vote - 5/5 points!
2007-04-07
one final result should be awarded
2007-04-10
Anyone who is interested, I can send the work (final version) in a higher resolution for more detailed consideration and analysis. And if you have any questions - ask. The technique is not particularly complicated, just someone can think about some points of the tutorial. Write;) [email protected]
2007-04-11
I like...
2007-04-12
cool! Express your admiration in points;)) It is very rare for a master to be so condescending to beginners ... Thanks again for the step-by-step scheduling of the lesson.
2007-04-14
I should have lived in Vorkuta with mine =) and a blizzard would have turned out
2007-04-15
Everything started well. But I leaf through the lesson to the end and there comes a misunderstanding. Why is everything so dirty and scary at the end? Result: 3+\5
2007-04-15
The end result of the lesson is the work of the artist. As you like) You can finish the work in a different way. it's a matter of taste here. In fact, in full size (even in a larger one than here), the work does not look "dirty". I wouldn't call the result dirty at all.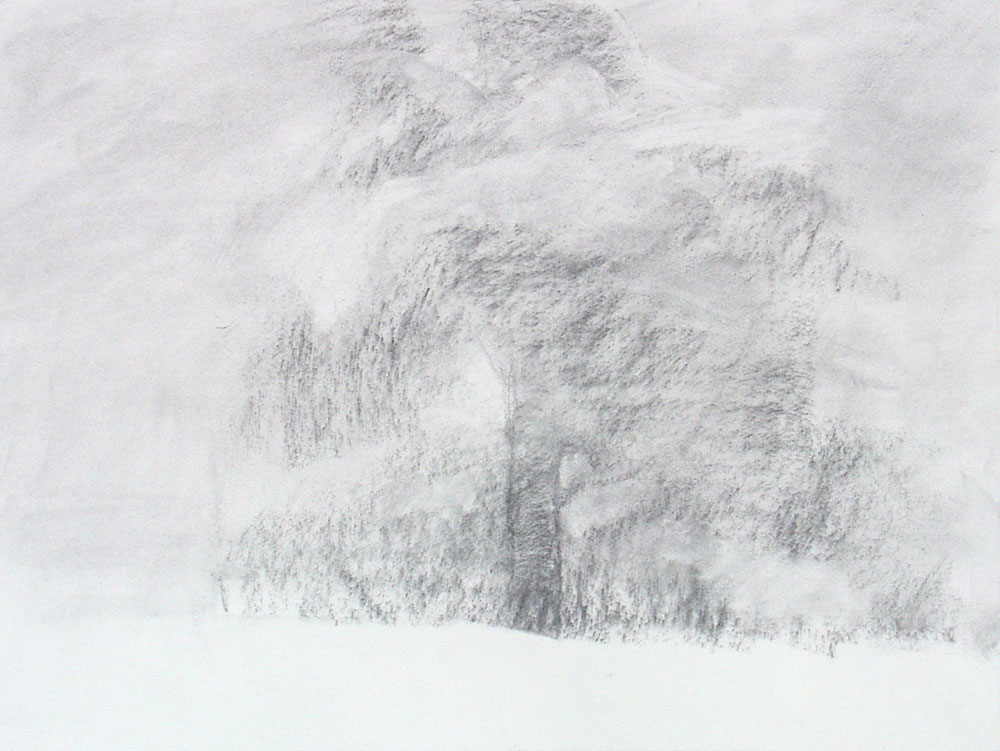 "Clean" would take away some of the drama. But this is my opinion. )
2007-04-15
For comparison, look at the work before and after color correction. "Before" she seems too sunny and joyful. Lacks contrast and some gloom.
2007-04-16
Good lesson. my opinion 4/5 respect Archangel'y
2007-04-17
Such a "cool" lesson. Almost glamour! Everything is just fine (except for two things: a dirty end and little subtlety in the description for the uninitiated in Art)
2007-04-17
For questions of subtleties, the uninitiated can write to the post office or knock on ICQ;)
2007-04-24
many thanks
2007-04-28
Healthy. . sanks I climbed into 3d poushi. .but quite a beginner. . Photoshop I know. .but mostly the usual canetel . . I didn't even think that it was possible to create such a Let's write to 491-712-799 Igor. I generally gather people. .correspond, share experience. .
2007-04-28
although I'm not an expert in the shop, but I liked it very much :) pleasing to the eye what else to say I liked the description style too keep it up
2007-04-28
Thank you all for your support. Wait for the next tutorial. I'll make it more detailed and describe some interesting techniques;)
2007-05-06
Great! 5+5
2007-05-29
healthy . . I need your help very much. . urgently . . there will be time to throw it off. .or go to ICQ. . . pliz
2008-01-30
The description of the lesson is not very good, but the work is a bomb!
2008-12-25
It's more about work stages than a lesson... The lesson should describe in more detail, but here are just ready-made pictures. Well, what the hell, why post something that only a few can repeat here. Yes, and these units know it all themselves. So you're just bragging here. In fact. PS Not ice
2009-11-05
very cool!
How to draw a bird by Jacques Prevert
Jacques Prevert (1900-1977) was born today - the famous French writer, screenwriter, poet, whose creative path began in the 30s of the last century.
Prever - author of voluminous poems, numerous songs, film scripts, poems.
All French pop stars of the 1930s-70s had in their repertoire songs to the words of Prevert. The crowning performance in Edith Piaf's program was Prever's "Dead Leaves".
In 1954, for the same "Dead Leaves" Yves Montand was awarded the "Golden Disc" on the occasion of the sale of the millionth copy of this record performed by him.
The pinnacle of Prever's work is the film based on his script "Children of Paradise", which was recognized by a jury of 600 experts as the best cinematographic work of the century and, among three other films, was declared a world cultural heritage by UNESCO.
Jacques Prévert was a romantic, a reckless vagabond without his corner, a dreamer and a great hard worker. He was not involved in politics. But in himself, in his work, in behavior - in everything, a whole, uncompromising attitude to the life around him was manifested: anti-militarist, anti-clerical, hater of the bourgeoisie, philistine, any bureaucracy. In order not to get into military service, he pretended to be crazy . .. Once, over a glass of Calvados in the Kupol restaurant, Salvador Dali remarked: "Jacques fights against the evil he hates not with bombs, but with firecrackers."
Although Prever's poems are not rhymed, they are structured in such a way that this is not felt, and they are perceived by the reader and listener easily and organically. There are no punctuation marks in his poems. To the question: "Why?", he answered: "I throw out a pile of words about what I want to say, without intending to impose on anyone how they should be read, pronounced. Let everyone do it as he wants - according to his
mood, with your intonation.
A long time ago, while still a schoolboy, I got acquainted with the poetry of this amazing poet at a concert by Vyacheslav Somov, who came to Uzhgorod with a literary program composed of poems by world poets. Two poems by J. Prevert "Beloved for you" and "Paris at night" have become my companions for life and I have been reading these poetic masterpieces / translated by M.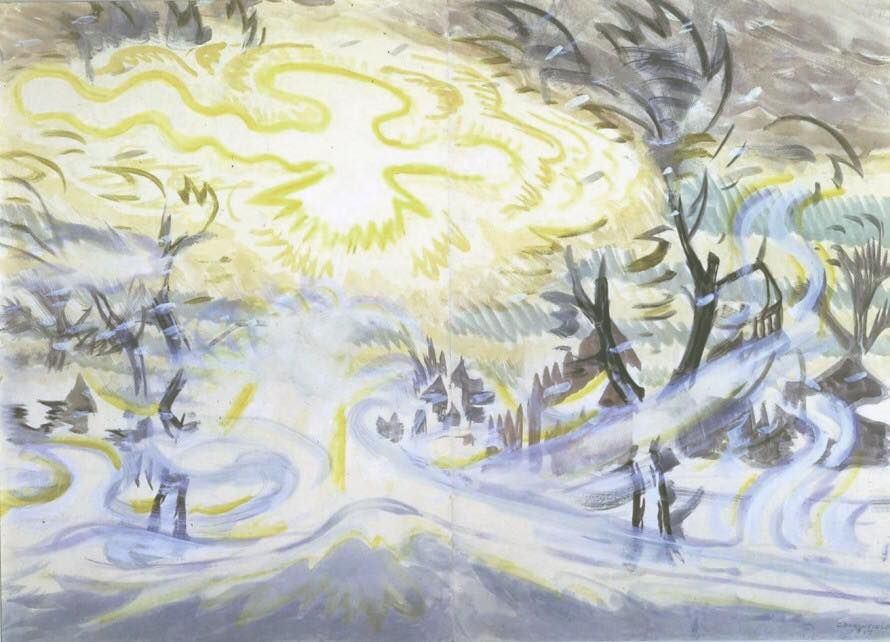 Kudimov / for almost fifty years now.
For you, my love
I went to the market where they sell birds,
And I bought birds
For you,
My love.
I went to the market where they sell flowers,
And I bought flowers
For you,
Beloved.
I went to the market where they sell scrap iron,
And I bought chains,
Heavy chains
For you,
Beloved.
And then I went to the market where slaves are sold,
And I was looking for you,
But I did not find you,
My beloved.
Paris at night
Three matches lit at night one after the other:
The first - to see your whole face,
The second - to see your eyes,
The last - to see your lips.
And to remember all this, hugging you later,
Impenetrable darkness all around.
Of course, I also had other works by J. Prevert in my programs, such as "Hungry Morning", "Laundry", "Turn off the Light", "Man and Woman" and many, many very good poems, but his most, most I still think "HOW TO DRAW A BIRD"
HOW TO DRAW A BIRD
First draw a cage
with the door wide open,
then draw something
nice and simple,
something very nice
and very necessary
for the bird;
then
in a garden or in a grove
lean a canvas against a tree,
hide behind this tree,
do not move
and be silent.