Is playdough safe for 2 year olds
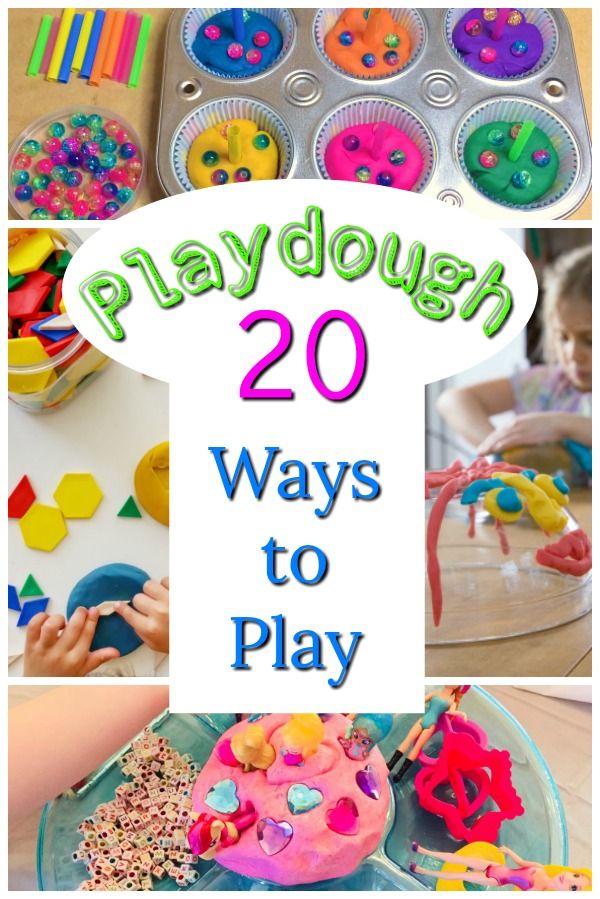
What to do with Play-Doh?
The age appropriateness for Play-Doh varies greatly depending on who you talk to, but my 16 month old LOVES it!!
Reasons to wait until your child is 2+ years old to play with Play-Doh:
- Oral Fixation decreases, in turn choking risk decreases
- A child's level of understanding pretend play and more complex verbal commands increases.
- A 2+ year old is at a more appropriate developmental stage to play independently with play-doh vs. needing a parent's assistance to lead play time
- The word "NO" will probably be more easily understood :)
Reasons to give Play-doh a try with your Pre-Toddler:
- Your bored of doing the same thing
- You don't mind to sit and play with your child as long as you don't have to look at the same old blocks for one more second
- You like to see how your child will react and play with the things you enjoyed as a child
**Toddler and Pre-Toddlers alike need CONSTANT SUPERVISION secondary to the choking hazard and potential poisoning. The potential may be small, but it still exists, so watch your children at all times. B put the Play-Doh in his mouth several times, but after I told him he had a choice to keep putting it in his mouth and we would have to stop playing with it vs. keeping it out of his mouth and we could continue playing with it he stopped. However, he knows if he chooses poorly that he WILL lose the Play-doh. No second chances from this momma.**
Would I have tried Play-Doh play with my 12 or 13 month old (and even 14 month old).........probably not. At 12 and 13 months, pots, pans, spoons, raisins, cheerios, and such are more appropriate for their developmental stage. Plus, they have a heavy oral fixation at this age.
Don't expect a 15 to 18 month old to play independently with Play-Doh unless they have experienced it previously.
Here's a few ideas:
Provide a few utensils to play with, always demonstrating what to do with each one.
Example: I use a plastic knife to show him how to cut the Play-Doh.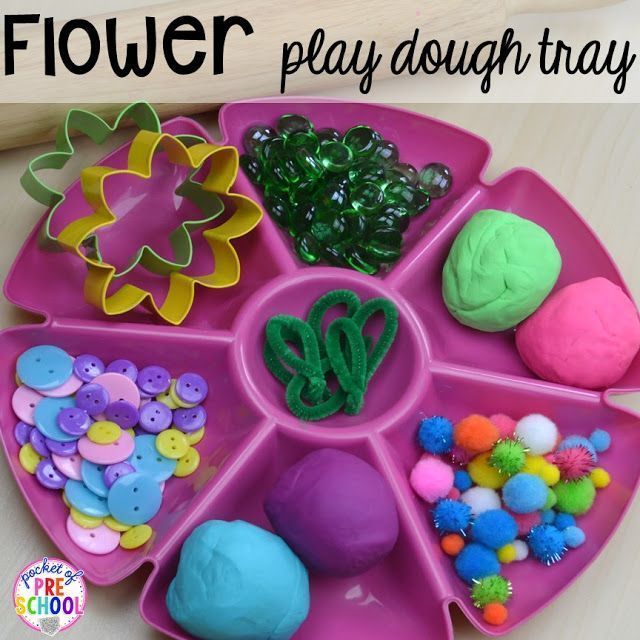
I use a plastic fork to pick up our Play-Doh meat balls or pancakes
I use a straw to make circles on the Play-Doh
I use cookie cutters to make shapes and give them to him to play with
Provide containers to play with.
Example: I roll the Play-Doh up into little balls and provide him with an egg carton. He likes to fill up
the trays.
He likes to place the balls back inside the containers.
I provide a Bundt or tube pan. He likes to fill the center up with Play-Doh balls.
Demonstrate: how to roll the Play-Doh balls, how to tear the Play-Doh apart, how to wrap it around your wrist to make a bracelet, how to count the balls, etc. The possibilities are endless if you just use your imagination.
Do you use Play-Doh with your Pre-Toddler?
What other ideas do you have to make Play-Doh age appropriate?
Pre-Toddler Activity Tip #2: Children love to explore. The more opportunities you give them, the more they will discover and discovery is the catalyst of learning.
View other 12-18 Month Activities:
- Pre-Toddler Activity #1: Activity Box
- Pre-Toddler Activity #2: Alphabet Box
- Pre-Toddler Activity #3: Puzzle Search
- Pre-Toddler Activity #4: Texture Soup
Linking up with I Can Teach My Child
Why and How to introduce Playdough to a toddler
by Alexa
Playdough (or brand name Play-Doh) is a new texture to many toddlers, so playing with this might not come naturally as one might think. Manny, who loves to get messy, was not a fan of touching the playdough at first. Here is how we introduced this fun tool.
Playdough is recommended for kids older than two years old; before then, toddlers tend to put everything in their mouth, and although playdough is toxic-free, it should not be consumed.
One-year-olds might not have the fine motor skills developed yet to use playdough or the creative mind developed to pretend play.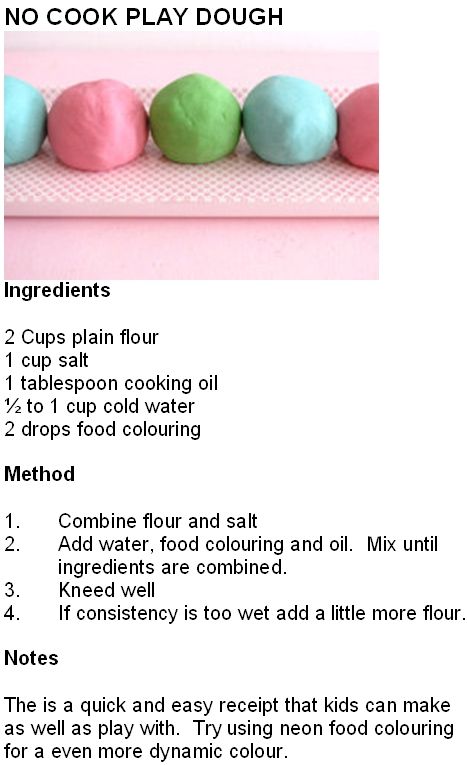 But! There are still lots of things you can do with playdough! I’ll show you!
Work on fine Motor Skills using Playdough
I started making balls for him and showing him how to squish them with my finger. I invited him to do it, but he was not amused. He was more interested in lining them up next to each other – and that was fun – he was playing in his own way.
Making smaller balls and asking your tabby to place each one inside an ice cube tray. One ball per space is a pre-math skill. Maybe I’ll try to do that next time we play.
What can toddlers learn from playdough?
Playdough is used to develop fine motor skills. Many occupational therapies rely on this material in their practice.
Practice ColorsAs part of our pre-K readiness Level 1 program I developed, we are only focusing on primary colors. Red, yellow, blue, and in some cases green. This is why we only made these three colors.
As we played with the playdough, I focused on repeating the name of the color playdough we were using.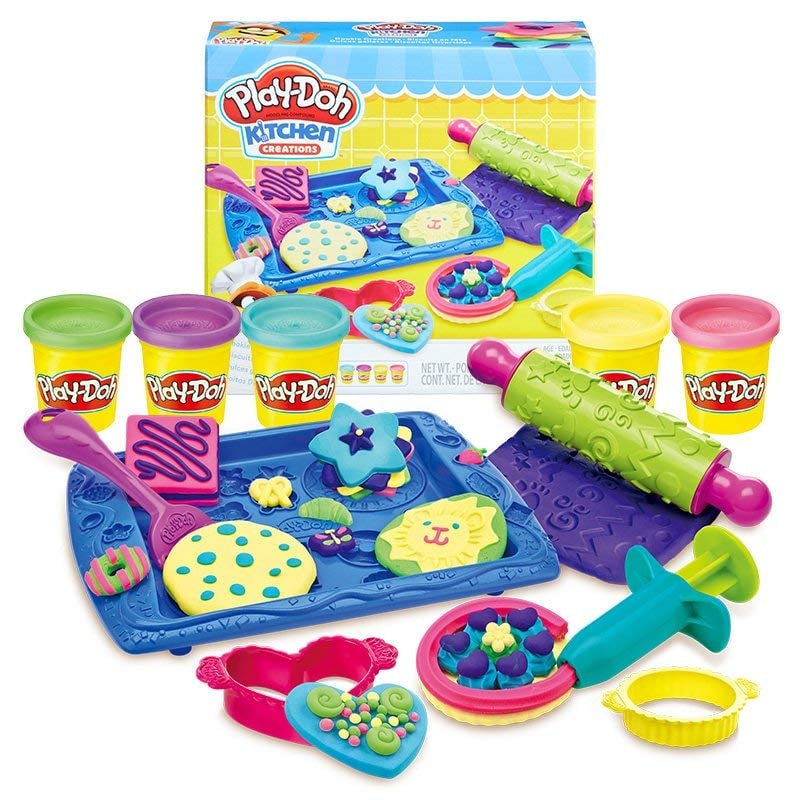 If I made a yellow ball and I would say “yellow” when handed him the ball. When he placed it at the desired place he wanted, I would say “yellow” again.
We haven’t bought a set of playdough tools so we improvised by using a plastic, fork, knife spoon. I made a snake and using a no sharp knife worked on cutting the snake into pieces.
Because my son is still starting to learn how to properly use utensil, practicing with playdough is a great activity to practice.
He is used to eating with a fork, so his immediate reaction was to poke the playdough with the knife.
How to be successful
When playing with playdough for the first time, you have to show your toddler how to manipulate it, what it can do, and how to play with it. Once they get comfortable with it, it can become an independent game.
You can start with simple activities and inviting your toddler to play. “look how I make a ball, can you squeeze it? How does it feel?” Add lots of conversation and questions to this activity.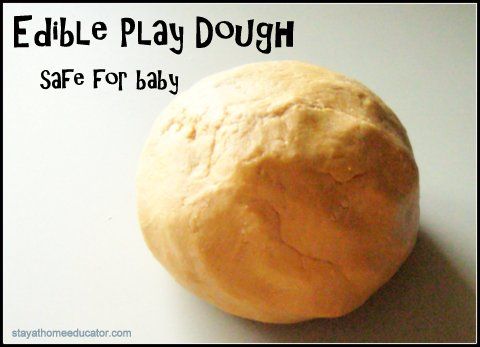
Use Playdough for learning other concepts
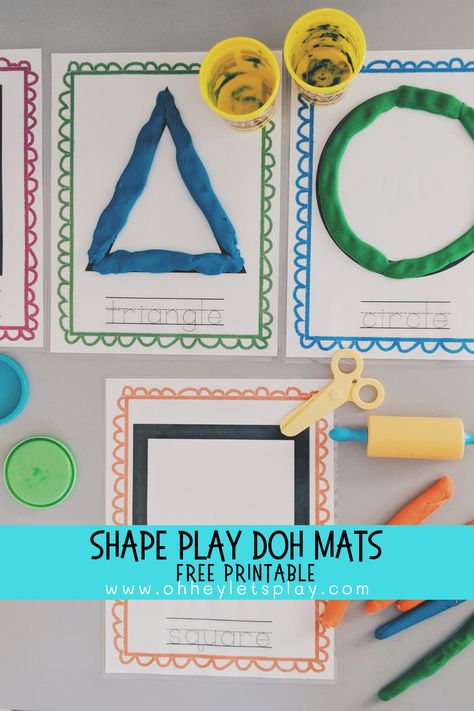
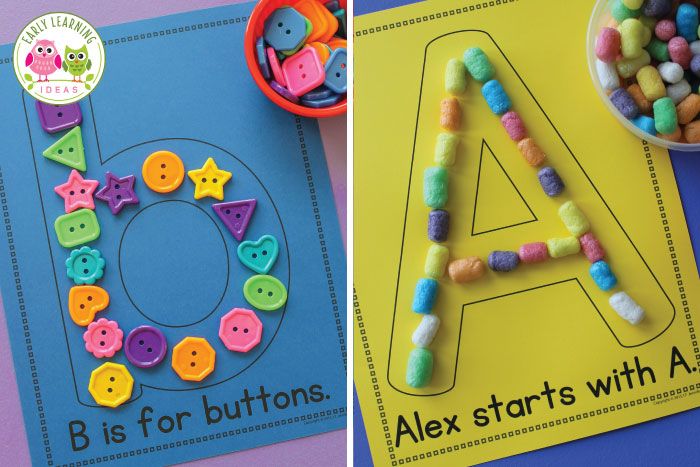
Use playdough mats (there are so many online to download) to teach and practice pre-k subjects. You can work on the numbers, colors, and ABC’s.
40+ Open-Ended Playdough Mats for Learning
You can even add to the challenge of this fun too and create games using playdough, cheerios, and a stick. Can your toddler thread the cheerios through the sticks?
Manny had a hard time at first, so I know that this is an activity we should practice more as he gets older. (Update: at 2 years old, he was able to accomplish this!)
The possibilities are endless and just like legos, this tool is actually a learning tool that is important for toddlers to use. Making your own playdough is easy and you can use it to practice so many pre-k readiness subjects.
Get tons of creative ideas to do with your toddler at home! Become a PLAY MEMBER by signing up for the newsletter. Play members get seasonal activity ideas right in your inbox, a special invitation to our Mommy & Me Virtual Circle time, and access to our free library with educational printables and activities to develop your child through sensory play and reach their developmental milestones while getting a head start when entering Pre-K.
Safe plasticine. Reminder: How to choose safe plasticine
Plasticine is a popular material for children's creativity. Sculpting from it is not difficult and exciting. You can mold figures, make composition or panel. In addition, modeling from plasticine is a very useful activity. for the development of fine motor skills, spatial thinking, the formation artistic taste and imagination in children. In the process of sculpting, they are massaged special points on the palms and fingers of the baby, activating the brain brain and contribute to the development of speech and intelligence.
You can start introducing your child to plasticine already from 1-1.5 years. For such children, there is a special absolutely safe plant-based plasticine. Of course, sculpt something the baby is not yet strong enough, but to master the material and learn the basic modeling techniques will be very helpful.
How to make the right choice of plasticine from all the variety presented in stores?
Clay selection criteria.
1. Good plasticine for children is a must should be soft and elastic, children simply cannot knead the hard material can.
2. Plasticine should never crumble and dry in the air, this indicates its low quality.
3. Separate pieces of plasticine should be firmly connect with each other during the molding process. Otherwise do plasticine crafts will be quite difficult, and children will quickly lose interest in such an activity.
4. High quality plasticine does not stick to hands, does not stain hands, table and clothes, and is also easily washed with water with soap.
Plasticine safety requirements.
1. When buying plasticine, the first thing you need Please note that this is the composition of the product indicated on the packaging. Ordinary plasticine is made from clay powder with various additives of natural origin - wax, fat, petroleum jelly, ozocerite, etc. As part of plasticine there should be no hazardous chemicals - solvents, thickeners, dyes. If they are present, then the product has a name - plastic, but not plasticine. Work with it is allowed for children only after 7 years.
2. Children's plasticine should also not include oil products. You can, before you buy, sniff the plasticine bars. If the smell of gasoline or rubber is clearly felt, then such a purchase is worth refrain.
3. Please open the box before purchase. plasticine. A good sign, if it is clean inside, it should not have greasy stains indicating a poor quality product.
4. Contained in plasticine latex, fragrances and gluten can cause allergic reactions of varying degrees in a child. It is not recommended to buy such plasticine for kids.
5. Today there is flavored plasticine. Most often it smells like different fruits. With a high probability the child will want to taste it. It is not safe to buy such plasticine.
When working with plasticine, it is important to remember that the child should sculpt only under the supervision of an adult.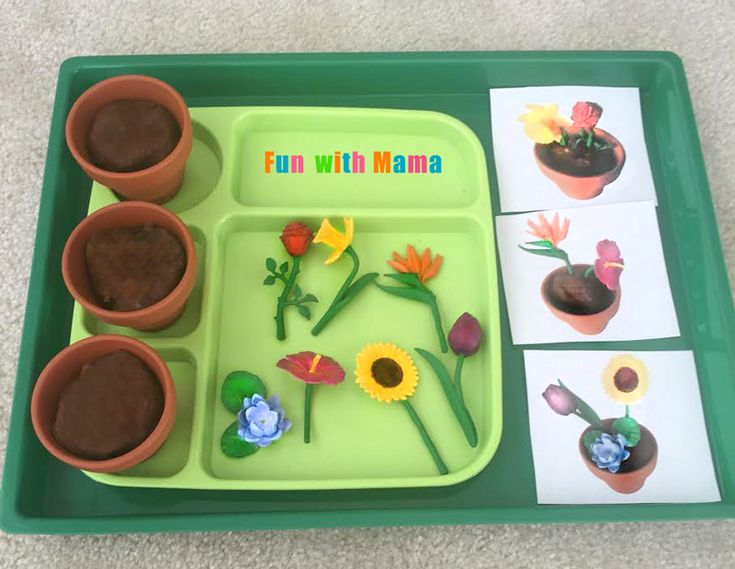 The smaller the child, the there is a higher risk that the plasticine will end up in his mouth. Shouldn't be scolded baby for this - after all, this is how he learns the world, this is a normal phenomenon. Better take care of the quality of plasticine in advance, offering the child high quality and safe material.
Modeling is one of the most effective activities for developing fine motor skills. According to experts, sculpting should begin as early as possible. In this article, I will present our favorite exercises.
When reading materials about how interesting modeling is for children, do not forget that most children at the age of 1 are conservative and love the established order. They have only recently come to terms with the idea that all toys are soft or hard. Plasticine is a completely new consistency for the baby, which threatens the existence of everything familiar. At least go and re-check all the items, suddenly one of them is in consistency, like plasticine.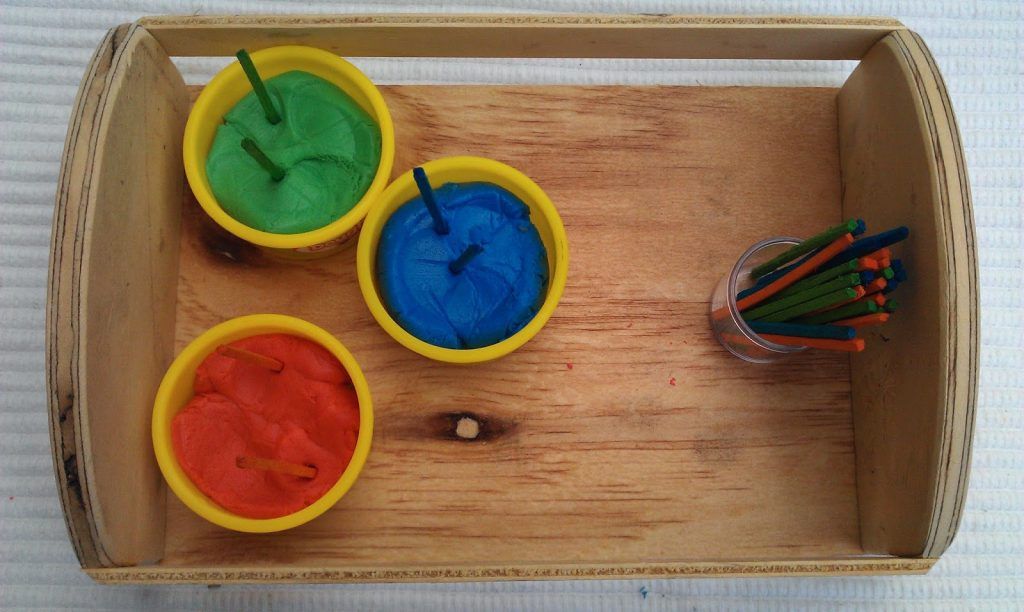
In addition, any creative activity requires not only the formation of a skill, but also the enjoyment of the result. This requires awareness of the results and their capabilities, which is very weak in the second year of life. Therefore, if you decide to do modeling with a baby under two years old, do not expect much jubilation and joy.
The simplest element - "sticks" (cylinders) is mastered by most children in the third year of life. Some cope with the cylinder only in three years. After mastering the cylinders, you can take on the balls.
The book "Plasticine beads" contains 8 pages of exercises for gluing balls. A one-year-old kid will do just fine with them. For a two-year-old, you can complicate the tasks by offering ordinary plasticine. It is more elastic and modeling with it will be more useful for the development of finger motor skills. One of the best is the classic plasticine produced by Luch (Chemical Plant).
In "Plasticine Oranges" there are 8 pages of exercises for creating all kinds of balls:
Have fun modeling!
More publications
I have repeatedly written about how important a baby is. Yes, I think you know this very well without me. Therefore, today, without further ado, I want to tell you about another exciting and very useful activity - about modeling with kids and how you can play if you have a piece of dough at hand. All these games are useful not only for the development of fine motor skills, but also for the development of imagination, thinking, perseverance of the baby.
Often, mothers ask themselves the question: “Which is better to choose for classes with a baby: dough or plasticine?” In my opinion, it would be better if you give the child the opportunity to get acquainted with different substances and sensations, you will conduct classes with both dough and plasticine. But here are for the smallest (from 1 year old) it is better to use dough in modeling classes and here's why:
The dough is much softer and more pliable than plasticine, and for kids who still find it difficult to knead plasticine, this is important.
Given the fact that many kids will want to taste the modeling mass, the dough (home-made) is much safer from this point of view, since its main components are flour, salt and water, and plasticine is still a combination of chemical components .
You can make your own dough or buy it from a store (eg Play Doh). But if you knead the dough at home at least once, then, for sure, you will no longer want to deal with the purchased one. Homemade dough is more plastic, softer, more pleasant, and there is a lot of it! In addition, the process of preparing the dough is quite simple and does not take much time.
So how do you make play dough? Here are two test recipes that I have repeatedly tested and I really like. The first recipe can be called a classic salt dough recipe. The dough on it is prepared very quickly and simply, it is often used to create durable crafts, after drying it can be painted.
Salt modeling dough - classic recipe
1 cup flour
½ cup salt (preferably extra)
½ cup water vegetable oil
Mix all the ingredients and knead well until smooth.
Very plastic dough recipe
And one more recipe for very, very soft, plastic, homogeneous and, I would even say, perfect dough! :) It is not suitable for drying and coloring, but it is the best for fun games with dough.
1 cup flour
1 cup water
¼ cup salt
1 tbsp. vegetable oil
2 tsp. citric acid
Combine all ingredients in a saucepan, stir, then place over medium heat. After that, we begin to actively stir the dough with a spoon until it forms a ball and stops sticking to our hands. It will take no more than 3 minutes to mix. After the dough has cooled, you can start playing with it.
Do not neglect such a seemingly insignificant ingredient as citric acid! If you do not add it, then after storage in the refrigerator, the dough will begin to stick to your hands.
Food coloring can be added to any test. If you do not have a dye to tint the dough, you can use beet or carrot juice, turmeric, brilliant green, gouache. Well, if you divide the dough into several parts and paint them in different colors, it will be even more interesting!
Both doughs keep in the refrigerator in a closed container for quite a long time (several weeks).
Test games
So, you have the dough, what to do with it next? First of all, of course, you need to introduce the baby to the test. Give him the opportunity to touch, crush him. You can mold some kind of bun or bunny in order to show what the dough is capable of. If the acquaintance went well, you can move on to games.
Remember that the entire session should not last longer than 5-10 minutes. Do not try to include all the games in one session, watch the baby and always stop before he gets tired of the activity. If a child is losing interest in a particular game, it may be too easy or too difficult for him. Try to simplify or make the task easier.
1. Roll out the dough with a rolling pin
The kid will most likely start rolling out the dough with pleasure, because he has seen how his mother does it more than once. If the crumbs are not good at wielding a rolling pin, help him by clasping his hands with yours.
Both a toy and a real kitchen rolling pin are suitable for playing. My daughter likes to roll with a big rolling pin even more.
2. Press objects into the dough
Next, you can declare that the resulting cake is not just a cake, but a pizza or a cake, which now needs to be decorated. And for this purpose, you can use a variety of items: matches, pasta, beans, counting sticks, small toys, lids, etc. Try to use objects of different shapes and sizes to diversify the child's tactile sensations.
3. Create simple crafts based on pressing objects into the dough
Here are some examples:
- Hedgehog
For the smallest, toothpicks can be replaced with matches or counting sticks.
- Man
Be sure to involve the child in rolling the torso and head. If the baby is not doing well yet, take his hands in yours and make rotational movements together.
4. Pinch off small pieces of dough, put them in a jar / bowl
This activity is very useful for the development of fine motor skills, as it trains the "pinch" grip. Beating the lesson is quite simple: invite the kid to feed his favorite bear with sweets. The game is likely to appeal to the smallest - children about a year old. At this age, kids really like to mess with small objects, fold and shift them.
5. Prick the dough with a fork
The same sweets that you made for the bear, try to stick it on the fork too. You can tell the baby that the bear prefers to eat only from a fork, but refuses in a different way. So in the game we will quietly work out a very useful skill.
6. Cut with a knife
In this lesson, the main thing is to teach the child to hold the knife correctly and, more importantly, to hold the dough on his own with his left hand (if the child is right-handed). A toy plastic knife, a special plastic dough knife or a butter knife are well suited for playing. The lesson will be interesting for a baby from about 1 year 3 months.
7. Leave prints on the test
Press the toy into the dough, carefully remove it and ale-op, you get a beautiful pattern on the dough! Taisiya was simply delighted with this activity, and could get carried away for a long time, imprinting pasta on the dough.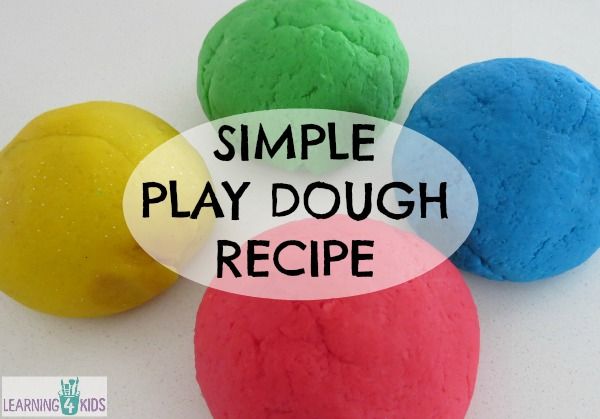
Good for printing figures from the sorter, pasta tubes, small toys, building blocks, fork, comb . Well, if a car passes through the test, leaving traces (preferably with large wheels and protectors on them), then the baby will most likely appreciate it.
And, of course, we should also mention cookie cutters. With the help of them, you can not only make beautiful prints. With older kids, you can try to remove the "excess" dough around the molds so that you get "cookies".
Finger prints can also be made. After that, it will be very interesting to “sow” the seeds into the resulting holes. It will turn out another wonderful exercise for the development of a "tweezer" grip.
8. Pass the dough through a garlic press
9. Put the dough into the mold - make a cake
You can use either the cupcake liners or the clean sandbox liners for this game. Putting the dough in a mold, we try to properly compact each piece.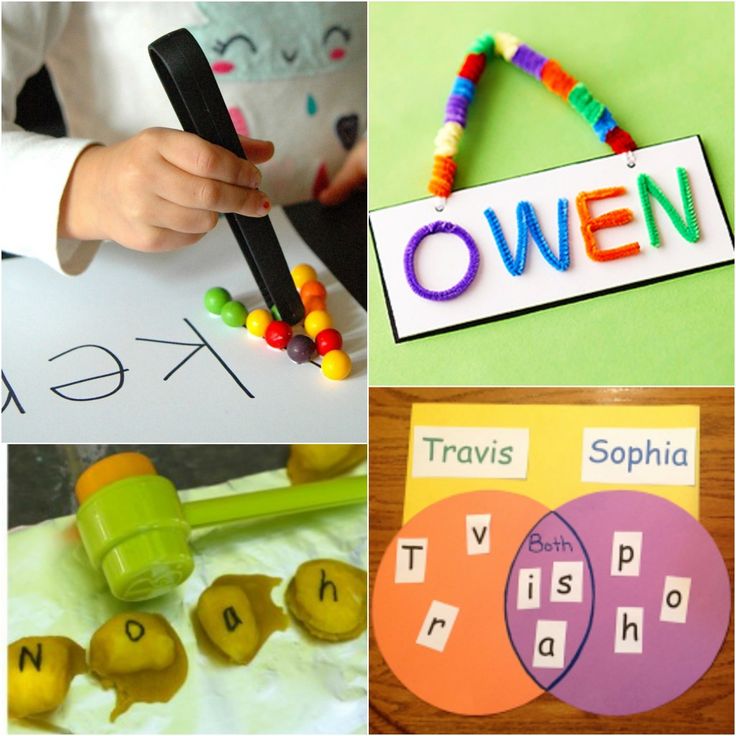 Most likely, you will have to get the pie out of the mold with your mother's help, because. this job is not easy.
10. Hiding surprises in the dough and finding them
This is our favorite game. I think all children love when there is a surprise moment in the game. They are ready to open intricate locks, unscrew stubborn covers, just to see what is hidden behind them. Children are happy to find surprises, even if they themselves hid them!
Therefore, in this lesson, first, together with the baby, we hide the toy in the dough, putting it on one half of the cake and closing the second. Older kids can be offered to pinch the edges, as when sculpting a pie. For younger children, mom can do it. Well, then we ask ourselves the question “Where is our hedgehog?” or “Oh, who is hiding here?”. Perhaps, at the first games, the baby will have to show how to "dig" to the toy. Most likely, the baby will catch everything very quickly and will subsequently pick up the dough with impatience.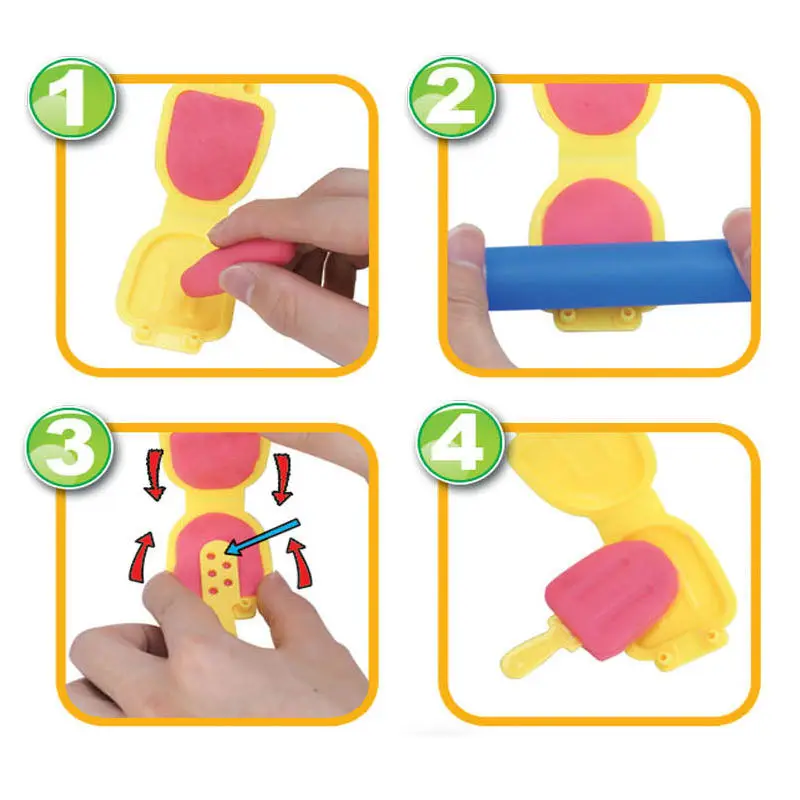
Even such a seemingly simple task is incredibly useful for children's fingers.
11. Sculpt sausages, koloboks and simple figurines with mother's help.
That's all for me, I wish you pleasant games together and more happy smiles on your baby's face! I would be very grateful if you share this article with your friends on social networks (there are special buttons for this at the bottom of the article). Well, in order not to miss new articles, subscribe to updates on Instagram ,
Since the baby at an early age is ready to put everything into his little mouth, edible plasticine will help parents solve the problem of "eating" the product for creativity. After all, this is not only the active development of fine motor skills and creative abilities of the little one, but also a pleasant pastime.
Features
Most parents have questions about the age at which the baby can be given plasticine in their hands. The answer is simple: watch your child, and as soon as the baby begins to be interested in toys and walks, you can safely give plasticine.
Playing with plasticine should become part of the daily routine for a one-year-old child.
To make your child interested in sculpting, you need to present this activity to him in the form of a game, but in no case should you force him to sculpt . To do this, you can try to sit next to him, pick up plasticine and mold the simplest figure, for example, roll up a sausage. The kid will certainly want to know what it is and pick it up.
In addition to rolling sausages, you can also use other simple plasticine manipulations. For example, even pinching off pieces or kneading it in the palm of your hand will benefit. You can also try to roll up a bun, while decorating it with some elements to make an interesting craft (for example, adding a leaf with a sprout to it, you get an apple).
For children from one year old, it is recommended to use dough or soft plasticine for modeling. Today, there are a huge variety of soft mass for modeling on the market, and any parent will be able to choose the right copy for their child. Almost all such products have a unique softness, and when in contact with air, they gradually begin to harden. Thus, the finished figure hardens in a few hours. And one more feature of such a mass is that if a frozen toy is dropped on the floor, then the craft, like a ball, will bounce off the floor.
The first crafts of a baby are the story of the formation and knowledge of the world by a child. They can be proud of, put on a shelf with other achievements of the baby. Let everyone know what a smart child you have growing up.
Gradually begin to complicate tasks for the child: show how simple details can be used to make more complex ones. And pieces of plasticine attached to a board or cardboard in the form of a picture can be the baby's first step towards the art of creating miniature applications.
Among the huge variety of plasticine crafts, you can choose the simplest ones that will not take much time. For example, a child can be shown how to make a snake (roll up a sausage and attach an eye on each side) or a mushroom (roll up a short sausage and attach a hat from a flattened ball to it).
How to organize a lesson?
- Prepare your workspace for creativity . It will be enough to find a place to work with the child and lay a newspaper or other unnecessary material on the work surface.
- Prepare your baby for the modeling process . Give him plasticine in his hands, you can use the box itself. Let him examine it, smell it, touch it. After all, this is his first meeting. He must know what kind of "thing" he has in his hands.
- Show how to handle something new to him . To do this, pick up plasticine and do simple manipulations with it, described above.
- Show molds for working with molding material . Teach your child how to use them. Blind any figure with the help of them.
- Tell your baby . Teach him to determine the color of the craft. Advise on the choice of color for a particular type of toy (crocodile - green, car - yellow or red).
- Express your admiration to your child by his skills. Praise his crafts. Put them in a prominent place, be proud of them.
- Teach your child to wash their hands after modeling and clean up the workplace after yourself.
- The first acquaintance with plasticine should not take more than 10 minutes , you can gradually increase the time.
Producers
There are several companies that stand out in the market for plasticine that can be eaten, who have earned the trust of buyers due to their excellent reputation. Consider the most popular modeling products from these manufacturers:
Modeling dough brand "Dough from childhood". Domestic manufacturer, in no way inferior to foreign counterparts. Benefits of this baby product:
- Convenient storage. The material is packaged in four plastic jars.
- Soft, does not stick to baby's hands.
- Mixing colors available.
- Natural composition (plastic, salt, flour, natural dyes).
- Salty tasting mass.
- Can be used by children from 1 year old.
How to cook?
Recipe #1
Ingredients needed to make this product:
- ½ cup butter. It should be unsalted and softened.
- Cream in the amount of 1 tablespoon. It is advisable to take thick ones.
- Powdered sugar. 3-4 glasses will be enough.
- Vanilla extract. It needs quite a bit - only ¼ teaspoon.
- Gel color (food).
Cooking technology:
- Beat cream and butter with a mixer until a homogeneous mass is obtained, while sprinkling it with powdered sugar. We strive to ensure that the mass becomes thick and dense - suitable for modeling.
- Add vanilla extract.
- Knead the dough on the surface and sprinkle with powdered sugar.
- Divide the mass into parts and add a drop of food coloring to each of them.
- Mix well. Remove the excess stickiness of the mass by adding powdered sugar until it disappears.
Done! We received plasticine for modeling.
A few tips:
- It is not necessary to use food colorings to give color to the modeling mass, they can be replaced with natural ones. For example, beetroot juice is perfect for coloring plasticine red, and carrot juice is perfect for coloring plasticine orange.
- Plasticine must be stored in a closed container or cling film. After you take it out of the refrigerator, let it warm for 20-30 minutes at room temperature. During this time, the plasticine will soften and become more pliable.
Plasticine is an excellent tool for developing fine motor skills, sensory abilities and imagination of a child! When can you start sculpting and what material to choose?
At what age should children be helped to sculpt with plasticine, and when will they be able to do it themselves? What material to choose for a baby and an older child? Let's figure it out!
Plasticine for children by age
Many mothers want to develop their baby almost from the cradle, offer him to draw and sculpt. Up to a year, the child still does not really understand what to do with this mass in his hands, therefore, most likely, it will end up in his mouth. If you really want to make this process safe, make a modeling mass from flour, water and salt. Even if the baby tries it, it won’t get poisoned, but the salty taste will discourage the desire to do it again.
Source: youtube.com
From the age of two, you can offer kids a special soft plasticine Play-Doh or Jovi. It is very comfortable for small hands, easily wrinkled, and small parts are well attached to each other. Such plasticine is reusable, but so that it does not dry out, store it in containers with a tightly closed lid. If the mass for modeling has dried up, you can slightly soak it with water.
Ball plasticine is also very popular, but it is more aimed at developing fine motor skills in a child, since it is very difficult to mold two colors into one figure.
At 3-4 years old, children can already sculpt from any plasticine, first softer, then ordinary, which needs to be cut with a plastic knife. By the way, to make it easier for you, immediately get a large modeling board and a set of knives to create patterns. So there will be more chances that the plasticine will not be on clothes and parquet or carpet.
Older preschoolers and schoolchildren can buy plaster with various molds and paints in the set. So the child will be able to independently knead the mass, make figures out of it and paint them. For girls, special kits are sold for creating home-made plaster jewelry. Also a great option for children of this age would be polymer clay, crafts from which can be baked in the oven.
Source: reallifeathome.com
Plasticine crafts for children
Plasticine for the little ones is sold in a set with different nozzles, with which you can immediately create a mass shape. As a rule, these sets are thematic, for example, "Confectionery Farbika", "Dentistry", "Grandma's Farm".
While the baby is not able to sculpt full-fledged figures on his own, master the technique of drawing plasticine with him. To begin with, you can simply create a drawing by smearing the mass on cardboard, then complicate it by rolling sausages from plasticine.
You will find plasticine drawing techniques with a child.
Don't force your little one to sculpt something standard, according to a template, proceed from the interests of the child. If a boy loves dinosaurs or robots, let him try to sculpt them, little princesses can sculpt Barbies, animals, flowers - whatever they like. Actively ask the child what he is sculpting, what is the idea of \u200b\u200bcrafts.
The importance of modeling in the life of children aged 2-3 years
Modeling is one of the most fascinating and interesting types of children's art. It enables even the smallest child to feel like a master and creator.
Modeling is the most tangible form of art. The child not only sees what he created, but also touches, picks up and changes as necessary. The main tool in modeling is the hand (or rather, both hands, therefore, the level of skill depends on owning one's own hands, and not a brush, pencil or scissors).
From this point of view, the modeling technique can be assessed as the most accessible for independent assimilation.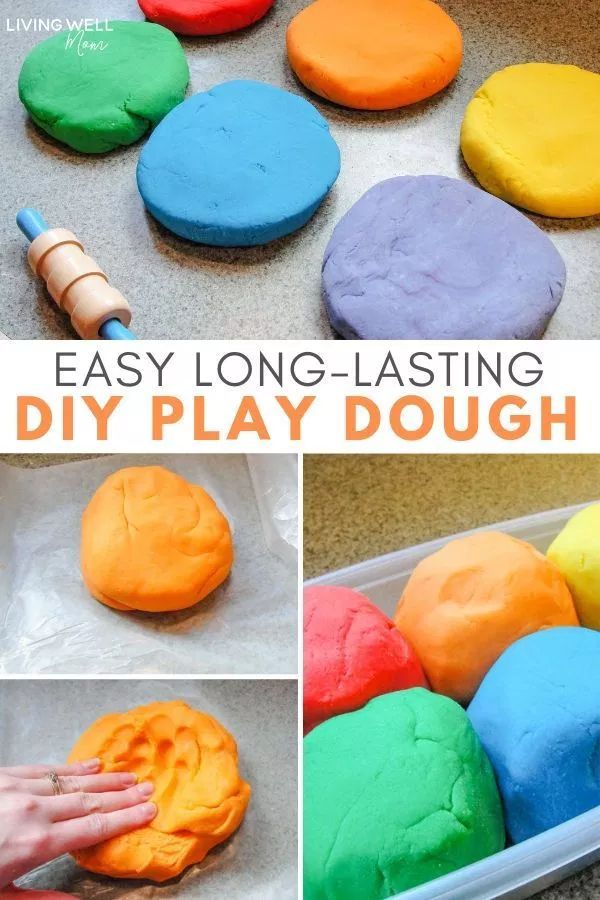 The earlier the child is given the opportunity to sculpt, the better his skills in owning his own hands develop. And when a child begins to understand that from one lump he can countless images - modeling becomes a favorite pastime for many years.
In winter, children are given great opportunities to work with snow - making snowballs, snowmen, snow sculptures, bas-relief figures, fairy-tale heroes. In summer, children are happy to use sand for modeling, from which they build castles, houses, figures of animals.
An important role in this fascinating process is played by an adult who is not a passive observer, but a direct participant in it, who can give advice, praise in a timely manner, and clarify the incomprehensible. Do not forget that the leading form of a child's creative activity is a game that can change the attitude of children to what seems simple and ordinary at first glance.
Why do you need to sculpt with plasticine?
Modeling is a very important occupation for a child, which develops creativity, fine motor skills of hands, spatial thinking, the concept of color, shape of objects.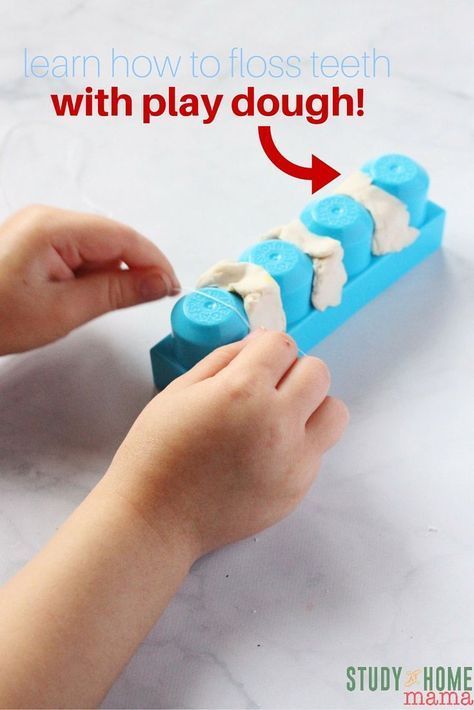 In addition, modeling (and not necessarily from plasticine) has a beneficial effect on the nervous system as a whole.
What material to choose for modeling?
Plasticine is a versatile material that makes it possible to realize the most interesting and complex ideas. The modeling technique is available to preschool children in all its richness and variety of ways. Plasticine is quite plastic, it has a bright, beautiful color scheme, which allows you to mix it together, getting a new color. It is good because it does not require special processing before sculpting, it has a wide range of colors. To convey the expressiveness of the image, you can use a stack - a special stick with a pointed end and a wide base. Usually it is sold complete with plasticine. In modeling classes, you can use rolling pins for rolling plasticine, as well as stencils - molds for squeezing out different shapes.
Plasticine should be of good quality; it should not be too hard, nor too soft and stretchy. If plasticine sticks to your hands, then it is difficult to sculpt from it - try it yourself. And if it is too hard, then it is difficult for children to knead it, and the parts may fall apart.
Never give fruit-scented plasticine to small children. If yellow plasticine smells like lemon, orange smells like orange, and red plasticine smells like strawberries, then the baby will not sculpt, but lick it, and this is not at all what we want to teach him.
Clay - is an environmentally friendly material for modeling, it is flexible, durable, accepts any paint well, it is also an excellent healing material, the healing properties of which are used not only in medicine, but also in science. For example, W. Oaklander, the author of the book “Windows to the World of a Child” (a guide to child psychotherapy), recommends using clay to relieve nervous tension in children, fears, negative emotions, aggression, and also to create a positive state in children.
Salt dough (the best option for modeling) is one of the most affordable and cheap materials.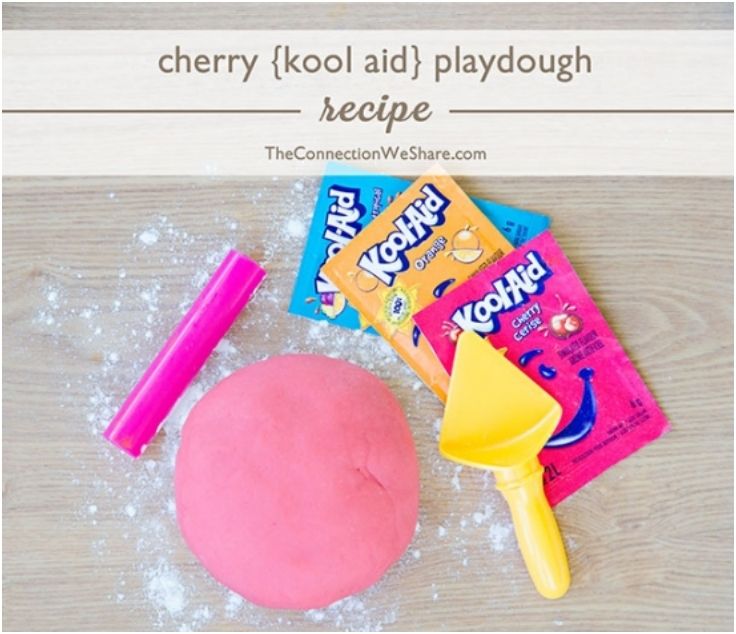 The art of salt dough modeling has become extremely popular these days, especially among children. In classes with kids, it is better to use dough, as it is much softer and more pliable than plasticine. The dough is much safer than plasticine, since its components are salt, flour, water.
Kinetic sand - is, first of all, the development of fine motor skills of hands and tactile sensations, the development of tactile feelings, concentration. Amazing tactile sensations and opportunities for the formation of motivation for productive activity are represented by an unusual bulk material, similar in structure to wet and plastic beach sand. It is distinguished by its softness, fluidity, and while working, the hands of the kids remain clean.
Modeling lessons from any chosen materials bring up patience, perseverance, accuracy, the ability to plan and bring the work started to the end. All these skills will come in handy and help the child become a harmonious and creative person.