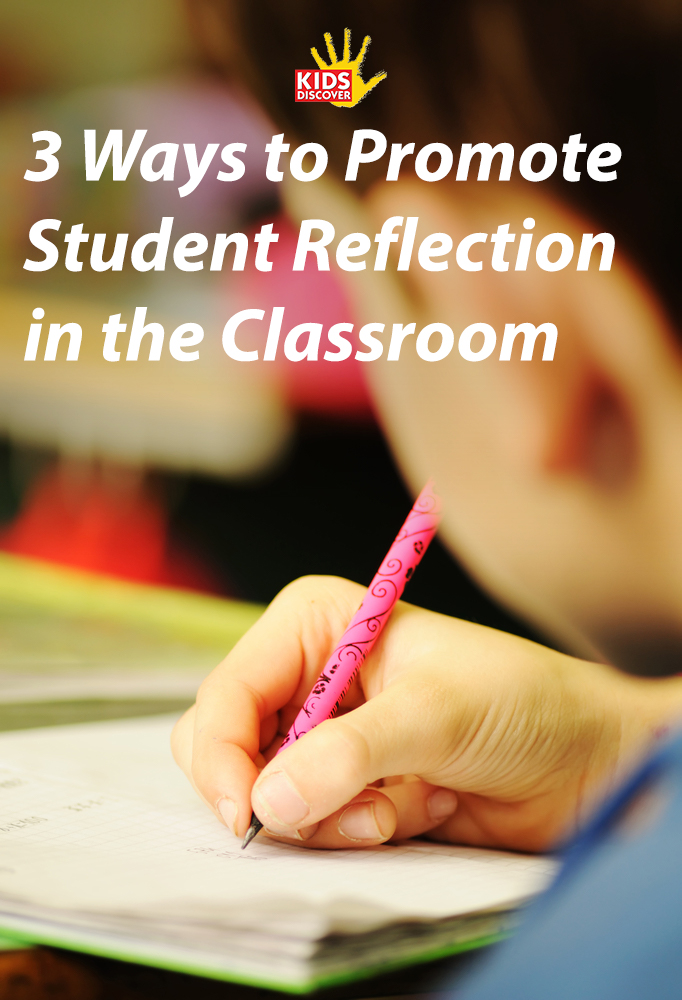
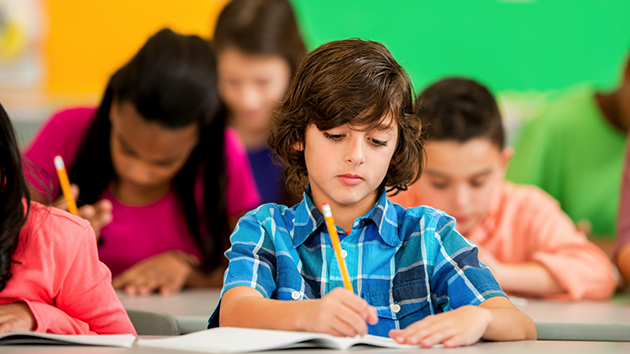
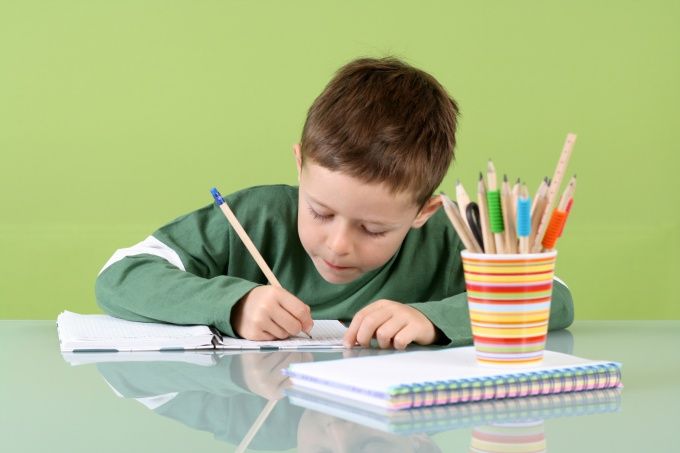
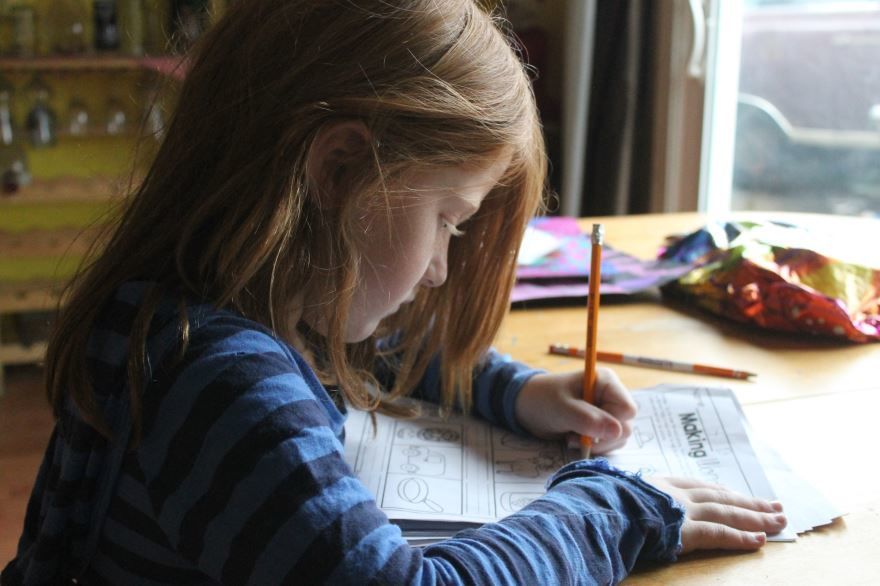
Kid writing lessons
20 Creative Writing Activities for Elementary Students
Writing activities have an emotional toll on young learners, given the sheer volume of letters to learn by heart, words to spell, and sounds to remember. Your students will be more excited doing tasks they consider easier, such as character description. Perhaps it’s time you considered introducing fun activities to help the learners in their writing. Here are 20 of our go-to fun activities for creative writing skills among elementary kids.
1. Writing a Comic Strip
Create a comic book idea, leaving the speech bubbles around the characters empty for the students to fill. Alternatively, you can source the comic from your favorite magazine or author and rub out the dialogue between the characters for the learners to complete.
Learn more: My Cup Runs Over
2. Mad Libs
Have the students copy a few paragraphs from a famous book. Ask them to erase words they wish to remove and replace them with a blank line. Under the space, the students should give a hint to indicate the required type of phrase or word.
Learn more: My Cup Runs Over
3. Vocabulary Challenge
Select a new word for the learners and explain its meaning to them. Ask them to create a sentence using the new term. Tell them to practice writing an entire story based on this word.
Learn more: First Cry Parenting
4. Using an I-Spy Jar
Ask a reluctant writer to practice writing their names by fetching and arranging all the letters that make it. For an older writer, ask them to pick an object from the jar, redraw it and give a brief description of what it is or the scene.
Learn more: Imagination Tree
5.
 Identifying Objects
 This reading and writing game is suitable for pre-kindergarten and kindergarten-aged students. Ask them to color the object highlighted in the descriptive sentence. It enhances their fine motor skills, memories, and emotion.
Learn more: Kids Learning with Mom
6. Picture Dictionary
The goal of picture dictionaries will help early learners who are struggling with creative writing exercises and reading skills. Ask children to match the words provided at the top to the activities being performed in the pictures. This reading and writing activity can be developed for individuals, families, or the classroom.
Learn more: Childrensbooks
7. Journal writing
Journal writing works for learners who excel in creative stories or drawing. Have your students engaged in daily writing tasks. For instance, what food did they eat for lunch or a boring character in a favorite piece of writing?
8.
Roll a story will have the learners enjoy rolling dice to discover the character or scene they will be exploring in their writing. Examples of a scene they can get include casino, school, or ancient pyramid.
Learn more: Teachers Pay Teachers
9. Copy-writing
On a drawing paper, make a word entry and ask the pupils to highlight it with a paintbrush or crayon. These creative writing exercises' goal is to enhance the learner’s artistic, emotional, and fine motor skills.
Learn more: Little Learners
10. Pass-it-on Story Writing
This writing game engages the language input of creative writing classes. Write the first scene of a story on a piece of paper.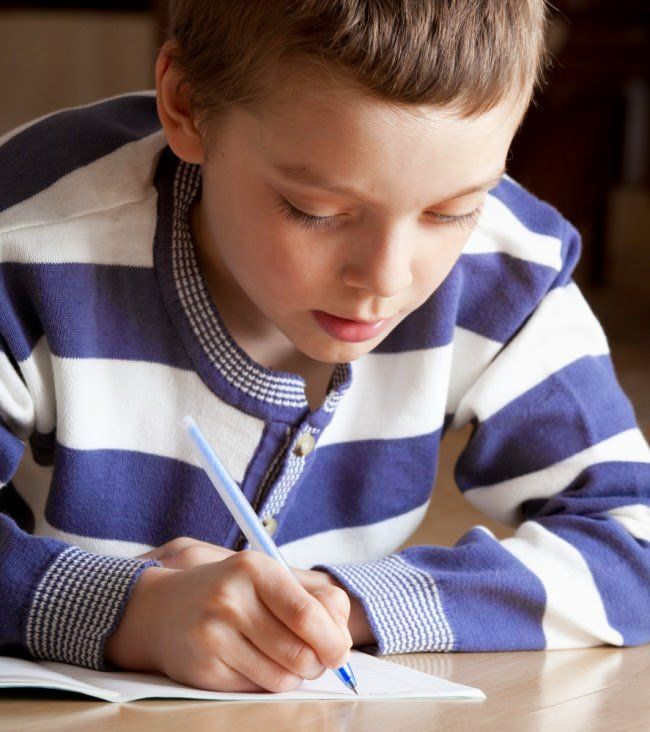 Have the learners come up with a sentence that continues the story. The paper is then passed on to the next child until every student has written something.
Learn more: Minds in Bloom
11. Sentence Scramble Writing
This writing activity's goal is to help children to improve their writing and sentence-building abilities. Ask the child to cut out the words at the bottom of the paper and rearrange them correctly to form a sentence.
Learn more: Twinkl
12. Picture Writing Prompts
Creative writing prompts activities test not only imagination but also a learner’s ability to make conversation on behalf of characters. Provide an entry with a picture accompanied by 3-4 writing prompts to guide them in exploring the scene. A sample question for the scene above will be, “Do the lambs feel safe with the lion?”
Learn more: Homeschool Adventure
13. Cut Out My Name
Help your kindergarten students in writing their names with this fun writing activity. Print out the learner’s name. Next, print the letters of the pupil’s name and mix them with a few random characters. Cut them apart and ask them to sort out the letters in their name.
Learn more: Simply Kinder
14. Cards
Writing cards helps students to engage in purposeful moments. Provide the learners with blank holiday or birthday cards. Ask them to draw or write something to the card’s receiver. Alternatively, students can design their cards and write down the desired message.
Learn more: Learn with Homer
15. Grocery List
Sit down with the child and help them write a list of healthy food items or other household objects you require. In the grocery store, have them cross out the items as they are added to the shopping cart.
Learn more: Kids Night in Box
16. Label a Diagram
Engage your child’s reading and writing abilities by printing out a diagram of simple objects such as flowers, insects, or external human body parts.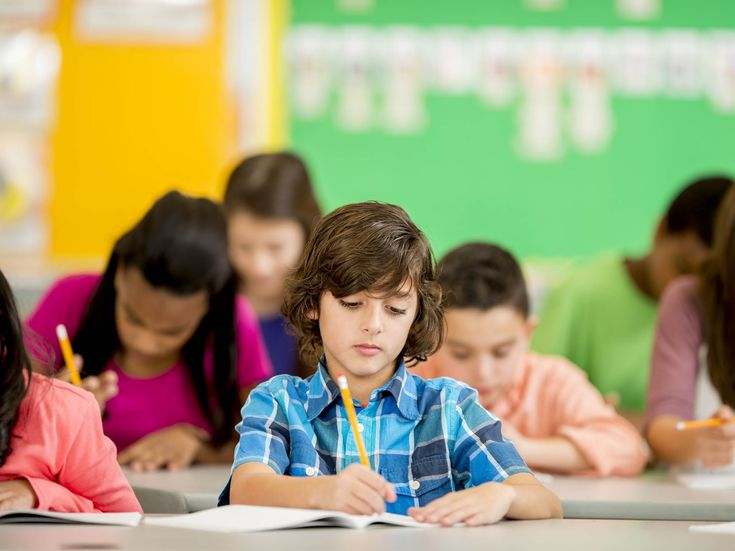 Provide a list of the answers to the parts and ask them to write the word that matches each in the blank space.
Learn more: Classroom Freebies Too
17. Disappearing Words
On a chalkboard, write down a word. Ask the learners to erase the word with a wet sponge. This way, the learners will learn how to design the letters of the alphabet. Although this writing activity is the opposite of copywriting, they both serve the same purpose.
Learn more: Little Learners
18. Write a Story Based on the Ending
Test your student’s creativity by providing them with writing prompts that focus on an entire book, a song, or a famous story. For instance, ask students to write a story based on the ending, “And they lived happily ever after. "
"
Learn more: Kid Pillar
19. Found Poetry
Collect words or a group of words from a favorite story or song. You can either write them on a piece of paper or cut them out of a printed page. The overall goal is to rearrange the words differently to make an interesting poem with a unique writing style or genre.
Learn more: Homeschooling Ideas
20. Sticky Notes Story
Learners may have much to say in conversation prompts but get stuck when doing the actual writing. Sticky notes will help them in aspects of writing. A student can write anything ranging from a favorite author, a favorite food, or fantasy elements.
Learn more: Teaching Made Practical
10 Fun Writing Activities for Kids
2. Cards & Letters
When you assign homework, your students don’t always see the greater purpose. But, writing cards and letters is real-life writing with a purpose. Whenever there’s a holiday, you can use this method to get them to write and have fun while doing it. Let them design and write cards for Father’s Day, Valentine’s Day, Christmas, and all other holidays. This practice will also help your students learn the standard format for writing friendly letters.
3. Fill in the Story
It was a sunny day. The little tiger just woke up… He saw the _____________, and he said _____________. Together, they ____________________________. Then, they ________________________. They had lots of fun. They agreed to ________________________.
You’d be surprised to see how creative your students can get with few simple sentences. If you need inspiration, then you can get some worksheets with blank stories.
4. Drawing Words
How would you draw the Moon? How would you draw the word “precious”? Think of different words. They can signify items, but you should also let them play with abstract concepts, such as love or beauty.
This activity inspires writing because it helps the students understand the true meaning and importance of every word they use.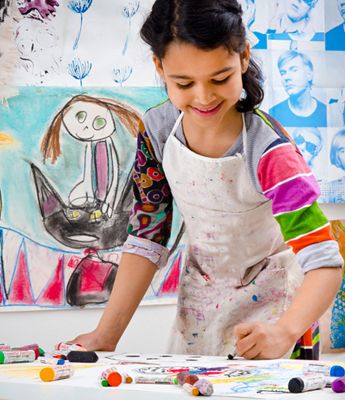
5. Birthday Messages
Whenever someone has a birthday, get the entire class to write a message. You can get a big piece of paper where everyone will have space to write. You can also turn this into an art project, so the students will have an authentic purpose for writing.
The sentences can start with, “I wish you…” Let everyone express their message and appreciation for the friend.
6. Cut Out My Name
This is a great way to teach cursive writing. Get some paper and fold each piece lengthwise. Each student should write their name in cursive on one half, with the fold being at the bottom. Cut around the upper side of the name.
When you unfold the paper, you’ll get a symmetrical figure. Each name gives a different figure. What does it look like? A bug! Let them draw or paint on the clean side of the paper.
7. Chalkboard Writing
For this activity, you’ll need clipboards, chalkboard paint, a paint brush, tape, and chalks. Tape the clipboards on the sides, so you’ll get a nice frame for your board.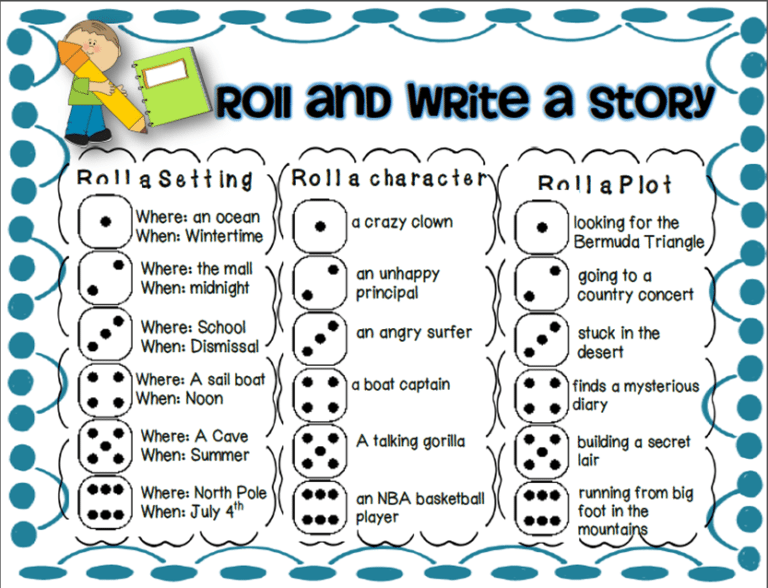 Then, paint the middle with a coat of chalkboard paint. Let it dry, and apply a second coat. When that dries, you can remove the tape, and the chalkboard will be ready.
You can get all students to tape their own boards, and you’ll be the painter. When the tiny boards are ready, they can use them to write answers to your questions.
8. Write A Choose Your Own Adventure
Write a collaborative class story in the style of “Choose Your Own Adventure.” Start a story and bring that story to a fork in the road. Allow students to write the optional paths that the story can take. Once you have a couple of student-written options, continue the story in the same way. If you have older students, it’s fun to put them in small groups. Tell the groups they need to have at least three branches, and when everyone is done, trade stories and read each other’s adventures.
9. Vocabulary Challenge
Pick a new word for the students to learn. Think of something unusual. Explain the word.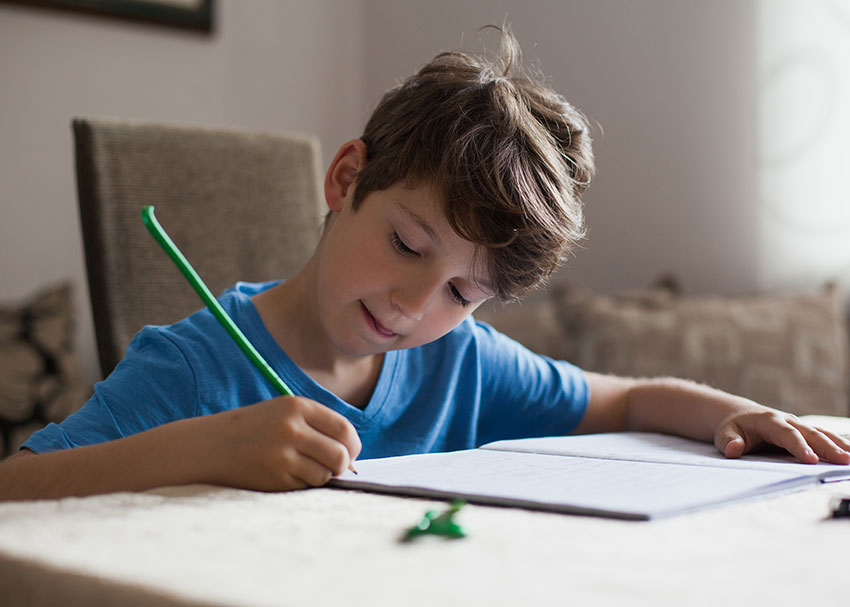 Tell them to use it in a sentence. Then, tell them to write a short story around that sentence. If you turn this into a team activity, it will be more fun.
10. Typing Challenge
The students love this one! Students have to learn how to type, right? This is a fun way to practice writing and typing! You can project a Google Doc and call up a student to write for one minute. The next student will add on to what the first student wrote for one minute. One after another, the students work together to write a (HILARIOUS) short story. They felt like real writers. Grab a free digital composition notebook to use with this strategy.
We, teachers, have to be fun. It’s a choice, but it’s the right one to make. With a bit of creativity and effort, we can make even the most challenging aspects of learning easy on them.
Lesson 3. Teaching writing to the smallest
In the last lesson, we have already started talking about preparing children for learning to write.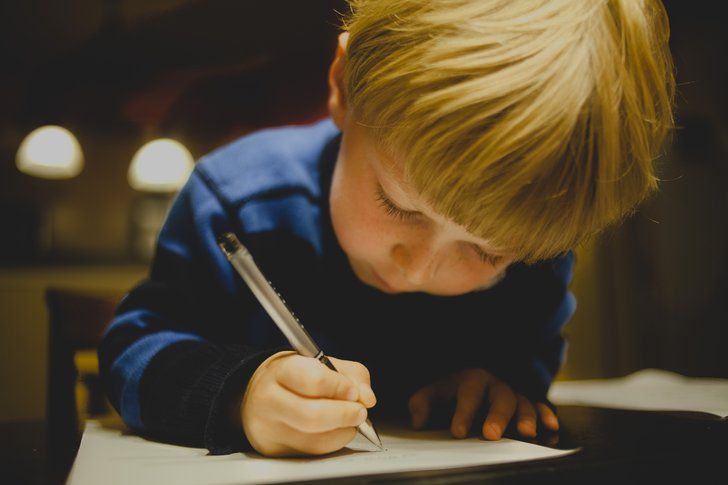 In the following, we will continue this theme and at the same time move on to the practice of elementary education. As it has already become clear, preparation begins a few years before school. But many parents, in a hurry to quickly start classes, hastily study the methods, but do not pay attention to self-control at all, because. only it allows you to avoid making the most common mistakes. The most important of them is too early start of training.
According to primary school teachers, based on many years of experience, parents should not teach their children to write (especially cursive) at preschool age. And the categoricalness of this opinion, of course, is based on a number of specific reasons:
- Firstly, children under the age of five are simply not yet ready for writing due to age-related physical and mental characteristics. Often at this age, fine motor skills of the hands are not developed, which is why the mechanisms responsible for neuromuscular regulation and visual coordination do not work well.
 In addition to this, the wrists and phalanges of the fingers have not yet completely ossified.
 - For teaching how to write each letter of the alphabet, there is a scheme on which professional teachers build their classes. Without special education, many parents teach their children incorrectly, which means that they master the wrong and ineffective writing technique.
- Poor handwriting is common among children who learn to write early. To master calligraphy skills, a child must be provided with classes specifically in capital letters for at least an hour a day, and preschoolers cannot be given such a load. In addition, all this time it is necessary to carefully observe how the child displays various elements of letters on paper, but parents themselves are not always able to follow this condition.
- Parents do not pay attention to the formation and development of children's spatial orientation. As a result, children cannot quickly and confidently navigate the characteristics necessary for writing (left and right, bottom and top, farther and closer, etc.
 ).
).
It is easy to see that the opinion of teachers has a solid foundation. However, this does not mean at all that you now have to give up and not deal with the child. On the contrary, you can and should do it, but you should follow the right path. Therefore, first of all, preparation, and only then - writing in capital letters. It is in this order that we will continue the conversation.
Contents:
- Preparing a child for writing. Block №2
- How to teach a child to hold a pen correctly
Preparing a child for writing. Block №2
The process of mastering writing and handwriting must be carried out correctly, and this is achieved only by performing specific actions. What should be done to properly prepare a child for writing?
1
Mastering the pencil
If you think your child is ready for new knowledge, solemnly hand him a pencil. Why a pencil, we have already said. Make sure that the child handles him carefully (do not get hurt, do not poke himself in the eye, etc. ). First, the baby needs to get used to the new object in his pen, understand how it is “arranged” and what they can do. And you show him that with a pencil you can drive on paper, which is why lines are obtained. By the way, the first letters can also be written in pencil, because in this case they are easy to correct.
2
Study - no more than 5 minutes at a time
When you show your child the outlines of block letters and help to deduce their elements, try not to tire him. It is best to write one line, and then take a break. As you remember, it is still difficult for young children to concentrate, so practice for 2-3 minutes (maximum 5 minutes) at a time, and then relax.
By the way, an interesting fact is that at the beginning of training, the less the child writes, the better he will get. Instead of bombarding your child with tasks and pages of letters to repeat on a letter, study a little and do not set too difficult tasks.
3
Master spatial orientation
Each child has difficulty writing specific letters: some, for example, write the letter “c” instead of the letter “d”, others write the letter “e” in the wrong direction, etc. Also, many “mov out” from the lines or are completely confused about where to start writing. To avoid all this, from an early age, teach your child the correct orientation on the sheet.
To develop the correct orientation, you can give your child simple tasks: ask him to look for differences in pictures, draw dots and sticks in the areas of the sheet you specified (bottom, top, left, right, relative to some object on the sheet or page, etc.). P.). It is useful to teach a child to draw large and small circles, and then compare their size.
Even when writing in block letters, it is possible to use oblique ruled notebooks with additional lines. Such notebooks are specially made so that the correct slope always appears before the eyes of the child.
4
Improvise with letter images
To help your child understand how letters are written, draw their images in the air. Initially show large letters by drawing them with your whole hand. Then reduce the size little by little. The task is to reach the point of using only the hand. Do this exercise with your child, helping him to draw invisible letters.
5
Highlight the best letters
We have already talked about the importance of encouraging a child even for the most modest successes. Use this method here as well. When a baby learns to write his first printed letters, most of them will turn out badly, but some will come out quite tolerably. Draw the child's attention to the letters that turned out well, highlighting them, for example, with a green marker for notes. Tell the baby what you need so that all his letters come out just as beautiful and correct. Focusing on successful examples, it will be much easier for him to learn how to write correctly.
6
Use pen tips
We talked about special pen and pencil tips in the last lesson, pointing out that they contribute to the formation of a correct grip. We also said that it is better not to be zealous with nozzles, and here's why. Constantly interacting with nozzles, the child gets used to them. Subsequently, he simply will not be able to write without them, and the writing object will hang out in his hand.
Continuing on the subject of proper grip, we offer several ways to help you teach your child to hold a pen correctly when writing.
How to teach a child to hold a pen correctly
The problem of incorrect gripping of a writing object is faced by both parents involved in the development of preschool children and teachers teaching in the lower grades. The fact is that it often takes a lot of time and effort to master the correct grip. As a result, moms and dads, seeing that the child is already writing well, grabbing the pen as it is more convenient for him, leave everything as it is. But this could be problematic in the future.
First of all, we note that, having learned to hold the pen incorrectly, the child gets used to it so much that even in adulthood he continues to do it. In addition to handwriting, this affects the health of the hands - if they are not properly gripped, they get tired faster, because of it, the wrists can ossify incorrectly and even develop joint diseases, scoliosis, and vision problems.
Therefore, you need to worry about the correct grip in advance, and much earlier than the child picks up a “writing stick” for the first time. Always pay attention to how your child holds a rattle in his hand, sculpts from plasticine, scratches with crayons, etc., because. these classes are already preparation for writing.
As for the signs of incorrect grip of a pencil or pen, it is not difficult to identify them. It is enough just to observe the child in the process of writing. An indicator that the baby is holding the writing object incorrectly can be:
- Pen holder in cam
- Pencil clamp
- Thumb below index finger
- Holding the handle with the index finger instead of the middle finger
- Finger position too close to or too high from the writing head
- The direction of the upper part of the handle is “from the shoulder”, not “to the shoulder”, as in the correct grip
- Too strong or barely perceptible pressure on the writing object
- Constant voltage writing hand
- When writing, the child does not turn the hand, but the sheet of paper on which he writes
If you notice something like this in your child, start correcting the grip defects as soon as possible. Five good ways will help you with this (they are suitable for correcting the wrong grip, and for forming the right one).
1
Tweezers
Prepare the handle (if the child is very small, you can take the body from the handle). Have your child grasp the pen with the three fingers used for writing and then rest it on the table. After that, ask the baby to slide her fingers down the handle and stop in the right place for the correct writing.
2
Crayons
This is one of the easiest ways to form a correct grip. The kid just needs to draw with colored crayons. But the crayons should be broken into several pieces about 3 cm long. The baby will not be able to take such parts in his fist, and it will be most convenient to take with three fingers.
3
Darts
When a child throws darts, his fingers hold them just like holding a pen. Buy a safe set of darts for kids and practice throwing them every day. Together with the correct grip, the eye and accuracy will be trained.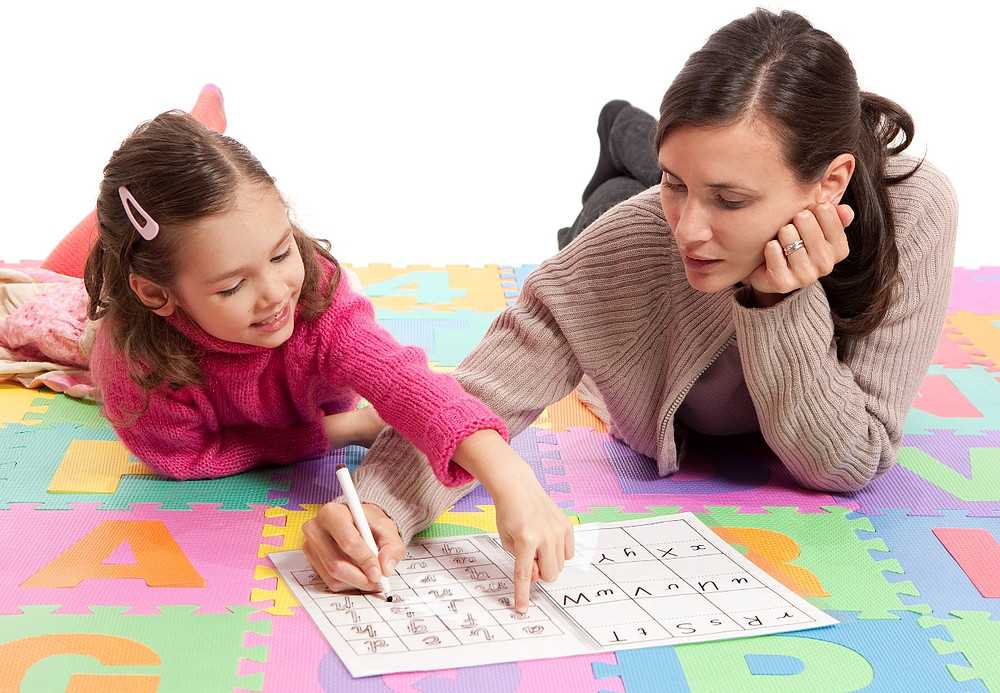
4
Circle and dot
Another easy way to teach your little one to hold a pencil or pen. Draw a colored circle on the upper phalanx of the baby’s middle finger, and on the writing object, a bright dot in the place where the object needs to be held. Let the child practice holding a pen or pencil so that the point on it is in contact with the circle on the finger.
5
Runaway Napkin
it will be inconvenient to work with a whole child. Take one half and put it in the baby's fist. Ask the baby to press the napkin to the palm with the ring finger and little finger, and with the other three to take a pen or pencil, but that the napkin remains in place, i.e. didn't run away.
Seemingly quite simple tricks, but they give very good results. Do not neglect them - and you will not have to spend time and effort on correcting mistakes.
Information from two blocks on preparing a child for writing and a block on teaching correct grip is enough, firstly, to understand the specifics of actions, and secondly, to start performing them.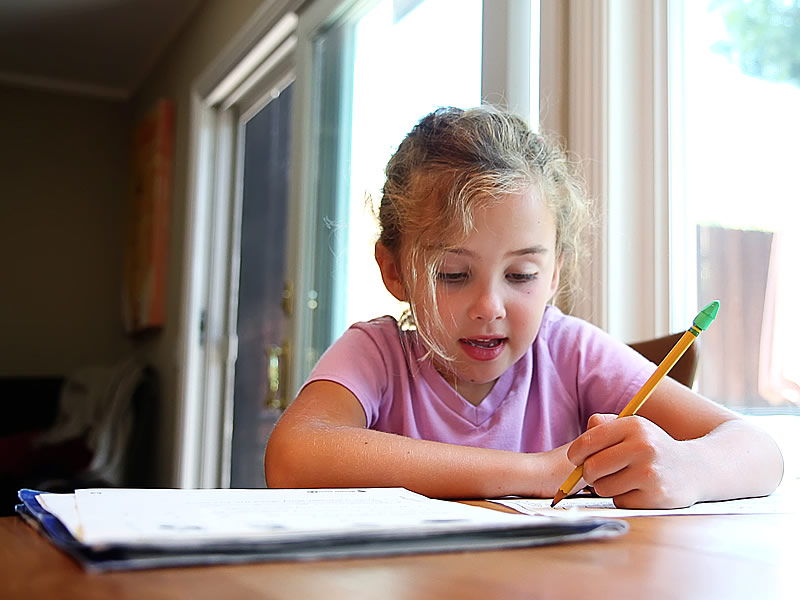
In the end, they should lead to this result *:
- The child holds the pen correctly
- The child is guided by the space of the notebook sheet
- The child does not unfold the sheet on which he writes
- The child draws pictures that match the size of the letters without problems
*Don't forget about the information from the "Preparatory period" section of the first lesson
The above features will be an indicator that you have successfully completed the tasks of the preparation stage and have done your homework correctly. And if you are sure that printed letters are mastered enough (the child knows their elements, knows how to display them on paper, remembers the names of the letters), fine motor skills, memory, spatial orientation and coordination are well developed, and it will soon be time for him to go to school, you can, again - little by little, begin to engage in the development of capital letters. We will talk about how this is done in the fifth lesson.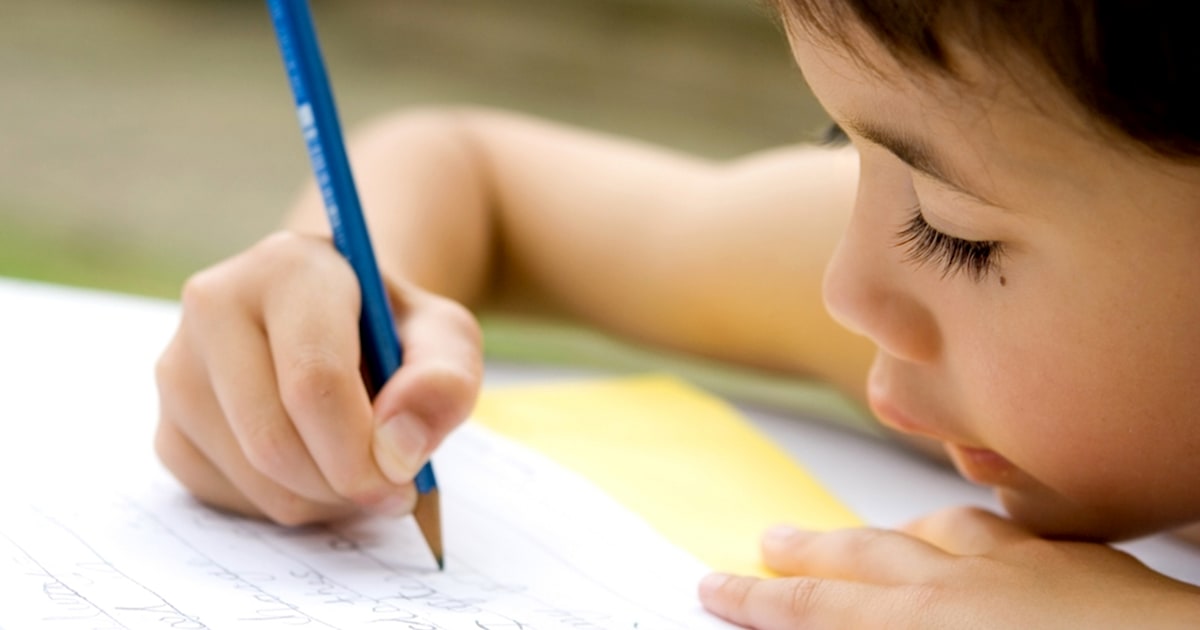 From it you will learn how the process of learning to write in capital letters begins, what manuals exist for this and what techniques are used.
Test your knowledge
If you would like to test your knowledge on the topic of this lesson, you can take a short test consisting of several questions. Only 1 option can be correct for each question. After you select one of the options, the system automatically moves on to the next question. The points you receive are affected by the correctness of your answers and the time spent on passing. Please note that the questions are different each time, and the options are shuffled.
Statistics Full screen
Cyril
← 2 Preparation, games, tricks 4 Handwriting →
Calligraphy course for children and adults
Calligraphy course for children and adults
Choose a center
Russia
Kazakhstan
Azerbaijan
OPEN YOUR
POLYGLOTICS CENTER
Callback
By clicking the "Send" button, you confirm that you consent to the site administration to process and transfer your personal data to the site administration in the framework of the Federal Law of July 27, 2006 No.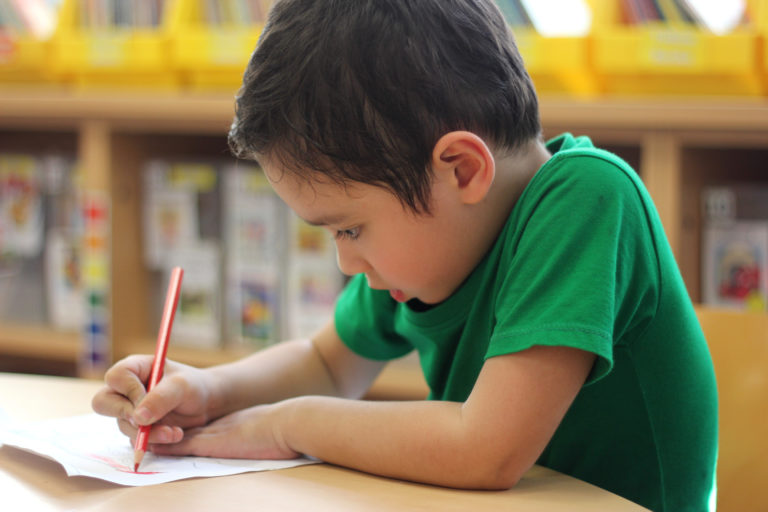 152-FZ "On Personal Data" (as amended) and receive response by phone, internet or mail.
media about us
Learn to write beautifully and correct the already formed handwriting!
At the Polyglot Language Centers on the course "Calligraphy" we will help to form the correct position of the hand at preschool age and significantly improve the handwriting of schoolchildren and adults.
Writing is a skill that requires not only the ability to concentrate, but also coordinated movements, precise work of the muscles of the hand.
For many children, due to the development of technology and early acquaintance with gadgets, writing is especially difficult. Modern children learn to type on the keyboard faster than to write by hand. You can correct the situation by taking the author's calligraphy course for children at the Polyglot Center.
It is possible to master beautiful writing both in the preschool years and the school period of study, and in adulthood.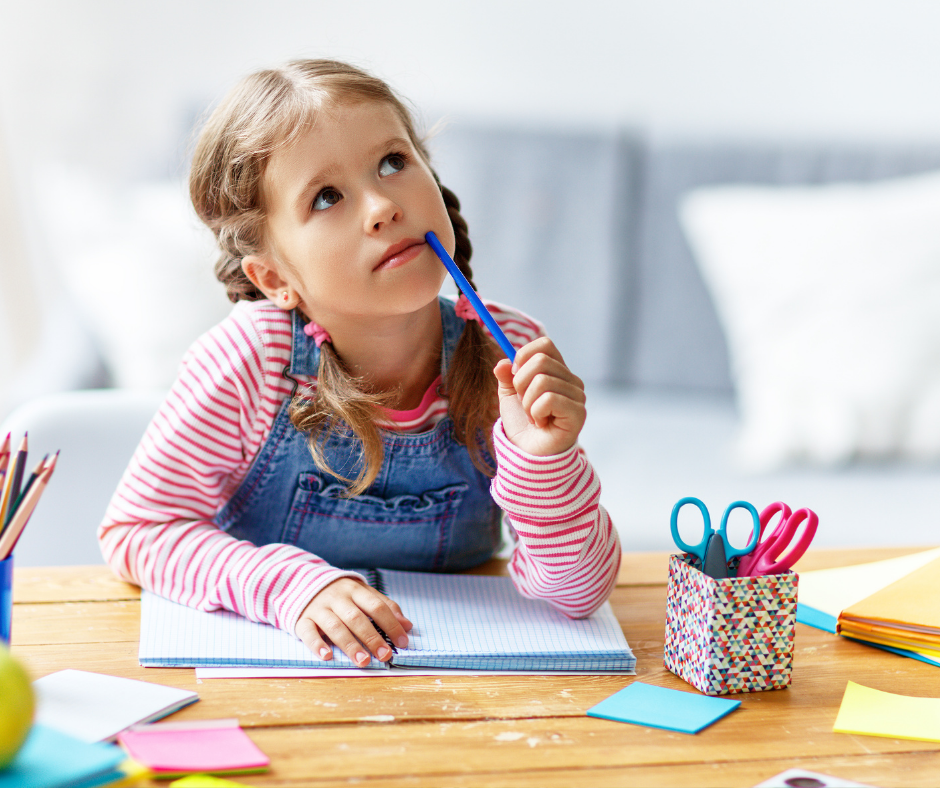 Achieving beautiful handwriting requires hard work: careful preparation, gradual and repeated training, and the right technique. Taking into account all this, as well as the age and psychological characteristics of children, the methodologists of the Polyglotica network developed the Calligraphy course for classes with kids - for setting their hands to writing, with schoolchildren - for correcting handwriting, with adults - for mastering artistic writing. In our classes, with the help of special tasks, children not only learn to write beautifully, but also acquire a number of other important and useful skills.
At the classes on the course "Calligraphy" in the language centers of Polyglot
Toddlers will learn:
- How to hold a pen/pencil and position the workbook for writing
- Write smoothly, evenly and with the right slope
- Draw lines, ornaments and all elements of capital letters
- Writing accuracy
- Write capital letters, lowercase letters and words correctly
- Develop spatial orientation on page
Junior schoolchildren will learn:
- Draw letters in the correct style.
- Beautifully and correctly combine letters into words.
- Write clearly, smoothly, without blots.
- Pay attention to details.
- Increase writing speed.
- Write in the calligraphy required of students at the school.
Teenagers and adults will learn:
- Write clearly, clearly and artistically in all letters.
- Write beautifully, visually diversifying the style of the letters.
- Increase the writing speed without compromising the style.
- Have a sense of rhythm in writing.
- They will transfer the skill to display letters in the mode of a reflex, unconscious writing.
Calligraphy course includes:
Teaching aids
Workbooks
Cards for the teacher
tables
Diagnostic sheets
How long are the classes?
36
lessons
Course for each age category
consists of 36 lessons
2
times
per week
Classes are held
2 times a week.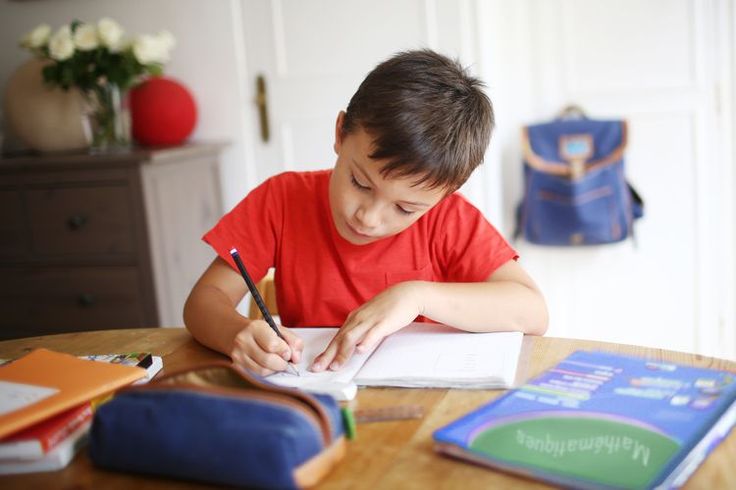
60
minutes
one lesson
For children under 7 years old
the lesson lasts 60 minutes.
90
minutes
one lesson
For children over 7 years old
and adults lesson
lasts 90 minutes.
Teachers of Polyglot children's centers conduct open lessons for parents.
Who suits?
- Preschoolers
- Schoolchildren
- Adults
We will teach kids to write letters better, hold a pen correctly, write words, older children - to write clearly, without blots, increase the speed of writing, adults - to write artistically, aesthetically.
And the course of calligraphy in Polyglot will help develop the left hemisphere of the brain, increase interest in learning and creativity, develop critical thinking skills and memory. The spelling of letters directly affects the functioning of the brain, developing the functions of thinking, concentration and perseverance.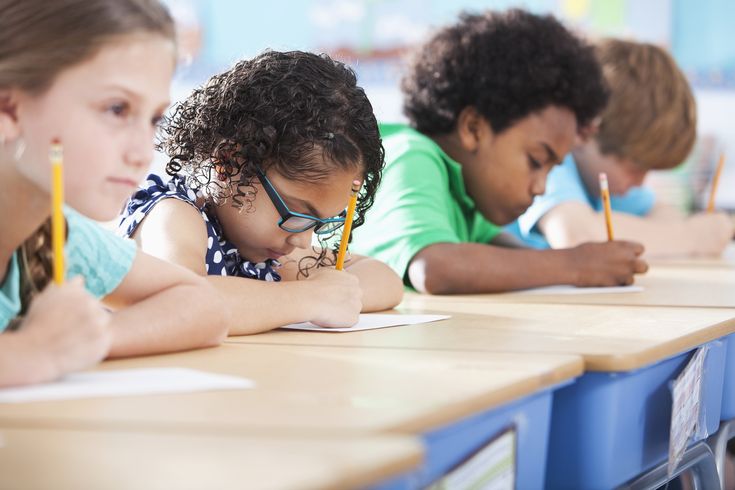 Each task has a complex effect on the perception and improvement of several important skills at once.
Before class
After 10 lessons
Before class
After 10 lessons
Before class
After 10 lessons
Before class
After 10 lessons
Why do children and teenagers need to study calligraphy
Many parents ask themselves whether it is necessary to learn calligraphy? Bad handwriting is evidence of certain features of thinking, and by improving it, you can prevent them and solve cognitive problems. Let's take a look at the benefits that calligraphy classes at the Polyglot Center will bring to a child and teenager.
Benefits of calligraphy for children
Writing is a process controlled by the brain, therefore, together with training in hand movement, inclination of letters and other subtleties, calligraphy in young children:
- are unable to write. This is very important, because for 11 years of schooling, students do not go a single day without writing texts.
- Develops thinking and attention, helps the development of speech, brings up accuracy, patience, accuracy.
- Helps relieve stress in children, creates inner peace, prevents the development of many deviations.
- Improves personality, develops such qualities as thoughtfulness, responsibility, diligence, the ability to bring things to the end.
- Develops creativity. Together with technical skills, calligraphy improves fine motor skills and cognitive thinking. Children get better at drawing, sculpting from plasticine and engaging in other types of creative activities.

Benefits of calligraphy for teenagers and adults
For older children and adults, writing lessons are no less useful, because they:
- Discipline. When a person writes, he thinks not only about the content side, but also about the external expression of what is written, which helps to perceive the images holistically and concentrate better.
- They train writing and improve literacy.
 In the process of writing texts from dictation, a teenager learns the rules of the language better, remembers punctuation and spelling of complex words.
 - Handwriting is the work of the brain, it requires thoughtfulness, which cannot be said about writing texts in Word, where there is an automatic spell checker and autocorrect.
- Increase writing speed. Subsequently, this helps to quickly write down dictations for the teacher in high school and at the university.
- Improve posture. The correct letter is possible only with the correct fit: a flat back, a special position of the arm and elbow. Therefore, if you want to correct your child's posture, doing calligraphy will be very helpful.
- Add to history. Letters concentrate the experience of entire peoples, with which a person gets acquainted, honing the skill of writing.
And most importantly, calligraphy classes give self-confidence. The practice of the network of children's centers Polyglotica shows that the performance of children who write beautifully is much higher. Their brain is able to absorb and process more information in the learning process and everyday life.
Teachers of the Polyglot Centers use unique materials that help to improve writing technique, learn how to hold a pen and sit upright. Special prescriptions help to consolidate the basic connections of letters, as well as the correct spelling of words. Teaching aids and materials with drawing elements along with handwriting practice diversify the lessons, which helps children to learn with pleasure.
Smooth, accurate writing is a sign that the child has strong-willed efforts, has a high level of self-control over the results of his activities, and is able to concentrate on monotonous work.
Of course, time is of the utmost importance. The sooner you start working, the sooner you will get beautiful smooth handwriting. It is very important to complete tasks regularly. So, using at first glance simple tricks, you will see how not only the student’s handwriting improves day by day, but also his level of perception of information, how much easier it will be for him to work on homework and do exercises.
For many years specialists have been publishing information about the undeniable positive results that drawing and writing bring. Beautiful smooth handwriting, improving literacy, developing attention and thinking. You have a wonderful opportunity to develop these and other skills and abilities in your child today!
Beautiful handwriting is a person's acquired individual style!
Ask a Question
Course of studyEnglish languageGerman languageSpanish languageItalian languageChinese languageFrench language Preparing for school Preparing for examsArtCookingCraftsFitnessMusicStorytimeYoga kidsEnglish Literature English for elementary school (online)English Club-GardenEnglish TheaterEnglish language (group)Bilingual full-time kindergartenKids School of FashionArt StudioKorean languagePrivate lessons PolygraphyKalliglot Memory developmentSummer campSpeech therapy classesMath in EnglishMental arithmeticMini-gardenMnemonicsMusical DevelopmentScience in EnglishWrite-ReadPreparation for immigration PortugueseConversation Club with a native speakerEarly development in EnglishSpeed readingCreativity in EnglishLearn well!Fitness in EnglishChess ClubEnglish (online)German (online)Spanish (online) )
For faster processing of the application, you can provide more information.