Kids learning letter
Learning Letter Sounds
[Home] [Preschool] [Colors Recognition] [Learning Letter Sounds] [Math Readiness] [Scissor Skills] [Shapes Recognition]
[Age Rating] [Introduction] [Printable Worksheets]
All children develop as individuals. Parents and caregivers should use the age ratings below as a general guideline, taking the abilities, temperament and interests of their children into account.
- Ages 4-5 Can complete without assistance.
- Age 3 Can complete with minimal assistance after directions are given.
- Age 2 Introduction to alphabet and reading concepts -- can complete with adult assistance.
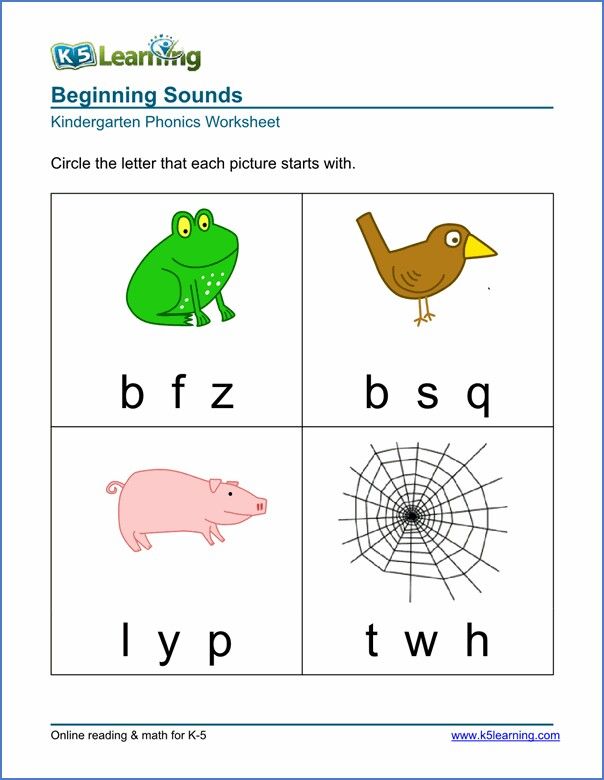
Beginning consonant activities provide first steps in identifying the different sounds that make up a word.
If an aspect of a project is frustrating to the child,
provide assistance - try to keep things fun. Sing songs, read stories or
watch shows with a similar theme as the worksheet you choose to supplement the project - again focusing on
extra activities that the child enjoys to help keep them motivated.
Take breaks, when necessary. Choose a time of day when you and the child are relaxed. Provide rewards (verbal encouragement, gold stars on "chore chart" checklists or awards for tasks that have been mastered) and change up the rewards when needed. Don't underestimate the "reward value" of one-on-one time with a loved grown up! Ten minutes of "homework time" with daddy after work can become a special ritual for both father and child.
Beginning Consonants
- Letter Bb
- Letter Cc
- Letter Dd
- Letter Ff
- Letter Gg
- Letter Hh
- Letter Jj
- Letter Kk
- Letter Ll
- Letter Mm
- Letter Nn
- Letter Pp
- Letter Qq
- Letter Rr
- Letter Ss
- Letter Tt
- Letter Vv
- Letter Ww
- Letter Xx
- Letter Yy
- Letter Zz
Ending Consonants
- Letter Bb
- Letter Dd
- Letter Ff
- Letter Gg
- Letter Kk
- Letter Ll
- Letter Mm
- Letter Nn
- Letter Pp
- Letter Rr
- Letter Ss
- Letter Tt
- Letter Vv
- Letter Ww
- Letter Xx
Beginning Short Vowels
- Short Aa
- Short Ee
- Short Ii
- Short Oo
- Short Uu
Middle Short Vowels
- Short Aa
- Short Ee
- Short Ii
- Short Oo
- Short Uu
Visit DLTK's
Alphabuddies for printable crafts, coloring pages, felt board templates,
tracer pages and poems to supplement these letter recognition worksheets.
Learning Letters with Fun Activities
If your kids are learning letters, then this is the post for you! Teach the alphabet with hands-on activities that are engaging and enjoyable for young kids!
I am always creating new alphabet activities to do with my kids. From games, to activities to hands-on printables, there are so many ways to make learning letters a fun experience for your kids!
These activities are all fun, engaging and hands-on ways for kids to learn letters. And many of them require very few supplies. So let’s get started!
Learning Letters in Preschool and Kindergarten
1. Use a sand tray and these letter formation cards to help kids with letter identification, letter formation and even letter sounds.
Just use a small shallow tray and some colored sand to make a writing tray. Then pair it with the letter formation cards.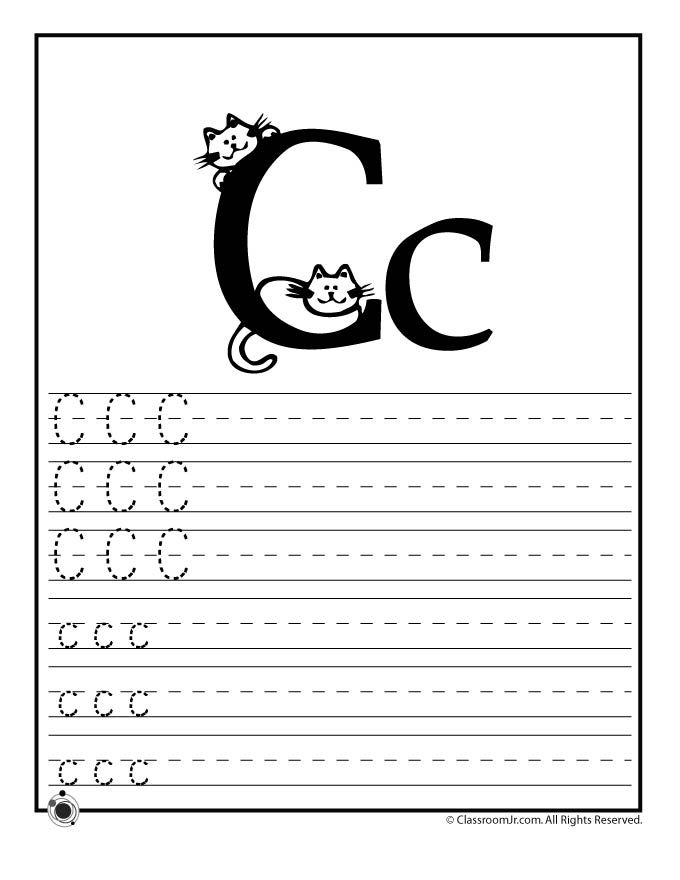 The cards even include a small picture that represents the sound that each letter makes!
2. Play this Roll and Dot the Letter Game. In the two-player game version, children will roll an alphabet dice, and dot the letter on the page. The first person to dot 5 letters in a row wins! Or keep the game going and see who can get the most 5 in a rows per sheet.
3. Use these alphabet clip cards to help kids learn letter sounds while also developing fine motor skills!
4. These Beginning Sounds I Spy Mats make learning letters sounds fun and hands-on! Grab some alphabet beads and see if your kids can find all the letter sounds on the mat!
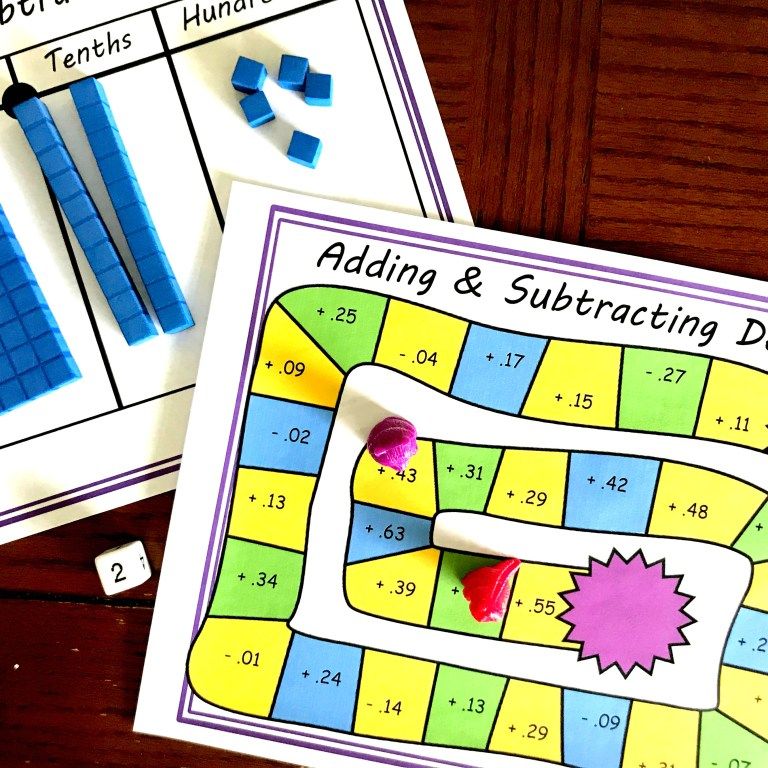
5. Print out this board game and play a fun game that teaches letter identification and letter sounds. This is one of my most popular ideas and one of my kids’ favorites!
6. These printable alphabet puzzles will make learning letters a hands-on experience. They develop critical thinking skills and fine motor skills while teaching letters and sounds!
7. Combine play dough and learning letters with these engaging alphabet mats. Not only will kids practice letter formation while using them, but they will also practice identifying beginning sounds in words. Slip them into write and wipe pockets and you can use dry-erase markers on them too.
Get these Activities in my Alphabet Printable Pack
These activities can be found in my brand new Alphabet Printable Pack! With 370+ pages and 17 alphabet activities, this alphabet pack is going to be so helpful to you!
8. These Beginning Sounds Clip Wheels develop fine motor skills while teaching the children to identify beginning letter sounds. Each wheel includes 4 objects that correspond to the letter in the middle. Children will mark the correct pictures with clothespins.
9. Beginning Sounds Mazes are a fun way to learn letter sounds! These bright and colorful mazes are visually engaging and great for developing visual tracking skills which are also necessary for reading.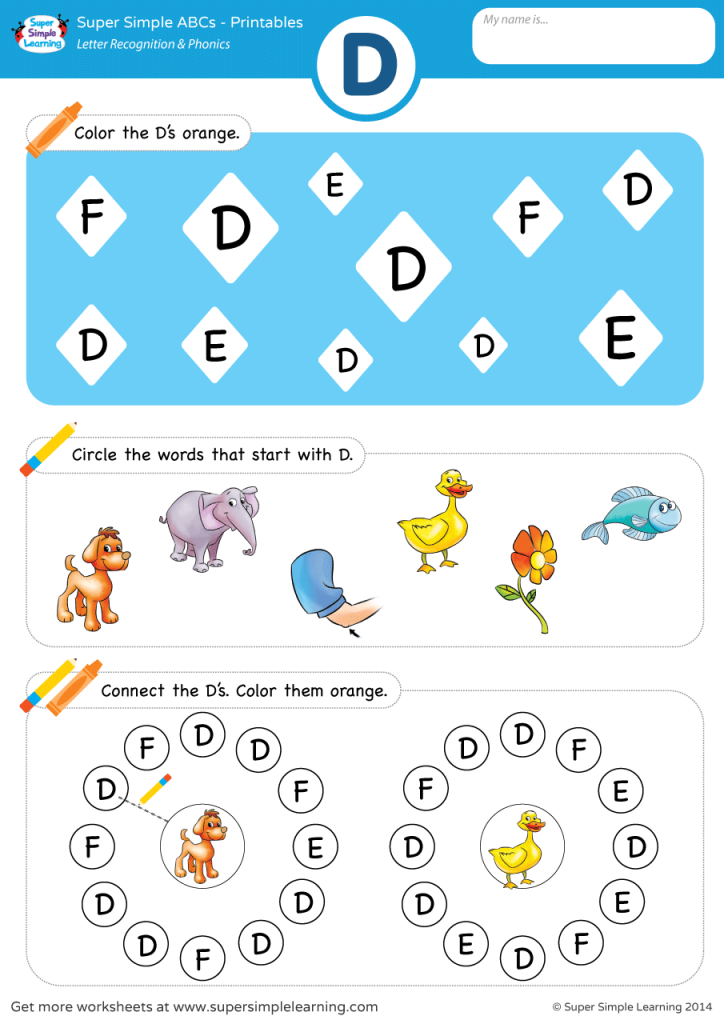
10. My kids really enjoy these Spot the Letter Mats. Children will search the mat for objects that start with the letter in the middle of the mat. Slip in dry-erase sleeves and mark objects with dry-erase marker. Or laminate and mark with pom poms, craft gems or other small objects.
Buy the Alphabet Printable Pack
To read more about the Alphabet Printable Pack and all of the activities that are included, click the link below!
Lesson 3. Teaching writing to the smallest
In the last lesson, we have already started talking about preparing children for learning to write. In the following, we will continue this theme and at the same time move on to the practice of elementary education. As it has already become clear, preparation begins a few years before school. But many parents, in a hurry to quickly start classes, hastily study the methods, but do not pay attention to self-control at all, because. only it allows you to avoid making the most common mistakes.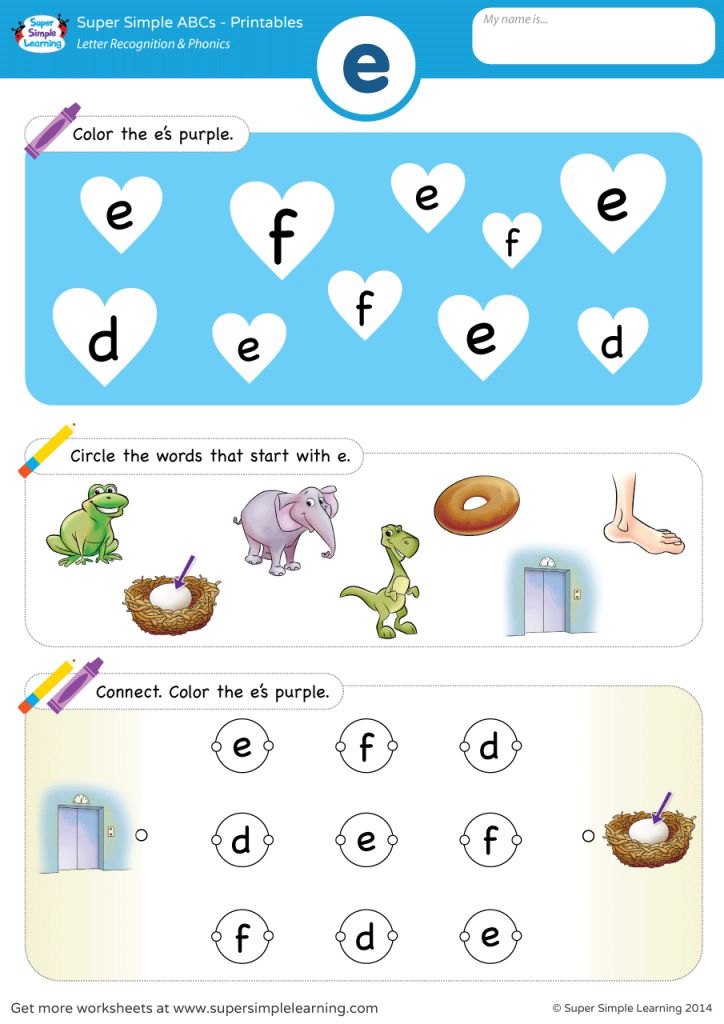 The most important of them is too early start of training.
According to primary school teachers, based on many years of experience, parents should not teach their children to write (especially cursive) at preschool age. And the categoricalness of this opinion, of course, is based on a number of specific reasons:
- Firstly, children under the age of five are simply not yet ready for writing due to age-related physical and mental characteristics. Often at this age, fine motor skills of the hands are not developed, which is why the mechanisms responsible for neuromuscular regulation and visual coordination do not work well. In addition to this, the wrists and phalanges of the fingers have not yet completely ossified.
- For teaching how to write each letter of the alphabet, there is a scheme on which professional teachers build their classes. Without special education, many parents teach their children incorrectly, which means that they master the wrong and ineffective writing technique.
- Poor handwriting is common among children who learn to write early. To master calligraphy skills, a child must be provided with classes specifically in capital letters for at least an hour a day, and preschoolers cannot be given such a load. In addition, all this time it is necessary to carefully observe how the child displays various elements of letters on paper, but parents themselves are not always able to follow this condition.
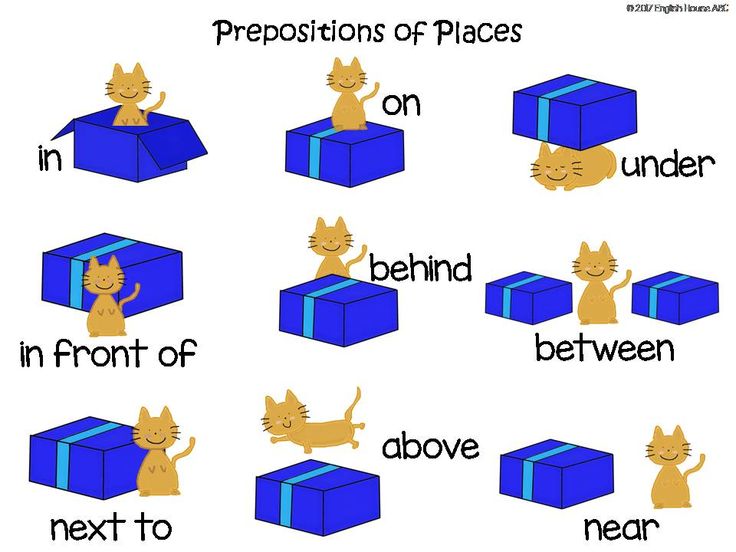
- Parents do not pay attention to the formation and development of children's spatial orientation. As a result, children cannot quickly and confidently navigate the characteristics necessary for writing (left and right, bottom and top, farther and closer, etc.).
It is easy to see that the opinion of teachers has a solid foundation. However, this does not mean at all that you now have to give up and not deal with the child. On the contrary, you can and should do it, but you should follow the right path. Therefore, first of all, preparation, and only then - writing in capital letters.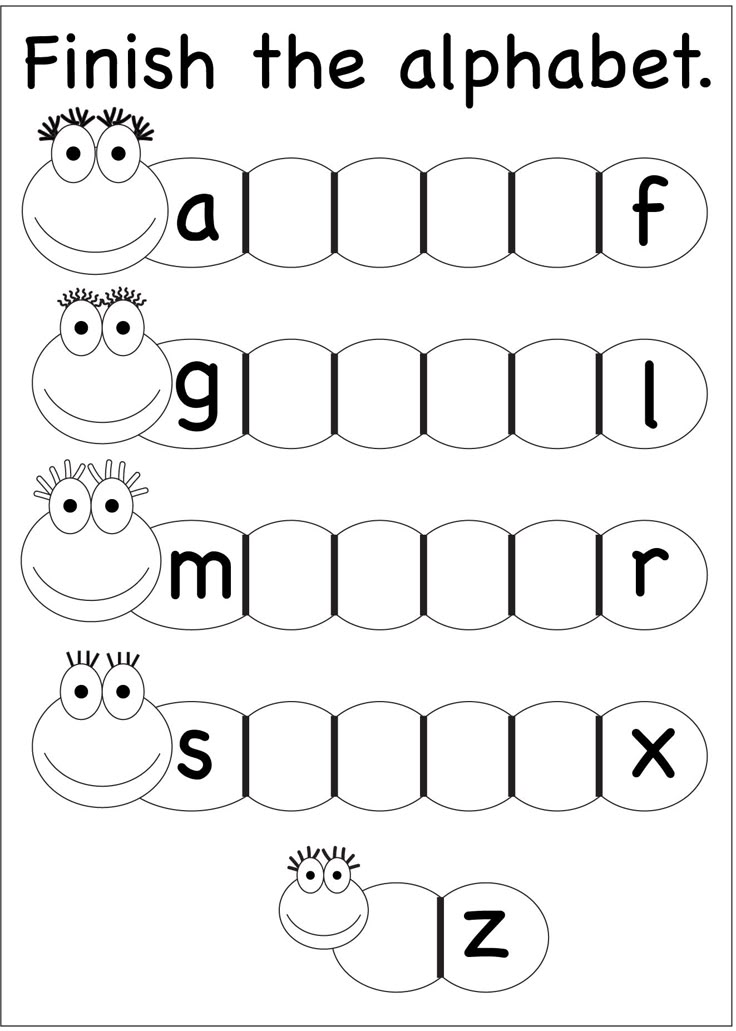 It is in this order that we will continue the conversation.
Contents:
- Preparing a child for writing. Block №2
- How to teach a child to hold a pen correctly
Preparing a child for writing. Block №2
The process of mastering writing and handwriting must be carried out correctly, and this is achieved only by performing specific actions. What should be done to properly prepare a child for writing?
1
Mastering the pencil
If you think your child is ready for new knowledge, solemnly hand him a pencil. Why a pencil, we have already said. Make sure that the child handles him carefully (do not get hurt, do not poke himself in the eye, etc.). First, the baby needs to get used to the new object in his pen, understand how it is “arranged” and what they can do. And you show him that with a pencil you can drive on paper, which is why lines are obtained. By the way, the first letters can also be written in pencil, because in this case they are easy to correct.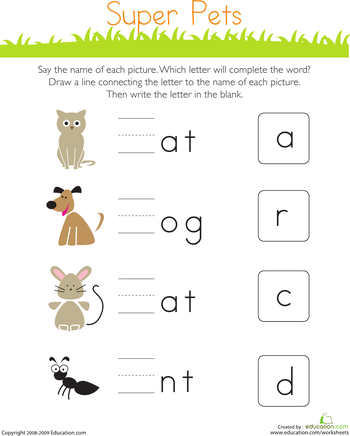
2
Study - no more than 5 minutes at a time
When you show your child the outlines of block letters and help to deduce their elements, try not to tire him. It is best to write one line, and then take a break. As you remember, it is still difficult for young children to concentrate, so practice for 2-3 minutes (maximum 5 minutes) at a time, and then relax.
By the way, an interesting fact is that at the beginning of training, the less the child writes, the better he will get. Instead of bombarding your child with tasks and pages of letters to repeat on a letter, study a little and do not set too difficult tasks.
3
Master spatial orientation
Each child has difficulty writing specific letters: some, for example, write the letter “c” instead of the letter “d”, others write the letter “e” in the wrong direction, etc. Also, many “mov out” from the lines or are completely confused about where to start writing. To avoid all this, from an early age, teach your child the correct orientation on the sheet.
To develop the correct orientation, you can give your child simple tasks: ask him to look for differences in pictures, draw dots and sticks in the areas of the sheet you specified (bottom, top, left, right, relative to some object on the sheet or page, etc.). P.). It is useful to teach a child to draw large and small circles, and then compare their size.
Even when writing in block letters, it is possible to use oblique ruled notebooks with additional lines. Such notebooks are specially made so that the correct slope always appears before the eyes of the child.
4
Improvise with letter images
To help your child understand how letters are written, draw their images in the air. Initially show large letters by drawing them with your whole hand. Then reduce the size little by little. The task is to reach the point of using only the hand. Do this exercise with your child, helping him to draw invisible letters.
5
Highlight the best letters
We have already talked about the importance of encouraging a child even for the most modest successes. Use this method here as well. When a baby learns to write his first printed letters, most of them will turn out badly, but some will come out quite tolerably. Draw the child's attention to the letters that turned out well, highlighting them, for example, with a green marker for notes. Tell the baby what you need so that all his letters come out just as beautiful and correct. Focusing on successful examples, it will be much easier for him to learn how to write correctly.
6
Use pen tips
We talked about special pen and pencil tips in the last lesson, pointing out that they contribute to the formation of a correct grip. We also said that it is better not to be zealous with nozzles, and here's why. Constantly interacting with nozzles, the child gets used to them. Subsequently, he simply will not be able to write without them, and the writing object will hang out in his hand.
Continuing on the subject of proper grip, we offer several ways to help you teach your child to hold a pen correctly when writing.
How to teach a child to hold a pen correctly
The problem of incorrect gripping of a writing object is faced by both parents involved in the development of preschool children and teachers teaching in the lower grades. The fact is that it often takes a lot of time and effort to master the correct grip. As a result, moms and dads, seeing that the child is already writing well, grabbing the pen as it is more convenient for him, leave everything as it is. But this could be problematic in the future.
First of all, we note that, having learned to hold the pen incorrectly, the child gets used to it so much that even in adulthood he continues to do it. In addition to handwriting, this affects the health of the hands - if they are not properly gripped, they get tired faster, because of it, the wrists can ossify incorrectly and even develop joint diseases, scoliosis, and vision problems.
Therefore, you need to worry about the correct grip in advance, and much earlier than the child picks up a “writing stick” for the first time.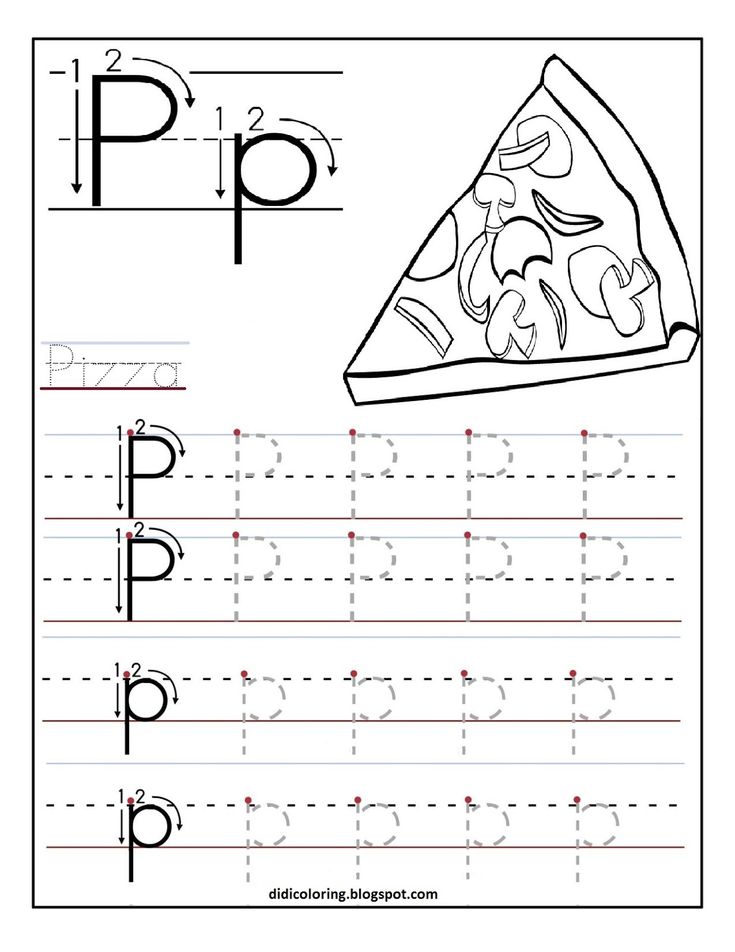 Always pay attention to how your child holds a rattle in his hand, sculpts from plasticine, scratches with crayons, etc., because. these classes are already preparation for writing.
As for the signs of incorrect grip of a pencil or pen, it is not difficult to identify them. It is enough just to observe the child in the process of writing. An indicator that the baby is holding the writing object incorrectly can be:
- Pen holder in cam
- Pencil clamp
- Thumb below index finger
- Holding the handle with the index finger instead of the middle finger
- Finger position too close to or too high from the writing head
- The direction of the upper part of the handle is “from the shoulder”, not “to the shoulder”, as in the correct grip
- Too strong or barely perceptible pressure on the writing object
- Constant voltage writing hand
- When writing, the child does not turn the hand, but the sheet of paper on which he writes
If you notice something like this in your child, start correcting the grip defects as soon as possible.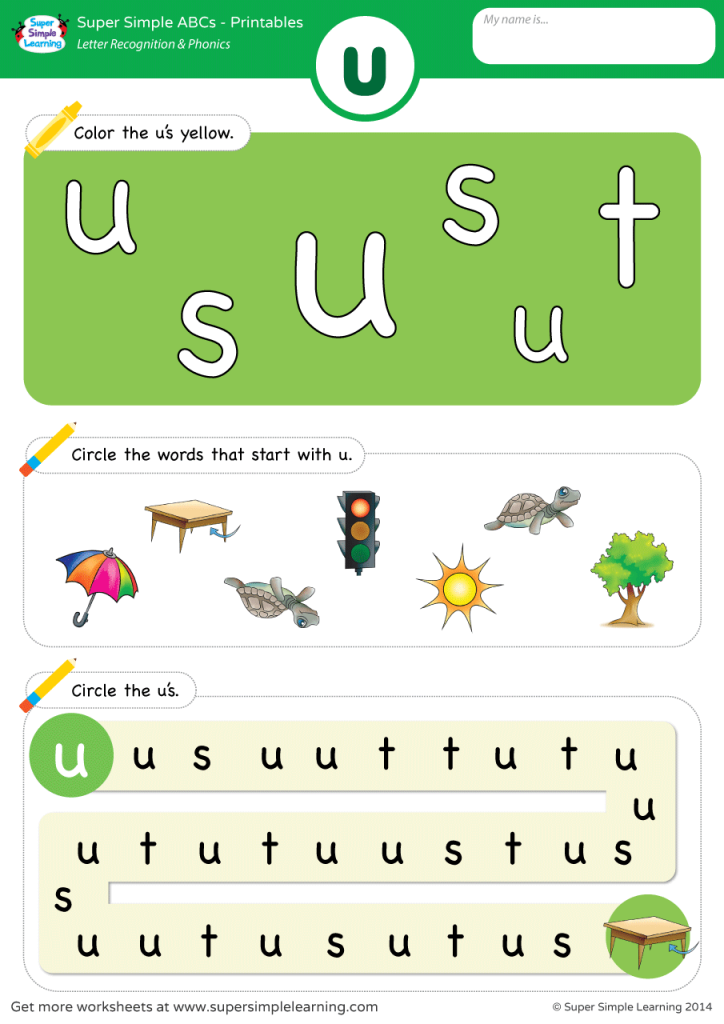 Five good ways will help you with this (they are suitable for correcting the wrong grip, and for forming the right one).
1
Tweezers
Prepare the handle (if the child is very small, you can take the body from the handle). Have your child grasp the pen with the three fingers used for writing and then rest it on the table. After that, ask the baby to slide her fingers down the handle and stop in the right place for the correct writing.
2
Crayons
This is one of the easiest ways to form a correct grip. The kid just needs to draw with colored crayons. But the crayons should be broken into several pieces about 3 cm long. The baby will not be able to take such parts in his fist, and it will be most convenient to take with three fingers.
3
Darts
When a child throws darts, his fingers hold them just like holding a pen. Buy a safe set of darts for kids and practice throwing them every day. Together with the correct grip, the eye and accuracy will be trained.
4
Circle and dot
Another easy way to teach your little one to hold a pencil or pen. Draw a colored circle on the upper phalanx of the baby’s middle finger, and on the writing object, a bright dot in the place where the object needs to be held. Let the child practice holding a pen or pencil so that the point on it is in contact with the circle on the finger.
5
Runaway Napkin
it will be inconvenient to work with a whole child. Take one half and put it in the baby's fist. Ask the baby to press the napkin to the palm with the ring finger and little finger, and with the other three to take a pen or pencil, but that the napkin remains in place, i.e. didn't run away.
Seemingly quite simple tricks, but they give very good results. Do not neglect them - and you will not have to spend time and effort on correcting mistakes.
Information from two blocks on preparing a child for writing and a block on teaching correct grip is enough, firstly, to understand the specifics of actions, and secondly, to start performing them.
In the end, they should lead to this result *:
- The child holds the pen correctly
- The child is guided by the space of the notebook sheet
- The child does not unfold the sheet on which he writes
- The child draws pictures that match the size of the letters without problems
*Don't forget about the information from the "Preparatory period" section of the first lesson
The above features will be an indicator that you have successfully completed the tasks of the preparation stage and have done your homework correctly. And if you are sure that printed letters are mastered enough (the child knows their elements, knows how to display them on paper, remembers the names of the letters), fine motor skills, memory, spatial orientation and coordination are well developed, and it will soon be time for him to go to school, you can, again - little by little, begin to engage in the development of capital letters. We will talk about how this is done in the fifth lesson. From it you will learn how the process of learning to write in capital letters begins, what manuals exist for this and what techniques are used.
Test your knowledge
If you would like to test your knowledge on the topic of this lesson, you can take a short test consisting of several questions. Only 1 option can be correct for each question. After you select one of the options, the system automatically moves on to the next question. The points you receive are affected by the correctness of your answers and the time spent on passing. Please note that the questions are different each time, and the options are shuffled.
Statistics Full screen
Cyril
← 2 Preparation, games, tricks 4 Writing in cursive →
Teaching children to write
Today one would hardly find a person who cannot write. But the memory of the times when people not only did not know how to do this, but did not have the slightest literacy at all, is still fresh. However, even among the vast majority, there were always those who were trained in both writing and literacy. It was to such people that honest people came to make notes, read documents and perform other equally important deeds and tasks. But more interesting is that people who can only write or only read were considered semi-literate.
It's the same now - to be truly literate, you need to be able to read, count and write, and do it all correctly.
At present, literacy can be called one of the indicators of the development and education of a person in general. Many even say that it is on literacy that personal development in general is built. But why is literacy, and in particular literacy in writing, so important for both children and adults?
Contents:
- Why you need to be able to write
- First things to take care of
- Training steps
- Additional recommendations
- Quotes from famous people about writing
Why you need to be able to write
Answering this question, there are several fundamental reasons that speak about the importance of writing:
- First, the ability to write allows people to understand each other through this very writing.
 When a person says something incorrectly or without knowing how to find words, it is quite difficult to understand him. With a letter, the situation is similar.
 - Secondly, the ability to write is a manifestation of respect for the traditions and laws of the Russian language and the people as a whole.
- Thirdly, the ability to write is a serious tool with which you can interact with people.
- Fourth, the ability to write allows you to achieve success in learning, as well as simply get a job or engage in some kind of activity related to writing
- And finally, fifthly, the ability to write allows a person to form a first impression about himself. It's about like appearance - when a person is untidy, with an unwashed head and dirty nails (that is, he writes somehow and makes mistakes even in the simplest words), one gets the impression of him, and when he is well-groomed and looks great (in other words, beautiful and writes well) is completely different.
Thus, it is very difficult to overestimate the importance of writing skills. But, naturally, in order for a child to be able to write beautifully, correctly and competently, his education must be dealt with. Yes, it may not be very easy, but it is extremely important. Besides, if you teach your child to read and count, why not teach him to write?
The question of how to do this, many parents ask, while their children are still very small. They are looking for all sorts of ways to teach writing literacy, beautiful handwriting, expanding vocabulary, etc., so that the baby can go to school prepared, achieve great academic success, keep up with classmates, etc. It is for these reasons that from the first years of life, mothers and fathers dilute the daily life of children with various activities and lessons.
In the event that your idea is not a manifestation of ambition or a whim, but a true desire to bring up a healthy, holistic and harmonious personality in your child, the information below is just for you.
Before you start teaching your child to write, you need to pay attention to one very important point. It is with him that we will begin.
First things to think about
during it, their hands cannot cope with the usual manipulation of a pen or pencil. Even if they want to write something specific, they end up with unknown scribbles. The problem is obvious, although at first glance it may not be noticed. It consists in the fact that the child simply has not developed fine motor skills of the hands, because. his parents didn't work with him. This leads to the need for a visit to a specialist in motor development, as well as the fact that the child will have to "catch up" with the material and try to keep up with peers.
Avoid the above parenting omission, because your baby's development depends on it. In addition, classes for the development of fine motor skills are not at all laborious, and for children in general they are one of the favorite pastimes. In fact, these activities are ordinary games.
Spend time with the benefit of the child, namely:
- Sculpt together with plasticine. Let the child help you prepare something from the dough.
- Play with your baby with small objects (make sure he doesn't put objects in his mouth).
- Play with your child with soft rubber toys (make sure he crushes the toys)
- Stick paper appliqués with your baby.
- Learn origami with your child.
- Draw with your baby and color the pictures.
- Create all kinds of compositions together with clothespins.
So, while having fun with your child, you will contribute to the excellent development of fine motor skills of his hands, and at the same time interact and get to know each other better. As a result, by the time recommended for starting writing lessons, your baby will already be prepared, which means he will be able to learn to write. The learning process itself can be divided into three stages.
Stages of learning
Anyone who wants to teach their child to write must immediately realize that success will require maximum effort and think over their own methodology. But we will talk more about the methods, but for now we will focus on the stages of training.
Three stages in total:
- Preparatory stage
- Block Writing Stage
- Writing phase
The steps presented are the categorization of educators and pediatricians. By the way, according to them, you should not start teaching a child to write before the age of three - this is still very early. But when the baby crosses this threshold, you can gradually proceed. As for the periods, they must be taken into account. Let's consider the issue in more detail.
1
Preparatory period
Writing will not bring any results if the child cannot perform a few simple but very important actions. Based on this, at the first stage, you need to teach the child:
- sit at the table
- Hold a pen or pencil
- Place notebook on table
- Observe the correct posture for writing (the child should not lean too much towards the notebook)
- Correct orientation in space (in particular - the child should not confuse the sides of the notebook sheet)
- Effortlessly focus on the same activity
Among other things, quite developed fine motor skills, which we have already mentioned, can also be included here.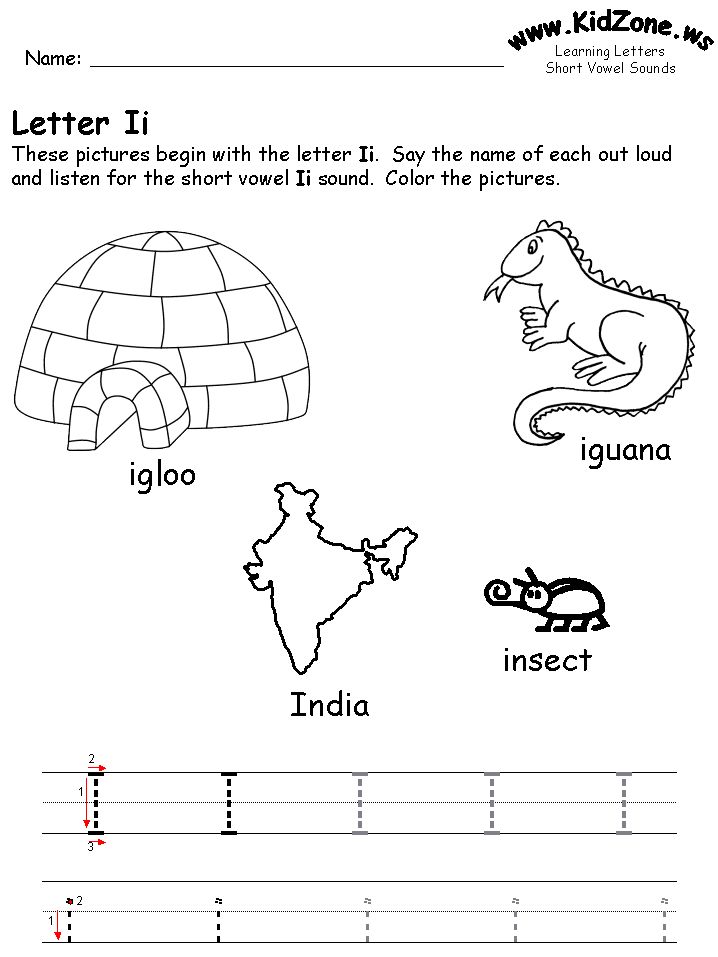 More important is also the fact that by the time he begins his learning to write, the child should already know the letters. This, in turn, indicates the need to study the alphabet before starting classes.
As a rule, the preparatory period corresponds to the age of three to five years.
2
The stage of learning to write in block letters
You will know that the preparatory stage was successful by the way your child performs the above actions - each of them should already be familiar to him and just for him. As soon as this happens (in most cases in 5 - 5.5 years), you can safely proceed to the development of printed letters.
Remember: the main task of the second stage is to teach your child how to write in capital and small letters.
3
Learning to write in cursive
In the case of writing in capital letters, the situation is somewhat different. Taking into account the peculiarities (and for children - the complexity) of their writing, it is better to move on to them closer to the school where copybooks are used.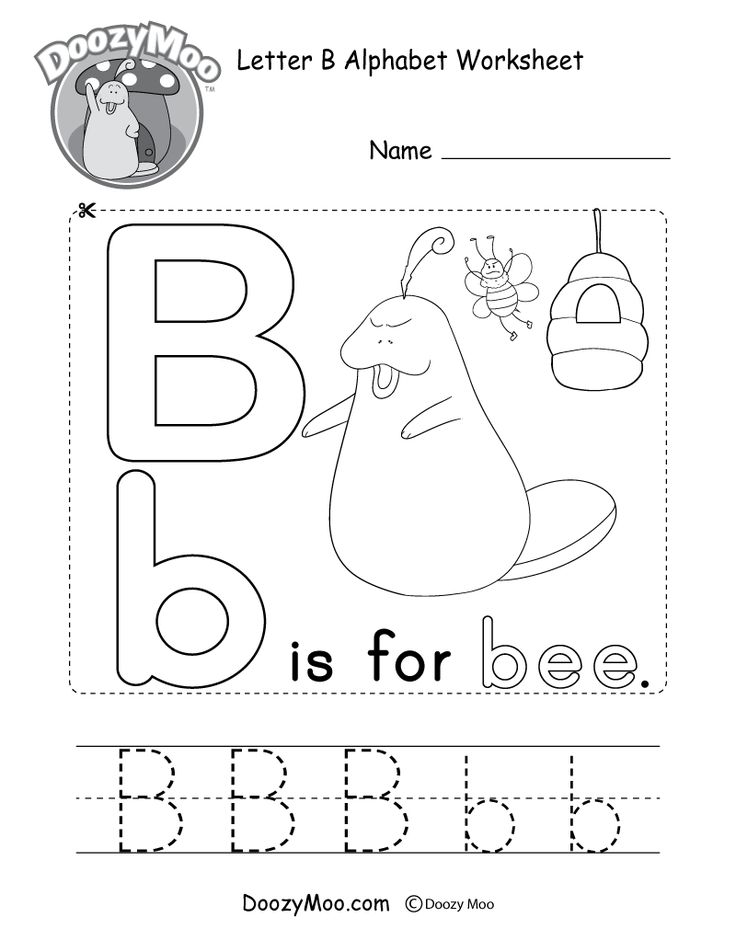 Well, or, in extreme cases, at the senior preschool age, i.e. about five or six years old. It all depends on your decision and the desires and abilities of the child.
By organizing the learning process in accordance with these stages, you will make it harmonious, smooth and effective. And having considered the stages of teaching children to write, it will be a high time to talk about the most common mistakes that parents make when they get down to business. Being engaged in the early development of your child, try not to commit them.
Here is a list of major errors:
- Exercising too long (meaning more than twice a day for 15 minutes)
- Criticism of the child, reproaches, comparison, communication in raised tones, etc.
- Lack of work on the errors made
- Pressure on the child (force, threaten, use the method of "deprivation")
- Lack of time for classes (child's unpreparedness for learning)
- Ignoring the suggested steps (skipping the preparatory step, learning capital letters early)
- Formal and serious approach to classes (for the hundredth time we repeat: the best form of education for preschool children is play)
- Too harsh discipline (when a parent takes on the role of a teacher, ceasing to be a parent in the first place)
- Irregular and unsystematic classes
When teaching a child to write, always take into account these common mistakes of parents, build your strategy accordingly and practice self-control for prevention.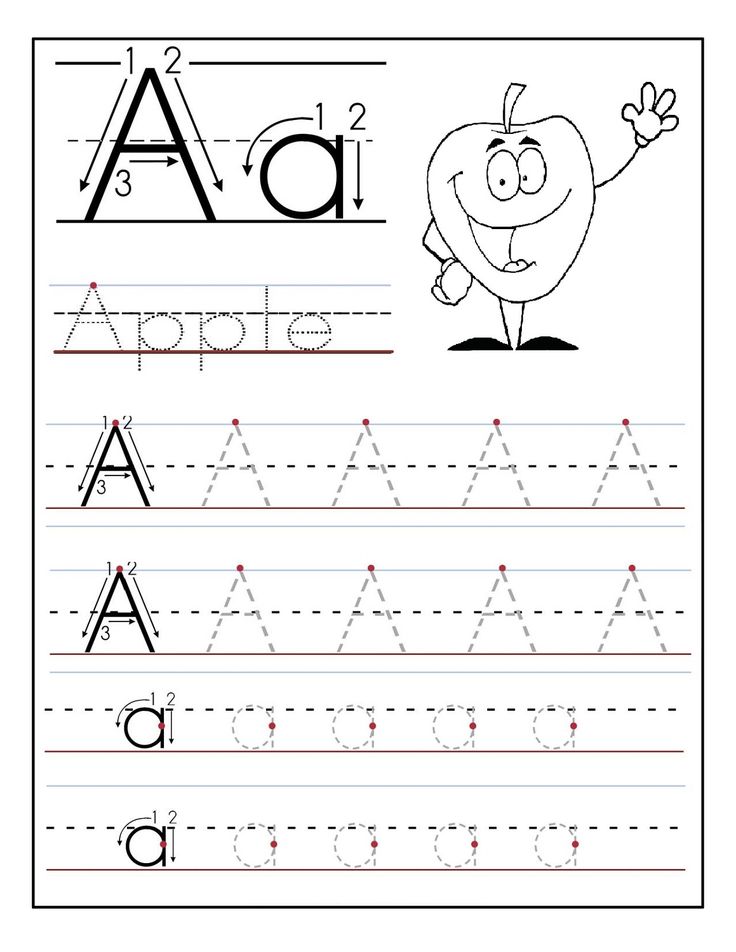
And in conclusion of the introductory lesson, we want to give you some more tips that will certainly be useful to you in your future practice.
Additional recommendations
These recommendations were not invented by us, but were compiled by one of the most famous Russian academicians, psychologist, Doctor of Biological Sciences, professor and director of the Institute of Developmental Psychology of the Russian Academy of Education - Maryana Mikhailovna Bezrukikh. In her opinion, based on many years of experience, in the process of teaching children to write, the following should be taken into account:
- Writing is one of the most difficult skills to master. It is formed quite slowly, and for a child to master it well, it takes an average of 3 to 4 years.
- Parents should not reinvent the wheel - the most effective methods can be found in specialized literature.
- To this day, copybooks are considered to be a very effective way to train writing skills.
 Bookstores sell a huge number of copybooks in the most interesting designs and designed for different ages and levels of development of children.
 - At the very beginning of teaching a child to write, checkered paper should not be used. It is best to use albums or (in the absence of such) lined notebooks.
- All information presented to the child must be visualized. To do this, you need to show pictures, write examples, give associations, etc.
- If even with a competent approach, for some reason, the child does not learn to cope with the simplest tasks, it is recommended to seek professional help.
This concludes the first lesson. In the second lesson, we will introduce you to the basic principles and the most popular methods used when teaching children to write. After reviewing them, you will know what can be used, and what will be more effective specifically in your case.
Lesson 1. Basic principles and basic methods of teaching children to write
As it should be understood, the process of teaching children to write is based not only on a certain methodology, but also on specific general didactic principles.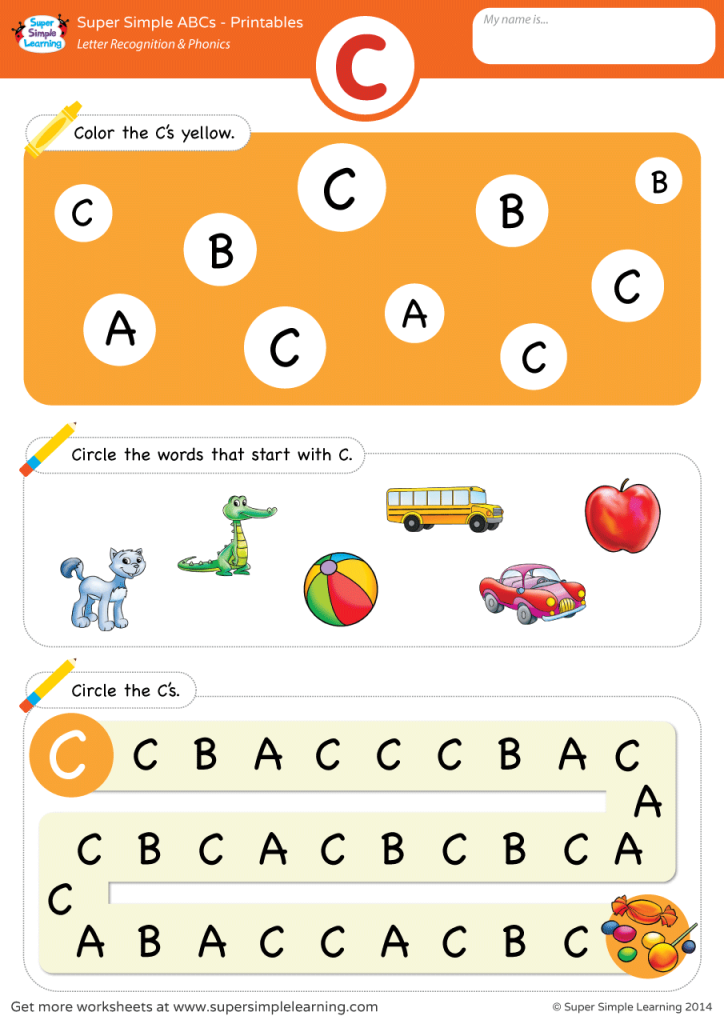
Therefore, first we will talk about them, and then we will talk about the methods.
Lesson 2. How to teach a child to write: preparation, games, tricks, recommendations
Teaching a child to write is a task, albeit difficult, but quite doable, and any responsible parent can do it. The question is rather when to start preschool, because if you start too early, the child may have problems in the future. It is for this reason that the first thing to pay attention to is the development of fine motor skills.
For example, the famous teacher Vasily Sukhomlinsky said that the origins of children's abilities and talents are at the fingertips of children. It is far from a secret that with the development of fine motor skills, the corresponding parts of the brain develop, muscle memory, attention, perseverance are trained, i.e. there is a real preparation for writing. And here you need to "seize the moment" when you need to do everything so that already in the first grade the child can learn more easily.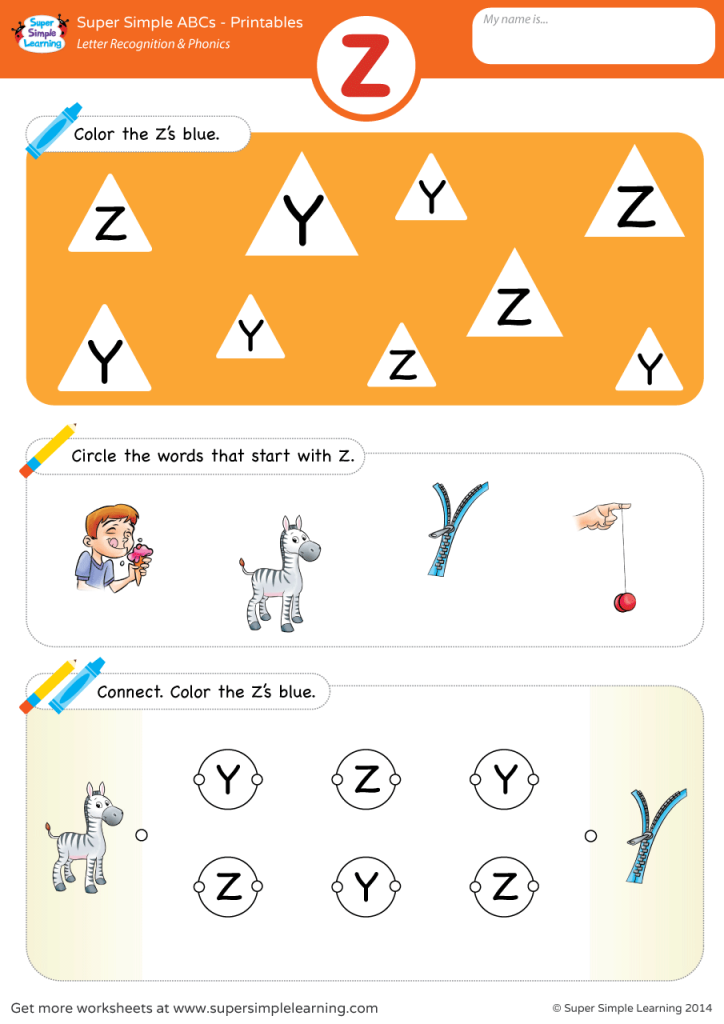
Lesson 3. Teaching writing to the smallest
In the last lesson we started talking about preparing children for learning to write. In the following, we will continue this theme and at the same time move on to the practice of elementary education. As it has already become clear, preparation begins a few years before school. But many parents, in a hurry to quickly start classes, hastily study the methods, but do not pay attention to self-control at all, because. only it allows you to avoid making the most common mistakes. The most important of them is too early start of training.
According to primary school teachers, based on many years of experience, parents should not teach their children to write (especially cursive) at preschool age. And the categoricalness of this opinion, of course, is based on a number of specific reasons: there is only one requirement for this very preschool preparation - that the child knows the alphabet. As for the skill of beautiful writing of letters, everything here - as God puts on the soul - this is not required for "enrollment" in first graders.
But caring parents, in turn, do not want to let the development of their child take its course or shift the responsibility for it onto the shoulders of teachers alone. Therefore, preschool writing classes are far from uncommon. And here we again return to the observations of teachers: it was noticed that children who learned to write at home even before school, when they came to the first grade, often write worse than those who began to master such a difficult skill already at their desks.
Lesson 5. Learning to write correctly and without mistakes
The skill of beautiful and literate writing can safely be counted among the indicators of personality development and individual culture of a person. Unfortunately, from birth, no one has the ability to model letters, follow the rules for writing them and not make mistakes. Only the hard work of parents and the child allows you to develop the ability to write grammatically correctly at an early age.
In the preschool period and in the elementary grades, children make many mistakes in writing, and even in those cases when they copy the text from some sample or board, perceiving someone else's speech by ear or expressing their own thoughts. And this, along with teaching children to write in block and capital letters, is another topic that should definitely be considered. We will begin the sixth lesson with a description of the basic principles of teaching children to write competently, and we will continue with methods for teaching children to copy from samples and write from dictation.
Lesson 6. Getting rid of illiteracy in writing. Overcoming unwillingness to study
Many children cannot understand why it is so important to be literate and write correctly. They calmly write “arel”, “mouse”, “orbuz”, and everything is in order - what difference does it make - “a” or “o” in the word, because it’s already clear to everyone what it is about. Based on this, the first thing to do is to explain to the child the importance of literacy.
Literacy, and in particular - literacy in writing, is today a sign of a person's education. A schoolchild needs to be literate for the reason that there are written assignments and work in all subjects, which means that literacy is always needed. In addition, classmates, and in some cases teachers, often make fun of children who do not know how to write correctly and make fun of them. And who is pleased when he is "poked with his nose" in his own mistakes, and even scoffing at the same time?
Lesson 7. Learning to write essays
A student needs to be able to write essays just as much as the ability to copy texts from a sample, write from dictation, etc. Moreover, this skill is needed even for those who were not awarded by nature with literary talent. Thus, if some children write essays without problems, then it can be very difficult for others. How to behave in such a situation? What is effective parental support?
Lesson 8.
 Teaching a child to write in foreign languages
 For a full life that opens up many new perspectives and opportunities, a modern person needs to know at least one foreign language. With knowledge of a foreign language, you can enter a university with the appropriate requirements, go to study under a student exchange program abroad, make new acquaintances with people around the world, get a good position in a large international company, etc. And if we take into account the fact that it is best to learn new knowledge at a young age, then a foreign language should be taught even before school, or at least in the first grades.
How to learn to read in a foreign language was discussed in the first block of our course. Now we will continue the topic of foreign languages, but we will consider it in the vein of teaching writing specifically. And as an "experimental" language, we will again take English. The reasons are similar: English is an international language, very popular, in demand and easy enough to learn. So let's go, or as the Americans say: "Let's it!".
Lesson 9. Teaching a child to type on the keyboard
Modern life is completely unthinkable without computers. They accompany a person everywhere, from home to a work office, from a coffee machine to a store's cash register. Even without talking about global computerization, it becomes clear that today it is necessary to be able to work with a computer. In many educational institutions (so far mainly in the West, of course), the place of notebooks and pens on school desks has been replaced by laptops. We will also talk about the advantages and disadvantages of introducing computers into the education system on the pages of our intellectual club, but for now we will continue.
Nowadays, even an adult who does not know how to work on a computer is not often met, let alone children. But if it is enough for the middle-aged generation to know basic programs and be able to use the Internet, and grandparents have enough skills to manipulate a push-button cell phone, then modern children need to master the intricacies of user computer science. And one of the basic skills among them is the ability to quickly type on the keyboard.
Famous people quotes about writing
To conclude this introductory lesson, here are some inspiring quotes from famous people about writing:
Writing is the best way to penetrate a person. The word blinds and deceives, because it is accompanied by facial expressions, because you see how it leaves the lips, because the lips please, and the eyes seduce. But black words on white paper are the soul wide open.
Guy de Maupassant
People do almost all important things by correspondence, therefore, the ability to speak alone is not enough.
Luc de Vauvenargues
A man ruins his talent if he writes worse than he can write.
Ernest Hemingway
My main goal is not to write faster, but slower. The best thing would be to carve words in stone - not so that forever, but so that slowly.
Learn more