Kids sugar cookies recipe
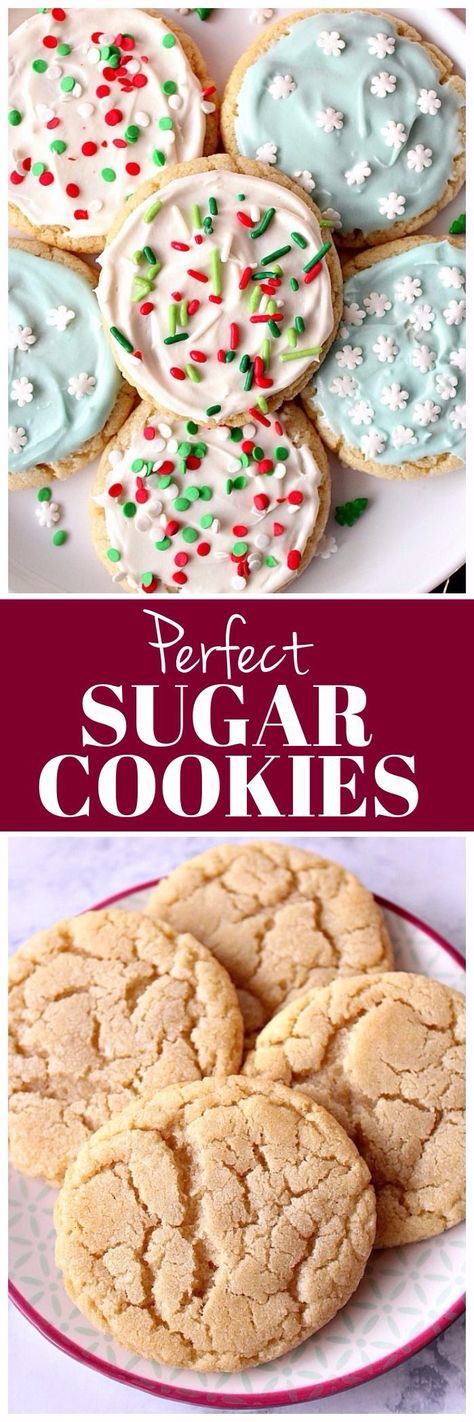
Easy Sugar Cookies (Healthy and SO Fun to Make!)
With just a few simple ingredients and a super simple process, you can make my healthy and easy Sugar Cookies. They have the classic flavor and texture with less sugar. And they’re so super fun to make with the kids!
Easy Sugar Cookies
This time of year is made for cookie baking and I love to have at least one baking session with my girls. Because baking with the kids is often a challenge, this cut-out Sugar Cookie recipe has just a few simple ingredients and requires nothing other than your hands to mix it together.
I love the challenge of developing a recipe that has all of the classic texture and flavor, but with a little less sugar and in that way, this healthy sugar cookie is a great option. They have a perfectly crisp texture with about 1 gram of sugar per cookie (not counting the icing).
(For a larger batch perfect for the holidays, check out my Christmas Cookie Cut-Outs for Kids.)
Sometimes I make this whole recipe with the kids and sometimes I bake the cookies and we just decorate them together. It really depends on my energy level and what else we’re up to that day.
Both ways are perfect in their own right, if, of course, a little bit messy…because, kids!
(Find more tips for baking with kids here.)
TIP: They’re a perfect option for younger toddlers—or to simply have an easy recipe in your back pocket to bake with kids.
Ingredients You Need
To make these healthy sugar cookies, you’ll need:
- All-purpose flour: This helps them be light and tender.
- Sugar: I use granulated sugar here.
- Baking powder
- Butter, softened at room temperature: I prefer unsalted butter in baking recipes.
- Milk: I usually use whole milk, but you can use a nondairy milk if you prefer.
- Vanilla extract:
- Pure vanilla extract tends to have a better flavor than imitation vanilla.
- Easy Icing, optional
TIP: These are egg-free, which makes them a nice option for kids with allergies.
Ingredient Substitutions
- You can use whole-wheat pastry flour, white whole wheat flour, or half all-purpose and half whole-wheat. The cookies will be darker in color, but the results will otherwise be the same.
- You can use coconut sugar in place of the granulated sugar.
- Make them nondairy with vegan butter and nondairy milk.
Step-by-Step Instructions
Here’s a look at the simple process involved in making these cookies. Scroll down to the bottom of the post for the full information.
- Form the dough, make a flattened disc of dough and wrap in plastic. Refrigerate. This helps to ensure that it rolls out easily and isn’t too sticky.
- Preheat the oven. Roll out the dough between parchment paper.
- Cut out the dough with a cookie cutter. You can flour the cutter a little if that helps.
- Place onto lined baking sheets and bake.
TIP: You can serve these as is, or plan to decorate them with icing and/or sprinkles.
Gluten-Free Sugar Cookies
You can substitute this gluten-free flour blend if you’d like to make these gluten-free. It’s nearly impossible to tell the difference!
Dairy-Free Sugar Cookies
Yes, you can make these without dairy, but you’ll need to make a few adjustments. Here’s the info:
- Use plain unsweetened nondairy milk in place of dairy milk.
- Use coconut oil, just softened (so not totally liquid, but softer than when it comes out of the jar at room temp). I tested it with about 10 seconds in the microwave in a heat-safe bowl.
- After you initially chill the dough and roll it out, cut out the shapes and put it back into the fridge without trying to get the shapes out. They need to firm up more! Let the sheet pan chill for 10 minutes, then use a flat knife to pop up the shapes. Place on a parchment-lined baking sheet and bake as directed.
What do I do if my rolled out dough is sticky?
A easy way to make sure that the cut outs transfer easily to the baking sheet is to dust the parchment paper with flour. That should take care of sticking.
Or, you can roll out the dough, stamp out the shape, and put the whole thing into the fridge for 10 minutes before transferring the shapes to the prepared baking sheet.
Both are good options!
What kind of icing is best?
I like to use a simple mix of powdered sugar and milk to make the icing for these cookies. It’s super easy to stir together and you can color it with food coloring if you want to. It hardens up as it sets.
A little of the icing goes a long way, so while it does add a bit more sugar, you’re still starting off with less in the base of the cookie.
TIP: Alternatively, you can press some sprinkles into the raw cut outs before placing them into the oven to add some color without the icing.
What kind of food coloring do you use?
I used gel food coloring from Wilton in these photos, which has a nice and bright color, though I also like the natural food coloring from McCormick.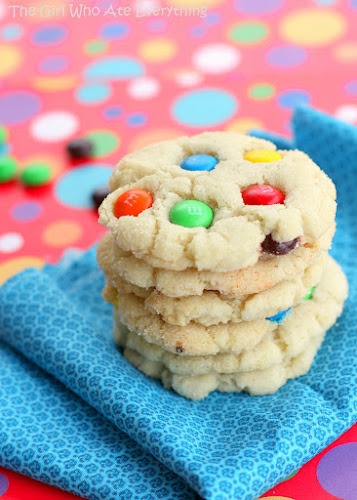
Tips for Baking with Kids
As I mentioned, I often bake the cookies and then let the kids decorate them. It can be a challenge to bake an entire recipe with two kids in the kitchen—I find it a lot to manage!—but it can also be fun if you’re in the right mental state of mind.
To make it a little easier, bring the ingredients down to a work surface everyone can reach (like the kitchen table), and help the kids remember to do one step at a time.
This dough is relatively forgiving, so it’s okay if it gets mixed well! Here are some specific steps the kids can do:
- Help dump the ingredients into a bowl.
- Mix the butter into the flour with their hands.
- Roll out the dough between the parchment paper.
- Stamp out the cookie cutters. (I recommend that the adult transfers them to the baking sheet.)
- Paint on the icing with a paintbrush!
TIP: You can ALWAYS simplify this down to just one step to do together—that will still be fun!
Make-Ahead Tips
You can make the dough the night before or a few hours in advance and store it in the fridge wrapped in plastic wrap.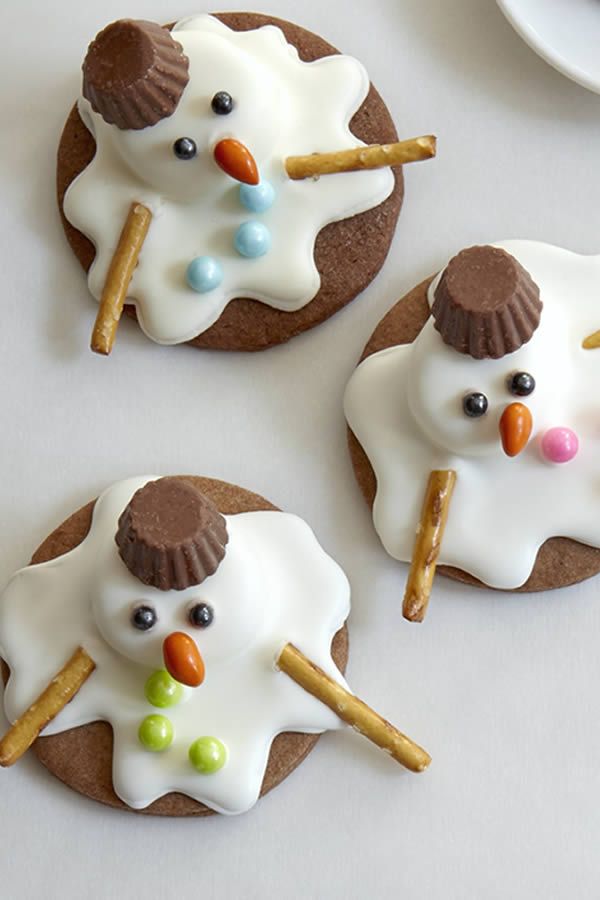 It will need to sit at room temperature for about an hour to soften up, or you can remove it from the plastic, put it onto a plate, and microwave for 5-10 seconds.
(I’m sure someone will call the baking police on me for suggesting that, but I’ve found that sometimes baking with kids requires you to break up the process into smaller steps!)
How to Store
Store prepared cookies in an airtight container at room temperature for 3-5 days. Or freeze in a freezer bag with as much air removed as possible for up to three months. Thaw at room temperature
Best Tips for Success
- Gluten-Free: Use this gluten-free flour.
- Dairy-Free: Use plain unsweetened nondairy milk in place of dairy milk. Use coconut oil, just softened (so not totally liquid, but softer than when it comes out of the jar at room temp). I tested it with about 10 seconds in the microwave in a heat-safe bowl.
- If the dough sticks after you initially chill the dough and roll it out, cut out the shapes and put it back into the fridge without trying to get the shapes out so it firms up more.
 Let the sheet pan chill for 10 minutes, then use a flat knife to pop up the shapes.
 - If the dough is a little crumbly, be sure that it’s throughly combined and then if it’s still crumbly, add 1/2-1 tablespoon additional liquid until it comes together. It shouldn’t take much more so add a small amount at a time.
- You can use whole-wheat pastry flour, white whole wheat flour, or half all-purpose and half whole-wheat. The cookies will be darker in color, but the results will otherwise be the same.
- You may also like Christmas Cut-Outs, Chocolate Sugar Cookies, Gingerbread Cookies, and Salt Dough Ornaments.
I’d love to hear your feedback on this recipe, so please comment below to share!
This post was first published November 2018.
Prep Time 20 minutes
Cook Time 7 minutes
Total Time 27 minutes
Author Amy Palanjian
Cuisine American
Course Dessert
Calories 196kcal
Servings 5 (Makes about 20 small cookies)
Cookies
- ▢ 1 cup all-purpose flour
- ▢ 2 tablespoons sugar
- ▢ 1/2 teaspoon baking powder
- ▢ 1/4 cup unsalted butter (softened at room temperature)
- ▢ 2 tablespoons milk
- ▢ 1/2 teaspoon vanilla extract
Easy Icing (optional)
- ▢ 1/4 cup powdered sugar
- ▢ 2-3 teaspoons milk
- ▢ 1-2 drops food coloring (optional)
Place all ingredients into a bowl and use your hand to mix together to form a dough.
 (If the dough is a little crumbly, be sure that it’s throughly combined and then if it’s still crumbly, add 1/2-1 tablespoon additional liquid until it comes together.)
Make a flattened disc of dough and wrap in plastic. Refrigerate while the oven preheats.
Preheat the oven to 375°F and line two baking sheets with parchment paper.
Roll the dough ¼-inch thick between two pieces of lightly floured parchment paper. (The flour will ensure that the cut outs are easy to move.)
Cut out the dough with a cookie cutter and transfer to the prepared baking sheets. Bake for 7-9 minutes, until lightly browned around the edges. (If for some reason the cut outs are hard to transfer, place the rolled out dough with the stamped shapes into the fridge for a few minutes to firm up.)
Remove from the oven, let cool on the baking sheet for a minute, and transfer to a wire rack to cool completely.
Make the icing if using: Stir the ingredients together in a small bowl.
 You want it to be able to spread easily on the cookies and not be too thick. If you place some on the cookies and it runs right off, add a little more powdered sugar. If it's too thick to spread, add a drop or two of milk. You can color the icing with a drop of food coloring if desired.
Use a small butter knife or paintbrush to spread on the icing or pipe on as desired. If adding sprinkles or other decorations, add them to the iced cookies right away before it dries.
- Store prepared cookies in an airtight container at room temperature for 3-5 days.
- Gluten-Free: Use this gluten-free cup-for-cup style flour.
- Dairy-Free: Use plain unsweetened nondairy milk in place of dairy milk. Use coconut oil, just softened (so not totally liquid, but softer than when it comes out of the jar at room temp). I tested it with about 10 seconds in the microwave in a heat-safe bowl.
- If the dough sticks after you initially chill the dough and roll it out, cut out the shapes and put it back into the fridge without trying to get the shapes out so it firms up more.
 Let the sheet pan chill for 10 minutes, then use a flat knife to pop up the shapes.
 - If the dough is a little crumbly, be sure that it’s throughly combined and then if it’s still crumbly, add 1/2-1 tablespoon additional liquid until it comes together.
- You can use whole-wheat pastry flour, white whole wheat flour, or half all-purpose and half whole-wheat. The cookies will be darker in color, but the results will otherwise be the same.
- To make this dough ahead: Store it in the fridge wrapped in plastic wrap for up to 24 hours. It will need to sit at room temperature for about an hour to soften up, or you can remove it from the plastic, put it onto a plate, and microwave for 5-10 seconds.
Calories: 196kcal, Carbohydrates: 24g, Protein: 3g, Fat: 10g, Saturated Fat: 6g, Polyunsaturated Fat: 1g, Monounsaturated Fat: 2g, Trans Fat: 1g, Cholesterol: 25mg, Sodium: 47mg, Potassium: 38mg, Fiber: 1g, Sugar: 5g, Vitamin A: 293IU, Calcium: 37mg, Iron: 1mg
Tried this recipe?Rate in the comments and tag @yummytoddlerfood on IG!
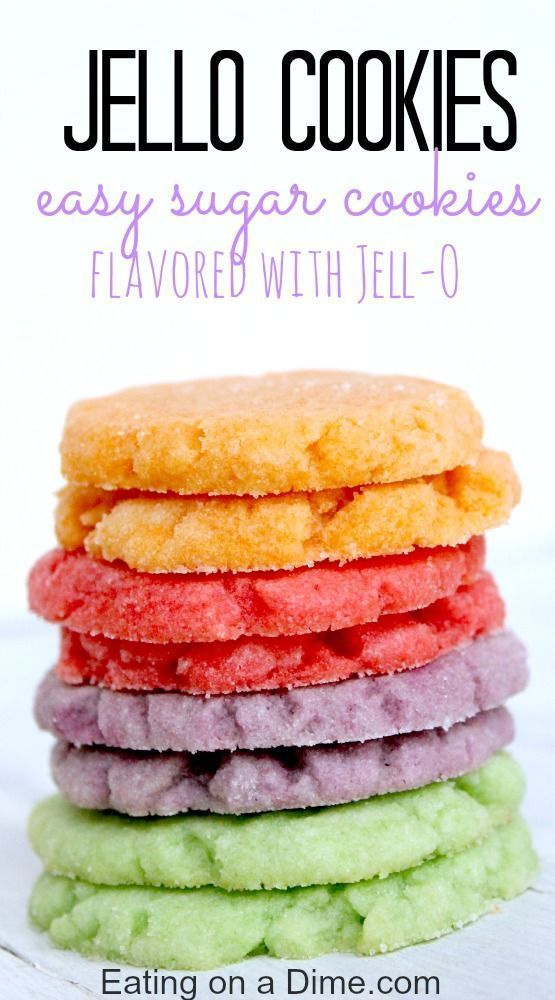
BEST Easy Sugar Cookies - Creme De La Crumb
4. 97 from 28 votes
Published: December 11, 2020Updated: February 9, 2022
This post may contain affiliate links. Read our disclosure policy.
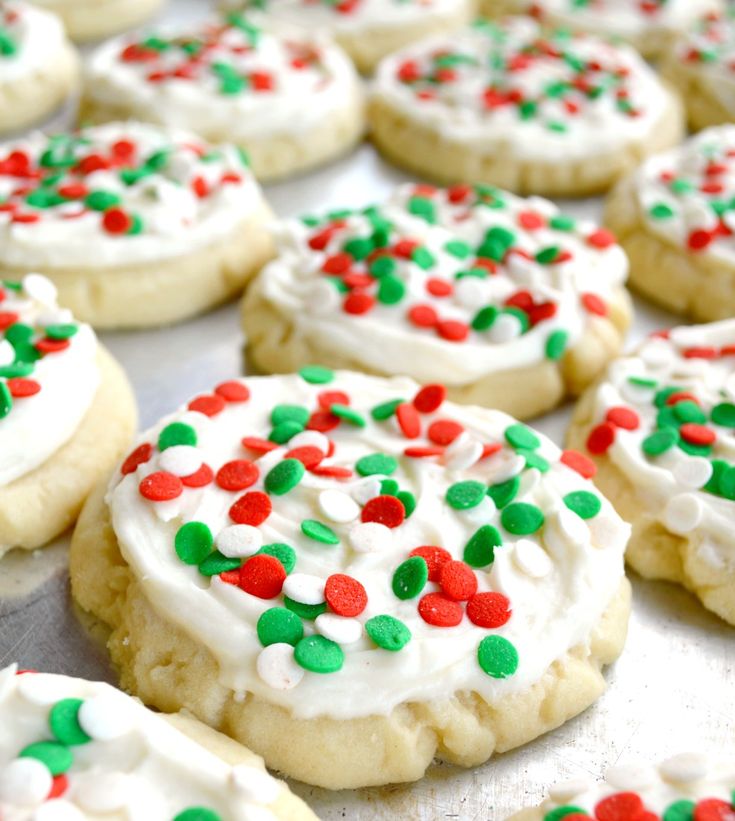
Best Easy Sugar Cookies are so easy, kid friendly, and will impress even the fanciest cookie connoisseur. Fluffy, soft, and super flavorful, bake up a batch this weekend, and let your kids help — this is a cookie for the whole family!
For more super simple, delicious cookie recipes, check out my other popular posts: Sugar Cookie Bars, Cookie Butter Chocolate Chip Cookies, Gingerbread Sugar Cookies, and Super Soft Peanut Butter Cookies.
The kids love to help — they’re always asking to help with whatever I’m cooking or baking. And while I do love it when they help, because it’s so much fun to get to spend that quality time with them. They’re little hands pouring and measuring and stirring. And licking their fingers and dumping stuff on themselves and the floor…that’s adorable too…usually.
But I confess, sometimes I wait till they’re napping or watching a show in another room to sneak in some cooking and photography. If I’m lucky I can get the whole kit and caboodle done before they even notice.
But these soft sugar cookies, well they actually cannot be made without the kids. There’s something about making these delicious cookies, rolling the dough out just so and punching out the little shapes that just begs for kids to be a part of. I swear they don’t taste as good if they aren’t around to add their little bit of magic to them. They even helped create the cookie recipe and added some insight into the sugar cookie frosting.
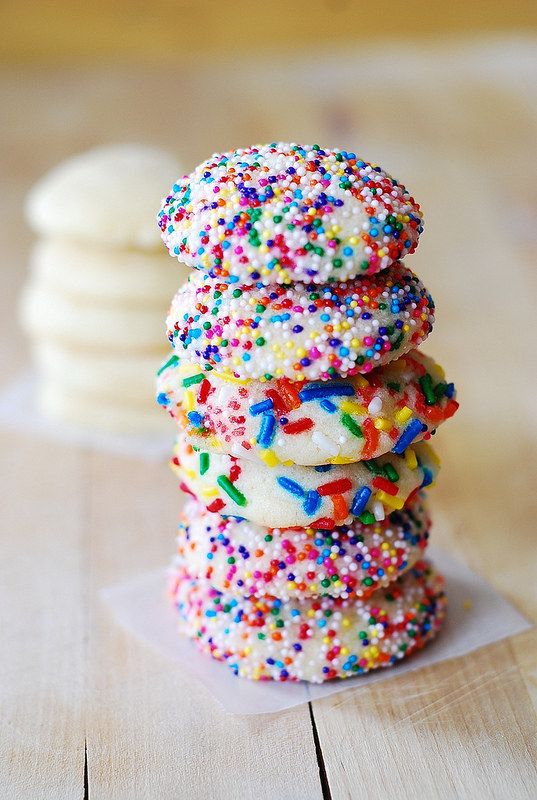
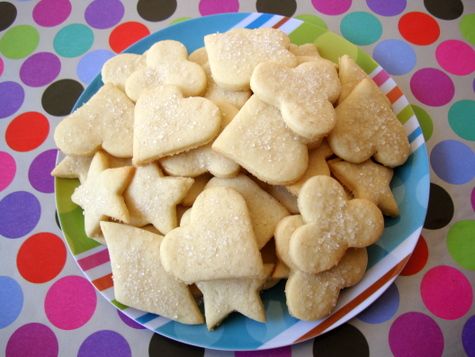
This time around, we made heart-shaped cookies because it was right around Valentine’s Day and so we had to make all the pink frosting and use up all the pretty sprinkles. When they were all done, we made a bunch of plates for family members and friends and delivered them all around. It truly was a special day and brought so many smiles all around.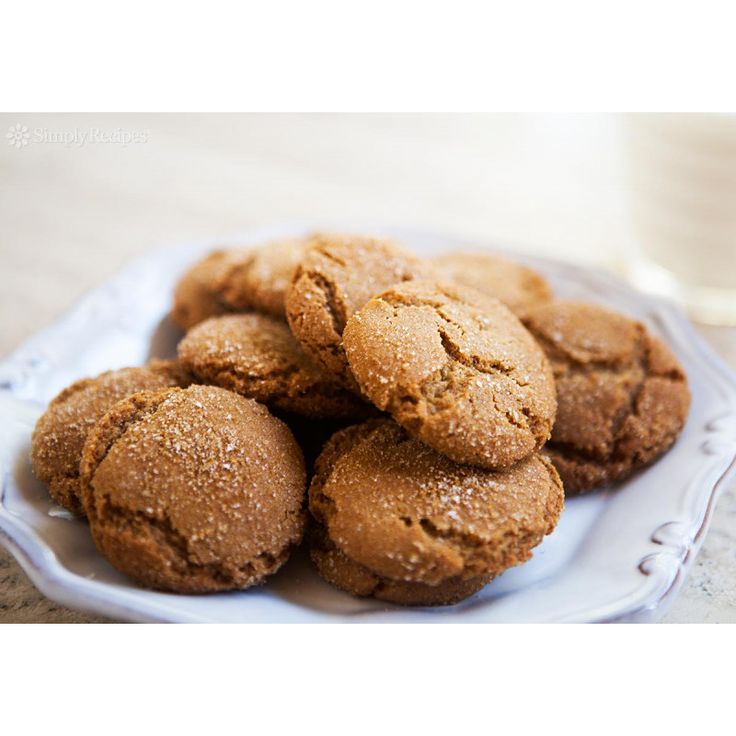
For these sugar cookies, you don’t even need to chill for 3-4 hours or overnight, just 15 minutes in the fridge after rolling and then right into the oven.
- Preheat the oven to 350 degrees. In a large bowl cream together the butter and sugar, then add in the salt, vanilla, and egg yolks until well blended. Next, add flour 1 cup at a time, mixing after each 1-cup pour. Once all 4 ½ cups are combined to the batter, divide the dough in half and shape each half into a ball.
2. Working with one half at a time, place the ball of dough on a sheet of parchment paper or nonstick baking mat and roll out to about ¼ inch thickness. If you like them thicker or thinner, that’s fine too, just remember the thicker the cookie, the less cookies you’ll yield.
3. Pop the rolled dough into the fridge for 15 minutes to chill, then remove and cut into shapes with your favorite cookie cutters. Place them about an inch apart on your baking sheet.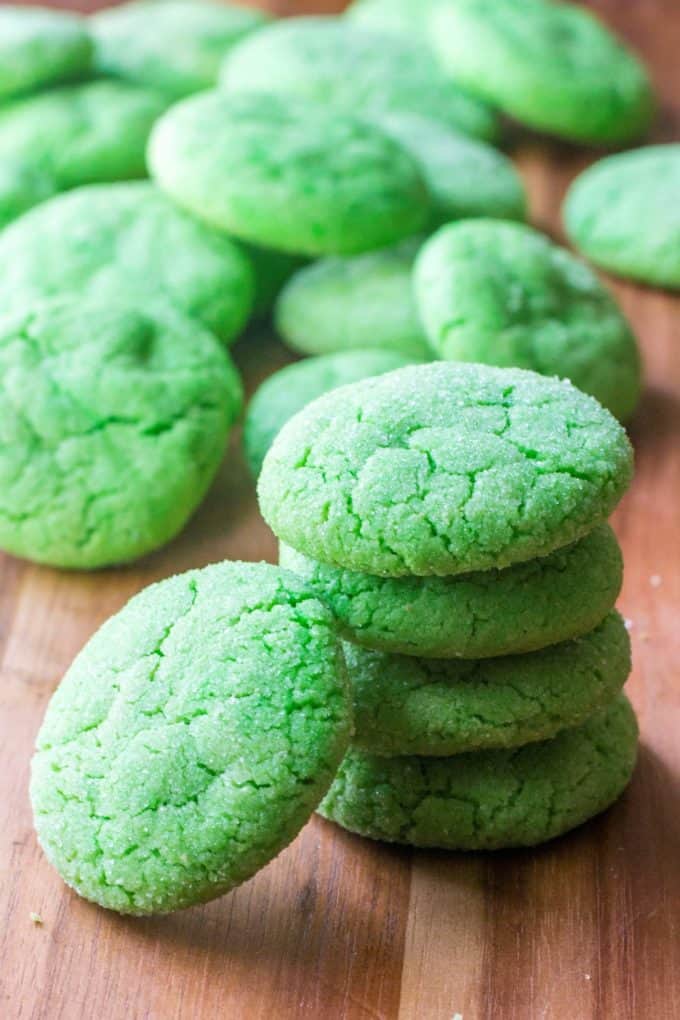
4. Bake the cookies in the oven for 8-9 minutes (depending on how thick or thin they are), take them out of the oven, and let them cool on the baking sheet for about 5 minutes before transferring to a cooling rack to cool completely.
Here’s How You Make the Frosting?This frosting is so yummy too, and the cream cheese adds just the right amount of tang to complement the sweetness of the cookie.
While the cookies are cooling on the baking rack, you can easily whip up the icing. In a large bowl, cream together the cream cheese and butter until nice and smooth. Add the vanilla or almond extract and salt and mix up some more.
Add to the mixture 1 cup of powdered sugar, then 1 tablespoon of milk, and mix. Repeat this process (1 cup sugar and 1 tablespoon milk) until all of the powdered sugar is incorporated.
Turn the beater up to high speed until it’s nice and fluffy. Add another tablespoon of milk as you feel is necessary to get a light and airy texture.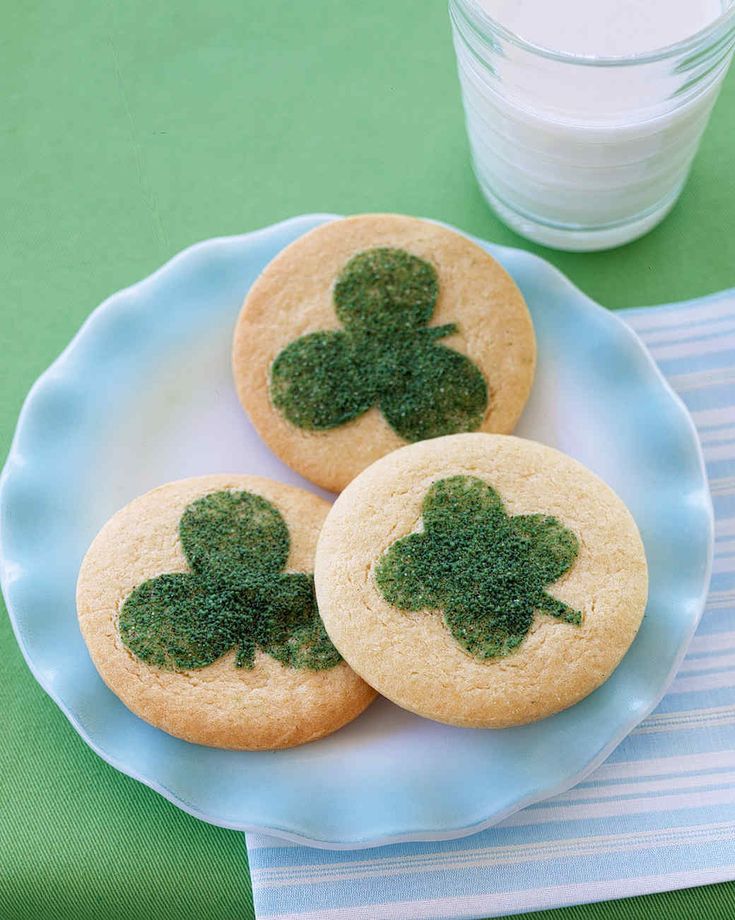 If you want to color the frosting, add in the food coloring while you mix it. Spread the icing on the cooled cookies and sprinkle while the icing is still wet so that the sprinkles stick.
You can store these sugar cookies at room temperature or chilled in an airtight container for up to one week.
If you want to freeze these cookies, you can either freeze the dough before rolling out and cooking, or you can freeze the already cut-out and baked sugar cookies before frosting.
More Tasty Cookie Recipes
- Chunky Monkey Cookies
- White Chocolate Cranberry Cookies
- White Chocolate Lemon Cookies
- Cherry Garcia Cookies
- Super Soft Peanut Butter Cookies
Did you make these amazing Sugar Cookies? YAY! Please rate the recipe below!
Prep Time: 25 minutes
Cook Time: 20 minutes
chilling time: 15 minutes
Total Time: 1 hour
Servings: 24 cookies
- ▢ 2 cups butter - at room temperature
- ▢ 1 ½ cups granulated sugar
- ▢ ½ teaspoon salt
- ▢ 2 teaspoons vanilla extract - or 1 teaspoon vanilla + 1 teaspoon almond extract
- ▢ 4 large egg yolks
- ▢ 4 ½ cups all purpose flour
frosting/icing
- ▢ 2 ounces cream cheese - softened
- ▢ ½ cup (8 tablespoons) butter - softened
- ▢ 1 teaspoon almond extract - or vanilla extract
- ▢ ⅛ teaspoon salt
- ▢ 6 cups powdered sugar
- ▢ ⅓ cup milk - or as needed
- ▢ food coloring - optional
Preheat oven to 350 degrees.

In a large bowl cream together butter and sugar.
Mix in salt, vanilla (and/or almond extract) and egg yolks until blended.
Add flour 1 cup at a time, mixing after each, until just combined.
Divide dough in half and shape each half into a ball.
Place on top of a sheet of parchment paper or a nonstick baking mat and roll out to 1/4 inch thickness (slightly thinner for more cookies, slightly thicker for bakery-style cookies though this will yield fewer cookies).
Chill rolled dough for 15 minutes.
Cut into shapes with cookie cutters and place at least 1 inch apart on a baking sheet.
Bake in preheated oven for 8-9 minutes (for 1/4 inch thick cookies. for thicker cookies they'll need an extra minute or so, for thinner cookies take them out by 8 minutes.) and allow to cool on baking sheet for at least 5 minutes before transferring to a cooling rack to cool completely.
prepare the frosting/icing
While the cookies are cooling, prepare the icing.
 In a large bowl cream together cream cheese and butter until smooth.
Add extract and salt and mix til smooth.
Add 1 cup powdered sugar, followed by 1 tablespoon milk, mix until incorporated, and repeat (1 cup powdered sugar + 1 tablespoon milk) until all of the powdered sugar is incorporated. Mix on high speed until light and fluffy, add additional milk 1 tablespoon at a time as needed to get a light and airy frosting. Add a couple drops of food coloring if desired.
Spread on cooled cookies and add sprinkles if desired. Store at room temperature or chilled in airtight container up to 1 week.
Makes roughly 22-32 cookies depending on the size of your cookie cutters.
For thicker bakery-style sugar cookies simply roll the dough to about 1/3 of inch thick before cutting and then bake for an additional 1-2 minutes.
This recipe can easily be doubled, you just need a really big bowl for the dough and should divide the dough into 4 parts rather than 2 before rolling out and cutting.
Calories: 441 kcal, Carbohydrates: 61 g, Protein: 3 g, Fat: 21 g, Saturated Fat: 11 g, Trans Fat: 1 g, Cholesterol: 76 mg, Sodium: 252 mg, Potassium: 44 mg, Fiber: 1 g, Sugar: 42 g, Vitamin A: 722 IU, Vitamin C: 1 mg, Calcium: 20 mg, Iron: 1 mg
Did You Make This Recipe?Tag @cremedelacrumb1 on Instagram and hashtag it #cremedelacrumb!
Email Facebook Pinterest Twitter
Meet the Author: Tiffany
Hey there, I’m Tiffany - cook, photographer, mother, and avid taco eater. I am passionate about turning simple flavors and ingredients into tasty meals the whole family will love, with minimal prep and cleanup so there’s more time to spend eating and enjoying. Stay awhile, and help yourself to a taco or two.
Recipe for children's cookies with sugar icing
Recipe for children's cookies with sugar icing.
I want to share a very simple but at the same time delicate cookies with icing.
Such pastries will decorate any children's holiday. On our site there is a simple recipe for gingerbread cookies that you can cook with your child.
Print prescription
Recipe for children's cookies with icing sugar
Cooking cookies is not at all difficult and very fast, it takes very few ingredients, and time too. These cookies can be made with the kids. And it is safe to give it because you know what products it was prepared from. For the dough we will use butter, egg, milk, flour, and we will decorate with multi-colored sugar icing.
| Preparation time | 1.5 hours |
| Cooking time | 15 minutes |
| Portions |
Ingredients
For the dough:
For the icing:
Instructions
-
Let's start cooking.
 In a bowl, grind softened butter with sugar using a mixer.
 -
Add one egg to 50 ml of milk and mix. Pour into the butter-sugar mixture.
-
Mix thoroughly. Then add a pinch of salt and vanilla and mix again.
-
Sift the flour, knead the dough. Wrap the dough in cling film and refrigerate for about an hour.
-
After an hour, take the dough out of the refrigerator, sprinkle the table with flour, roll it into a layer, but not into a thin layer, otherwise the cookies will be dry after baking. Using cookie cutters or a glass, cut out cookies. Pierce the cookies with a fork so that they do not lose their shape during baking. We send it to a preheated oven to 180C for 10-15 minutes. While preparing the icing sugar.
-
In a bowl, grind one egg white with powdered sugar, add a little water, lemon juice and vanilla.
-
We divide the finished glaze into several parts and add food coloring. Instead of dry food colors, you can add natural ones, such as turmeric for yellow, beetroot juice for red, spinach juice for green.
-
We apply ready-made multi-colored icing on cookies, sprinkle different confectionery toppings on top, decorate as you like. Let dry and serve with tea. This recipe didn't take me long to make. It is very easy to prepare, and most importantly it turns out delicious!
Recipe notes
You can add baking powder to the dough.
Homemade children's cookies recipe - Russian cuisine: Pastries and desserts. "Food"
Homemade children's cookies recipe - Russian cuisine: Pastries and desserts. "Food"
Garden of food Golden thousand
- Recipes
- magazine "Food" No. 85 (147)
- School "food"
- Authorities
- BAZ 9.0056
My Book of Recipes
Turn on the ingredients
Exclude the ingredients
Popular ingredients
Recipe type 9,0006
Tested by "food"
School recipes 9000
Video recipes Manyaeva
portions:
4COOK:
1 hour
1 hour
Recipe author
Author: Polina Manyaeva2 recipes
Vanilla sugar
10 g
butter
100 g
Milk
100 ml
Salt
Soda
at the tip of a knife
sugar
1 cup 9000
Instruction Instruction Instruction Instructions 9000
1 hour
1 Beat the eggs with a whisk
2 Add sugar to the egg mixture and mix thoroughly
3 Add vanilla sugar and soda and mix again
4 Melt the butter in a saucepan over low heat, add milk there
5 Pour the milk with butter into the egg-sugar mixture and stir
6 Sift the flour and add the main mixture to our dough, knead, if necessary, you can add more flour than indicated in ingredients.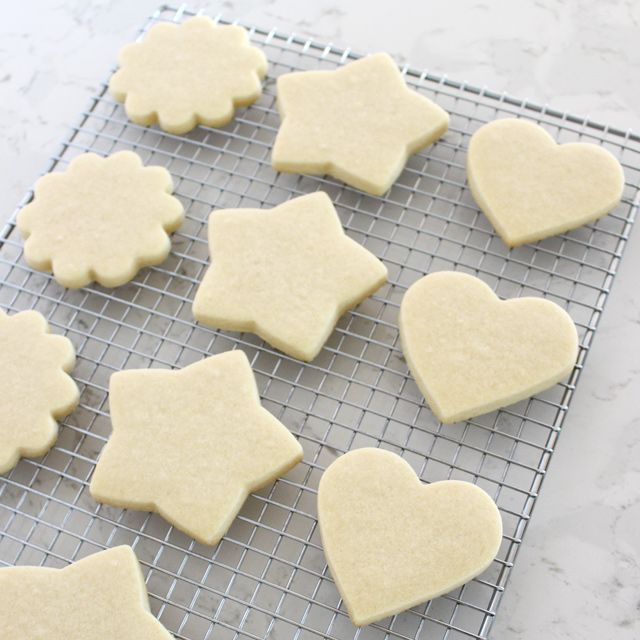
Tool Flour seeder
7 Put the dough in the refrigerator for 30 minutes.
8 Roll out the dough with a thickness of 0.5-0.7 cm and form cookies (I had molds)
Tool Rolling pin
9 Bake for 15 minutes in the oven at 180 degrees.
Oven thermometer tool
popular searches:
Measuring the amount of ingredients in glasses... an ancient age. In what glasses? 200-250gr? In this case, if you pour 750g of flour into the indicated amount of liquid ingredients, you get such rubber that it is even impossible to roll out! Yes, and 250g of sugar is a bit too much to say the least. If you undertook to write a recipe, write competent and accurate (in grams), so that people don’t throw food away because of you!
FoodMarch 23, 2020
1
250 ml glass, not 250 grams. Everyone has a glass or a cup, but not everyone has a scale.
Natalya Veretennikova (Kapuskina) June 3, 2020
0
I didn’t like the recipe, hard cookies, you can beat nuts))) There are better recipes from childhood.