No bake salt dough handprint
Easy Salt Dough Recipe No Bake For Toddlers & Kids
Play
HannahDecember 16, 2020
2 3 minutes read
A salt dough recipe no bake is another super simple activity you can do with your toddlers and kids with plenty of options how to use it!
If you prefer to keep the salt dough as a raw activity then you will be able to set it up in a matter of a few minutes. The set up can be done alone before our kiddies start the ‘play dough’ activity or with them being our very good little helpers.
Salt dough is a fantastic craft and activity to do with our little ones and has many benefits other than the obvious pure joy/fun factor.
Very often we worry and think that our children have to sit down for a long period of time to play with the same toy/ activity. This isn’t always the case and as we say for many things its “quality not quantity” of the play.
The important thing is that they are enjoying themselves and there are always some hidden benefits for most crafts/ games/ activities.
- Manipulation
- Hand exercise
- Stimulating the sense of touch
- Creativity
- Imagination
- 1 Cup of salt
- 2 Cups of flour
- 1 Cup of warm water
- 1/2 Tea spoon of gel food colouring or 3 large spoons of liquid food colouring (if desired)
- Peppermint
- Liquid food colouring can also be used however I found a little amount of gel colouring went a lot further than a large amount of liquid.
- The liquid food colouring also remained more of a ‘wet’ sensation when playing with the salt dough and was stickier & more difficult to work with between our fingers
- I split the above quantity of ingredients into three different uses;
- Salt dough with gel food colouring (green: see images)
- Salt dough with liquid food colouring & peppermint (red/pink: see images)
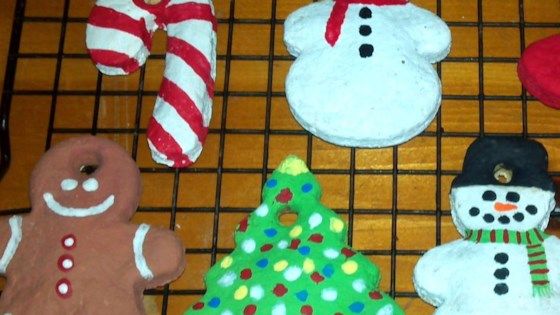
- Salt dough shapes to be baked for hanging decorations
.
The recipe goes a long way and gives plenty of opportunity to create various activities from just one single batch which in my eyes is a straight out winner!
Tools- Mixing bowl
- Cup
- Spoon
- Rolling pin
- Ribbon/string
- Pencil
- Shape Cutters
2. Use hands and fingers to mix well together. 3. Add food colouring.Additional Instructions For Hanging Decorations
4. Use a rolling pin to roll our the salt dough into an even layer (roughly around 1cm depth).
5. Using biscuit or shape cutters, cut out your shapes in the salt dough.
6. Make a hole using a pencil in the top of the decoration so that you can put ribbon/string through the decoration after it has been baked.
 7. Paint or get creative adding glitter to your hanging decorations and add your desired ribbon read to hang.
 8. Leave decorations to air dry on a flat surface.
These are perfect as a Christmas activity and craft with toddlers and older kids too ready for your Christmas tree.
Family members will love having these as keepsakes or adding them on to their Christmas tree each year and think back to the wonderful memories.
Prep Time 5 minutes
Cook Time 1 hour 30 minutes
Total Time 1 hour 35 minutes
Ingredients
- 1 Cup of salt
- 2 Cups of flour
- 1 Cup of warm water
- 1/2 Teaspoon of gel food colouring (optional)
Instructions
1. Mix salt, flour and water into a large bowl.
2. Add food colouring & mix all together with fingers.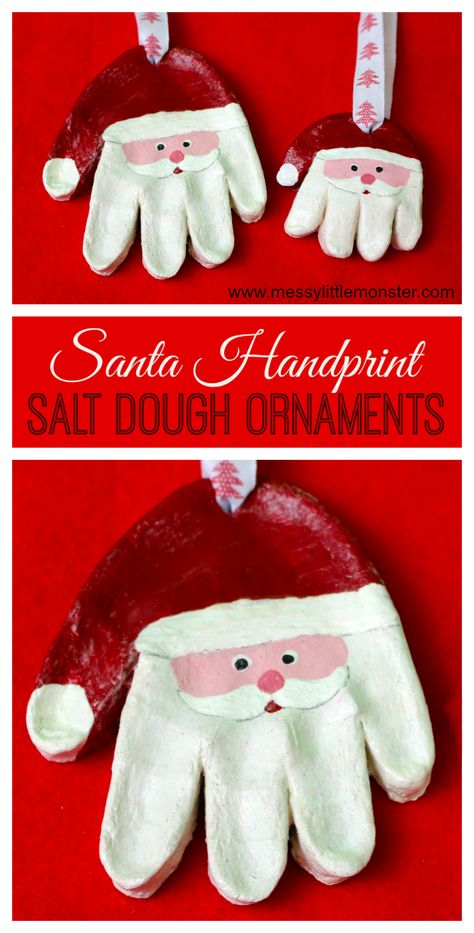
If wanting to make hanging decorations continue following instructions below;
3. Roll out salt dough to rough 1cm depth.
4. Use shape cutters to make desired shapes.
5. Pierce hole at the top of decoration with a pencil.
6. Thread string/ribbon through hole ready to hang.
7. Leave to air dry on a flat surface
Notes
- Liquid food colouring can also be used however I found a little amount of gel colouring went a lot further than a large amount of liquid.
- The liquid food colouring also remained more of a 'wet' sensation when playing with the salt dough and was stickier & more difficult to work with between our fingers.
- I split the above quantity of ingredients into three different uses.
Making the salt dough can be a big part of the excitement for our little ones as well as the finished result.
The sensation of the salt dough between their fingers is irresistible and you will see your sons and daughters squishing, kneading, pushing, stretching and discovering many different ways they can play with this.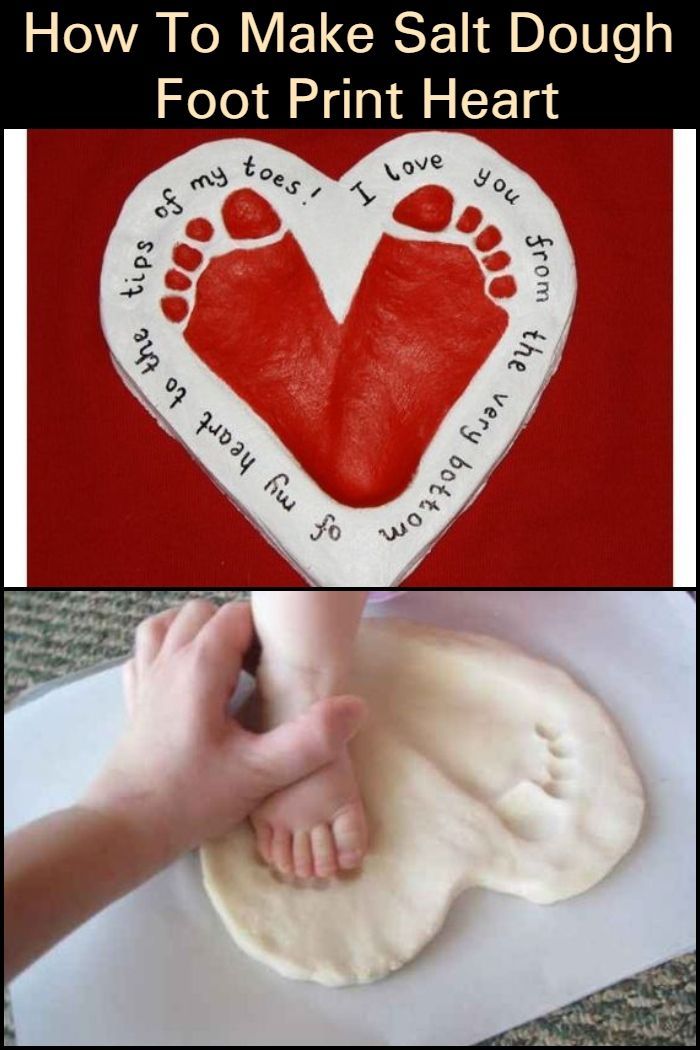
You could offer the rolling pin and biscuit/shape cutters to your creative kids and allow the to make different shapes out of the dough.
In fact many kitchen utensils could be used during this activity. My little girl loves to use her toy knife to cut and make the dough into smaller pieces.
The beauty of using this salt dough is that it can be rolled back together numerous times and there doesn’t need to be a limit to their creative ideas.
Check our our Playdough Play For 1 Year Olds article for more fun ideas.
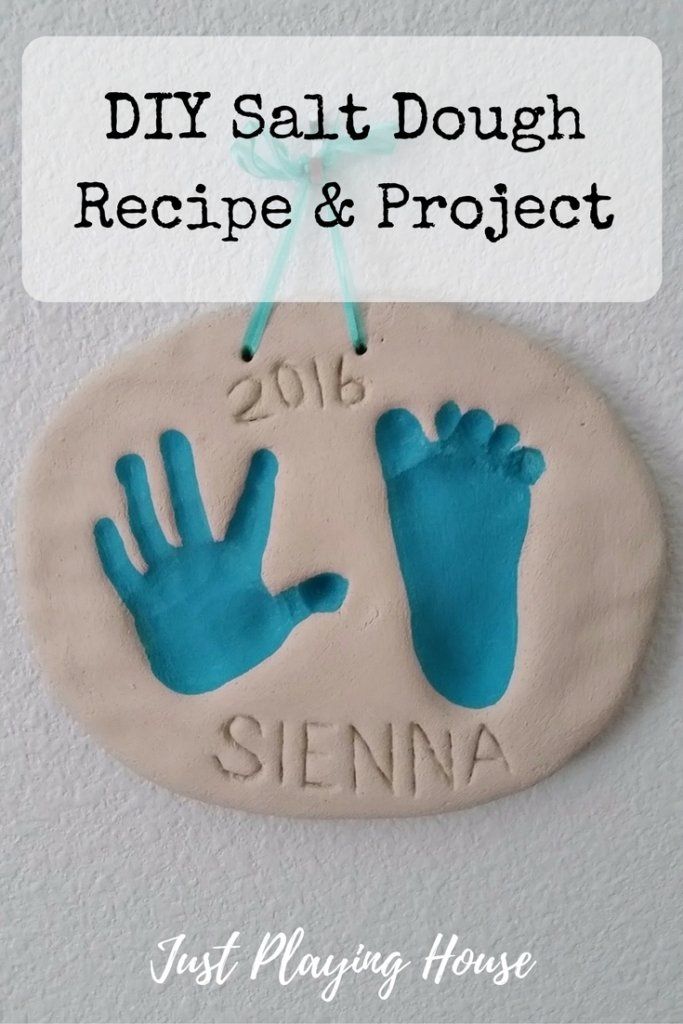
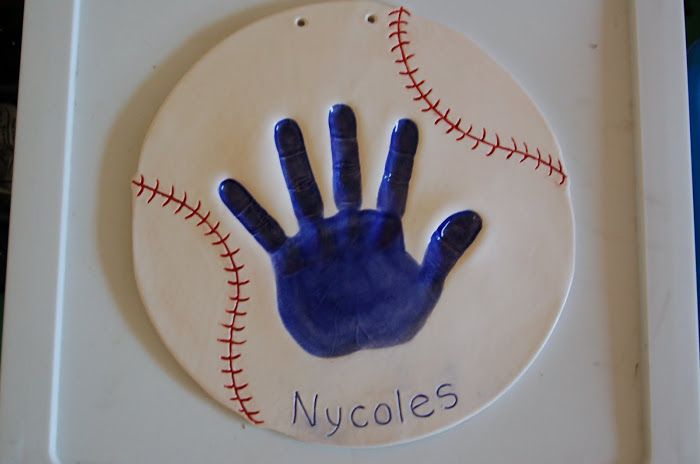
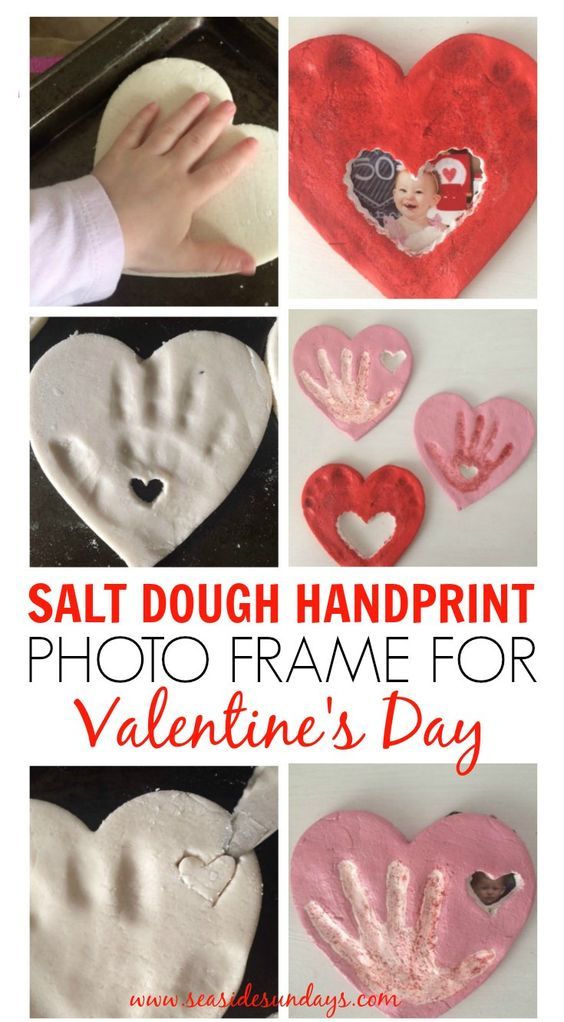
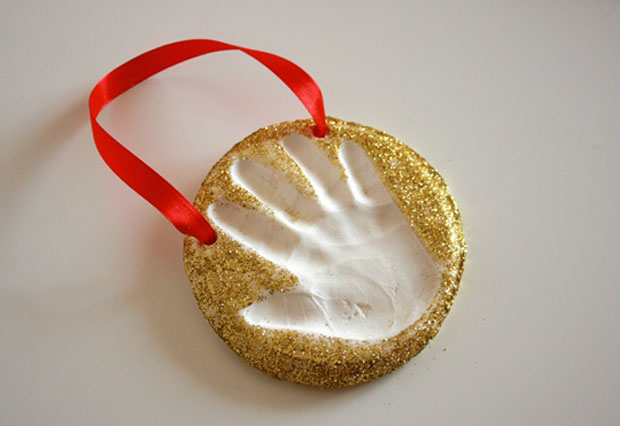
Hand/ Footprint DecorationsImprinting our children’s handprints and footprints in the salt dough before baking it for the above recommenced time allows memories to be kept for years to come and see how our teeny tiny babies become our ever growing older kids.
We also recommend making our little ones hand and footprints as cards over on our Painting Activities For Toddlers using toddler-friendly paint article.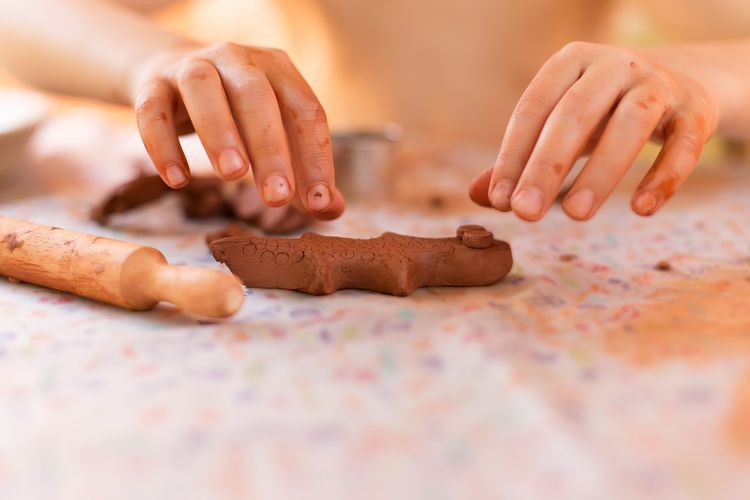
I Heart Arts N Crafts have some amazing decoration ideas to make with our kiddies.
Adding Scents Into The Salt DoughIn the red/pink salt dough I added some peppermint scent to add another dimension to the activity.
My 20 month old is currently loving using her nose to smell everything (whether that be something nice or not).
The scent used could vary depending on the season and time of the year. For example peppermint is perfect for us now in the lead up to Christmas.
Our Pumpkin Playdough Recipe & Play Ideas article is a wonderful autumn themed activity too.
-IF you would like to bake the salt dough place in a preheated ventilated fan oven for 1 1/2 hours at 220 degrees. (Keep checking regularly as the timing may vary slightly depending on your oven). –
Related Articles
No Bake Salt Dough Recipe: 3 ingredients, simple steps
What do you need?For this No Bake Salt Dough Recipe you need:
- 1 cup of salt
- 1 cup of water
- 2 cups of flour
- Non-toxic paints (UK link / US link)
- Paint brushes (UK link / US link)
Step-by-step No Bake Salt Dough Recipe for Kids
Ready? Just 7 steps for the No Bake Salt Dough Recipe.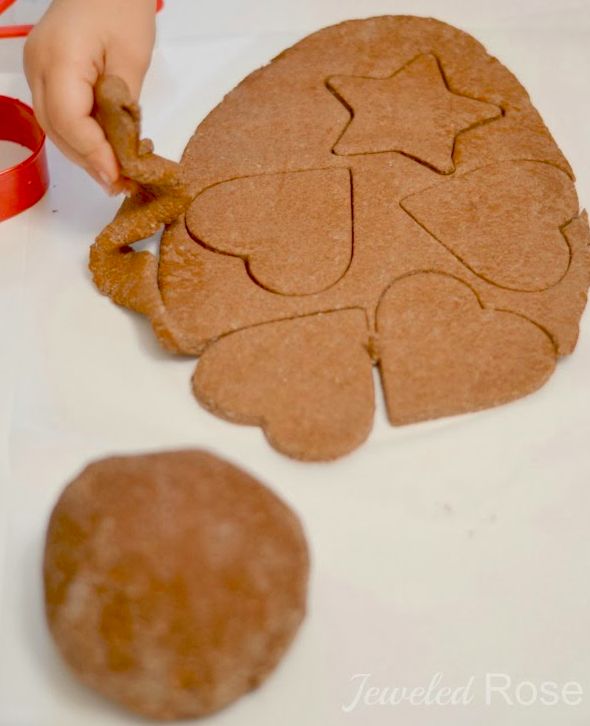 Here they are:
- Mix the salt, water and flour together until you have a smooth dough.
- Roll out the dough until it is approximately 8mm thick.
- Make shapes! There are many ways. You can use cookie cutters. Alternatively, do the shapes yourself with your hands or using a knife but try to end with shapes about 8mm thick. Another option is to cut a paper with the shape you want, and then carefully cut the dough around the template.
- Put the shapes on a microwavable plate.
- Heat for 1-2 minutes on the lowest heat setting of the microwave.
- Leave them to cool and harden.
- They are ready to be painted. Leave them to dry, and that’s it!
Make sure the little ones know that these are not edible. I’m sure they are very salty but with little ones you never know, right?
If you change your mind and want to bake the shapes, place them on a baking tray and bake them in the oven for 2-3 hours on the lowest heat.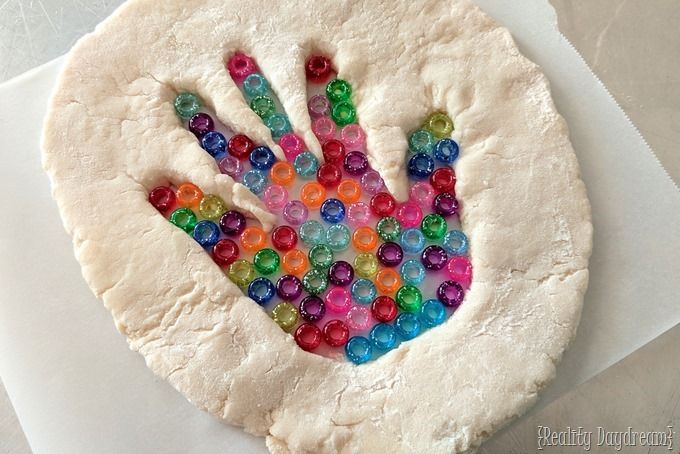 Then leave them to cool and harden.
Because the dough contains salt, it may hurt to touch it if you have cuts on your hands (cheeky cat like mine, maybe?), so you might want to wear gloves.
If you want to keep the ornaments for a long time, you should spray them with clear spray paint (UK link / US link) to seal them.
No Bake Salt Dough Recipe ideasWith that recipe you can do lots of salt dough ornaments and decorations. The following categories have ideas depending on what ornaments you are thinking about doing.
Please note most of these sites include baking instructions. But you can still use the No Bake recipe and do similar ornaments! Be mindful of what you put inside the microwave for those recipes that have extra materials.
Animals & Nature Salt Dough ornamentsSalt Dough Starfish by Little Bins for Little Hands:
Salt Dough Dinosaur Fossils by Make Life Lovely:
Salt Dough Ladybird Keepsake Magnets by Messy Little Monster:
Salt Dough Flower Fingerprints by Meaningful Mama:
Salt Dough Rainbow Handprint Keepsake by Teach Me Mommy:
Earth Day Salt Dough Necklaces by Natural Beach Living:
Spring & Easter Salt Dough ornaments
Salt Dough Easter Eggs by The Best Ideas for Kids:
Salt Dough Easter Chicken Keepsake by Teach Me Mommy:
Salt Dough Carrot, Egg & Bunny ornaments by First Day of Home:
Autumn & Halloween Salt Dough ornaments
Salt Dough Leaf ornaments by The Imagination Tree:
Halloween Salt Dough ornaments by The Craft Train:
Handprint Spider Salt Dough by Hello Wonderful:
Winter & Christmas Salt Dough ornaments
Fingerprint Christmas Tree Salt Dough ornament by Messy Little Monster:
Fingerprint Snowman Salt Dough ornament by Messy Little Monster:
Salt Dough Footprint Reindeer ornaments by Crafty Morning:
See other posts about activities or other topics.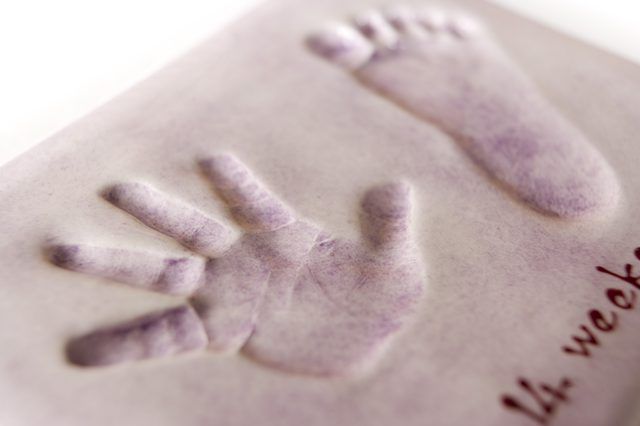
👌 Crafts from salt dough Cast of hands and feet of a child, handmade
Previous topic
Next topic
I really like to review my childhood photos and I really regret that during my childhood there were no amateur video cameras. Now it would be very interesting for me to look at myself a little "live".
With the advent of my daughter, I try to take photos with her as often as possible and shoot her on video. I even started a small notebook where I write down sketches of funny situations with her.
And recently, I came up with the idea to make a cast of her hand and foot out of salt dough, while they are still very, very small. I confess that this is not my first attempt to make such a memo, but before my daughter did not understand what they wanted from her, and vehemently resisted the process.
This time everything went like clockwork, and I got what I wanted - a cute cast of the hand and foot of my 2-year-old daughter.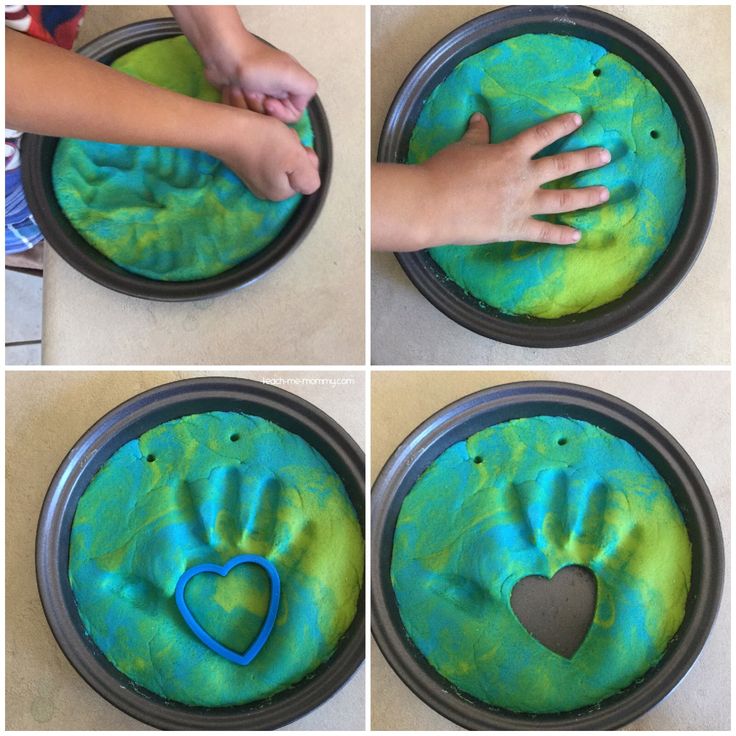 Making it was easy and fun! I recommend this activity as a general developmental and entertaining activity for the whole family.
In order to make such a cast of the hands and feet of a child, I needed:
- flour -200 g
- extra salt - 125 g
- water - 125 g
– watercolors with brush
– match
– knife
I made salty dough according to my favorite and repeatedly tested recipe: I mixed salt with flour and, gradually adding water, mixed the mass.
Kneaded a moderately dense and elastic dough for modeling. This salty dough is great for large items. For small products, a more delicate structure is required. In such a dough, I add a couple of tablespoons of starch and a little more water.
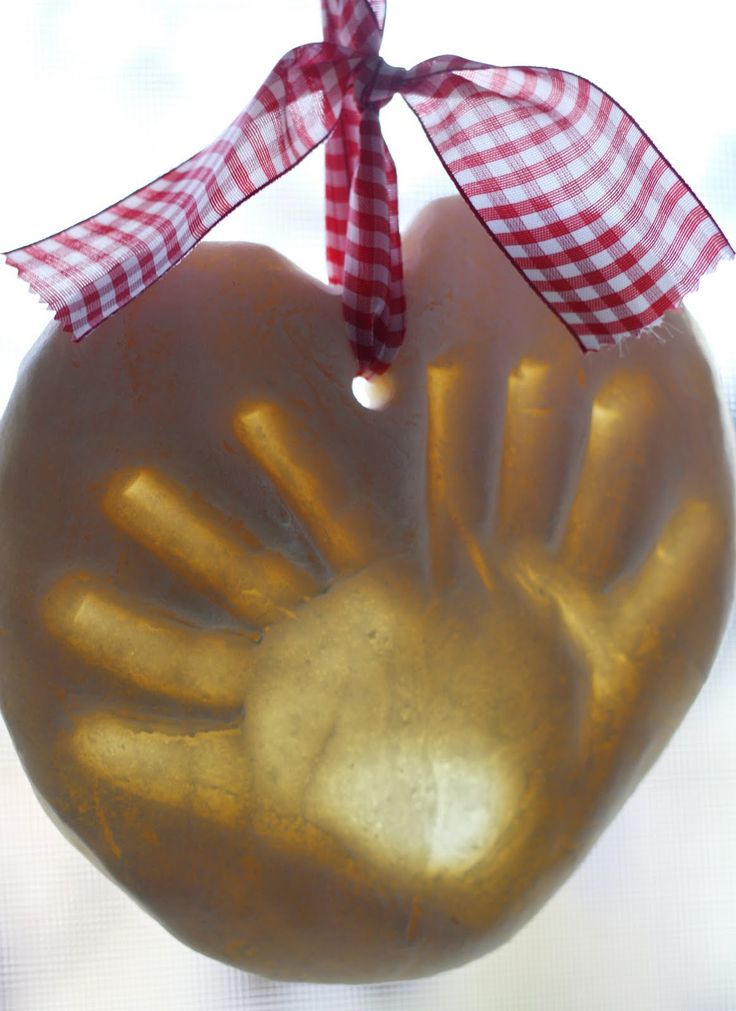
I rolled out a sheet of dough about 1 cm thick. I cut a heart out of it with a knife.
She lowered a pen on one side of the heart, then on the other side of the child's leg.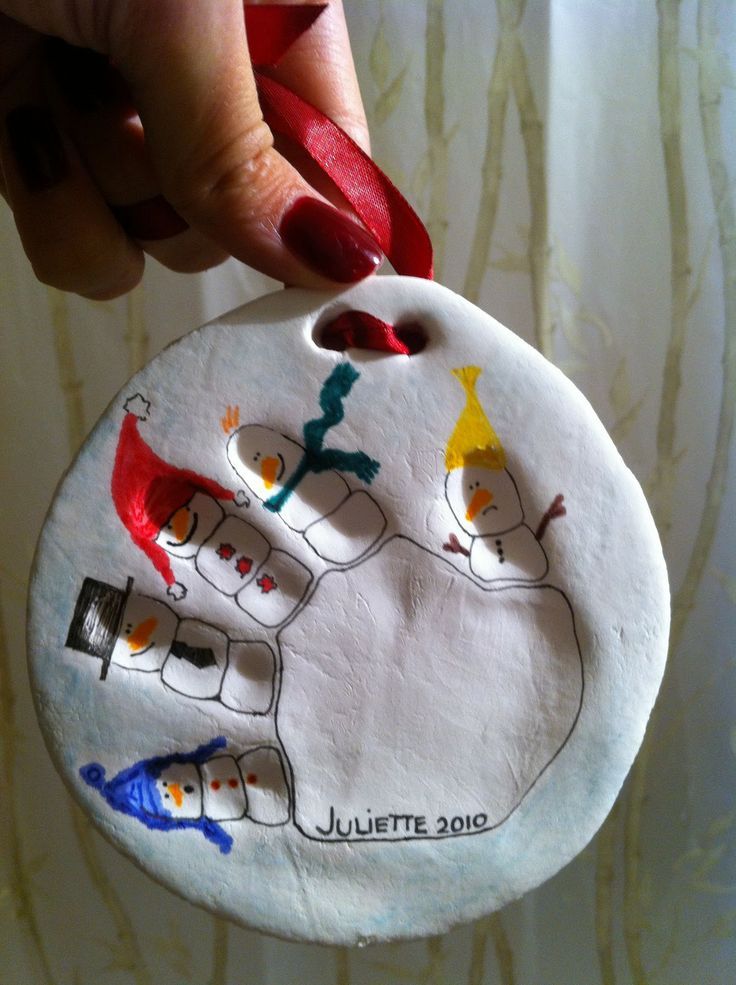 I pressed it well to the dough, so that such a decent notch turned out.
What I like about dough, unlike, for example, gypsum, is that numerous attempts are possible here. Did the pen print badly? Mixed the dough, molded the shape, put the pen again. And so on ad infinitum. Unlike gypsum. I didn’t have time to do well with him right away - I was late, all the good can be thrown away.
Then, with a match, she added the name and age of the mistress of the prints. With the help of a wooden spatula, I shifted my workpiece onto baking paper and put it in the oven to dry at the minimum temperature (about 120 degrees) for 2-3 hours. Periodically, I opened the oven slightly to check that the dough did not rise, but dried. Because I had such an incident somehow for the very first time. Either the flour was somehow special, or the drying temperature was too high.
They say you can dry the dough without an oven. Just put it on a flat surface and forget for a couple of weeks.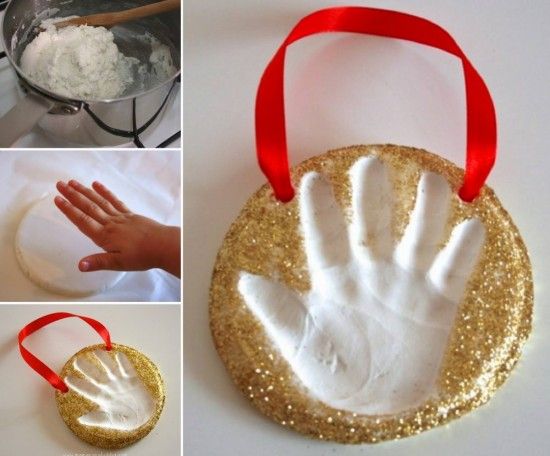
Readiness I determine by hardness. The finished, dry product becomes hard and slightly ruddy.
Then I took watercolors and painted the cast. I painted over the prints with white, and the space around it with dark pink.
This is the beauty I got. Now, along with photos, videos and handwritten notes about her daughter, she will remember a wonderful cast of her tiny limbs.
To receive the best articles, subscribe to Alimero's pages in Yandex Zen, Vkontakte, Odnoklassniki, Facebook and Pinterest!
- 4575
- 6
- 1
- 7 (55)
Svetlana Storozhenko 17 39, March 6, 2016
Get code for blog/forum/website
BB code to embed :
BB code used in forums
HTML code to embed :
HTML code used in blogs
Preview
Previous topic
Next topic
DIY Easter crafts from salt dough.
 Easter crafts from salt dough. Salt dough horseshoe
 Why do we love holidays? Probably because it's nice to prepare for them: think about gifts, set the table. But there are special, bright celebrations in our life, such as Easter. On Easter, people give each other small Easter gifts: painted eggs, Easter cakes, baskets, Easter souvenirs. Children love to prepare crafts for Easter with their own hands, it is so interesting for them to take part in the preparation and work. We have selected the most interesting workshops for children and adults from a variety of crafts.
We offer Easter crafts made from the simplest materials, the purchase of which does not break the pocket, they are always available in any ordinary store.
This interesting egg basket can be easily made from a disposable plate, wooden clothespins and tape.
Cut a disposable plate with scissors:
Glue the sides and seal with paper or tape on top. Separate clothespins, glue Moment.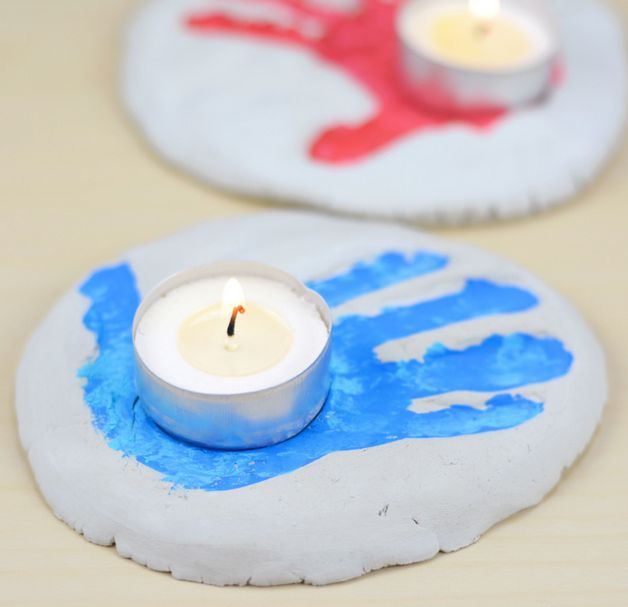 From above we fix with a thin braid.
Cut strips of paper at the bottom, make a handle out of cardboard. Decorate with a bow or several.
Print out the bunny template or draw on a sheet of cardboard or thick paper. We color it on both sides, glue it and put a beautiful Easter egg in the paws.
We make chickens from disposable spoons, cotton pads, colored paper.
You can make the same funny bunnies:
More Easter-themed crafts: unusual egg plates. How beautiful multi-colored eggs will look on such an original plate! We cut out 4 paws and a head of a bunny from white paper, make out a muzzle. We put clothespins on a plate, glue paper paws to them. Put the cut white paper on the bottom of the plate.
Similarly, we make a plate with chicken. Difference: yellow paper and the size of the paws.
DIY gifts for Easter
There are a lot of ideas for Easter gifts, you will get tired of choosing. I would like to hope that our master classes will help you in choosing.
Paper
Easter basket for the upcoming holiday can be made from a regular paper bag. Or from beautiful wrapping paper, maybe you still have candy boxes. There are many options. In such an interesting basket, multi-colored Easter eggs or delicious treats will look original.
For work you will need:
- Paper.
- Scissors.
- Ruler.
- Hot glue gun or regular paper glue.
- Pencil.
If you took a bag for work, then you need to cut off the bottom of it. Cut the side. With a ruler and a pencil, draw the paper into strips 3 cm wide.
Bend all the strips in half along the entire length.
We start weaving a basket from the stripes, as in the photo.
So that the parts do not get confused, glue the strips on the top of the basket, then cut it all off. Glue the handle and glue the top of the basket.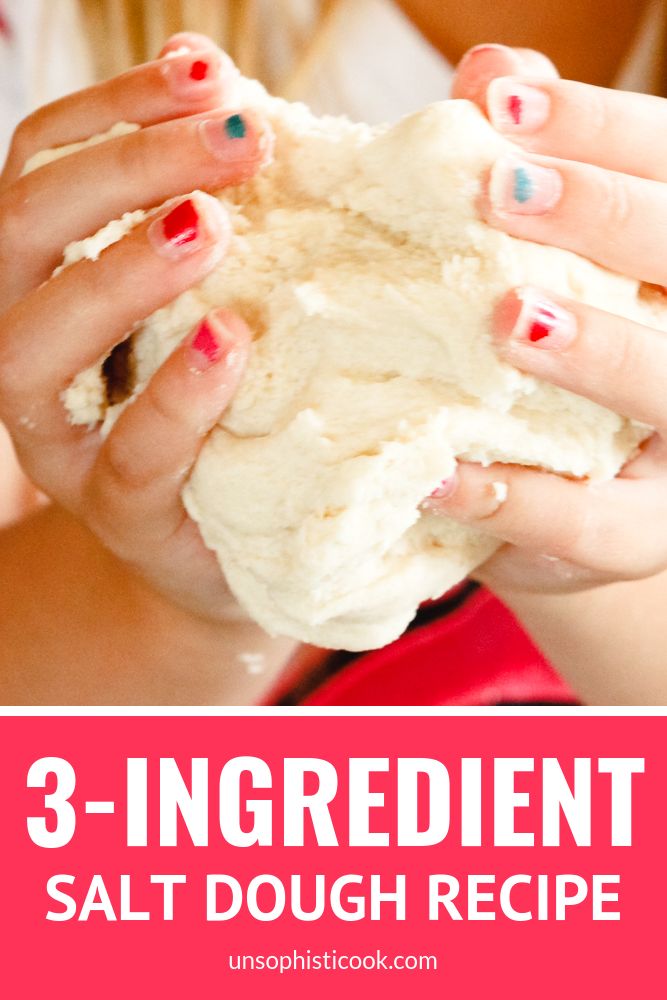
We will sculpt an interesting hen-stand for Easter eggs as a gift. There are several recipes for making dough.
Recipe for wheat flour dough:
- Flour - 2 cups.
- Salt "Exra" - 1 cup.
- Cold water - 250 grams.
- Product storage bag.
- 1 st. a spoonful of sunflower oil.
Recipe for rye flour products:
- 3 cups (300 gr.) wheat flour.
- 1 cup (100 gr.) rye flour.
- 2 cups (400 gr.) fine salt.
- 250 ml water.
Rye flour gives the figurines a warm bread colour. To prepare any dough, mix flour and salt, then gradually pour in cold water and mix again. The degree of readiness of the dough can be determined as follows: if the dough stretches and sticks to your hands, it means that there is a lot of water in it. Therefore, you need to add more flour.
For work you will need:
- Salty dough.
- Stack.
- Peeler.
- Toothpick.
- Manicure file.
- Black peppercorns.
- Paints, brush.
- Clear lacquer.
- Garlic press.
Roll out the cake to a thickness of 0.5-0.7 cm, this will be the chicken's nest itself. We make the side parts of the nest with the help of a garlic press. We make "straws", wetting with water.
We leave the work for 1 day to dry so that the dough keeps its shape well in the future. Let's start making chicken. We sculpt the workpiece of the body. We need a chicken as an egg stand, which means we need to make a recess for the Easter egg. We take a round shape, make a notch, sculpt the breast and neck of the chicken. With a vegetable peeler we make plumage on the breast.
Insert a toothpick into the neck of the hen, leaving 1.5 cm. Connect the nest and the body of the hen. We roll out the dough, make blanks of wings 1 cm thick. We draw plumage with a vegetable peeler, attach it to the body of the chicken, wetting it with water.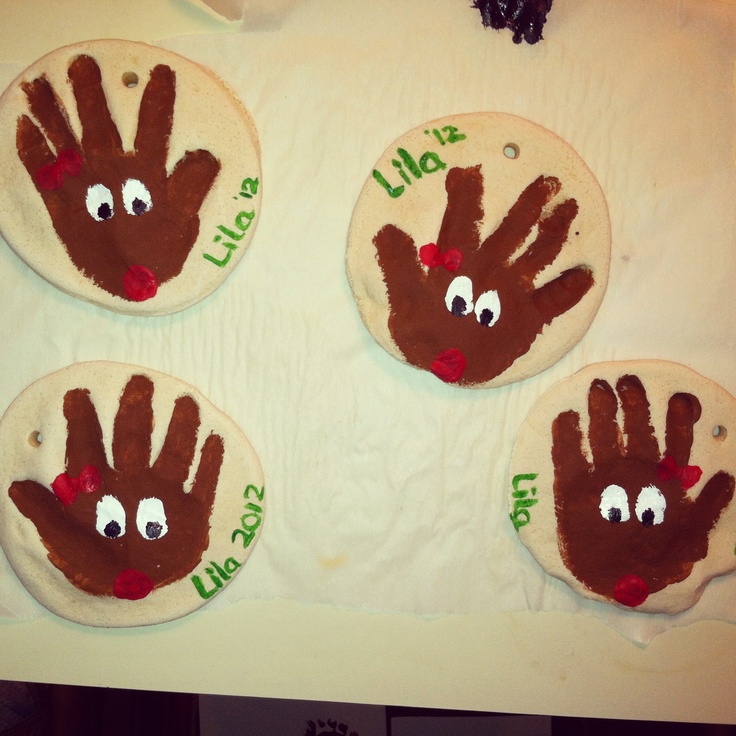
Next, our task is to make the chicken a beautiful tail. We take an oval cake 0.7-1 cm thick as a basis. We make plumage with a vegetable cutter. We cut off the edges of the tail with a knife to resemble a feather pattern. We make the cuts neat, smoothing them with your fingers. Attach the tail to the body of the chicken. Put something under the tail, such as a ball or an apple. After the product dries, we remove the apple.
Roll into a round ball for the head. We decorate the scallop, with fingers and a stack, giving it the desired look.
To make the eyes, you need to mark their place. We make dents for the eyes with a stack. Next, we make dents with a vegetable peeler so that the eye becomes curly.
Insert a peppercorn instead of a pupil. We make a beak and sculpt to the head.
We fasten the head and torso by putting the head on a toothpick. We fasten a small strip of dough for the stability of the head.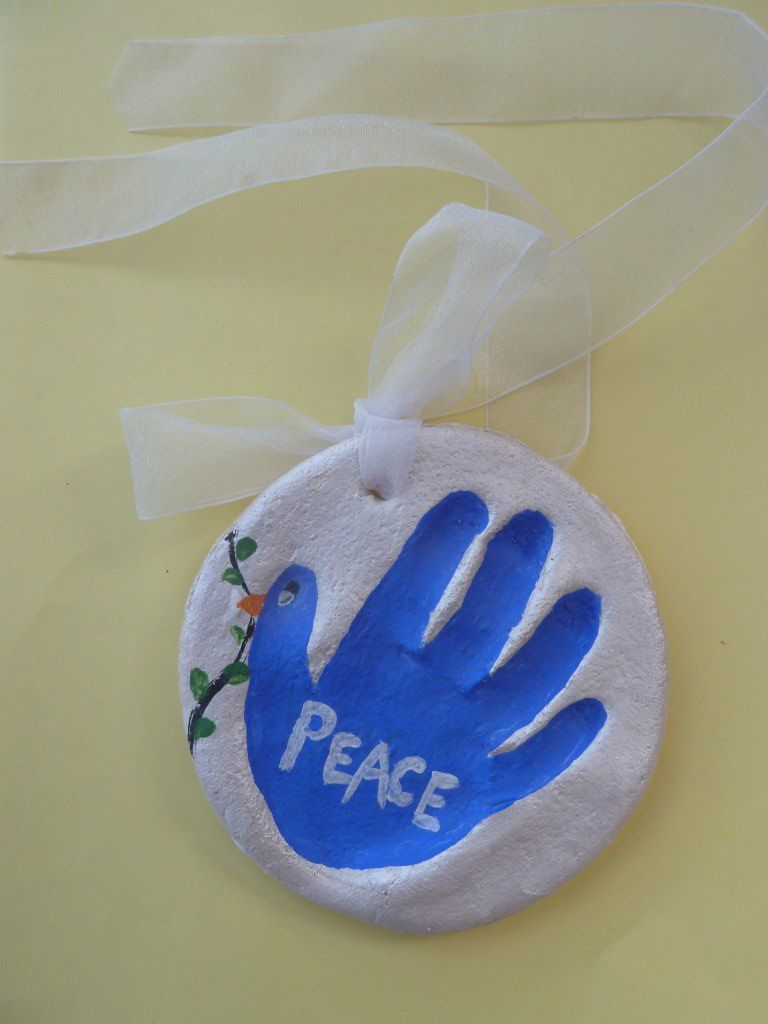 Decorate the neck of the chicken with dough feathers. You can make chicken "earrings" from pieces of dough.
We make chickens in the same way. Do not forget to wet the parts so that the fastening is better.
We leave the product to dry for 1-2 days, putting them in a distant place, you can even on a closet. After a day or two, when the chickens and chicken harden, we finalize the work: we plant the figures on the leaves, moistening the middle with water. Leave in the air for 1-2 days. We dry the products first in the air, and then put them in the oven with a temperature of 50 degrees for 1 hour. After drying, paint with paints and cover with a colorless varnish.
Another option: dough figures: we make Easter bunnies, hens, chickens. You can make fridge magnets out of them, or you can make pendants for willow branches.
The quickest way to give a gift - colorful paper napkins and ribbons. We twist the boiled egg into a napkin and tie it with a ribbon.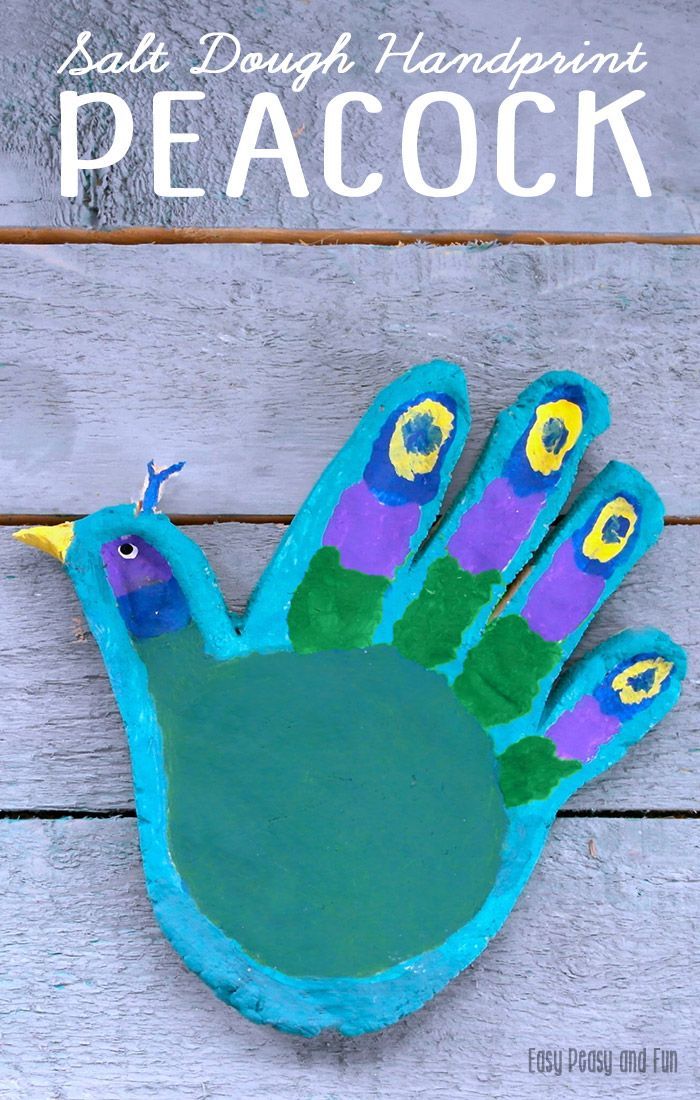 Can be replaced with corrugated paper.
Crochet this funny and interesting Easter chicken.
You will need:
- Yarn yellow, 100% cotton or 50/50,
- Some orange and white yarn.
- Hook number 3.
We start knitting from the body. First 7 rows:
1st - 8 sc knit in a loop with amigurami
2nd - knit 2 sc in each loop (16 sc)
3rd - 1 sc, 2 sc, and so on (24 sc)
4th - in every third loop add: 2 sc, 2 sc (32 sc)
5th - in every 4 p. add: 3 sc, 2 sc (40 sc)
6th - in every 5 p add: 4 sc, 2 sc (48 sc)
7th - in every 6 sts add: 5 sc, 2 sc (56 sc)
15th - knit the 5th and 6th sts together (40 sc)
16 th - 2 rows knit without decrease (40 RLS)
18th - knit for decrease 4th and 5th sts together (32 RLS)
19th - without reduction (32 RLS)
We fill the chicken with cotton or synthetic winterizer.
20th - knit every 2nd and 3rd stitch together (16 sc)
21st - knit every two stitches together (8 sc)
Cut the thread and carefully sew up the hole.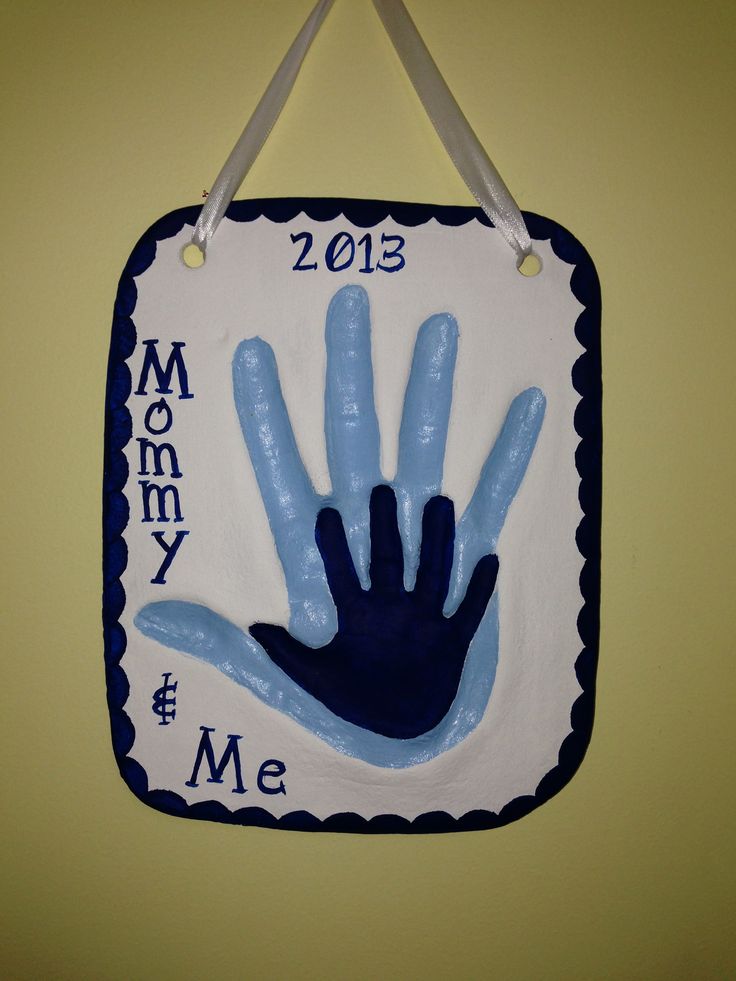
Wings (2 wings):
- 1st - we collect 7 air. loops with yellow yarn, 1 sc in the second loop from the hook, 4 sc, 3 sc in one loop, 4 sc, conn. p.
- 2nd - 1 VP, 4 RLS, two times 2 RLS in one loop, 3 RLS in one loop, two times 2 RLS in one loop, conn. p.
- 3rd - 1 VP, 1 RLS in each loop
- 4th - 1 VP, 1 conn. p. in each loop
We knit the legs with orange yarn:
- 1st - 2 ch, 6 sc in the second loop from the hook (6 sc)
- 3rd - make an increase in every second p. (18 sc)
- 4th - row unchanged (18 sc)
Beak (1 part)
1st - cast on 5 ch, 1 sc in the 2nd loop from the hook, half-column, 1 dc, and 1 dc2n
Eyes (2 parts)
- 1st - 6 RLS in the loop with amigurami (6 RLS)
- 2nd - we make an increase in each loop (12 RLS)
- 3rd - we make an increase in every 2nd loop (18 RLS)
- Various beads (colors are indicated next to the diagrams).
- 2 meters of thin line or nylon thread.
- 2 beading needles.
For work you will need:
We start weaving from the central row from number 1 to number 2, then we carry out each part separately at different ends of the fishing line, using the table.
In the egg pattern, note the double rows (12 and 13 at the top, 13 and 14 at the bottom). At the keychain in the shape of a chicken in the upper part, first weave the right wing (numbers from 5 to 9), and then the left one (numbers 10 to 16). Next, we move on to the design of the head (numbers from 17 to 40).
What would Easter be without Easter cake, Easter eggs, souvenirs and angels? These original Easter angels can be made with your own hands from ordinary pasta. Pasta can be anything: stars, horns, spirals, vermicelli. Such angels can be hung on a willow branch or put in an Easter basket.
For work you will need:
- Pasta.
- Ribbons or sticks.
- Hot air gun or glue Moment.

- PVA glue.
- Salt dough balls.
Use a glue gun to connect the head (dough ball) to the body. Next, glue the ribbon on the back. We select wings from pasta and glue on top of the braid.
We thickly smear the angel's head with PVA glue and lower it into small noodles or stars. This is the "hair" of an angel.
Use openwork pasta for hands. Apply glue thickly on the sides, near the wings and glue.
We paint with either plain gold or spray paint.
If you want to insert them into the Easter basket, insert a stick inside the macaroni body and glue, crafts are ready.
Easter crafts made from salt dough are the best way to decorate the Easter holiday, make it warm and joyful. An Easter egg made of salt dough on a stand will best help convey the mood of this wonderful holiday. Dough crafts do not require much time to make, and the pleasure of sculpting and coloring is simply indescribable.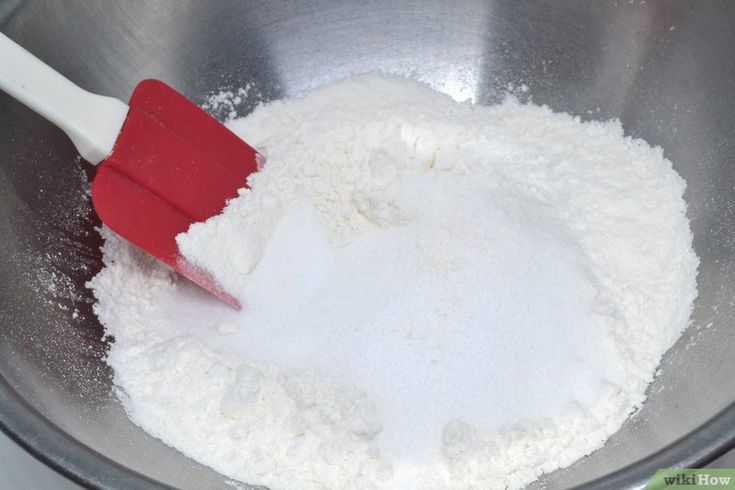 The kids love it and so do the parents!
Salt Dough Crafts: DIY Easter Eggs
This crafts tutorial will make this task easy.
You can, of course, roll the whole egg out of the dough. Only it will dry for a very long time, it is quite heavy and can crack and swell when it dries. Salt dough gives a good result if its thickness in the product does not exceed 7 cm.
Therefore, it is best to make Easter eggs - models on the frame. In this case, the best option is an empty eggshell. To prepare it, you need to make two small holes in a raw egg with a sharp object - you can use a darning needle, you can use the tip of a knife. The inside of the egg is blown onto a plate so that it can then be used as food.
Now it's time to prepare the mass for modeling. A cup of ordinary flour (without impurities), half a cup of finely ground salt is poured into a bowl, mixed. Water is gradually added to the mixture, and everything is immediately mixed. Then the dough is kneaded on the table. It should have the consistency of dumplings.
An empty shell is placed on the rolled pancake.
Then the entire frame is wrapped with dough, the seams are smoothed with fingers dipped in water, the surface is leveled by rolling the egg on the table. At one end, a puncture should be made in the shell of dough in the place where the shell has a hole, otherwise, during baking, the air that has increased in volume from heating will give an ugly swelling.
Letters, flowers, berries, leaves are cut with a sharp knife from a thinly rolled piece for modeling mass - everything that the craftsman's imagination suggests. Having moistened with water that side of the future bas-relief, with which it will attach to the main part, the sculptor carefully applies the application in the right place. With fingers dipped in water, carefully smoothes the seams so that there are no cracks.
You can emphasize the border of the bas-relief using a knife. The point should be applied with the flat side - the sharp part should be directed directly to the line where the bas-relief rises above the plane.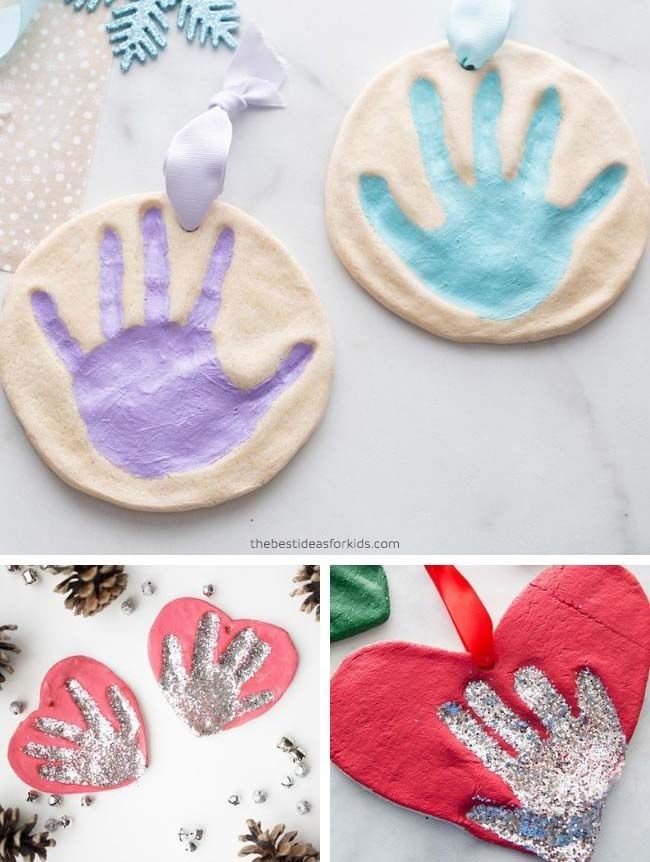
You can bake an egg in a regular oven, but it is preferable to do it in a "microwave". The mode should be set to "defrost", time - 1 minute. This will be a test firing. To prevent the egg from deforming, it is best to put it in a cup of flour. Then, at the place of contact with the plane, no dents form on the egg.
After checking, puttying can be done: with pieces of wet dough, cover up the resulting bumps, cracks. If, nevertheless, swellings have formed, they can still be cut off with a knife or scissors in order to cover the “repair” place with a wet mass.
Now you can "fire" the egg in the microwave oven in the usual way, but it is better to do it in several steps for 2 minutes, each time checking the result.
After “baking”, the egg is painted with watercolors, acrylics or gouache. You can cover the product after drying with the usual colorless varnish on wood or sprinkle with hairspray.
Modeling on the theme "Easter" involves making a stand for an egg.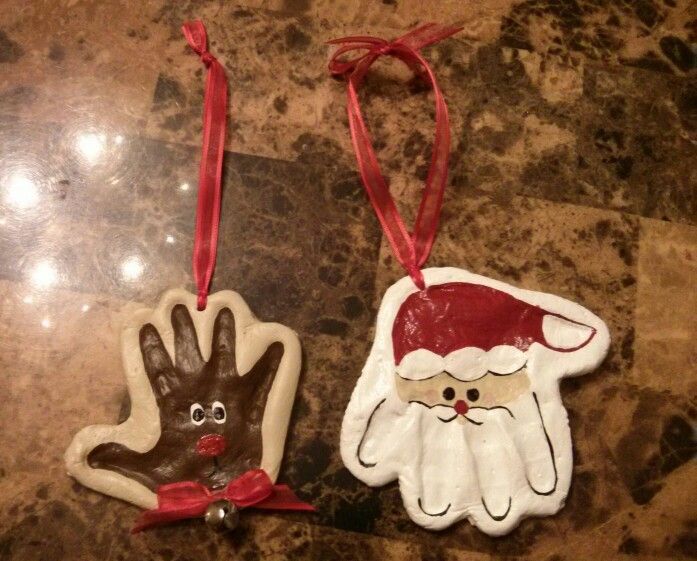 It is most convenient to perform the stand in three stages. First you need to form a cup. For her, the master can take a plastic cap from an air freshener or dichlorvos. First, it must be lubricated with oil: vaseline, sunflower, margarine. Then you need to carefully stick around a thin layer of rolled out dough, smooth the joints.
After spreading the dough in an even layer, you need to cut off the excess with scissors. The lid should protrude slightly from the dough. It is allowed to make a “roller” along the edge of the “glass”, you can decorate the stand with a bas-relief.
The cup can now be placed upside down in the oven. After 1 minute of “baking” in the “defrost” mode, the part is removed from the cabinet, and the mock-up lid is easily removed.
The leg is rolled up from a small piece of dough, attached with a moistened end to the bottom of the cup, the attachment point is smoothed with wet fingers. The part is again placed in the oven, switched on for "defrosting".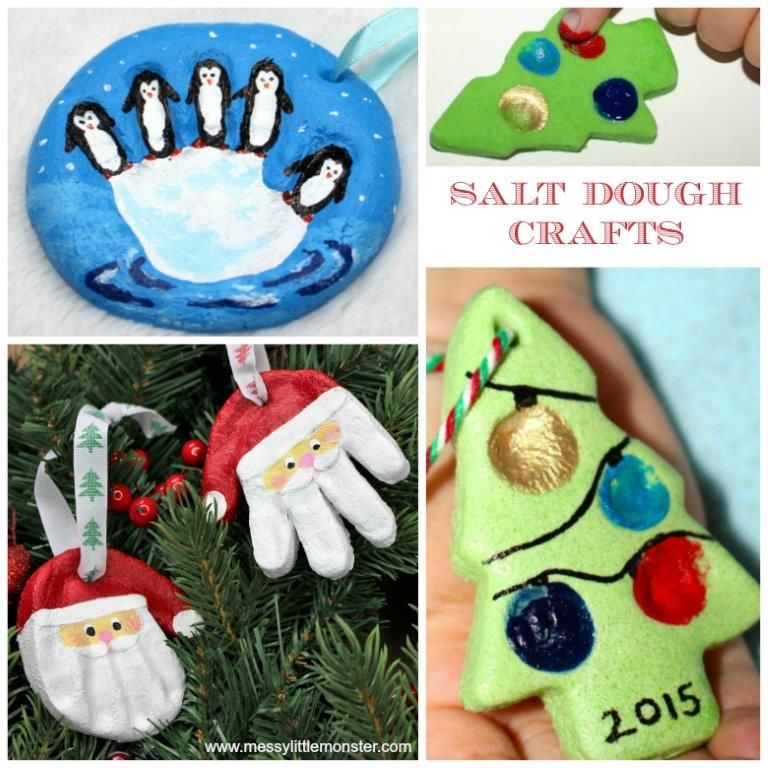 Place the part with the foot up, “bake” for a minute.
Attach a metal cover coated with pastry to the leg of the stand to ensure stability. Do not forget to moisten the place of attachment, and carefully smooth the seams! It is better to dry the product for the first time upside down.
After the last baking (at normal temperature), the glass stand is painted with watercolors, gouache or acrylics and varnished.
This piece of jewelry can stand for as long as you want: a year, two or more. But you need to remember that this product is fragile, it should not be dropped. And it is not recommended to wash an egg with a stand with water.
Holy Easter is one of the most anticipated holidays of the year. Both adults and children look forward to it. And the main reason for this is not only the religious significance of this day, but also the delicious treats that each family prepares on this important day.
We would like to offer to your attention a master class on making crafts from dough for Easter with your own hands.
Easter basket
To make an Easter basket with yeast dough, you will need the following baking ingredients:
- fresh yeast - 2.5g
- warm water - 1/2 cup
- milk - 1/2 cup
- eggs - 1-2 pcs (one for dough, one for brushing)
- sugar - 1/4 cup
- salt - 1/2 tsp
- olive oil - 1/4 cup
- flour - 4 cups
With the help of step-by-step photos, it will not be difficult to make such an interesting craft from dough for Easter.
Let's start:
1. In glassware (preferably with deep rims), combine milk with water. Mix two tablespoons of water with milk and add yeast. Mix thoroughly and leave to infuse for a few minutes.
2. Whisk the egg, add the resulting mixture of milk, water and yeast, then add the olive oil, salt and sugar. Mix thoroughly until smooth.
3. Add flour to the mixture. First you need to pour half a glass, mix, then gradually add the remaining amount of flour.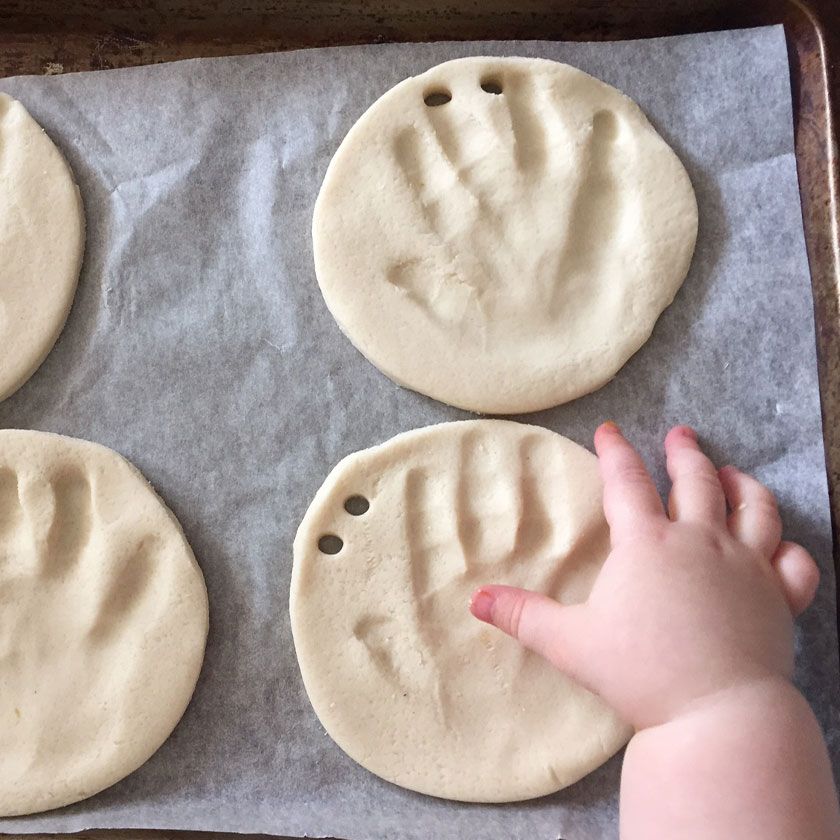
5. The next step is to roll the dough into rolls. Use heat-resistant glassware or a cake pan as a wicker mold. And before you start applying the dough, you need to wrap it with foil.
7. Place the resulting strips evenly over the mold, joining at the top. On average, 14-15 flagella are obtained on the form. Now you need to put something heavy and round on top of the bundles to make the bottom (you can take a glass bowl)
9. In a separate bowl, mix one egg, a tablespoon of milk and a little olive oil. Lubricate the entire basket of dough with this mixture.
10. Put the basket on a baking sheet covered with parchment paper in the oven, preheated to 180-190 degrees. Bake for 20 minutes. The dough should take on a golden brown appearance.
11. When you remove the basket from the oven and remove it from the baking sheet, there will be a trace of dough and dishes on the paper.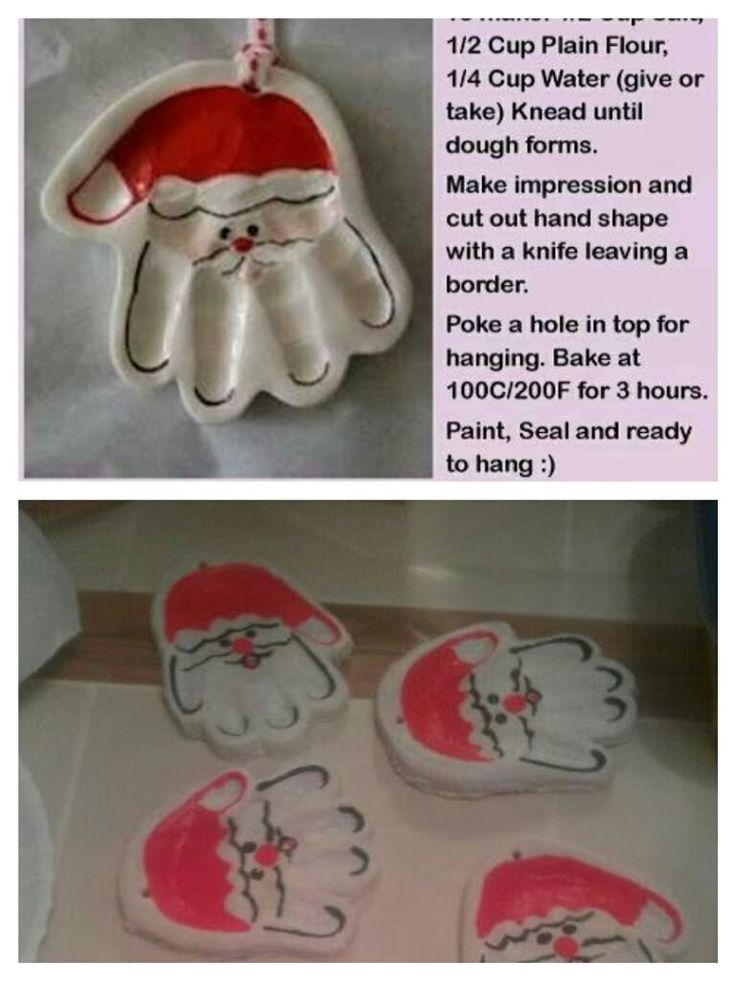 On it, you should make a pigtail of the same size. This will be the edging for our Easter basket. To make a handle, you need wire. We measure the desired length, wrap the wire with foil, and on top with dough.
12. Do not wait for the dough to rise, but immediately put it in the oven.
13. We attach the finished edging with toothpicks, insert the handle in the same way.
Easter basket is ready! Now you can decorate it with a napkin, ribbons and put Easter cakes and other Easter treats in it.
Easter Salt Dough Craft: Easter Eggs
To prepare these crafts, you need to take the following ingredients:
- flour - 2 cups
- salt - 1 cup
- water - 1 glass
- acrylic or gouache
- egg mold
- decorative brushes
- hanging tape
If you don't have the right mold, you can easily make your own. It is necessary to cut off a strip from a plastic bottle and fasten it with tape, giving it an egg shape.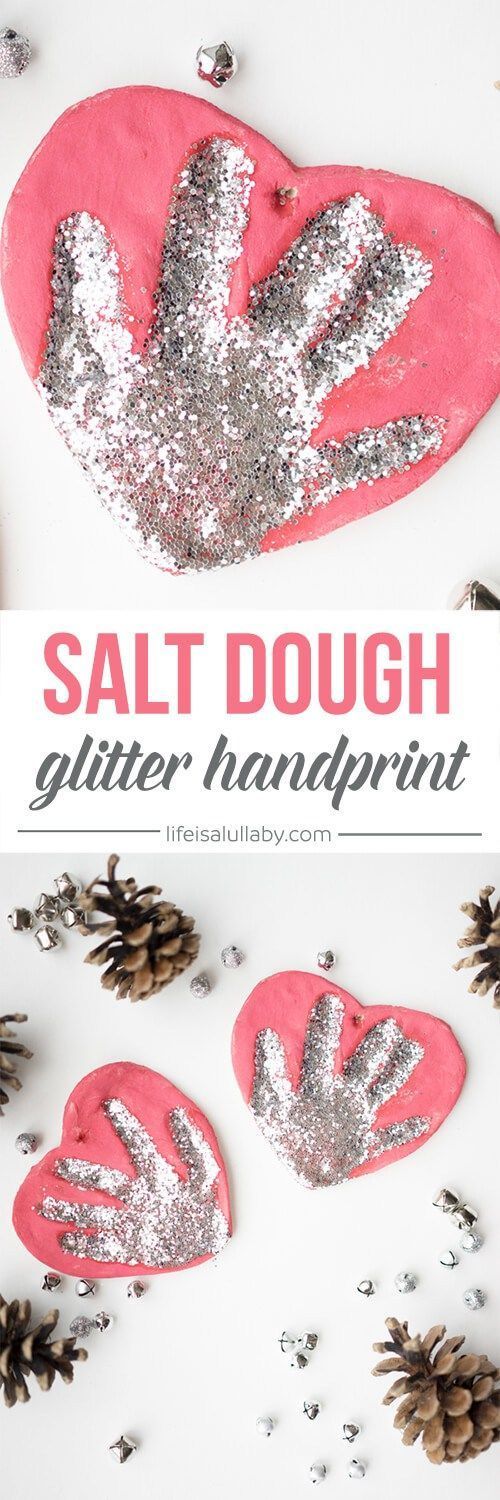
Let's start making dough crafts, photos will help us with this:
1. In a deep bowl (bowl), mix salt, water and flour, knead the dough.
2. Roll out the resulting salty dough to a thickness of 1-1.5 cm.
3. Using egg-shaped molds, “squeeze out” the eggs from our dough.
4. With the help of a rod from an old felt-tip pen or a pen, we make holes for the tape in the resulting molds.
5. Put the resulting eggs from the dough on a baking sheet covered with parchment paper to dry quickly. We put in the oven on a very small fire, do not forget to leave it ajar so that the blanks do not bubble.
6. After the crafts have dried and cooled down, decorate them as you wish. We leave to dry.
7. We take a long ribbon of red or white colors - the symbols of Easter, and thread it through the holes in our eggs.
We made a wonderful piece of salt dough for Easter in the form of a garland.
My son and I are still preparing and this time we decided to do salt dough modeling .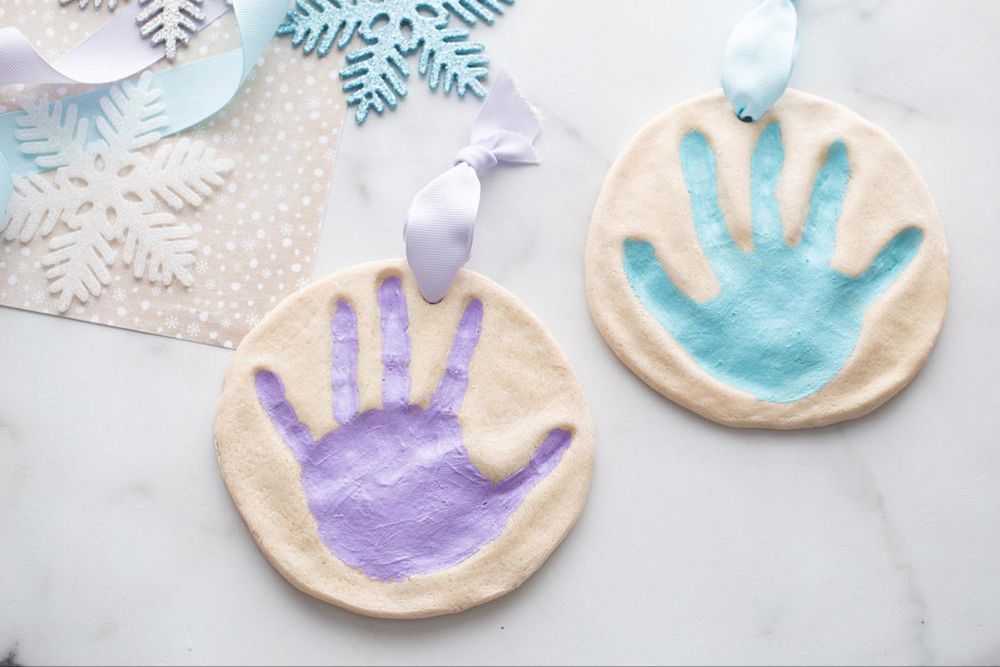 And what we have stuck you will find out right now ...
Materials:
- Salt dough (recipe)
- Toothpicks and spatulas
- Gouache paints
- Brush
- PVA glue
Easter bunny and chick souvenirs :
Let's start with the chicken, roll it into a ball, flatten it and shape it into an egg, stick on the legs, beak and comb. Be sure to coat all parts with glue. Insert a spatula and leave to dry.
We did nothing with the bunny, we used a cookie cutter and inserted a spatula.
Let the figures dry and color.
Egg stand :
We sculpt two parts: the first is made with a recess for the egg, and the second is made with cuts resembling leaflets.
We glue the parts, dry and paint.
Another stand :
We take a jar, we had from the plant. Cover with dough, make small cuts, wrap the top with balls of dough.
Put foam in the middle.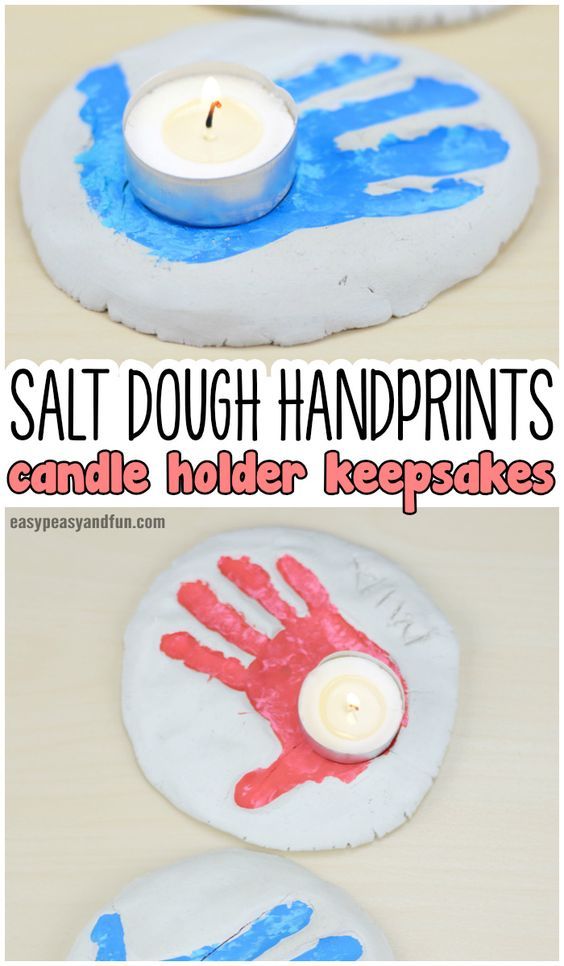
Roll out the dough and cut out a rectangle, curly edges are made using a pastry tool. Glue the rectangle onto the jar.
A will complement and decorate the jar with a flower with petals and balls. Leave the pad to dry.
Next, we paint the stand, after the paint has dried, we form something like a nest of threads on top. Well, that's all, the egg stand is ready.
Hen
Chicken is very easy. We roll the body together with the head. Separately, we sculpt and glue the scallop, beak, wings. We dry and paint the product.
Topiary with salt dough elements :
For the manufacture we needed additional materials: a plastic ball, a disposable glass (beer), threads, artificial greens and flowers, beads, a glue gun.
While my son was sculpting details for a bunny and an egg from salt dough, I proceeded to the tree itself.
We take several spatulas, wrap them with thread or paste over with corrugated paper.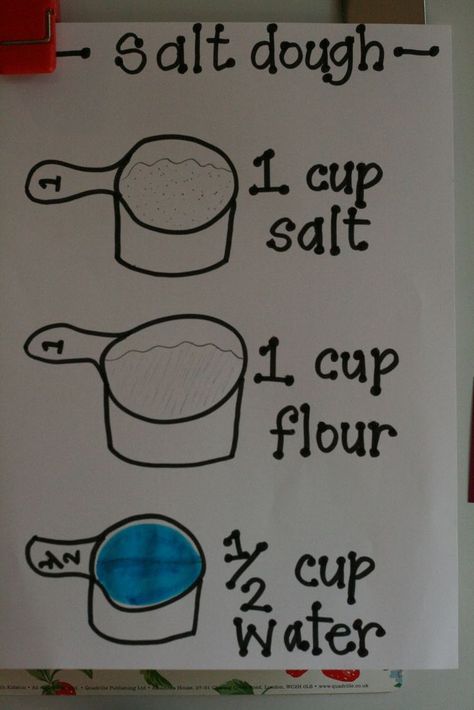 Pour gypsum diluted with water into a beer glass and insert caps and greens. Let the gypsum harden, then coat with glue and sprinkle with beads. And we wrap the glass itself with threads.
Salt dough Easter crafts.
Equipment:
- bowl oil
- dough rolling pin
1. Mix flour and salt, gradually adding water. The dough must be kneaded until it looks like a dense pastry dough. Then turn the bowl upside down and lightly oil the bottom of the bowl. Put the container itself on some object so that its edges rise above the table. Roll the dough into a small ball, make a cake out of it (the base of the basket) and place it on the bottom of the inverted bowl
2. Roll the dough into long flagella with a diameter of 5 mm. Moisten the outer edge of the dough cake - this will act as glue. Fasten one end of the flagellum on the edge of the cake, arrange the flagellum itself in the form of a loop and then fasten the second end to the cake.