Primary colors worksheets
Colors Facts, Worksheets, Colorful Colors & Psychology of Colors For Kids
Worksheets /Fun /Colors Facts & Worksheets
Premium
Not ready to purchase a subscription? Click to download the free sample version Download sample
Table of Contents
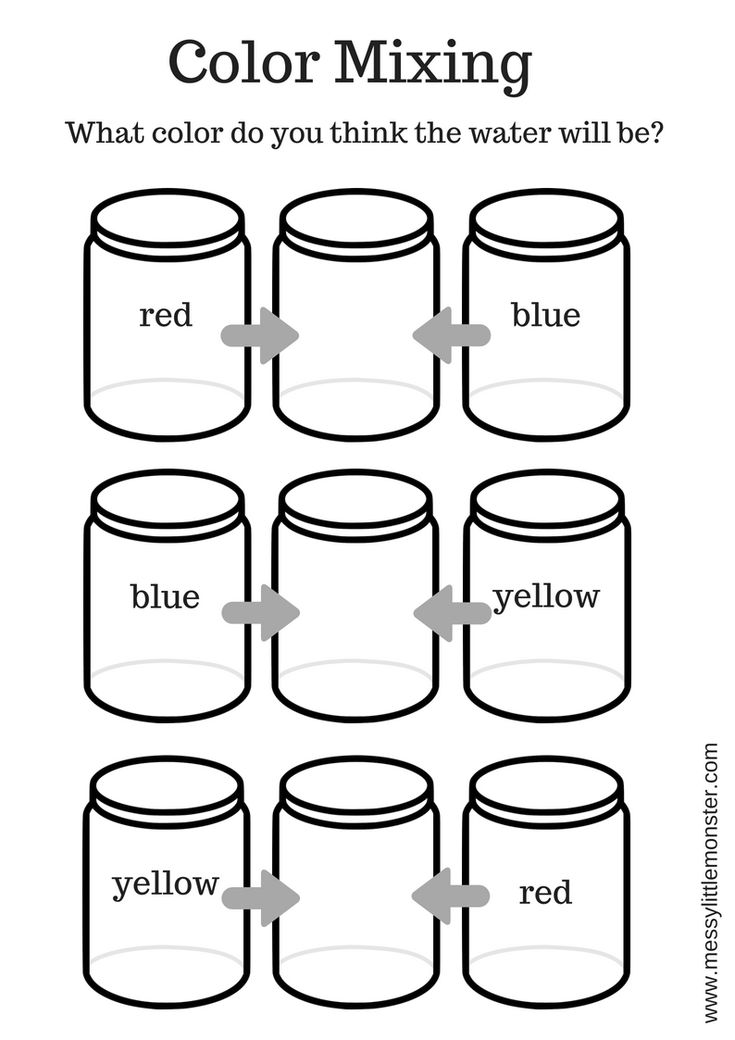
Colour, or color, is a property of light as seen by people. The international spelling of the word is colour, the word color is used in American English. “Primary colours” can be mixed to make the other colours. Red, yellow, and blue are the three traditional primary colours. The primary colours for television screens and computer monitors are red, green, and blue. Printers use magenta, yellow, and cyan as their primary colours.They also use black.
See the fact file below for more information on the colors or alternatively, you can download our 22-page Colors worksheet pack to utilise within the classroom or home environment.
Key Facts & Information
Colorful Colors
- The world is full of light. Visible light is made of seven wavelength groups. These are the colors you see in a rainbow: red, orange, yellow, green, blue, indigo, and violet.
- Within the visible light of the electromagnetic spectrum are still more wavelengths. Each wavelength is perceived by our eyes as a different color.
- The reddish colors are the long wavelengths. The greenish colors are the mid-size wavelengths. The bluish colors are the short wavelengths.
- Red, orange, and yellow are warm colors, while violet and blue are cool colors. Green is said to be the most neutral color.
- Warm colors make a room feel warm, while cool colors make a room feel cool.
- Warm colors make the room seem smaller because the walls feel closer while cool colors make the walls feel further away which makes it feel larger.
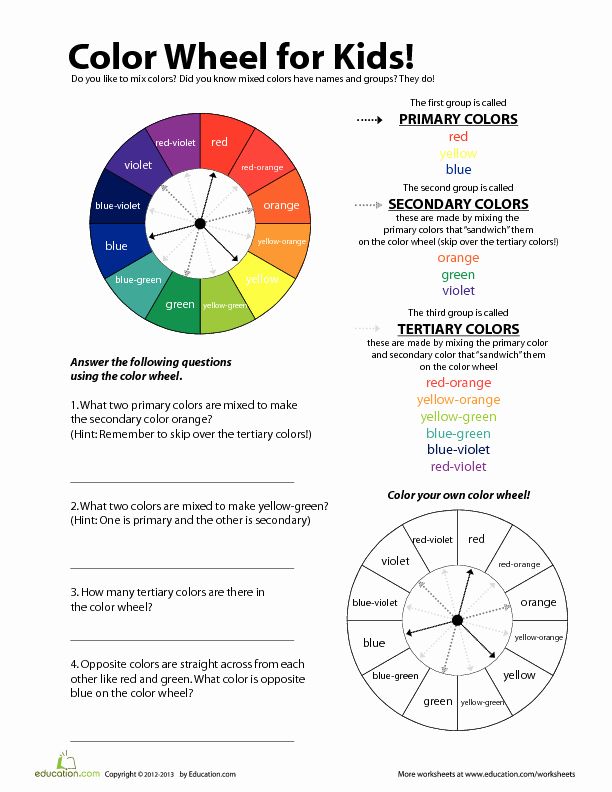
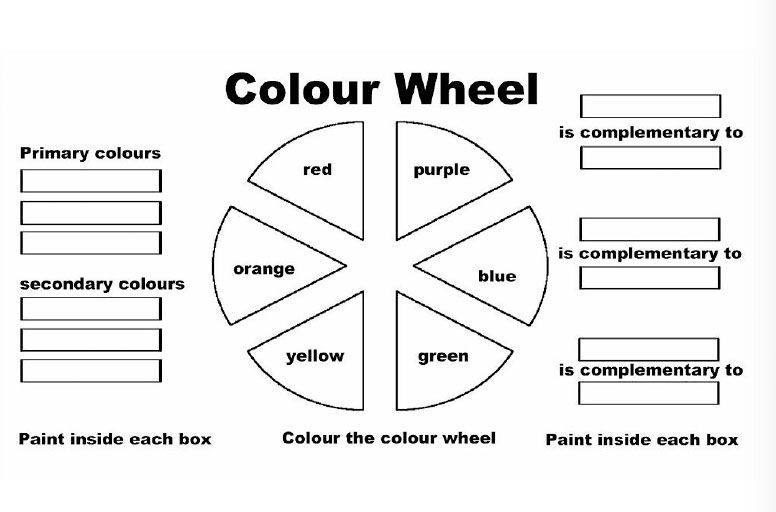
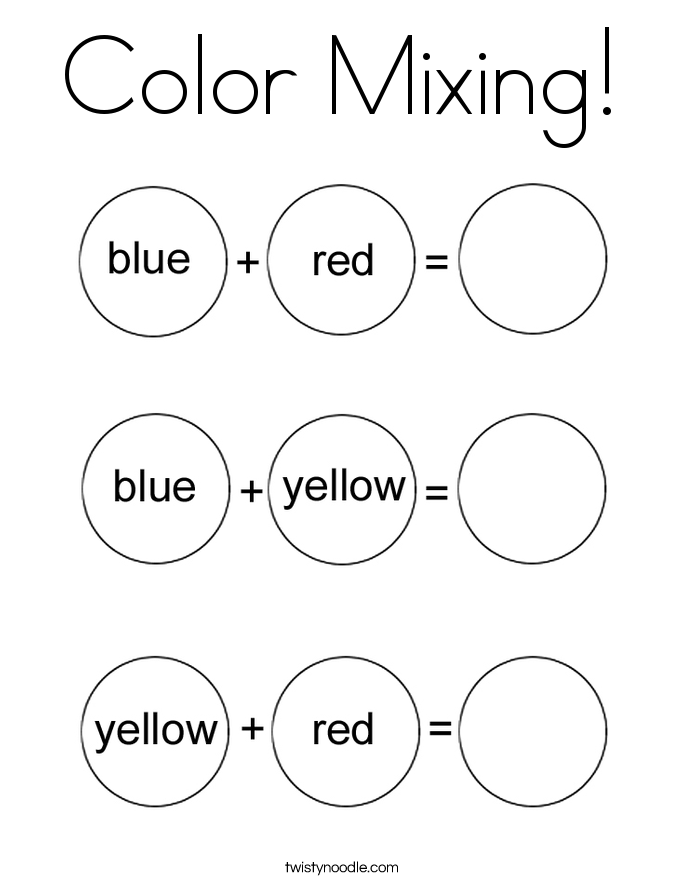
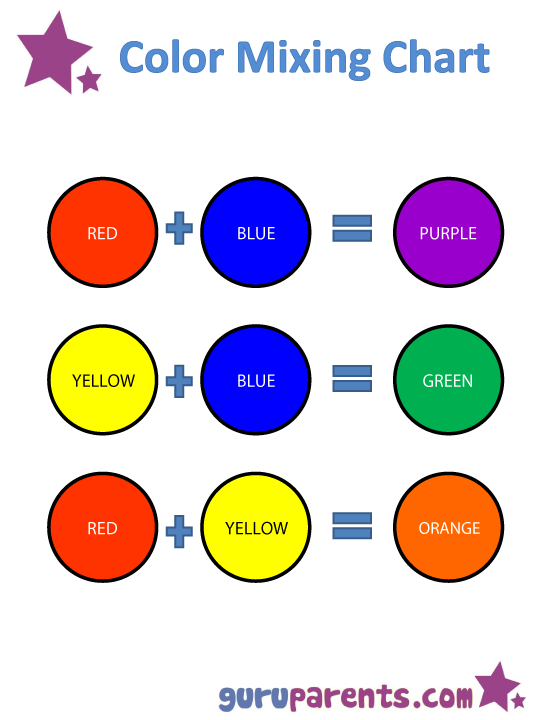
- Primary colors are blue, red, and yellow. These are pure colors that have no component other than themselves.
- Secondary colors are orange, green, and purple. These are composed of the primary colors on either side of it on the color wheel. For example: Orange = red+yellow, Green = blue+yellow, Purple = blue+red.
- Tertiary colors are orange-red, orange-yellow, yellow-green, blue-green, blue-purple, and red-purple. Tertiary colors have more of one color than the other.
- Hue is another name for the word color, and value describes the darkness or lightness of a color.
- Black is the absence of color and is therefore not a color. White is the blending of all colors and is a color.
- Most people see color very clearly, but there are some people who are color-blind.
Psychology of Colors
- Several ancient cultures, including the Egyptians and Chinese, practiced chromotherapy, or the use of colors to heal.
- Chromotherapy is sometimes referred to as light therapy or colorology and is still used today as a holistic or alternative treatment.
- According to some studies, there are four psychological primary colours – red, blue, yellow, and green.
- They relate respectively to the body, the mind, the emotions, and the essential balance between these three.
- Red (Physical) – It is a powerful colour. It denotes physical courage, strength, warmth, energy, and also defiance, aggression, visual impact, and strain.
- Blue (Intellect) – It is a soothing color. It denotes intelligence, communication, trust, efficiency, serenity, duty, logic, coolness, reflection, but also coldness, aloofness, and lack of emotion.
- Yellow (Emotional) – This wavelength is stimulating. It symbolizes extraversion, confidence, self-esteem, optimism, but also fear, emotional fragility, and depression.
- Green (Balance) – It promotes rest. This color denotes harmony, balance, refreshment, universal love, restoration, reassurance, environmental awareness, equilibrium, and peace.
- “Researchers have suggested that color associations may have been formulated early in human history when man associated dark blue with night, and therefore, passivity and bright yellow with sunlight and arousal.
 ” (Grossman & Wisenblit, 1999, pg. 2)
Study of Colors
- One study found that warm-colored placebo pills were reported as more effective than cool-colored placebo pills.
- Also, other evidence has suggested that installing blue-colored streetlights can lead to reduced crime in those areas.
- Researchers also discovered that the color red causes people to react with greater speed and force, something that might prove useful during athletic activities.
- Further, historical data found that sports teams in mostly black uniforms are likely to receive penalties and that students were more likely to associate negative qualities with a player wearing a black uniform.
- According to Gender Schema Theory, once children recognize their own gender, they actively seek out gender-related information and integrate that information into their developing concept of gender which resulted to:
- We dress boys in blue clothes
- We dress girls in pink clothes
Colors Worksheets
This is a fantastic bundle which includes everything you need to know about Colors across 22 in-depth pages.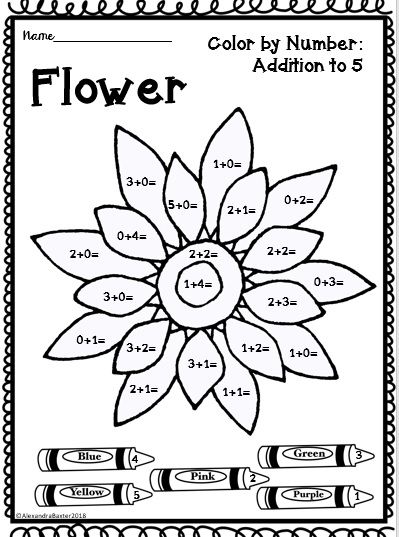 These are ready-to-use Colors worksheets that are perfect for teaching students about the colour, or color, which is a property of light as seen by people. The international spelling of the word is colour, the word color is used in American English. “Primary colours” can be mixed to make the other colours. Red, yellow, and blue are the three traditional primary colours. The primary colours for television screens and computer monitors are red, green, and blue. Printers use magenta, yellow, and cyan as their primary colours.They also use black.
Complete List Of Included Worksheets
- Primary Colors
- Secondary Colors
- Tertiary Colors
- It’s in the Eyes
- Recognized by Color
- Universal Color
- Crayon Etching
- Color Harmony
- Color Variety
- Shutter Vision
Link/cite this page
If you reference any of the content on this page on your own website, please use the code below to cite this page as the original source.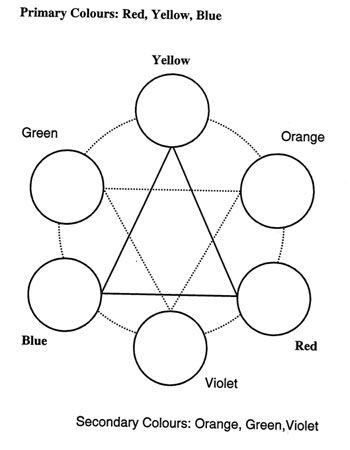
<a href="https://kidskonnect.com/fun/colors/">Colors Facts & Worksheets: https://kidskonnect.com</a> - KidsKonnect, July 30, 2019
Link will appear as Colors Facts & Worksheets: https://kidskonnect.com - KidsKonnect, July 30, 2019
Use With Any Curriculum
These worksheets have been specifically designed for use with any international curriculum. You can use these worksheets as-is, or edit them using Google Slides to make them more specific to your own student ability levels and curriculum standards.
Free Printable Colors, Shapes and Pattern Worksheets for Preschool and Kindergarten
Worksheets are free only for personal/educational (non-commercial) use. Any attempt to modify, sell, mirror, upload on your servers or commercial use violates Terms of Use.
- Preschool Worksheets
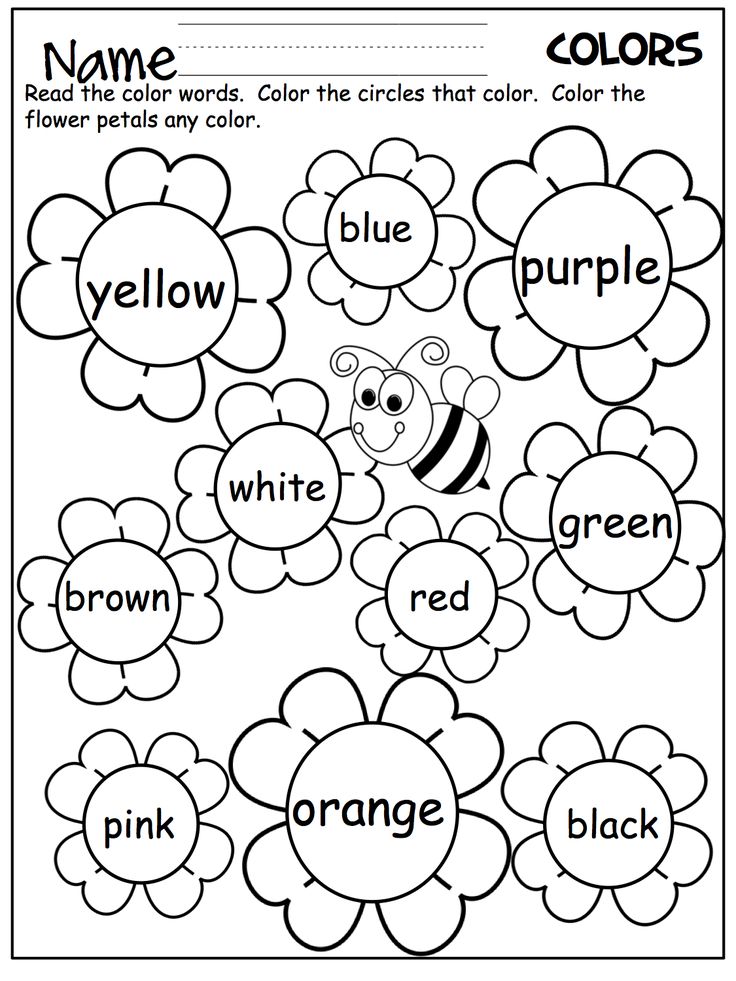
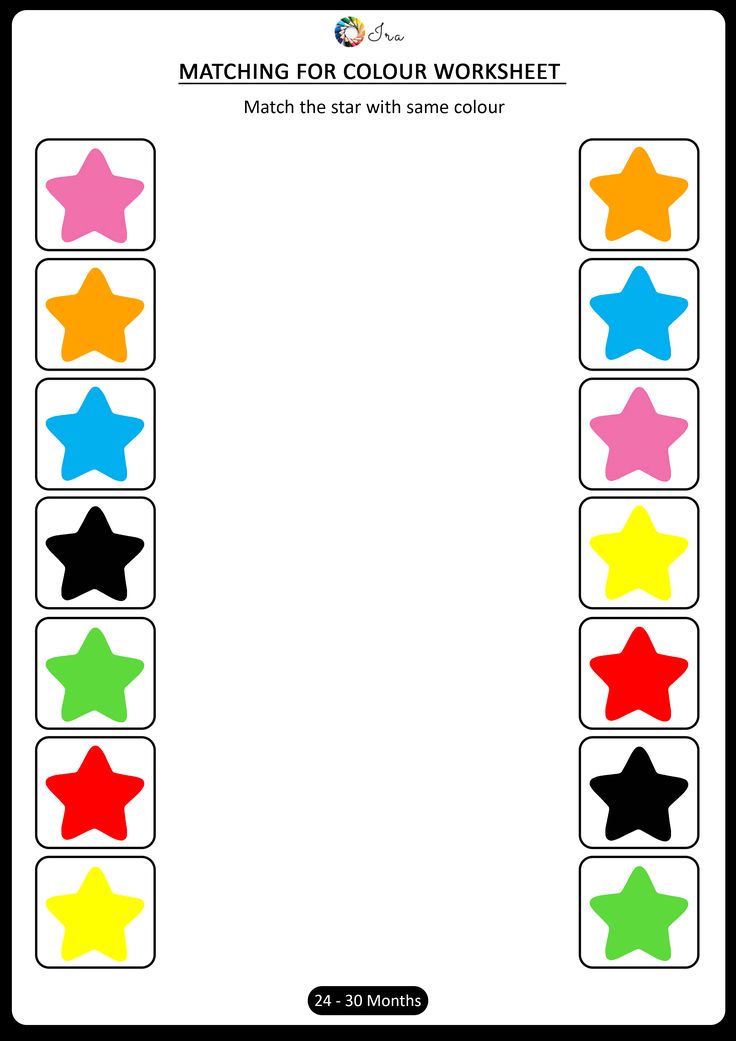
Recognition of colors and identifying the color names is a crucial milestone in a child's development.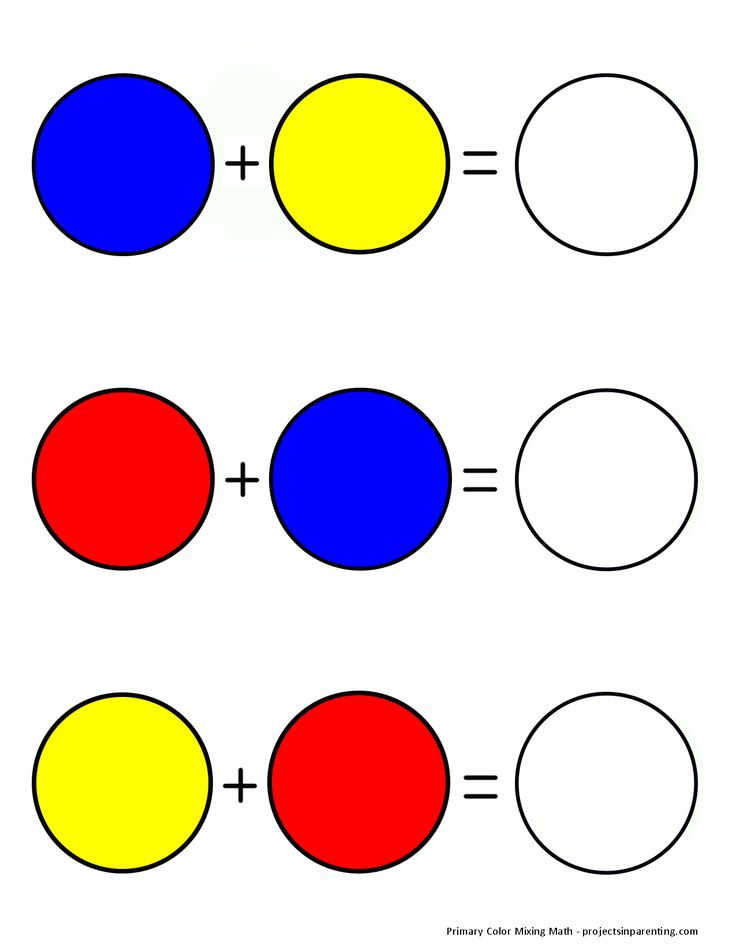 Help your child learn colors with these free printable color recognition coloring pages. Each coloring page focuses on one color showing the objects of that color in real world. These worksheets are apt as part of any preschool curriculum and will help kids learn basic colors- red, blue, green, yellow, orange, pink, brown, black and white.
- Kindergarten Worksheets
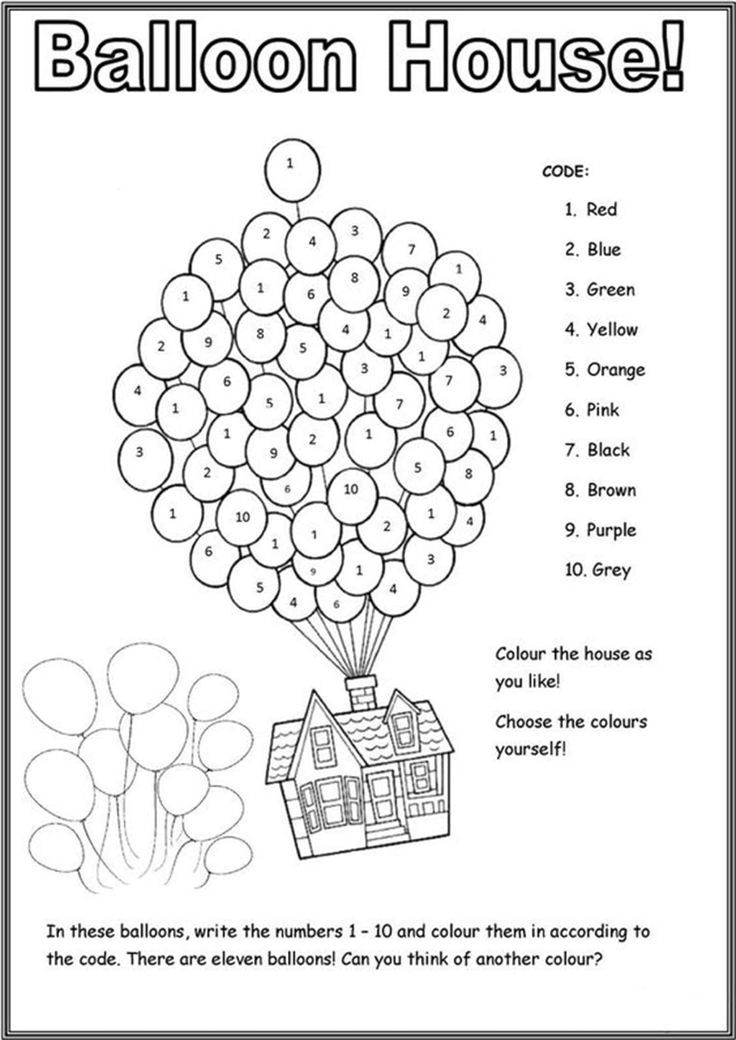
Color By Number Worksheets are great learning tools—they can help with number as well as color recognition. Children has to recognize the number given in each part of the picture and color it with the corresponding color for that number in these Color By Number Math Worksheets.
- Preschool Worksheets
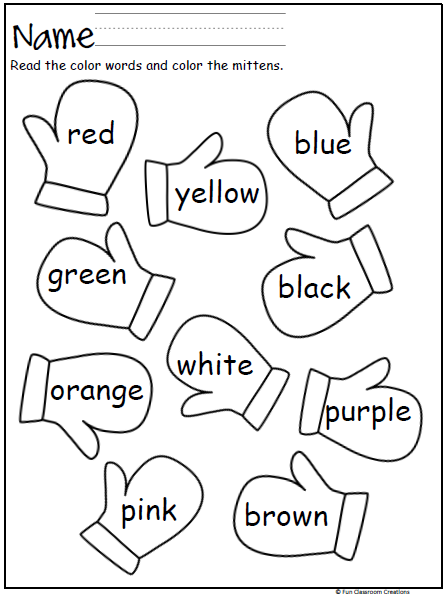
Help your child learn to recognize basic colors with these printable color recognition worksheets. Child has to color the given objects using the hint/matching color. These worksheets are perfect as part of any preschool curriculum and will help kids recognize all their basic colors- red, blue, green, yellow, orange, pink, brown, black and white.
- Preschool Worksheets
Help your child learn colors with these printable color worksheets. Each worksheet focuses on one color showing the objects of that color in real world to help your kids learn colors. These worksheets are perfect as part of any preschool curriculum and will help kids recognize all their basic colors- red, blue, green, yellow, orange, pink, brown, gray, purple, black and white.
- Preschool Worksheets
- Kindergarten Worksheets
These Pattern Recognition Kindergarten/Preschool activity worksheets test and enhance your child's aptitude and ability to identify what comes next based on a pattern. Different Repeating Patterns like AB/ABC/AAB/ABB/AABB etc are used in these Pattern Recognition Worksheets.
- Kindergarten Worksheets
Learning to count with shapes is a fun way to understand shapes as well as learn counting. Check these worksheets to get your child in action.
- Preschool Worksheets
These shapes coloring pages are designed to help children in shapes recognition. Our shape coloring pages have a lot of different shapes to build the objects/scene so that your child can use his/her mind to identify those shapes.
- Preschool Worksheets
- Kindergarten Worksheets
Here are some free printable worksheets for Shapes Tracing and Coloring. Start with basic shapes (circle, square, triangle, rectangle) for the beginners and see when your child can move on to the more advanced shapes.
- Preschool Worksheets
Learning to trace/draw lines (standing, sleeping and slanting) and curves is the first step towards writing. Check these free printable pre-writing worksheets to give your child enough exposure to line and curve tracing before you introduce them to writing letters and numbers.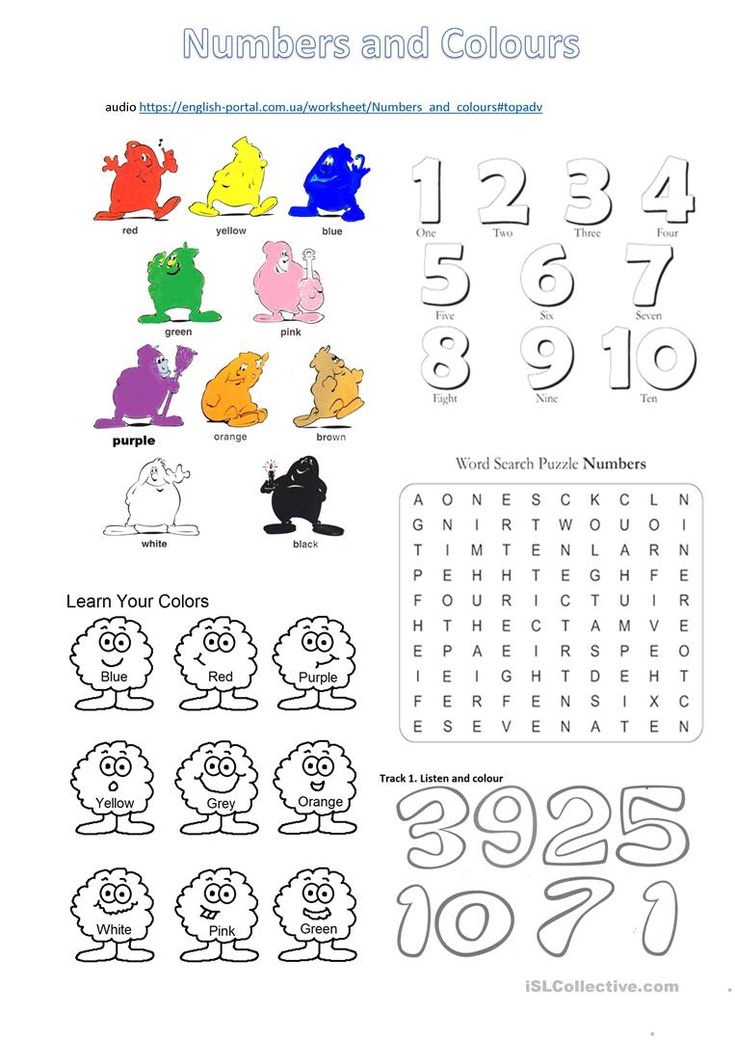
- You are here:
- Home
- Colors, Shapes and Patterns
Sponsored
90,000 “Merry English” - House of Children's Creativity2021-2022 School year
Remote lesson for 1, 2, 3, 4, 5, 6 groups.
Lesson 4: Colors.
Watch the video, listen to the song, try to repeat it and memorize the names of the primary colors in English.
Watch the cartoon, repeat the names of the primary colors in English after the cartoon characters, try to remember what the primary colors are called in English.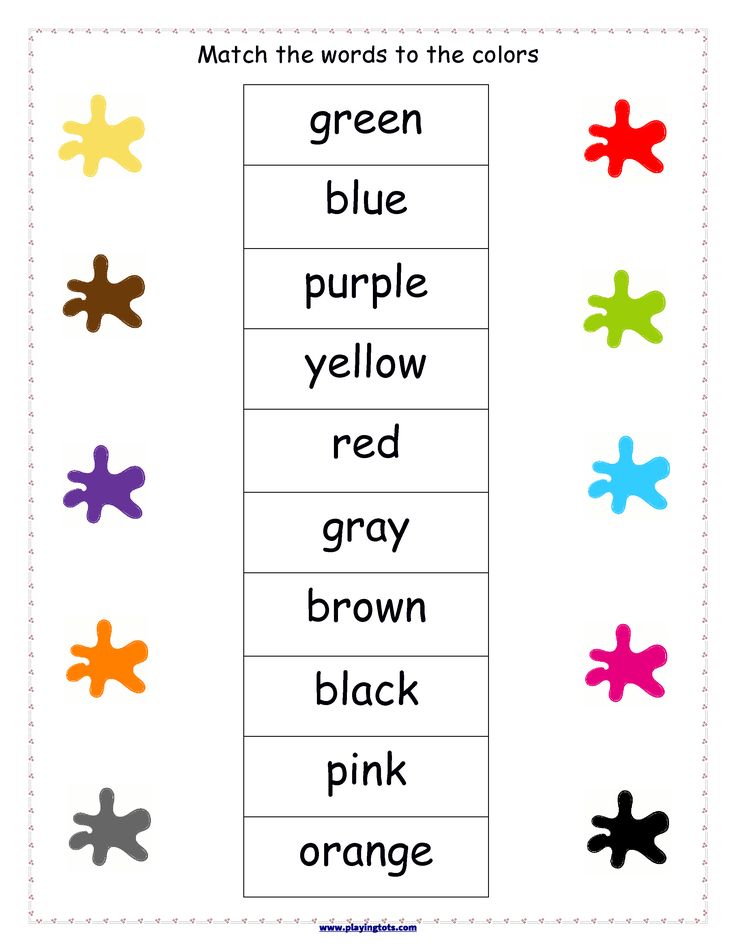 9Page 8-9
JavaScript is disabled in your browser. JavaScript must be enabled to view this page. To learn how to do it, click here.
House. task number 2: learn any 2 quatrains from all the verses presented here.
JavaScript is disabled in your browser. JavaScript must be enabled to view this page. To learn how to do it, click here.
Remote lesson for 1, 2, 3, 4, 5, 6 groups.
Lesson #3: Learning Colors.
Repeat the names of the primary colors after the speaker and try to remember them.
English with a cat : Learning colors
Repeat the basic colors and memorize them with the cat.
Homework #1: Cut out the names of the colors at the bottom of the sheet and paste each name below the correct color.
JavaScript is disabled in your browser. JavaScript must be enabled to view this page. To learn how to do it, click here.
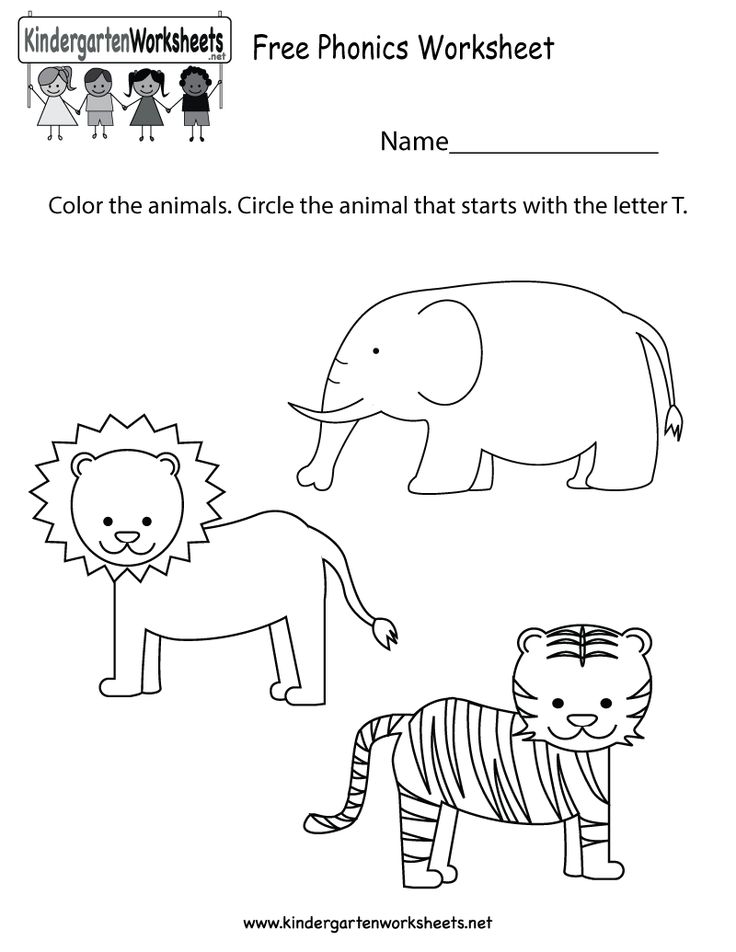
Homework No. 2: put in a circle near each animal the necessary number corresponding to the name of the animal and color the animal in the color that is written next to the animal. (You will find the name of the animals and the numbers on the plate, in the middle of the sheet).
JavaScript is disabled in your browser. JavaScript must be enabled to view this page. To learn how to do it, click here.
Take a picture of the finished homework and send it to the teacher for verification.
Remote lesson for 1, 2, 3, 4, 5, 6 groups.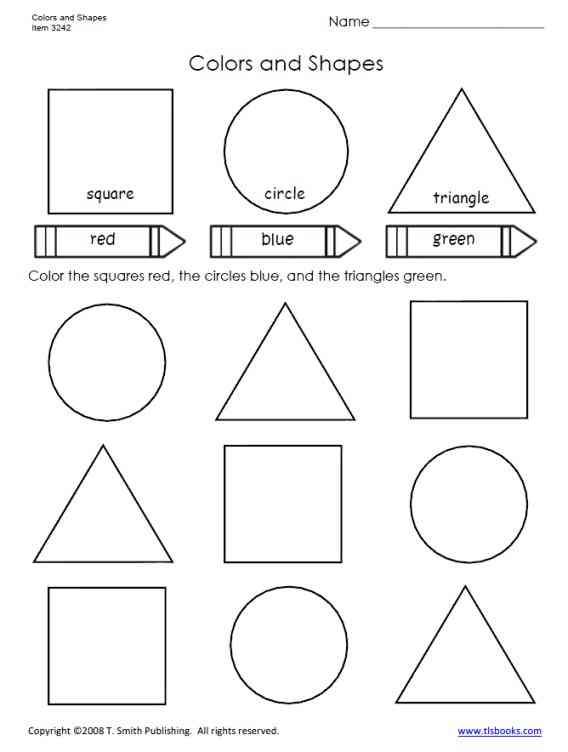
Lesson No. 2: Animals. Learning the alphabet.
Watch the video, repeat familiar words on the topic "animals", learn unfamiliar words on the topic. (Repeat words after the teacher).
Watch video # 2 repeat the letters and words of the English alphabet
Homework #1
Find the given words in the picture and highlight them (you can circle them).
JavaScript is disabled in your browser. JavaScript must be enabled to view this page. To learn how to do it, click here.
Homework #2:
Color the picture according to the color scheme.
JavaScript is disabled in your browser. JavaScript must be enabled to view this page. To learn how to do it, click here.
Photograph the work done and send it to the teacher for verification.
Remote reference for 1, 2, 3, 4, 5, 6 groups.
Theme of the lesson: Happy Halloween
Find the given words in the picture and mark them with a pencil.
JavaScript is disabled in your browser. JavaScript must be enabled to view this page. To learn how to do it, click here.
Create your own fun pumpkin (cut out all the details and stick it on the desired pumpkin). Colorize as desired. (click here ----->)
Repeat the song with the characters and sing the sounds along with them
Watch the video and get to know the traditions and history of Halloween.
Working sheets (information cards) of distance classes of the Association "Merry English" (2021-2022)
Tasks for the remote learning of the group: 1.2.3.4 and students based on d/s group A B, C, D
Tasks for the final assessment for the 2019-2020 academic year.
Merry English Association.
Task №1. Final test.
JavaScript is disabled in your browser. JavaScript must be enabled to view this page. To learn how to do it, click here.
Task No. 2. Learn one of the proposed poems. Send the learned poem to the teacher for verification.
JavaScript is disabled in your browser. JavaScript must be enabled to view this page. To learn how to do it, click here.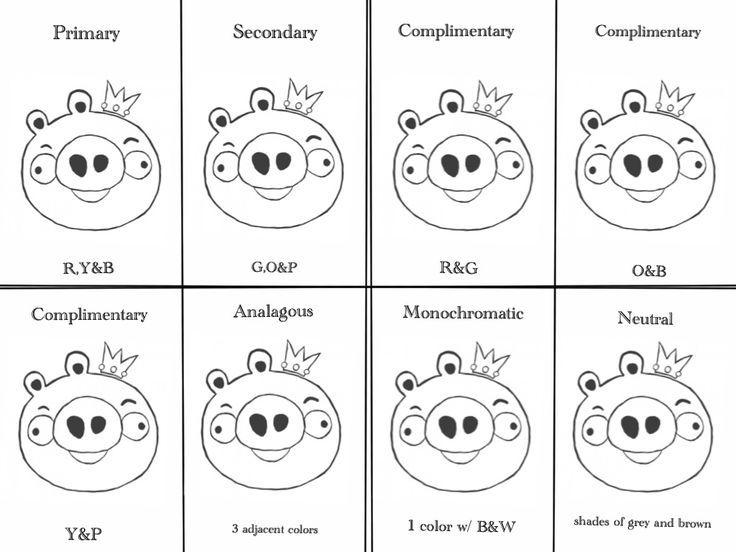
Lesson No.-8. Seasons and weather.Seasons and weather.Watch the video and learn what the main types of weather are called in English.
Let's sing a fun song about the weather together.
Homework. Choose from the three words presented the word that matches the picture.
JavaScript is disabled in your browser. JavaScript must be enabled to view this page. To learn how to do it, click here.
Lesson 7.Seasons and months.Seasons and months.Watch the video and learn the seasons and months.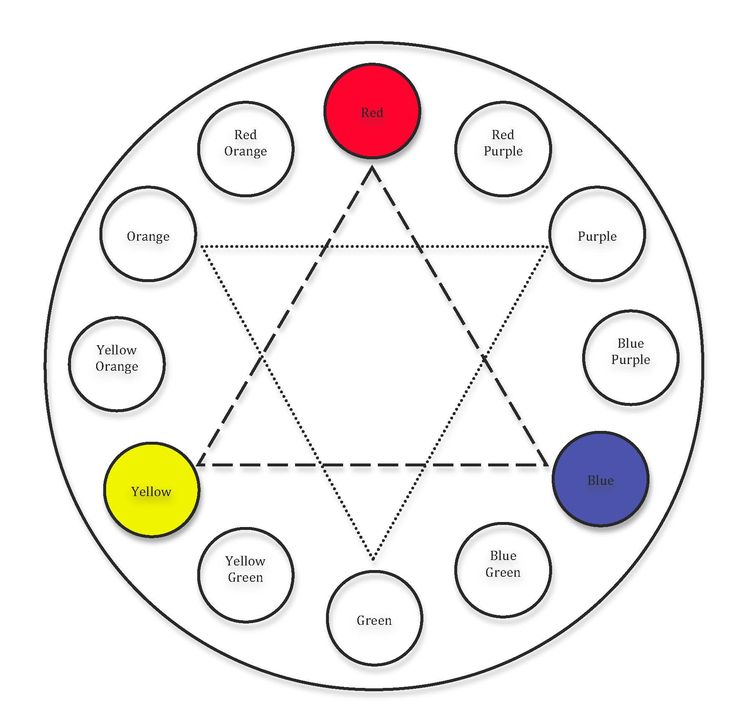 Also try to memorize a little poem about the seasons.
Color the tree the way it looks at different times of the year and write on the signs what season it is.
JavaScript is disabled in your browser. JavaScript must be enabled to view this page. To learn how to do it, click here.
Lesson №6.Tour around London.Tour around London.Dear children and their parents.I suggest you make an exciting tour of London.The bunny will tell us what sights are in London.So, let's start....
Let's learn the poem "A cat walked through London".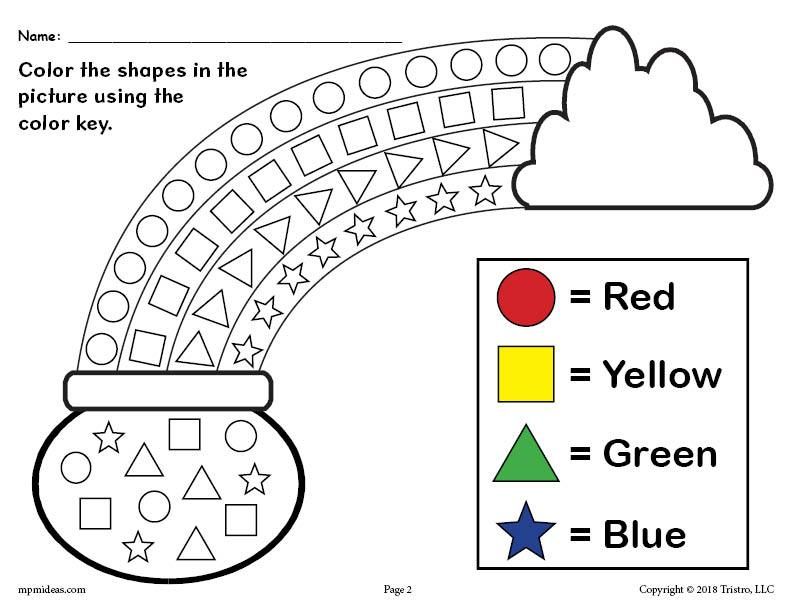 Let's repeat the familiar words.
Record the learned poem on video and send the video to the teacher.
Tasks for distance learning group: 1,2,3,4 and students based on preschool groups A, B, C, D
Topic: My Family (my family)
Learning new words
Learning a funny song about family0083
JavaScript is disabled in your browser. JavaScript must be enabled to view this page. To learn how to do it, click here.
Tasks for distance learning groups: 1,2,3,4 and students on the basis of preschool groups A, B, C, D
Topic: My Family.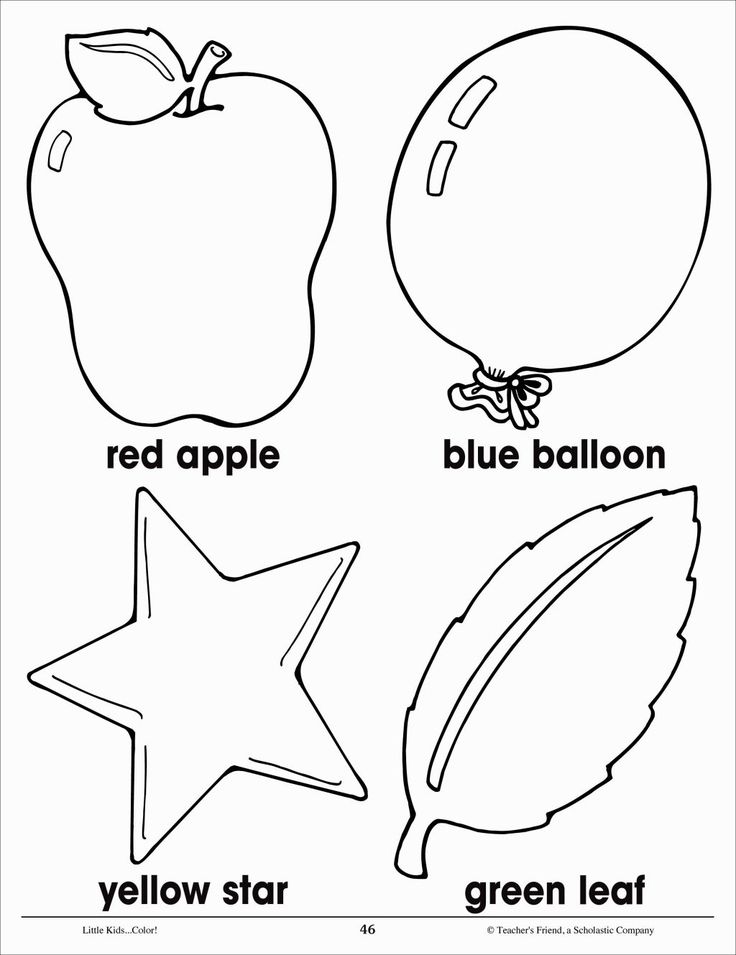 Lesson №-2
Let's repeat the sounds.
Let's repeat the words we have learned and complete the tasks.
Let's learn a poem in English.
Draw your family members on the family tree and name each one.
JavaScript is disabled in your browser. JavaScript must be enabled to view this page.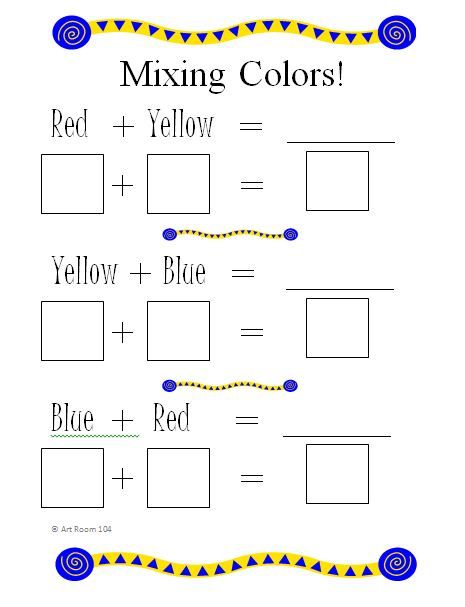 To learn how to do it, click here.
Tasks for distance learning groups: 1,2,3,4 and students on the basis of d / group A, B, C, D
Lesson 3. Topic: Parts of the body (Face). Parts of the body (face).
We count together with the heroes of the song.
Learning new words on the topic "Parts of the face".
We repeat words and do tasks.
Correctly sign the parts of the face using the given words and name them.
JavaScript is disabled in your browser. JavaScript must be enabled to view this page. To learn how to do it, click here.
Tasks for distance learning groups: 1,2,3,4 and students on the basis of d / group A, B, C, D
Let's repeat the alphabet.
Lesson 4. Topic: Parts of the body (Body). Parts of the body (Body).
Let's learn the parts of the body and show them to ourselves.
Let's learn a funny song and show body parts on our favorite toy
JavaScript is disabled in your browser. JavaScript must be enabled to view this page. To learn how to do it, click here.
Lesson No. 5. Repetition of the topic: Parts of the body (Parts of the body).
Let's repeat the parts of the body together with a cheerful little man. Let's sing, showing the parts of the body on ourselves.
A funny deer invites us to sing with him, pointing to himself.
Cut out and assemble a girl from the presented body parts, label the body parts in English
JavaScript is disabled in your browser.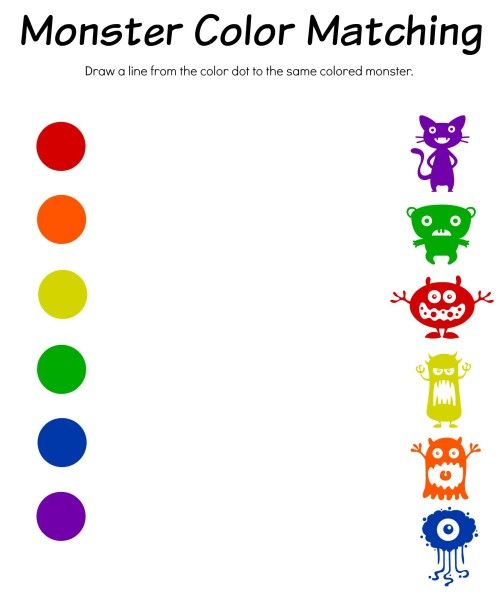 JavaScript must be enabled to view this page. To learn how to do it, click here.
Draw your face. Sign how many eyes, ears, noses, mouths you have. (number).
JavaScript is disabled in your browser. JavaScript must be enabled to view this page. To learn how to do it, click here.
Fellowship Distance Learning Worksheets (Information Cards)
Choosing Colors in the
Adobe Photoshop- User's Guide
- Introduction to Photoshop
- Dream about it. Do it.
- What's New in Photoshop
- Editing the first photo
- Create documents
- Photoshop | FAQ
- Photoshop System Requirements
- Transferring presets, operations and settings
- Introduction to Photoshop
- Photoshop and other Adobe products and services
- Working with Illustrator artwork in Photoshop
- Working with Photoshop files in InDesign
- Substance 3D Materials for Photoshop
- Photoshop and Adobe Stock
- Working with the built-in Capture extension in Photoshop
- Creative Cloud Libraries
- Creative Cloud Libraries in Photoshop
- Working in Photoshop using the Touch Bar
- Net and guides
- Creating transactions
- Cancellation and transaction history
- Photoshop on iPad
- Photoshop on iPad | General questions
- Introduction to the working environment
- System requirements | Photoshop on iPad
- Create, open and export documents
- Adding photos
- Working with layers
- Drawing and painting with brushes
- Selecting areas and adding masks
- Retouch compositions
- Working with Adjustment Layers
- Adjusting the key of a composition using the Curves layer
- Applying transform operations
- Cropping and rotating compositions
- Rotate, pan, zoom and restore the canvas
- Working with text layers
- Working with Photoshop and Lightroom
- Getting missing fonts in Photoshop on iPad
- Japanese Text in Photoshop on iPad
- Manage application settings
- Touch shortcuts and gestures
- Key combinations
- Image resizing
- Live stream your creative process in Photoshop on iPad
- Fix imperfections with Healing Brush
- Creating brushes in Capture and using them in Photoshop
- Working with Camera Raw files
- Creating and using smart objects
- Adjusting the exposure of images with the Dodge and Burn tools
- Photoshop Web Application Beta
- Frequently Asked Questions | Photoshop Web App Beta
- Working environment overview
- System requirements | Photoshop 9 Web App Beta0341
- Keyboard shortcuts | Photoshop Web App Beta
- Supported file formats | Photoshop Web Application Beta
- Opening and working with cloud documents
- Collaboration with stakeholders
- Limited editing options for cloud documents
- Cloud Documents
- Cloud Documents Photoshop | Frequently Asked Questions
- Photoshop Cloud Documents | Workflow Questions
- Working with and managing cloud documents in Photoshop
- Cloud storage update for Photoshop
- Unable to create or save cloud document
- Troubleshooting Photoshop cloud documents
- Collecting cloud document sync logs
- Sharing and editing cloud documents
- File sharing and commenting in the application
- Operating environment
- Working environment basics
- Learn faster with the What's New panel in Photoshop
- Create documents
- Working in Photoshop using the Touch Bar
- Tool Gallery
- Performance settings
- Using tools
- Touch gestures
- Touch gesture capabilities and customizable workspaces
- Technology overview versions
- Metadata and comments
- Default key combinations
- Touch gesture capabilities and customizable workspaces
- Putting Photoshop images into other applications
- Plants
- Default key combinations
- Rulers
- Show or hide non-printing auxiliaries
- Specifying columns for an image
- Cancellation and transaction history
- Panels and menus
- File storage
- Positioning elements with reference
- Positioning with the ruler tool
- Setting kits
- Customizing keyboard shortcuts
- Net and guides
- Develop content for the web, screen, and applications
- Photoshop for design
- Artboards
- View on device
- Copy CSS from layers
- Splitting web pages into fragments
- HTML options for snippets
- Changing the arrangement of fragments
- Working with web graphics
- Create web photo galleries
- Understanding images and working with color
- Resizing images
- Working with raster and vector images
- Image size and resolution
- Importing images from cameras and scanners
- Creating, opening and importing images
- Image viewer
- "Invalid JPEG marker" error | Opening images
- View multiple images
- Customizing color palettes and color swatches
- HDR images
- Image color matching
- Converting between color modes
- Color modes
- Erase sub-images
- Blend Modes
- Choice of colors
- Making changes to indexed color tables
- Image information
- Distortion filters not available
- Color details
- Color and monochrome corrections with channels
- Selecting colors in the Color and Swatches panels
- Sample
- Color mode (or picture mode)
- Shade
- Adding a color mode change to an operation
- Adding swatches from HTML CSS and SVG files
- Bit depth and settings
- Layers
- Understanding Layers
- Reversible editing
- Creating and managing layers and groups
- Selecting, grouping and linking layers
- Putting images into frames
- Opacity and layering
- Layer masks
- Application of smart filters
- Layer compositions
- Move, arrange and lock layers
- Mask layers with vector masks
- Managing layers and groups
- Effects and Layer Styles
- Editing layer masks
- Extract resources
- Display layers with clipping masks
- Generation of graphic resources from layers
- Working with Smart Objects
- Blend Modes
- Combining several fragments into one image
- Merging images with Auto Layers
- Alignment and distribution of layers
- Copy CSS from layers
- Load selections based on layer boundaries or layer masks
- See-through to show the contents of other layers
- Layer
- Mixing
- Composite images
- Background
- Selections
- Select and Mask workspace
- Quick Scoping
- Getting Started with Selections
- Selecting with the Marquee Toolbox
- Selecting with the Lasso tools
- Selecting a color range in an image
- Pixel highlight setting
- Convert between paths and selection boundaries
- Channel Basics
- Moving, copying and deleting selected pixels
- Creating a temporary quick mask
- Saving selections and alpha channel masks
- Selecting focus areas in an image
- Duplication, splitting and merging of channels
- Channel calculation
- Isolation
- Bounding box
- Image corrections
- Perspective distortion
- Reducing blur due to camera movement
- Healing Brush Tool Examples
- Export of color lookup tables
- Image sharpening and blurring
- Introduction to color grading
- Applying the Brightness/Contrast setting
- Shadow and Highlight Detail Correction
- "Levels" correction
- Hue and saturation correction
- Juiciness Correction
- Adjusting the color saturation in image areas
- Quick tone correction
- Applying special color effects to images
- Image enhancement with color balance adjustment
- HDR images
- Viewing histograms and pixel values
- Image color matching
- Crop and straighten photos
- Converting a color image to black and white
- Adjustment and fill layers
- Curves adjustment
- Blend Modes
- Target Imaging for Press
- Color and tone correction with Levels and Curves eyedroppers
- HDR Exposure and Toning Compensation
- Filter
- Blur
- Lighten or darken areas of an image
- Selective Color Correction
- Replacing object colors
- Adobe Camera Raw
- Camera Raw system requirements
- What's New in Camera Raw
- Introduction to Camera Raw
- Creation of panoramas
- Supported lenses
- Vignetting, grain, and haze removal in Camera Raw
- Default key combinations
- Automatic perspective correction in Camera Raw
- Reversible editing in Camera Raw
- Camera Raw Radial Filter Tool
- Manage Camera Raw settings
- Processing, saving and opening images in Camera Raw
- Improving images with Camera Raw's improved Spot Remover
- Rotating, cropping and modifying images
- Color correction in Camera Raw
- Feature Overview | Adobe Camera Raw | Issues for 2018
- Overview of new features
- Processing versions in Camera Raw
- Making local adjustments in Camera Raw
- Fixing and restoring images
- Removing objects from photos using Content-Aware Fill
- Content-aware patching and relocation
- Retouching and fixing photos
- Image Distortion and Noise Correction
- Basic troubleshooting steps to solve most problems
- Image transformation
- Object transformation
- Crop, rotate and canvas adjustment
- Crop and straighten photos
- Creating and editing panoramic images
- Deforming images, shapes and contours
- Perspective
- Using the Liquify filter
- Content-aware scale
- Transforming images, shapes and paths
- Deformation
- Transformation
- Panorama
- Drawing and painting
- Drawing symmetrical ornaments
- Options for drawing a rectangle and changing the stroke
- Drawing details
- Drawing and editing shapes
- Paint tools
- Creating and modifying brushes
- Blend Modes
- Adding color to outlines
- Edit contours
- Painting with mix brush
- Brush Presets
- Gradients
- Gradient interpolation
- Fill and stroke selections, layers, and paths
- Draw with the pen tool group
- Creating patterns
- Creating a pattern with the Pattern Builder filter
- Loop control
- Managing pattern libraries and presets
- Drawing with graphics tablet
- Creating textured brushes
- Adding dynamic elements to brushes
- Gradient
- Draw stylized strokes with the Artistic Archive Brush
- Drawing with a pattern
- Synchronizing presets across multiple devices
- Text
- Adding and editing text
- Universal text editor
- Working with OpenType SVG fonts
- Character formatting
- Paragraph formatting
- Creating text effects
- Text editing
- Leading and letter spacing
- Font for Arabic and Hebrew
- Fonts
- Troubleshooting Fonts
- Asian text
- Creating text
- Text Engine error when using Photoshop's Type tool | Windows 8
- Adding and editing text
- Video and animation
- Video editing in Photoshop
- Editing video and animation layers
- Introduction to video and animation
- Video and animation preview
- Drawing frames in video layers
- Import video files and image sequences
- Creating frame animations
- Creative Cloud 3D Animation Preview
- Creating timeline animations
- Creating images for videos
- Filters and effects
- Using the Liquify filter
- Using Blur Gallery group effects
- filter basics
- Filter effects guide
- Adding lighting effects
- Using the Adaptive Wide Angle filter
- Oil Paint Filter
- Effects and Layer Styles
- Application of specific filters
- Image area feathering
- Saving and exporting
- Saving files in Photoshop
- Export files to Photoshop
- Supported file formats
- Saving files in other graphic formats
- Moving projects between Photoshop and Illustrator
- Saving and exporting video and animation
- Saving PDF files
- Digimarc copyright protection
- Saving files in Photoshop
- Printing
- Printing 3D objects
- Printing with Photoshop
- Printing and color management
- Checklists and PDF presentations
- Print photos in a new image layout
- Spot color printing
- Duplexes
- Printing images on a printing press
- Photoshop Color Enhancement
- Printing troubleshooting | Photoshop
- Automation
- Create activities
- Creating data-driven images
- Scenarios
- File batch processing
- Operation playback and management
- Adding conditional operations
- About actions and the Actions panel
- Recording tools in operations
- Adding a color mode change to an operation
- Photoshop UI Development Kit for Plugins and Scripts
- Color Management
- Understanding Color Management
- Accurate color reproduction
- Color settings
- Working with color profiles
- Color management of documents for viewing on the web
- Color management for document printing
- Color management of imported images
- Perform proofing
- Content authenticity
- Learn more about content credentials
- Identity and origin of NFT tokens
- Connecting accounts for creative attribution
- 3D objects and technical images
- 3D in Photoshop | Common questions about deprecated 3D features
- Creative Cloud 3D Animation (Preview)
- Printing 3D objects
- 3D drawing
- 3D Panel Enhancement | Photoshop
- 3D Concepts and Tools
- Rendering and saving 3D objects
- Creating 3D objects and animations
- Image stacks
- 3D graphics workflow
- Measurements
- DICOM files
- Photoshop and MATLAB
- Counting objects in an image
- Combining and transforming 3D objects
- 3D Texture Editing
- HDR Exposure and Toning Compensation
- 3D panel settings
- To change the base color, click in the tool palette top box and select new color in the Adobe Color Picker.
- To change the background color, click the bottom box and choose a new color from the color picker Adobe.
- To make the foreground color the background color and vice versa, click the icon in the color palette switching colors.
- To restore the foreground and background colors to their default value, click the Default Colors icon in the Color Picker.
-
Select the eyedropper tool.
-
On Options bar, change the size of the pipette sample by selecting the desired option in the Sample Size menu.
Point pattern
Reads the exact pixel value at the clicked location.
Average 3 x 3, Average 5 x 5, Average 11 x 11, Average 31 x 31, Average 51 x 51, Average 101 x 101
Reads the average of the specified number of pixels in the clicked area.
Selecting a Primary Color with the Eyedropper Tool
-
From the Sample menu, select one of the following options:
All layers
Color samples are taken from all layers in the document.
active layer
The color sample is taken from the active layer.
-
To add a circle around the eyedropper to display the selected color above the current foreground color, select the Show Sample Ring check box. (This feature requires OpenGL. See Enabling OpenGL and Optimizing GPU Settings.
 )
) -
Do one of the following.
-
To select a new base color, click image. Or place the cursor over the image, press the mouse button and, without releasing it, move the cursor across the screen. As you move the primary color selection box will dynamically change its color. Let go mouse button to fix the new color selection.
-
Alt-click the image to select a new background color (Windows) or "OPTION" (Mac OS). Or place cursor over the image, press ALT (Windows) or OPTION (Mac OS) , press the mouse button and, without releasing it, move the cursor across the screen. As you move background selection box colors will dynamically change its color. Let go mouse button to fix the new color selection.
To use the Eyedropper tool temporarily to select a base color, while using any drawing tool, press and hold down the ALT (Windows) or Option (Mac OS) key.
-
- or background color.
- In the Color panel, click the Set Basic box color or Set background color .
The color palette is also available if the function used allows choose color.
 For example, by clicking a color swatch on the options bar of some tools, or using the eyedropper tool in some color dialog boxes.
 -
In the Adobe Color Picker, select an option "H" and enter a numeric value in the "H" text box, or select a color tone using a scale.
-
Adjust the saturation and brightness by clicking the box colors by moving the round marker or entering numeric values in fields "S" and "B".
-
Select parameter "S" or "B" to display saturation or brightness in the color field for further configuration (optional).
-
In the Adobe Color Picker, enter numeric values in the "R", "G", and "B" text boxes. Component values are specified in the range from 0 to 255 (0 means no color, 255 means pure color).
-
To visually select a color using the scale and color boxes, click R, G, or B, and then do the setting.
The selected color is displayed in the scale with a value of 0 (lack of this color) from below and a value of 255 (the maximum level of this colors) on top. The color field displays the range of the other two components: the first along the horizontal axis, and the second along the vertical axes.
-
In the Adobe Color Picker, enter "L" parameter values (0 to 100), "A" and "B" (-128 to +127).
-
For customization colors, you can use the scale or the color field (optional).
-
Select menu command Edit > Preferences > General (on Windows) or Photoshop > Preferences > General (in MacOS).
-
From the HUD Color Picker menu, select Hue Bar to display vertical palette, or the Hue Wheel to display a circular palette.
-
Select a drawing tool.
-
Press the right mouse button while holding the SHIFT + ALT keys (Windows) or press the CONTROL keys + "OPTION" + "COMMAND" (Mac OS).
-
Click in the document window to open the palette. Then drag and drop to select a color tone and tint.
After pressing the mouse button, you can release the held keys. short term hold the space bar to save the selected hue when selecting another tone or vice versa.
-
Select the Web Colors Only option in the lower left corner of the Adobe Color Picker. After that, any chosen the color will be a web compatible color.
-
Click it to select the nearest web compatible color. (If there is no warning cube, then a web-compatible color is selected.)
-
Click the Color panel tab or select the menu Window > Color to display the color bar.
-
Set the option to select a web compatible color.
-
Select Make Range Web Safe from the panel menu "Color". After that, whatever color you choose will be a web compatible color.
-
Choose Web Color Scales from the Color panel menu. By default, when you move the sliders on the web-compatible color bar, they snap to the web-compatible colors, which are indicated by divisions. To deselect only web-compatible colors, move the scale sliders while holding down the key "ALT" (Windows) or "OPTION" (Mac OS).
If a web incompatible color is selected, An alert cube appears above the color range on the left side of the Color panel. Click it to select the closest web compatible color.
-
-
To select the closest CMYK model equivalent, click warning triangle in the Color Picker or the Color panel.
The colors to be printed are determined by the current working CMYK space set in the Color Settings dialog box .
-
Open the Adobe Color Picker and click Color Libraries.
The Custom Colors dialog box displays the color closest to the to the color selected in the Adobe Color Picker.
-
In the Library field, select the required color library. Descriptions See color libraries below.
-
Select the desired color by entering the paint number or by dragging the triangles along the scroll bar.
-
Click the desired color in the list.
About base color and background color color
In Photoshop base color is used for coloring, filling and stroke of selected areas, and background color — for gradient filling and filling of erasable areas of the image. The foreground and background colors are also used by some special effects filters.
A new foreground or background color can be assigned using Eyedropper tool, Color panel, or Swatches panel, or Adobe color palettes.
Default foreground color is black and background color White color. (In the default alpha channel, the main color white and background black.)
Video Tip | Creating a keyboard shortcut for the color palette
Scott Kelby
Selecting colors from the tool palette
The current base color is displayed in tool palette in the upper color selection field, and the current background color is at the bottom.
Fields for choosing the foreground and background colors in the tool palette A.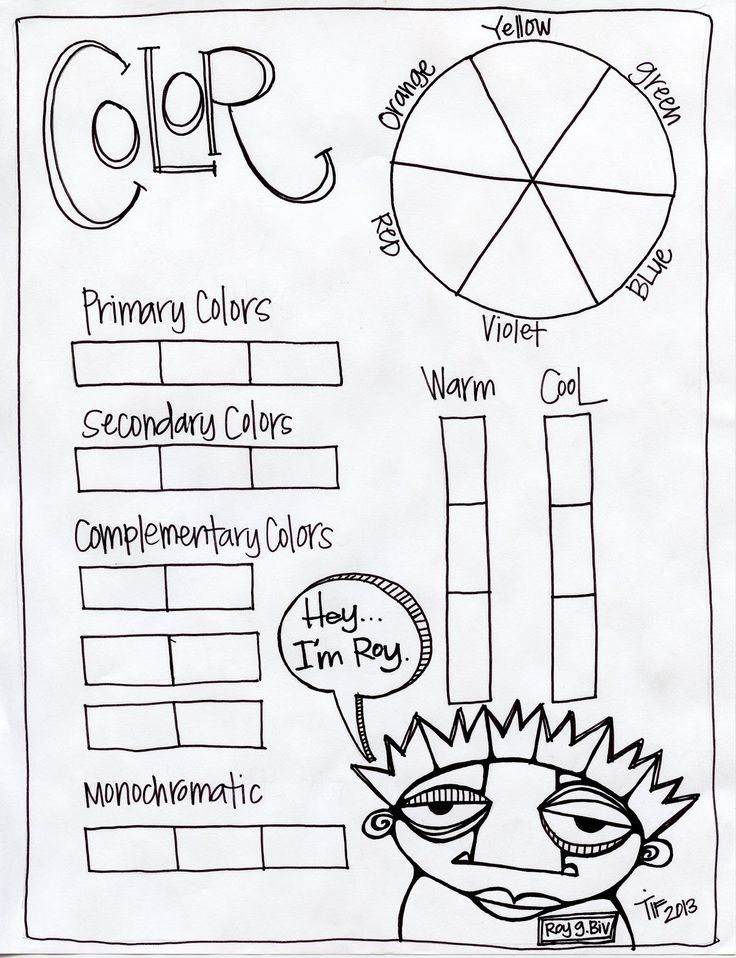 Default Colors Icon B. Color Toggle Icon C. Primary Color Selection Box D. Background Color Selection Box
Color selection tool Eyedropper
Eyedropper tool selects a color and assigns it as the main or background. You can select from the active image or from any other area of the screen.
Adobe Color Picker Overview
The Adobe Color Picker selects color using four color models: HSB, RGB, Lab, and CMYK.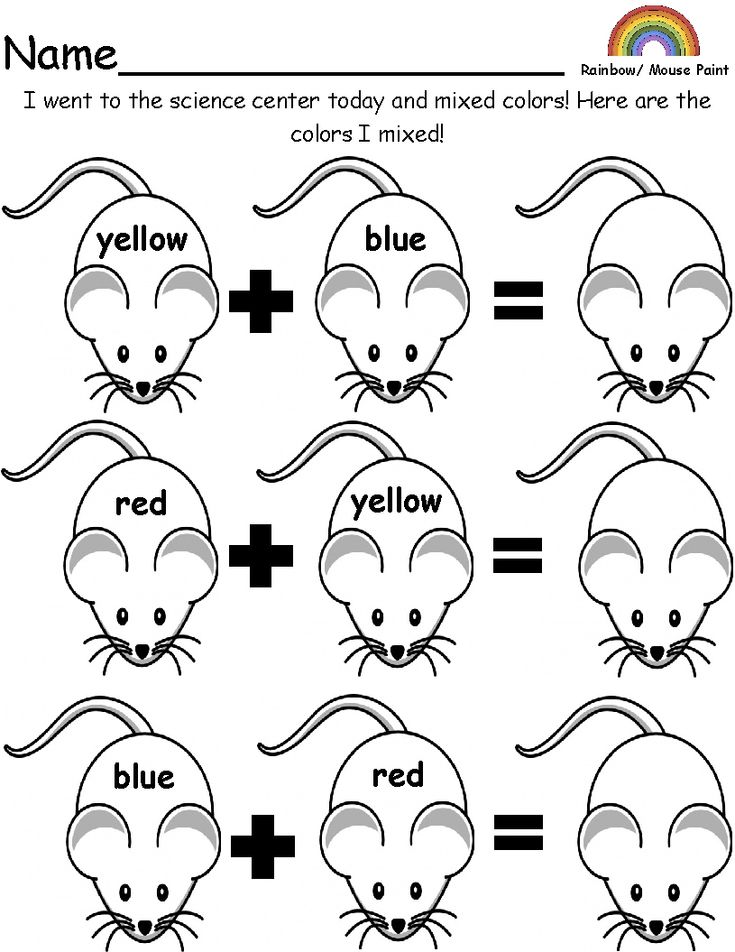 The palette lets you choose foreground, background, and text colors, as well as set target colors for various tools, commands, and options.
The Adobe Color Picker can be configured to only select colors from the web palette or custom color system. You can also open the HDR (High Dynamic Range) palette, which allows you to select colors for HDR images.
The color box in the Adobe Color Picker displays color components in HSB, RGB, and Lab modes. If you know the exact numerical value of the desired color, you can enter it in the text fields. You can also use the scale and view the selection in the color box. When you adjust the color using the scale and the color box, the numerical values change accordingly. The color field to the right of the scale displays the adjusted color in the upper half and the original color in the lower half. If the color is not a web color or is outside of gamut when printed (non-printable), a warning is issued.
Adobe Color Picker A.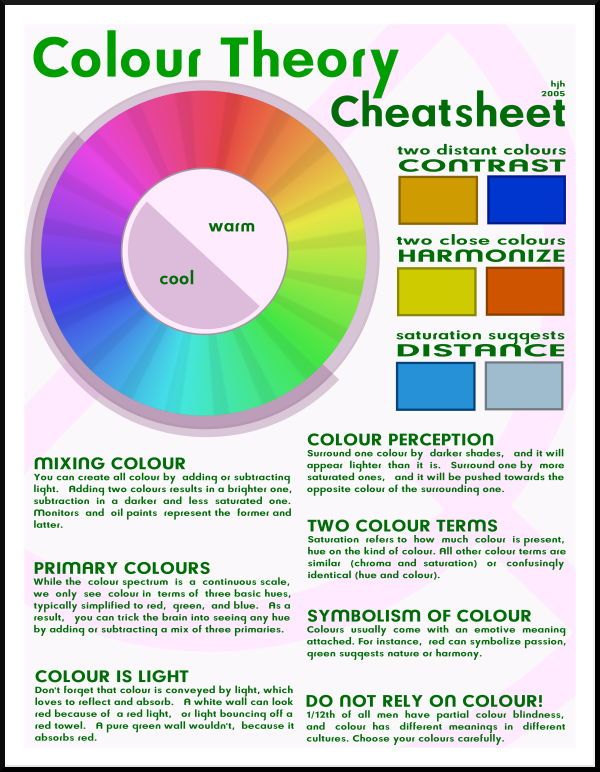 Selected color B. Original color C. Adjusted color D. Out-of-gamut warning icon E. Warning icon for a color that is not a web color F. Display web colors only G. Color field H. Color slider I. Color values
When choosing a color from the Adobe Color Picker simultaneously displays its numerical values for HSB, RGB, Lab and CMYK, as well as values in the form of hexadecimal digits. This allows you to see how the color is described in various color models.
Photoshop uses the Adobe color palette by default, but you can use a different palette by specifying it in the settings. For example, you can use the operating system's built-in color palette or a third-party palette.
Display the Color Picker window
Color selection via palette Colors Adobe
You can select a color by entering values for its components in the HSB, RGB, and Lab text boxes, or by using the scale and color box.
To select a color using the color bar and color box, click the bar or drag its triangle to specify one of the color components. Then move the round marker or click the color box. This will set the two remaining color components.
When you adjust the color using the scale and the color box, the numerical values for other color models change accordingly. The rectangle to the right of the scale displays the new color in the upper half, and the original color in the lower half. If the color is not a web color or is out of gamut , a warning is issued.
Color can also be selected outside of the Adobe Color Picker window.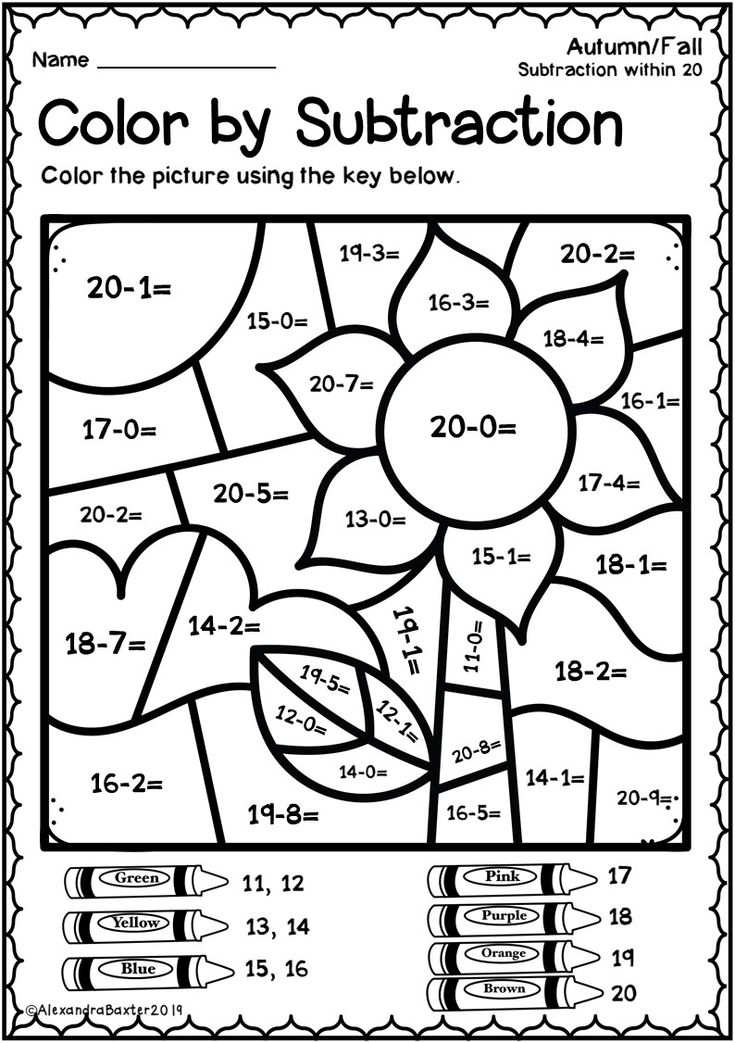 When you move the cursor over the document window, it turns into the Eyedropper tool. And then you can choose the color by clicking the image. The selected color is displayed in the Adobe Color Picker. By clicking on the image and without releasing the mouse button, the eyedropper can be moved to any place on the desktop. Release the mouse button to select a color.
Color selection in the HSB model
In the HSB color model, the hue is specified in the color field as an angle from 0° to 360°, which corresponds to point on the color wheel. Saturation and brightness indicated as a percentage. In the color box, the saturation of the hue increases from left to right and brightness from bottom up.
Color selection in RGB model
indicating its red, green and blue components.
Selecting a color in the Lab model
When choosing a color in the color model The Lab value of "L" determines the luminosity of the color.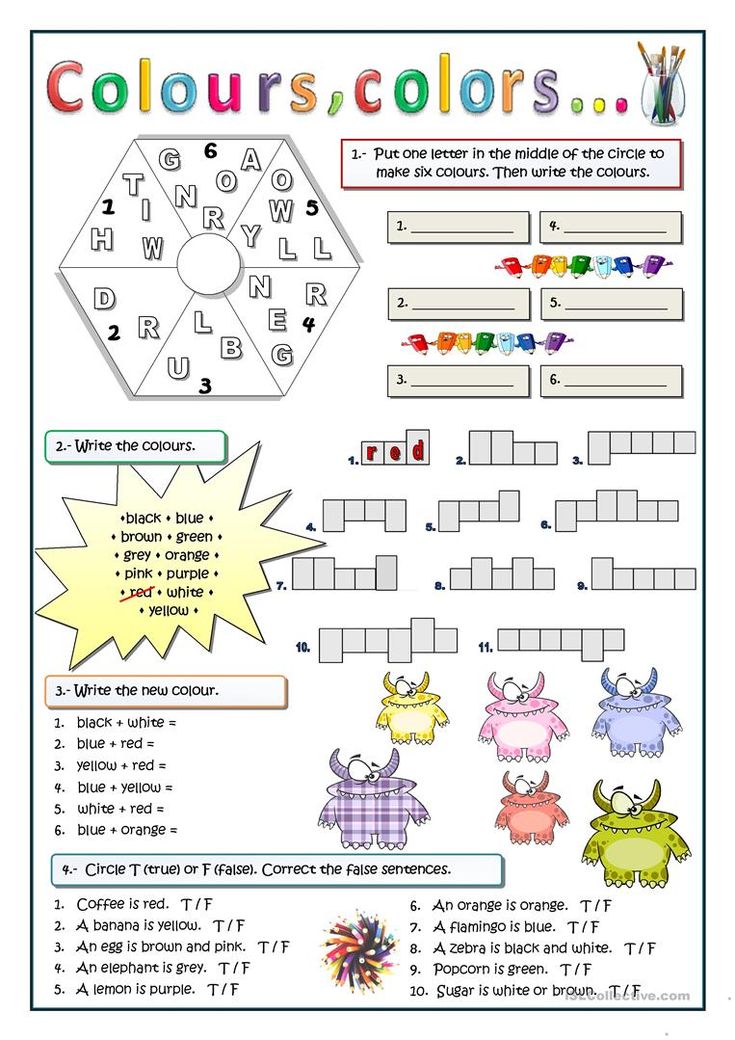 The value of "A" determines the extent to which this color is red or green. The value "B" defines, the extent to which this color is blue or yellow.
Model color selection CMYK
Color can be selected by specifying the value of each of its components as percentages of cyan, magenta, yellow, and black.
In the Adobe Color Picker, enter percentages in the fields "C", "M", "Y" and "K" or use the scale and color field to select colors.
Color selection with specification hexadecimal value
Color can be selected by specifying a hexadecimal value that specifies the red (R), green (G), and blue (B) components of this colors. Three pairs of numbers express values from 00 (minimum luminosity) to FF (maximum luminosity).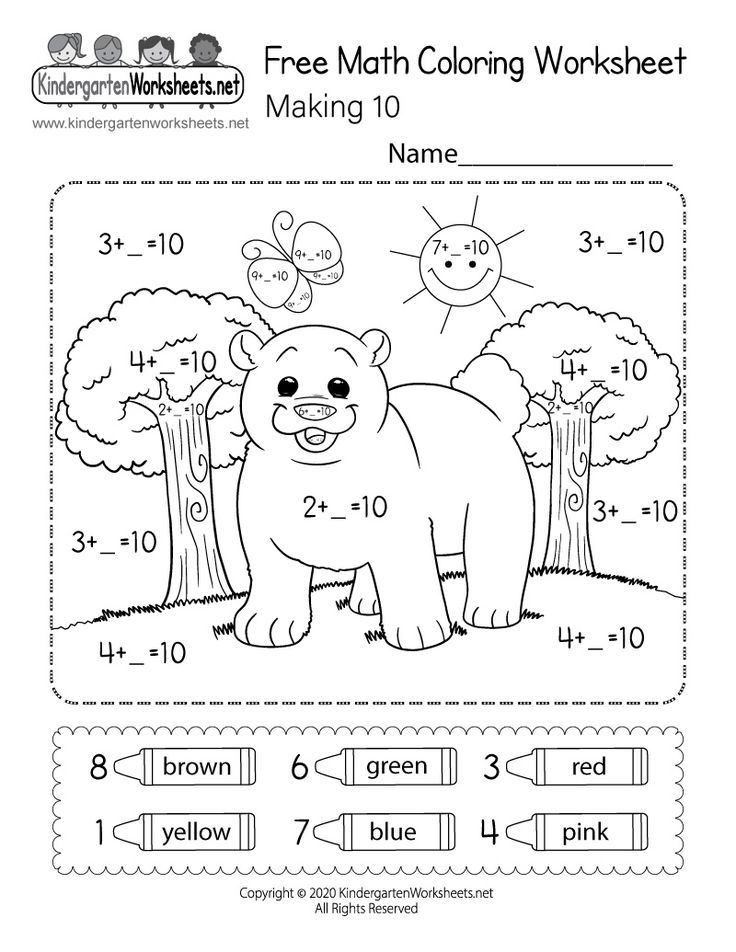 For example, the value "000000" means black, "FFFFFF" is white, and "FF0000" is red.
In the Adobe Color Picker, enter the hexadecimal value in the # text field.
Color selection while drawing
The HUD (heads-up-display) color palette allows you to quickly choose colors when drawing in the document window, where the colors of the image provide useful context.
HUD Color Picker requires OpenGL. (See Enabling OpenGL and Optimizing GPU Settings.)
HUD Color Picker Type Selection
HUD 9 color picker1181
A. Blackout B. Tone
If you want to select a color that is present in the image, press ALT (Windows) or OPTION (Mac OS) to activate the eyedropper tool.
Web Color Selection
Web Colors — these are the 216 colors used by browsers regardless of platform. To display image on 8-bit screen, the browser changes all colors in an image to web-compatible colors. These 216 colors are a subset Mac OS 8-bit color palette. Working only with these colors, you can be sure that the illustration prepared for use on the Internet will not be subjected to color mixing in systems, displaying 256 colors.
Select web-compatible colors from the color picker Adobe
Change color to web compatible color
If a web incompatible color is selected, then in the Adobe Color Picker an alert cube appears next to the color box.
Web compatible color selection using color panels
CMYK equivalent selection for non-printing color
Some colors in color models RGB, HSB and Lab cannot be printed because they are out of gamut and have no equivalents in the CMYK model. If a non-printing color is selected in the Adobe Color Picker or in the Color panel color, warning triangle appears. The pattern under the triangle displays closest equivalent in CMYK model.
In the Color panel the warning triangle is not available when working with web-compatible color ramps.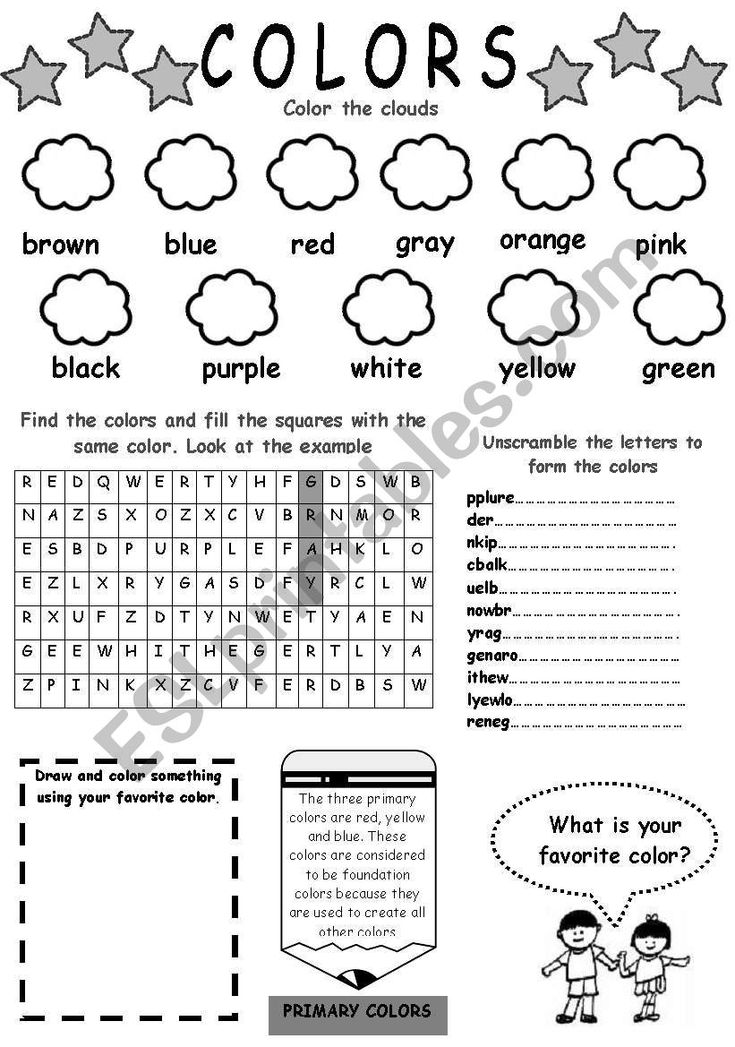
Spot color selection
The Adobe Color Picker allows you to select colors from the Trumatch® Swatching System™, Focoltone® Color System, ANPA-Color™, HKS® and DIC Color Guide.
To ensure that the final prints will have the desired colors, consult your print or service bureau and select colors from printed samples. In order to be able to compensate for discoloration of paints and other damage, manufacturers recommend that a new catalog of samples be obtained every year.
Photoshop prints spot colors on CMYK (process color) forms in each mode images other than Duplex mode. To get true spot color printing plates, you need to create channels spot colors.
Spot Color Libraries
The Adobe Color Picker supports the following color systems:
ANPA-COLOR
Commonly used in applications for preparing newspapers. Catalog ANPA-COLOR ROP Newspaper Color Ink Book contains ANPA color swatches.
DIC Color Guide
Usually used in printed projects in Japanese. For more information contact the company Dainippon Ink & Chemicals, Inc., Tokyo, Japan.
FOCOLTONE
Consists of of 763 CMYK colors. FOCOLTONE colors avoid prepress trapping problems and registrations, since they display the overlays that make up colors. Focoltone offers a sample catalog with process and spot specifications. colors, overlay charts, and a color guide for laying out layouts . For more information contact Focoltone International, Ltd., Stafford, UK.
HKS samples
Used in print projects in Europe. Each color has a specified CMYK equivalent. You can choose from HKS E (for roll paper), HKS K (for glossy paper), HKS N (for natural paper) and HKS Z (for newsprint). Color references are available for any scale. Triad libraries and HKS swatches have been added to the color system menu.
TRUMATCH
Contains over 2000 available computer-generated colors and provides predictable color matching with CMYK.