Review sight words
8 Ideas for Reviewing Sight Words
Reading | Sight Words
Sight words are one of the most important literacy skills for students to spiral review throughout the year. It’s essential not only to teach sight words in context, but to give students ample opportunities to practice using sight words with different activities and games. Get ready to take your sight word practice up a notch with these 8 ideas for reviewing sight words with your students.
This article, along with many other articles on The Printable Princess website, contains Amazon affiliate links. If you purchase through the links I earn a small commission. We only share links to things that we love.
Reviewing Sight Words
When reviewing sight words is fun for kids, they immediately get more out of it. They’re less likely to stress out about identifying a sight word or get frustrated when they’re highly engaged and enjoying themselves.
#1. Sight Word Swat.
Sight Word Swat is one of my all-time favorite sight word games. To play, write sight words on sticky notes and arrange them on the whiteboard. Give students a fly-swatter. Taking turns, have 2 students come up to the whiteboard. Call out a sight word. They’ll race to see who can swat the sight word first.
This is a great whole group game. Listening to the students cheer and celebrate as they swat the sight words is fun for them AND for the teacher. It’s that good kind of “buzz” you love to hear in your classroom. Pun intended. 🙂 You can create your own sight word cards or use the leveled sight word cards and mini-swatters found in this Sight Word Swat educational game.
#2. Sight Word Clues.
Another idea for reviewing sight words is playing the game, Sight Word Clues. Give students clues as to what the sight word is. You can say clues such as, “This word has 4 letters, it starts with an “l,” it has a silent e at the end, I ____ chocolate cake. ”
”
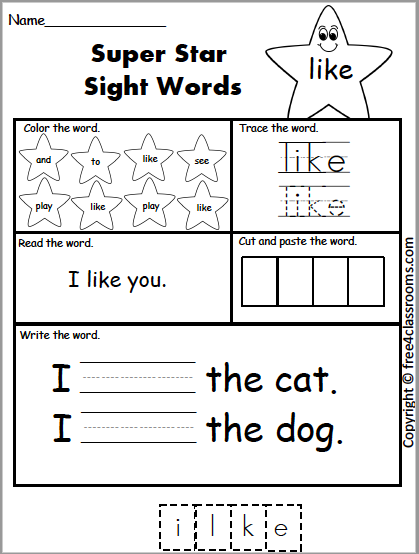
Have students use a whiteboard to help them determine the word. For this example, they could draw 4 lines, write “l” at the beginning, “e” at the end, and then complete the word as the clues go on. When they think they have it, they’ll shout out the word, LIKE! Then, you can have them spell the word aloud and say it in a sentence.
#3. Digital Sight Word Boom Cards
The next idea for reviewing sight words involves a digital Sight Word Boom Card game! You know your students will be excited to use the computer or tablet for this one. These Boom Cards focus on building simple sentences with sight words, which is a great way to practice reviewing sight words in context.
#4. Magic sight words.
Magic sight words is a fun sight word art project for kids. They’ll begin by writing sight words in a white crayon. They’ll use watercolor paints to paint over the top to reveal the sight words. To make this even more challenging, you can pre-write sight words or have students write sight words and swap pages with a partner, that way they don’t know what words will be revealed.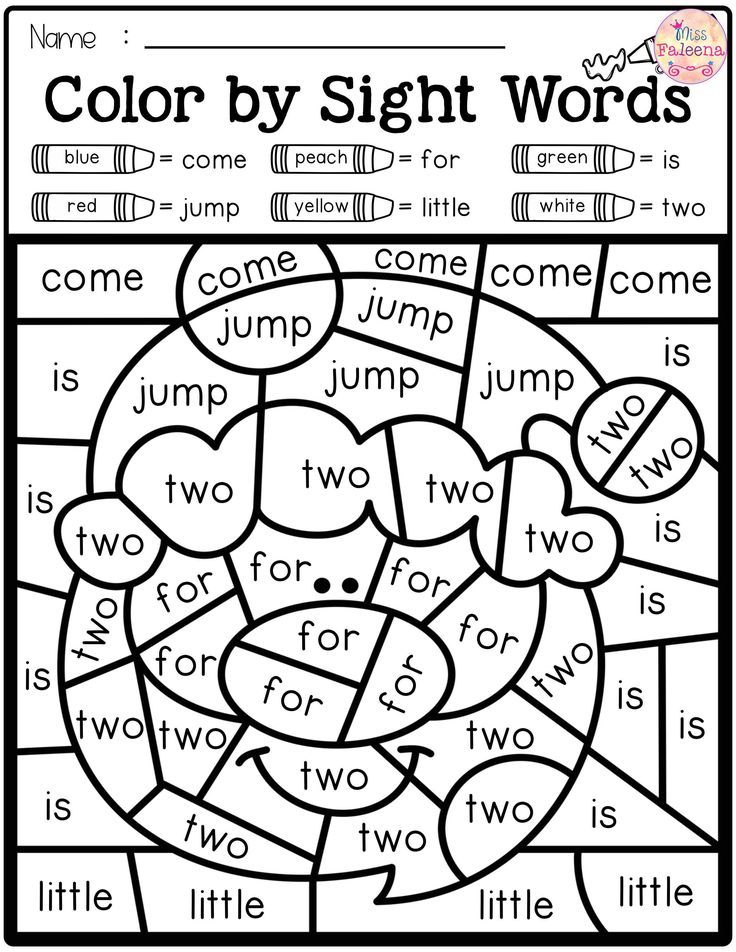
#5. Sidewalk chalk sight words.
When the weather is nice, take your students outside to practice sight words with sidewalk chalk. The change in scenery and the fresh air alone does wonders for their focus and motivation. It’s also fun for them to use chalk and see their sight word skills revealed all over the sidewalk. They have a sense of pride knowing others will see their writing.
#6. Sight word wall.
Another strategy for reviewing sight words is to use a sight word wall in your classroom. Either write or organize sight word flashcards by letter so that students can easily reference and find words during word work. This helps with beginning sounds skills as well. If a student knows the word starts with a “b,” they can look under the “b” category to find the word.
Add your favorite sight word review activities, such as Roll, Read and Cover, to a station by the word wall and your students will be set for successful independent sight word review!
#7.
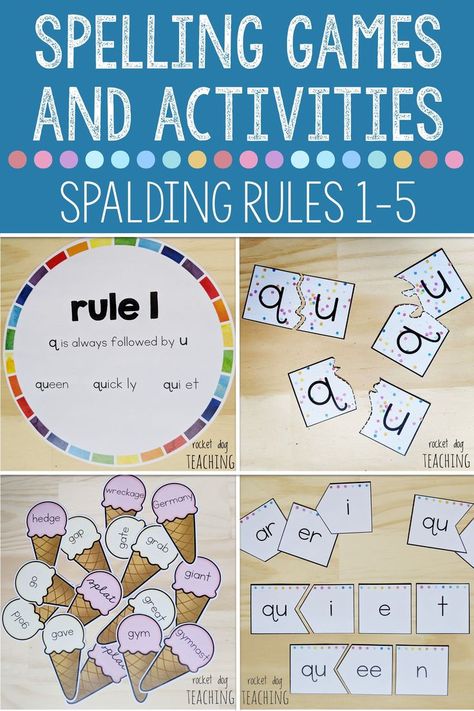
 Building sight words.
 When students are struggling with sight words, give them more hands-on opportunities to build sight words. Some students learn best kinesthetically and by physically putting the letters together to spell the words.
They can use letter blocks, magnetic letters, or other letter manipulatives you have in your classroom to build the words. They can even use a word building mat to help them organize their words. You can also have a station with play dough and letter stamps for them to stamp the sight words in the colorful dough. This is a great sensory activity for your little learners as well.
#8. Sight word journal.
Using sight word journals is another great strategy for reviewing sight words. You can use a basic student notebook and have your students practice writing sight words they know, one per page. They can use a different color for each line and write the sight word individually and in simple sentences. They can even have a journal of sight word sentences that they add to throughout the year.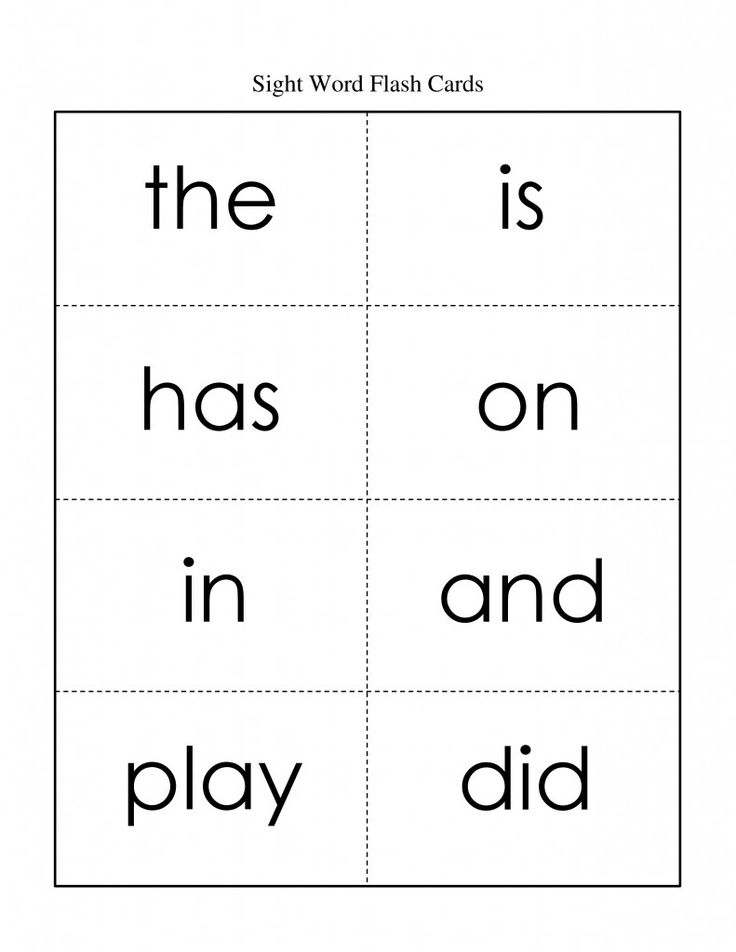
I hope these ideas for reviewing sight words have given you new inspiration and confidence heading into your next sight word review session. If you like any of the resources included in this blog post, check out my No Prep Sight Word Bundle where you can find even more.
Let me know in the comments below what idea for reviewing sight words you’re going to apply first!
Post Tags: #sight words#word work
Similar Posts
Sight Words Teaching Strategy | Sight Words: Teach Your Child to Read
A child sees the word on the flash card and says the word while underlining it with her finger.
The child says the word and spells out the letters, then reads the word again.
The child says the word and then spells out the letters while tapping them on her arm.
A child says the word, then writes the letters in the air in front of the flash card.
A child writes the letters on a table, first looking at and then not looking at the flash card.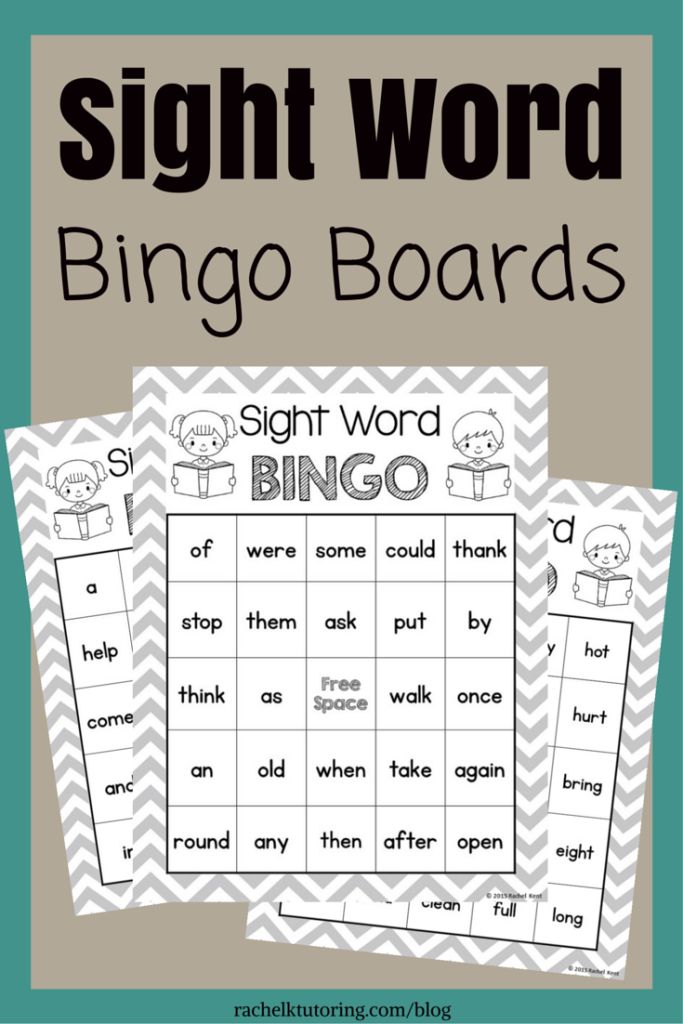
Correct a child’s mistake by clearly stating and reinforcing the right word several times.
- Overview
- Plan a Lesson
- Teaching Techniques
- Correcting Mistakes
- Frequently Asked Questions
- Questions and Answers
Sight words instruction is an excellent supplement to phonics instruction. Phonics is a method for learning to read in general, while sight words instruction increases a child’s familiarity with the high frequency words he will encounter most often.
Use lesson time to introduce up to three new words, and use game time to practice the new words.
A sight words instruction session should be about 30 minutes long, divided into two components:
- Sight Words Lesson — Use our Teaching Techniques to introduce new words and to review words from previous lessons — 10 minutes
- Sight Words Games — Use our games to provide reinforcement of the lesson and some review of already mastered sight words to help your child develop speed and fluency — 20 minutes
Video: Introduction to Teaching Sight Words
↑ Top
2.1 Introduce New Words
When first beginning sight words, work on no more than three unfamiliar words at a time to make it manageable for your child. Introduce one word at a time, using the five teaching techniques. Hold up the flash card for the first word, and go through all five techniques, in order. Then introduce the second word, and go through all five teaching techniques, and so on.
This lesson should establish basic familiarity with the new words. This part of a sight words session should be brisk and last no more than ten minutes. As your child gets more advanced, you might increase the number of words you work on in each lesson.
2.2 Review Old Words
Begin each subsequent lesson by reviewing words from the previous lesson. Words often need to be covered a few times for the child to fully internalize them. Remember: solid knowledge of a few words is better than weak knowledge of a lot of words!
Go through the See & Say exercise for each of the review words. If your child struggles to recognize a word, cover that word again in the main lesson, going through all five teaching techniques. If he has trouble with more than two of the review words, then set aside the new words you were planning to introduce and devote that day’s lesson to review.
Note: The child should have a good grasp of — but does not need to have completely mastered — a word before it gets replaced in your lesson plan. Use your game time to provide lots of repetition for these words until the child has thoroughly mastered them.
2.3 Reinforce with Games
Learning sight words takes lots of repetition. We have numerous sight words games that will make that repetition fun and entertaining for you and your child.
The games are of course the most entertaining part of the sight words program, but they need to wait until after the first part of the sight words lesson.
Games reinforce what the lesson teaches.
Do not use games to introduce new words.
NOTE: Be sure the child has a pretty good grasp of a sight word before using it in a game, especially if you are working with a group of children. You do not want one child to be regularly embarrassed in front of his classmates when he struggles with words the others have already mastered!
↑ Top
Introduce new sight words using this sequence of five teaching techniques:
- See & Say — A child sees the word on the flash card and says the word while underlining it with her finger.
- Spell Reading — The child says the word and spells out the letters, then reads the word again.
- Arm Tapping — The child says the word and then spells out the letters while tapping them on his arm, then reads the word again.
- Air Writing — A child says the word, then writes the letters in the air in front of the flash card.
- Table Writing — A child writes the letters on a table, first looking at and then not looking at the flash card.
These techniques work together to activate different parts of the brain. The exercises combine many repetitions of the word (seeing, hearing, speaking, spelling, and writing) with physical movements that focus the child’s attention and cement each word into the child’s long-term memory.
The lessons get the child up to a baseline level of competence that is then reinforced by the games, which take them up to the level of mastery. All you need is a flash card for each of the sight words you are covering in the lesson.
↑ Top
Of course, every child will make mistakes in the process of learning sight words. They might get confused between similar-looking words or struggle to remember phonetically irregular words.
Use our Corrections Procedure every time your child makes a mistake in a sight words lesson or game. Simple and straightforward, it focuses on reinforcing the correct identification and pronunciation of the word. It can be done quickly without disrupting the flow of the activity.
Do not scold the child for making a mistake or even repeat the incorrect word. Just reinforce the correct word using our script, and then move on.
↑ Top
Q: Progress is slow. We have been on the same five words for a week!
A: It is not unusual to have to repeat the same set of words several times, especially in the first weeks of sight words instruction. The child is learning how to learn the words and is developing pattern recognition approaches that will speed his progress. Give him time to grow confident with his current set of words, and avoid overwhelming the child with new words when he hasn’t yet become familiar with the old words.
Q: Do I really need to do all five techniques for every word?
A: Start out by using all five techniques with each new word. The techniques use different teaching methods and physical senses to support and reinforce the child’s memorization of the word. After a few weeks of lessons, you will have a sense for how long it takes your child to learn new words and whether all five exercises are necessary. Start by eliminating the last activity, Table Writing, but be sure to review those words at the next lesson to see if the child actually retained them without that last exercise. If the child learns fine without Table Writing, then you can try leaving out the fourth technique, Air Writing. Children who learn quickly may only need to use two or three of the techniques.
Q: How long will it take to get through a whole word list? I want my child to learn ALL the words!!!
A: That depends on a number of factors, including frequency of your lessons as well as your child’s ability to focus. But do not get obsessed with the idea of racing through the word lists to the finish line. It is much, much better for your child to solidly know just 50 words than to “kind of” know 300 words. We are building a foundation here, and we want that foundation to be made of rock, not sand!
↑ Top
Leave a Reply
AR-15 mechanical sights - LiveJournal — LiveJournal
My comrades kicked me a long time ago to post this promised material about the mechanics of "arches". From my point of view, the AR-15 platform is one of the most successful of what is available in the civilian rifle / carbine format on the territory of Ukraine.
Yes, optics greatly reveal the potential of personal weapons. But let's face it - few of us use the original Trijicon, whose price is twice the cost of the weapon itself. And that budget optics in the price range of 200-700 US dollars, which we put on our rifles and carbines due to its cheapness, is difficult for me to take seriously as "one optic for all occasions. " For competition and hunting, of course. But I personally saw how when the carbine fell, the settings were lost even on good sights. And in a critical situation, this is a pretty shitty event in the life of a shooter.
Therefore, in my opinion, it’s like with “mechanics” in a car - you can drive all your life on an “automatic”, but you need to be able to drive everything, including the old ZIL-130 and the rare K-750 with a sidecar. Taking into account our difficult life as Ukrainian shooters, you should not neglect simple solutions, which are often just as good :)
Therefore, here is the promised decent translation material, corrected by me. This material explains that the "mechanics" on your AR-15 platform rifle are far from archaic and have the right to life. There are not enough pictures, boredom :)
The author's style of the original is kept as far as possible.
Awesome manual for the AR15 iron sight version 1.0
- Mechanical sights. Antiques?
- Yes.
- Are they any use?
- Undoubtedly.
The iron sights that are sold (or are currently more often "not sold") with your AR-15 carbine are used inappropriately by most shooters. Buyers usually do not have a clue about the basic principles of operation of mechanical sights.
The purpose of this overview is to provide a clear and understandable briefing on the use and specifications of mechanical sights. By "understandable", I mean that everything will be explained in the most simple way and you will not find better instructions on the Internet. Nowhere.
So, if your goal is to understand the design and use of your mechanical sight, you've come to the right place.
Let's start with the correct use and application. This article assumes that you have a clear understanding of how the scope works and will try to inform you about the finer details of using mechanical scopes. If you want to watch a video on how to zero in your AR-15 carbine before reviewing, watch this video:
AR15 Mechanical Sights: Basic Principles
Zeroing in and good accuracy are concepts that may sound a little foreign to a beginner shooter. Give a beginner an AR-15, especially one who has never used "mechanics" and he will probably not figure out how to use it properly.
The current generation of shooters, raised on military computer "shooters", may know about zeroing guns in theory, but they'll need the right technique. Modern PC games usually show a crystal clear, well-focused image through the scope, but unfortunately real scopes don't work that way.
In video games through a mechanical sight, everything but the rear sight is in focus. Alas, the human eye is arranged differently. When focusing on the target, the front sight will appear blurry, and when focusing on the front sight, the target will appear blurry. The degree of blur also depends on the size of the hole and the distance between the sights. One can only dream of such clarity and sharpness of the image as in the example above ...
When using the AR-15 mechanical sight, we must note that there are 2 different rear sight systems: a large diopter / aperture (Ghost Ring) and a small diopter / aperture ( Peep Sight).
The main visual difference is that one hole is larger than the other. Although at first glance it may seem that their use will be identical, certain characteristics make each of the systems unique in relation to the target and the situation in which you shoot. Before we discuss the differences, let's take a closer look at certain types of shooting for those who come across this platform for the first time.
Your rifle/carbine puts all the burden of aiming at the target with the scope and gently pulling the trigger on your shoulders - so as not to disturb the position of the weapon in relation to the target. In short, in the process of shooting with a mechanical sight, you must:
• Align front sight and rear sight
• Align front sight and rear sight on target
• Start selecting trigger stroke while maintaining focus on target/front sight
• Continue pulling trigger until shot is fired
All of the above are mandatory for successful shooting with a mechanical sight.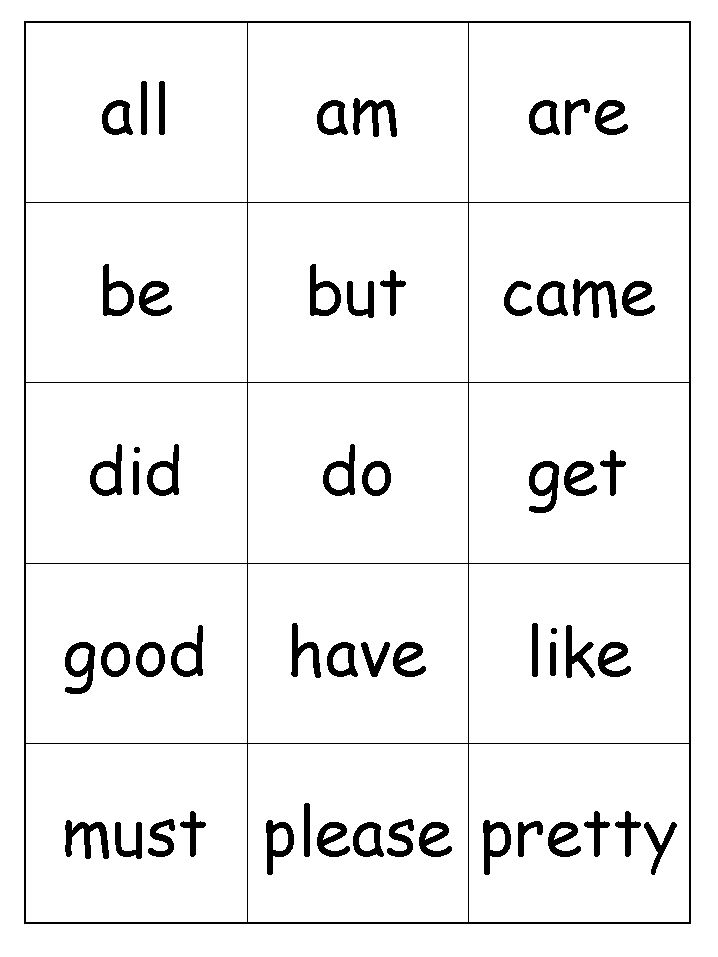
The AR-15 has a set of rear sights with different methods of use, small and large diopters. They are also often referred to as apertures. A larger diopter (aperture) has a distinctive marking of 0-200.
Each of them has its strengths and weaknesses, but they have one thing in common - when aiming through any such system, you need to ignore (look through, not focusing) either a small or a large aperture. Unlike the open sights on the AK platform or on the old father's 30/30 lever, the high and low diopters are positioned to allow you to shoot without concentrating on them.
The close position of the eye to the small/large aperture forces you to perform a very simplistic alignment of the eye, rear sight and front sight. As long as you look through the aperture, your rear sight remains in the most comfortable aiming position. In the process of aiming, do not pay attention to the diopter, but concentrate on the front sight and the target itself. This will make it easier for you to shoot with the AR-15 iron sight.
So, what are the differences in the use and application of large and small diopters? Let's figure it out.
We delve into the design of a large diopter.
"Ghost Ring" aka large diopter is an enlarged diameter "Peep sight", standard for USGI standard stock handle with a built-in sight on M-16 military rifles. It is also found in most models of back-up sights (including folding ones). Unless otherwise noted, be aware that the large and small apertures (rear sight holes) will have different zeros.
Some scopes promote "single plane apertures". This means that both small and large apertures (holes) will have one zero mark.
USGI apertures have a different zero point between the large and small diopter, which deviates vertically by 2.5 arc minutes, or roughly 6.35 cm at a distance of 100 meters. Take note of this, but for now let's forget about this aspect and focus on using a large diopter.
Large diopter is a simple tool with the ability to quickly aim. It is useful when shooting in low light and when shooting in close proximity to targets. The diameter of the hole in the large diopter makes it important for centering the front sight in the field of view.
A large diopter is the right way to use it when your eye is focused on the target and not on the front sight!
This way the front sight will look like a blur as long as your eyes are focused on the target. Aim the "blurred" front sight at the target and pull the trigger with an emphasis on speed over accuracy.
Using a large diopter while focusing on the front sight is wrong.
This will cause you to see the front sight clearly, while the target itself will remain blurry, and the ability to distinguish targets will be simply terrible. Using a large diopter in combination with focusing on the front sight will result in you not being able to see what your target is doing, as well as making it difficult for you to see targets even at distances up to 100 meters.
Therefore, focus on the target, point the blurry front sight at it and shoot quickly.
It is also important to use a large diopter in low light, as a small diopter will darken the image, resulting in poor shooting. Thus, I have briefly described the correct use of a large diopter.
For this reason, the "Ghost ring" is usually marked 0-200, indicating your aperture for short to medium distances from 0 to 200 meters.
Small diopter introduction.
"Peep sight", also known as a small aperture. And here we get to the point. This roughly 2mm diameter hole is a marvel of conventional carabiner technology and differs significantly from a large diopter.
This highly accurate aperture will be very useful for daylight shooting and precision shooting at both close and long ranges. The key to understanding this aperture is understanding the depth of field, aperture, and focus data. Let's start with the terminology based on how useful it is to the carbine.
Depth of field: your ability to focus on the front sight and still see the area close to the flight path relatively clearly. This is enhanced by a ring sight (diopter) and can be increased/decreased, depending on several factors, which we will look at later.
Aperture: a small viewing hole through which you look at the front sight and target.
Focus: The correct use of the ring sight is to ignore it and focus on the front sight, not the target.
While using a small diopter, we are given some visual enhancers...
Let's do a little experiment. Stretch your hand forward and raise your finger. Focus on it. How blurry is the background? The background is usually very blurry.
This is because the human eye can clearly focus on either a near or far object, but not both at the same time. A ring sight works like an aperture for your eye, and is somewhat like a camera with a small aperture. Have you ever used a pinhole camera without a pinhole lens? They have a very small aperture, allowing light rays to enter the chamber in the form of a very narrow cone. This enhances the depth of field and allows the camera to focus on something close and still see distant objects with remarkable clarity.
The Peep Sight aperture forces your eye to look through a small hole that limits the angle at which light is reflected from the target and reduces the width of the view to a very narrow cone.
Your eye can then focus on a clearly visible front sight and still be able to see enough detail close to the trajectory of the shot with enough clarity to aim and make an accurate shot. A large diopter cannot do this because of its large size.
Thus, "Peep sight" allows your eye to be fully focused on a well-defined front sight and allows you to fine-tune it to a "relatively" clearly visible target.
Moreover, a small diopter reduces parallax, also known as centering error. Remember, we described
centering when aligning the eye with the whole? So this is not the end yet.
Using a large diopter, you need to place the front sight clearly in the center of the field of view. Otherwise, you will lose the accuracy of the sight in relation to the target.
A small diopter is less prone to errors when centering the front sight. The phrase that it “removes parallax” means that it resists centering errors with its entire design. As long as you see the front sight through a small diopter, you are almost perfectly centered on the front sight.
The only time a small diopter is prone to the parallax problem is when you let the front sight touch the blurry contours of your rear sight in your field of view.
The indicated information about Peep sight allows us to draw two conclusions about small apertures:
1) They provide near perfect aiming.
2) The shooter can ignore the precise centering of the front sight in the center of the field of view and instead can immediately focus on direct aiming at the center of the target with the front sight.
It remains astonishing to me that such an old design operates with virtually no parallax in much the same way as modern red dot sights. Instead of wasting time trying to center everything and everything, you know that focusing on the front sight and the target will allow you to speed up the shooting process. It will also increase the speed at which you hit the target and make your shooting more accurate.
So, if you delve into the peculiarities of the Peep Sight small diopter, it turns out that this is just a wonderful device. It is excellent for shooting with the naked eye (without optics) and proves to be much more useful than a rear sight with a slot like an AK.
So what are the things that affect your mechanical sight? Let's talk about the length of the sighting line.
Length of sighting line - the longer the better.
You must have heard these words: the longer the aiming line, the more accurate the shot is? The length of the sighting line is the distance between the front sight and the whole. The greater this distance, the more accurately the shooter can aim and hit the target. The way it is.
Remember how a small aperture allows you to focus on the front sight and still keep the target not blurry?
If we reduce the distance between the front sight and the whole, we thereby reduce the ability of a small diopter to compensate for the effect of depth of field.
As soon as we move the front sight closer (the front sight is our ideal focal point for using the aperture), our depth of field and clarity near the target decreases. Focusing on an object that gets closer and closer to a small diopter reduces the effectiveness of the depth of field.
From the length of the sight line of the rifle to the length of the sight line of the carbine, the deterioration in visual clarity is small, but still noticeable in comparison with similar examples in other sight systems ,5” if we are talking about the classic military sizes. Our civilian 16", most common in Ukraine, is somewhere in the middle) .
Can you still shoot at a target with a carbine with a diopter at a distance of 400 meters? Definitely yes, it's just that the target will look a little more blurry than when shooting with a rifle aiming line. 0003
0003
The farther the front sight (focal point) is located on the barrel, the more the depth of field and clarity of the target is enhanced with a small diopter.
The closer to the eye we get the focal point, the more the depth of field worsens and the target becomes more blurred and difficult to recognize.
To cope with this, you need to reduce the diameter of the small aperture. After experimenting with reflex sights designed to US Army standards, I found that reducing the aperture size helps reduce this effect. In fact, drastically reducing the aperture to .042” increased the depth of field on both rifle and carbine to a degree that is unlikely to be surpassed by a standard aperture on a military “mechanic” (USGI handle).
Light also plays a big role here. As soon as we reduce the size of the diameter of the small diopter, we thereby reduce the amount of light that will reach our eye. As soon as it gets dark, we will need to switch to a large diopter before anyone else does with a standard size small diopter.
So, with a short line of sight, setting a small diopter (if you can find one) will help you maintain proper focus on the front sight and still see the target clearly.
Correcting common mistakes made when shooting at the shooting range.
The biggest mistake I see in range shooting is the wrong rear sight. Many shooters set the rear sight approximately in the middle of the upper, away from the eye.
This is wrong!
Beginner shooters trying to get better aim, but there is not enough “space” inside the rear sight/low diopter for the front sight. In truth, they simply lowered the depth of field of the small diopter to zero and thereby also did not leave enough free space for the front sight so that it DOES NOT touch the edges of the small diopter and thereby allowed parallax. In addition, they partially block their view of the entire forward one. Instead of looking through a small diopter at a direct shot distance accessible to the eye, thereby leaving yourself a larger field of view.
The picture from the LUCKY GUNNER site is a great example of how to incorrectly set the diopter sight
The above also applies to those shooters who put in the stock closer to the butt plate, moving their head away from the apper and aperture.
Sight parallax - what is it and why is it scary
September 19, 2002
In the conversations of the "experienced", when it comes to optical sights, the concept of "parallax" often "pops up". At the same time, many companies and models of sights are mentioned, and various assessments are made.
So what is parallax?
Parallax is the apparent shift of the target image in relation to the image of the aiming mark, if the eye moves away from the center of the eyepiece. This is due to the fact that the image of the target is not exactly focused in the focal plane of the reticle.
Maximum parallax occurs when the eye reaches the scope's exit pupil. But even in this case, a sight with a constant magnification of 4x, detuned from parallax by 150 m (at the factory) will give an error of about 20 mm at a distance of 500 m.
At short distances, the parallax effect practically does not affect the accuracy of the shot. So, for the sight mentioned above at a distance of 100 m, the error will be only about 5 mm. It should also be borne in mind that when keeping the eye in the center of the eyepiece (on the optical axis of the sight), the parallax effect is practically absent and does not affect the accuracy of shooting in most hunting situations.
Riflescopes with factory parallax adjustment
Any sight with a fixed lens focusing system can only be adjusted from parallax to any one specific distance. Most scopes are factory set to 100-150m parallax.
The exceptions are low magnification sights, oriented for use with a shotgun or combined weapons (40-70 m) and the so-called "tactical" and similar sights for shooting at long distances (300 m or more).
According to experts, you should not pay serious attention to parallax, provided that the shooting distance extends within: 1/3 closer . .. 2/3 farther than the distance of the factory detuning of the sight from parallax. Example: "tactical" riflescope KAHLES ZF 95 10x42 is adjusted from parallax at the factory to a distance of 300 m. This means that when shooting at distances from 200 to 500 m you will not feel the effect of parallax. In addition, when firing at 500 m, the accuracy of the shot is affected by a lot of factors related primarily to the characteristics of the weapon, the ballistics of the ammunition, weather conditions, the stability of the position of the weapon at the time of aiming and firing, leading to a deviation of the point of impact from the aiming point by , significantly exceeding the deviation caused by parallax when firing a rifle clamped in a vise in absolute vacuum.
Another criterion is that the parallax does not show up significantly until the magnification factor does not exceed 12x. Another thing is sights for target shooting and varminting, like, say, 6-24x44 or 8-40x56.
Parallax Adjustable Riflescopes
Target shooting and varmint require maximum aiming accuracy. To ensure the required accuracy at different shooting distances, sights are produced with additional focusing on the lens, eyepiece or on the central tube body and the corresponding distance scale. Such a focusing system allows you to combine the image of the target and the image of the aiming mark in one focal plane.
To eliminate parallax at a selected distance, do the following:
1. The image of the aiming mark must be clear. This must be achieved using the focusing mechanism of your scope (diopter adjustment).
2. Measure the distance to the target in some way. By turning the focusing ring on the lens or the handwheel on the body of the central tube, set the measured value of the distance opposite the corresponding mark.
3. Securely fix the weapon in the most stable position and look into the scope, concentrating on the center of the reticle. Raise and then lower your head slightly. The center of the aiming mark must be absolutely stationary in relation to the target. Otherwise, perform additional focusing by rotating the ring or drum until the movement of the center of the mark is completely eliminated.
The advantage of scopes with parallax adjustment on the center tube body or on the eyepiece is that when adjusting the scope, the shooter who is ready to shoot does not need to change position.
Instead of output
Nothing just happens. The appearance of an additional adjustment unit in the sight cannot but affect the overall reliability of the design, and, if properly executed, the price. In addition, the need to think about additional adjustment in a stressful situation cannot but affect the accuracy of your shot, and then you yourself, and not your sight, will be to blame for the miss.
The above values are taken from materials provided by Leupold (USA) and KAHLES (Austria).
The World Hunting Technologies company is the official representative of Kahles, NightForce, Leapers, Schmidt&Bender, Nikon, AKAH, Docter optical sights on the territory of the Russian Federation.