Shapes for school
25 Creative Activities and Ideas For Learning Shapes
Learning shapes is one of the earliest concepts we teach kids. This readies them for geometry in the years ahead, but it’s also an important skill for learning how to write and draw. We’ve rounded up our favorite activities for learning shapes, both 2-D and 3-D. They all work well in the classroom or at home.
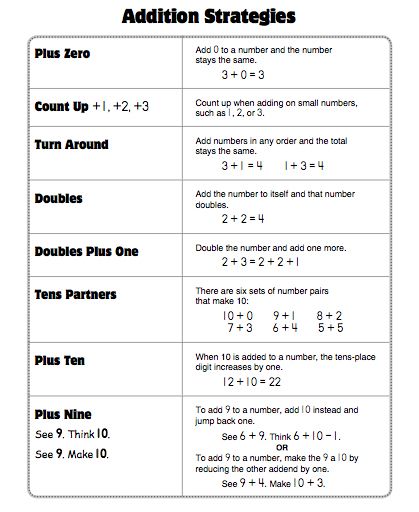
1. Start with an anchor chart
Colorful anchor charts like these are terrific reference tools for kids learning shapes. Have kids help you come up with examples for each one.
Learn more: A Spoonful of Learning/Kindergarten Kindergarten
2. Sort items by shape
Collect items from around the classroom or house, then sort them by their shapes. This is a fun way for kids to realize that the world around them is full of circles, squares, triangles, and more.
Learn more: Busy Toddler/Shape-Sorting
3. Snack on some shapes
Everyone loves a learning activity you can eat! Some food items are already the perfect shape; for others, you’ll have to get a little creative.
Learn more: Chieu Anh Urban
4. Print with shape blocks
Grab your shape blocks and some washable paint, then stamp shapes to form a design or picture.
Learn more: Pocket of Preschool
5. Go on a shape hunt
These “magnifying glasses” make an adventure of learning shapes! Tip: Laminate them for long-term use.
Learn more: Nurture Store UK
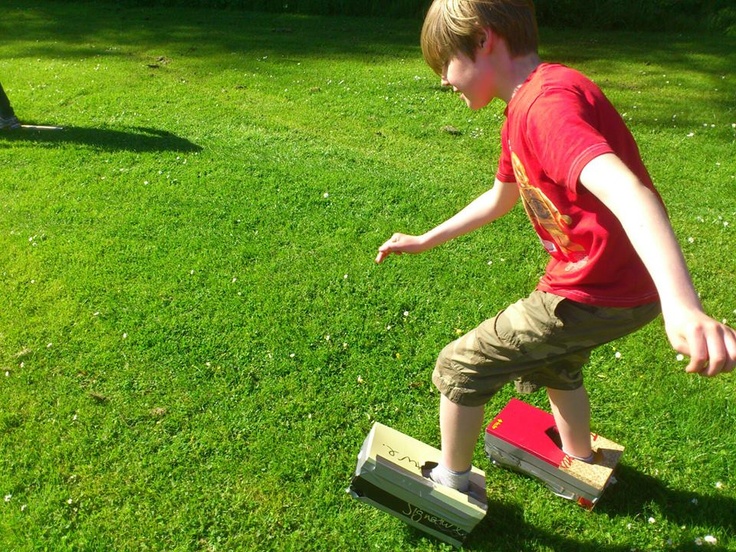
6. Hop along a shape maze
Use sidewalk chalk to lay out a shape maze on the playground or driveway. Choose a shape and hop from one to the next, or call out a different shape for every jump!
Learn more: Creative Family Fun
7. Assemble a truck from shapes
Cut out a variety of shapes (excellent scissors skills practice!), then assemble a series of trucks and other vehicles.
Learn more: Little Family Fun
8. Stretch out shapes on geoboards
Teachers and kids love geoboards, and they’re a great tool for learning shapes.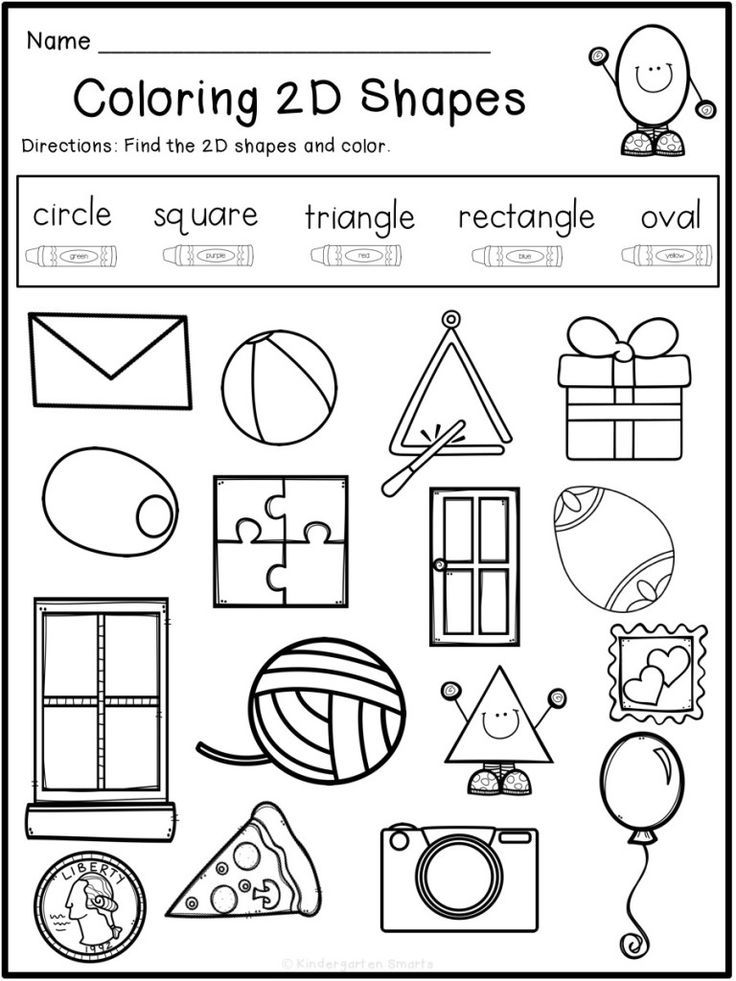 Give students example cards to follow, or ask them to figure out the method on their own.
Learn more: Mrs. Jones’ Creation Station
9. Drive on shaped roads
Use these free printable road mats to work on shapes. Bonus: Make your own road shapes from sentence strips!
Learn more: PK Preschool Mom
10. Find shapes in nature
Take your shape hunt outside and look for circles, rectangles, and more in nature. For another fun activity, gather items and use them to make shapes too.
Learn more: Nurture Store UK
11. Put together craft stick shapes
Add Velcro dots to the ends of wood craft sticks for quick and easy math toys. Write the names of each shape on the sticks for a self-correcting center activity.
Learn more: Surviving a Teacher’s Salary
12. Blow 3-D shape bubbles
This is a STEM activity that’s sure to fascinate everyone.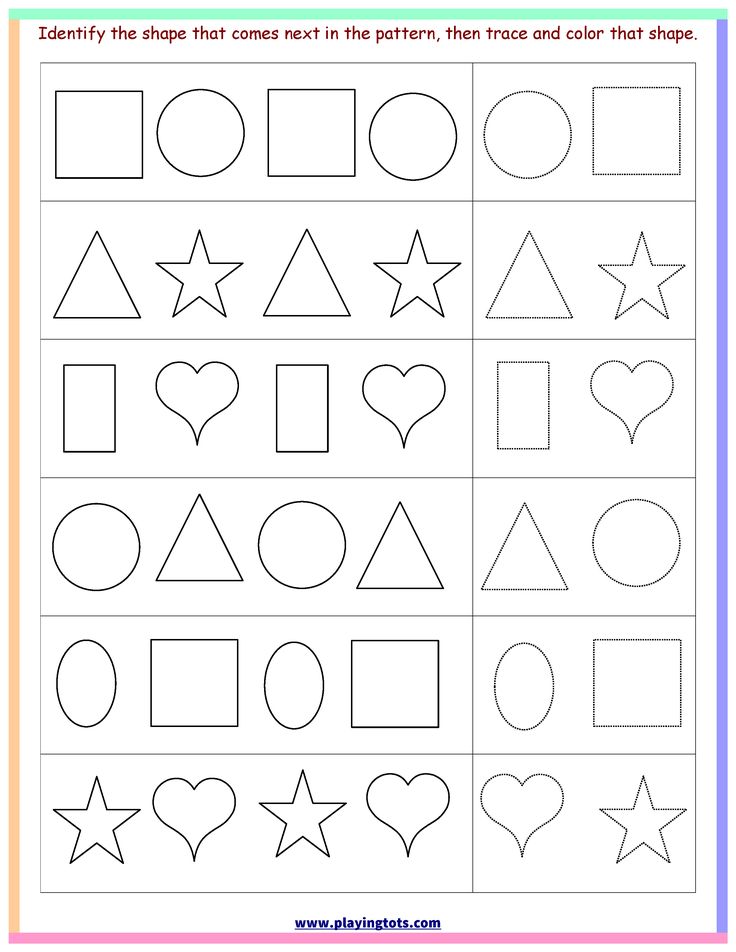 Make 3-D shapes from straws and pipe cleaners, then dip them in a bubble solution to create tensile bubbles. So cool!
Learn more: Babble Dabble Do
13. Prep a shape pizza
Cover a paper plate “pizza” with lots of shape toppings, then count the number of each. Simple, but lots of fun and very effective.
Learn more: Mrs. Thompson’s Treasures
14. Construct shapes from toothpicks and Play-Doh
This is an excellent STEM challenge: how many shapes can you make using toothpicks and Play-Doh? Marshmallows work well for this activity too.
Learn more: Childhood 101
15. Outline shapes with stickers
Kids adore stickers, so they’ll enjoy filling in the outlines of the shapes they’re learning. They won’t realize it, but this gives them fine motor skills practice too!
Learn more: Busy Toddler/Sticker Shapes
16. Lace shapes
Lacing cards have long been a classic, but we really like this version that uses drinking straws.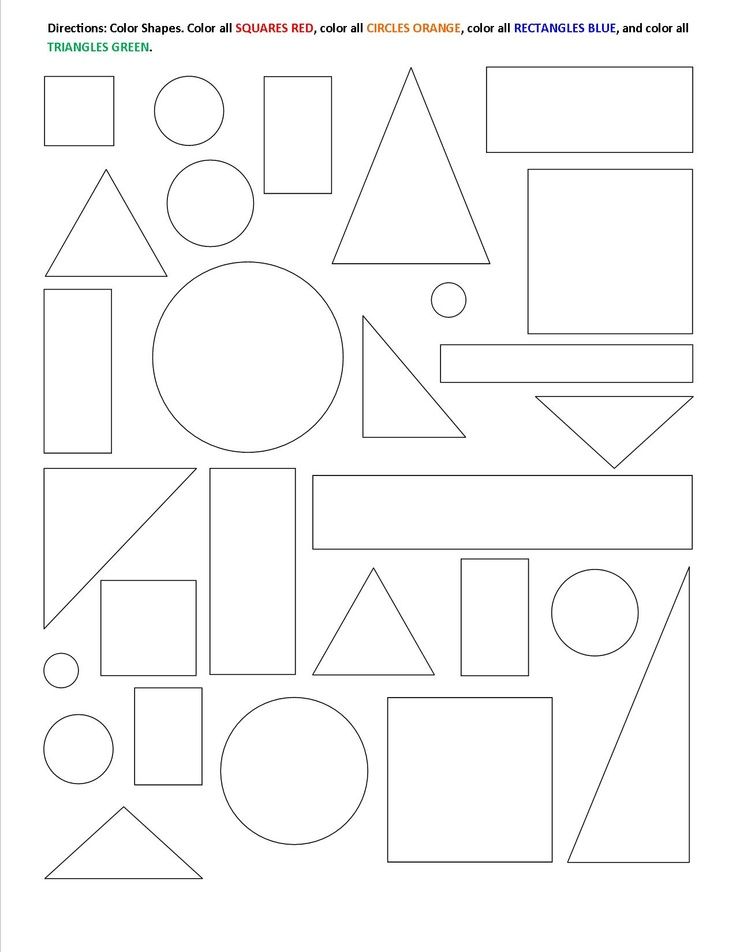 Just cut them into pieces and glue them along the edges of the cards.
Learn more: Planning Playtime
17. Make shapes with LEGO bricks
LEGO math is always a winner! This activity also makes a good STEM challenge. Can your students figure out how to make a circle from straight-sided blocks?
Learn more: Pocket of Preschool
18. Categorize shapes by their attributes
Work on geometry terms like “sides” and “vertices” when you sort shapes using these attributes. Start by placing shapes into paper bags and asking students questions like, “The shape in this bag has 4 sides. What could it be?”
Learn more: Susan Jones Teaching
19. Count and graph shapes
These free printable worksheets challenge kids to identify shapes, then count and graph them. Lots of math skills, all in one!
Learn more: Playdough to Plato
20. Create a shape monster
Add arms, legs, and faces to create cheery (or scary) shape monsters! These make for a fun classroom display.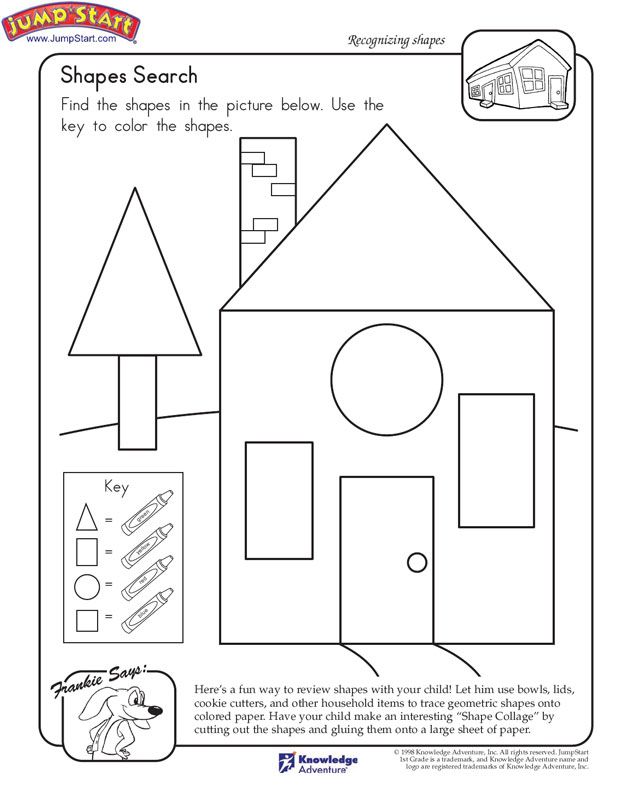
Learn more: Fantastic Fun and Learning
21. Sift through rice for shapes
Sure, kids can identify their shapes by sight, but what about by touch? Bury blocks in a bowl of rice or sand, then have kids dig them out and guess the shape without seeing them first.
Learn more: Fun With Mama
22. Craft an ice cream cone
Ice cream cones are made up of several shapes. Encourage kids to see how many different ways they can make a sphere of “ice cream.”
Learn more: Extremely Good Parenting
23. Ask “What does the shape say?”
If you don’t mind the risk of getting that song stuck in your kids’ heads, this is such a neat way to combine writing and math.
Learn more: Around the Kampfire
24. Piece together shape puzzles
Use wood craft sticks to make simple puzzles for kids who are learning their shapes. These are inexpensive enough that you can make full sets for each of your students.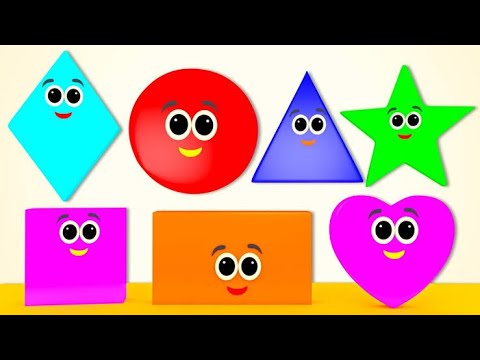
Learn more: Toddler at Play
25. Feed a shape monster
Turn paper bags into shape-eating monsters, then let kids fill their hungry bellies!
Learn more: Teach Pre-K
From teaching shapes to long division and everything in between, these are the 25 Must-Have Elementary Classroom Math Supplies You Can Count On.
Plus, 22 Active Math Games and Activities For Kids Who Love to Move.
Exploring Shapes
Introduction
The ability to accurately identify shapes is a foundational mathematical skill, and it is quite rewarding for children because their world is full of shapes. Understanding shapes will enable students to be more in tune to the world around them and see the connections between objects, as well as being better able to appreciate artistic works.
Guiding Questions
- What are some basic shapes?
- Where are these shapes found?
- How can a child incorporate a knowledge of shapes into his/her life?
Learning Objectives
After completing the lessons in this unit, students will be able to:
- Identify specific shapes.

- Recognize shapes in the environment.
- Create original works of art using the shapes.
Preparation
- Read through each of the mini-lessons.
- Find the suggested materials you want to use.
- Make any copies needed and gather any materials you want to use.
- Choose appropriate extension activities.
Lesson 1: Introducing shapes
Select a couple of books about shapes to introduce the idea. Some recommended choices are:
- Shapes, Shapes, Shapes, by Tana Hoban
- The Greedy Triangle by Marilyn Burns
- Round is a Mooncake by Roseanne Thong
- Food for Thought by Joost Elffers
- Museum Shapes from the New York Metropolitan Museum of Art
Read them to the student and encourage thinking about the concept of all objects having shapes.
Lesson 2: Identifying shapes
Materials
- Standard set of eight crayons
- Sand, sugar or flour
- Two small cups
- Container with fairly short sides (like a plastic food storage container or a small box)
Use the table below to give the child an overview of basic shapes. Go over them twice, then go on to the activities.
Identification Activity
After you have gone over the list twice, give the student the Shape Sheet at the end of this lesson and have him/her use the crayons to mark the shapes as you direct, reading through the directions on the next page. Feel free to give hints using the “Need to Know” section in the chart above.
Drawing Activity
Next, the student will draw the shapes with a finger in sand, sugar, or flour. To do this, put the two cups of sand, sugar, or flour in the container. The child should be able to reach into the container with ease.
Allowing the child to reference the Shape Sheet, have the child draw the shapes with his or her finger. If there is more than one child, allow them to share the exercise, with one child drawing a shape and the other identifying it, then exchanging roles.
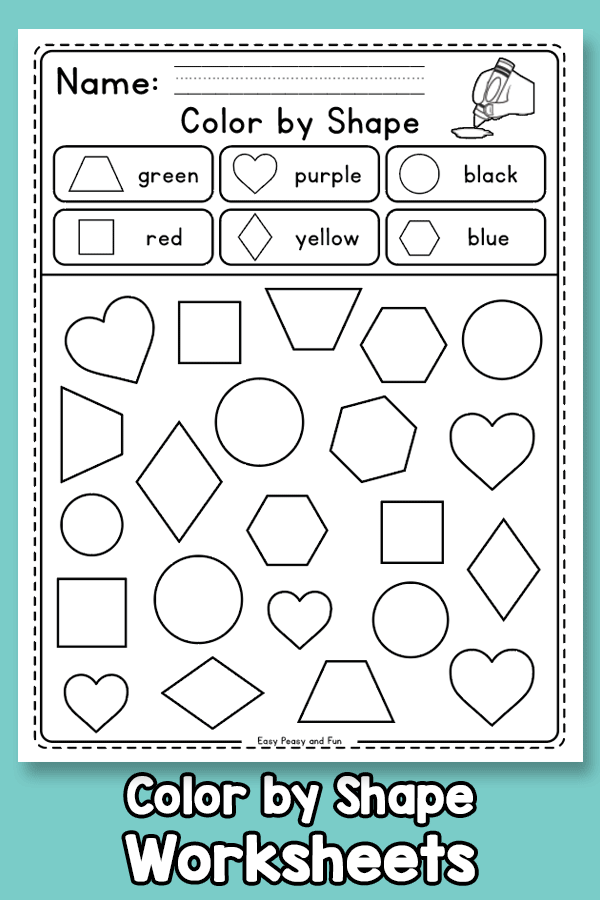
Identification Directions
- How many circles can you find? Color them red.
- How many squares can you find? Color them green.
- Can you find the oval? Draw a circle inside of it.
- How many triangles do you see? Color them blue.
- Find the rectangle and draw an oval around it.
- Color the rhombus black.
- Can you find three pentagons? Color them purple.
- Are there more parallelograms or pentagons? Put an “X” on the parallelograms.
- Find the hexagons and color them yellow.
- Do you see the trapezoid? Color it brown.
- Find all the octagons and color them orange.
Lesson 3: Playing with shapes
Sing and dance along with the Hokey Pokey Shape Song!
Cut out the shapes at the end of this lesson, one six-page set per child. You can print the sheets on colored paper or allow the child to color the shapes for easier identification. (Note: You will also be using these shapes in later lessons.) Either with an adult or with other children, have child stand with shapes spread out near his/her feet.
Sing and dance the “Hokey Pokey” with the shapes, having the child pick up the shape and then dance with it. Call the shape out before each verse.
Example
- Adult says: “Triangle!”
- Child(ren) pick(s) up triangle
- All sing: “You put your triangle in, you put your triangle out. You put your triangle in and you shake it all about. You do the Hokey Pokey, and you turn yourself around. That’s what it’s all about!”
- Adult says: “Pentagon!”
- Child(ren) pick(s) up pentagon
- All sing: “You put your pentagon in, you put your pentagon out. You put your pentagon in and you shake it all about. You do the Hokey Pokey, and you turn yourself around. That’s what it’s all about!”
You may also allow the children to take turns calling the shapes.
Lesson 4: Drawing and coloring with shapes
Materials
- Examples of Kandinsky paintings
- Crayons, markers, or watercolors
- Shapes used for the Hokey Pokey
- Large sheet of drawing paper
Show the student images of Kandinsky paintings on the Internet. Here are a few examples
If possible, print them in color or check out a book of Kandinsky’s paintings from the library. Have the student identify as many shapes as he/she can find in the paintings, creating a tally chart of how many times each shape was used by writing tally marks on the shapes used for the Hokey Pokey.
Have the student lay the shapes out on the floor or a table in order of most used. Using crayon, marker or watercolor, have the student create his/her own “Kandinsky” imitation, using at least one of each shape learned.
Lesson 5: Shape walk
Take the student on a “shape walk” to find shapes in and around the house/classroom/school.
After the shape walk, reflect on the shapes that were easiest to find and those that were hardest to find, using questions such as:
- Are there more circles inside or outside?
- Are there more squares or circles? Why is that?
- How did what was found outside match the tallies from the Kandinsky paintings?
If desired, have the student create a new drawing that reflects the shapes as found on the walk. If lots of circles were found, have lots of circles in the drawing. No trapezoids? Leave those out. Now you both have a visual representation of the shape walk results.
You may want to introduce the Shape Hunt Chant developed by the International Reading Association/National Council of Teachers of English. Here's a printable copy of this copyrighted material here (it’s OK to reproduce it for educational purposes).
Extension
Picture Yourself with Shapes
- Take pictures of the student with shapes he/she finds, then put the pictures in an inexpensive photo album.
- To make this more interesting, make it a scavenger hunt in which students try to get pictures of themselves with the most interesting shapes. They should not create the shapes, but rather discover them.
- To extend this activity, have the student invite family or friends take pictures of themselves with shapes to send to the student.
More Fun Online
- Sammy Shapes website
- Patterns to make three-dimensional shapes
- Additional practice on shapes
Assessment
Since this is a Kindergarten-level activity, this assessment is skills-based, rather than grade-based.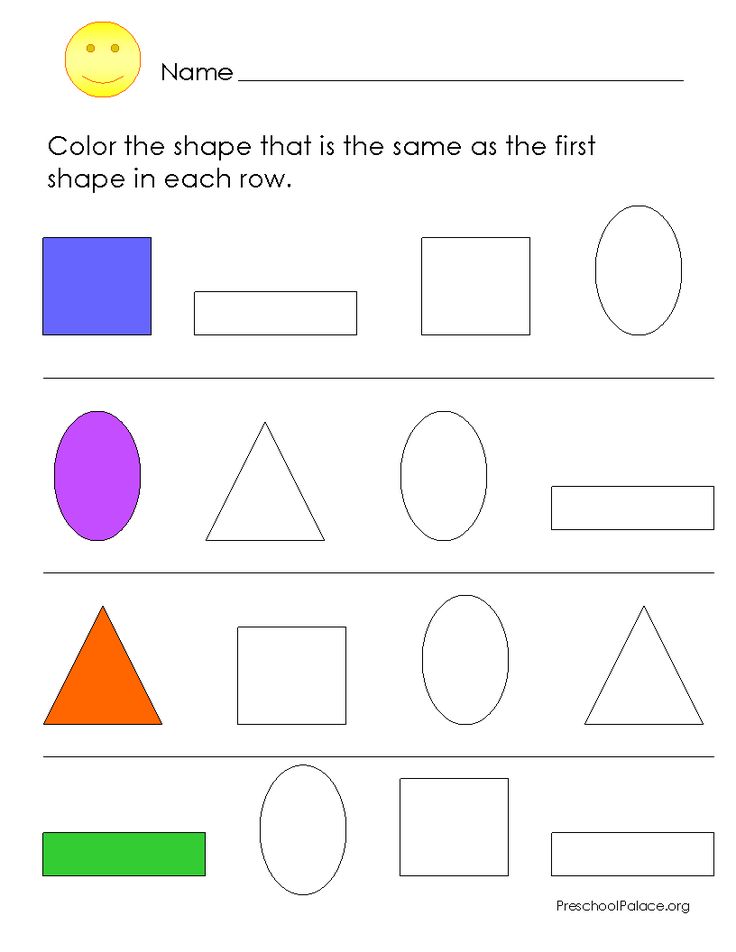
This series of lessons was designed to meet the needs of gifted children for extension beyond the standard curriculum with the greatest ease of use for the educator. The lessons may be given to the students for individual self-guided work, or they may be taught in a classroom or a home-school setting. Assessment strategies and rubrics are included at the end of each section. The rubrics often include a column for "scholar points," which are invitations for students to extend their efforts beyond that which is required, incorporating creativity or higher level technical skills.
History of school uniforms in Russia
Home | Useful information | The history of school uniforms in Russia
Nowadays, school uniforms are the subject of fierce debate among schoolchildren, their parents and teachers. The arguments of both sides equally have the right to exist. But there were times when such disputes would have seemed at least strange, and the form was an indispensable part of the life of every student.
In 1834 the school uniform was officially introduced in Russia. Nicholas I, who reigned then, ordered the wearing of uniforms for all civil servants, he could not ignore the students. The appearance of the form in the 19th century changed several times, but it remained until the revolution of 1917 years old.
Uniform for high school students resembled military uniforms and bureaucratic overcoats at the same time. With a certain similarity of all types of uniforms, there were some differences in it, the main purpose of which was to determine which gymnasium or real school the student belongs to. The production of school uniforms was not put on stream, and therefore they were bought at the expense of parents or trustees. That is, wearing a gymnasium uniform meant origin from the privileged strata of society, because sewing a complete set, consisting of a cap, tunic and overcoat, was not at all cheap. City schools also had their own uniform, but most often the children of poor and poor parents who studied in them were limited only to uniform caps.
The Smolny Institute for Noble Maidens became the first educational institution in Russia, whose pupils wore a single uniform. Even under Catherine II, students were divided into four groups by age (6 - 8, 9 - 11, 12 - 14 and 15 - 18 years old), while each group wore simple dresses of a certain color - coffee, blue, gray and white, respectively. . Dresses were complemented by aprons, armlets and a cape. In the future, the form was changed several times, but the general principle was preserved. Gymnasiums and boarding schools for girls, which arose at a later time, also basically used the same colors for uniform dresses: blue, green and brown.
The Tsarskoye Selo Lyceum stands out among the establishments for boys. From the very moment of its foundation, there was a special uniform, a lyceum uniform. Lyceum students wore a dark blue caftan with a red stand-up collar. The uniform was complemented by a white camisole and white linen. In 1825, when the issue of uniforms for students of St.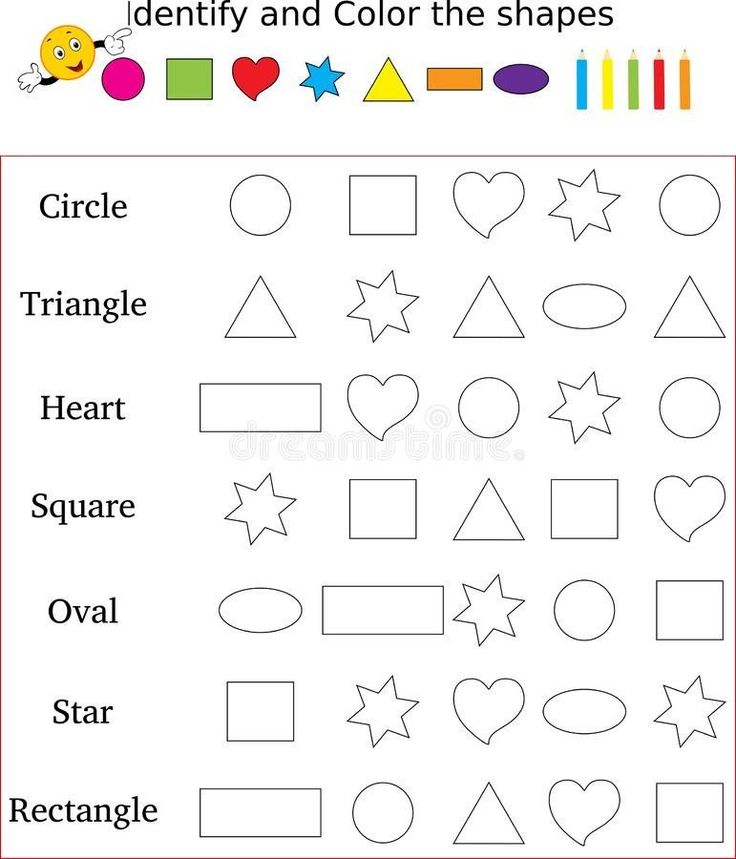 Petersburg gymnasiums was being decided, it was the uniform of the Lyceum that was taken as the basis.
But all these were only special cases, but since 1834, the whole of Russia has already dressed in uniform. Nicholas I, who most of all valued order and discipline, in his "Regulations on Civil Uniforms" did not deprive students and gymnasium students of their attention. Before the next emperor, Alexander II, ascended the throne, gymnasium students were required to wear blue jackets and uniforms with red collars, created in the likeness of the uniform of the guards.
In 1855, the uniform changed, instead of the Nikolaev uniform, it was now prescribed to wear a dark green semi-caftan. The color of the trim, buttons, caps, as well as the emblems of educational institutions have not changed. In the future, the form continued to change, sometimes partially, sometimes dramatically. So, for example, in 1864, the cut and some elements of the gymnasium uniform became different, but the color - dark green - remained the same.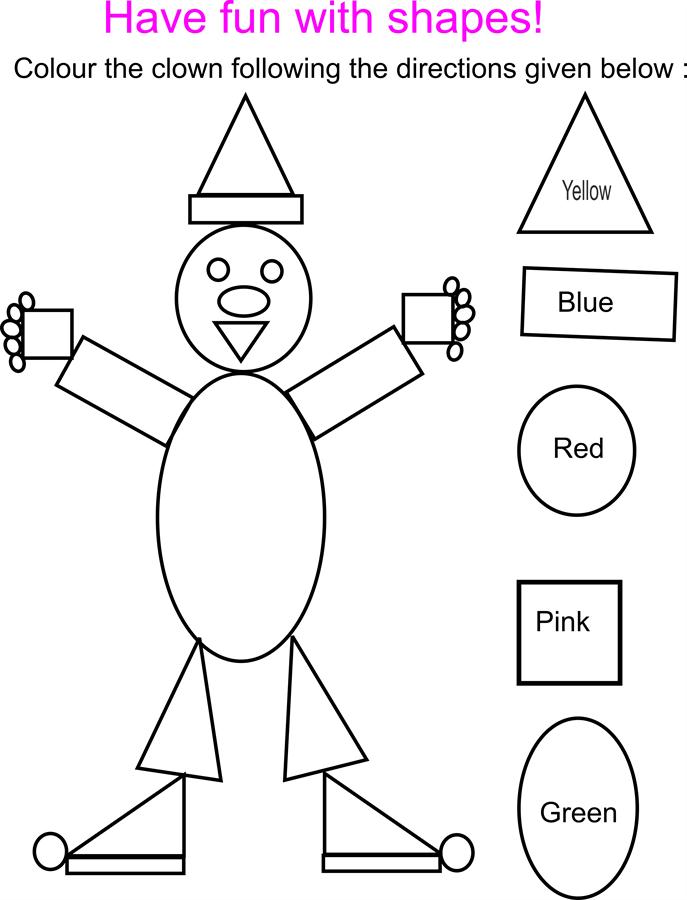 But after four years, uniforms again become dark blue, as in Nikolaev times. It is in this form that it will be preserved in the memory of generations and will "survive" until the revolution.
In the 70s In the 19th century, high school students living in boarding houses and shared apartments also began to wear special home clothes - gray half-caftans made of cloth and trousers of a darker shade. Separately, it is worth noting that wearing a uniform in those years was mandatory not only during classes and official events, but also in public places and on the street outside school hours. The inspector could at any time check to what extent the appearance of the gymnasium corresponded to the charter.
In the early 1880s, caps were replaced by uniform caps. The cap was both a matter of pride and the subject of a wide variety of manipulations, that is, an extremely useful and multifunctional thing. It was polished and bent in a special way, decorated with straps, shoes were wiped with it, water was drunk from it, various small objects were hidden in it. Only the students of the lower grades had their caps in their original form; for everyone else, this would have been truly indecent.
The same can be said about the manner of wearing the uniform in general. Junior students, as a rule, were forced to put on all the elements of the uniform as it was supposed to according to the protocol. Another thing is high school students, who were unofficially allowed to deviate somewhat from the norms. According to the rules adopted by the gymnasium students themselves, the gymnasium number was broken off from the cap while they were on the street, and the comrades watched each other even more vigilantly than their teachers - for the observance of decorum within the walls of the gymnasium. The reason is quite obvious - it was much easier for a high school student who committed a public offense to remain unidentified in this way.
School uniforms appeared in women's gymnasiums in 1886, when women's education began to develop especially actively.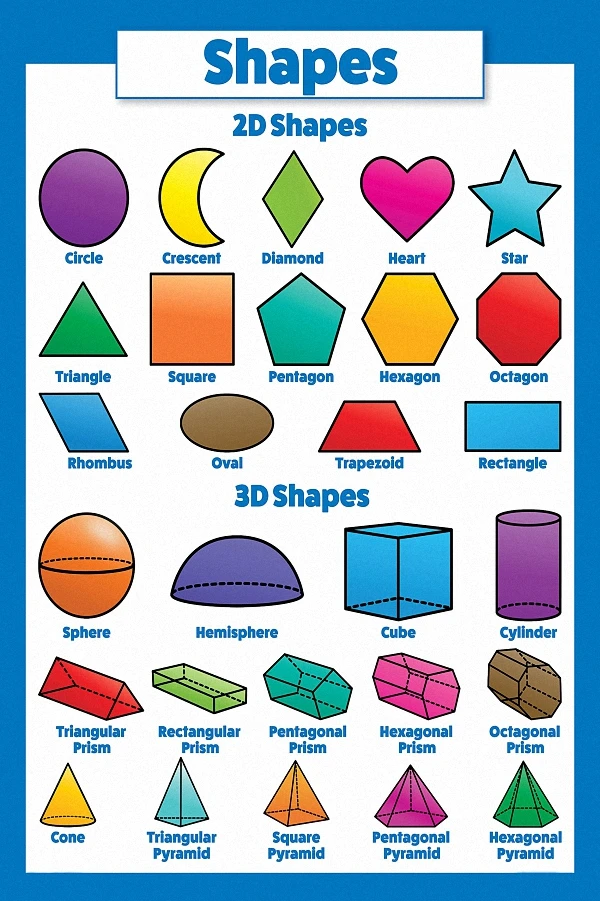 A brown dress and a black apron are the classic uniform of all state women's gymnasiums. Private gymnasiums had a free choice of uniform colors, and could also introduce color grading for different ages. Dress and everyday uniforms differed in small details - a white lace collar and an apron. In addition, according to the charter, any additional dress could be sewn.
Neatness was the main requirement for the hairstyles of schoolboys and girls. Primary school students, for example, were shaved almost completely before the start of the school year. Girls were supposed to braid their hair in braids with bows of black and white silk. However, in the era of the birth of the women's movement and later, until 1917, some female students - "emancipe" - wore short haircuts to demonstrate their beliefs. Of course, it was impossible for younger girls to do this without the risk of disciplinary action, or even exclusion.
At the beginning of its existence, the Soviet government resolutely rejected the old form for students in a number of other "remnants of the past". The school uniform is recognized as one of the attributes of the enslavement and dependence of the student. Of course, there were also purely economic reasons - neither the impoverished state nor the no less impoverished parents had the means to sew uniforms. The mass elimination of illiteracy and the availability of school and higher education to all sections of society made the school uniform insignificant, if not harmful, and its abolition in those realities made life easier for many. However, at 1948 uniforms will be returned to secondary schools. Even earlier, in some educational institutions, for example, in vocational and technical schools or pioneer camps, uniforms were introduced. In secondary schools, the uniform was almost completely copied from the gymnasium and was acquired at the expense of the family.
The designed school uniform for girls remained practically unchanged until its abolition: a brown dress, white collar and cuffs, a black apron, which was replaced by white on holidays. At the same time, the style and some details could differ depending on personal preferences and fashion trends. However, this can be said about the schoolgirls of the 60s. and later - up to this point, the length of the skirt, for example, was strictly regulated. Along with the uniform, it was supposed to wear knee-highs or tights and strict closed shoes. Hair must be cut short and modest, or braided with black, brown, or white bows. The wearing of jewelry and the use of cosmetics was strictly forbidden. Teachers strictly monitored the observance of these rules and most often did not allow students who violated them to attend classes.
The most radical changes took place in the 1980s. XX century. A new uniform for high school girls has appeared: an A-line skirt, a vest and jacket, and in some parts of the country also trousers for cold weather, all of which are blue. This form made it possible to combine different options and wear a variety of blouses.
Boys in Soviet times "changed clothes" more often.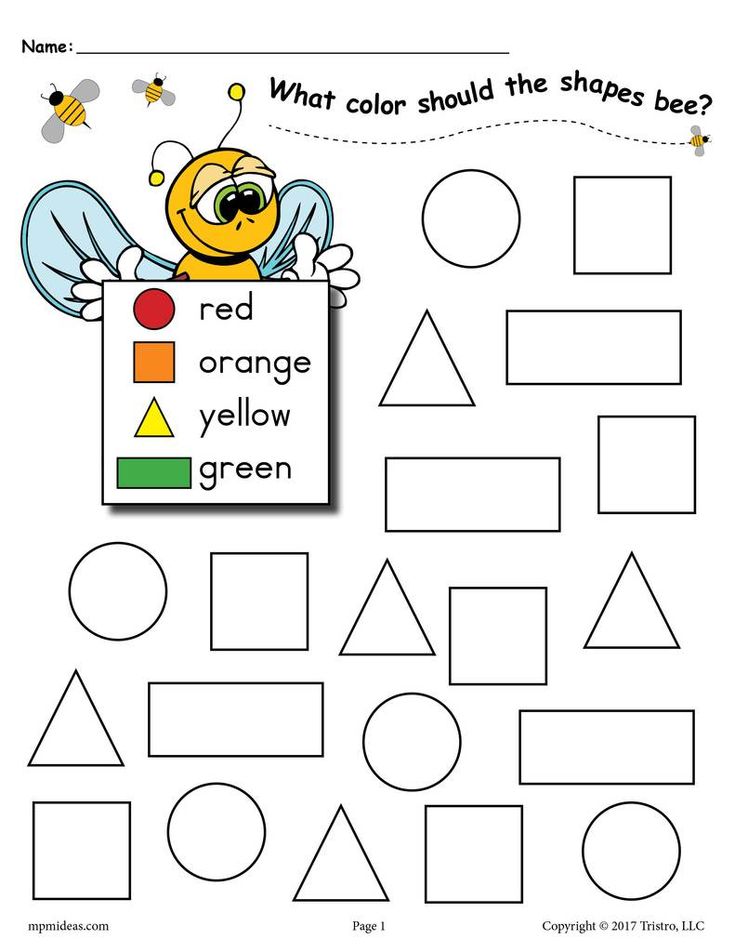 The first option consisted of gray or dark gray military-type tunics and long trousers. The uniform was complemented by a cap with a visor, a belt with a buckle and dark boots or low shoes, always cleaned to a shine. Hairstyles for boys should be short and neat. Then the tunics gave way to gray woolen suits, which in the 70s. were replaced by all blue suits (jackets with patch pockets and trousers). In the 80s. The high school students were dressed in blue trouser suits.
Another obligatory element of the uniform for both sexes was the October or Komsomol badge and a red pioneer tie, depending on age.
In 1992, after a series of relaxations, the school uniform was finally abolished, which marked the victory of democracy, as in 1917 - the victory of the revolution. Today, as then, we come to the idea of the return of form. Of course times have changed. A single school uniform for all regions of the country is an almost impossible task and, by and large, unnecessary. Assessing the current situation and previous historical experience, we can say that the school uniform has a number of advantages that should not be forgotten - it contributes to the organization of the educational process, allows you to create unity and a sense of belonging within each particular school. At the same time, it is quite obvious that the school uniform, first of all, should be comfortable, practical and not cause rejection among students, leaving them the right to experiment and individuality.
The Infanta catalog offers a wide range of school uniforms that meet all the necessary requirements. Modern cut, natural fabrics, affordable prices and attention to the needs of children - these are the qualities that will allow you to choose the right kit for your child's successful studies.
School uniform | LIGA GENTLEMEN
Each collection is made in the same style with the same main fabric for boys and girls with different finishes.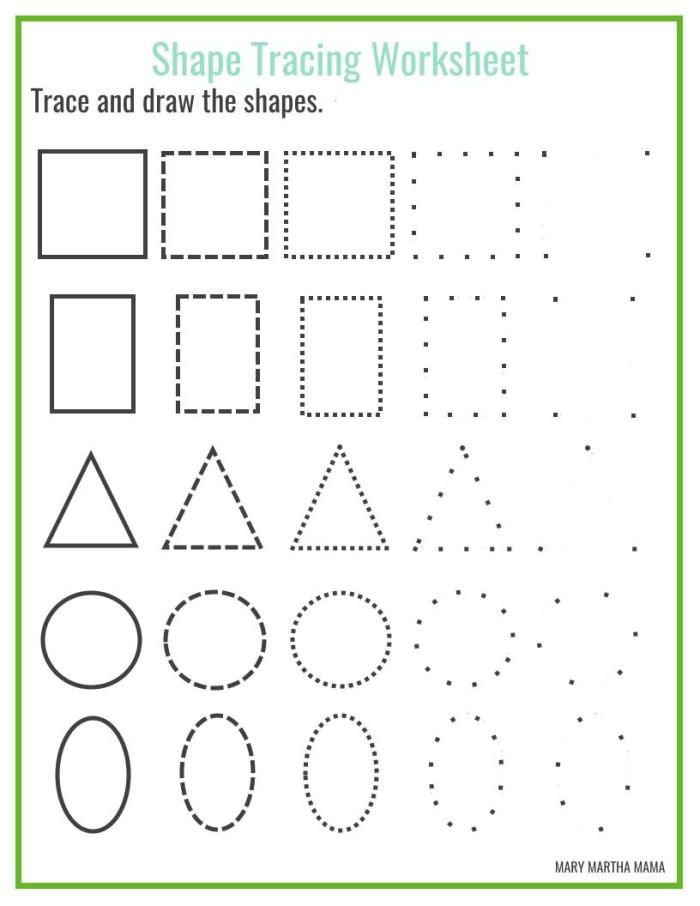
The basic principle of assortment formation is a capsule. This method of building an assortment allows you to select separately "tops" (jackets, vests) and "bottoms" (trousers, skirts) for a non-standard figure. Thanks to such thoughtfulness of the assortment, it is easy for the buyer to navigate and select things for himself in sets according to the principle of a whole wardrobe.
All models can be easily combined with each other and allow you to experiment in creating a look.
See also: Information for parents.
View our 2022 school uniform catalog
ATTENTION! Discounts on school uniforms.
Dear parents!
Gone are the days when in the former USSR we all went to the shops in August to get the same school uniform. Now the form has become much more interesting and expressive. The range of shapes is quite large, but by the end of August, in our experience, there are often not enough models and sizes needed.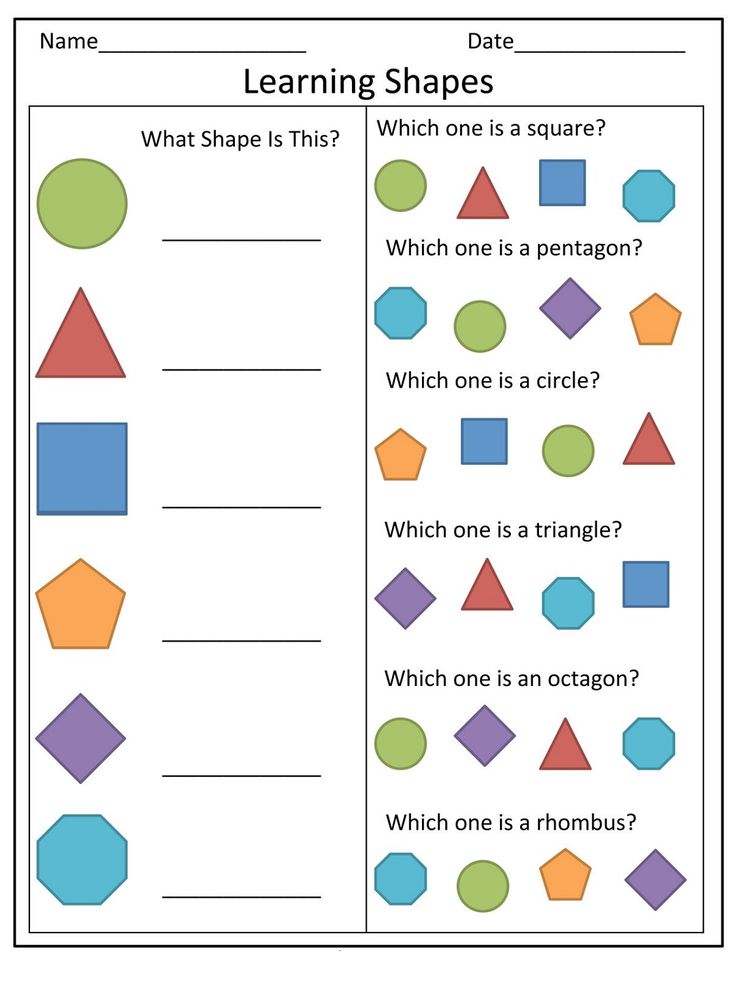
To ensure that the form you like is available, you must reserve it. This is not difficult. Usually, the parent committee of the school decides which uniform of the available collection options to dress the children in, then we make a reserve for you for the number of uniforms necessary for the school (class), since we place an order for sewing a school uniform 10 months before the start of the new school season. The earlier you make a collective application, the better, the optimal time is before June, but small applications (for a class, parallel) can be accepted in July.
Phones for the collective application: 8 (351) 244-84-12, 740-44-63, 722-18-87,
E Mail : Terminal .5 .5 .5 .5 .5 .5 .5 .5 .5. @ mail . en
Many mold models are available from stock and shops. Addresses and telephones of stores.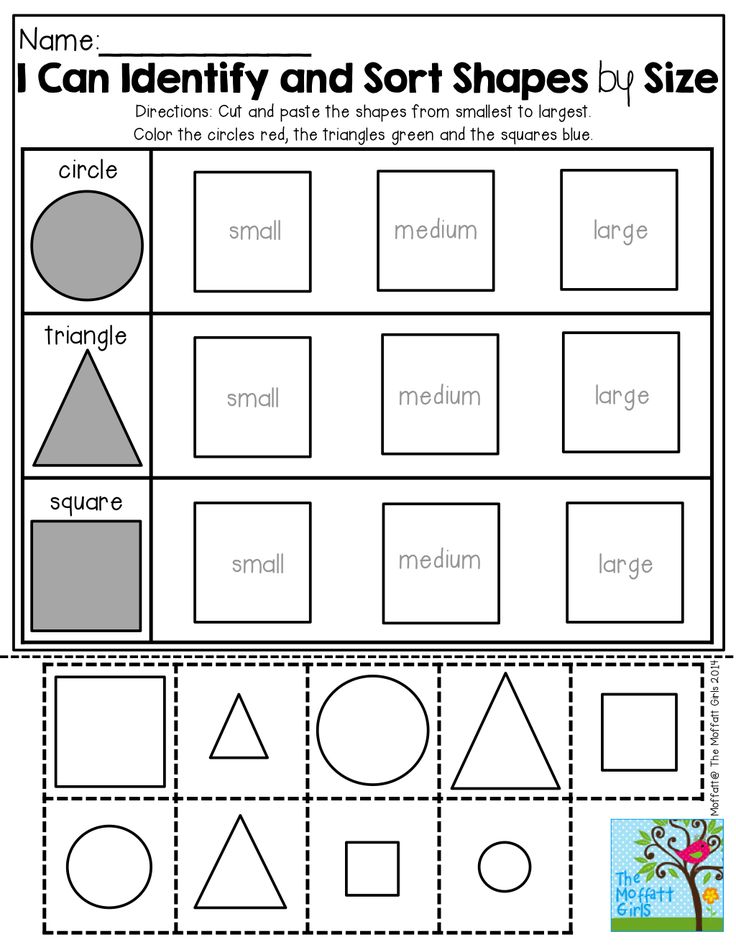
The best time to buy a school uniform is May-June, as we, and you in this case, will have the time and opportunity to express your wishes, correct the order if you need a certain type of uniform.
See also: Information for parents.
Store addresses "LIGA gentlemen" Chelyabinsk
Gagarina 23 b, Salyutnaya, 8, Kirova, 9 shortened by 30 minutes (Mon-Fri 10 am - 7-30 pm, Sat-Sun 10 am - 7 pm)
- Shopping center (Kaslinskaya, 64) , 1st floor, sector 126 central row), tel. 267-10-56, from 10:00 to 20:00
- Gagarina, 23B (Shopping and office center), t. from 10 to 19-00.
- Kirov, 9, tel. 790-75-82, on weekdays from 10 to 20-00 *, on Sat., Sun. from 10 to 19-00.
- Komsomolsky prospect, 93, tel. 215-10-55, on weekdays from 10 to 20:00*, on Sat., Sun. from 10 to 19-00.
- Komsomolsky prospect, 48, tel. 741-86-19, on weekdays from 10 to 20:00*, on Sat, Sun. from 10 to 19-00.
Learn more