Triangle shaped objects for kids
Triangle
Choose A Shape
Shapes Circle Oval Rectangle Square Star Triangle
Song Video
Fingerplays/Songs
Draw a Triangle
Draw a triangle, draw a triangle
With corners three.
Draw a triangle, draw a triangle
Draw it just for me.
Tommy Triangle
I'm Tommy Triangle.
Look at me!
Count my sides.
One, two, three.
Art
Triangle Creature
Give children a large triangle for the body. Cut rectangles and circles of different sizes for the children to use to create a triangle creature.
Forest
Cut triangles of different sizes from green construction paper. Have the children glue the green triangles on blue paper to create Christmas tree "forests. " Different shades of green make the pictures more attractive. Try brushing some glue on the construction paper and sprinkling with salt to make snow.
Tissue Triangle Art
Need: Tissue paper triangles, diluted glue, wax paper, paint brushes
Cut triangles out of different colors of tissue paper. Set out brushes and diluted glue. Give each child a piece of waxed paper. Have the children brush the glue on their papers and place the triangles on top of the glue.
Encourage them to work on small areas at a time and to overlap their triangles to create new colors. For a shiny effect, brush more glue over the children's papers when they have finished. Attach construction paper frames. Then punch a hole in one corner of each frame and hang the papers from the ceiling or in a window.
Triangle Prints
Need: triangle sponges , paints, newsprint.
Cut sponges into triangle shapes (can have various size triangles). Have each child select a triangle sponge and dip the sponge into a pan of purple paint. Then child presses the sponge onto newsprint to make a triangle print. Encourage children to make a sheet full of triangle patterns.
Recommended Books
The Greedy Triangle (Scholastic Bookshelf)
by Marilyn Burns
Triangle (Shape Trilogy)
by Mac Barnett
Choose A Shape
Shapes Circle Oval Rectangle Square Star Triangle
Share
Share
Follow Us
Share
8 Fun Triangle Shape Activities For Preschoolers
Who doesn’t adore indulging in games and activities? These are apparently the pre-eminent pedagogies for little ones. While gamification and indulging in activities can be the modus operandi for basics like phonics and alphabets, instructors can also employ these to preach other notions like shapes and colors too. One such shape which must be taught to a student during early years is the triangle shape. But would the conventional methods be adequate in aiding the little learner comprehend the triangle shape fully?
For this purpose, educators can use activities to create an appealing bond between students and the triangle shape. In this post, we will look at 8 such activities that would be advantageous for a preschooler learning to identify and draw a triangle.
Learning based activities to teach triangles to preshcoolers1. Using Triangle Shaped StampsEducators can make triangles out of cardboard, thermocols, etc. Little learners can use these pieces as stamps in a very simple manner for some extra fun educational playtime. Apart from this, you can also use triangle-shaped erasers, sponges, and even utensil boxes as stamps.
All you have to do is take the stamps and dip them in the colours of your toddler‘s choice.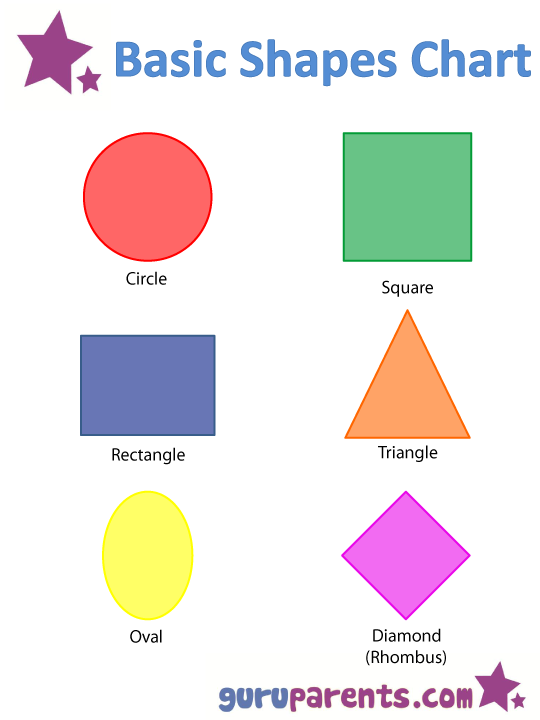 You can paste them in any pattern on a plain sheet of paper. Better yet, get your toddler to do all the work by themselves. This can be a great learning experience that does not get that messy either.
While drawing can be an everyday activity for a pre-schooler, it is also essential as it is a big step for a child to use crayons or pencils to form a shape. By helping them create an outline, the kids can trace over the outline and draw a perfect triangle! Other than this, educators or parents can also place three dots in the form of a triangle. Later, the child can connect these dots, which will challenge them to use their spatial perception, and they will have to figure out how to get from one point to another. Start with small to medium-sized triangles and increase the size.
3. Gum it Up!Take out a large construction paper and draw some triangles of different sizes, but just the outline. Now cut out triangular shapes of the same size from another thick paper or cardboard that you have drawn on the paper.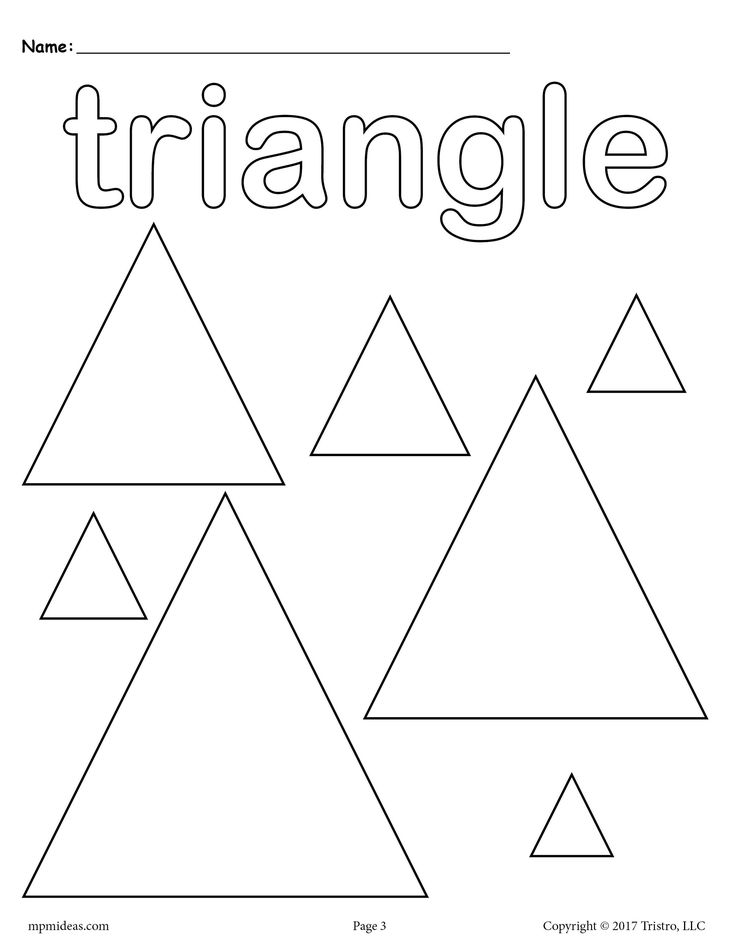 Get the child to paste the correct sizes in the correct positions. Educators and parents can also use post-its for this activity. This will teach them how to fit things within the lines. Try to face the triangles in different directions and get them to paste it correctly. This will prove to be quite a challenging and fun exercise for your preschool child.
This is a fun activity that will teach them the importance of differences in size. What you can do to make this a better experience is to get them to colour each triangle based on the size. Draw outlines of 5-6 triangles. Make sure that at least two of them are of the same size. Now instruct the child to colour the biggest triangle using one colour and the smallest using another. Also, ask them to colour similarly sized triangles using the same colours.
5. Play-Doh, Say no more!While this game might be a little messier; however, the fun that comes along with this one would make you not regret the plight.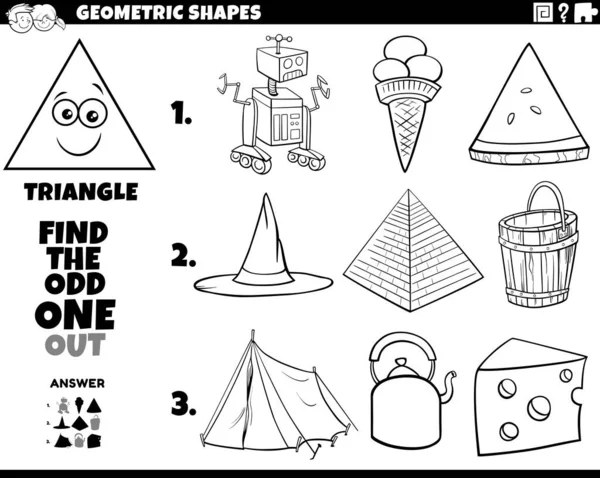 Get at least 3 to 4 differently coloured Play-Dohs to help you with this activity. You might want to get a pair of gloves as well and start working on the clay to get those triangular shapes going. Prepare an outline on a sheet over which you can get the child to place the triangles that they create. Again, mix and match the colours and have as much fun as you can.
To make things even more entertaining, kids can make triangles of different sizes and colours, and later, educators and parents can jumble them up and ask the little learners to arrange them according to their colour or size. This would help them establish differentiation skills and teach them much more about colours, sizes and triangles altogether.
6. Figures with TrianglesLearning the triangle shape is just not about drawing it. It is also crucial that kids understand and are able to identify a triangle-shaped object once they see it. Educators and parents can carry out this activity to give the student an old book or a newspaper and find all the triangle-shaped images they see like advertisements of pizzas, cheese, sandwiches, roadsigns, house roofs, etc.
You can also ask the child to identify at least 5 such triangle-shaped images and then circle them with different colors. This would not only help them understand the shape better but also comprehend its practical usage. Moreover, they would build a skill to identify the shape easily.
7. What Objects Are Triangle Shaped?Much like the activity ‘figures with triangles,’ this one is different as in this activity, kids need to draw out objects which are triangles in shape. For example- a pizza slice, the top of a hut, a mountain, etc. To make it more exciting, you can ask the children to make certain figures out of triangle cutouts. For example, making a man out of triangles– the kids can use triangles to make a face and the body. This activity is unique and would keep the little learners entertained. Moreover, since the activity triggers creativity, this would also help them build creativity, along with critical thinking skills.
8. Make Triangle Shaped SnacksWhile we wouldn’t recommend putting out Doritos and hoping that your toddler recognizes that to be a triangle, it is not a bad idea to involve tasty treats as part of the learning exercise. Many things can be shaped to be a triangle. You can slice apples, carrots, potatoes, nuggets, and many other snacks in the form of triangles of different sizes.
To make it further interesting, you can cut out various other shapes such as circles, squares, and rectangles, out of food items such as bananas (for circles), cakes (for rectangles and squares), etc. Now, you can encourage the little one to identify which snack is shaped like a triangle amongst the other-shaped snacks.
Why learning based activities matter in preschool education ?1. Create a long-lasting impressionWhen you think back and ponder upon your own learning experiences, you will note that when you are actively involved in the learning process, you absorb information that stays with you for a long time. Children are in a similar position when they are introduced to fun activities as opposed to classroom learning. Shapes are fundamental things that must be learned about at a young age. It is quite difficult to make anything fun for a toddler and grasp their attention for long enough. This is why such activities become important.
During preschool, kids are at such an age where they can be moulded easily. This means that they are quick to absorb things and develop their perception about what they learn. It is important to introduce engaging activities to keep their minds occupied and active. They will learn to use their senses better and understand the world around them. You can also incorporate knowledge of other things such as safety, using different objects, cleaning up messes, etc.
3. Establish a positive student-teacher relationshipIt is proven that high-quality teacher-student relationships facilitate learning and improve engagement in any game or activity that the preschooler participates in. When preschoolers have an established and positive relationship with their teachers, it fulfils their developmental need for a connection, thus, enhancing learning[1].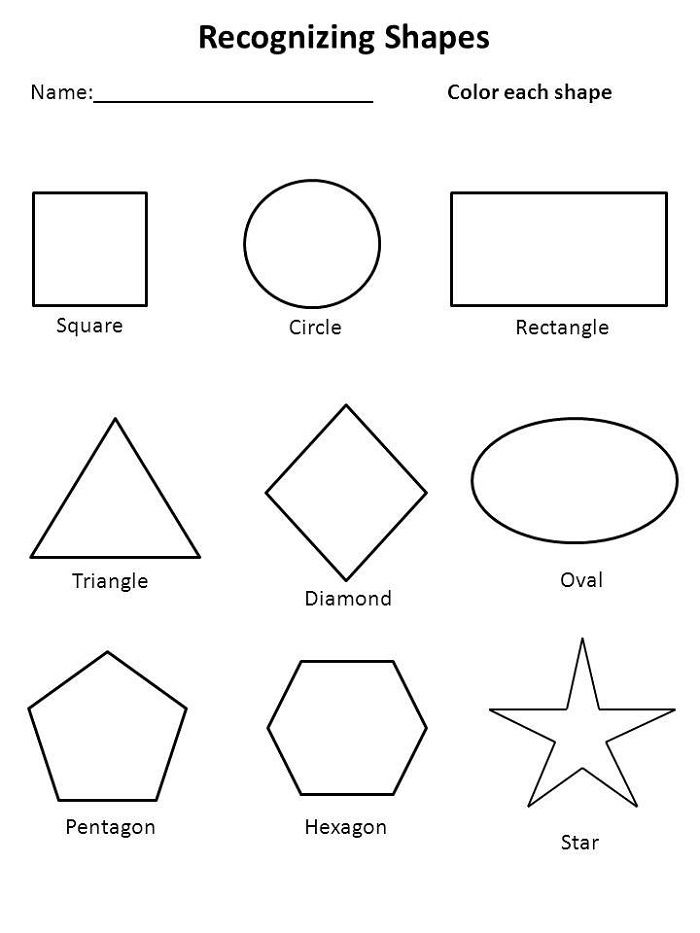
With facilitated learning, the preschooler may feel more enthusiastic and engaged in what the teacher encourages them to do, i.e., activities and games in this reference. An enthusiastic preschooler (or a student of any age) should be better at grasping concepts and the aim of the activity because of the increased willingness to participate.
4. Reinforces Positive Learning MemoriesPlaying activities to introduce preschoolers to a concept in learning can help reinforce positive learning memories. It may be possible that while playing these activities, kids can associate them with happy memories that they create while playing these activities.
For example, when you teach a student how triangles look using a slice of pizza, it is possible that when the child sees a pizza again, they immediately trace back to the time of the activity, simultaneously associating it to happy memories they created while playing the activity.
ConclusionGetting your toddler to recognise a triangle as a triangle is in itself a big deal.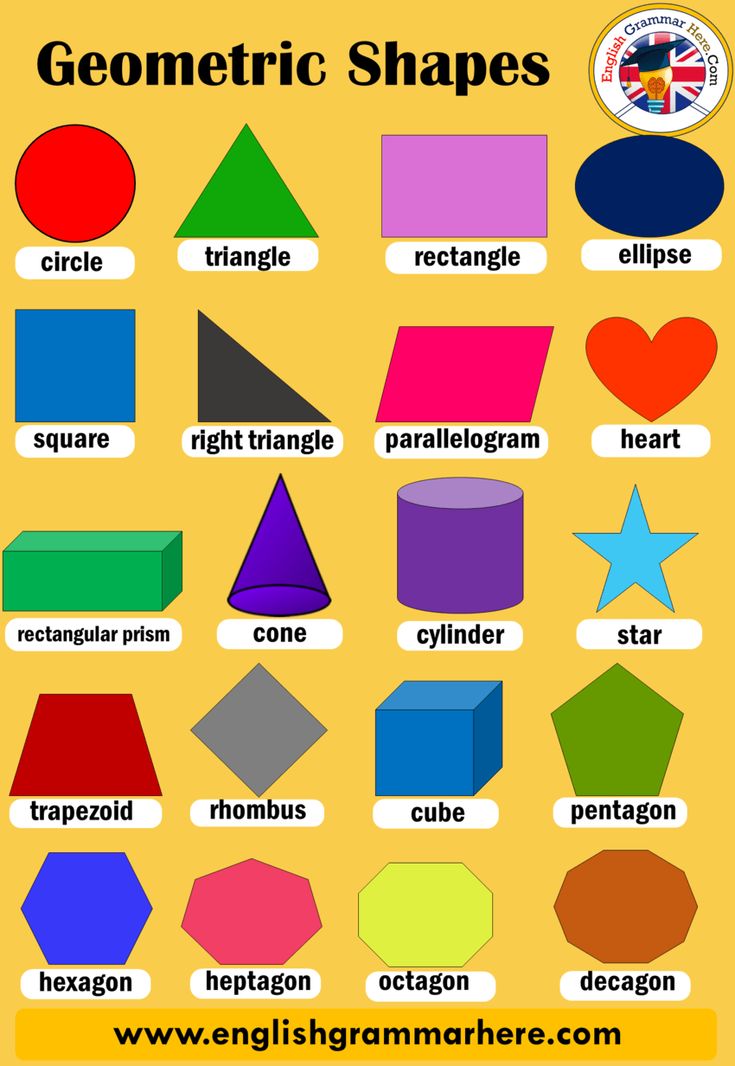 Try to make this a fun and very stress-free experience for the preschooler who is just learning to learn. You can use these activities as an excellent way to connect with the child as a person and understand how they perceive the world.
Positive reinforcement goes a long way at this age. Appreciate everything that they do and make sure that you show them that their work is important. You can stick the crafts onto the refrigerator or take pictures for memories.
References:
- Rimm-Kaufman, S. (2010, April 19). Improving students’ relationships with teachers. American Psychological Association. http://www.apa.org/education-career/k12/relationships2.
Card file of didactic games aimed at developing the perception of the shape of objects and geometric shapes in children of the second younger group. | Card file in mathematics (younger group) on the topic:
Card file of didactic games aimed at developing the perception of the shape of objects and geometric shapes in children of the second younger group.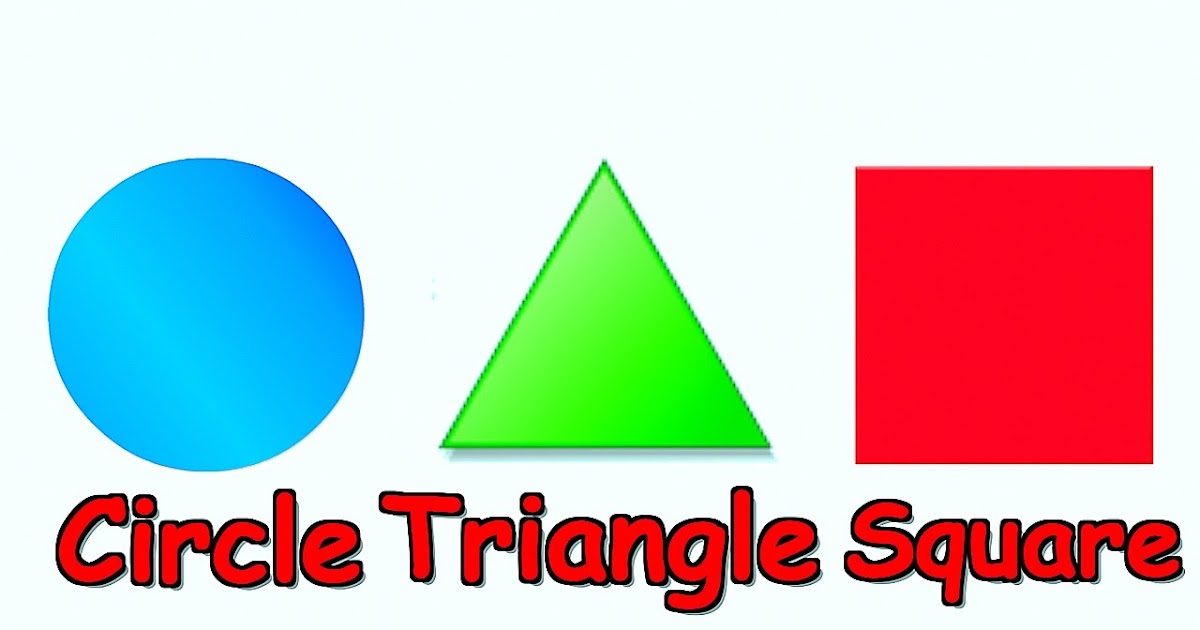
Name the geometric figure.
Purpose: to teach children to visually examine, recognize and correctly name planar geometric shapes (circle, square, triangle, rectangle, oval).
Material. 14 tables with geometric figures (circle, square, triangle, rectangle, oval), on each table contour images of two or three figures in different positions and combinations. The tables are enclosed in envelopes.
Stroke.
The teacher takes out tables from the envelopes and invites the children to consider geometric shapes, circle the contours of the figures with a movement of the hand, name them, ask the children to repeat the name. In one lesson, no more than three tables (5-6) of figures are used. For children who find it difficult to trace the contours on their own, the teacher helps - with the child's hand to do the necessary actions in the air.
Domino figures.
Purpose. To teach children to find among many one specific figure, naming it. The game reinforces knowledge about geometric shapes.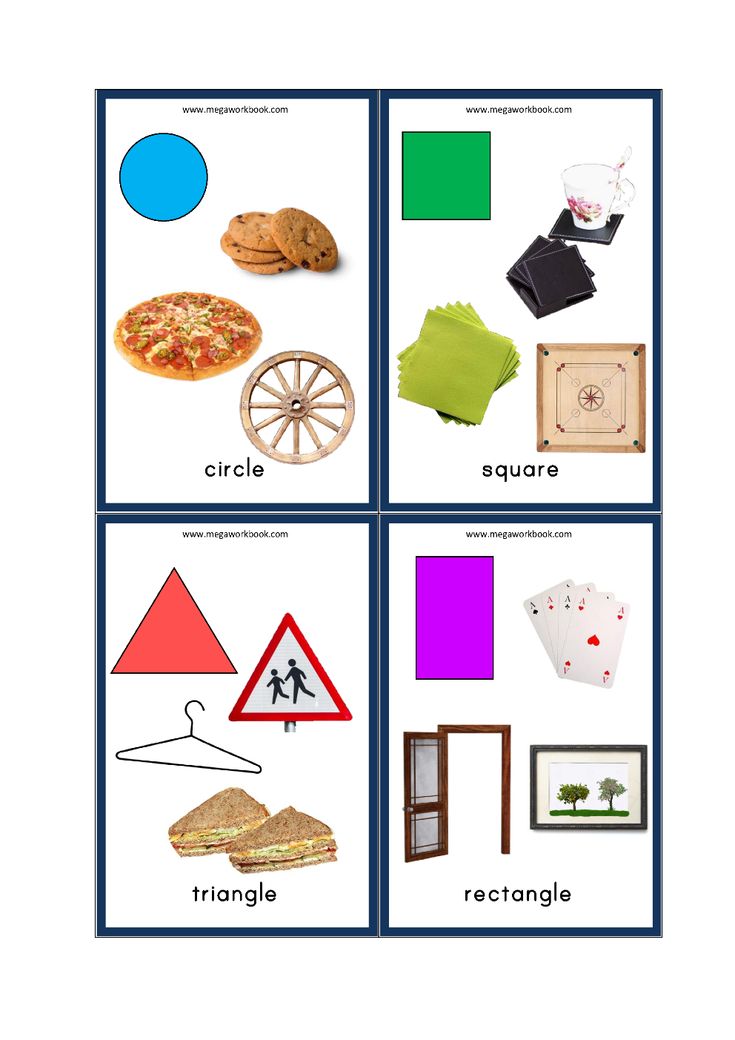 Children also get acquainted with a new polygon figure.
Material. 28 cards, each half depicts one or another geometric figure (square, circle, triangle, rectangle, oval, polygon). Two identical figures are depicted on the “double” cards, the seventh “double” consists of two empty halves.
Move.
2-4 children take part in the game. The cards are laid face down on the table. The teacher introduces the children to the material of the game, explains the rules of the game. The game begins with laying out the “double-empty” card. As in an ordinary domino, in one move the child picks up and applies one necessary card to any end of the "track" and names the figure. If the player does not have the required figure on the card, he looks for a card with this figure from the total number of cards on the chair (provided that there are two or three players). If the child does not name the figure, then he does not have the right to the next move. The one who gets rid of the cards first wins. During the game, the teacher gives additional instructions, explanations.
Find an object of the same shape.
Purpose. To teach children to highlight the form in specific objects of the environment, using geometric patterns. For the first time, children learn to match the shape of objects with geometric shapes.
Material. Geometric shapes (circle, square, oval, triangle, rectangle), round objects (balls, balls, buttons), square (building material, scarf, lotto cards), triangular (building material, flag, carrot), oval (egg, cucumber, whale toy)
Stroke.
Geometrical figures lie on the table, objects on the other. The teacher asks to come to the table (the children stand around the table), draws attention to the various objects lying on the table, and explains the task. First, she shows the figures and invites one child to name her shape, then find an object of the same shape on another table, put it to the corresponding figure, all the children clap their hands.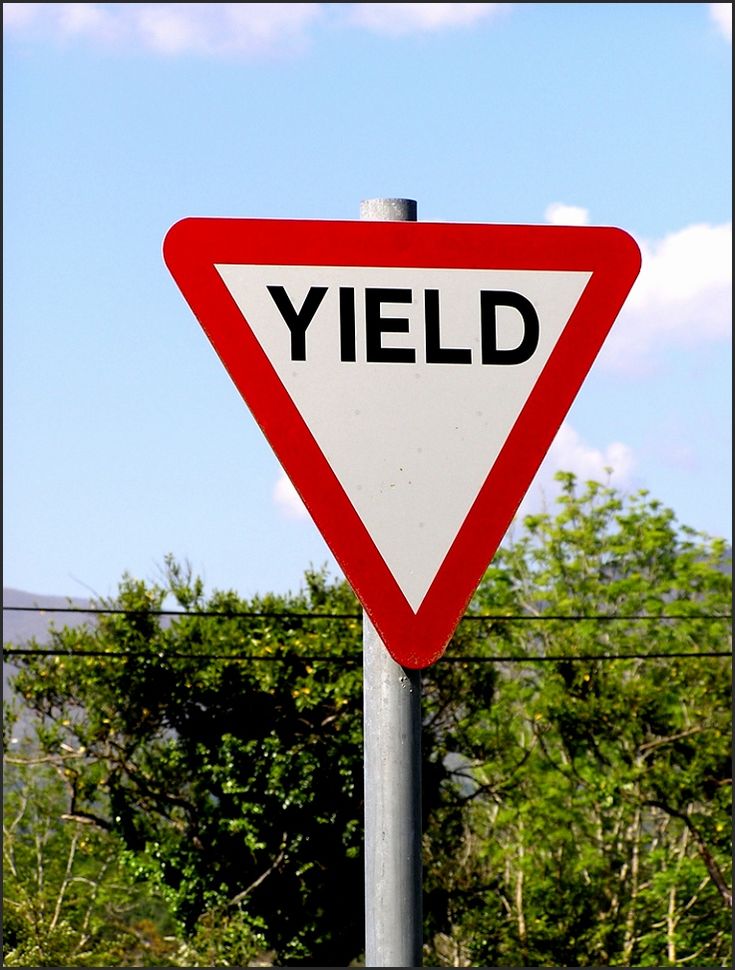 In one lesson, you can choose no more than three forms for each child. If he is mistaken, then the teacher invites the child to circle the figure and the object. This technique helps the child to complete the task correctly.
What is in the bag?
Purpose. Consolidate children's knowledge of form, exercise in the correct correlation of several objects with the same geometric pattern.
Material. A set of geometric shapes (square, circle, triangle, oval), a bag with objects of various shapes: berries, fruits, vegetables (round and oval), buttons (square and triangular), wooden balls, eggs, kegs, balls, acorns, cones; small flags (square and triangular)
Stroke.
Geometric figures are laid out on the edge of the table. Children sit in a semicircle. The bag is with the teacher. Children take turns taking out objects from the bag, name them, determine the shape. In case of difficulty, the teacher helps to correlate the object with a geometric figure: "This is an egg, it is oval in shape. " Lays an egg next to a geometric oval. Gradually, the children arrange all the items on the table next to a certain figure. When you play the game again, you can change the set of items in the bag, increase or decrease the number of these items.
Geometric lotto.
Purpose. To teach children to compare the shape of the depicted object with a geometric figure and select objects according to a geometric pattern.
Material. 5 cards depicting geometric shapes (circle, square, triangle, rectangle, oval), 5 cards depicting objects of various shapes: round (ball, apple, soccer ball, ball, balloon), square (rug, scarf, window frame, cube, flag), oval (melon, plum, leaf, beetle, egg), rectangular (briefcase, envelope, book, domino, picture).
Stroke.
The teacher examines the material together with the children. Children name shapes and objects. Then, at the direction of the teacher, they select cards with the image of objects of the desired shape for their geometric patterns. The teacher helps children correctly name the shape of objects (round, oval, square, rectangular, and triangular). 5 children take part in the game. The one who quickly picks up all the cards to the geometric pattern wins, then the children change patterns with each other.
"Find what I'll show you."
Purpose. To teach children to find an object of a certain shape using geometric patterns.
Material. A set of planar geometric figures (square, circle, rectangle, triangle, oval) and two sets of objects of various shapes.
Stroke.
The teacher shows the children geometric patterns-samples, offers to show the outlines of these figures with a movement of the hand and name them. Then the children examine objects of various shapes: a box, a ball, a round ring; flag, cube, pyramid - triangular; a book, a mirror, a tray - rectangular in shape, etc. after that, the teacher leads the children to another room and examines the objects in it, explains that among them there are objects of the same shapes that they just saw. Then he explains to the children how they will play: “You need to correctly select the geometric shape of the corresponding shape for the object, for example, you need to pick up a circle for a round box, with this figure in another room find the same round object, i.e. the same box. When the game is repeated, the teacher complicates the task: the child in another room finds, using the figure as a model, another object of the same shape. For example, he picks up a round ring to the circle and notes: “The box and the ring are objects of a round shape.”
The children take turns doing the task.
"What are the shapes?"
Purpose. Introduce children to two shapes: a circle and a square. Learn to examine geometric shapes (trace the contours with your finger, naming them)
Material. Doll. Demonstration: large cardboard circles and squares. Handout: circles and squares made of cardboard of different colors - three figures of each shape for each child (in envelopes)
Move.
Educator:
“Tanya's doll came to visit us. She brought something. Let's see what's not in the basket. (An adult takes out a bag from the basket, and takes out red and blue circles and squares from the bag). It turns out she brought us different figures. This, children, is a circle. I'll circle it with my finger, like this. And now Lena will come up to me and show the doll Tanya how to trace a circle with her finger. That's right, Lena, sit down. Let's all draw a circle in the air with our fingers." Everyone makes the right move. If necessary, the teacher calls a child who has not completed the task, helps the child. “What is the name of this figure? That's right, it's a circle. And this is a square. I will also circle it with my finger, only now my finger moves like this: straight, then the corner-finger turned down, turned again, and again the corner-finger went up. Now all together we will show a square with a finger in the air. Next, the teacher alternately shows cardboard figures (circles and squares) and asks individual children for their names.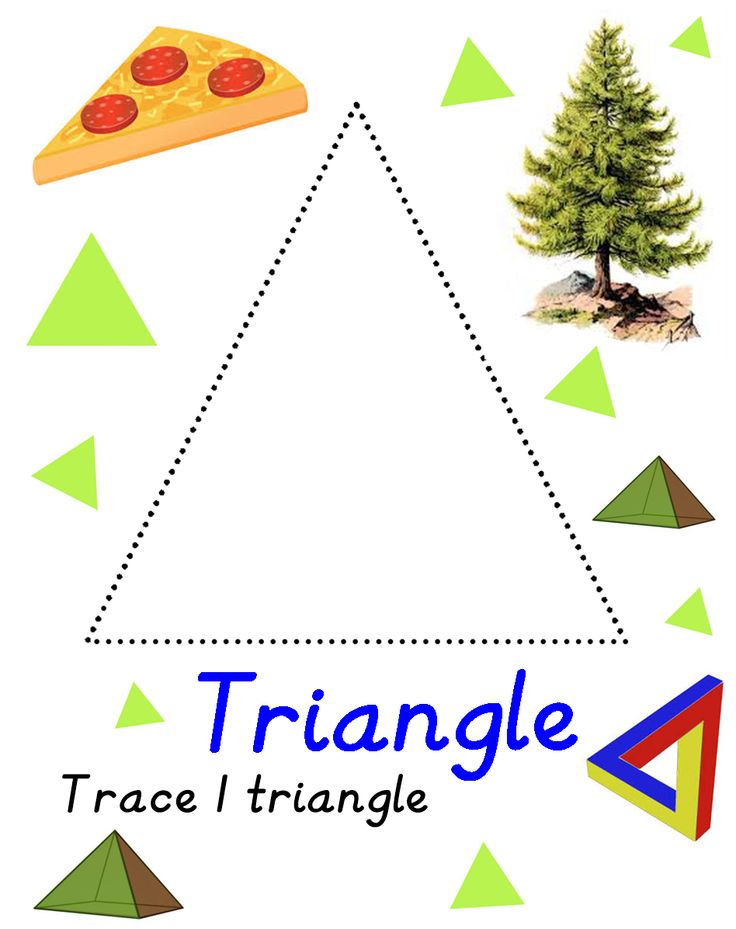
"Now take the figurines out of your envelopes and divide them into two groups: one with squares, the other with circles." If someone makes a mistake, the teacher offers to circle the figure with a finger along the contour.
Doll Tanya praises the children for a correctly completed task.
"Choose a figure."
Purpose. To consolidate children's ideas about geometric shapes, exercise in their name. Learn how to pick shapes. To consolidate the skill of examining geometric shapes by tracing and overlaying.
Material. Demonstration: circle, square, triangle, oval, rectangle (cut out of cardboard).
Handout: card with contours of five geometric shapes, one figure of each shape of the same size as the contour images on the cards.
Stroke.
The teacher shows a circle and, tracing it with his finger, asks: “What is the name of this figure, what is its shape?” Shows an oval, also circles it with a finger: “And what shape is this?”. He does the same with other shapes in the following sequence: triangle, square, rectangle.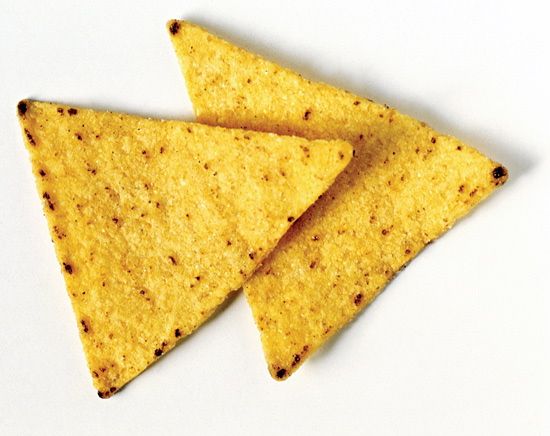 Outlining the figures, you should fix your attention on the corners. The teacher corrects the inaccurate and erroneous answers of the children.
“You have cards on your tables with figures of various shapes, and the same figures on trays. Lay out all the figures on the cards so that they match the ones drawn. The teacher asks the children to trace each figure lying on the tray with their finger, then put it on the inscribed figure and, only if it matches completely, put it down.
At the end of the lesson, the teacher sums up: “Today we have learned to select figures according to the shape - a circle, a square, an oval, a triangle, a rectangle.”
“Fit to shape”
Purpose. To teach children to highlight the shape of an object, distracting from its other features: colors, sizes.
Material. Demonstration: one large figure from five geometric shapes. Handout: a card with contours of geometric shapes - two figures of each shape of two sizes of different colors (a large figure is the same size as the contour image on the card).
Stroke.
Children are given figures and cards on trays. Educator: “Children, we will now play the game “Pick up the shape”. To do this, we need to remember the names of different forms. What shape is this figure? (Shows a circle, calls individual children to answer.) Then this question is repeated with showing other shapes in the following order: oval, triangle, square, rectangle.
“Now we will lay out the shapes according to the shape, you don't need to pay attention to the color. Put the cards in front of you and arrange the large figures in shape first, and then smaller ones on top of them. For children who have incorrectly laid out the figures, the teacher offers to trace the finger, find and correct the mistake.
"Know the shape of the object."
Purpose. Development in children of knowledge of geometric shapes and their purpose. Education of attention, concentration.
Rules of the game; Look at your map and name what is drawn on it.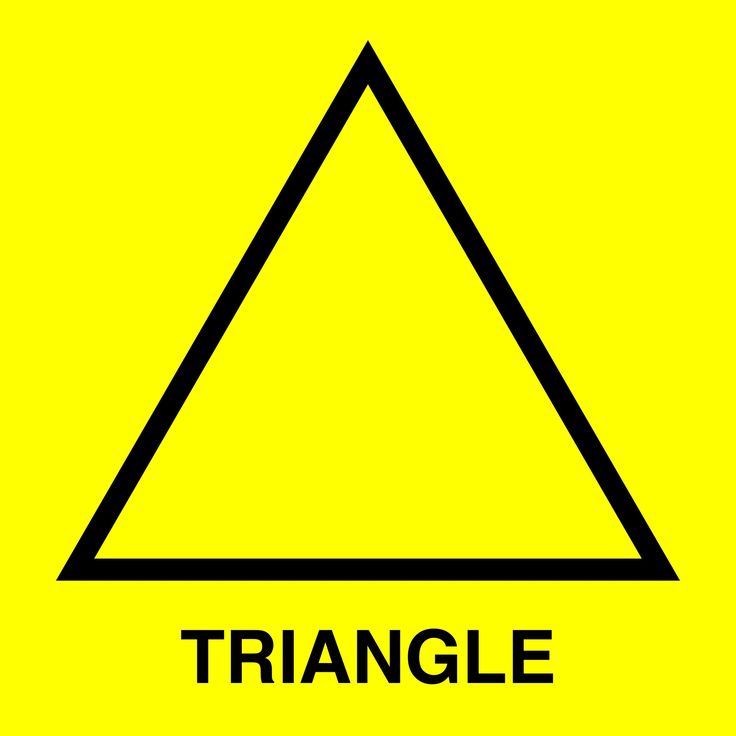 If children can count, count how many shapes are on the map (two or three)
Stroke. Children are given large cards with geometric shapes drawn on them (circle, square, triangle).
The teacher has small cards with the repetition of the same shapes as in large cards (geometric shapes can be repeated on both large and small cards). The teacher shows a small card and asks who has a triangle on the card. The child replies: "I have a triangle on the cut."
The game ends when one of the players in his card has all the cells covered.
Complication: geometric shapes can be painted in different colors. Then the children will have to name: "I have a red circle."
Teaching drawing in the middle group
Main page => library => table of contents
By the age of four, a child goes a long way in development, all mental processes are improved in him. A more stable character acquires attention, clarifies, differentiates visual, auditory, tactile perception. Children learn to distinguish between rather complex shapes of objects, more diverse colors. Their aesthetic feelings and attitudes develop. The ability of children to respond to the beauty of the world around them, to the content of songs, fairy tales, poems, and illustrations increases. They try to convey the expressive features of images in drawing, modeling, and appliqué. These qualities and abilities must be developed in the middle group and, on this basis, the tasks of visual activity must be complicated.
For a more expressive transmission in drawings, modeling, appliqué of objects and phenomena of the surrounding world, it is necessary to consolidate and improve the ability to depict objects of various shapes (mastered in the previous group), both single-part and consisting of several parts, to learn to convey the location of parts, the color of objects, some characteristic details. Further training goes in the direction of distinguishing between a circle and an oval, a square and rectangles of different proportions: long and short, narrow and wide.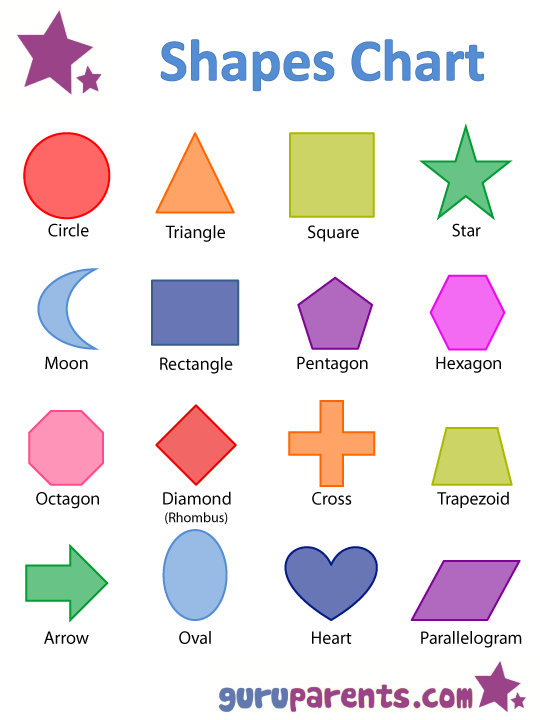 In the drawing, applications, children master the triangular shape of objects.
It is necessary to teach children to convey the difference in objects in size and position - vertical and horizontal, to draw straight lines and arcs in different directions. This requires differentiation of shaping movements, their clarification: not just a rounded shape is drawn, but an object of a round or oval shape.
For example, children are given the task of drawing or modeling balls and testicles. They do not immediately succeed: they depict round objects as elongated, and oval ones as round.
It is especially difficult to convey the exact form in a drawing, where nothing can be altered, corrected, as is possible in modeling and appliqué (peel off the failed part, cut it out again). Therefore, it is better to first offer objects for drawing that differ sharply in shape so that children realize the difference
shaping movement (for example, apples and cucumbers). The teacher’s explanation, which first accompanies the process of examining an object (cucumber), and then its image, will help to assimilate a new movement for children when drawing an oval. Wrapping your finger around the contour of the cucumber, you should say: “Round, long, rounded again and again the long side.” The same words should accompany the image reception display.
With this sequence of learning, movements will be practiced consciously. It is advisable that in one lesson the children perform several images of an object of a new form for them (this is especially necessary in drawing, where the shaping movement is mastered with more difficulty than in modeling).
Children will rather understand the features of a new form for them and its difference from the previously learned one, if they first show and then offer to depict an oval-shaped object in comparison with any round-shaped object.
Let's take modeling as an example.
The teacher shows a cucumber, a beet and says to the children: “Today we will sculpt these vegetables. Who's to say what kind of vegetables they are? Children answer: "Beets and cucumbers."
The teacher continues: "Look how they differ from each other.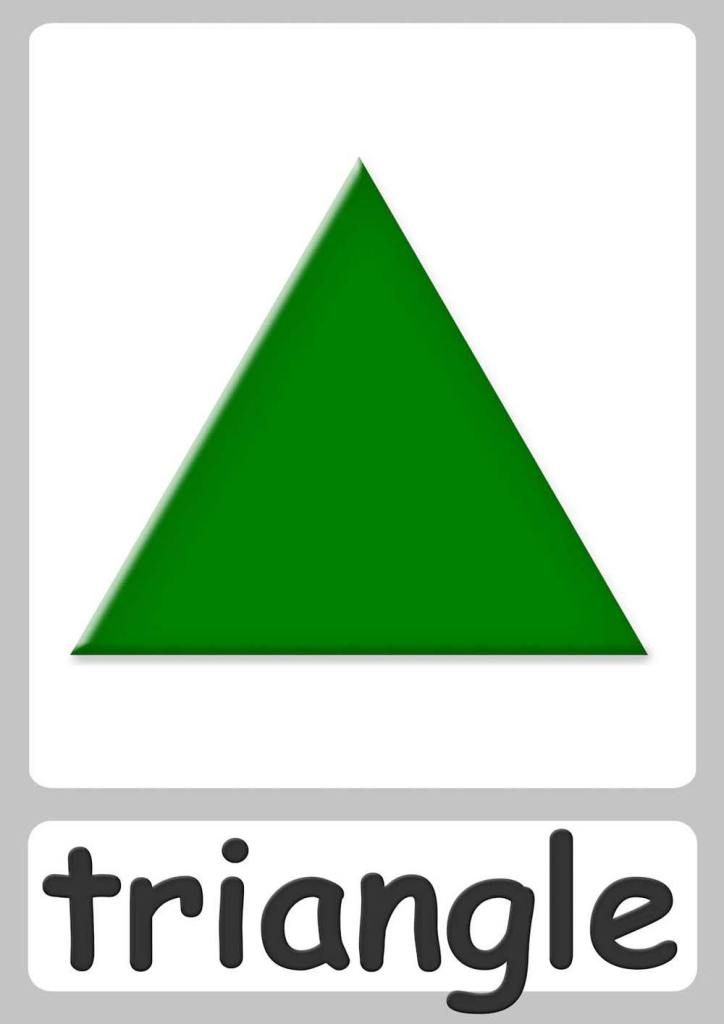 "
"
Children: “The beets are round, and the cucumber is oblong. The beet has a tail, but the cucumber does not.
After making sure that the children caught and noted the difference in objects in form (the form of one of them is familiar to them), the teacher turns his attention to the cucumber - an object of a new form for children. “And how can you say about a cucumber, what shape is it?”
Lena: "Long." “And round,” adds Oleg.
The teacher specifies: “Yes, long and rounded on both sides. This shape is called oval, ”and invites all the children to circle the cucumber with their finger in the air. All children reproduce an oval shape in the air.
Next, the teacher says: "Think about how to sculpt beets and cucumbers."
Katya: "Roll the beets like a ball."
The teacher offers to show the movement of the palms in the air. Then she herself shows how to pull the tail.
"How to sculpt a cucumber?" the teacher asks.
Tanya: "First I'll roll a ball, and then I'll roll it like a sausage.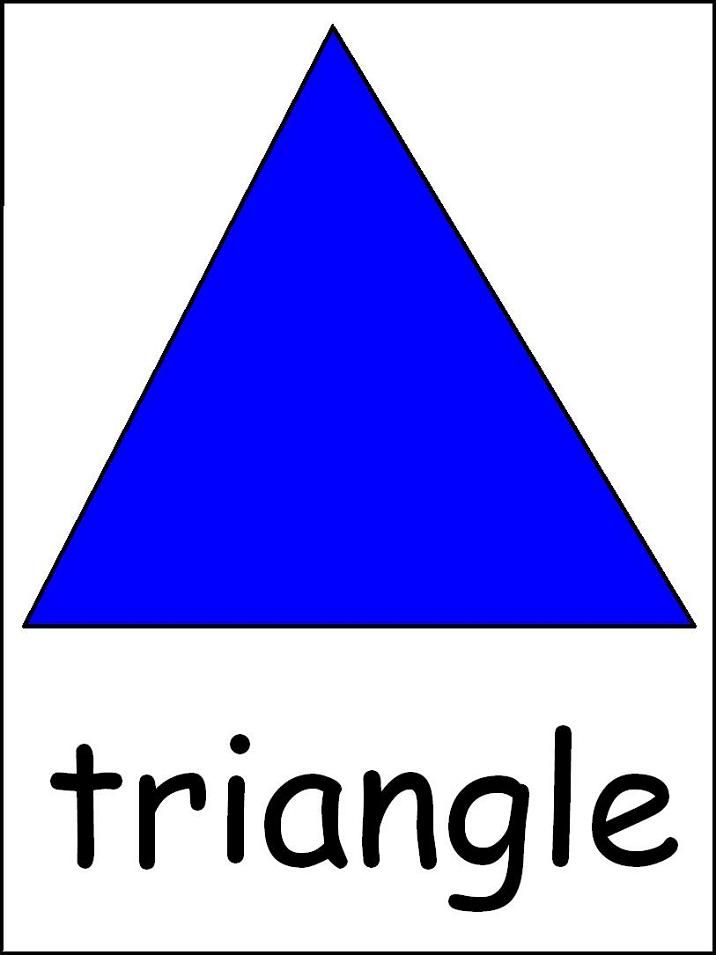 "
"
Despite the fact that children are sculpting an oval-shaped object for the first time, they, using past experience, find the necessary techniques. Showing to all children is not required, it is needed only for those who do not have enough free hand movements, cannot draw on their past experience.
In conclusion, the teacher once again repeats the name of the cucumber shape - oval.
At the drawing lesson, the children were asked to draw round and elongated inflatable balloons.
Showing these balls at the beginning of the lesson, the teacher draws attention to the fact that they are different in color and shape, she offers to show a round ball in the air with her hand, then an elongated (oval), asks what this shape is called. Children answer: “Like a cucumber”, “Like a stick”.
The teacher reminds: “Oval. Rounded on both sides and slightly elongated—this shape is called oval.” The teacher invites Anya to repeat; what is the name of this form. Then he calls Katya to the board to show her how to draw an airy “sausage”.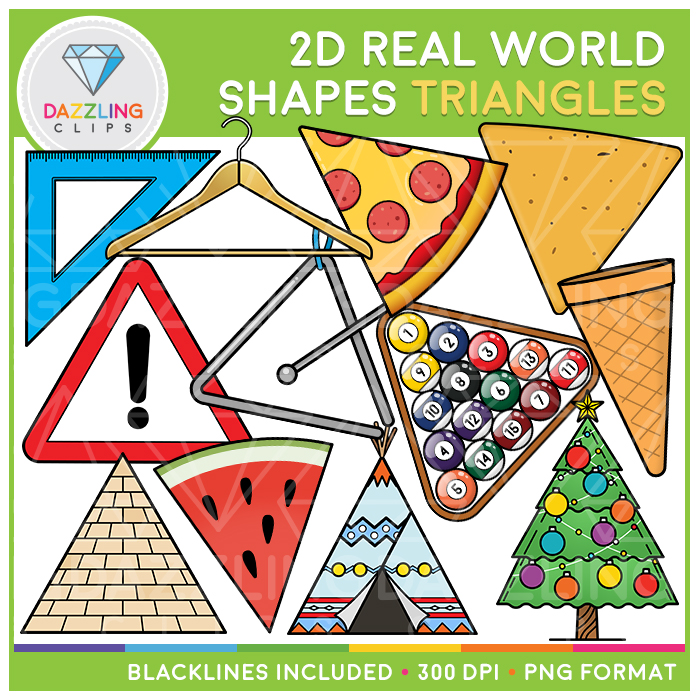
At the end of the lesson, the children look at the drawings. The teacher clarifies the name of the shape of the balloons by asking the children.
When asked how a round balloon differs from an oval one, the children answer: “The oval one is rounded on both sides, and it is long.”
Then the teacher asks the children to name round objects. Children call: "Apples, cherries, cherries, watermelons, grapes, plums, tangerines, lemons." Obviously, some children do not yet have sufficiently clear ideas, and they name not only round, but also oval objects that are close in shape to round.
When the teacher asks to name oval-shaped objects, the children are silent at first, then they list: “Cucumber, sausage, fish”.
The answers indicate that the experience of children is limited, they know little about oval-shaped objects, they have not yet learned to distinguish them in the surrounding things. Subsequent work in this direction, expanding the range of objects that they will depict, will help children more accurately determine the shape, differentiate objects according to this feature.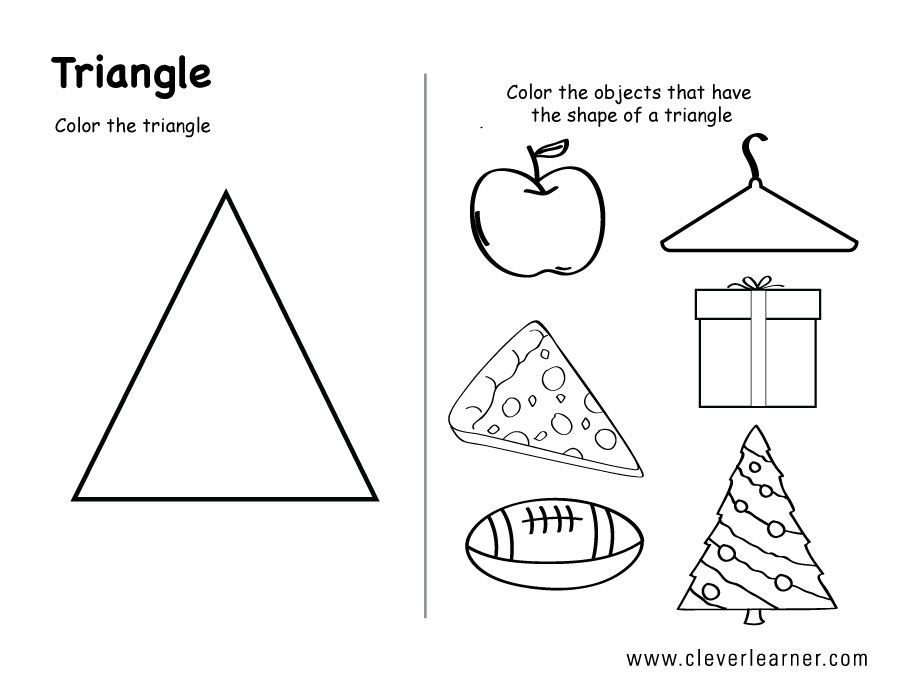
When the children got the idea that, along with round objects, there are oval ones, they found out how they differ and how they should be depicted, you can choose oval objects for transfer in drawing, modeling, and then in appliqué without comparing them with round ones.
In the next lesson, it is recommended to invite children to draw testicles - simple and golden, drawing on the images of the fairy tale "Rocked Hen". At the same time, let the children first draw a lot of simple testicles, and then the best one, which turned out to be more accurate in shape (oval), paint the most beautiful with yellow paint - make it gold.
This is how children are led to evaluate the result of their work, they learn to see the beauty of the depicted object in a successfully conveyed form.
Gradually, from lesson to lesson, the shaping movements aimed at the transfer of objects of round and oval shape are being improved more and more, becoming freer and more confident, becoming more accurate. This allows children to depict various objects of a given shape (and parts of them) in different spatial positions.
Along with learning to depict objects of a more complex shape, technical skills and abilities are being improved, which contribute to a more free solution of visual problems in various types of activities.
Training continues on the correct use of a pencil and a brush, the skill is being formed to hold tools differently: broad lines are drawn with paint with the brush tilted relative to the paper, relying on the entire pile; drawing points and small details can be done with the end of the brush, while the brush is held with the stick up, touching the paper only with the tip of the pile.
The position of the pencil in the hand also does not remain unchanged: when drawing vertical lines, the hand with the pencil should move at the side of the line, and when drawing horizontal lines, at the bottom of the lines, in order to provide visual control over the movement along the entire length of the line. When drawing these lines with paint, the way the hand moves will be different, since the bristle of the brush is soft, and you have to move the brush along the bristle, raising the brush stick and holding it over the drawing, otherwise the lines will turn out to be uneven, shaggy.
These skills are included in the ability to draw straight lines and various rectilinear shapes. Their consolidation should continue in the senior group.
The introduction to the middle group of teaching decorative drawing helps to develop the rhythm of movement when repeating homogeneous elements of the pattern. The consolidation of these skills continues in the senior and preparatory groups of the kindergarten, both in the process of painting over, in decorative drawing, and when repeating image elements.
It is important to teach children how to paint objects, consolidating the skills acquired in the second junior group, and introducing new requirements: paint without gaps, do not go beyond the contour lines.
The ability to change the direction of movement of the hand depending on the shape of the depicted object becomes more difficult due to the task of depicting objects of a rectilinear shape (rectangular, square, triangular), as well as rounded shapes of a different nature (circle, oval). The movement of the hand when drawing an oval is different from the movement of the hand when drawing a circle in the direction: in order to draw an oval-shaped object, it is necessary to master the skill of changing the direction of movement (transition from movement along one arc to movement along another arc).
Teaching children to differentiate rectilinear shapes into square, rectangular, triangular should be carried out by comparing these shapes, so that children, comparing them, see what they have in common and what is different.
The first activity in which children will encounter all these forms may be to transfer the constructions from the desktop builder to the applications. Children receive ready-made rectangles and squares cut out of paper (children can make triangles themselves by cutting the rectangle into two squares, and then cutting the square from corner to corner, diagonally).
Self-transformation of a figure and getting from one by cutting it into a completely different one is important for the sensory, mental and aesthetic development of the child. It will allow the child in the future to quickly determine the farm of objects and their parts and more accurately convey it in the image. This moment is also important for the development of mathematical representations of children, their constructive abilities.
The lesson is structured in this way: children examine the finished building, name its parts, their location in space and in relation to each other; then the educator offers to find (among the finished ones, and cut the missing ones) parts (elements) that correspond in shape to the parts of the building, name them and lay them out on their sheet in the way they will stick them later.
Upon completion of gluing, the completed works are displayed on the board, examined, compared with the building; at the same time, the name of the shape of the parts is specified, it is emphasized that the beauty of the building is in the accuracy of the form, in the correct composition on the sheet.
Lessons on cutting out parts of a rectilinear shape, gluing a structure from them can be repeated throughout the year, but the buildings need to be taken more complex. The details that children use in this case should be the same as in previous lessons: rectangles, squares, triangles, but in large numbers and in different sizes.
In one of the classes, you can offer to cut and paste the building that everyone wants and decorate it. Children are given paper of different colors, cut into large rectangles.
Children cut out parts of the building and decorations for it themselves, then glue the parts of the appliqué on their own. If the children have mastered the cutting skills in accordance with the "Program", the works are varied and beautiful. Those children who did not have time to complete the decoration can be allowed to finish the application in their free time. Such works for some time can serve as a decoration of the group, the lobby.
These sessions should not be held one after the other, but at intervals of at least a month: a repetitive theme of the sessions can create a feeling of monotony; in addition, children need to gain some experience in carving so that the images of buildings become richer, more diverse, and more interesting.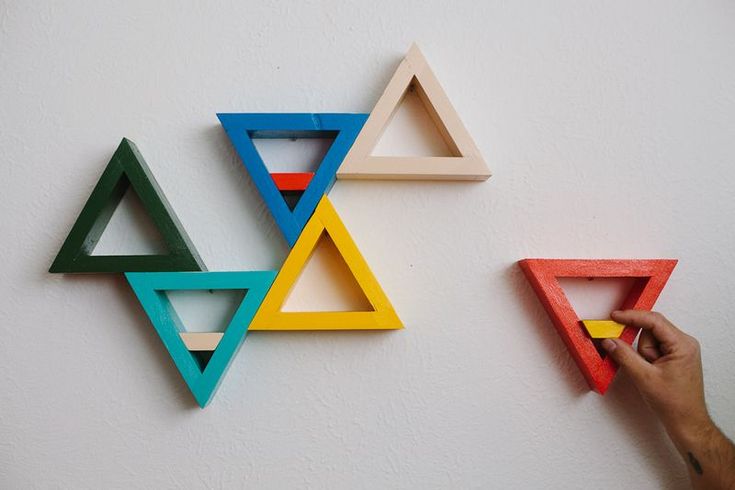
When preparing for classes, special attention should be paid to the selection of paper for parts of the building. It is necessary that the colors blend well with each other, so that the images pasted by children look beautiful, otherwise the aesthetic value of the classes will be reduced: works that are ugly in color will not evoke an emotional response from children. It is important that the classes, where the educational task takes the first place (transformation of elements, their arrangement in space), are also of an aesthetic nature and the work performed pleases the children with the clarity of forms, execution and beautiful color combination.
Mastering the transfer of a rectilinear object is better to start with the application. In modeling, as a rule, these objects are not depicted, since the constructive forms contradict the specifics of the plastic material.
At one of the first lessons, the teacher suggests the following topic: “Mom washed the clothes and hung them up to dry” (sheets, towels, handkerchiefs). Explaining the task, the teacher emphasizes that the handkerchiefs are square (all sides are the same) and you need to draw them the same, then they will turn out beautiful; the sheets are big and long and the towels are narrow and long but all rectangular.
When conducting a lesson in drawing, modeling, appliqué, and in the middle group, children should be more active, asking them questions about the shape of objects, about the way they are depicted, suggesting to show the movement of the hand necessary for the image with a pencil or brush in drawing, with both hands when modeling, etc., call the children to show the method of the image to the board.
These methodological techniques enable children to actively master form-building movements, recall and use previously learned ways of depicting, meaningfully look for new ones, and not constantly wait for demonstration and help from the educator.
When children learn to draw simple oval-shaped objects in general, they can move on to drawing and sculpting objects that have several parts, for example, consisting of oval parts and straight lines (flower), oval and round parts (fish, birds).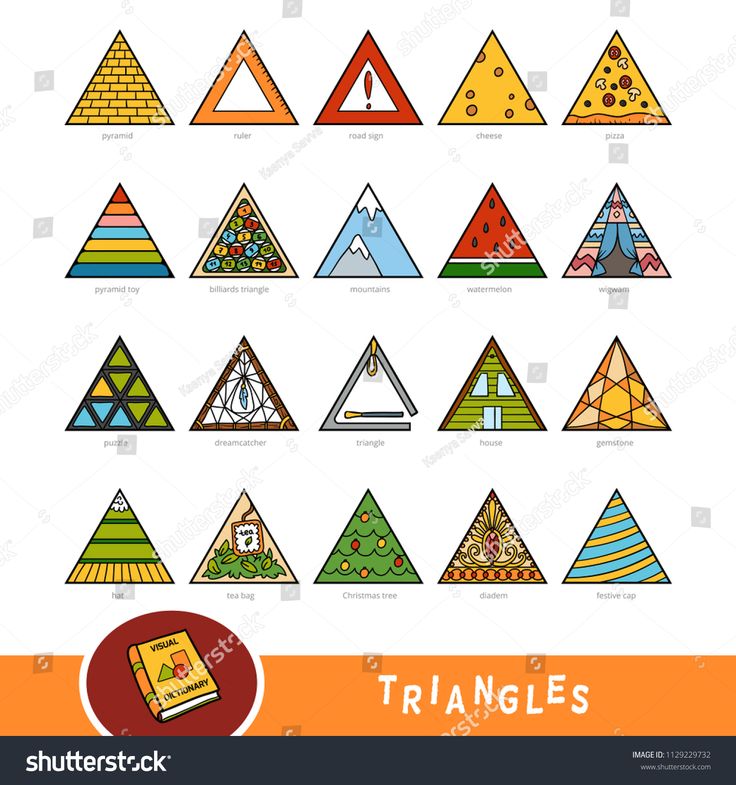
Animal drawing starts with the simple ones for the image - with fish. Before offering to draw fish, it is useful for children to master the transfer of the shape of the body, parts (fins, tail) in modeling. It is necessary to give children the opportunity to sculpt fish of different sizes and proportions: long and thick, long and thin or thick and short, etc.
Modeling contributes to a better assimilation of ideas about the shape and proportions of the animal, the development of kinesthetic sensations of shape and size. When children move on to drawing fish, they can already depict them in different ways.
To ensure the possibility of repeating the image, creating its variants, several homogeneous objects should be offered in one lesson. As a result, the drawings will become more expressive, more interesting. So, already at the first lesson, children should be advised to draw how different fish swim in the aquarium. It is relatively easy for children to convey the oval shape of the body of a fish: children have already learned how to draw it; the difficulty is that you need to draw fish swimming in different directions: children must imagine where the head will be, where the tail will be; hand movements when depicting a fish swimming vertically, horizontally, diagonally, must be changed.
The lesson begins with a conversation about what kind of fish are beautiful, different (big and small) and swim in different directions (up, down, left to right and right to left). At the same time, the teacher can show how the toy fish “floats” in different directions. It is necessary to remember with the children what shape the body of the fish is, invite them to show with their hand in the air how to draw it. After that, you can call one of the children to show at the blackboard. It should be clarified that the body of the fish is covered with scales and only scales can be painted; show how to do it. It is useful to tell children that it is not at all necessary to paint over the whole fish with one color; the tail and fins may be of a different color. The fish can also be striped, spotted, etc. The varied filling of the contour gives the image a special expressiveness.
It is important that already in this group the children understand that the methods of filling out the form with color can be different. When drawing each new fish, the movements of the child's hands will become more and more free, confident. Those children who began to draw very large and therefore could only put one image on the sheet should be given an additional sheet so that they can draw several fish.
74
"Striped fish"
Analyzing the children's work at the end of the lesson, it should be noted how many different beautiful fish are drawn, pay attention to how differently the fish are painted, offer to find the most beautiful ones. The teacher glues the drawings into one common strip and places them in a group room or lobby for several days so that both children and parents can admire beautiful drawings.
After a while, you can again conduct a similar lesson by offering to additionally draw grass and pebbles in the aquarium. Ideas about the shape of the body of the fish need to be clarified, but it is no longer necessary to show the reception of its image. In this lesson, the teacher draws attention to the fact that all the children draw fish in different positions, and if someone did not succeed in the last lesson (the child drew the fish all swimming in the same direction), you need to help such children by doing with the child’s hand in the air or on paper with a finger (without a brush and pencil) the necessary movements in different directions. Such an exercise may be accompanied by an explanation that the teacher gave in one of the first classes on the image of oval-shaped objects.
Having mastered the image of a fish that is simple in shape and parts, children can move on to modeling and drawing birds, the shape and structure of which are more complex: the head is dissected from the body, there are legs and wings; when a bird flies, it spreads its wings, and
“Spring has come, the birds have flown”
when it walks on the ground or sits on a branch, it folds them. This knowledge, gained as a result of repeated observations on a walk, in a living corner, when looking at book illustrations, will help children in creating images of birds in modeling and drawing.
Children already know how to sculpt and draw round and oval objects. Now the main attention should be paid to the position of the body parts of the bird in space and in relation to each other. The body of the bird, when it sits quietly, is located obliquely, at an angle to the horizontal plane of the earth, the head is at the top, and not in front of the body, like a fish, the paws are a little closer to the tail.