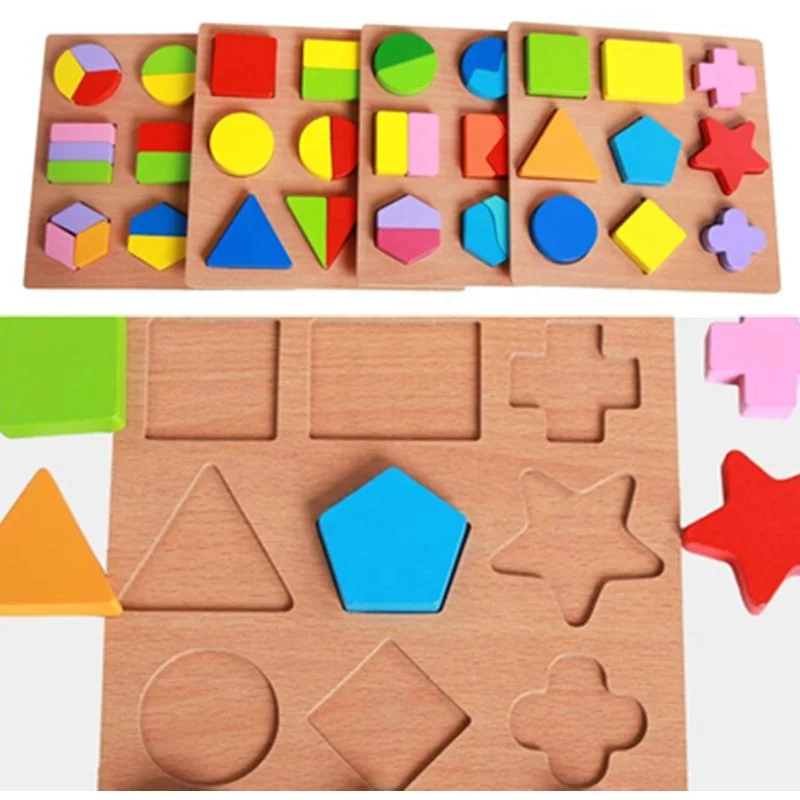
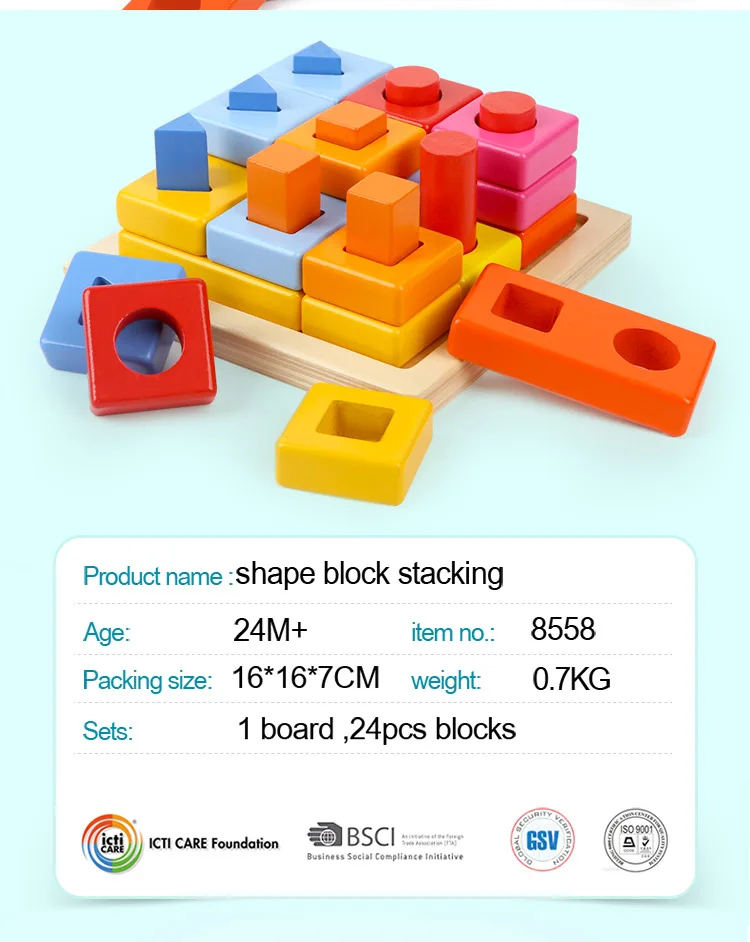
Blocks shapes names
Introduction to Block Building with Children
I was incredibly lucky to not only receive my Masters in Education from a graduate school (Bank Street) that understands the importance of block building as an integral part of the social studies curriculum, but also train at the school (City and Country) that was founded by Caroline Pratt who invented the unit blocks we use today. In the early 1900s Pratt understood the importance of open-ended materials as the center of a child’s education. Pratt developed the unit blocks for use at City and Country School but never marketed them under her name and therefore you will find unit blocks through a variety of companies, but the basic ideals remain the same. This post will serve as an Introduction to Block Building with Children
including the areas of development block building supports, the basic shapes, the stages of block building, the ideal environment for block building, managing a block building environment and accessories that will aid the block building experience.
This post contains affiliate links for your convenience.
CLICK HERE TO PURCHASE WOODEN UNIT BLOCK
AREAS OF DEVELOPMENT ENHANCED BY BLOCKING BUILDING WITH CHILDREN
I’ll admit it when I entered graduate school I had no idea about block building. I signed up for the Block Building Class completely confused as to how a class on the graduate school level was about building blocks. I mean, don’t you just build blocks? By the end of the first class I was humbled about the complexities of early childhood education and specifically how beneficial block building is to a child’s education. The use of blocks in your classroom or home promotes all aspects of a child’s development.
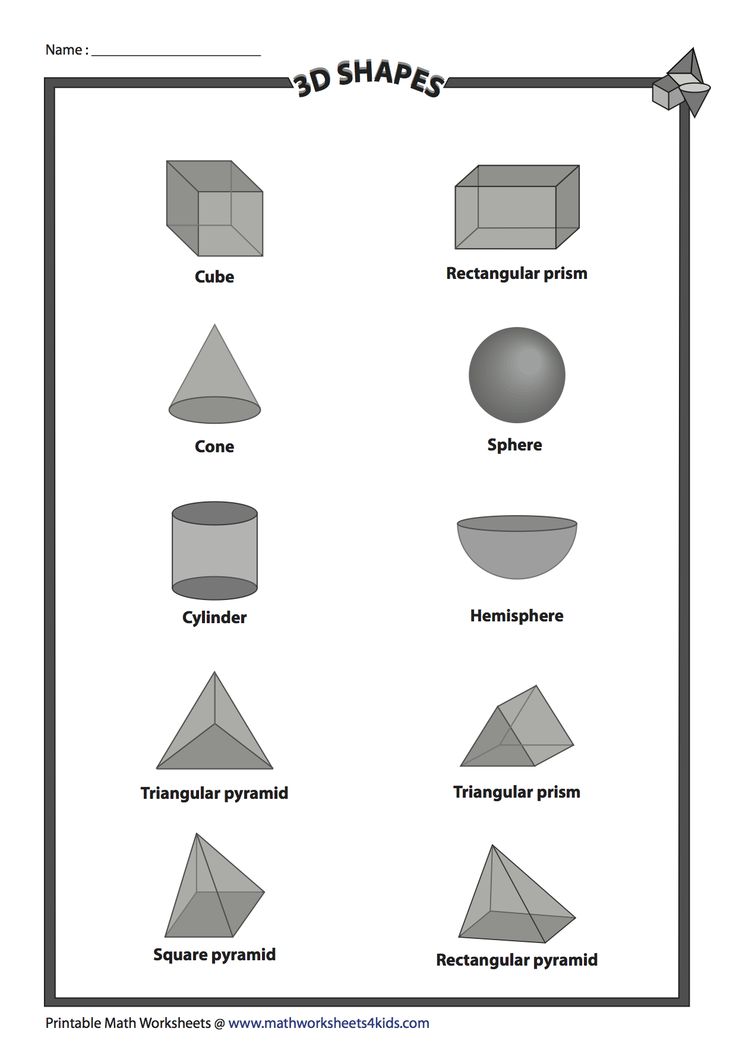
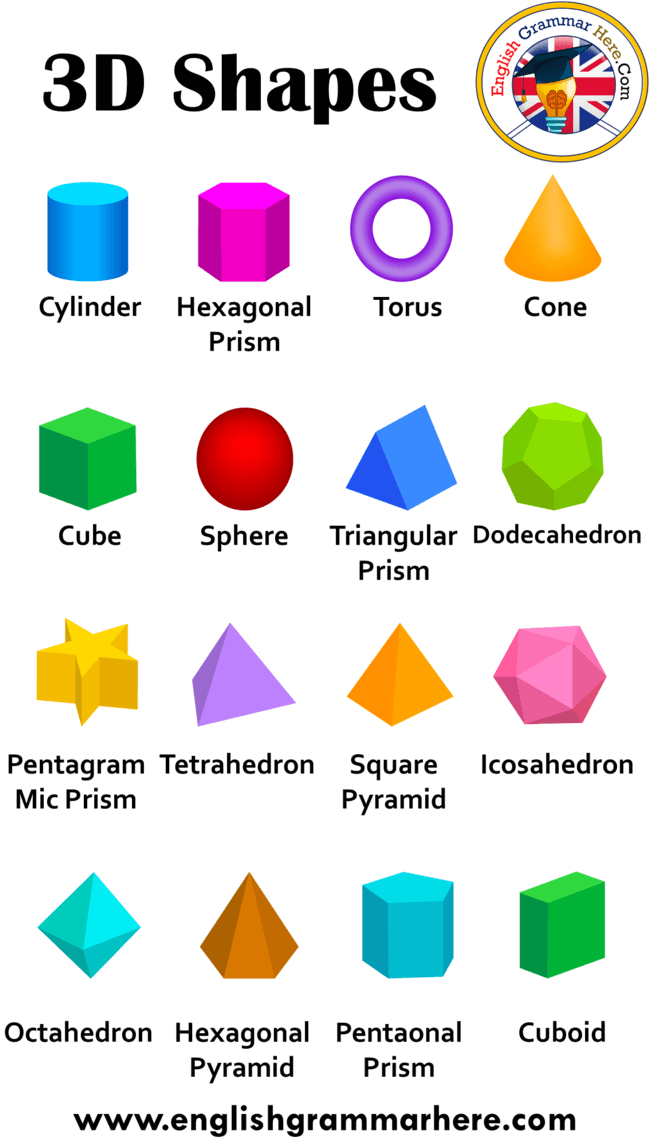
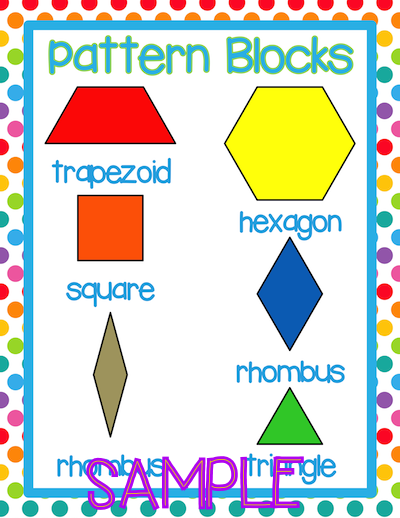
Mathematicsshape recognition
symmetry
measurement
counting
1-to-1 correspondence
fractions
size
sharing ideas
naming buildings
creating stories
creating signs
labeling
mapping
symbolic representation
balance
experimentation
inclined ramps
stability
gravity
gross motor development
hand-eye coordination
sharing
patience
cooperation
pride of ones work
respecting peer’s work
THE BLOCK SHAPES
The specific shapes, lengths, widths and heights of the wooden blocks are crucial to the success of the block building experience.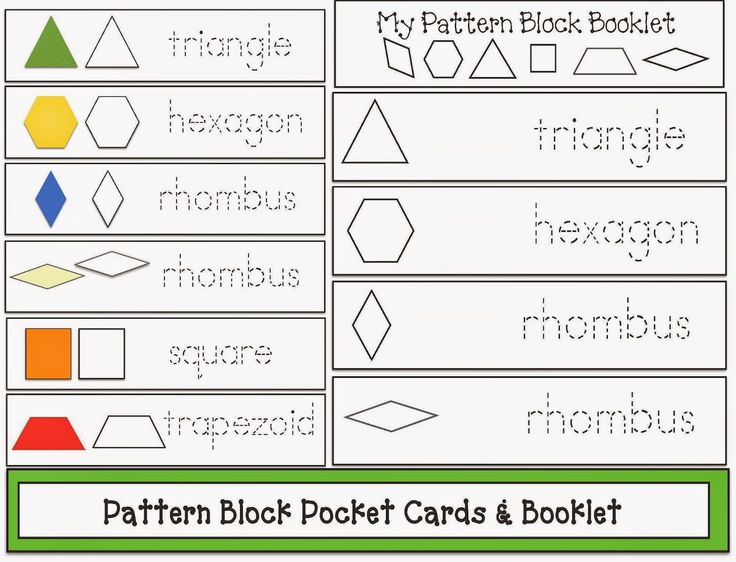 Pratt designed the unit blocks in an incredibly thoughtful manner through years of experimentation and direct observation in the early 1900s. A basic block set begins with the unit block and then expands with blocks two and four times as long but with the same width and thickness, cylinders, curves and half units.
BLOCK BUILDING HELPS CHILDREN EXPLORE FRACTIONS
All blocks except for the cylinders and curves can be created from the unit block via multiplication or division.
While the small square block is generally considered the half unit it is interesting to note that some of the other blocks can be placed together two create one unit block. This is such a genius way of teaching fractions.
THE STAGES OF BLOCK BUILDING WITH CHILDREN
Repetition is the key to a successful education. Children need time, space and security to explore materials without any end product in mind. You can begin to introduce block building as soon children are capable of picking up the smaller blocks.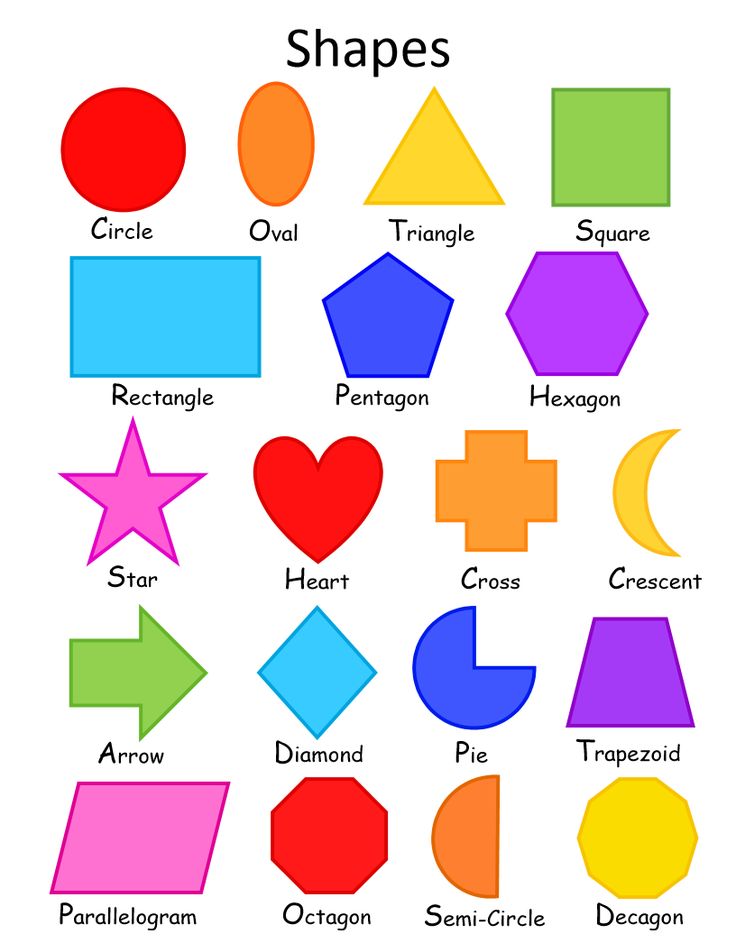
Stage 1
Children will carry blocks from one place to another without any real thought of building.
Stage 2
Stacking blocks in rows or small irregular towers.
Stage 3
Bridging is used. Two blocks are used with a space in between and another block connecting at the top.
Stage 4
Enclosures are created. This became a favorite part of my children’s block building after we visited the zoo.
Stage 5
Increased use of blocks, height, pattern and balance.
Stage 6
Dramatic play begins to appear. Children begin to name structures.
Stage 7
Building structures that represent everyday life.
THE BLOCK BUILDING ENVIRONMENT
Ideally a block building area should have a great deal of space. Hardwood floors are easier to build on than a rug. Yes, it does make a bit of noise if the blocks fall, but play spaces and classrooms were not meant to be quite places.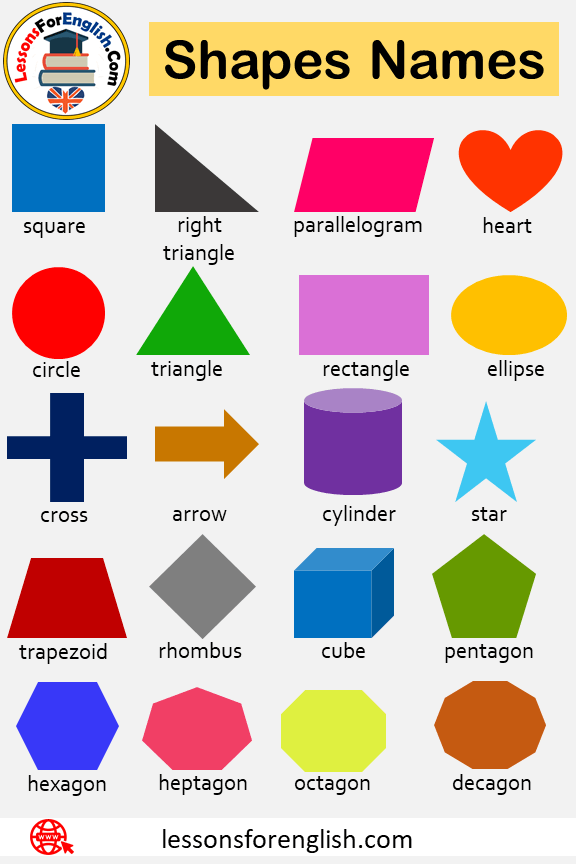
HOW TO STORE UNIT BLOCKS
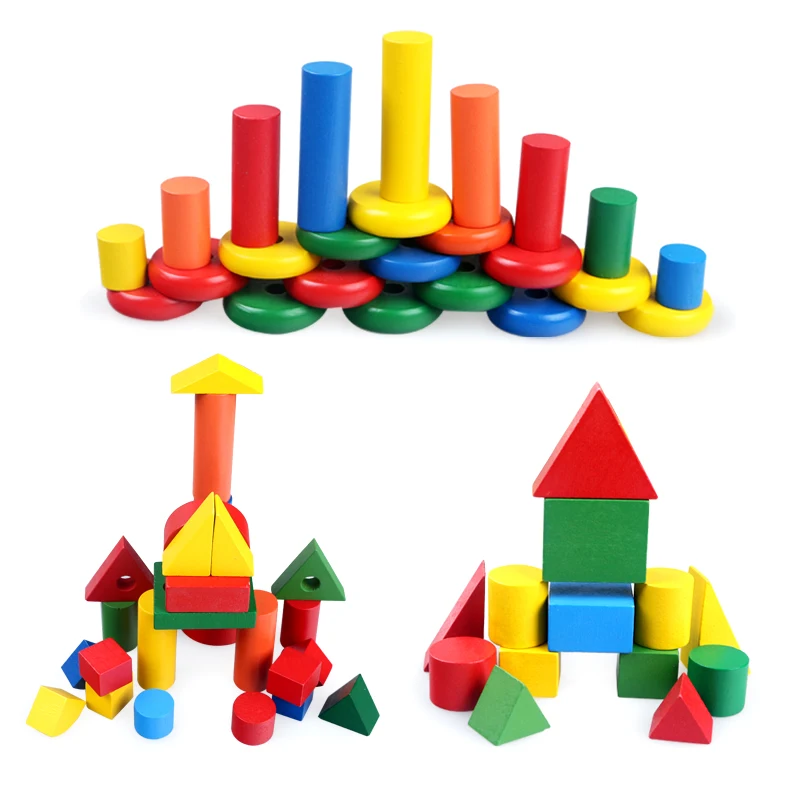
How you store the wooden blocks is also part of the learning process. A large shelving unit like the one above is very useful. Look for one that has separate compartments. This will make the sorting process easier. Click here to purchase a similar block shelf. . Blocks are sorted by type. You can trace the shapes on colored contact paper (sticky back paper) and attach to your shelf. This will help the children become independent during block clean up. It is also a natural way to explore shape recognition and sorting skills.
THE CLEAN UP PROCESS
Almost everyday we have intricate block building structures that leave no blocks left on the shelves. The clean up process can be overwhelming to children when they look at how many blocks need to be sorted back on the shelves. Cleaning up needs to be part of the learning process and consistently practiced. Teach children to start from the top of their structures and work their way down to the bottom of block structures. Blocks are not to be crashed into. This is overwhelming and does not show respect for the materials. Do not assume that children understand that blocks should be sorted according to the labels. This is a teachable moment. Gather your children or students and model how to clean up. “I have a triangle block. Hmm, where does it go? I need to find the red triangle shape! Here it is! The triangle block goes behind the red triangle shape.” Have children come up and try to do the same with another block.
Do you have reluctant cleaners? Make it a game! Draw pictures of the block shapes on pieces of heavy paper and keep in a basket. At cleanup time have each child choose a shape. The child is responsible for cleaning up just that shape. This helps make the process less overwhelming. Want to practice counting and 1-to-1 correspondence? Have a basket full of numbers. Children pick a number and need to clean up the corresponding number of blocks.
The clean up process is a great opportunity to point out how working cooperatively as a team makes the cleaning easier and more fun!
BLOCK BUILDING ACCESSORIES
In the early stages of block building we focus solely on the wooden blocks.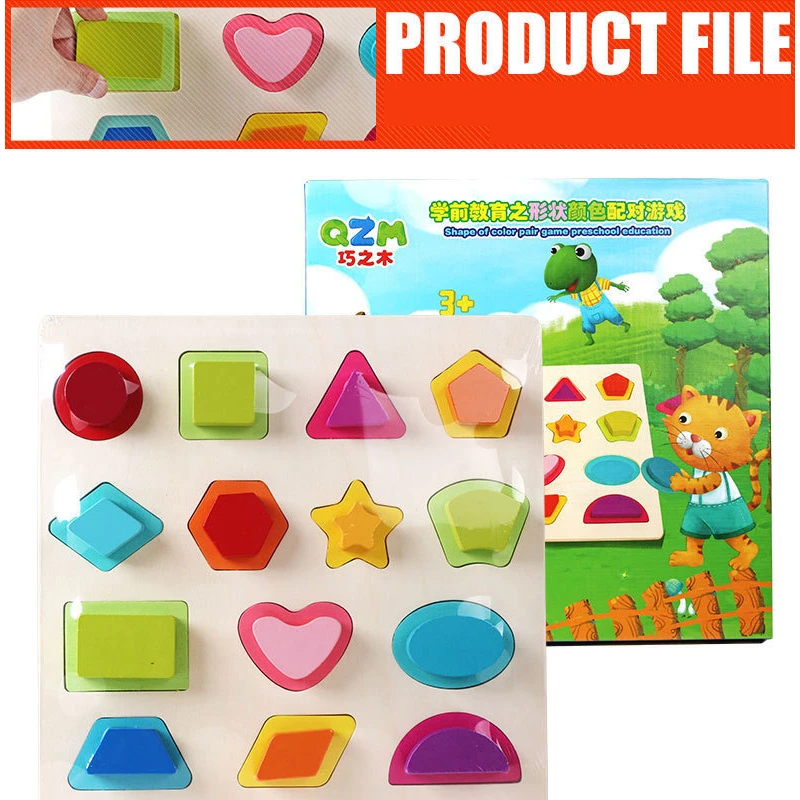 As children become more adapt at building and add dramatic play to the block building process I add a few accessories. Accessories are a great way to tie in a unit of study or a recent experiential trip. After our first beach vacation we added a basket of shells and some blue fabric. When studying our backyard bugs I placed a basket of pretend bugs. The children loved making little homes for our creatures. Here is a list of some of our favorite accessories. Please keep in mind to limit the amount of accessories as the focus should be on the block building
colored cube blocks
colored glass stones
shells
wooden people
animals
tree blocks
small pieces of fabric
small sheets of tin foil
toy cars
small pieces of paper (index cards) and markers to make signs and labels
Interested in creating your own block center? Start by purchasing good quality wooden unit blocks.
SHARE ON FACEBOOK!
You may also enjoy our posts on an Introduction to Painting.
Types of Concrete Blocks Used in Construction
There are two primary concrete block categories: hollow and solid. Both of these concrete block types are typically used during the construction of walls, but can be used for other purposes as well.
Not all solid concrete blocks are fully solid, as you’ll see, but they’re more solid than hollow blocks are. We’ll discuss the different types of concrete blocks — also known as concrete masonry units or CMU — in more detail below.
You’re probably familiar with concrete blocks from your local hardware store, where you may have heard some of them called cinder blocks. This is because cinder blocks were originally made in part from cinders that were left over when coal was burned (often at coal-fired plants). The cinders were used as a substitute for sand and gravel in concrete, with the result being lighter and less durable cinder blocks.
The terms “concrete” and “cement” are also often confused. Cement is an ingredient used to make concrete. Other materials, such as sand, gravel, and stone, constitute about three-quarters of what you find in concrete. Cement — a powder formed of clay, limestone, and other substances — is combined with water and added to the mix to create concrete.
The history of concrete actually begins with a sort of naturally occurring cement that formed because of reactions between limestone and oil shale. It was first discovered in what is now Israel and is thought to date back about 12 million years. Cement has been used to build everything from the Great Wall of China to the Roman Colosseum.
Concrete blocks are an alternative construction material to brickwork with advantages and disadvantages. Because concrete blocks are larger than bricks, less cement is needed in mortar joints to hold them together. However, because of their moisture content and larger size, concrete blocks are more prone to movement and cracking when a foundation shifts than bricks are.
Hollow Concrete Blocks vs. Solid Concrete Blocks
There are two main types of concrete blocks used in the construction industry: hollow and solid. Fully solid blocks are often used for projects like paving, where stability and durability are important. You wouldn’t want to try walking on pavement full of holes.
Hollow blocks, which have holes that take up more than one-quarter (and usually more than half) of their cross-sectional area, are used when building boundary fences and other large structures. The holes make them lighter and can be useful when running wiring or piping through them. You can also run rebar through the holes for greater stability.
Hollow Concrete Blocks
Hollow concrete blocks come in three grades:
- Grade A has a minimum density of 1,500 kg/m3.
- Grade B has a density of less than 1,500 kg/m3.
- Grade C has a density greater than 1,000 kg/m3.
Grades A and B are used for load-bearing concrete block walls, while grade C is used for non-load-bearing walls.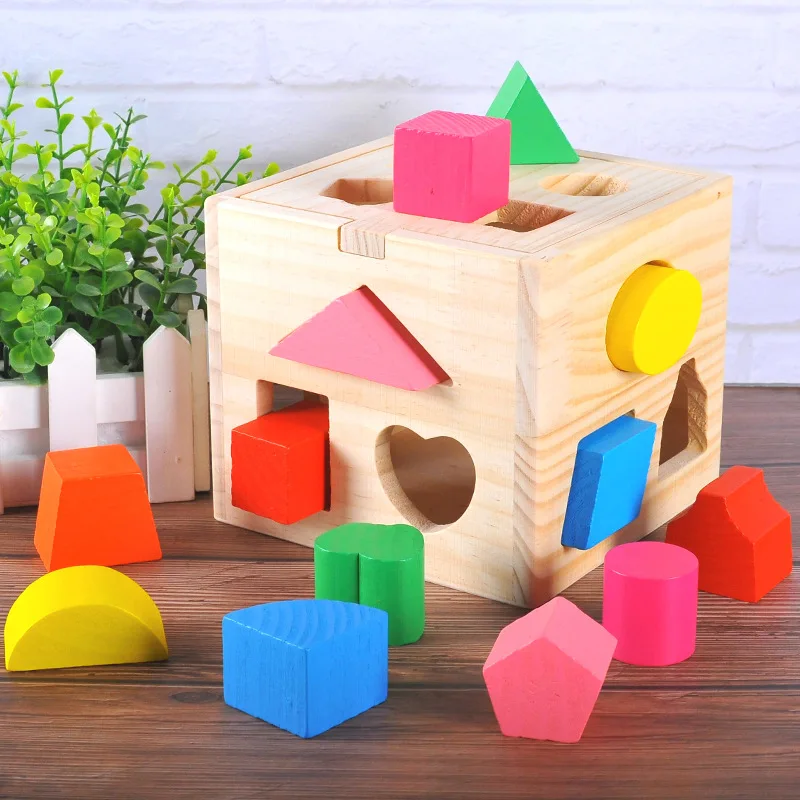
Hollow blocks come in several types, which are detailed below.
Solid Concrete Blocks
Fully solid concrete blocks look like gray bricks but are typically larger. They’re good for creating walls that provide protection against the elements, such as strong winds.
They can also be used for projects such as garden walls and planters, retaining walls, foundations, steps, and firepits.
Solid concrete blocks are usually heavier than hollow blocks, but they can be less expensive.
Types of Hollow Concrete BlocksHollow concrete blocks come in a variety of sizes, such as 100 mm x 200 mm x 400 mm, 150 mm x 200 mm x 400 mm, and 200 mm x 200 mm x 400 mm. These blocks are most commonly gray but can also be found in different colors, including tan and dark red. Here are a few of the options available to you.
Stretcher Block
Concrete stretcher blocks are used in construction to connect the corner of masonry units. Their faces are laid parallel to the face of the wall.
Pillar Block
As the name implies, pillar blocks are most often used to build pillars or piers. They’re also called double corner blocks and are designed so that both ends could be left visible. Pillar blocks are the kind of blocks many people think of when they think of concrete blocks, and they are often available in large quantities at building supply stores.
Lintel Block
Also called channeled or beam blocks, lintel blocks are recognizable by their U shape. The deep grooves created by the U shape, which run along the length of these blocks, are filled with concrete and reinforcing bars. Used in preparation for lintel beams, they’re typically placed on the top of doors and windows to transfer the load pressing down from above.
A solid-bottom lintel block, such as the one pictured here, can be purchased in a 6-by-8-by-16-inch configuration.
Jamb Block
Jamb blocks are made with a shallow groove across the two holes and a deeper groove at one end. They provide space for the casing members of a window and are often used specifically in double-hung windows.
Column Block
A column block is typically a square block with a single hole. These can be stacked to create columns, with reinforcement inside.
Corner Block
Corner blocks are placed at corners, as you might expect, or at the ends of windows and door openings. The plain side is exposed to the exterior, while the stretcher side runs parallel to the wall.
Splitface Block
Splitface blocks look like pillar blocks, except one edge has a very rough, almost jagged texture that exposes the block’s inner aggregates. This block is very porous and therefore vulnerable to water damage, but it also has a lower risk of termite infestation and is less susceptible to fire.
A splitface block like the one pictured above might come in a 6-by-8-by-16-inch size.
Bullnose Block
Bullnose blocks are the same as corner blocks in their use and structure, except that they have rounded edges (which is the reason for their name).
A single bullnose block, like the one shown here, might come in a 6-by-8-by-16-inch size; a block with a double bullnose at one end is available in the same size.
Partition Block
Partition blocks are similar to concrete pillar blocks except that they are taller than they are wide. These narrow blocks look almost like wide goggles if viewed straight-on.
Types of Solid Concrete BlocksYour choices won’t be as diverse when it comes to solid concrete blocks as they are with hollow blocks, but you’ll still have a selection to consider that can be used for various purposes.
Fly Ash Block
Fly ash is a fine, powdery substance that forms a material similar to Portland cement when mixed with water. (Portland cement is created by mixing limestone and clay or shale that’s been finely ground or burned.) More than half the concrete placed in the United States contains fly ash.[7] Substituting fly ash for cement concrete in road projects, which require a large amount of material, can be a money-saving step.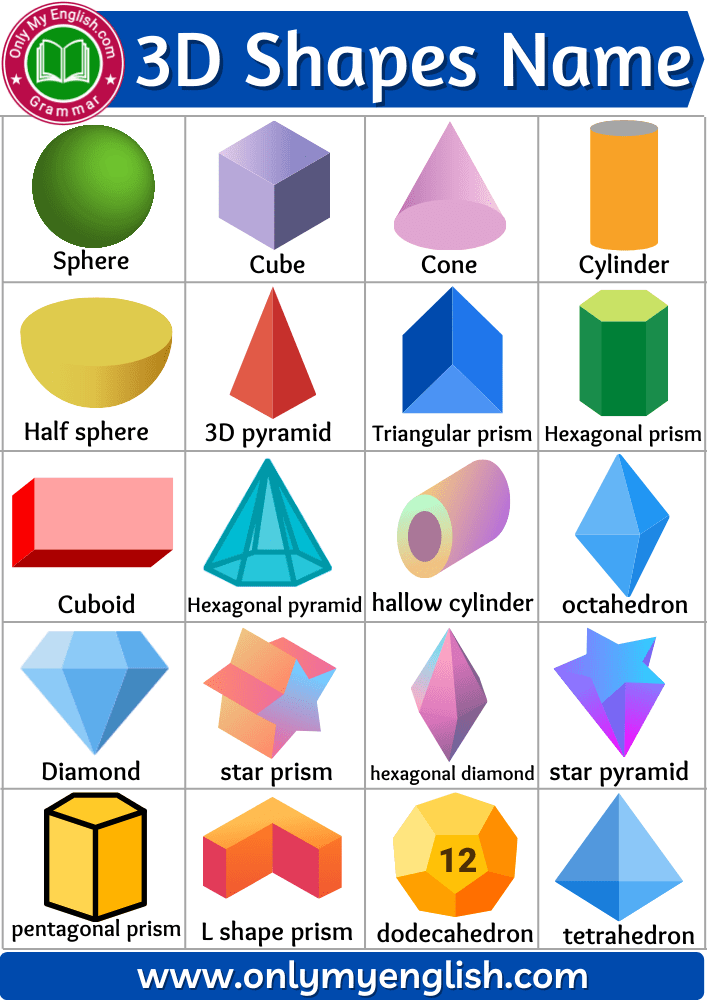
There are two classes of fly ash:
- Class C is a high-calcium variety that’s made up of less than 2% carbon. It can constitute 15% to 40% of cement material.
- Class F has a carbon content of 5% to 10% and is a low-calcium material. It typically makes up 15% to 25% of cement material.
Using fly ash can reduce CO2 emissions, provide resistance to cold weather, and reduce cracking problems and permeability. It also can be used to create a smooth, sharply detailed surface.[7]
Fly ash, like Portland cement, is a fine powder that can act like a pigment. Particle colors can be amber, brown, gray, green, olive, red, yellow, or yellow-brown. The resulting color can vary depending on the concentration of the particles, but it’s often a shade of gray.
Fly ash bricks tend to only come in small sizes, since they become less durable the bigger they get, and are more prone to fractures and cracking at larger sizes.
Aerated Autoclaved Block
Aerated autoclaved block, known as AAC block for short, is a lightweight material that offers a high degree of sound and temperature insulation.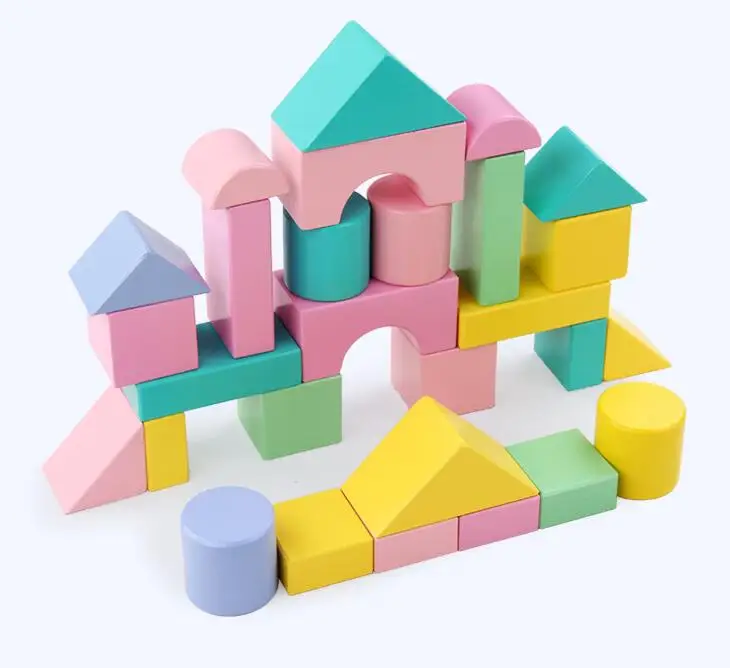 Its fire resistance and insulating properties make it an appealing choice, though it isn’t as widely available as some other forms of concrete.
These lightweight concrete blocks are 80% air, which explains the name “aerated.” The material can be easily shaped and allows for the use of nails and screws. But it’s not as strong as some denser concrete options, so it’s not the best load-bearing concrete and often needs to be reinforced. You’ll also want to seal it with a protective finish to avoid deterioration when exposed to the elements.
These blocks are white to light gray and can be customized for use in sidewalls, partition walls, and other types of wall construction, as well as for steel pillars and infill panels. They’re available in blocks, panels, and specialty shapes such as lintel blocks and U-shaped bond beam blocks, both of which are available in different thicknesses.
Paving Block
Paving blocks are square or rectangular solid blocks used for paving, on road shoulders (where they should be painted to improve visibility), and in walkways.
Although often brick-shaped, they’re available in a variety of sizes and colors, including sandstone, tan, dark brown, charcoal, and light gray.
Cellular Lightweight Block
Cellular lightweight block is a building material that contains three components: foam, fly ash, and cement. Like AAC, it provides good insulation against sound and extreme temperatures. It’s fire-resistant, environmentally friendly, and relatively inexpensive.
These light gray blocks are made of a material that’s been around since the 1930s. They’re customizable and can be made in various sizes, as well as used for wall panels, compound walls, and parapet walls.
High-density cellular lightweight blocks can be used for load-bearing or partitioning walls; medium densities can be used for non-load-bearing brickwork.
Expanded Clay Aggregate Block
Expanded clay aggregate blocks are made up of lightweight aggregates of fly ash and cement. Waterproof and fire-resistant, their lightweight nature allows them to reduce the overall structural load by up to 50%. They also insulate well against sound and temperature.
Because this material is fired in a kiln, it can be molded into different sizes with different densities.
ConclusionConcrete blocks can be useful components for different purposes in many construction projects, whether you’re laying down a roadway, building load-bearing masonry walls, or creating partition walls.
In order to choose the right product, you’ll need to take into account how you’ll be using it and the properties you want to emphasize. Different types of concrete blocks are designed to be used at different places in a structure, such as over windows or at corners. Some need more reinforcement than others, and some are better at thermal and sound insulation.
Do you want a dense aggregate or a more lightweight alternative?
Expense is another factor to take into consideration. How much do you have to spend?
Once you’ve answered these questions, you’ll be in better shape to choose the proper equipment and begin your construction project.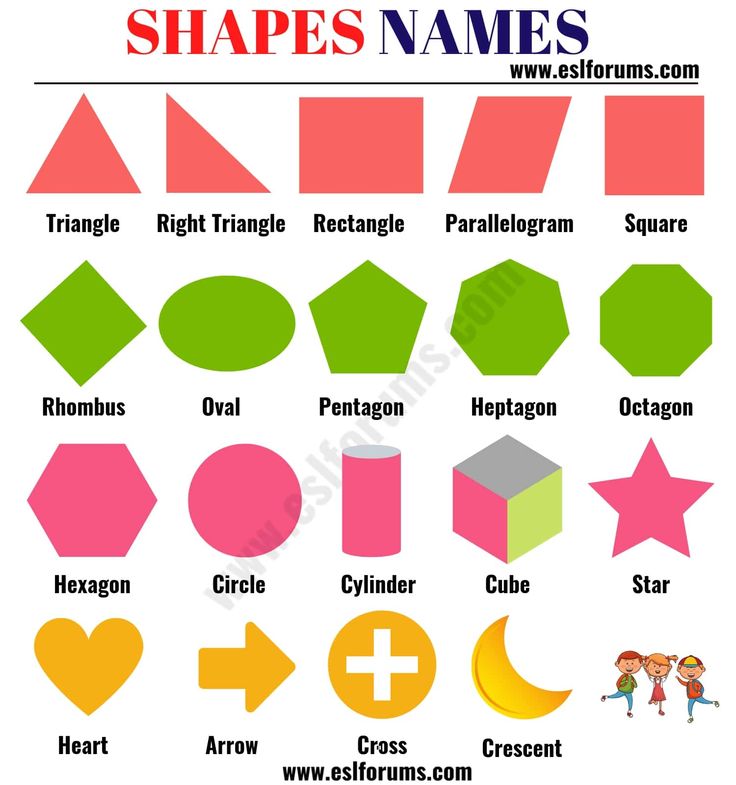 And you’ll enjoy greater assurance that it will be safe and that you’ll get it right the first time.
Related Posts
Place objects inside a text box or shape in a Numbers spreadsheet on iPhone
Numbers
Search this guide
Numbers User Guide for iPhone
- Welcome!
-
- Understanding the Numbers app
- Understanding images, charts, and other objects
- Create a spreadsheet
- Opening Spreadsheets
- How to avoid accidental edits
- Template personalization
- Using Sheets
- Undo and redo changes
- Saving a spreadsheet
- Table search
- Deleting a spreadsheet
- Printing a spreadsheet
- Changing the background of a sheet
- Copy text and objects from one application to another
- Touch screen basics
-
- Create a spreadsheet with VoiceOver
- Create formulas and autofill cells with VoiceOver
-
- Adding and removing a table
- Selecting Cells, Rows, and Columns
-
- Adding and removing rows and columns
- Moving rows and columns
- Resizing Rows and Columns
- Merging and splitting cells
-
- Change the appearance of text in a table
- Showing, editing and hiding the table header
- Change grid colors
- Using table styles
- Resizing, moving and unpinning
-
-
- Adding text to tables
- Entering data using forms
- Adding objects to cells
- Adding stock information
- Adding a date, time, and duration
- Autocomplete cells
- Copying, moving, and deleting cell content
- Create a snapshot of a table
-
- Formatting dates, currency values, and other types of data
- Adding checkboxes and other controls to cells
- Formatting tables with bidirectional text
- Wrapping text to fit in a cell
- Cell selection
- Sort alphabetically and sort data in a table
- Data filtering
-
- Basic information about categories
- Adding, editing or deleting categories
- Changing category groups
- Adding Calculations to Summarize Group Data
-
- Understanding PivotTables
- Create a PivotTable
- Adding and Arranging PivotTable Data
- Change sorting and grouping of PivotTable data and more
- PivotTable Refresh
- Viewing the source data to be used for PivotTable values
-
-
- Quick calculation of sum, average and other values
- Using the formula keyboard
- Calculating values from data in table cells
- Copying and pasting formulas
- Using help on formulas and functions
-
-
- Selecting Data to Create a Chart
- Add bar, bar, line, area, pie, donut, or radar charts
- Adding bubble and scatter charts
- Interactive charts
- Deleting a chart
- Change the chart type
- Changing Chart Data
- Moving and resizing charts
-
- Changing the Appearance of Data Series
- Adding a legend, grid lines, and other labels
- Change the appearance of text and labels in a chart
- Adding a Border and Background to a Chart
- Using Chart Styles
-
-
- Selecting text and placing an insertion point
-
- Adding text
- Copying and pasting text
-
- Formatting a spreadsheet for another language
- Using phonetic transcription
- Using bidirectional text
- Using vertical text
- Change the appearance of text
- Using Text Styles
-
- Change case of text
- Adding drop caps
- Ligatures
- Superscript and subscript characters
- Automatic formatting of fractions
- Dash and Quote Format
- Text formatting (Chinese, Japanese, Korean)
-
- Setting tabs
- Text alignment
- Breaking text into columns
- Line spacing setting
- List Formatting
- Adding and editing equations
- Adding links
-
-
- Adding an image
- Adding an Image Gallery
- Image editing
-
- Adding and editing a shape
- Merging or separating shapes
- Save a Shape to the Shapes Library
- Adding and aligning text inside a shape
- Adding lines and arrows
- Adding and editing pictures
-
- Adding audio and video
- Video and audio recording
- Editing audio and video files
- Movie Format Selection
-
-
-
- Placement and alignment of objects
- Using guide lines
- Placing objects inside a text block or shape
- Overlay, group, and pin objects
- Changing the transparency of objects
- Fill objects with color or an image
- Add an object or sheet border
- Adding a caption or title
- Adding a Reflection or Shadow
- Using Object Styles
- Resizing, rotating and mirroring objects
-
-
- Finding the definition of a word
- Find and replace text
- Automatic text replacement
- Spell check
- Setting the Author Name for Comments
- Highlighting text with color
- Adding and Printing Comments
-
- Sending a table
- Collaboration basics
- Invitation to work together
- Collaborate on a shared spreadsheet
- Viewing recent user activity in a shared table
- Changing Shared Spreadsheet Settings
- Stop sharing a spreadsheet
- Shared folders and collaboration
- Using Box to Collaborate
-
- Using iCloud with the Numbers app
- Import an Excel spreadsheet or text file
- Export to Excel or other format
- Restoring an earlier version of a spreadsheet
- Moving a spreadsheet
- Spreadsheet password protection
- Create and manage your own templates
-
- Transferring tables with AirDrop
- Transfer spreadsheets with Handoff
- Transferring tables via Finder
-
- Keyboard Shortcuts
- Keyboard Shortcut Symbols
- Copyright
You can add images, image galleries, videos, shapes, and equations to a text box or shape. An inner ( nested ) object is automatically embedded inside text in an outer text box or shape ( parent object). As you type, it maintains its position relative to the text and moves with it.
Embedding objects in a text box or shape
-
If you haven't added any text boxes or shapes to the sheet yet, or haven't added an object you want to insert, tap , then tap to add the objects you want.
-
Select the object you want to embed in the text box or shape, then tap Cut.
If the object is on the page, tap to select it. If it's embedded in text, double-tap to select it.
-
Double-tap the text box or shape where you want to insert the object to place the insertion point inside. Tap the text box or shape again, then tap Paste.
The inserted object will be nested inside the parent object. If a clipping indicator is displayed at the bottom of an object, you must resize the object to view the entire contents of the object.
-
To add text after a nested object, double-tap inside the parent object, tap again to display the insertion point, then enter the text.
If you accidentally selected a nested object (three selection handles appear), tap outside of it to place the insertion point in the parent object.
If the nested object is a shape, you can place an image, shape, or equation inside the nested object. Double-tap to display the insertion point in the nested shape, then type or paste text, or paste an object.
Move an embedded object to a sheet
You can move an embedded object to a sheet so that it is no longer nested within another object.
-
Double-tap an embedded object to select it.
-
Tap , then tap Arrange.
-
Touch Move to Sheet.
See Also Understanding Objects in Numbers on iPhonePlace and Align Objects in Numbers on iPhoneAdd Text Inside a Shape in Numbers on iPhoneOverlay, Group, and Lock Objects in Numbers on iPhoneAdd Math in Numbers on iPhone
Maximum number of characters: 250
Do not include personal information in comments.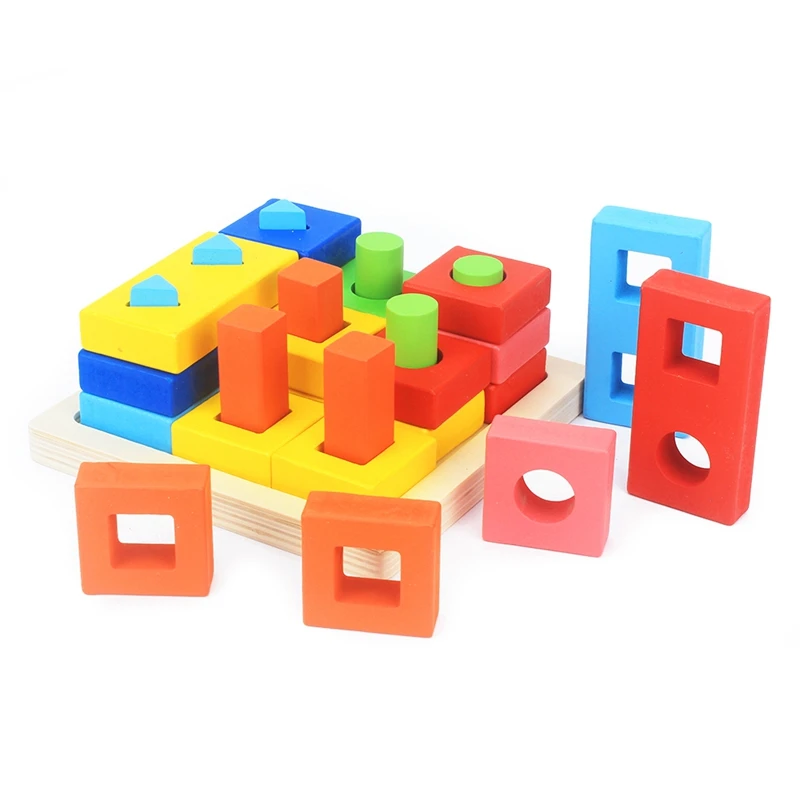
Maximum number of characters: 250.
Thank you for your feedback.
Draw Shapes with Photoshop's Shape Tools
User's Guide Cancel
Search
Last update Nov 15, 2022 09:21:29 AM GMT
- Photoshop User Manual
- Introduction to Photoshop
- Dream about it. Do it.
- What's New in Photoshop
- Editing the first photo
- Create documents
- Photoshop | Frequently Asked Questions
- Photoshop system requirements
- Transferring presets, operations and settings
- Introduction to Photoshop
- Photoshop and other Adobe 9 products and services0434
- Working with Illustrator artwork in Photoshop
- Working with Photoshop files in InDesign
- Substance 3D Materials for Photoshop
- Photoshop and Adobe Stock
- Working with the built-in Capture extension in Photoshop
- Creative Cloud Libraries
- Creative Cloud Libraries in Photoshop
- Working in Photoshop using the Touch Bar
- Net and guides
- Create activities
- Cancellation and transaction history
- Photoshop on iPad | General questions
- Introduction to the working environment
- System requirements | Photoshop on iPad
- Creating, opening and exporting documents
- Adding photos
- Working with layers
- Drawing and painting with brushes
- Selecting areas and adding masks
- Retouch compositions
- Working with Adjustment Layers
- Adjusting the key of a composition using the Curves layer
- Applying transform operations
- Trim and rotate compositions
- Rotate, pan, zoom and restore canvas
- Working with text layers
- Working with Photoshop and Lightroom
- Getting missing fonts in Photoshop on iPad
- Japanese text in Photoshop on iPad
- Application parameter management
- Touch shortcuts and gestures
- Key combinations
- Image resizing
- Live stream your creative process in Photoshop on iPad
- Repair imperfections with the Healing Brush
- Creating brushes in Capture and using them in Photoshop
- Working with Camera Raw files
- Creating and using smart objects
- Adjusting the exposure of images with the Dodge and Burn tools
- Frequently Asked Questions | Photoshop Web App Beta
- Working environment overview
- System requirements | Photoshop Web Application Beta
- Keyboard shortcuts | Photoshop Web Application Beta
- Supported file formats | Photoshop Web Application Beta
- Opening and working with cloud documents
- Collaboration with stakeholders
- Limited editing options for cloud documents
- Cloud Documents Photoshop | Frequently Asked Questions
- Photoshop Cloud Documents | Workflow Questions
- Work with and manage cloud documents in Photoshop
- Cloud storage update for Photoshop
- Unable to create or save cloud document
- Troubleshooting Photoshop 9 cloud documents0010
- Collection of cloud document synchronization logs
- Sharing and editing cloud documents
- File sharing and commenting in the application
- Work environment basics
- Learn faster with the What's New panel in Photoshop
- Create documents
- Working in Photoshop using the Touch Bar
- Tool gallery
- Performance settings
- Using tools
- Touch gestures
- Touch gestures and customizable workspaces
- Overview versions of technology
- Metadata and comments
- Default key combinations
- Touch gestures and customizable workspaces
- Putting Photoshop images into other applications
- Installations
- Default key combinations
- Rulers
- Show or hide non-printing auxiliaries
- Specifying columns for the image
- Cancellation and transaction history
- Panels and menus
- File storage
- Positioning of elements with referencing
- Positioning with the ruler tool
- Setting sets
- Customizing keyboard shortcuts
- Net and guides
- Photoshop for design
- Artboards
- View on device
- Copy CSS from layers
- Dividing web pages into fragments
- HTML options for snippets
- Changing the arrangement of fragments
- Working with web graphics
- Create web photo galleries
- Image resizing
- Working with raster and vector images
- Image size and resolution
- Importing images from cameras and scanners
- Creating, opening and importing images
- Image viewer
- "Invalid JPEG marker" error | Opening images
- Viewing multiple images
- Customize color palettes and color swatches
- HDR images
- Matching colors in an image
- Converting between color modes
- Color modes
- Erase sub-images
- Blend Modes
- Choice of colors
- Making changes to indexed color tables
- Image information
- Distortion filters not available
- Color details
- Color and monochrome corrections with channels
- Selecting colors in the Color and Swatches panels
- Sample
- Color mode (or picture mode)
- Shade
- Add color mode change to operation
- Add swatches from HTML CSS and SVG files
- Bit depth and settings
- Understanding Layers
- Reversible editing
- Create and manage layers and groups
- Selecting, grouping and linking layers
- Putting images into frames
- Opacity and layering
- Layer masks
- Application of smart filters
- Layer compositions
- Move, arrange and lock layers
- Masking layers with vector masks
- Manage layers and groups
- Effects and Layer Styles
- Editing layer masks
- Extract resources
- Display layers with clipping masks
- Generation of graphic resources from layers
- Working with Smart Objects
- Blend Modes
- Combining several fragments into one image
- Combining images with Auto Layer
- Alignment and distribution of layers
- Copy CSS from layers
- Load selections based on layer boundaries or layer masks
- Translucent to show the contents of other layers
- Layer
- Mixing
- Composite images
- Background
- Select and Mask Workspace
- Quick area selection
- Getting Started with Selections
- Selecting with the Marquee toolbox
- Selection with the Lasso tools
- Selecting a color range in the image
- Pixel highlight setting
- Convert between paths and selection boundaries
- Channel Basics
- Moving, copying and deleting selected pixels
- Creating a temporary quick mask
- Save selections and alpha channel masks
- Selecting focus areas in an image
- Duplication, splitting and merging of channels
- Channel calculation
- Extraction
- Bounding box
- Perspective distortion
- Blur reduction due to camera movement
- Healing Brush Tool Examples
- Export color lookup tables
- Image sharpening and blurring
- Understanding color grading
- Applying the Brightness/Contrast setting
- Shadow and Highlight Detail Correction
- "Levels" correction
- Hue and saturation correction
- Juiciness correction
- Adjusting the color saturation in image areas
- Quick tone correction
- Applying special color effects to images
- Image enhancement with color balance correction
- HDR images
- View histograms and pixel values
- Image color matching
- Crop and straighten photos
- Converting a color image to black and white
- Adjustment and fill layers
- Curves correction
- Blend Modes
- Target Imaging for Press
- Color and tone correction with Levels and Curves eyedroppers
- HDR Exposure and Toning Compensation
- Filter
- Blur
- Lighten or darken image areas
- Selective color correction
- Changing object colors
- Camera Raw system requirements
- What's New in Camera Raw
- Introduction to Camera Raw
- Creating panoramas
- Supported lenses
- Camera Raw Vignetting, Grain, and Haze Removal
- Default key combinations
- Automatic perspective correction in Camera Raw
- Reversible editing in Camera Raw
- Camera Raw Radial Filter Tool
- Manage Camera Raw Settings
- Processing, saving and opening images in Camera Raw
- Improving Images with Camera Raw's Improved Spot Remover
- Rotating, cropping and modifying images
- Camera Raw color correction
- Function overview | Adobe Camera Raw | Issues for 2018
- Overview of new features
- Processing versions in Camera Raw
- Making local adjustments in Camera Raw
- Removing objects from photos using Content-Aware Fill
- Content-aware patching and relocation
- Retouching and fixing photos
- Image Distortion and Noise Correction
- Basic troubleshooting steps to solve most problems
- Object transformation
- Crop, rotate and canvas adjustment
- Crop and straighten photographs
- Creating and editing panoramic images
- Deforming images, shapes and contours
- Perspective
- Using the Plastic filter
- Content-aware scale
- Transforming images, shapes and paths
- Deformation
- Transformation
- Panorama
- Drawing symmetrical ornaments
- Options for drawing a rectangle and changing the stroke
- Drawing details
- Drawing and editing shapes
- Paint tools
- Creating and modifying brushes
- Blend Modes
- Adding color to contours
- Edit contours
- Painting with mix brush
- Brush Presets
- Gradients
- Gradient interpolation
- Fill and stroke selections, layers, and paths
- Drawing with the pen tool group
- Making patterns
- Creating a pattern with the Pattern Builder filter
- Circuit control
- Managing pattern libraries and presets
- Drawing with pen tablet
- Creating textured brushes
- Adding dynamic elements to brushes
- Gradient
- Draw stylized strokes with the Artistic Archive Brush
- Drawing with pattern
- Synchronizing presets across multiple devices
- Adding and editing text
- Universal text editor
- Working with OpenType SVG 9 fonts0010
- Character formatting
- Paragraph formatting
- Creating text effects
- Text editing
- Leading and letter spacing
- Font for Arabic and Hebrew
- Fonts
- Troubleshooting fonts
- Asian text
- Create text
- Text Engine error when using the Type tool in Photoshop | Windows 8
- Video editing in Photoshop
- Editing video and animation layers
- Introduction to video and animation
- Video and animation preview
- Drawing frames in video layers
- Import video files and image sequences
- Create frame animations
- Creative Cloud 3D Animation (Preview)
- Create timeline animations
- Creating images for video
- Using the Liquify filter
- Using Blur Gallery group effects
- Filter basics
- Filter effects guide
- Adding lighting effects
- Using the Adaptive Wide Angle filter
- Oil Paint Filter
- Effects and Layer Styles
- Application of specific filters
- Image area feathering
- Saving files in Photoshop
- Export files to Photoshop
- Supported file formats
- Saving files in other graphic formats
- Moving projects between Photoshop and Illustrator
- Saving and exporting video and animation
- Saving PDF files
- Digimarc copyright protection
- Printing 3D objects
- Printing with Photoshop
- Printing and color management
- Checklists and PDF presentations
- Print photos in a new image layout
- Spot color printing
- Duplexes
- Printing images on a printing press
- Photoshop Color Enhancement
- Printing troubleshooting | Photoshop
- Create activities
- Creation of data-driven images
- Scenarios
- File batch processing
- Operation playback and management
- Adding conditional operations
- About actions and the Actions panel
- Recording tools in operations
- Add color mode change to operation
- Photoshop UI Development Kit for Plugins and Scripts
- Understanding Color Management
- Accurate color assurance
- Color settings
- Working with color profiles
- Color management of documents for viewing on the web
- Color management for printing documents
- Color management of imported images
- Perform proofing
- Learn more about content credentials
- Identity and origin of NFT tokens
- Connecting accounts for creative attribution
- 3D in Photoshop | Common questions about deprecated 3D features
- Creative Cloud 3D Animation (Preview)
- Printing 3D objects
- 3D drawing
- 3D Panel Enhancement | Photoshop
- 3D Concepts and Tools
- Rendering and saving 3D objects
- Creating 3D objects and animations
- Image stacks
- 3D graphics workflow
- Measurements
- DICOM files
- Photoshop and MATLAB
- Image object count
- Combining and transforming 3D objects
- Editing 3D textures
- HDR Exposure and Toning Compensation
- 3D panel settings
Learn how to create shapes on canvas and use the Interactive Shape Properties feature to interact with shapes.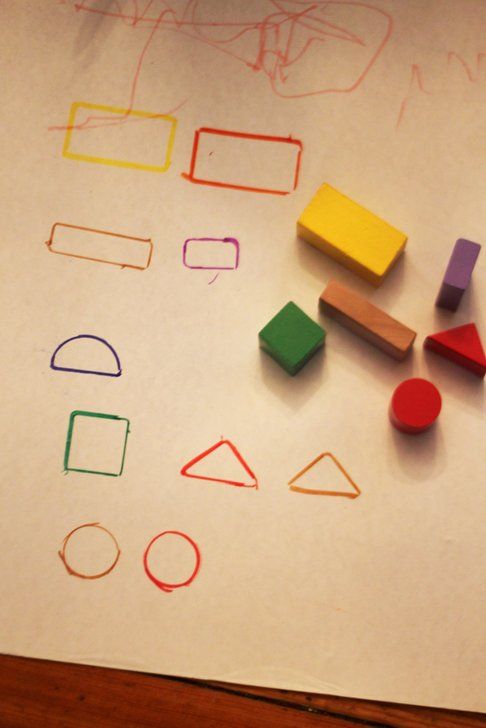
Photoshop provides a handy feature for drawing and editing vector shapes. You can also convert a vector shape to a bitmap or pixel shape. Read the full article to find out more.
- Creating Shapes
- Freeform drawing
- Accessing Legacy Custom Shapes
- Shape fill and stroke
- Draw a star with the Polygon tool
Follow these quick steps to create shapes in Photoshop:
-
Select the Shape tool
On the toolbar, press and hold the Shape tool group icon () to bring up the various Shape tool options—Rectangle, Ellipse, Triangle, Polygon, Line, and Freeform Shape. Select the drawing tool for the desired shape.
-
Customizing Shape tool options
The Shape tool options bar allows you to set the following settings:
- Mode: Set the mode for the Shape tool to Shape, Path, and Pixels.
- Fill: Select a fill color for the shape.
- Stroke: Select a color, width, and stroke type for the shape.
- W and H: Manually set the width and height of the shape.
- Path Operations: Use path operations to adjust how shapes interact with each other.
- Path Alignment: Use this option to align and distribute shape components.
- Outline Order: Use this option to set the order in which the shapes are created.
- Advanced Shapes and Paths Options: Click the gear icon () to access additional Shapes and Paths options to set attributes such as the width and color of the outline displayed on the screen, and proportioning options when drawing shapes.
- Mode: Set the mode for the Shape tool to Shape, Path, and Pixels.
-
Draw a shape
To draw a shape, select the desired Shape tool, then click and drag on the canvas. This automatically creates a new shape layer in the Layers panel.
- Hold down the Shift key while drawing to make the shapes proportional.
- With the shape layer selected, use the Move tool to move the shape and reposition it on the canvas.
- To easily scale, transform, or rotate a shape, choose Edit > Free Transform or press Control+T (Win) / Command+T (Mac).
- Hold down the Shift key while drawing to make the shapes proportional.
-
Editing shape properties
You can easily edit shape properties directly using the controls on the canvas or using the Shape Properties section of the Properties panel. On-canvas controls allow you to interact with shapes in a more intuitive way.
You can use the transform and fillet controls on the canvas to adjust the appearance of the shape. Keyboard modifiers will control the transformation on the canvas in the same way as when using the Transform tool in Photoshop. You can change the radius of all corners of a rectangle at the same time: hold down the Alt (Win) or Option (Mac) key while dragging to change the radius of one corner. Triangles change all corners, even if you drag only one of them. Easily rotate a shape with the canvas rotation handle that appears when you hover your mouse over the shape.
Click the reset icon () in the Properties panel to reset all changes at once.
Draw a shape and use the controls on the canvas to easily edit its properties.After drawing a shape, you can click anywhere on the canvas to pop up the Create Shape dialog box and change the shape's settings.
Do these quick actions to fill and stroke shapes:
-
In the Layers panel, select the shape layer you want to fill or stroke.
-
To select a fill or stroke type for a shape, do one of the following:
- Select any Shape tool (press U) from the toolbar. On the tool options bar, choose Fill or Stroke.
- In the Properties panel, click the desired fill or stroke type.
-
From the pop-up menu, choose a fill or stroke option: Solid Color, Gradient, or Pattern.
Pure color: fills or strokes the shape layer with the current foreground color.
 To select a different color, use the color picker or color styles.
 Gradient: To display the Gradient Editor dialog box, select a gradient style or click the gradient. Adjust additional gradient options.
- The value of the Angle parameter determines the angle at which the gradient will be applied.
- The Invert option changes the orientation of the gradient colors.
- The shape of the gradient is determined by the style.
- The Scale option changes the size of the gradient.
- The Align To Layer option uses the layer's bounding box to calculate the gradient fill. You can drag it in the image window to move the center of the gradient.
Pattern: Select a pattern from the drop-down menu and set additional options.
- The value of the Angle parameter determines the angle at which the pattern will be applied. In the angle picker, you can specify a specific angle or manually enter the desired value.
- The Scale parameter sets the size of the pattern. Enter a value in the text box or use the slider.
- The value of the Angle parameter determines the angle at which the gradient will be applied.
Improvement in the February 2021 release of Photoshop on PC (22.2).
You can draw arbitrary shapes by selecting shapes in the Custom Shape drop-down panel. You can also save the shape or path and use them in the future as an arbitrary figure.
-
Select the Freeform Shape tool from the Shape toolset on the toolbar.
-
To view all of the freeform shapes available in Photoshop, click the gear icon to the right of the Freeform Shape palette in the Options Bar of the Shape toolset. A list of available shapes will appear. Choose any arbitrary shape of your choice.
-
If you don't find the shape you want, click the gear icon in the Custom Shape palette and choose Import Shapes to import the shape you want from saved files. You can also create and save a custom shape in your library.

-
You can easily edit the properties of the Freeform Shape tool directly from the Shape Properties section of the Properties panel. In addition, you can use the transform controls on the canvas to transform an arbitrary shape without changing its properties.
-
Click and drag anywhere on the canvas to draw a custom shape.
In addition, a set of options for the Freeform Shape tool can be configured directly from the Window > Shape panel. When you select a custom shape in the Window > Shape panel, that set is also updated in the Custom Shape Tool > Free Shape tool palette.
Properties can only be accessed for freeform shapes drawn with the Freeform Shape tool. For a path converted to a shape, this is not possible.
-
Select a path in the Paths panel—a vector mask for a shape layer, a work path, or a saved path.
-
Select the Edit menu > Define Custom Shape and enter a name for the new custom shape in the Shape Name dialog box.
 The new shape appears in the Shape pop-up panel in the Options Bar.
 -
To save a new custom shape to a new library, select Save Custom Shapes from the drop-down menu.
For more information, see Working with the Collection Manager.
One of the main figures that we learn to draw in childhood is a five-pointed star.
Follow these three easy steps to draw a star with the Polygon tool.
-
On the toolbar, click and hold on the Shape tool group icon to access various options for the Shape tool. Select the Polygon tool.
-
Drag the tool onto the canvas to draw a polygon.
-
Click anywhere on the canvas to display the Create Polygon dialog box and set the following attributes.
- Width and Height: Manually set the width and height of the shape.
- Symmetric: Check the box to keep symmetry in the polygon.
- Number of sides: Manually enter the desired number of sides for the polygon.
