How to draw a bubble b
How to Draw the Letter B in Bubble Letters Graffiti
ByHannah Kercheval Updated on
Use this printable tutorial to learn how to draw the LETTER B bubble letter step by step. Bubble letters are a graffiti-style art that allows the reader to still identify a letter, but it appears puffy and bubbly!
This capital bubble letter tutorial is so easy kids of all ages can get in on the bubble letter fun.
Let’s make a fancy, BIG bubble letter B!Capital B Bubble Letter
To make a capital letter B in bubble letter graffiti, we have some simple step-by-step instructions to follow! Print out the 2 page bubble letter tutorial pdf so you can follow along making your own bubble letter or even tracing the example when necessary.
This article includes affiliate links.
Supplies Needed for Drawing a Bubble Letter B
- Paper
- Pencil or colored pencils
- Eraser
- (Optional) Crayons or colored pencils to color your completed bubble letters
We have also created the 2 page printable bubble letter instruction sheets as coloring pages. If desired, start by coloring the steps and then try it on your own!
How To Draw Bubble Letter B
Follow these simple steps to write your own bubble letter uppercase B! You can print them below by pressing the button.
This is our very first step!Step 1
Start by drawing a horizontal oval that will be the top of the capital letter B bubble letter.
Add another bigger oval.Step 2
Add another horizontal oval on top of the other one, but make this one slightly bigger.
Connect them on the left side!Step 3
Connect the ovals on the left side by drawing a curved line.
Add half a circle inside the first oval.Step 4
Add a half circle in the middle of each oval to complete the bubble letter.
Draw another half circle on the bottom oval.Step 5
Draw another half circle on the other oval.
You can add little details like making it look like the letter B is glowing.Step 6
If you want to add details like shadows and a little bubble letter glow, then add them now!
Follow along the simple steps to writing your own bubble letter B!Download & Print pdf Files for Bubble Letter B Tutorial:
More Bubble Letters You Can Draw
What word are you going to write in bubble letters today?More Letter B Fun from Kids Activities Blog
- Our big learning resource for everything about the Letter B.
- Have some crafty fun with our letter b crafts for kids.
- Download & print our letter b worksheets full of letter b learning fun!
- Giggle and have some fun with words that start with the letter b.
- Check out over 1000 learning activities & games for kids.
- Oh, and if you like coloring pages, we have over 500 you can choose from…
- As you work to teach your toddler the alphabet, it’s important to get off to a great start!
- Find perfect preschool art projects.
- Check out our huge resource on preschool homeschool curriculum.
- And download our Kindergarten readiness checklist to see if you are on schedule!
How did your letter B bubble letter turn out?
Hannah Kercheval
Hannah loves designing coloring pages at printablesbyhannah.com
How To Draw Bubble Letters - Step By Step Tutorial (2022)
This post and the photos within it may contain affiliate links. If you purchase something through the link, I may receive a commission at no extra charge to you.
Sharing is caring!
Bubble letters are a fun, easy, and expressive way of drawing letters.
In this step by step tutorial, you are going to learn everything you need to know about drawing bubble letters.
Let’s have a quick overview of what are we going to cover in this tutorial –
- What are bubble letters
- The basic construction of bubble letters
- The whole alphabet (video)
- Bringing bubble letters to life with shadows and highlights
- A few extra tips
- Final words
Without any further ado, let’s get started!
What are bubble letters?Probably most of you are already familiar with this style of lettering, and if you are, feel free to skip this part.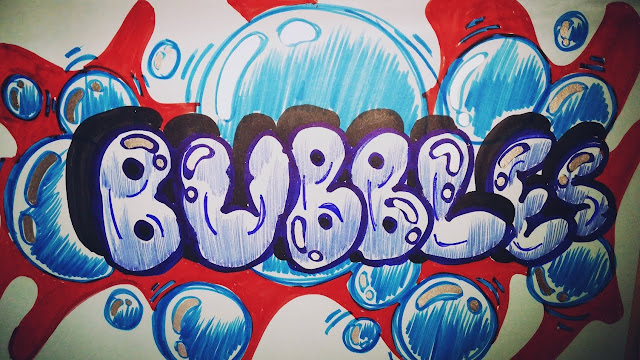
For those who don’t know what bubble letters are, it’s basically a lettering style where the letters look puffy and bloated kinda like bubbles – hence the name.
Bubble letters are easy to learn and fun to do, but at the same time without knowing some of the basics, it’s easy to get lost in the process.
Bubble letters are also quite popular in graffiti, but in this tutorial, we are going to focus only on how to create bubble letters on paper.
The basic construction of bubble lettersThere are different ways of constructing your bubble letters, and in this tutorial, I’m going to show you the most basic method of doing it.
Let’s start off with an example of the letter A.
We always sketch with a pencil, this way we can make corrections if needed.
To demonstrate this process, I’m using a Staedtler mechanical pencil and a Sakura pigma micron fineliner
From this point, we thicken the letter by adding an outline.
Keep in mind that the outline should have the same thickness from both sides.
Here you can determine how thick you want your letters to be.
The key idea behind bubble letters is to have rounded (external) edges instead of sharp ones – like with block letters.
Once we added the thicker outline around the letter, we can erase the first shape that we made at the beginning.
And here we have our completed bubble letter A –
Note – that I mentioned that we don’t have any sharp outside edges, but having them inside helps to achieve that puffy/bloated look that we are after.
In the example below, you can see the difference between having sharp internal edges (left) and the one with all rounded edges (right).
I’m not saying that the one on the right is wrong, I just personally like the look of the left one more – This is totally up to you.
Now that we saw the basic construction of bubble letters with the letter A, we can apply that same idea to the other letters of the alphabet.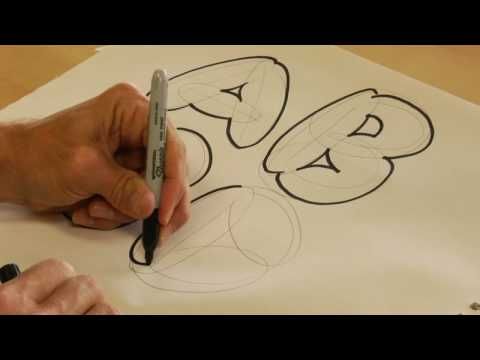
Here is how to draw the whole alphabet with the bubble letter style
Bringing bubble letters to life with shades & highlightsOk so, now that we know the basic construction of bubble letters it’s time to add them some details to make them pop even more!
The best way to do this is by adding shadows and highlights.
I’m going to show you the basics of shading and highlights because we already have a more in-depth step by step tutorial that will teach you not one but five different methods of shading your lettering & calligraphy.
You can check the shadowing tutorial here.
Let’s start with shading –I see many beginners struggling with adding shadows properly, and it can be tricky if you are just getting started.
Once you understand the underlying principle, the process is quite simple and straight forward.
The position of the shadows depends solely on the direction of the light.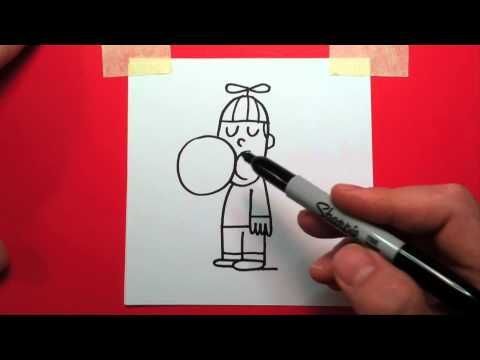
Let’s make this easier to understand using our letter A as an example –
So in this example, we can see that the light source comes from the top right side.
This means that the shadows will appear on every bottom and left side – basically the opposite side of the light source.
Here is an example –
Easy right?
What if the light source comes from the opposite side?
Simple,
we just add the shadows on the opposite side of the light source!
Now we just need to color the letter and add a nice outline to it.
Like this –
In case you are struggling with outlining your letters smoothly, fear not!
We recently posted another article where we shared a couple of tips on how to improve your outlining and inking skills.
You can check it out here.
Now, let’s add some highlights to our bubble lettersNow that we added the shades, it’s time to add some highlights to make them really pop!
First of all, let’s understand what the highlights are.
Highlights are areas in an object that is closest to the light source, where the light is reflecting.
The easiest way to know where to add highlights, in this case, is basically the opposite side of the shadows.
Let’s take a quick example of our letter A with the previously drawn shadows.
We are not going to put the highlight all the way to the edge of the letter, we are going to leave a bit of space which will make the letter look more round-shaped.
Here is an example –
Keep in mind your color selection!
When working with colors, contrast is super duper important.
Since highlights are basically a reflection of the light, the best way for them to stand out is by using a brighter color (doesn’t need to be always white)
Working with color is a whole other story for itself, and explaining how to use them in your lettering correctly, it would really drag out this tutorial.
Lucky for you,
We have a separate beginners guide that explains the fundamentals of colors (color theory) and how to use them effectively in your lettering – you can check it out here.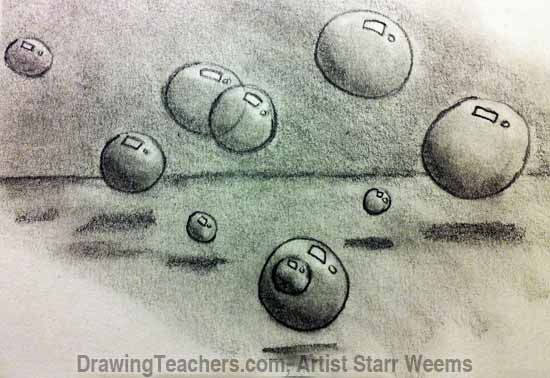
Shadow and highlights are two robust methods of enhancing your artwork (not just letters).
Depending on how much time and detail we add we can create more simple looks like we just demonstrated –
Or even more intricate effect like this –
If you want to learn how to create this sort of effect, be sure to check out this other step-by-step tutorial on our website.
A few extra tips for drawing bubble lettersBefore we wrap up this tutorial, there are a few more things that I would like to bring up to your attention.
1. You can draw bubble letters in different stylesWe mentioned above the basic construction of bubble letters, and once you feel comfortable enough with it, you can start to tweak the shapes and create your very own forms.
2. Adding a second outline for an extra pop!Adding a second outline around the letter and the shadows are a great way to make your bubble letters pop even more.
You can do this both in monochrome (single color) or with colors.
Remember to pick colors that go well together!
3. Play around with the spacing of your bubble lettersWhen drawing bubble letters, you can play around with the spacing of the letters in a word.
I personally prefer to have smaller spacing between the letters and have them clashing with each other.
If you want the letters to overlap each other, remember to add an outline – otherwise, it could hurt the readability of the word.
4. Adding more puff to your bubble lettersThis is a super simple and easy tip that will make your letters look more ”bubbly”.
Remember that at the beginning of the tutorial, I mentioned that the internal angle should remain sharp?
Just by adding a bit more detail to these inner edges, you can make your letter look more bloated.
Check out this example –
Wrapping it upThat’s all for this time, gang.
I hope this tutorial helped you in your creative journey!
Be sure to also check out the ultimate hand lettering guide for beginners to start learning the basics of hand lettering.
Keep in mind that these are just the basics of bubble lettering, and once you are comfortable enough with the basics, you can start creating your own unique style.
This rule basically applies to any lettering style – learning the fundamentals is essential for progress!
Is there something I forgot to mention?
Or is there something you did not quite understand?
Maybe you have a specific question in mind, or perhaps you want to get some constructive feedback on your artwork?
Feel free to drop a comment below, or even better –
Join our official Facebook group!
Our group is a place where you can –
- Share your work
- Get constructive feedback
- Network with fellow lettering & calligraphy artists
- Ask specific questions about lettering & calligraphy
- Much more!
Thank you for joining for another tutorial, and until the next time –
Stay AWESOME!!
Stay updated with my tutorials and get instant access to the Lettering Crate –A growing library of free lettering & calligraphy resources that includes – FREE downloadable practice sheets, Procreate brushes, the 30-day lettering planner, printables, and more!Pin me!
Materials
- Paper (HP premium) - Practice paper
Tools
- Staedtler Mechanical Pencil
- Sakura Pigma Micron Fineliners
- Eraser
- Colored marker pens (refillable)
Instructions
- The basic construction of bubble letters - write a simple letter A
- Thickening the letters by adding an outline.
 Feel free to determine the thickness - a thicker outline will make them look more ''bubbly'' while a thinner outline will achieve the opposite look. It's important to keep a consistent thickness from both sides of the letter. Also, keep your corners rounded - it's the key to drawing bubble letters (no sharp corners). Like so -
 - Using the Sakura Micron fineliner, outline your letter and erase the pencil marks. Be sure to let the ink dry before you erase the pencil marks, to avoid any ink smudges.
- Although the outside edges should be rounded, by making the internal edges sharp, it will give you bubble letters a more puffy look. Here is an example -
- Add shadows, highlights, and other effects to achieve different looks and styles. Start from the basics, and gradually create more complex designs.
Notes
Check out the full step by step tutorial for more details on how to apply shadows, and different effects to your bubble letters.
Recommended Products
As an Amazon Associate and member of other affiliate programs, I earn from qualifying purchases.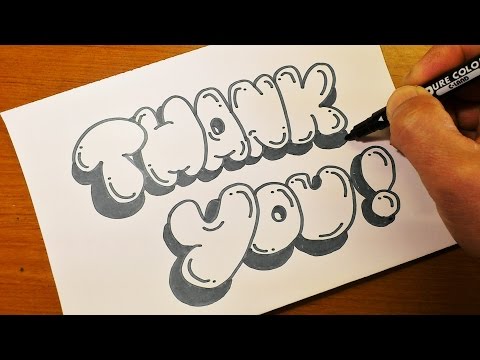
-
Sakura Pigma 30062 Micron Blister Card Ink Pen Set, Black, Ass't Point Sizes 6CT Set
-
Staedtler Mars Technical Mechanical Pencil Set, 780SBK
-
HP Printer Paper, Premium32, 8.5x11, Letter, 32lb Paper, 100 Bright - 1 Ream / 500 Sheets - Presentation Paper (113100R)
About the author
Lettering Daily
Lettering Daily is an online community that provides educational and inspirational content for hand lettering and calligraphy beginners. Our mission is to help artists and enthusiasts from all around the world to learn and improve their hand lettering and calligraphy skills.
www.lettering-daily.com/
Using non-traditional drawing techniques | Outline of drawing classes (junior group):
Consultation on art activities.
Topic: Acquaintance with non-traditional drawing techniques and their role in the development of preschool children.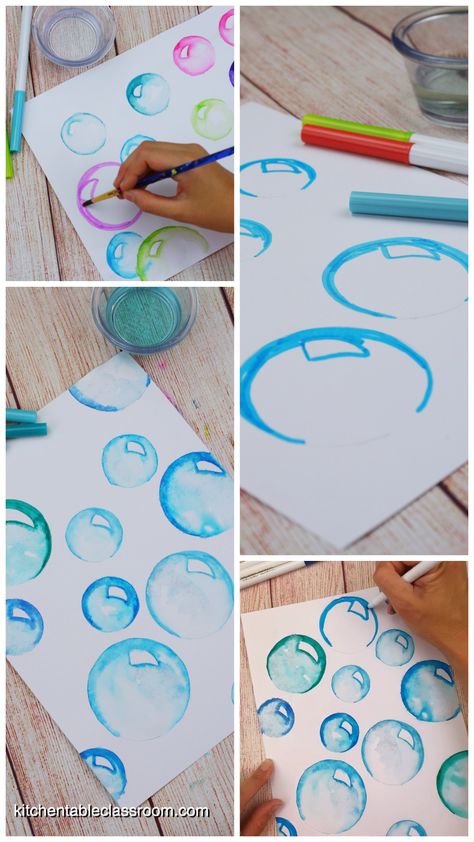
Educator 1 younger “B” of the group:
Vodopyanova M.V.
2020
Purpose: to reveal the importance of non -traditional areas in working with preschoolers for the development of imagination, creative thinking and creative activity.
Show the relevance of non-traditional drawing techniques in kindergarten.
Tasks in working with children:
- To develop children's technical drawing skills.
- To introduce children to various non-traditional drawing techniques.
- Learn how to create your own unique image using various drawing techniques.
According to many teachers, all children are talented. Therefore, it is necessary to notice in time, feel these talents and try, as early as possible, to give children the opportunity to show them in practice, in real life.
A preschooler in his aesthetic development goes from an elementary visual-sensory impression to the creation of an original image (composition) by adequate visual and expressive means.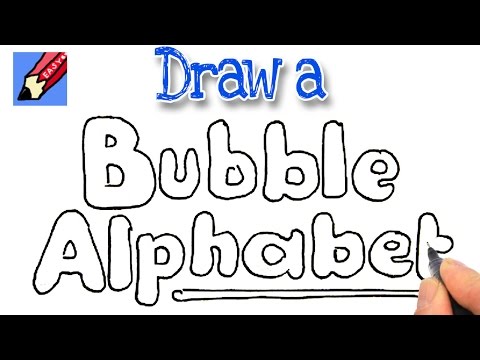 Thus, it is necessary to create a basis for his creativity. The more the child sees, hears, experiences, the more significant and productive the activity of his imagination will become.
According to psychologist Olga Novikova, “Drawing for a child is not art, but speech. Drawing makes it possible to express what, due to age restrictions, he cannot express in words. In the process of drawing, the rational fades into the background, prohibitions and restrictions recede. this moment the child is absolutely free."
The term "non-traditional" means the use of materials, tools, drawing methods that are not generally accepted, traditional, widely known.
Unconventional painting techniques show unusual combinations of materials and tools. Undoubtedly, the advantage of such techniques is the versatility of their use. The technology of their implementation is interesting and accessible to both adults and children.
That is why non-traditional methods are very attractive to children, as they open up great opportunities for expressing their own fantasies, desires and self-expression in general.
In the process of non-traditional drawing, the child develops comprehensively.
Such activities do not tire preschoolers, children remain highly active, working capacity throughout the time allotted for the task. Non-traditional techniques allow the teacher to carry out an individual approach to children, take into account their desire, interest. Their use contributes to the intellectual development of the child, the correction of mental processes and the personal sphere of preschoolers.
Many types of non-traditional drawing help to increase the level of development of hand-eye coordination (for example, drawing on glass, painting on fabric, drawing with chalk on velvet paper, etc.). Coordination of fine motor skills of the fingers is facilitated, for example, by such an unconventional image technique as drawing on paste with hands. This and other techniques require accuracy, speed of movements, patience, perseverance; creativity, thinking, imagination, memory develop. Working with non-traditional image techniques stimulates positive motivation, causes a joyful mood, relieves fear of the drawing process, and is the most important means of aesthetic education.
The use of various techniques contributes to the development of the ability to see images in combinations of color spots and lines and arrange them into recognizable images. Children master artistic techniques and interesting means of understanding the world around them through unobtrusive involvement in the drawing process. The lesson turns into a creative creative process of the teacher and children with the help of a variety of visual material, which goes through the same stages as the creative process of the artist.
Significance of non-traditional drawing
1. It is of great importance in shaping a child's personality.
2. Development of the child's thinking.
3. Develops memory, attention, fine motor skills, teaches the child to think and analyze, measure and compare, compose and imagine.
4. Influences the formation of vocabulary and coherent speech in a child. (The variety of shapes of objects of the surrounding world, various sizes, the variety of shades of colors, spatial designations only contribute to the enrichment of the baby's vocabulary).
5. In the process of visual activity, the child's mental and physical activity are combined.
6. Imagination and fantasy are the most important aspect of a child's life. And imagination develops especially intensively at the age of 5 years. Together with a decrease in the ability to fantasize in children, the personality is impoverished, the possibilities of creative thinking are reduced, and interest in art and creative activity is extinguished. In order to develop creative imagination in children, a special organization of visual activity is necessary - for example, classes in non-traditional drawing techniques.
Types of non-traditional drawing:
- Printing by hand
Method of obtaining an image: the child dips his hand (the whole brush) into gouache or paints it with a brush and makes an imprint on paper.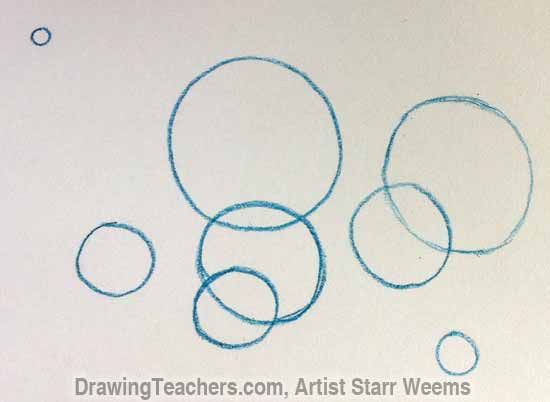 They draw with both right and left hands, painted in different colors.
2. Using a seal The child presses the seal against an ink pad and makes an impression on the paper. To get a different color, both the bowl and the signet change.
3. Drawing with a feather Feathers of various sizes are dipped into gouache, drawn with a pen over the sheet. To obtain an image of different colors and sizes, feathers change
4. Finger painting. The child dips his finger into the gouache and puts dots, spots on the paper. Each finger is filled with a different color of paint.
5. Monotype The child folds a sheet of paper in half and draws half of the depicted object on one half of it (objects are chosen symmetrical). After drawing each part of the subject, until the paint has dried, the sheet is again folded in half to obtain a print. The image can then be decorated by also folding the sheet after drawing a few decorations.
6. Drawing on a stencil with a swab
The child applies the stencil to the paper, dips the foam rubber into the paint and dab the foam rubber on the stencil, then carefully removes the stencil, if necessary, repeats the procedure after the paint has dried.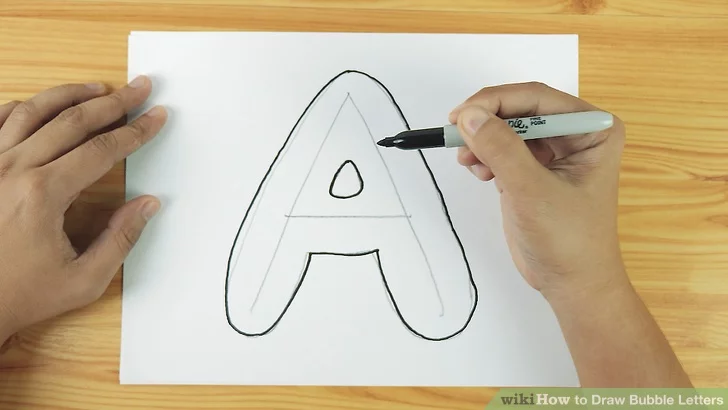
7. Poke drawing For this method, it is enough to take any suitable object, such as a cotton swab. We lower the cotton swab into the paint and, with a precise movement from top to bottom, make pokes on the landscape sheet. The wand will leave a clear imprint. The shape of the imprint will depend on what shape the object for the poke was chosen.
8. Inkblotography This drawing technique is based on the usual inkblot. During the drawing process, spontaneous images are obtained first. Then the child draws the details to give completeness and resemblance to the real image. It turns out that a blot can also be a way of drawing, for which no one will scold, but, on the contrary, will also be praised.
9. Splatter The child picks up paint on a toothbrush and hits it against the cardboard held above the paper. The paint splatters on the paper.
10. Scratching A child rubs a leaf with a candle so that it is completely covered with a layer of wax. Then mascara with liquid soap is applied to it. After drying, the drawing is scratched with a stick. Grating can be colored and black and white, it depends on what kind of ink is applied to the sheet.
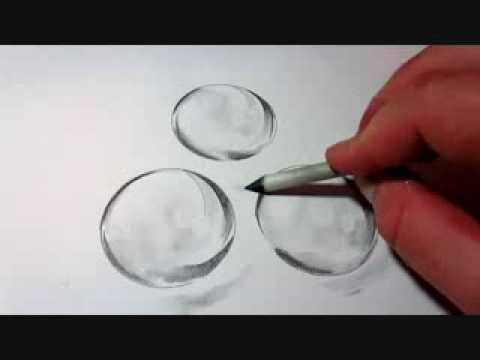
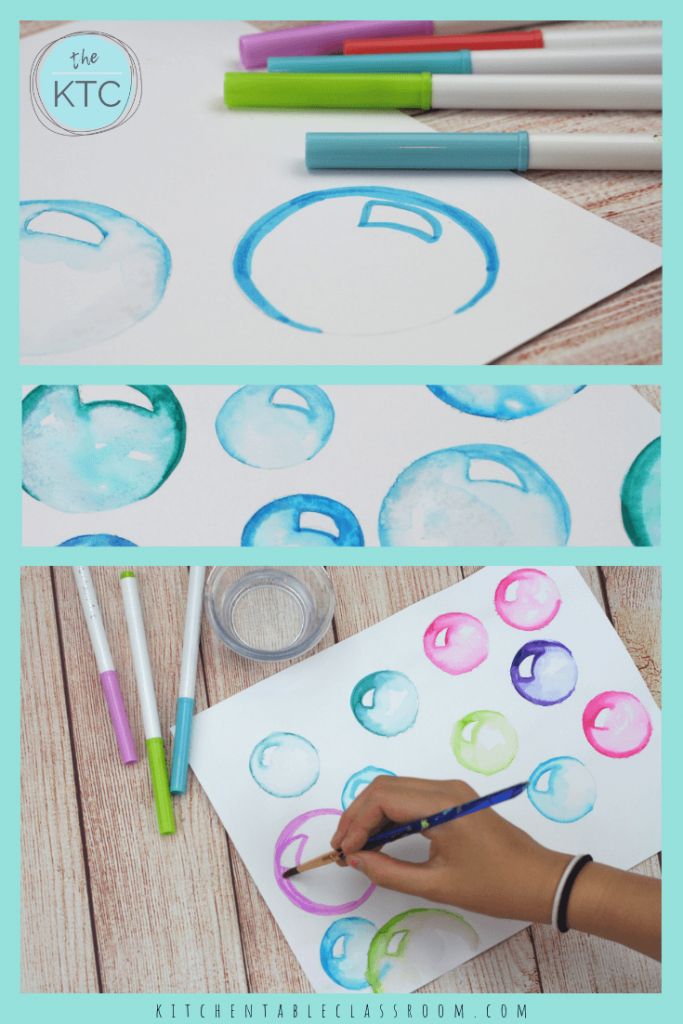
11. Painting with soap bubbles Dip the tube into the mixture (gouache, soap, water) and blow it so that you get soap bubbles. Touch a clean sheet of paper to the bubbles, as if transferring them to the paper. It turns out interesting prints, you can finish the details.
12 Drawing with crumpled paper or plastic bag
Drawing technology: dilute watercolor paint in a saucer. Crumple paper or a plastic bag, dip in paint and make an imprint on paper. Then with a brush we will finish the details of the picture. Material: crumpled paper or plastic bag, watercolor paints, brushes, saucer, napkins, sheet of paper.
13. Instead of a brush, a hole punch.
On a piece of paper, make several holes with a hole punch in random order. Show how you can get symmetrical holes by folding the sheet several times. Sticking a punctured sheet onto colored paper using multi-colored pencils can complete the picture using colored pencils.
14. Drawing on wet paper
Soak a ball of cotton wool in clean water, wring it out and pass it either over the entire sheet of paper, or (if required) only over a separate part. And the paper is ready to produce vague images. Next, we give the children a specific topic for vague images and the guys draw with paints according to their imagination.
15 Plasticineography - drawing with plasticine
Children are offered sheets of cardboard with a ready-made contour drawing or cardboard with a template.
Plasticine is softened in the hands, then they begin to smear from the contour to the middle in a circular motion
16 Design on crumpled paper
Use crumpled paper as the basis for the design. First crush it well and tune in to work. At the same time, you can draw with paints or pencils (chalk), you can cut off the edges of the picture, making it in the form of an oval, circle, etc.
17. Embossing on foil
Develops perseverance, fine motor skills of hands, creativity Material: foil, plastic stick (you can use a sandwich or a rod from a pen that does not write).
A child draws a plot or just one or two objects on foil. It turns out the coinage. You can diversify your work. A carbon copy and a drawing are superimposed on top of the foil. The child circles it around the contour with a stick. What was printed on the top sheet is exactly printed on the foil.
18 Salt painting.
First, sketch on paper, moisten it with water with a brush, sprinkle with salt, wait until it absorbs water, pour off excess salt. When everything dries, draw the missing elements and color.
Salt is good for drawing dragonflies, smoke, snow, butterflies, birds, jellyfish.
19. Drawings are invisible. A sheet of white paper, a brush, milk is poured into a saucer. Draw a picture instead of paints, use milk, when it dries, the picture will disappear.
How to find out what is drawn on a sheet of paper? To do this, just iron the paper with an iron or hold it over the included table lamp.
20 Nitkography Method of obtaining an image: we dip the threads into the paint so that they are saturated, while the ends of the thread must remain dry.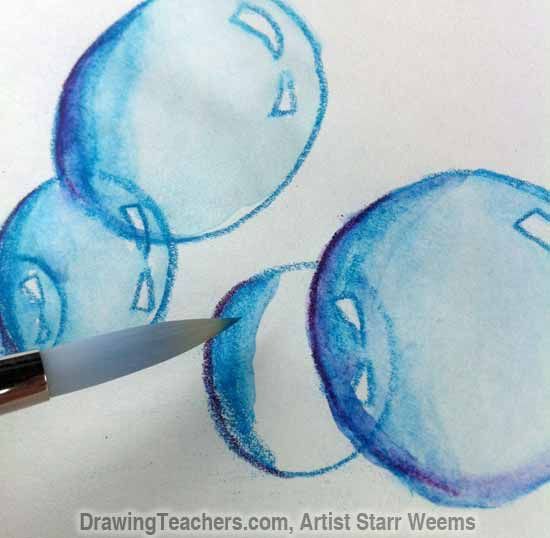 We lay the thread on a sheet of paper in random order, cover it with a clean sheet of paper on top, the ends of the thread should be visible. Pull the ends of the thread while pressing the top sheet of paper. Draw the necessary elements. After mastering this technique using one thread, you can complicate the work and use two or more threads.
Such classes maintain mental balance, provide an opportunity for a safe release of emotions, while the child has the opportunity to realize his creative potential, to create as he wants, to be free from any pressure, imposing someone else's opinion.
The child's faith in his own strength is also strengthened, individuality and autonomy develop.
The novelty of the environment, the unusual beginning of work, beautiful and varied materials, non-repetitive tasks that are interesting for children, the possibility of choosing, and many other factors - this is what helps prevent monotony and boredom from children's visual activity, ensures the liveliness and immediacy of children's perception and activity.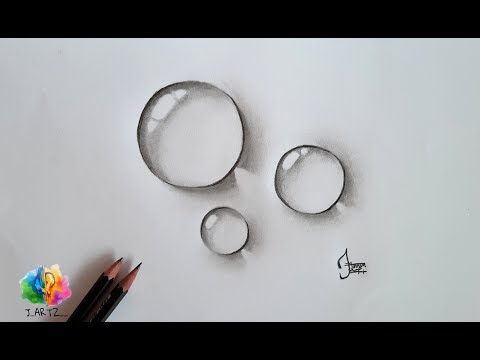 It is important that every time the educator creates a new situation so that the children, on the one hand, can apply the knowledge, skills and abilities they have learned earlier, and, on the other hand, look for new solutions and creative approaches. This is what causes positive emotions in a child, joyful surprise, a desire to work creatively.
Read "KALYAKI-MALYAKI" - Sakharova Olga Mikhailovna - Page 3
And on the third hat you can invent and draw a pattern for yourself.
Snowman
Once Musya looked out the window and shouted:
— Look, Vasya, it's snowing! Winter, winter has come!
— If there is a lot of snow, then we will make a snowman, — Vasya was delighted.
Let's draw snow falling. Let it be a lot, a lot, so that the kittens can make a snowman (draw falling snow with dots or small circles from top to bottom).
The kittens got dressed and ran outside.
— Look, someone has already made a snowman! So that this snowman does not get bored, we make a friend for him! Vasya said.
Let's help the kittens build a snowman!
- Where to start? Musya thought.
First, roll up a large ball (draw it in a circular motion - “roll it up”. You can do this, and the rest of the balls will be drawn by the child).
We put a smaller ball on it. Above is a small ball. This is the head. From the sides to the body "stick" small balls. These will be the snowman's hands.
- The snowman is ready! Musya exclaimed. How do you think we drew everything?
— And the face? asked Vasya (we draw eyes with dots, short strokes - eyebrows, a semicircle of a mouth and a nose in the form of a carrot).
Well, now the snowman is ready!
- Vasya, Musya! Come to us! - called the Hedgehog and the Mouse. They were skating. Let's ride together!
You and I can draw the tracks left by the skates on the ice (draw the tracks from the skates with arbitrary lines).
Soap bubbles
Once Vasya was blowing soap bubbles.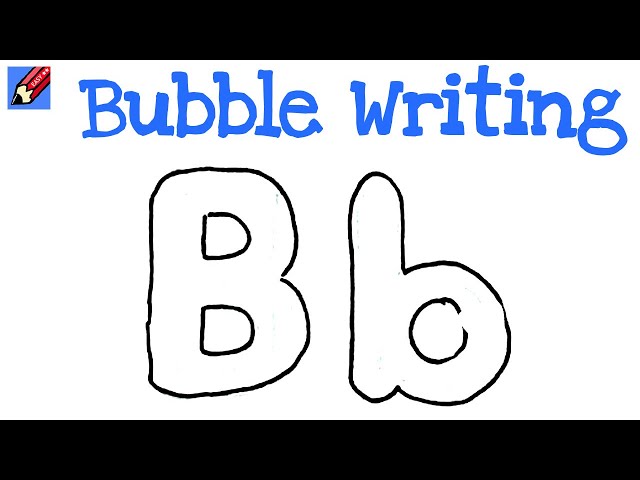 The bubbles were big and small. They shimmered in the sun in different colors. Musya ran and caught them. It was a lot of fun!
“Now I have to go to the store,” Vasya said and left.
Musya was left alone. She so wanted to play with soap bubbles!
Let's help Musa and draw lots and lots of big and small soap bubbles for her (show the child how to draw circles, large and small. different color).
So bubbles flew over the clearing! Suddenly, a magpie flew in, grabbed a stick through which bubbles are blown, and carried it away! Musya almost cried! Let's help Musa and draw a lot of sticks for her. It looks like this: a circle through which bubbles are blown (draw a circle), and a pen (draw a line. If it is still difficult for a child to draw a closed circle, then you draw a circle, and the child draws a pen).
Musya will see our new sticks and will be delighted.
Sea
One day a Mouse ran up to Vasya and Musa and squeaked:
— Look what I drew! The kittens began to look at the drawing.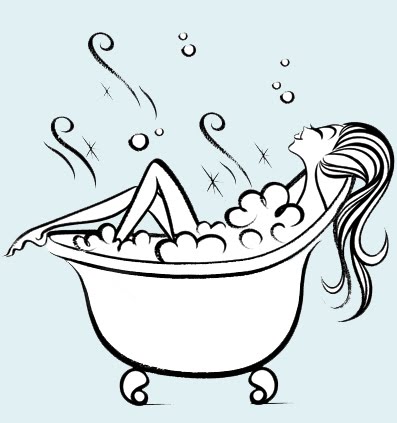
- This is a steamer! Mouse said proudly.
— In my opinion, something is missing in the drawing, — said Musya. Is your ship on the shore?
— No, he swims on the sea, — answered the Mouse.
— And where is the sea, where are the waves? Vasya asked.
— I don't know how to draw them, — the Mouse got upset.
“We will help you,” said Vasya (we draw wavy lines, you can put your hand on the child’s hand and show how the hand should move).
The sea is ready.
“And yet the ship is not sailing,” said Vasya.
— But why? asked the Mouse.
— If there is no smoke coming out of the chimney, then the steamer does not float, but stands still! — explained Vasya.
“We need to draw smoke,” said Musya (we draw smoke in circular motions). — I would like to sail on that steamer and look out the window!
“Windows on a ship are called portholes, and they are round,” Vasya said.
- Let's draw now! - said Mouse (we draw circles - portholes.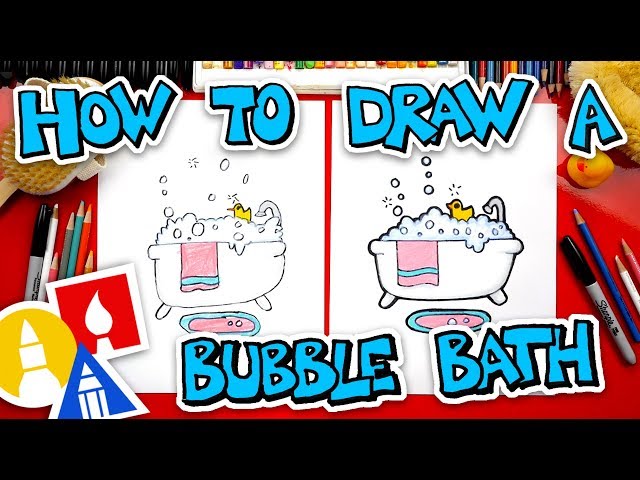 If the circles do not work out, you can make portholes in the form of balls).
What a wonderful drawing we have!
Aquarium for fish
One day an Evil Fish swam into the lake. She began to eat small fish. Vasya and Musya found out about this and decided to help the fish.
- Let the fish live in our aquarium for a while, and we will catch the Evil Fish! But in the aquarium everything should be the same as in lake , , Vasya said.
— And what should be there? Musya asked.
“Water, pebbles and seaweed,” answered the fish. Let's help Vasya and Musya arrange an aquarium for the fish.
First, put pebbles and sand on the bottom (draw pebbles in the form of circles and sand as dots).
Let's plant algae - "Rybkin forest" (draw wavy lines from the bottom up. You can draw small lines on the algae - "leaves").
Now pour water into the aquarium (draw wavy short or long lines horizontally).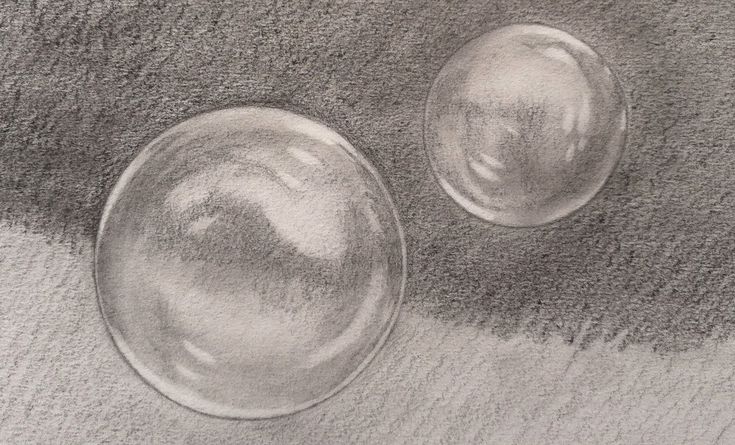
- Let's feed the fish! Musya suggested.
Let's also feed the fish: put food into the aquarium (draw the food with dots).
— Well, now the fish will be fine in our aquarium, — said Vasya. “And we’ll go catch Evil Fish!”
Vasya and Musya came to the lake, and Evil Fish told them (draw circles-bubbles):
- I'm angry because I don't have scales!
— How can I help her? Musya asked Vasya.
— Let's draw those scales for her!
Let's show Vasya and Musa how to draw the scales of the Evil Fish (draw the scales with wavy or arched lines).
- What beautiful scales I have! said the Evil Fish. And she became kind.
Gifts for Musya
Today is Musya's birthday.
“We need to prepare some presents for Musa,” thought Vasya. - Musya loves sweets, beads, as well as balloons and balls ... What can I give her? Yes, you need to decorate the cake! How can I get everything done?
Do you want to help Vasya? He has so much to do!
Decorate the cake with berries (draw berries in the form of large and small circles or balls), sprinkle with chocolate chips (draw chocolate chips with dots or strokes; think together how else you can decorate the cake).
Learn more