Learning alphabets sounds
5 Fun And Easy Tips
Letter sounds are one of the very first things your child will encounter when they begin to explore reading.
By recognizing the phonetic sounds that alphabetic letters make, your child will take their first big step toward associating words with their individual sounds, an essential tool for, when the time is right, sounding out words.
Most new readers start from the same place — by learning their letters! And no matter where your child is on their reading journey, working with them on their letter sounds is a great way to help strengthen their fundamental skills.
Here are five fun and effective tips for working on letter sounds with your child.
5 Fun And Easy Ways To Teach Letter Sounds
1) Touch And Feel Letters
Humans are tactile creatures, and we depend on touch to tell us a lot about the world around us. This is especially true of kids when they’re learning!
Although most traditional reading curriculums focus on auditory and visual cues for letters and their sounds, touch can be helpful, too. We have five senses, after all, so we might as well take advantage of them!
As opposed to relying solely on how a letter looks when it’s written (and flat), adding in a physical sensory element can help your child build a stronger connection to the letter sound they’re trying to learn.
Doing this engages an extra part of their brain while they learn. Not only will they know what the letter looks and sounds like but also what it “feels” like. Associating the “feel” of a letter with its pronunciation may help them gain a better understanding of letter sounds more quickly.
There are plenty of options for exploring reading through your child’s sense of touch. The best part? Your child will get to do one of their favorite things — make a mess! Letting them get messy with letters provides a great incentive to learn.
If you’d like to try this tactile learning style, you can get started by grabbing a few blank pieces of paper. Using a thick, dark marker, write out the letters you want your child to work on.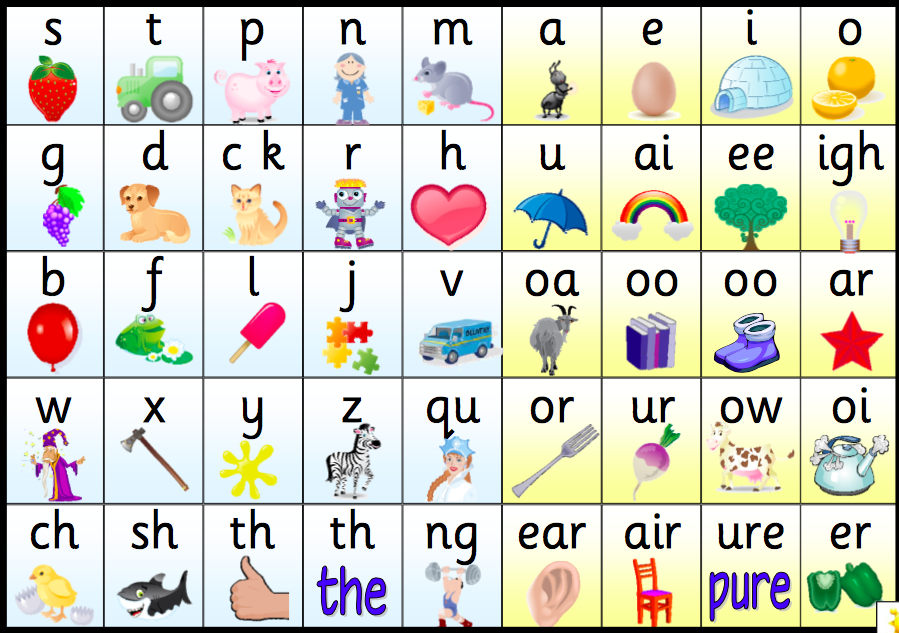
Then, you can simply grab whatever you have around the house that is malleable enough to form into letters. PlayDoh or kinetic sand are both great options.
We recommend saying the associated letter sound as your child looks at and forms the written letter with the PlayDoh or kinetic sand. You can also encourage them to shape their material over the outlined letter on the page if they need some extra guidance.
Feel free to also brainstorm words with them that share the letter sound they’re practicing. This could help them make even more connections to the letter and its sound!
If you don’t mind a little extra clean up, shaving cream can also be a great option! Simply spread out the shaving cream on a flat surface. Trace out the letter for them in the shaving cream, then ask them to do the same while you repeat the letter sound.
2) Connect Letter Sounds To Familiar Symbols
Letters and their sounds might be unfamiliar to your child. By making a connection between letter sounds and items or symbols your child might already be familiar with, you can help bridge the gap between what they don’t know yet and what they do!
Utilizing things that your child already knows and loves may encourage them to get more engaged with learning their letter sounds.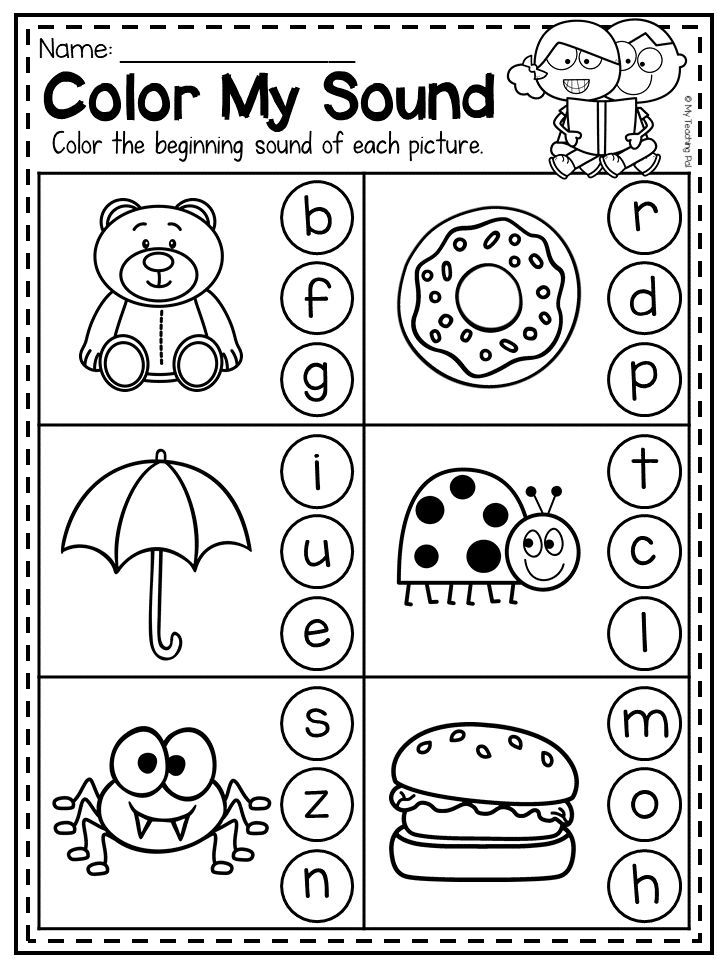 Familiar ideas will also make them feel more confident and comfortable while learning.
For example, if you want to start with the letter “T,” consider printing out pictures of things that start with “T” that your child loves, such as trucks and tigers. Let your child choose which pictures to use, and then help them create their very own alphabet book with those images!
Working with your child to construct their personal letter-sound alphabet — a mixture of the specific picture you want them to learn to associate with a particular letter sound — is an easy and fun craft project that will pay off in the long run.
The more personalized you can make the learning process the more fun your young learner will have!
Familiarity can also help your child beyond simply learning the letter sound: it helps them build confidence! The more your child feels like they understand and know what they’re reading, the more likely they’ll be to develop an enthusiasm for learning.
3) Repetition, Repetition, Repetition
This technique focuses on repetition, which is great for getting your child familiar with their letter sounds.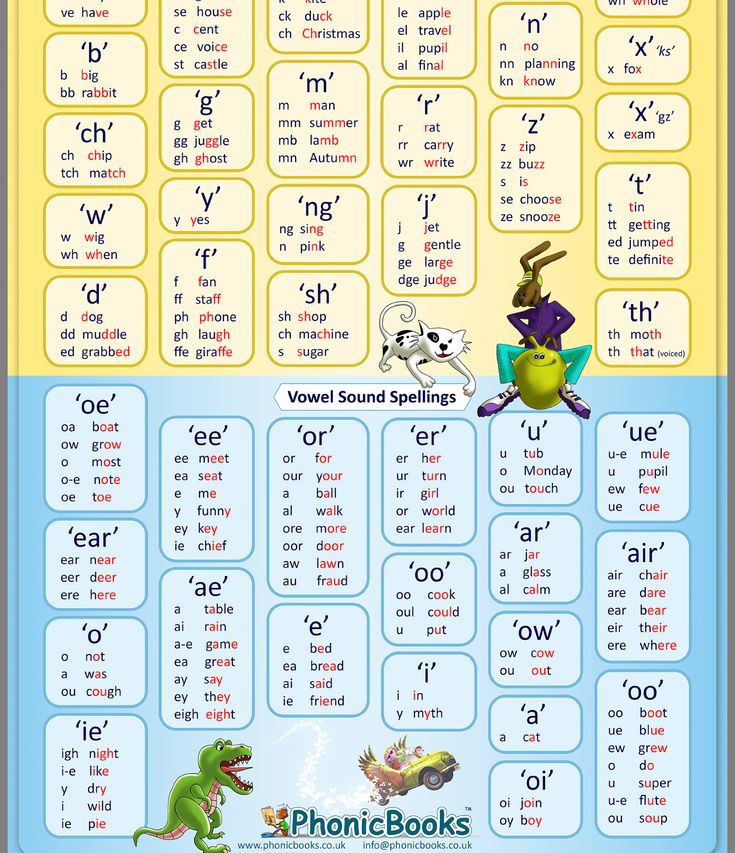 By consistently repeating the same letter sounds to them, you can help your child more easily pick up on them.
A great idea might be to focus on introducing your child to one letter sound at a time. You could make a “letter of the week” jar for your child. Place an empty jar on your counter labeled with the letter sound for the week.
Every time your child points out a word they’ve heard that starts with the letter sound of the week, they earn a “ticket” or “point” in the letter sound jar (you could also use stickers on a poster if you don’t have a jar handy).
Challenge your child to gain three or four points (or more!) during the day. You’ll want the jar to be somewhere your child sees it often — maybe in the kitchen so you can prompt your learner to think of a word while you’re making dinner or washing dishes!
They don’t have to rely on only the things they hear or see in real life, especially when it comes to those trickier letter sounds (like x, q, or z). Consider using some of your daily reading time to flip through magazines or books and point out the letter sound whenever you come across it.
Emphasizing repetition this way really gives your child the chance to focus intensely on a single letter and explore the primary sound it represents!
Giving them ample amounts of time, practice, and exposure to one sound at a time may help them with their learning longevity.
4) Digital Letters In The 21st Century
Technology is a huge new factor in modern-day learning. Not only do children learn how to read and write texts, but now they also have to learn how to use a keyboard at a very young age.
While too much media time can be bad for your child, there are ways to be mindful about media consumption and incorporate media into their letter-sound learning. Especially for busy families, media can be a really useful asset to add to your parenting tool belt.
If you’re looking for a safe, personalized, and reliable place for your child to work on their reading and letter-sound skills, our online learning center has tons of playful games and exercises!
Your child can also use a simple keyboard to engage their letter-sound skills.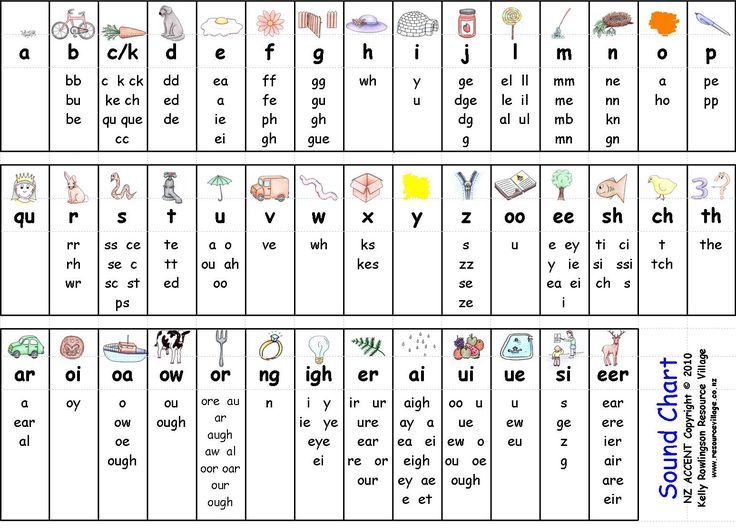 For this activity, you can call out the sound of a letter and ask your child to hit or point to the letter it matches on a keyboard.
This exercise is easy and versatile, as you can use any keyboard you have around — on your phone, your computer, or a device designed for kids. And your child will probably love pretending to be a grown-up just like you!
5) Bingo
Classics are classics for a reason. And Bingo is a time-tested, kid-approved game!
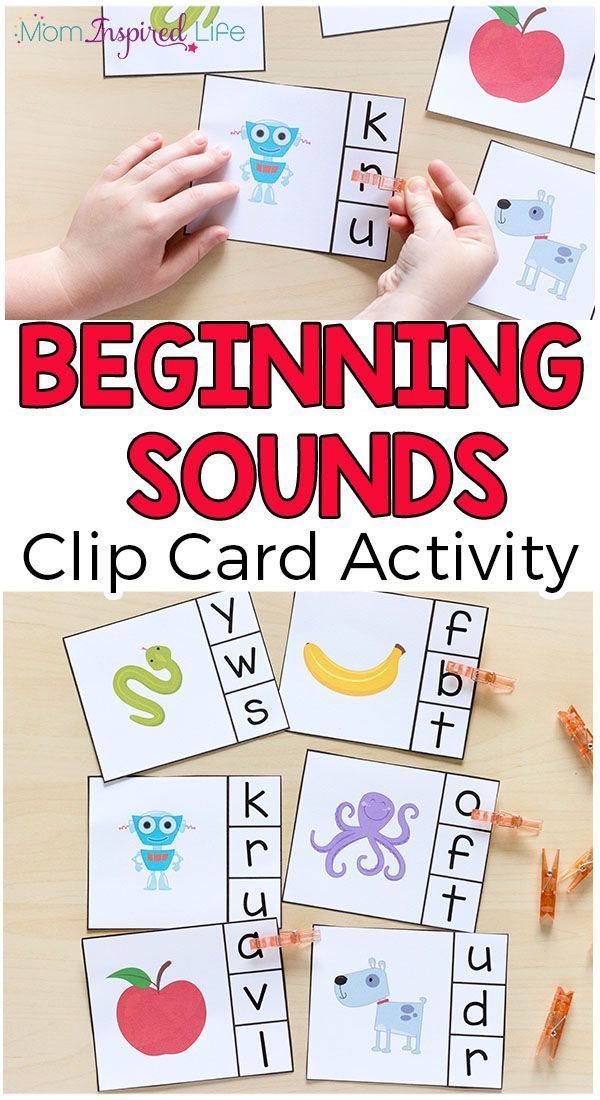
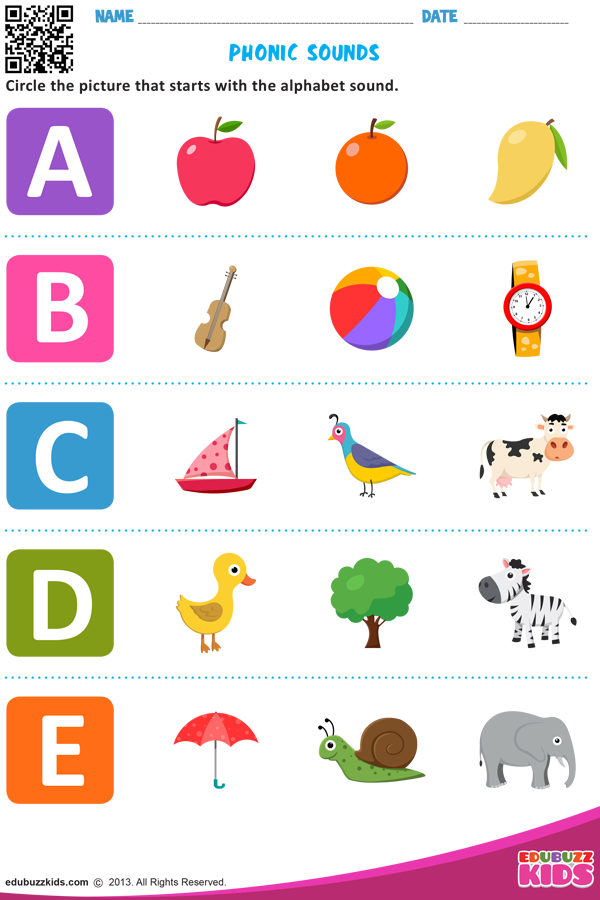
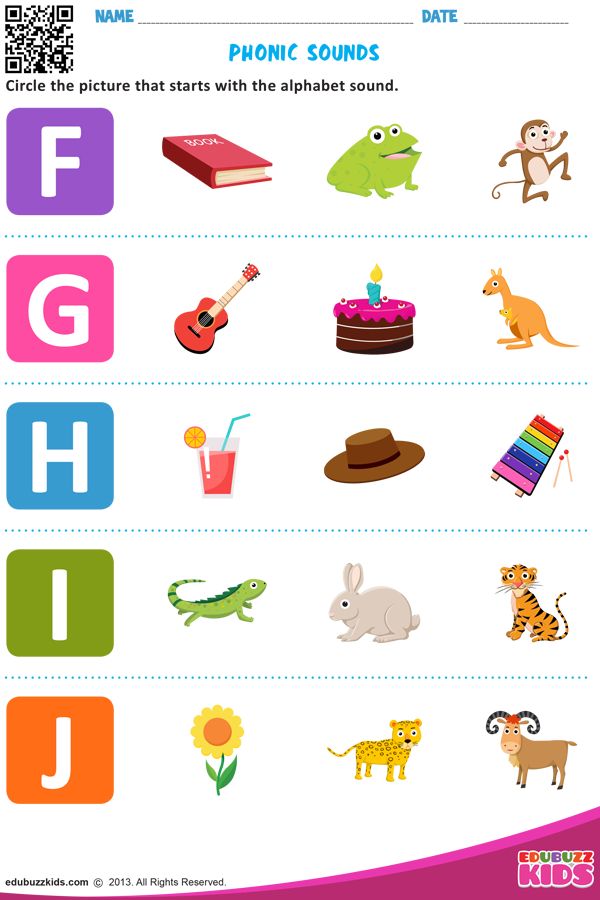
If you’d like to take a shot at this activity, draw or print out a Bingo sheet that has pictures of things your child is familiar with (remember tip #2!). We recommend sticking to things they see daily, like apples (for the “a” letter sound), bikes (for the “b” letter sound), and so on.
To play, call out a letter sound and instruct your child to mark off the picture that begins with the same sound. If your child has siblings or neighborhood friends, consider inviting them to play along (it makes for a great virtual game, too).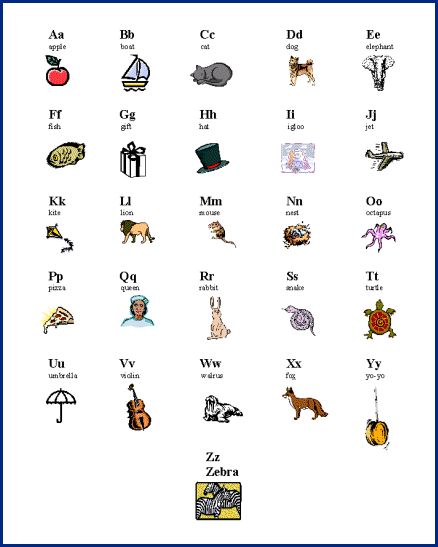
The first to make it to bingo wins!
Making Letter Sounds Fun And Functional
We hope these tips were helpful and gave you some creative ideas for how to get your child engaged with letter sounds (while having a blast along the way!).
We always want to leave you with a reminder that on the journey toward helping your child become a confident, enthusiastic reader, it may take some time to discover what learning strategies are the perfect fit for them. That’s OK!
If you ever need a little extra help or want to switch up your child’s learning routine, our learning center is always open and full of engaging and effective exercises for your emerging reader!
Author
Videos for Learning Letter Sounds
Last updated on January 5, 2022
Don’t waste time searching for videos on YouTube! I’ve compiled a list of my five favorite tried-and-true videos for teaching and learning letter sounds.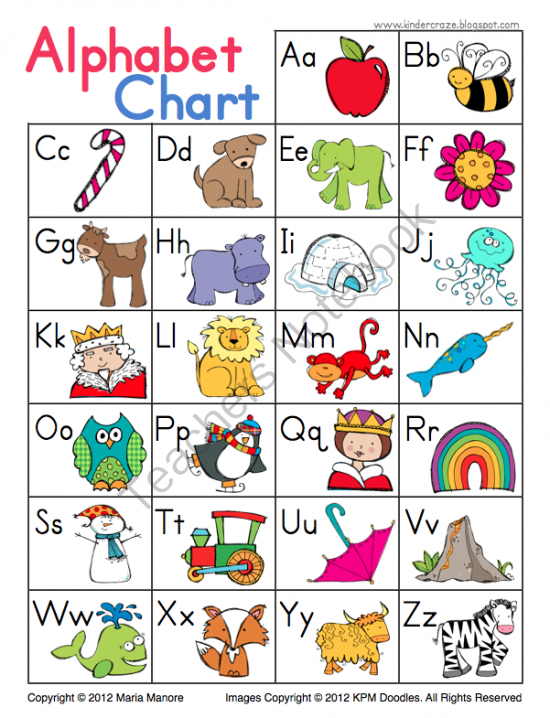
It’s the 21st century, and we know that videos are highly engaging for kids and adults alike. So why not use videos for teaching and learning?
I love using videos with my kindergarten students, especially my English language learners (ESL/ELL students). There’s just something about songs that helps learning “stick.”
You can use educational videos to open a lesson, as a warm up, to fill in the small time gaps during the day, or as a review at the end of the day.
I’ve scoured YouTube for videos for learning letter sounds. Here are the top five videos that I recommend!
Learning Videos for the Classroom
While I personally believe these videos are appropriate for preschool, kindergarten and first grade classrooms, remember that there can often be inappropriate ads before and after YouTube videos. Also, I always recommend previewing the full video before showing it to your class.
If you plan to show YouTube videos in your classroom, I highly recommend that you read this blog post by Catherine, the Brown Bag Teacher.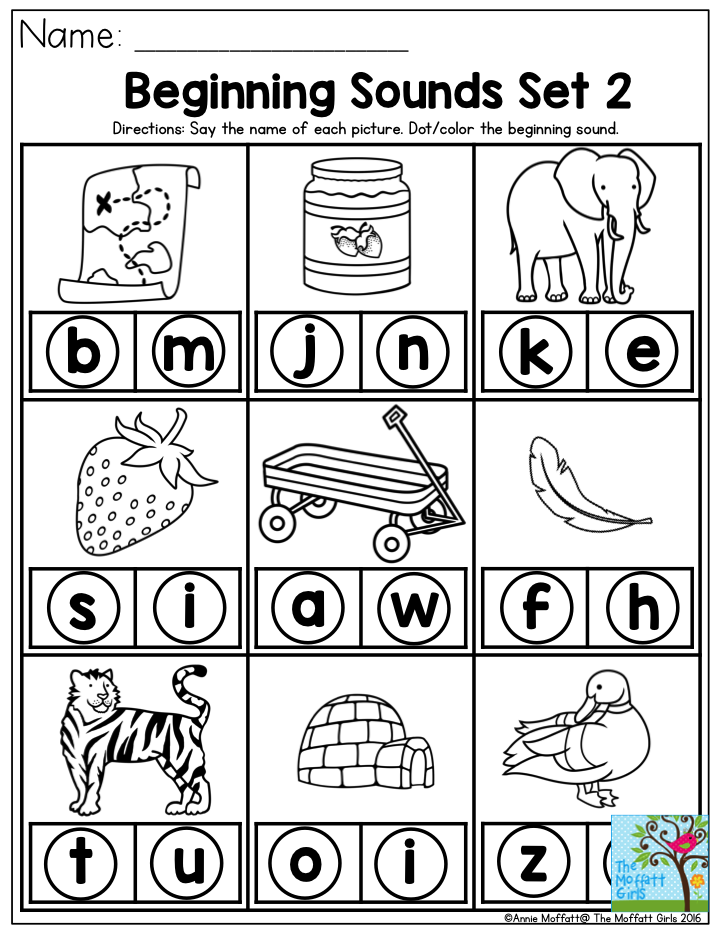 She shares three ways to eliminate YouTube video ads so that you can safely play these learning videos in your classroom.
Without further ado, here are five fabulous videos for teaching and learning letter sounds in the classroom!
Videos for Learning Letter Sounds
1. Have Fun Teaching’s Alphabet Song
This video is perfect for practicing letter names and sounds. It says the names of the letters clearly as they appear, which provides great visual repetition. It also a catchy song and is well-loved by students.
2. The Letter Factory Letter Sounds
This video is a kindergarten teacher favorite! It has all of the clips and songs from the Letter Factory video. Each sound is sung many times. The letters are shown so students can connect the sounds to the letters. There are also many word/sound connections. For example, “l” is sung by licking lollipops.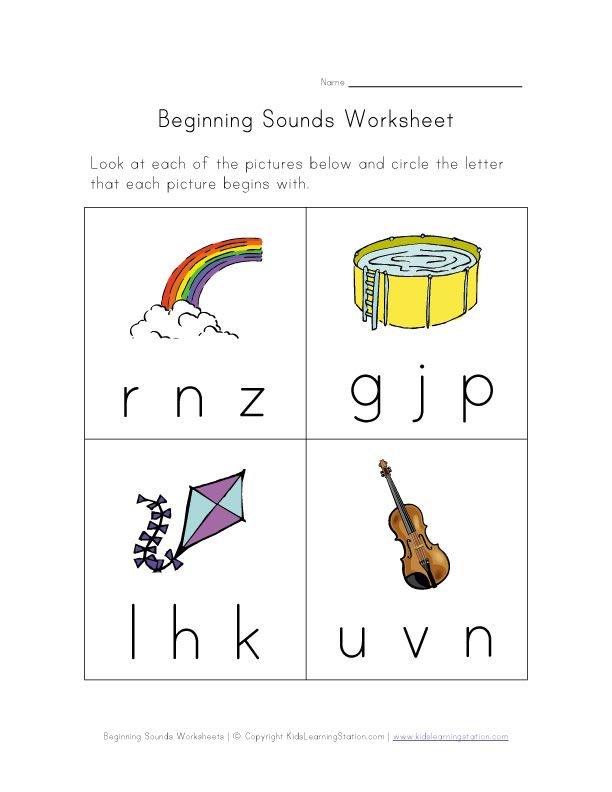
[Note: Every time I start open the link to this video, it begins the video at 50 seconds in, which is the letter E. To start at the letter A, just click on the beginning of the video so it starts at 0:01.]
If you like this video, you can purchase the whole thing as a DVD or even stream it from Amazon! [affiliate]
3. Learning Letter Sounds
Have you heard of Jack Hartmann? He has some amazing educational videos on YouTube. In this video, Jack is “on the beach.” He reviews all the letter names and sounds in order. He also acts out each beginning sound as the word/object is displayed on the screen. I love that he focuses on building brain and body connections!
4. Act Out the Alphabet
This is great for English language learners! In this video, Jack acts out the alphabet (in order). It’s kinesthetic, so there’s a movement for every letter sound. For each letter, he says the letter name, letter sound, a word that starts with the letter and acts it out in a way for students to mimic.
5. Letter Sound Automaticity
This video is more “advanced” because it practices the letter sounds out-of-order (just like Move & Master Fluency Tables – Alphabet Edition)! It mixes lowercase and uppercase letters and it includes long vowel sounds, too! As it shows each letter, it gives 4 seconds of wait time for students to say the letter sound before Jack reinforces it by saying it in the video. Each letter sound is reviewed twice.
Do you know of any videos for teaching letter sounds?
What do you think? Do you have any videos you could add to the list? If so, please let me know in the comments below! I would love to update this post with more videos. 🥳
🥳
FREE Phonics Resource
If you’re teaching letter sounds, you’ll probably be interested in this FREE “Help Your Child Learn to Read” brochure for your students’ parents!
About the Author
Lauren
I help elementary teachers streamline their phonics and reading instruction by giving them all of the information and resources they need to maximize every reading lesson and raise their students reading levels once and for all.
You May Also Enjoy These
Reader Interactions
Learning the alphabet: methods, exercises and games for children
The alphabet is the foundation of reading. Therefore, before you start reading and writing, teach your children the letters.
Children can start learning to read as early as preschool age. Parents and teachers need to teach the child to pronounce sounds correctly in their native language. These are important prerequisites for learning letters and learning to read successfully. The educational process of preschool children is based on visual, acoustic and tactile exercises.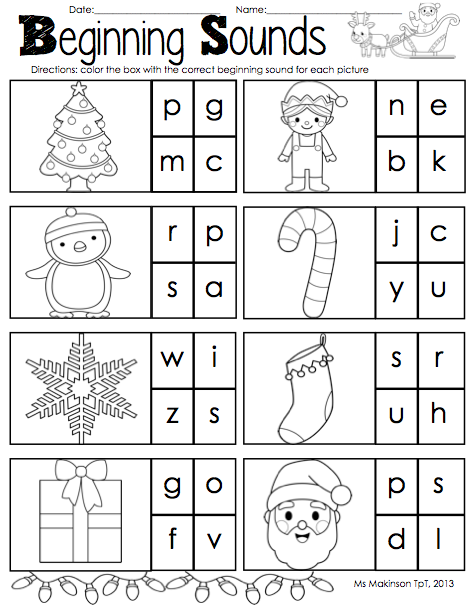 The use of various channels of perception in the educational process increases its effectiveness and stimulates long-term memorization of letters.
Learning the alphabet: introducing the child to the alphabet.
To master reading, a child must learn and recognize not only the graphic form of letters, but also be able to compare them with their corresponding sounds. This means that the child must be able to write letters and pronounce them. When the child learns to correctly pronounce all the sounds in his native language and distinguish letters by visual form, go directly to reading. As a rule, at the age of 5-6 years, most children no longer experience difficulties in this.
See also: Reading and bilingualism. Bilingualism in children
From the age of 5 to 6, children begin to understand that there is a lot of information encoded in language using letters. Thus, they are interested in learning to read by then, as they are naturally curious.
Of course, babies can learn and memorize individual letters quite early. However, their interest, mostly spontaneous, is directed to individual words and letters. Here it is important to gently motivate the child by encouraging him to learn through games and a comfortable environment. However, too much pressure can lead to stress, causing little ones to lose any motivation to learn letters.
Alphabet learning games
The first rule of learning the alphabet: learn the letters one by one!
Don't forget, each letter is made up of visually similar elements. If you try to teach a child several letters at a time, he may become confused. Learn the letters one by one. One lesson - one letter.
Second rule of learning the alphabet: take your time!
Give your child enough time for each letter. Plan 1-2 lessons for each new letter. Organize the lesson in a form that is interesting for the child with the help of games.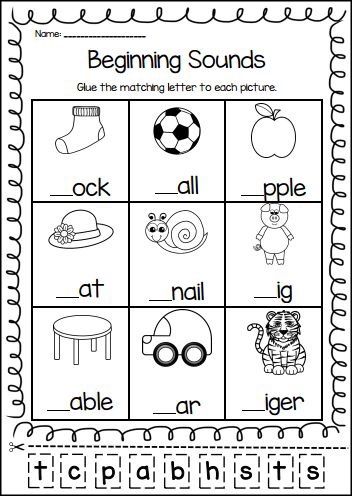
Tactile method: from studying letters to reading
The child sees something abstract in a letter. Chains of associations will help in learning letters. Associating each letter with something specific or familiar helps the child fix it in his memory.
1. Make a letter out of plasticine
Let's memorize what a letter looks like and develop fine motor skills.
We will need: plasticine (should be elastic), modeling board and a disposable plastic knife.
Together with your child, roll out 8 approximately identical sausages from plasticine. 2 - divide in half, 2 - divide into 3 parts. From the remaining 4, make rings by blinding their edges and cut 2 of them in half, creating semicircles. Thus, you should get a set of elements to compose any letters of the alphabet. Show the child a couple of examples and ask them to repeat, collecting previously passed letters.
2. Magic wands
Let's memorize letters, learn how to make letters from sticks, learn how to transform letters.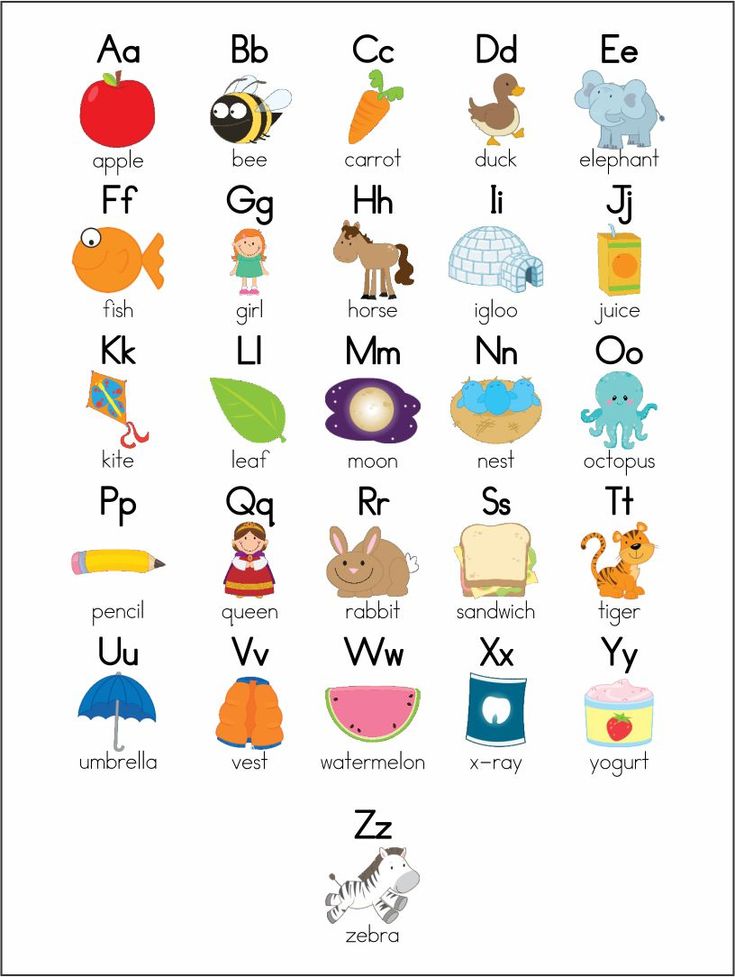
We need: a set of counting sticks. If not, you can replace with matches or toothpicks.
The easiest way is to lay out letters from sticks according to a pattern or without a pattern (according to the idea). When the child learns to lay out all the letters, you can complicate the task by laying out objects familiar to the child from them, and then ask them to change them, for example, make a figure resembling a door out of sticks, and then ask the child to remove 2 sticks to make the letter P.
3. Tactile letters
Memorize letters and develop fine motor skills
We will need: sandpaper, velvet paper, scissors.
Cut out letters from sandpaper or velvet paper. The child will have to close his eyes to identify the letter by touch.
4. Draw a letter on the semolina
Memorize letters, develop fine motor skills
We will need: bright dish tray, semolina
Pour sand or semolina in a thin layer on the tray.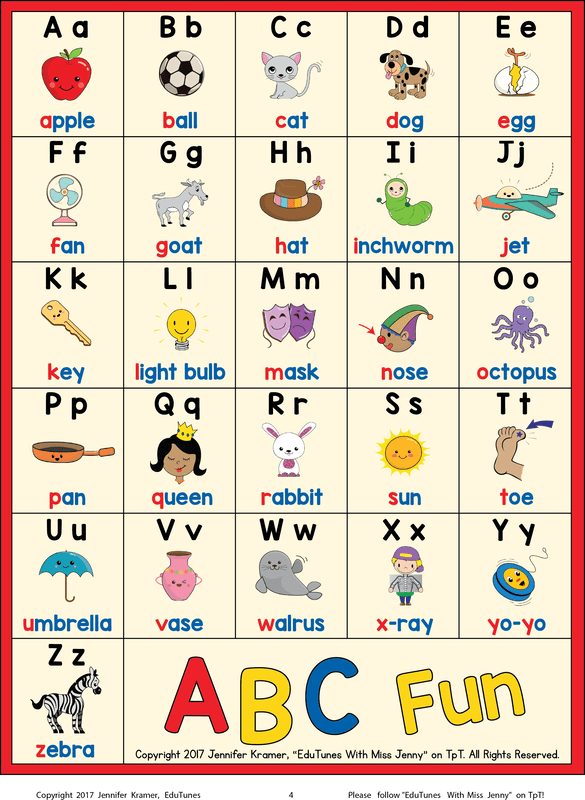 Set an example for your child, show how to write letters on the croup with a finger or a stick. Ask him to write next to the letter, the same as you wrote, to write a letter more or less than yours, to add an unfinished letter, or to erase the extra detail of the "wrong" letter. Children will like this game, just shake the tray a little, and the mistake or inaccuracy made disappears!
5. Mirror letter
Memorize letters and train attention
We will need: cardboard, pencil and scissors
Prepare identical cards cards, 2 pieces for each letter. Write 1 letter on each card. Write the letters in mirror image and correctly. Lay out cards with the same letter in front of the child and offer to choose the correct one.
6. Memory test game
Train memory
We will need: scissors, cardboard and a pencil
The game "Memory Test" will challenge even older children. Write each capital letter on one card and lowercase letter on the other card.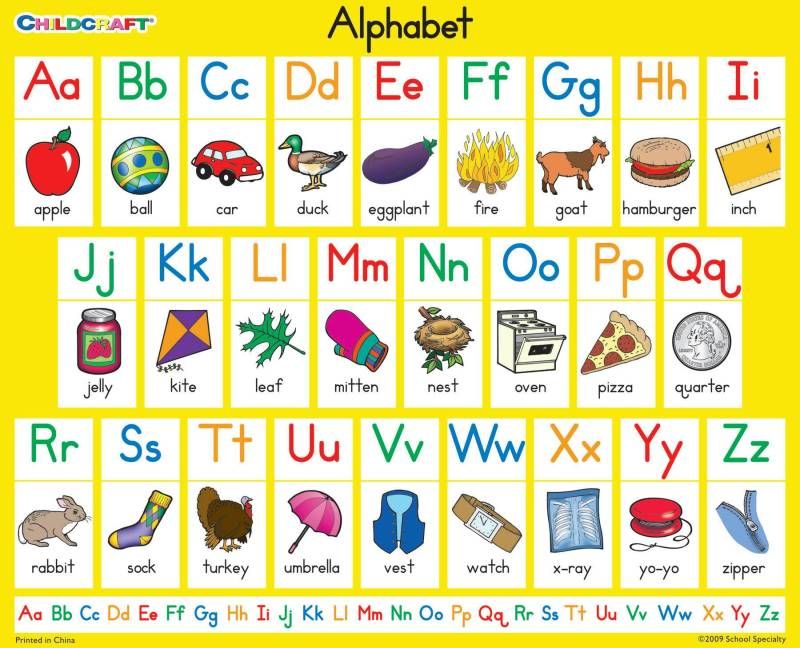 Turn over all the cards and place them on the table. Ask your child to match uppercase and lowercase letters. You can complicate and add a dictionary element. Have the children match the letter of the alphabet with the picture that starts with that letter.
7. Bean bag
Memory training
We will need: a bag of beans or other bulk material, a tablecloth or a large piece of paper.
If you want to warm up a bit while you study the letters, play a game of Beanbag. Write the alphabet randomly on a large piece of paper. Give the children a bean bag and ask them to put it on paper. The child must name a word that begins with the letter on which the bag fell. If a student is stuck, help him.
Ask the child to check the chosen letter with letters from the alphabet. Be sure to ask the name of the letter. The exercise will help children learn to distinguish visually similar letters and avoid mistakes when writing them in the future.
Drawing, coloring, cutting letters out of paper and gluing them together develop fine motor skills in children.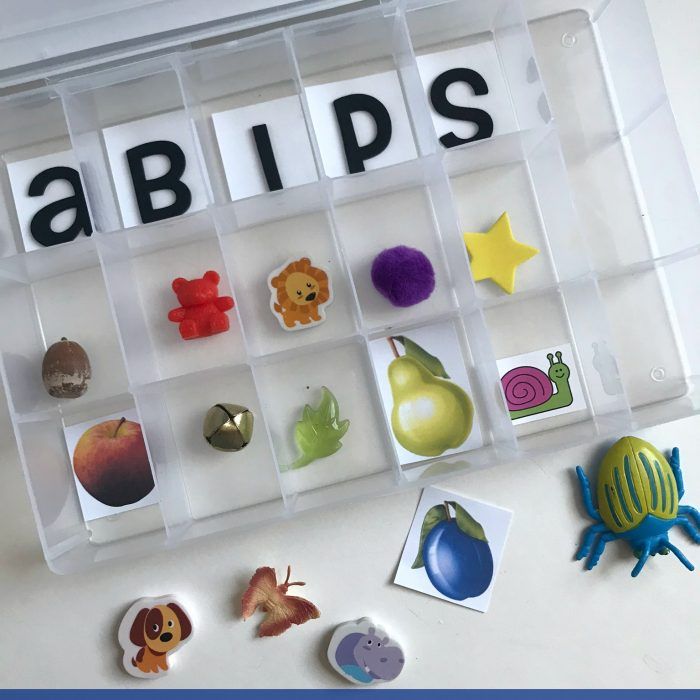 Self-made flash cards with letters facilitate memory and associative thinking, creating the basis for tactile games. You can make postcards alone or with your child. Letters can be cut out of paper of various textures and pasted onto cardboard or paper cards. Then you can ask the child to pick up letters from 2-3 cards with their eyes closed.
Literacy begins with learning the letters of the alphabet. Combine different perceptual styles. The alphabet learning games described above help children to learn letters at different levels. Moreover, fine motor skills play a crucial role in the formation of systematic connections in the mind of the child and create the basis for the development of reading and writing.
Phonetics of the Russian language for foreigners | Russian alphabet pronunciation Letters Sounds
Russian alphabet for foreigners: often not only foreigners who begin to learn Russian, but also advanced level foreigners cannot correctly pronounce some Russian sounds.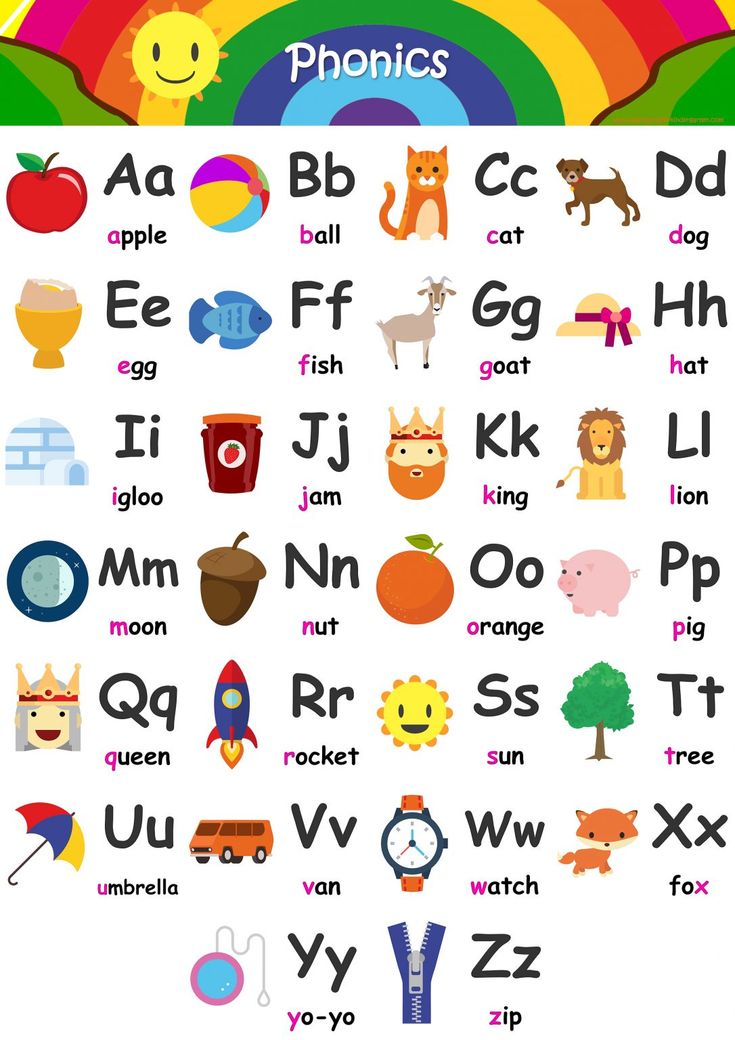 We will talk about what letters of the Russian alphabet cause difficulties for foreigners , we will give recommendations for teachers on how to teach phonetics of the Russian language, what phonetic exercises for foreigners need to be performed and what difficulties may arise in their implementation, we will separately talk about how to put the pronunciation of Russian sounds , which cause the greatest difficulties for foreigners.
Russian as a foreign language
How to teach Russian pronunciation: letters and sounds
Lessons for teachers of Russian as a foreign language (RFL)
all letters of the Russian alphabet can stand for several different sounds, for example: the letter E can stand for the sounds [E], [YE], [I], and sometimes even the letter E can stand for the sound [Y] (after the consonants Zh, Sh, Ts without accents: price, wife).
Setting the pronunciation of is another difficulty for teachers of Russian as a foreign language when teaching Russian to both beginners and foreigners continuing to study Russian.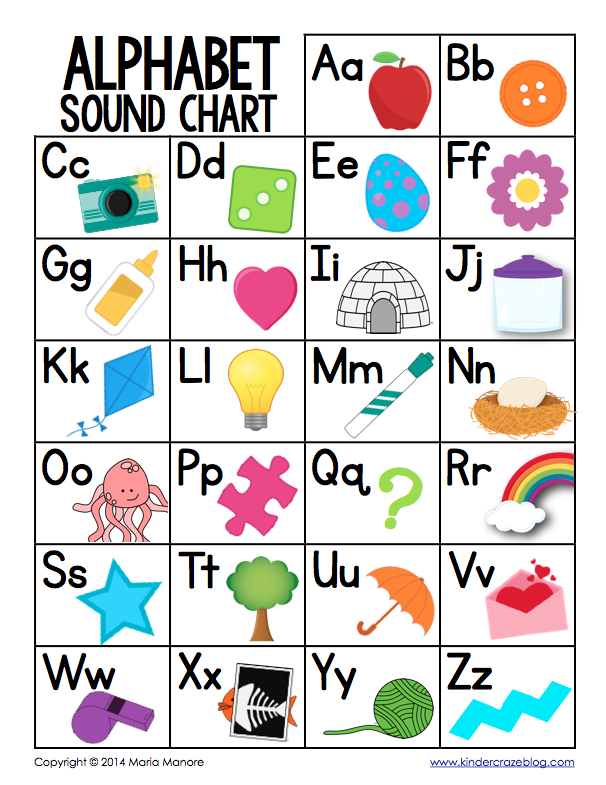 Below are recommendations, how to put the pronunciation of Russian sounds in the lessons of Russian as a foreign language.
Rules for staging Russian sounds. Teaching Russian phonetics
Russian phonetics for foreigners: work on staging any sound of the Russian language you need to start with the formulation of phonemic hearing , i.e. first you need to ensure that the foreigner distinguishes sounds by ear. This is important because many Russian sounds sound the same to foreigners. For example, if your student says “grandfather” instead of “girl”, and when you correct him, he answers that he said so, then this means that your student does not distinguish sounds [D] and [V] by ear, they are for it sound the same.
In order for foreigners to learn to distinguish sounds by ear, we recommend doing the following exercises :
Exercise "Playing with cards" :
1. Take two sheets of paper, write on them the sounds you will practice. For example, on one sheet we write D, and on the other - V. Let's give these cards to a foreigner. The teacher pronounces the sounds [D] and [V] in random order, and the foreigner must raise the corresponding card. Of course, the teacher must tell the foreigner if he makes a mistake.
2. Then the teacher pronounces syllables, for example: wa - yes, du - wu, ava - hell, etc., and the foreigner must raise the “D” card or the “B” card.
Phonetic dictation exercise :
The teacher dictates sounds, syllables, words to the student, and the foreigner writes down what he hears.
! Please note that in the exercise “Playing with Cards” and “Phonetic Dictation”, when practicing consonants, you do not need to dictate words that end in voiced paired consonants (B, C, D, D, F, Z), because. when pronouncing at the end of a word, voiced paired consonants are stunned. For example, if you dictate to a foreigner “bow”, “meadow”, then the foreigner will write down “bow”, “bow”, because “meadow” is pronounced like “lu[K]”, while your foreign student will not make a mistake, because this is a phonetic, not a spelling dictation.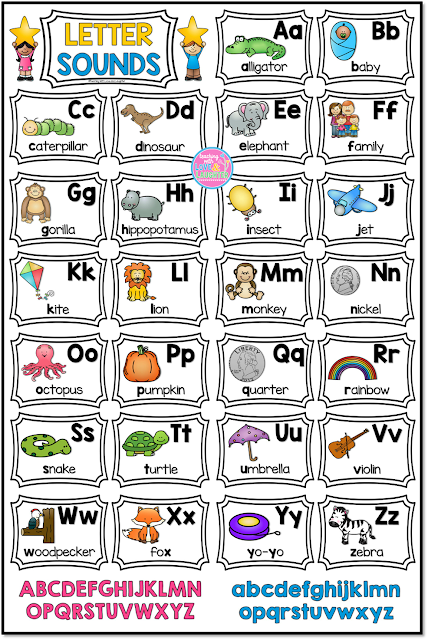
When a foreigner began to distinguish Russian sounds by ear, the teacher can already change places with the foreigner, i.e. the teacher shows the card, and the foreigner says what is written. At this stage, another problem arises: a foreigner hears and understands how a Russian sound should sound, but cannot pronounce it correctly. The greatest difficulties for foreigners arise when pronouncing the following sounds: [S], [Y], [R], [F], [C], [W], [Sh] . Below we will consider the rules for setting these sounds and give recommendations on how to explain Russian phonetics to foreigners, how to conduct phonetic exercises for foreigners.
Russian alphabet - Letters I, Y
Pronunciation of sounds [I], [Y]. Phonetic exercises for foreigners
The pronunciation of the Russian vowel sound [Ы] causes difficulties for almost all foreigners. For example, foreigners pronounce "mi" instead of "we" and "beat" instead of "be".
The pronunciation of the vowel sound [I] causes much less difficulty for foreigners.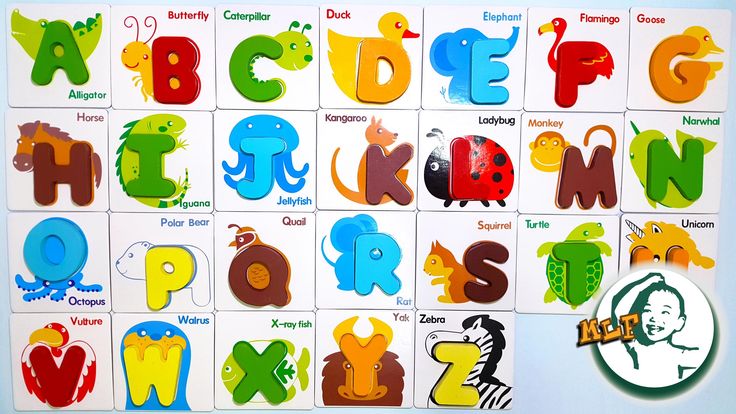 The Russian sound [I] is similar to the English sound [i:]. To pronounce the sound [I] you need to point the tongue forward and touch the tip of the tongue to the lower teeth. When pronouncing [I], your students need to smile a little :).
Let's return to the formulation of the problematic Russian sound [Ы] . When pronouncing it, the entire tongue must be pushed back and strain the back of the tongue . Now the tip of the tongue no longer touches the lower teeth, but is pushed back. When we pronounce [ы], we no longer smile (of course, such a complex sound!)
In order to help foreigners strain the back of the tongue when pronouncing the sound [ы], there is the following trick: we will use helper sounds [К] and [G]. The pronunciation of the sounds themselves [K] and [G] usually does not cause difficulty for foreigners, but when they are pronounced, the back of the tongue automatically tenses, and this is what we use in our phonetic exercise for foreigners:
yk - yg - yk - yg - yk - yg - yk - yg
ky - gy - ky - gy - ky - gy - ky - gy - s - s - s - s - s - s - s
ky - km - we - washed
gy - hmy - we - washed
ky - kvy - you - howl
gy - gvy - you - howl
ky - kby - would - was
gy - gby - would - was
soap, was, exit, exhibition, was, son, cheese, letters, smart
Russian alphabet - Letter Y
Pronunciation of the Russian sound [Y].
 How to explain the sound [Y] to foreigners?
 The attention of foreigners beginning to study the phonetics of the Russian language should be paid attention to the letter of the Russian alphabet Y. The sound [Y] is found in Russian speech much more often than the letter Y , because the vowels E, E, Yu, I are at the beginning of the word, after vowels and after the letters b and b denote two sounds: [YE], [YO], [YU], [YA], for example: [YO] lka, with [YE] hat, kal [YA] n.
Difficulty in pronouncing the sound [Y] (often this sound in transcription is denoted as [j]) usually occurs in foreigners if the letter Y is at the end of the word, for example: foreigners pronounce "sanatorium" instead of "sanatorium" or "my" instead "my". Very often, foreigners do not distinguish by ear the sounds [Y] and [I], then it is advisable to do the exercise “Playing with cards” with foreigners.
How to explain to a foreigner the difference between the sounds [Y], [I] and how to teach a foreigner to pronounce the sound [Y]?
It is necessary to explain to a foreigner that the sound [Y] is pronounced VERY briefly. The sound [And] can be sung: and-and-and-and-and-and-and-and-and-and ..., and the sound [Y] must be pronounced very briefly , as if someone pricked with a pin: OH! The sound [Y] is pronounced with a much greater tension than the sound [I], when the sound [Y] is pronounced, the middle part of the tongue rises more, so a narrower gap is created between the palate and the tongue and the air stream breaks out with more pressure, more powerfully.
Pay the attention of foreigners to the spelling of the letter of the Russian alphabet Y :
Often foreigners confuse not only the sounds [Y] and [I], but also the letters Y, I. Foreigners can write the letter Y as the letter I (without a check mark above the letter Y), they do this by analogy with the writing of the letters Yo and E, because. it is not necessary to put a dot over the letter Y in writing.
The teacher should draw the foreigner's attention to the fact that when writing the letter Y, you should always put a tick over the letter, because the absence of a check mark above the letter Y is a spelling and grammatical error. Compare: "my favorite cowboy" and "my favorite cowboys."
Russian alphabet - Letter Р
Pronunciation of the Russian sound [Р]. Phonetic exercises for foreigners
When pronouncing the Russian consonant sound [R], the tense tip of the tongue vibrates near the alveoli (these are tubercles above the upper teeth) under the action of the air jet.
So, when pronouncing the sound [R], the tip of the tongue is slightly bent upwards, touches the tubercles above the teeth and is tense. But it is quite difficult for a foreigner to make the tip of the tongue vibrate. To help a foreigner, we turn to the helper sounds [T] and [D], during the pronunciation of which the tongue automatically takes the desired position at the alveoli.
Let's start our phonetic exercises.
Let's start the motorcycle!
dr – dr – dr – dr – dr – dr – dr – dr – dr – dr – dr – dr – dr – dr – dr – dr – dr…
Whose motorcycle started up?
Let's do more exercises (pronunciation of the sound [R]):
dra - dra - dra - dra - dra - dra - dra - fight
dro - dro - dro - dro - dro - dro - dro - fraction dru - dru - dru - dru - dru - friend
tra - tra - tra - tra - tra - tra - tra - trauma
tro-tro-tro-tro-tro-tro-tro-rope
tro-tro-tro-tro-tro-tro-tro-tro-trot
| dra - dra – dra – ra – cancer draw - draw – draw – ro – rock dru - dru – dru – ru – pen dry - dry – dry – ry – fish | tra - tra – tra – ra – frame tro-tro – tro – ro – robot true - true – true – ru – Russian tra - tra – try – ry – market |
To practice the pronunciation of the soft sound [P'], in phonetic exercises, after the letter P, you need to use vowels that soften the previous consonant (E, Yo, I, Yu, Ya).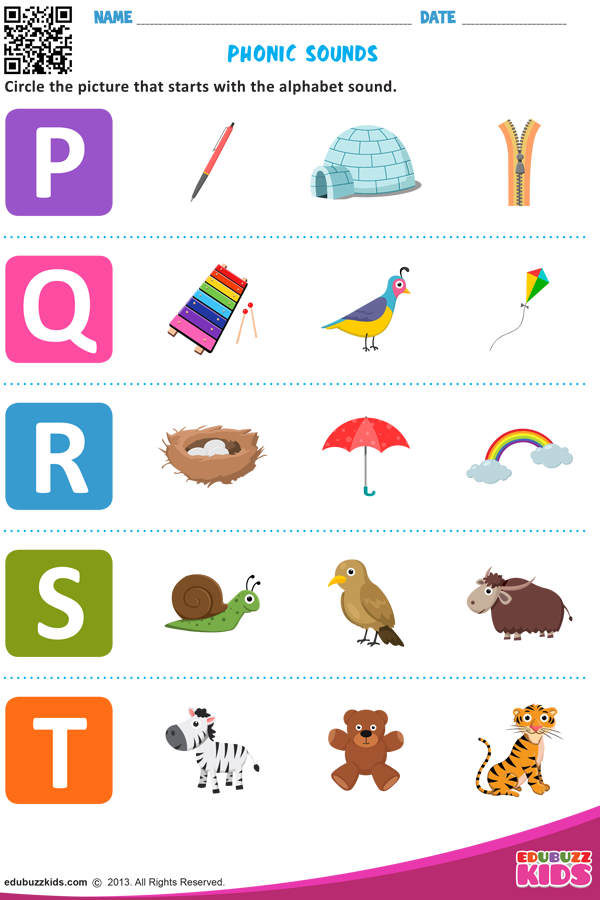
Russian alphabet - Letter Zh
Pronunciation of the Russian sound [Ж]. Phonetic exercises for foreigners
Another letter of the Russian alphabet, the letter Zh, is unusual for foreigners both in its spelling (some foreigners call it a butterfly) and in its pronunciation.
When pronouncing the sound [Ж], the tip of the tongue is raised to the alveoli (to the tubercles behind the upper teeth) and the tongue is pulled back.
To produce the zhu zhzh sound [Ж], we again turn to helper sounds: the consonant [Г] and the vowels [О], [У]. The sound [G] will help to pull the tongue back, and the sounds [O] and [U] will help to stretch forward and round the lips.
Phonetic exercises for foreigners:
gzhu - gzhu - gzhu - zhu - magazine, beetle, buzz, tell
gzho - gzho - gzho - zho - yellow, alien, knife, circle
The pronunciation of the sound [Ш] is similar to the pronunciation of the sound [Ж], but the difference lies in the fact that the sound [Ш] is pronounced without the participation of the vocal cords (no voice, only noise).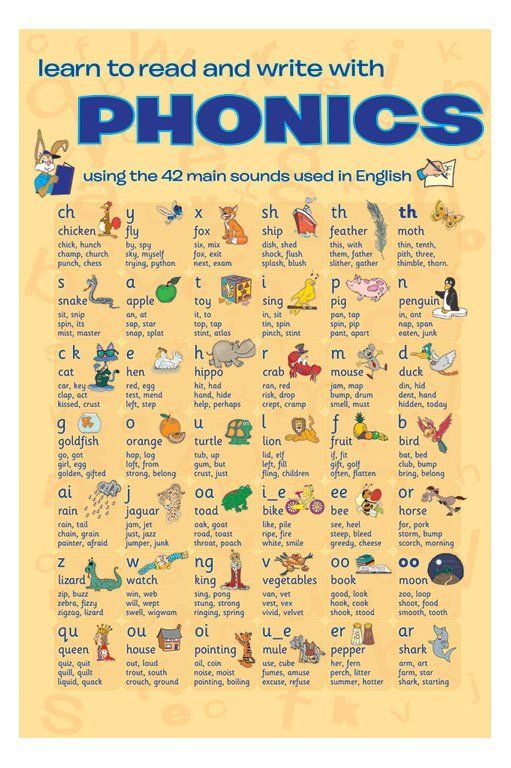 Below we will talk separately about the letters of the Russian alphabet Sh and Shch. How to explain the Russian sound [Ts] to foreigners?
The Russian sound [Ts] is a single and indivisible sound, although it is similar to the combination of sounds [T + S], which is why some foreigners pronounce two sounds [TS] instead of the letter Ts. In this case, the foreigner must be explained that the sound [T] must be pronounced maximum briefly!
It is better to work out the pronunciation of the sound [Ts] in words where the letter T is after the letters T or D, for example: fathers, to the father, with the father, thirteen, thirty, twenty, twelve, well done ...
Russian alphabet - Letters Ш and Ш
Pronunciation of Russian sounds [Ш] and [Ш]. Phonetic exercises for foreigners
Foreigners often confuse the sounds [Ш] and [Ш] and do not even distinguish these sounds by ear. In this case You already know what to do! Of course, do the exercise "Game with cards. "
"
Compare how the tongue and lips are positioned when pronouncing the sound [Ш] and the sound [Ш]:
|
| Solid sound [W] | Soft sound [S] |
| Language | Moved back, the back of the tongue is tense. | Promoted forward, has a convex shape, which is raised to the palate, the tongue is tense.
|
| Tongue tip | Raised to alveoli (to the tubercles above the upper teeth).
| more moved forward to the teeth.
|
| Lips | Stretched and rounded. | Stretched into a smile.
|
When pronouncing the sound [Щ], the entire tongue moves forward, the middle part of the tongue is raised to the palate, the tongue is tense. When pronouncing the sound [Ш], the lips are less extended forward than when pronouncing the sound [Ш]. When pronouncing the sound [Ш], the corners of the lips are slightly stretched, and when pronouncing [Ш], we do not smile.
! The sound [Щ] is pronounced LONGER than the sound [Ш].
The sound [Щ] causes much more difficulties for foreigners. It is necessary to ensure that foreigners pronounce the sound [Щ] softly. Therefore, in the phonetic exercise, we use the vowel sound [I]:
Seek - look - shchi - shield
Seek - seek - shche - cheek
Seek - seek - shche - brush
Seek - seek - shch - feel
How to perform phonetic exercises correctly when teaching phonetics of the Russian language to foreigners
When you do any phonetic exercise , you must adhere to the following scheme:
1) When teaching the phonetics of the Russian language, the teacher first reads the letters, syllables, words, and the foreigner listens to the teacher and follows the text.
2) Then the teacher reads and the foreigner repeats.
3) And only now the foreigner reads independently.
If you need to explain to a foreigner the position of the tongue when pronouncing a sound, you can show it with your hands. For example, the right hand is rounded, fingers pointing to the floor. Now your right hand is the palate, alveoli and teeth. And from the left hand we will make a tongue. Now you can show foreigners the position of the tongue in the mouth.
Thanks to this, we will be able to do without an intermediary language when explaining almost , which, of course, is a big plus.
We always recommend using as little intermediary language as possible in the lessons of Russian as a foreign language. such lessons are much more useful for foreigners studying Russian.
When creating materials for foreigners and teachers of Russian as a foreign language, we are always focused on making Russian language lessons not only as effective as possible, but also easy.