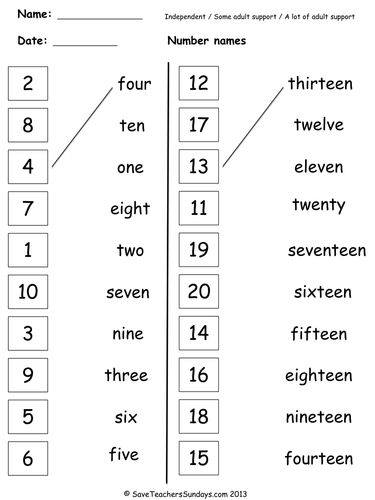
Number sight words
Number Sight Words - Primary Theme Park
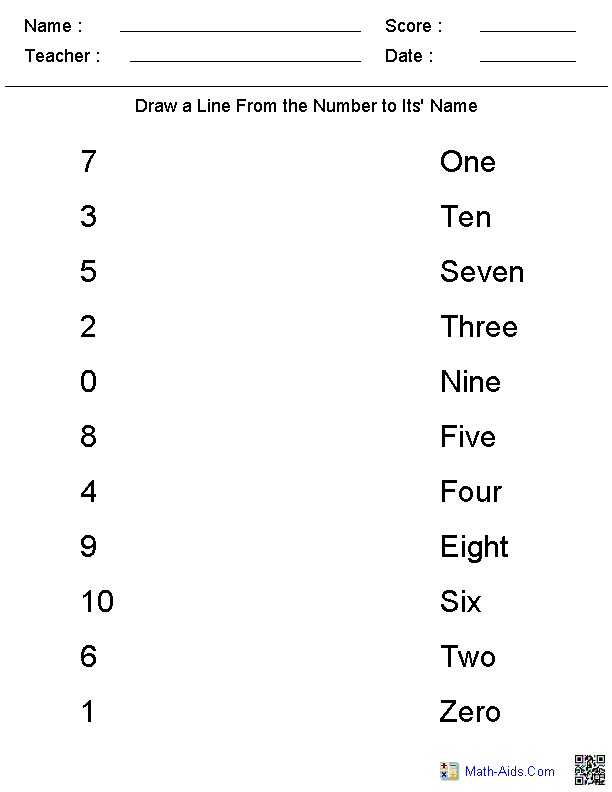
This post contains affiliate links to products I recommend. Read my full disclosure statement.Very early on in our math curriculum I knew my kids were going to need to know their number sight words pretty quickly. They were required to read and write numbers in words right off the bat and that’s hard to do if you don’t know them! So, I set out to teach the number sight words using fun and engaging games that had them learning without even knowing it. No worksheets allowed! 🙂
This game was always a favorite! Have a student draw a number sight word card from a stack and read it. Then, they do that amount of a certain action you call out. For example, if a student draws and reads the word “five”, they do five jumping jacks or spin around five times.
Here are some of the actions we used:
- jumping jacks
- spin around
- hop on one foot
- clap
- snap fingers
- touch toes
- blink
- take giant steps
- take steps backwards
- hop like a frog
- walk like a crab
- push ups
After they finish the action, have them read the number sight word one more time before drawing the next card. This game is great for kinesthetic learners and for getting those wiggles out!
Have students close their eyes or turn around. Arrange several number sight word cards in order, but turn one over or leave it out. Students turn around or open their eyes, read the number sight words, and figure out what number is missing. This game also practices counting and sequencing.
Mix up the number sight words and have students put the cards in numerical order. You might have them order the cards from least to greatest, or greatest to least. This is another game that practices sequencing and also comparing.
Played like the traditional “War” card game, each player has a stack of number sight word cards placed face down in front of them. Each player turns the top card over, and the one with the highest number keeps both cards. The players keep playing until all their cards are turned over. The player with the most cards at the end wins. What students don’t even realize is that they’re also practicing comparing numbers with this game.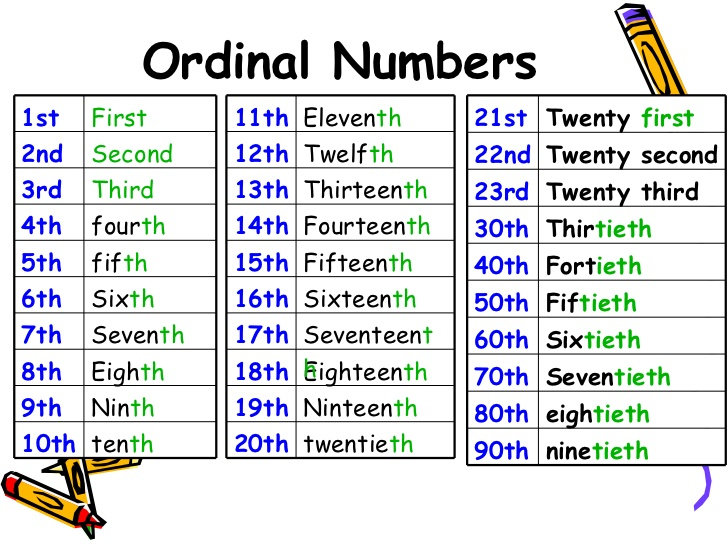 It’s a win-win!
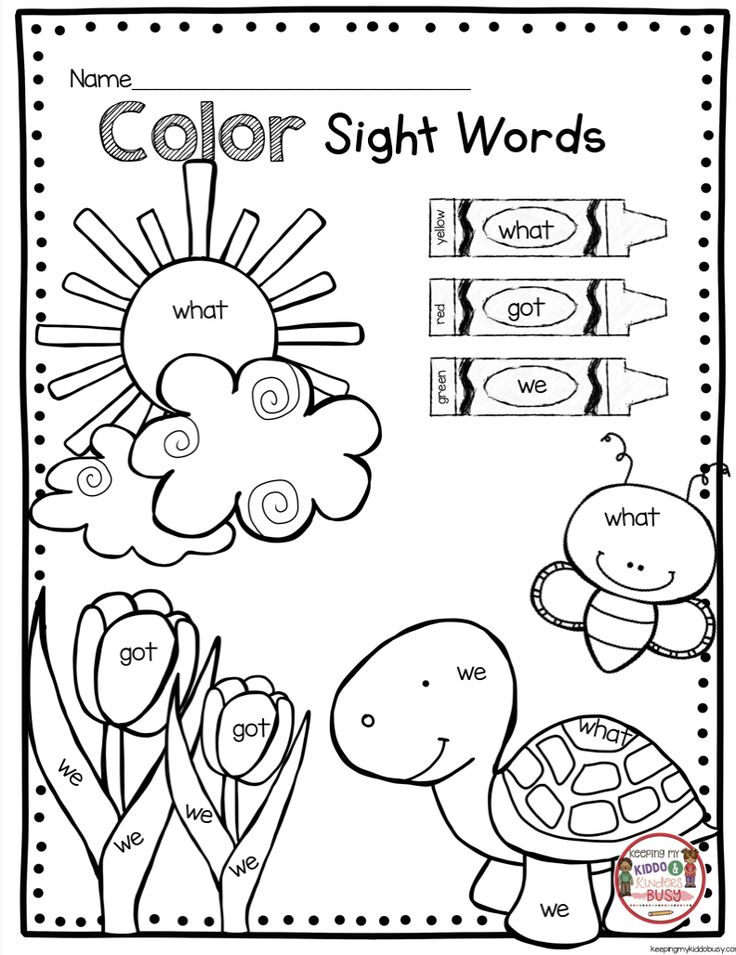
Kids love playing matching games. Make two copies of each number sight word, turn them over face down, and have players turn cards over two at a time to try to find the match. Play this game with regular sight words, too!
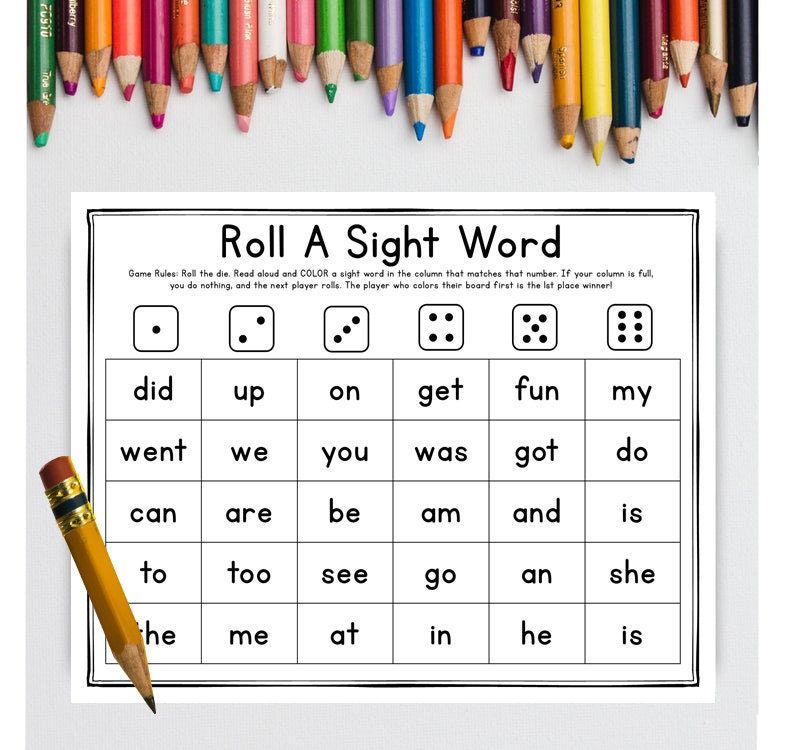
Hide number sight words around the room and have students find them. Use regular sight words to play this game, too.
This game was probably the second favorite one to do after Act It Out. Line the number sight word cards up across the room away from the students. Call out a number and have a player run down and get the number sight word card and race it back to you. You can divide students into teams and make it a relay. Students might enjoying playing this relay with regular sight words.
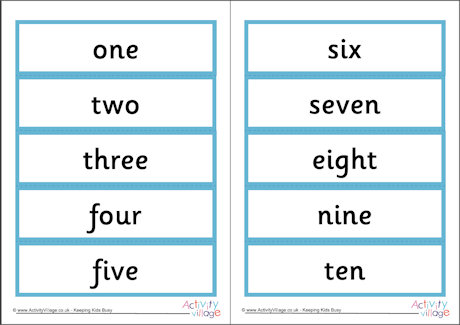
If you’re interested in doing these activities with your students, download and print the number sight word cards I used by clicking HERE.
It contains the numbers one through twenty and there are four cards per page.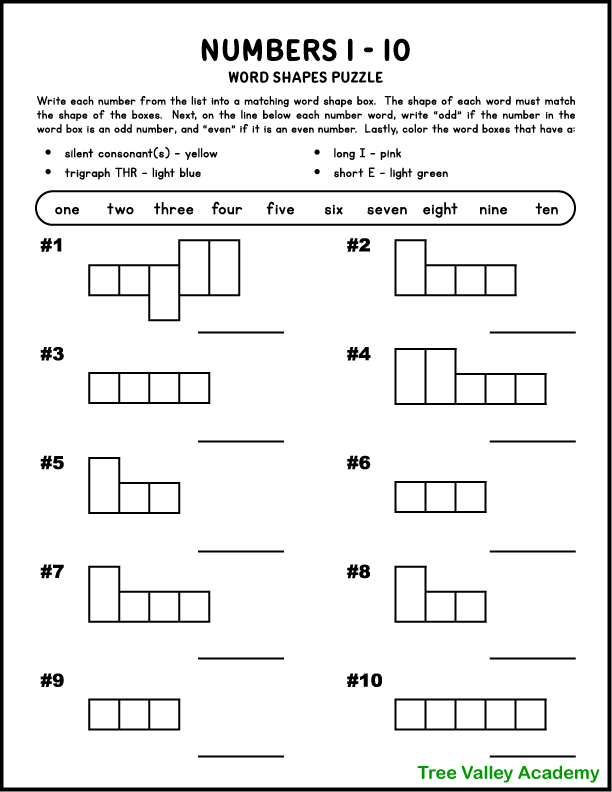
Create your own number sight word cards by clicking here. Scroll down the page until you see the words “3. Quarter-Page Sight Words Flash Cards (4-up)”. Click on “Custom Flash Cards”. It will take you to a page where you can enter the number sight words you want to use, click “create flash cards”, and then it will create your flash cards for you using the number sight words you entered. Four sight word cards will be on one page. Cut them apart and laminate for durability.
I hope these activities give you some fun ways to teach number sight words to your students. Do you have any special games or activities you use to teach number sight words? I’d love to hear your ideas!
Dolch Sight Words List | Sight Words: Teach Your Child to Read
All the Dolch sight word lists, divided by grade, also available as printable PDFs.
More
Five techniques for teaching Dolch sight words. Learn proven ways to introduce words, reinforce learning, and correct mistakes.
More
Print a set of Dolch sight word flash cards, or use our generator to create your own custom cards.
More
Print cards and game boards for 18 Dolch sight word games. A fun way to reinforce sight words lessons!
More
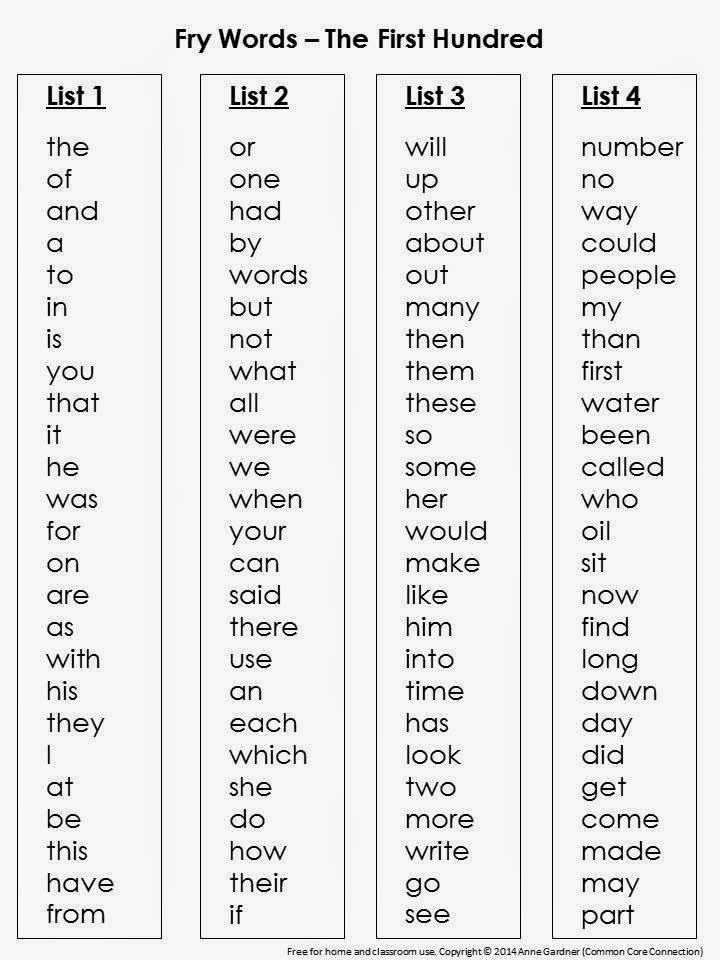
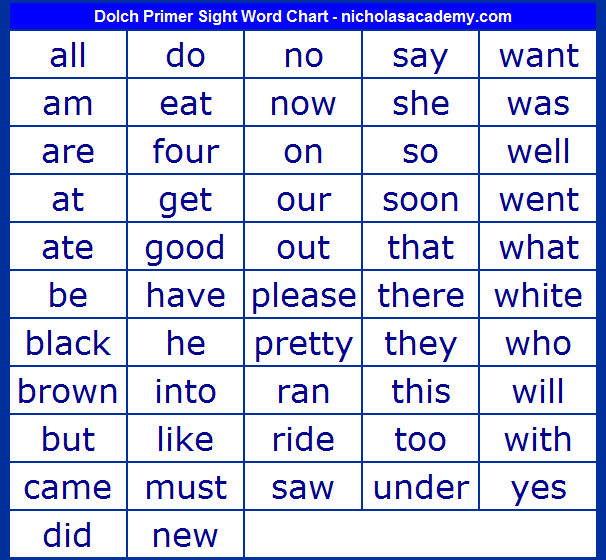
The Dolch Sight Words list is the most commonly used set of sight words. Educator Dr. Edward William Dolch developed the list in the 1930s-40s by studying the most frequently occurring words in children’s books of that era. The list contains 220 “service words” plus 95 high-frequency nouns. These words comprise 80% of the words you would find in a typical children’s book and 50% of the words found in writing for adults. Once a child knows this list of words, it makes reading much easier, because the child can then focus his or her attention on the remaining words.
The Dolch words are commonly divided into groups by grade level, ranging from pre-kindergarten to third grade, with a separate list of nouns. There are a total of 315 Dolch Sight Words.
- Pre-K Dolch Sight Words
(40 words)a, and, away, big, blue, can, come, down, find, for, funny, go, help, here, I, in, is, it, jump, little, look, make, me, my, not, one, play, red, run, said, see, the, three, to, two, up, we, where, yellow, you
- Kindergarten Dolch Sight Words
(52 words)all, am, are, at, ate, be, black, brown, but, came, did, do, eat, four, get, good, have, he, into, like, must, new, no, now, on, our, out, please, pretty, ran, ride, saw, say, she, so, soon, that, there, they, this, too, under, want, was, well, went, what, white, who, will, with, yes
- First Grade Dolch Sight Words
(41 words)after, again, an, any, as, ask, by, could, every, fly, from, give, going, had, has, her, him, his, how, just, know, let, live, may, of, old, once, open, over, put, round, some, stop, take, thank, them, then, think, walk, were, when
- Second Grade Dolch Sight Words
(46 words)always, around, because, been, before, best, both, buy, call, cold, does, don’t, fast, first, five, found, gave, goes, green, its, made, many, off, or, pull, read, right, sing, sit, sleep, tell, their, these, those, upon, us, use, very, wash, which, why, wish, work, would, write, your
- Third Grade Dolch Sight Words
(41 words)about, better, bring, carry, clean, cut, done, draw, drink, eight, fall, far, full, got, grow, hold, hot, hurt, if, keep, kind, laugh, light, long, much, myself, never, only, own, pick, seven, shall, show, six, small, start, ten, today, together, try, warm
- Noun Dolch Sight Words
(95 words)apple, baby, back, ball, bear, bed, bell, bird, birthday, boat, box, boy, bread, brother, cake, car, cat, chair, chicken, children, Christmas, coat, corn, cow, day, dog, doll, door, duck, egg, eye, farm, farmer, father, feet, fire, fish, floor, flower, game, garden, girl, goodbye, grass, ground, hand, head, hill, home, horse, house, kitty, leg, letter, man, men, milk, money, morning, mother, name, nest, night, paper, party, picture, pig, rabbit, rain, ring, robin, Santa Claus, school, seed, sheep, shoe, sister, snow, song, squirrel, stick, street, sun, table, thing, time, top, toy, tree, watch, water, way, wind, window, wood
- All Dolch Sight Words by group
- All Dolch Sight Words in alphabetical order
Leave a Reply
Converting numbers from text to numeric format
Sometimes numbers are formatted and stored in cells as text, which can later lead to calculation problems or broken sort order.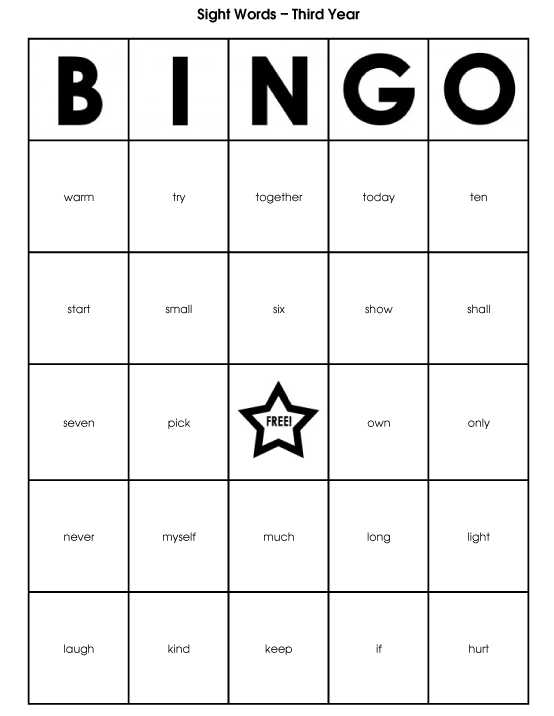 This issue may occur when importing or copying data from a database or other external data source.
Numbers formatted as text are left-aligned rather than right-aligned in cells, and are often indicated by an error indicator.
In this article
-
Method 1: Convert numbers in text format using error checking
-
Method 2: Convert numbers in text format using Paste Special
-
Method 3: Apply a number format to numbers in text format
-
Disabling error checking
Method 1: Convert numbers in text format using error checking
When importing data into Excel from another source, or when entering numbers into cells that were previously formatted as text, you may notice a small green triangle in the upper left corner of the cell.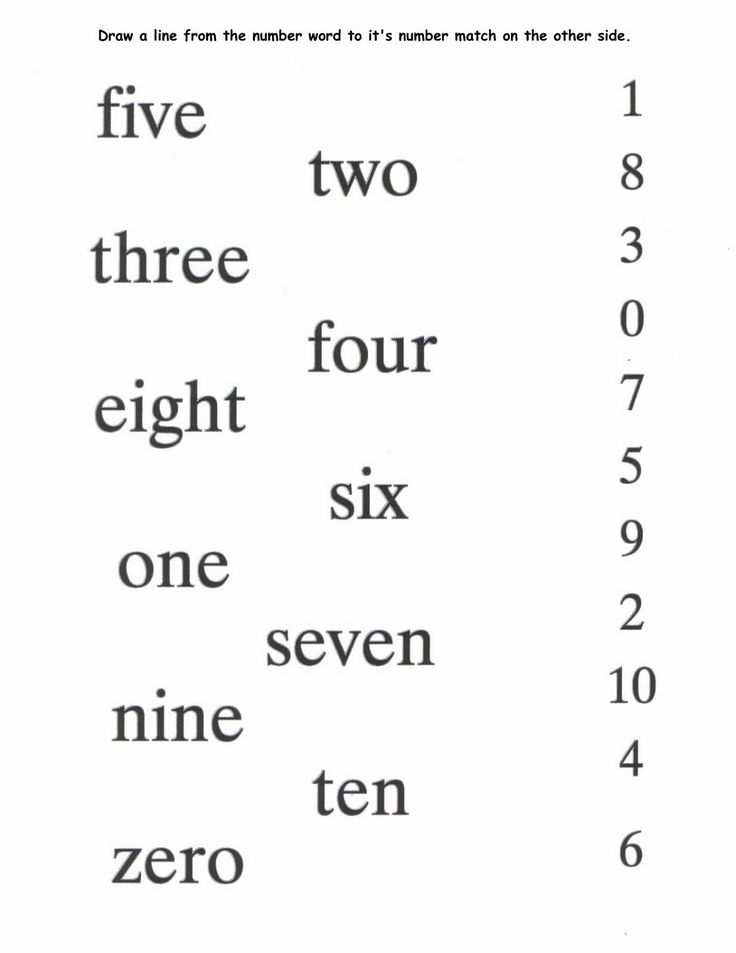 This error indicator indicates that the number is stored as text, as shown in this example.
If this is not desired, follow the steps below to convert a number in text format to a regular number.
-
Select any cell or range of adjacent cells with an error indicator in the upper left corner.
Select cells, ranges, rows and columns
To highlight
Do the following
Separate cell
Click a cell or use the arrow keys to navigate to the desired cell.
Cell range
Click the first cell in the range, and then drag the mouse pointer to its last cell. Or, hold down the SHIFT key and press the arrow keys to expand the selection.
You can also select the first cell in the range and then press F8 to expand the selection using the arrow keys. To stop expanding the selection, press F8 again.
Large cell range
Click the first cell in the range, and then hold down the SHIFT key and click the last cell in the range. You can use the scroll bar to jump to the last cell.
All sheet cells
Press the button Select all .
You can also press CTRL+A to select the entire sheet.
If the worksheet contains data, pressing CTRL+A highlights the current range. Pressing CTRL+A again will select the entire sheet.
Nonadjacent cells or ranges of cells
Select the first cell or range of cells, and then, while holding down the CTRL key, select other cells or ranges.
You can also select the first cell or range of cells and then press SHIFT+F8 to include other nonadjacent cells or ranges in the selection. To stop enabling cells and ranges, press SHIFT+F8 again.
You cannot unselect individual nonadjacent cells or ranges without deselecting the entire selection.

Whole column or row
Click the heading of a time or column.
1. Line header
2. Column header
You can also select cells in a row or column by selecting the first cell and then pressing CTRL+SHIFT+arrow key (RIGHT ARROW or LEFT ARROW for rows, UP ARROW or DOWN ARROW for columns).
If a row or column contains data, pressing CTRL+SHIFT+arrow key will highlight the row or column up to the last filled cell. Pressing this combination again will select the entire row or column.
Adjacent rows or columns
Drag the mouse over the row or column headings.
 Alternatively, select the first row or first column, and then hold down the SHIFT key and select the last row or last column.
 Nonadjacent rows or columns
Click the heading of the first row or column of the selection, and then, while holding down the CTRL key, click the headings of the columns or rows you want to add to the selection.
First or last cell in row or column
Select a cell in a row or column, and then press CTRL+ARROW (RIGHT or LEFT for rows, UP or DOWN for columns).
The first or last cell on a worksheet or table in Microsoft Office Excel
To select the first cell in an Excel worksheet or list, press CTRL+HOME.
To select the last cell containing data or formatting in an Excel worksheet or list, press CTRL+END.
Cells to last used sheet cell (lower right corner)
Select the first cell, and then press CTRL+SHIFT+END to extend the selection to the last used sheet cell (bottom right corner).
Cells to the beginning of the sheet
Select the first cell and press CTRL+SHIFT+HOME to extend the selection to the beginning of the sheet.
More or less cells than there are in the active selection
Hold down the SHIFT key and click the last cell you want to include in the new selection.
 This area will include the rectangular range between the active cell and the selected cell.
 To deselect cells, click any cell on the sheet.
-
Click the error button that appears next to the selected cell or range of cells.
-
Select menu item Convert to number . (To simply get rid of the error indicator without conversion, select command Ignore error .)
This command converts numbers from text format back to numeric.
After converting numbers from text to number format, you can change how they appear in cells by applying a number format to them or by customizing the current format.
 For more information, see Available number formats.
Top of page
Method 2: Convert numbers in text format using Paste Special
This method multiplies each selected cell by 1 to force the text to be converted to a regular number. Because the contents of the cell are multiplied by 1, the result does not change. However, when doing so, Excel actually replaces the text with equivalent numbers.
-
Select an empty cell and make sure it is in the General number format.
Number format check
-
Type 1 into a cell, and then press Enter.
-
Select a cell and press CTRL+C to copy the value to the clipboard.
-
Select the cells or ranges of cells that contain numbers in text format that you want to convert.
Select cells, ranges, rows and columns
To highlight
Do the following
Separate cell
Click a cell or use the arrow keys to navigate to the desired cell.
Cell range
Click the first cell in the range, and then drag the mouse pointer to its last cell. Or, hold down the SHIFT key and press the arrow keys to expand the selection.
You can also select the first cell in the range and then press F8 to expand the selection using the arrow keys. To stop expanding the selection, press F8 again.
Large cell range
Click the first cell in the range, and then hold down the SHIFT key and click the last cell in the range. You can use the scroll bar to jump to the last cell.
All sheet cells
Press the button Select all .
You can also press CTRL+A to select the entire sheet.
If the worksheet contains data, pressing CTRL+A highlights the current range. Pressing CTRL+A again will select the entire sheet.
Nonadjacent cells or ranges of cells
Select the first cell or range of cells, and then, while holding down the CTRL key, select other cells or ranges.
You can also select the first cell or range of cells and then press SHIFT+F8 to include other nonadjacent cells or ranges in the selection. To stop enabling cells and ranges, press SHIFT+F8 again.
You cannot unselect individual nonadjacent cells or ranges without deselecting the entire selection.
Whole column or row
Click the heading of a time or column.
1. Line header
2. Column header
You can also select cells in a row or column by selecting the first cell and then pressing CTRL+SHIFT+arrow key (RIGHT ARROW or LEFT ARROW for rows, UP ARROW or DOWN ARROW for columns).
If a row or column contains data, pressing CTRL+SHIFT+arrow key will highlight the row or column up to the last filled cell. Pressing this combination again will select the entire row or column.
Adjacent rows or columns
Drag the mouse over the row or column headings.
 Alternatively, select the first row or first column, and then hold down the SHIFT key and select the last row or last column.
 Nonadjacent rows or columns
Click the heading of the first row or column of the selection, and then, while holding down the CTRL key, click the headings of the columns or rows you want to add to the selection.
First or last cell in row or column
Select a cell in a row or column, and then press CTRL+ARROW (RIGHT or LEFT for rows, UP or DOWN for columns).
The first or last cell on a worksheet or table in Microsoft Office Excel
To select the first cell in an Excel worksheet or list, press CTRL+HOME.
To select the last cell containing data or formatting in an Excel worksheet or list, press CTRL+END.
Cells to last used sheet cell (lower right corner)
Select the first cell, and then press CTRL+SHIFT+END to extend the selection to the last used sheet cell (bottom right corner).
Cells to the beginning of the sheet
Select the first cell and press CTRL+SHIFT+HOME to extend the selection to the beginning of the sheet.
More or less cells than there are in the active selection
Hold down the SHIFT key and click the last cell you want to include in the new selection.
 This area will include the rectangular range between the active cell and the selected cell.
 To deselect cells, click any cell on the sheet.
-
On the Home tab , in the Clipboard group, click the arrow under the Paste button and select Paste Special .
-
In group Operation , select option multiply and press the button OK .
-
To delete the contents of the cell entered in step 2, after successfully converting all numbers, select the cell and press the DEL key.
Some accounting software displays negative values as text with a minus sign ( - ) to the right of the value. To convert these text strings to values, use a formula to extract all characters of the text string except the rightmost (minus sign) and multiply the result by -1.
For example, if cell A2 contains the value "156-", the following formula converts the text to the value "-156".
| Data | Formula |
| 156- | =LEFT(A2,LEFT(A2)-1)*-1 |
Top of page
Method 3: Apply a number format to numbers in text format
In some cases, it is not necessary to convert numbers from text format back to numeric format, as shown above. Instead, you can simply apply the number format and get the same result. For example, if you enter numbers into a workbook and then format those numbers as text, a green error indicator will not appear in the upper left corner of the cell. In this case, you can apply the number format.
-
Select cells that contain numbers stored as text.
Select cells, ranges, rows and columns
To highlight
Do the following
Separate cell
Click a cell or use the arrow keys to navigate to the desired cell.

Cell range
Click the first cell in the range, and then drag the mouse pointer to its last cell. Or, hold down the SHIFT key and press the arrow keys to expand the selection.
You can also select the first cell in the range and then press F8 to expand the selection using the arrow keys. To stop expanding the selection, press F8 again.
Large cell range
Click the first cell in the range, and then hold down the SHIFT key and click the last cell in the range. You can use the scroll bar to jump to the last cell.
All sheet cells
Press the button Select all .
You can also press CTRL+A to select the entire sheet.
If the worksheet contains data, pressing CTRL+A highlights the current range. Pressing CTRL+A again will select the entire sheet.
Nonadjacent cells or ranges of cells
Select the first cell or range of cells, and then, while holding down the CTRL key, select other cells or ranges.
You can also select the first cell or range of cells and then press SHIFT+F8 to include other nonadjacent cells or ranges in the selection. To stop enabling cells and ranges, press SHIFT+F8 again.
You cannot unselect individual nonadjacent cells or ranges without deselecting the entire selection.
Whole column or row
Click the heading of a time or column.
1. Line header
2. Column header
You can also select cells in a row or column by selecting the first cell and then pressing CTRL+SHIFT+arrow key (RIGHT ARROW or LEFT ARROW for rows, UP ARROW or DOWN ARROW for columns).
If a row or column contains data, pressing CTRL+SHIFT+arrow key will highlight the row or column up to the last filled cell. Pressing this combination again will select the entire row or column.
Adjacent rows or columns
Drag the mouse over the row or column headings.
 Alternatively, select the first row or first column, and then hold down the SHIFT key and select the last row or last column.
 Nonadjacent rows or columns
Click the heading of the first row or column of the selection, and then, while holding down the CTRL key, click the headings of the columns or rows you want to add to the selection.
First or last cell in row or column
Select a cell in a row or column, and then press CTRL+ARROW (RIGHT or LEFT for rows, UP or DOWN for columns).
The first or last cell on a worksheet or table in Microsoft Office Excel
To select the first cell in an Excel worksheet or list, press CTRL+HOME.

To select the last cell containing data or formatting in an Excel worksheet or list, press CTRL+END.
Cells to last used sheet cell (lower right corner)
Select the first cell, and then press CTRL+SHIFT+END to extend the selection to the last used sheet cell (bottom right corner).
Cells to the beginning of the sheet
Select the first cell and press CTRL+SHIFT+HOME to extend the selection to the beginning of the sheet.
More or less cells than there are in the active selection
Hold down the SHIFT key and click the last cell you want to include in the new selection.
 This area will include the rectangular range between the active cell and the selected cell.
 To deselect cells, click any cell on the sheet.
-
On the Home tab , in the Number group, click the dialog box button next to Number .
-
In field Category select the desired number format.
To successfully complete this procedure, numbers stored as text must not contain extra spaces or non-printing characters inside or outside of themselves. Extra spaces and non-printing characters may appear when you copy or import data from a database or other external data source.
 To remove extra spaces from multiple numbers that are stored as text, you can use the TRIM function or the CLEAN function. The TRIM function removes spaces from text, except for single spaces between words. The PRINT function removes all non-printing characters from text.
Top of page
Disabling error checking
If error checking is enabled in Excel, a small green triangle is displayed when you enter a number in a cell with text format. If you do not want to display error indicators, you can turn them off.
-
Open tab File .
-
In the Help group, click the Options button.
-
In the Excel Options dialog box, select the category Formulas .
-
Make sure that the Numbers formatted as text or preceded by an apostrophe check box is checked in section Error Search Rules 0040 .
-
Press button OK .
Top of page
Converting numbers from text to numeric format
excel
Entering and formatting data
Data Formatting
Data Formatting
Convert numbers from text to numeric format
Excel for Microsoft 365 Excel for Microsoft 365 for Mac Excel 2021 Excel 2021 for Mac Excel 2019 Excel 2019 for Mac Excel 2016 Excel 2016 for Mac Excel 2013 Excel Web App Excel 2010 Excel 2007 Excel for Mac 2011 Excel Starter 2010 More. ..Less
Numbers stored as text can lead to unexpected results, such as an uncalculated formula being displayed instead of the result. In most cases, Excel will recognize this and you will see an alert next to a cell that stores numbers as text. If an alert is displayed, highlight the cells and click the button to select a conversion option.
For more information about number and text formatting in Excel, see Number and text formatting.
If the alert button is not available, do the following.
1. Select the column
Select the column with such cells. If you don't want to convert the entire column, you can select one or more cells. The cells must be in the same column or this process will not work. (If there are such cells in more than one column, see the "Other conversion methods" section below.)
2. Click this button
The columns button is typically used to separate columns, but it can also be used to convert a column of text to numbers. On the Data tab, click the Text by Columns button.
3. Click the Apply button.
The rest of the steps in the wizard are for splitting text into columns. Since you're just converting the text in the column, you can immediately click the Done button and Excel will convert the cells.
4. Set the format to
Press CTRL+1 (or +1 on Mac). Select the desired format.
Note: If you still see formulas that don't output numeric results, you may have enabled the Show formulas option. Click the Formulas tab and disable the option Show Formulas .
Other conversion methods
You can use the VALUE function to return a numeric text value.
1. Insert a new column
Insert a column next to cells containing text. In this example, column E contains numbers that are stored as text. Column F is the new column.
2. Apply the VALUE function
In one of the cells of the new column, enter =VALUE() and include in parentheses the reference to the cell containing the numbers stored as text. In this example, this is cell E23 .
3. Move the mouse pointer
Now you need to fill the formula down. Here's how to do it: Hover over the bottom right corner of the cell until it changes to a plus (+) sign.
4. Click and drag down
Click and drag down to fill the formula into other cells. You can then use this new column or copy and paste these new values into the original column. Here's how to do it: select the cells with the new formula. Press CTRL+C. Click the first cell in the source column. Then on tab Main Click the arrow under the Insert button and select the Insert Special > value command.
If the above steps don't work, try this method, which is appropriate if you want to convert multiple columns of text.
-
Select an empty cell that doesn't have this issue, type 1 in it, and then press Enter.
-
Press CTRL+C to copy the cell.
-
Select cells with numbers that are saved as text.
-
On the Home tab , click Paste and choose Paste Special .
-
Click multiply and click OK .
Learn more

