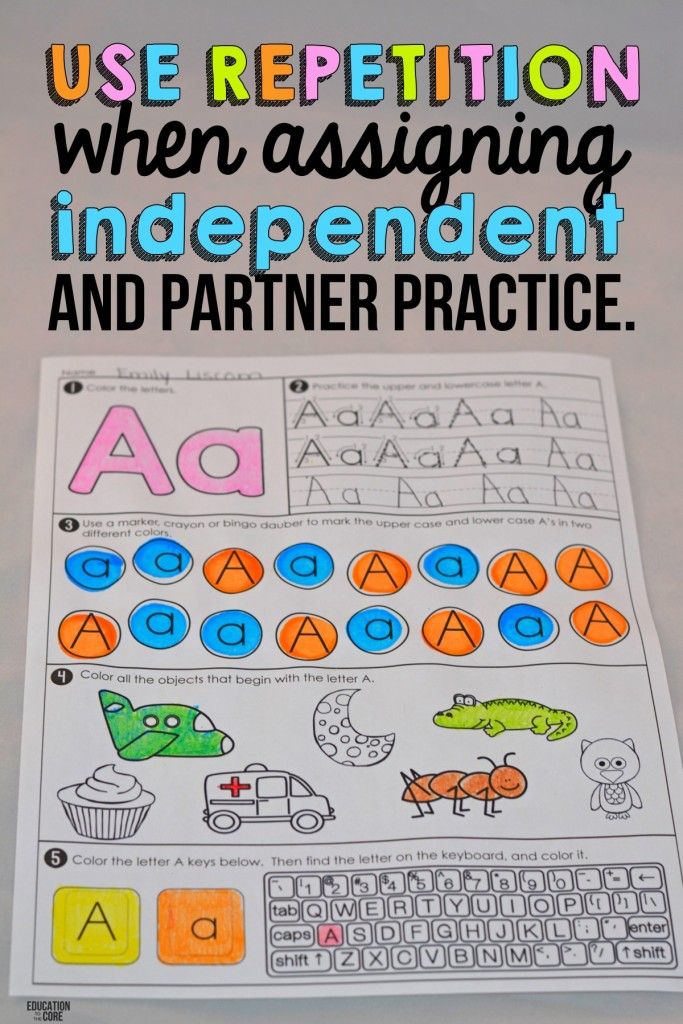
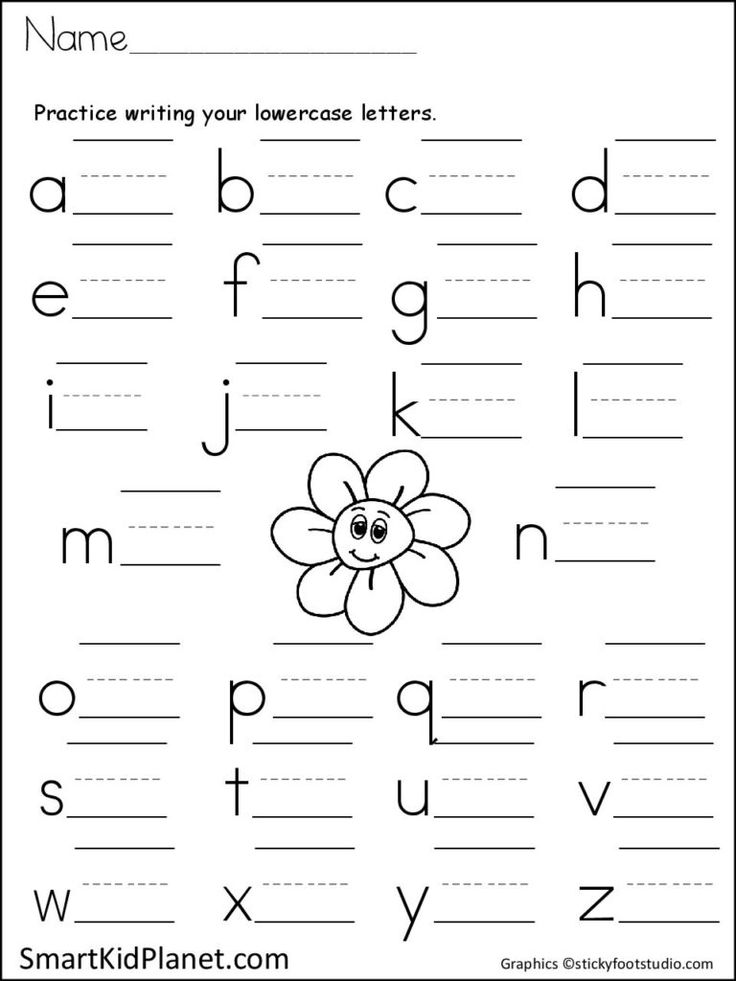
Teaching lowercase letters
Teaching Letters: Uppercase or Lowercase First?
Well, we have a question of the week my friends! “What should I teach first, uppercase or lowercase letters?”
When I receive an email about a topic more than 5 times (well, 6 times – so hardly ‘more than 5’ – but I am adding a dramatic flare) it warrants a blog post. So today I wanted to share with you an AWESOME letter matching activity that is fabulous for teaching letters, as well as chat a bit about teaching capitals and lowercase.
First … a picture of this awesome activity awaiting you and your littles after we get through the nitty gritty of the uppercase and lowercase conundrum.
And it is a little bit of a conundrum. There are a lot of (heated) opinions on this topic. My opinion is not really that heated, truthfully. I do HAVE an opinion, and it is an educated one at that, so I will share it happily.
Do we teach upper case or lowercase first?
Drumroll please ….
Lowercase! (Does that exclamation point make my opinion look heated? Perhaps I should reassess my punctuation …)
Anyways, let me break down the reason for teaching lowercase letters first.
- When children are exploring print in their books, lowercase letters are the ones that fill those pages. By teaching children lowercase letters first it allows them to recognize those ‘symbols’ and feel more connected to the print.
- Printing lowercase letters is easier for little hands than printing capital letters. Capital letters require more strokes and are therefore more challenging for young children to make.
- Learning 52 letters at once (26 of both upper and lowercase) is simply overwhelming.
And so … lowercase it is! (Phew, all these exclamation points. Maybe my opinion is heated?)
Now, as you likely know, I believe in teaching children their letters in a very specific order, with small groupings of letters being taught at one time. If you are interested in that grouping and more information about teaching letter recognition and letter order, please grab my free printable bundle right here.
Grab Your Free “Order for Teaching the Letters” Guide
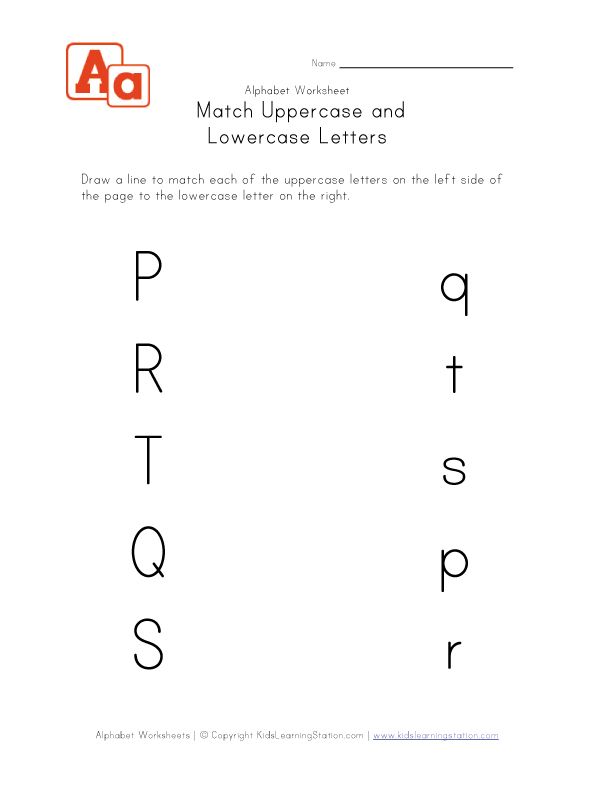
SO, when I introduce the letters I begin with lowercase (!!!!) BUT after the first group of letters has been played with and practiced and is known very, very well, I do a little uppercase letter matching before moving on to the next grouping of letters.
This way, my little ones have had an introduction to capital letters and see how they relate to their lowercase counterparts.
Easy peasy!
See, uppercase and lowercase letters don’t need to be a heated topic, they can coexist happy as can be.
Now onto this …
Awesome letter matching activity!
My little nephew Carter officially knows his lowercase name letters. He has them down cold! He has already dug them with his digger, as well as made them out of playdough. So this time, we added in the capitals.
(And everyone got along just fine!)
I saw this idea for a ‘letter rescue‘ on How to Entertain your Toddler and thought it brilliant! We decided to play this game, but made it a matching letters version and added in magnetic letters.
First of all, we selected the letters for Carter’s name in both lowercase and uppercase letters from our magnet letters and taped them to the table with masking tape.
Then, with a dry erase marker, we wrote Carter’s name once with lowercase letters and once with capital letters on a cookie sheet.
Now Carter, who obviously needed to be dressed as a superhero for this activity, had to rescue those letters and get them ‘home’!
Peeling up that masking tape is such a wonderful hand strengthening activity. He is working away on that pincer grip and it is just such a fabulous fine motor activity as well.
Once the letter was free, he had to match it to the letter on the cookie sheet.
This is such an easy peasy activity and one that it such a hit with kids. They just love it!
This is a fabulous way to introduce some uppercase letters in a manner that will not overwhelm, but will just introduce.
I hope you and your preschoolers like this alphabet activity! It really is a great one that practices so many skills.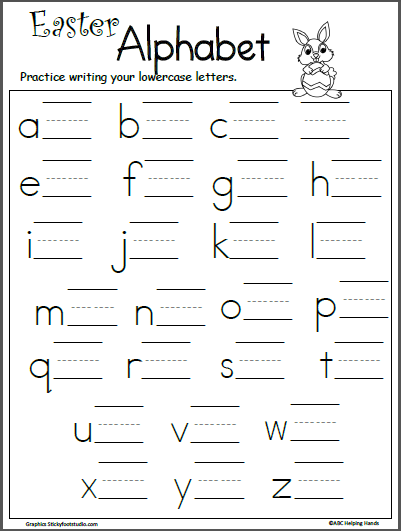
And I hope I was able to ease your mind about teaching those lowercase letters first, and give you some encouragement and support about how to go about introducing those capitals when it is time.
Thank you so much for reading friends!
xo
Sarah
You might also like
Awesome Alphabet Activities for Preschoolers
Scoop and Dump the Alphabet
How To Teach Your Child Uppercase Letters And Lowercase Letters
If your little learner is showing an interest in exploring uppercase letters and lowercase letters, you’ve come to the right place! We’re here to help you and your child have fun while learning.
In this article, you’ll discover the best way to start teaching your child about uppercase and lowercase letters to set them up for success.
Plus, we’ll share 11 of our favorite activities for practicing letter recognition and forming letters so your child can build their skills and confidence while engaging in fun learning games!
Table of Contents
- Tips For Teaching Uppercase Letters and Lowercase Letters
- 11 Fun Ways To Practice Uppercase Letters And Lowercase Letters
- Learning Letters Is Fun With HOMER!
Tips For Teaching Uppercase Letters and Lowercase Letters
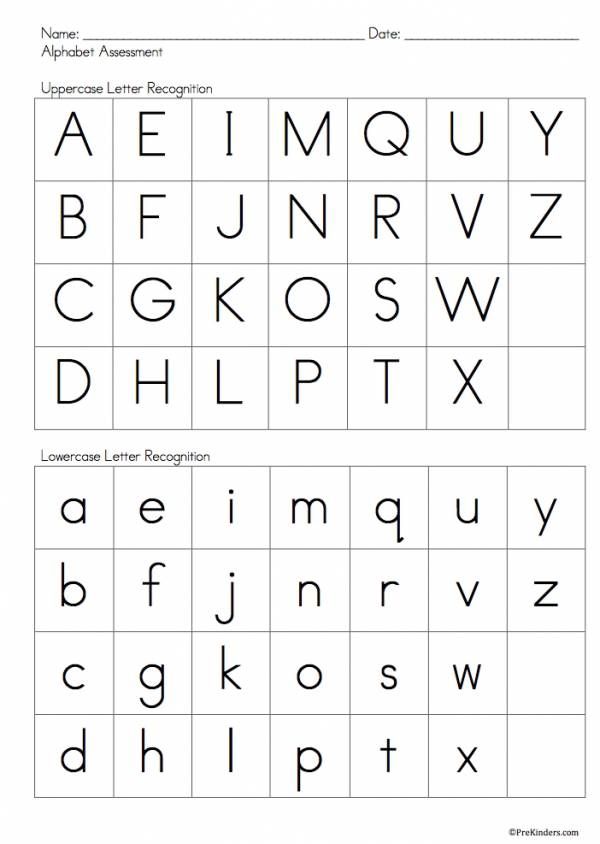
When children are beginning to learn the difference between uppercase letters and lowercase letters, many find it easiest to learn uppercase letters first. This is because letters are often simpler to draw and differentiate from other letters when they’re capitalized.
However, since lowercase letters are used more often throughout text, it’s important for children to learn that there are two forms of each letter and to understand how they connect to each other.
To accomplish this, start by teaching letters that have similarities between their uppercase and lowercase versions. For example, “T” and “t” are usually easier to link than “G” and “g.”
This process takes time, so don’t be afraid to go slow. Your child likely won’t master all 52 letters at the same time — it’s a huge task for their working memory! This skill will improve the more you practice together.
Additionally, while being able to identify the name of each letter is crucial, it’s more important for children to link the primary sound that each letter represents to both versions of a letter.
This will become a key tool they can use later when they begin to sound out words while reading, so it’s a good idea to practice early in the letter recognition process.
Depending on where your child is on their literacy learning journey, it can also be helpful to explain what the purpose of uppercase letters is. This way, your child can understand where uppercase letters fit into sentences and what they mean.
To do this, you’ll want to explain that uppercase letters are used at the beginning of a sentence and when you’re writing the name of a person or city, for instance. Of course, there are other times uppercase letters might be used (like in acronyms), but that’s a lesson for another day!
Letter Vocabulary To Teach Your Kids
When you’re talking about letters with your child, it’s important to help them understand the words people use when discussing the alphabet. These vocabulary words will ensure your child can communicate effectively and comprehend what others are saying.
Here are a few key words related to these activities your child should know:
- Letter: One of the 26 symbols that make up the English alphabet.
 Each letter has a name, like “A” or “B,” and represents a sound (or sounds).
 - Alphabet: The alphabet is the name for all of the letters.
- Uppercase letters: These letters have specific functions and usually come at the beginning of a sentence or proper noun, among other uses.
- Capital letters: Capital letters are another name for uppercase letters.
- Lowercase letters: These letters are the most common but can vary by font (more so than uppercase letters), which can be confusing for young learners.
You don’t need to quiz your child on these words or make them memorize the definition. Simply use these words when you’re talking about letters so your child can become familiar with the terms.
11 Fun Ways To Practice Uppercase Letters And Lowercase Letters
Learning letters doesn’t have to be boring! Here are some of our favorite games and activities that make learning fun.
1) Everyday Letter I-Spy
I-Spy is a fun, simple way to incorporate uppercase letters and lowercase letters into your child’s everyday life and help them practice letter recognition.
By drawing their attention to different letters throughout the day, you’ll strengthen their skills bit by bit without them even realizing it!
What You’ll Need:
- Signs or other words around you
What To Do
Simply start asking your child to identify letters as you go about your day together. Beginning with letters that matter to them, such as the letters in their own name, is a great way to begin.
Then you can work your way up to letters in other special words as their letter recognition skills improve. For example, try asking your child to identify the letter “L” in the sign for the laundromat, or how many of the letter “T” they can find in the menu at a restaurant.
This activity is a fantastic learning tool, as a game of letter I-Spy can be played practically anywhere, and you don’t need any equipment — all you need is a good eye for spotting letters!
Try adding this fun game into your daily routine to sneak in some letter recognition practice.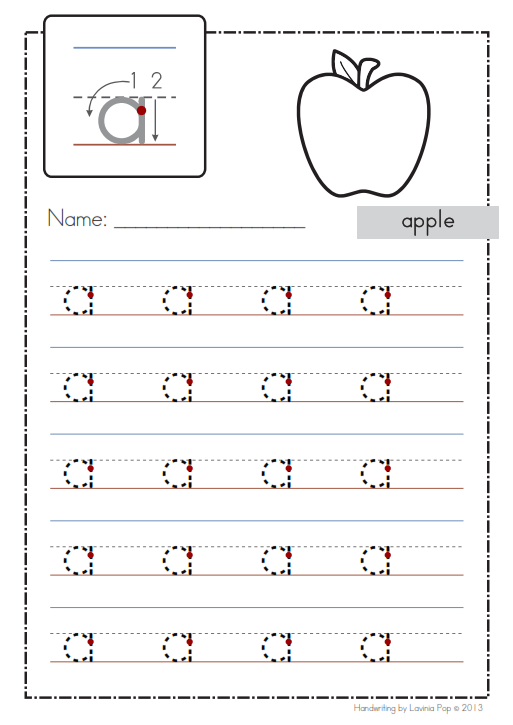
2) Create Letters In Nature
As an engaging way to bring learning outdoors, try practicing to form letters by using materials found in nature. Whether you take a walk around the neighborhood or create a scavenger hunt in the backyard, you’ll have fun collecting materials with your child.
What You’ll Need:
- A variety of natural materials, such as rocks, sticks, or leaves
What To Do:
Once you’ve gathered the natural materials you found, it’s time to practice forming uppercase letters and lowercase letters with these supplies.
Start by choosing a letter that your child is familiar with, and have them write it out by forming it with one of their chosen materials.
Note: Rocks and leaves are easiest for forming rounded letters (B, C, D), and sticks are best for letters with straight lines (A, F, T).
When your child has mastered a particular letter in uppercase, ask them to form the same letter in lowercase. Gradually move on to trickier letters that they might be less familiar with to challenge their skills.
With plenty of practice, your child will know all uppercase letters and lowercase letters by heart. (At that point, you could include a time limit to see how many letters they’re able to create within a particular time period as a fun challenge.)
3) Guess The Magnetic Letter
This is another easy letter recognition game that doesn’t require much equipment and can be really fun to play (especially when the kids are able to outsmart the grown-ups!).
What You’ll Need:
- A set of magnetic letters (we recommend the ones in the HOMER Explore Letters Kit)
What To Do:
Grab your magnetic letters. Then, have your child put their hands behind their back before handing them a single letter of your choice.
Ask your child to identify the letter in their hands — without peeking! — only by touch. For children who are still learning, provide choices for them to guess between (“Do you have a ‘T’ or a ‘B’ in your hands?”).
For older kids who are mastering letters, make the activity trickier by increasing the number of letter possibilities, and, eventually, have them guess without any hints at all.
It’s important to take turns so that you also give this letter recognition activity a go as the adult. It’s encouraging (and usually entertaining) for your child if you try and fail a few times by guessing a letter or two incorrectly.
Don’t be afraid to “mess up” in this game!
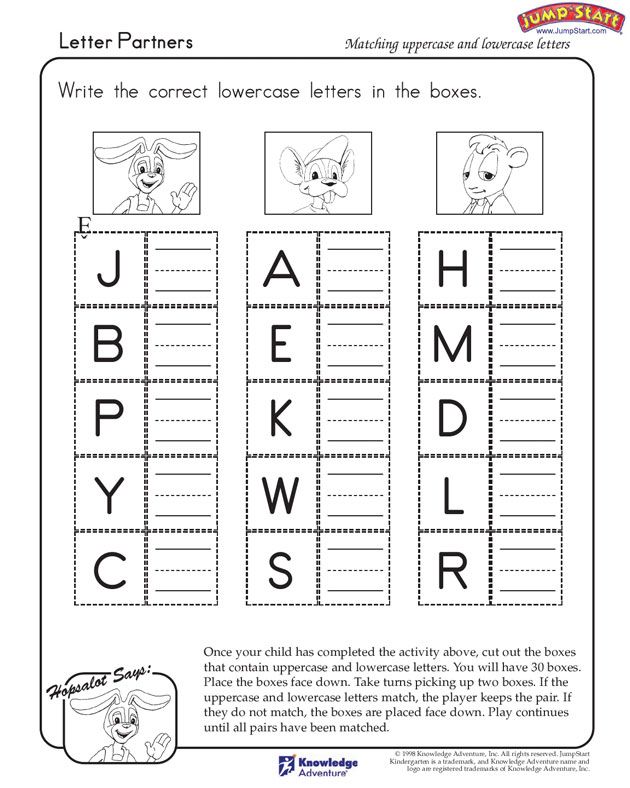
4) Letter Matching Cards
For this activity, you’re going to need a set of letter-matching cards. While you can purchase a variety of different types, we think it’s fun to make our own personalized set!
What You’ll Need:
- Paper or cardboard to cut into 52 cards
- Scissors
- A marker
What To Do:
Start by cutting out rectangles of paper or cardboard for your cards, one for each uppercase and lowercase letter. Then, write a letter on each of the cards, or have your child practice writing it themselves.
After the letters have been written, your child can decorate to their heart’s content! You might even want to draw (or glue a picture of) an object that corresponds to each letter to make it even more fun (like an apple on each of the “A” cards, a balloon for the “B” cards, and so forth).
This will also make the matching portion of the activity easier for your child if they’re still mastering uppercase letters or lowercase letters.
When your letter cards are complete, mix them all up on the table and have your child select one. Their task is to find the corresponding uppercase or lowercase version of that letter from the selection in the pile.
This game might be difficult at first, so we suggest beginning with just 10 cards at a time: five uppercase letters and five lowercase letters. You can make more cards on different days and add them to the list as your child gets the hang of this activity.
With practice, your child will enjoy becoming a letter matching professional!
5) Get Crafty
This interactive learning activity is all about practicing letter formation using uppercase letters and lowercase letters. No matter which form of arts and crafts your child chooses for this activity, you’re sure to have a blast!
What You’ll Need:
- A variety of art supplies, such as pipe cleaners, Play-Doh, Fingerpaints, glue and glitter, ribbon, and construction paper
- Kid-safe scissors
What To Do:
Grab your art supplies and get ready to start the fun.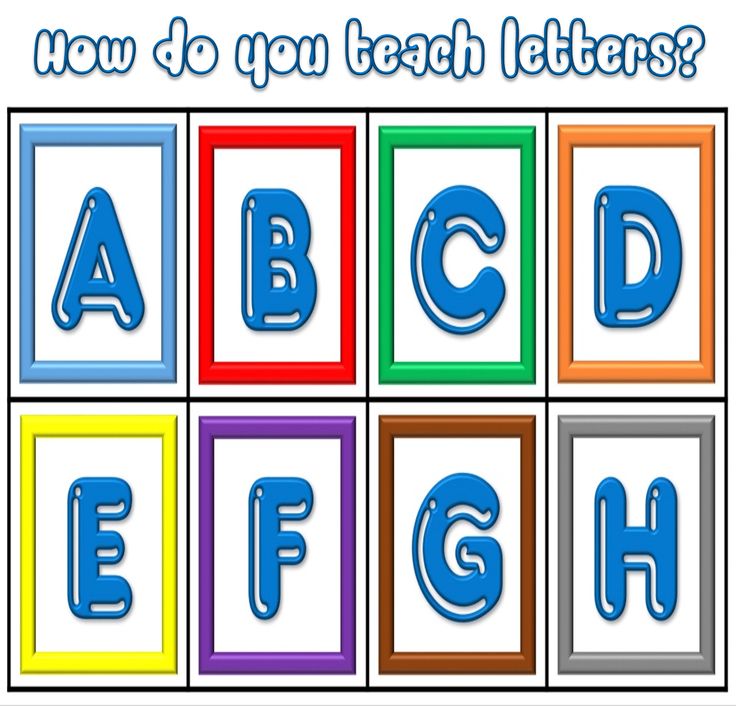
Say a letter aloud (or write it down for your child to visualize if that works best) and have your child form the letter using your chosen material. Then have them create the corresponding uppercase or lowercase letter to match.
Engaging in crafts is a great way to encourage your child to practice forming letters — they’ll be so busy having fun that it won’t feel like learning at all!
6) Hidden Letters
Get your child up and moving while they practice their letters with this simple game.
What You’ll Need:
- Your letter cards from activity number four
What To Do:
To make the game more manageable, pick out five to 10 letters your child is practicing. Then, make a deck out of the uppercase and lowercase cards for those letters.
While your child isn’t looking, hide the cards in one room of your home. That way, you’ll limit the area they have to search.
Once the cards are hidden, it’s time to go on a letter scavenger hunt! Your child will love finding all of the letter cards.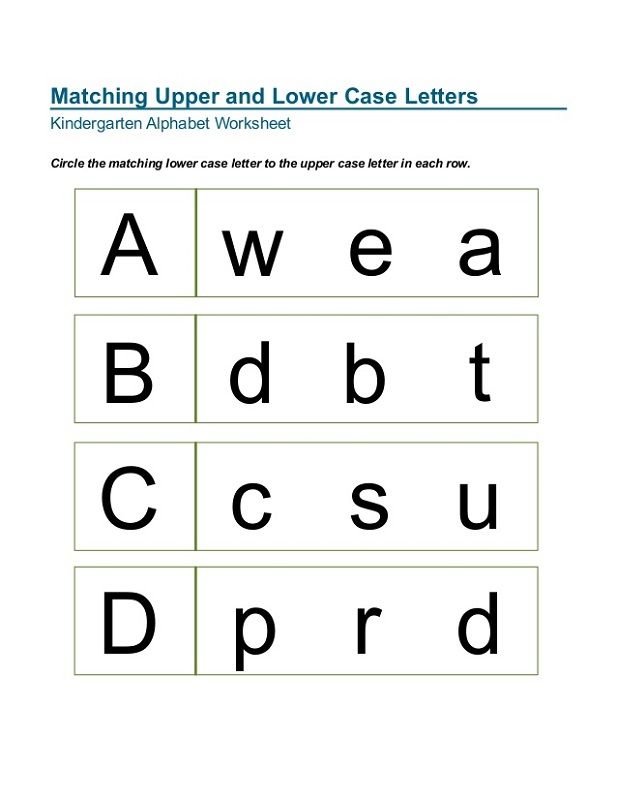
Encourage them to set their cards out in a matching set, with an uppercase letter next to a lowercase, so they can see at a glance which part of each set they’re missing.
7) Post-It Note Letter Challenge
Can your child select the matching letters to finish this challenge?
What You’ll Need:
- 52 Post-It Notes
- A pen
- A large area to hang the notes on, such as a blank wall or a whiteboard
What To Do:
Write an uppercase letter on 26 Post-It notes. Then, use the remaining ones for lowercase letters.
Next, alternate placing uppercase and lowercase letters onto your wall or whiteboard. You might have a capital “A” followed by a lowercase “b.”
Once you get to “Z,” set the remaining letters in a row so your child can see them. Point to the uppercase “A” and ask, “Can you find the lowercase letter that matches?” If your child correctly identifies the letter “a,” have them pick it up and stick it below the capital “A.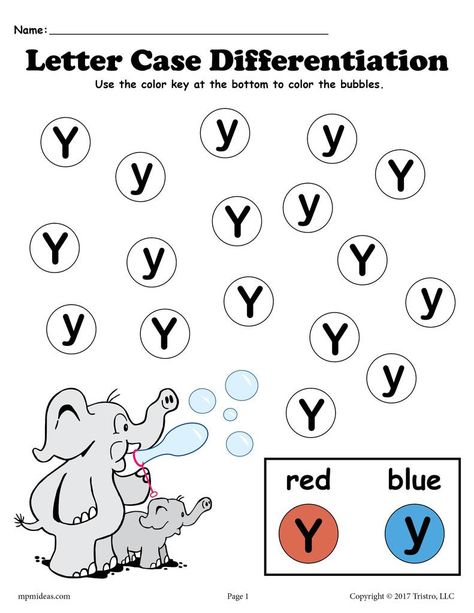 ”
”
If they pick the wrong letter, that’s OK. Gently let them know that they picked a different letter and have them try again.
Once both “A’s” are together, move on to the next letter. When your child has returned all of the missing Post-Its to the wall, sing the ABC song together.
Note: If your child doesn’t yet know all of their letters, don’t start with all 52 Post-Its. Instead, pick a smaller number for them to practice with so they don’t get overwhelmed.
Also, once you finish with the Post-Its, they can save them and use them for this fun Letter Toss game.
8) The Learn & Grow App
If your child enjoys a bit of educational screen time, the HOMER Learn & Grow app is a great way to let them practice their letter identification skills.
What You’ll Need:
- A compatible device
- The HOMER Learn & Grow app
What To Do:
Our kid-friendly design makes it easy for your child to practice their letters on their own, so it’s perfect for those busy days when you just can’t squeeze in another activity.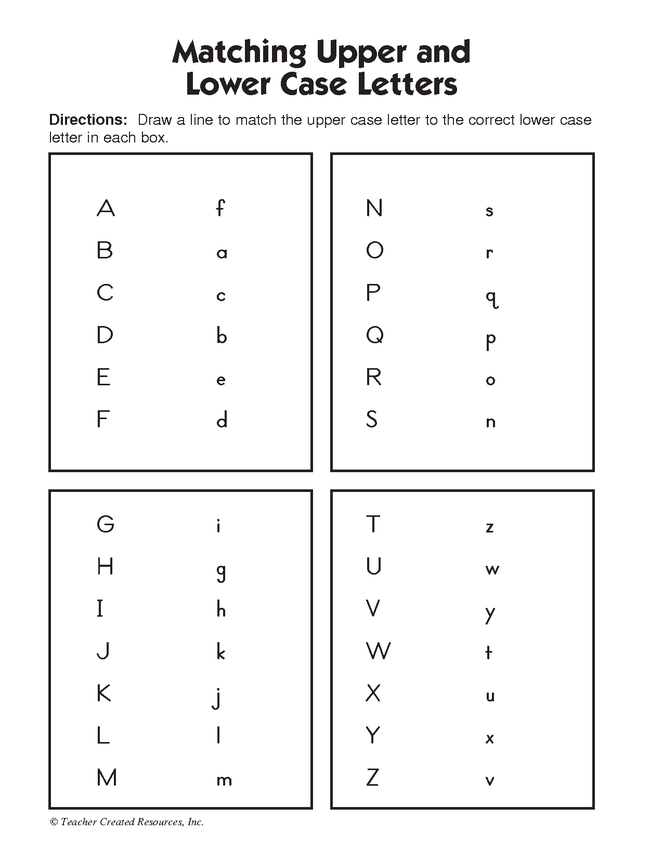
Once you set up their learning pathway and create your parent account, you can let them play independently. The program takes them on a personalized learning journey that’ll meet them where they are now and help them grow.
Many of the games in the Pre-K section of Learn & Grow, as well as the Early Learners section, work on letter recognition and identification, so it’s a fun way to review what you’re working on together.
9) Letter Sort
Some uppercase letters look just like their matching lowercase friend. Others look nothing alike. This activity helps your child pay attention to the shape of each letter so they can sort them.
What You’ll Need:
- Letter cards (you can reuse the ones you made in activity number four)
- Two large bowls to sort the letters into
What To Do:
Start by mixing up all of the letter cards. Then, invite your child to help you sort them into two groups: those that look the same in upper and lowercase and those that look different.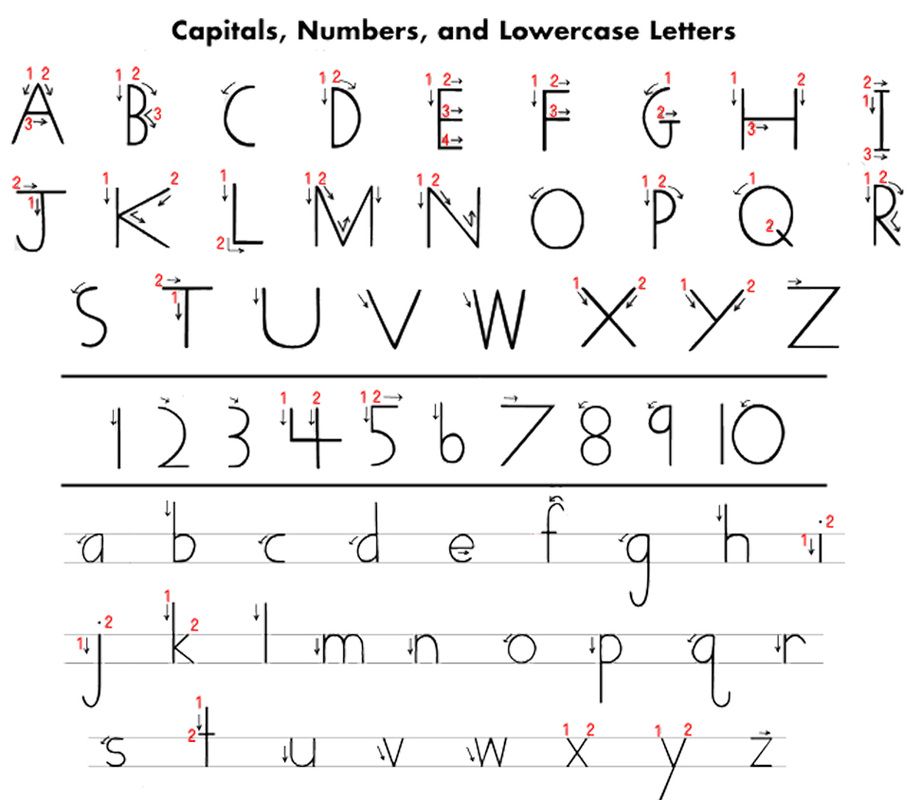
You may need to model this for your child a few times. For example, hold up the capital “S” card and ask, “Do you see a lowercase letter that looks like this?”
When your child finds it, say, “Both the uppercase ‘S’ and the lowercase ‘s’ look similar. They have the same shape, but one is a little smaller. Let’s put these two letters in this bowl because they look the same.”
Then, pick up another uppercase letter, such as the “E.” Ask your child to find the lowercase “e.” If they have any trouble, give them a hand. Then ask, “Do these two letters look the same?”
Let your child examine both letters and highlight similarities and differences between the uppercase and lowercase versions. Then say, “Since they don’t look the same, we’re going to put them in this bowl.”
Continue sorting, letter by letter.
Once your child sorts all the letters, have them count the cards in each bowl and see if there are more that look alike or more that are different.
10) Identifying Letters In Books
When you’re sharing a book with your child, asking them to identify a few letters is a fun way to sneak in a little extra practice.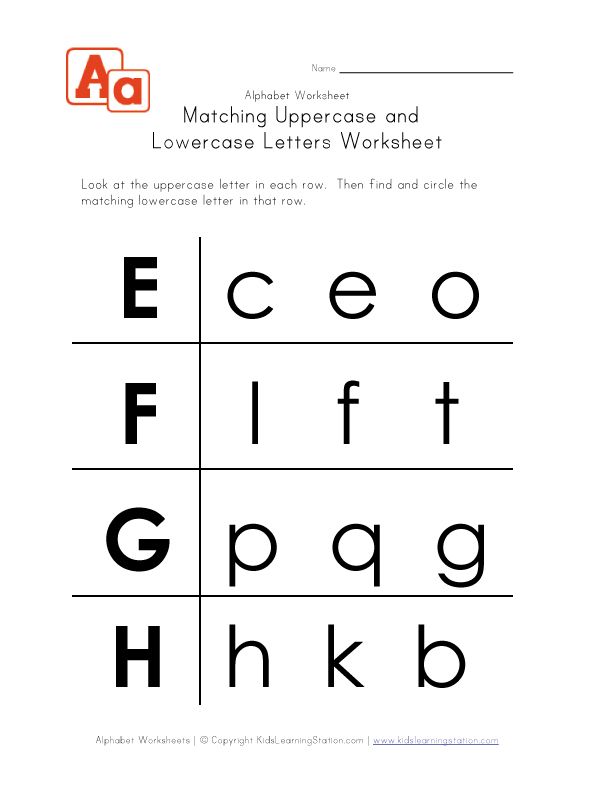 It’s also a great way to get them excited about books and reading.
What You’ll Need:
A picture book your child will enjoy hearing (find some of our book recommendations in this post)
What To Do:
Start by choosing a book that you know your child will enjoy. Then, as you read it aloud, stop occasionally to point out a few letters and ask them to identify them. For example, you might say, “Oh, look, there’s an uppercase letter ‘B’ on this page. Do you see it?”
If your child has trouble finding the letter, point it out. Then, say the sound the letter makes and have them repeat it to you.
Once they’ve found the letter, invite them to look for other letters on the page. See if they can find an uppercase and a lowercase version of the same letter. If not, that’s okay. Just move on to another page and try again.
As you stop, pay attention to your child’s engagement level and enthusiasm. You don’t want them to get tired of finding letters, so try to quit while they’re still having fun and enjoying the activity.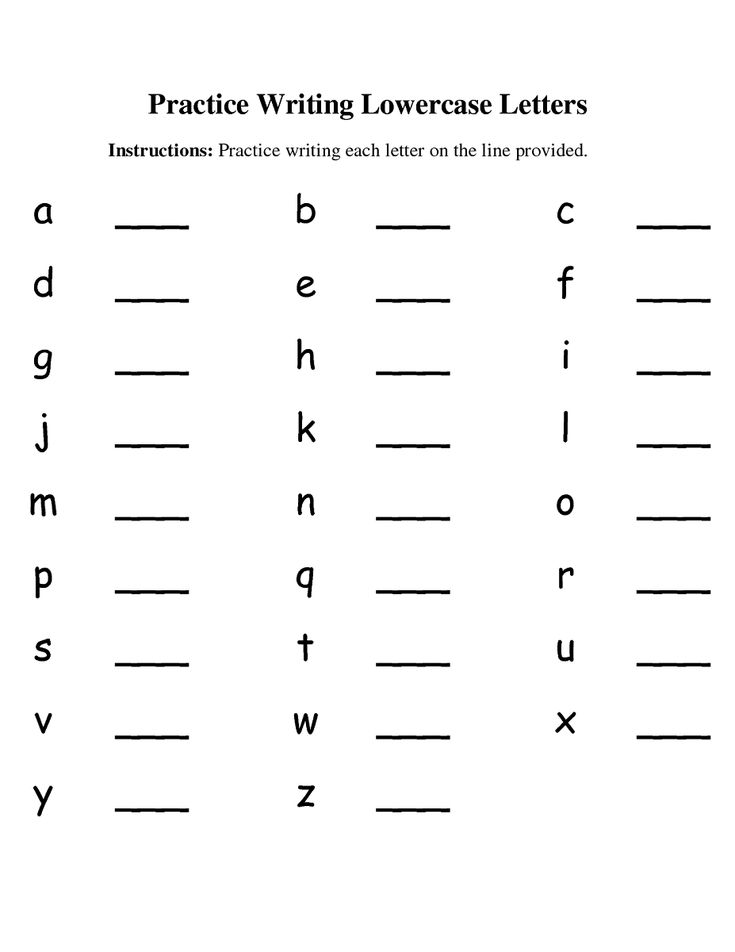
You can always try again later!
11) Make A Letter Book
Your child can use their alphabet knowledge to create a special book from A-Z. It’s great for practice and can also be a neat keepsake to look back on when your child is older.
What You’ll Need:
- Construction paper for the cover
- Printer paper for the inside pages
- Crayons or colored pencils
- A pencil or pen
- A stapler or a hole punch and ribbon
What To Do:
Start by having your child select a title for their book and then decorate the cover. They can use crayons or colored pencils for this task. Just make sure you add their name as the author somewhere!
Once they finish the cover, it’s time to move on to the inside pages. For each letter of the alphabet, have your child write an uppercase and a lowercase letter. Then, have them illustrate the page by drawing things that begin with that letter.
For example, for the “D” page, they might have a picture of a donut, a dog, and a duck.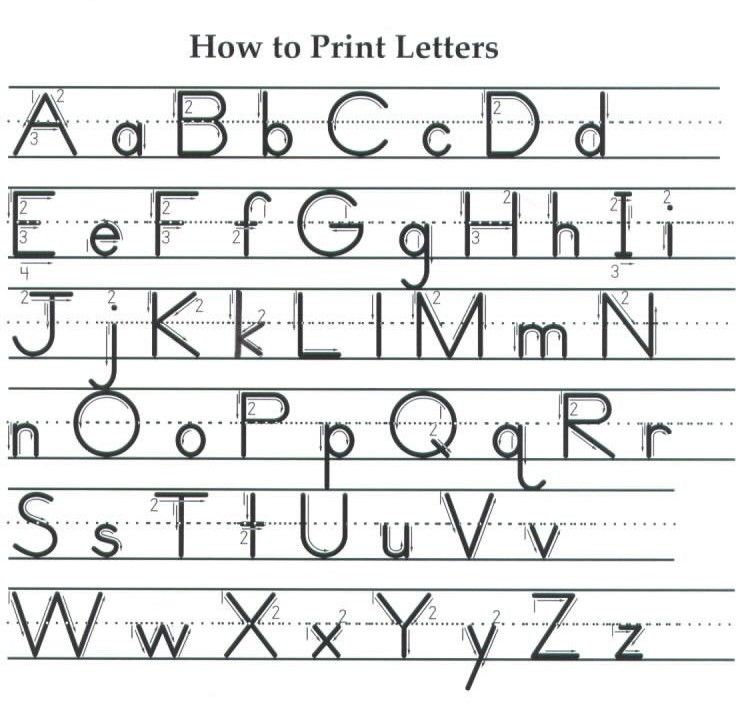
Once every page is ready, it’s time to put the book together.
First, lay the pages out in order from A-Z, and then put the cover on top. Flip through the book to make sure everything lines up.
When everything is together, use the stapler to bind the book. If you don’t have a stapler that’ll staple something that thick you can also use a hole punch and a ribbon to bind it.
Once you’ve finished, have your child read the book to you. They can say the letter on each page and then identify the items they’ve drawn that start with each letter. As they’re reading, have them point to the uppercase or lowercase letters on each page to practice.
Learning Letters Is Fun With HOMER!
With the help of our expert learning tips and fun, engaging activities, your young learner will begin to enjoy practicing uppercase letters and lowercase letters in no time!
From I-Spy and guessing games to enjoying crafts together, watch your child’s skills develop as they master letter recognition and letter formation, feeling more confident each time they practice.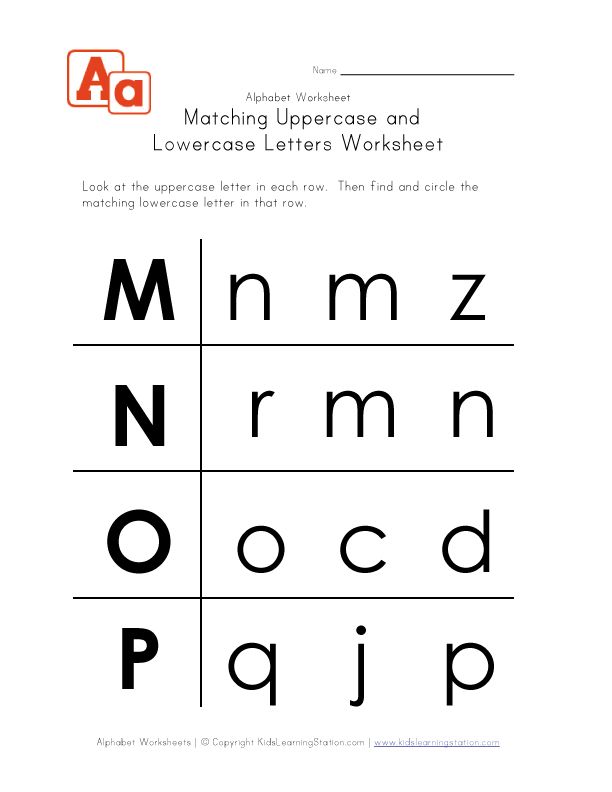
To experience even more “I did it!” moments with your child, try our Explore Letters Kit. Packed with thoughtfully designed activities and expert play tips to build their literacy skills, the possibilities are nearly endless!
Author
Lesson summary of teaching writing Letter of lowercase and uppercase written letters "H, n", "S, s" "K, k", "T, t". 1 class | Outline of the lesson in the Russian language (Grade 1):
Date: 10/22/19
School: No. 148 Full name teacher: Vasilieva N.A
Grade: 1 "N" Full name of the student: Knyazeva K.A.
Cabinet: 224 Full Fullshit of the methodologist: Galiullina N.K.
Lesson time: 8:00 - 8:40 (1 lesson)
Lesson summary of teaching writing
T, t.
The goals of the teacher's activity: creating conditions for the formation of the initial graphic skill: fixing the spelling of the letters "H, n", "C, s" "K, k", "T, t", their combinations with other letters in words.
Planned results:
Subject:
know: graphic design, elements of written and lowercase letters "Н, н", "С, с" "К, к", "Т, t", writing and connecting letters, algorithm for phonetic-graphical analysis of a word, hygienic rules of writing;
be able to: compare a written letter with a printed letter, with other written letters, write lowercase letters “n”, “s”, “k”, “t”, combine with other letters in words, conduct a phonetic-graphic analysis of words, perform hygienic writing rules.
Personal:
- be aware of your difficulties and strive to overcome them;
- carry out self-assessment of one's actions, deeds; - to establish a connection between the purpose of educational activity and its motive. Presentation.
| Stage of the lesson Methods and techniques | Choin- Meter | Content of the UROUK | Formed UUD 9004 | |
| I. Verbal: expressive reading of the poem, discussion of the meaning of the proverb. | 1 min. | Front work. - My name is Ksenia Andreevna, today I will give you a writing lesson. The bell rang loudly. The lesson starts. Is everything in place? Is everything all right? Book? Pen and notebook? -We are learning to write. Why? Why? From hooks, from hooks, From circles, from circles We can write letters. If we try, Letters will be received. -Guys, what do we learn in writing lessons? | Check readiness for the lesson. Getting ready for work. - Write letter elements, letters, syllables, words and sentences. | R: interact with adults and peers in learning activities. |
| II. Actualization of knowledge and motivation Verbal: introductory dialogue, formulation of a generalization. Visual: slides. Slov.: reading letters. Partial search: grouping of letters. Practical: construction of words Practical: characteristic of a letter Practical: analysis of letters. . | 2 min. | Front work. - What do you think, what your knowledge and writing skills will be useful to you today? - What hygienic rules for writing do you know? - Why are these rules important to students? - What two groups are written letters divided into? - What are uppercase and lowercase letters for? - Which line contains lowercase letters? 1. Above the forest, above the mountains, a carpet spreads. 2. It is squeezed out of fruits and berries, Then it is poured into bags. A healthy and tasty drink is ready. Try, baby, freshly squeezed... 3. Mustachioed muzzle, striped fur coat, 4. It has a layer of sweet jam, Light white cream on top. And the flour in it is the highest grade, It turned out delicious ... ! - What letters are these? - Consider the letter "n". What elements does it consist of? - Consider the letter "k". What elements does it consist of? - Consider the letter "c". What elements does it consist of? - Consider the letter "t". What elements does it consist of? | Make assumptions. Rules of sitting: the back touches the back of the chair, the legs are on the floor, a fist passes between the body and the desk Demonstrate the rules of work. They provide mastery of the skill of writing, allow you to save your health. Letters of vowels and consonants. There is printed and written, written lowercase and uppercase. Capital for proper names, beginning of sentences, lower case for all other words. In the working line 1. (sky) 2. (juice) 3. (cat) 4. (cake) N, S, K, T, Inclined straight left curved line, right angled left curved line, and straight right curved line Short line, right curved line, top and bottom curved line. Semi-oval Long slanted stick with a rounding at the bottom left. Long sloping stick without rounding, long sloping stick with a rounding at the bottom to the right. A straight horizontal line with a rounded bottom left. | C: expressing one's point of view and substantiating it; acceptance of the correct point of view, readiness to change one's point of view. P: reproduction of the necessary information, classification of objects. |
| III. Statement of the educational task Words: leading dialogue, conversation. Visual: presentation, object picture, formulation of the topic. Practical: element-by-element analysis, formulation of a learning task. Words: teacher's generalization. | 3 min. | Front work. - Why do you think we repeated these letters? - Guys, look in the copybook on p. 22. What letters do you see on top? -What else will we do, what will we work on? -Who will say what the topic will be at the lesson today? - What goals will we set for the lesson? Targets: know: letters H, n, C, s, K, k, T, t and their elements; be able to: write a lowercase letter "l", combine it with other letters in words. - So, today we are fixing the spelling of the letters H, n, C, s, K, k, T, t, their elements, the sequence of writing;, to achieve the rules of writing throughout the lesson. | Answer questions. We will write them "N, n", "S, s" "K, k", "T, t". Write sentences and build them Determine the topic and objectives of the lesson. Topic: “Letters H, n, S, s, K, k, T, t” We will work on writing the letters H, n, S, s, K, k, T, t, connecting them with other letters in words, letter comparison. | R: acceptance of a given goal; interaction with adults and peers in educational activities. C: expressing one's point of view and trying to substantiate it with arguments; acceptance of the correct point of view, readiness to change one's point of view. P: formulating the topic and goals of the activity; building a sequence of steps to achieve the goal. |
| IV. Discovery of new knowledge Practical: analysis of letters Practical: writing in the air Practical: tracing. Practical: Reading and analyzing a sentence Practical: self. letter Practice: Reading and analysis of the sentence Practice: self. letter Practical: reading and analyzing sentences; Practical: self-writing; mutual check. | 10 min | Frontal work. -Your prescriptions are open on page 22 -Let's read the letters -Why two letters each -What is the difference between a lowercase letter and an uppercase letter? -What letters do not differ in elements? -What is the widest letter? - Take a pen in your hand, put your hand on your elbow, you will repeat the movements after me, you write in the air, and I'm on the board - Draw the letters carefully, you already know how to write them and you have arrows that show where to start writing. -You pee a little let's give our fingers a rest, repeat after my movements One, two, three, four, five - (Clench and unclench fists.) Let's collect leaves. Birch leaves, (Bend one finger at each line.) Rowan leaves, Poplar leaves, Aspen leaves, We will collect oak leaves, we will take the autumn bouquet to Mom. (Squeeze and unclench the fists.) -What is the name of the wide line - working or additional? - First read the first line to yourself. Now out loud -Tell me what it is? Why? -Correct -What's the thought? What is the proposal about? -What extra? And the main one? -Why is the word Nina capitalized? - We write this sentence in the working line, we try to write in observance of the slope, do not forget to keep the notebook at an angle. - First read the second line to yourself. Now out loud -Tell me, what is this? Why? -Good -What's the thought? What is the proposal about? -What additional? And the main one? -Why is the word Sonya capitalized? - We write this sentence in the working line, we try to write in observance of the slope, do not forget to keep the notebook at an angle. -Read the third line to yourself. Now listen. - How many words are in this sentence? (Who is standing in the bushes?) -What about us? Only at the end of the sentence is not a period, What? -And what is this offer? - Let's try to read this sentence inquiringly - Write this sentence in the working line, try to write beautifully, neatly, do not forget about landing and neat word. | EN, ES, KA, TE One uppercase and one lowercase Height, elements, Letter C Uppercase letter T Self-circle. Observe the actions of the teacher. (Optional) (Working) Offer. Starts with a capital letter, ends with a dot That Nina has juice Consists of three words U, juice. Nina This is the girl's name Check the fit, position of the notebook and pen. Offer. Starts with a capital letter, ends with a dot That Sonya has a cat Consists of three words U, cat. Sony This is the girl's name Check the fit, position of the notebook and pen. Consists of four words sentence Question mark Interrogative Exchange of notebooks Underline words | P: carrying out the action according to the given rule; self-control of activities based on the result; interaction with adults and peers in educational activities. P: analysis of objects in order to extract features; choice of bases and criteria for comparison. K: expressing one's point of view and trying to substantiate it by giving arguments; acceptance of the correct point of view, readiness to change one's point of view. P: perception of information, its conscious reproduction in the process of activity. R: self-control and mutual control. |
| Dynamic pause | 1 min | -Let's get up and stretch a little! | Perform movements | R: self-regulation. |
| V. Primary reinforcement Practical: sentence analysis independent writing Practical: sentence analysis, independent writing, self-examination. | 4 min. | Front work. -Look, what kind of bird is this? Who has seen or heard it? -How does she scream? -Look at the next line. - First read to yourself. And what is this sign? Now read this sentence aloud with an exclamation -Good - We write this sentence in the working line as it is with two dots and quotes - Check the fit, position of the notebook and pen. - Write yourself, following all the rules of writing. Finger gymnastics There is a padlock on the door. Who could open it? (Quick connection of fingers into the lock.) Pulled ... (Pull the hands to the sides.) Twisted ... (Wave-like movements.) Knocked ... (Fingers clasped into the lock, children knock with their palms.) And opened! (Fingers disengaged) -Look at the set of words (Antona, y, notes.) -Do they have a meaning? - Let's try to make a sentence out of these words - Ok, write it down - Check the fit, the position of the notebook and the pen. | Cuckoo Cuckoo Exclamation Three words No, these are just words Anton has the notes. | P: analysis and synthesis R: self-control P: extracting information, semantic reading with analysis, conscious construction of a statement. P: reflection of the methods and conditions of action, control and evaluation of the process and results of activities. |
| VI. Independent work with self-examination Practical: letter dictation, word writing, self-examination. | 8 min | Individual form of work. - Climb up to the free stitches. Place a dot to start writing. I will dictate written letters to you, and you write them: lowercase "A", uppercase "k", lowercase "o", uppercase "T", lowercase "n", uppercase "a", lowercase "y", uppercase "C" ”, lower case “and”. -Compose and write down one word using the letters from the dictation. -Check the work on the slide. - Raise your hand, who has no mistakes in the dictation. | They are writing a dictation. Wasp, sleep, knock, sled Check operation. | P: reflection of the methods and conditions of action, control and evaluation of the process and results of activities |
| VII. Inclusion in the knowledge system, repetition | 2 min | Group work Get into groups of 4 people. Attention to the screen, in front of you are the elements of the studied written lowercase and uppercase letters. Task: - assemble a lowercase and uppercase letter from elements; name the elements and letters, come up with three words with these letters. -Let's get started, who coped with the task, show readiness. | Work in a group to design a letter. | K: control, correction, evaluation of actions. P: synthesis as the composition of the whole from parts. |
| VIII. Reflection of activity | 1 min | Individual form of work. What is on the board? (leaf) - There are snowmen on my table. Those who believe that they have learned to write letters will take green. If not everything works out, they will take the yellow one. If the letters do not work out at all, they will take a red snowman. - Select a piece of paper and glue it to the tree on the board. The teacher summarizes the results. -Thank you for your work! | Evaluate their performance. | R: assessment - highlighting and understanding by students of what has already been learned and what is still to be learned, awareness of the quality and level of assimilation. |
 Stage of self-determination to activity

 (Here: "Ku-ku! Ku-ku!")
Target training
Target training- Check that on tab Recognize (menu Service>Options ) in the group Recognition with learning switch has been set to position Recognition with training .
- Press button 2-Recognize . The program will start recognition. As soon as the character to be trained is encountered, the Manual dialog opens. training of the standard with the image of this symbol.
Training symbol
The describing rectangle at the top of the dialog must contain one integer character . If it contains part of a letter or more than one letter, then using the mouse or buttons and the rectangle can be moved so that it covered one whole letter.
Attention!
- Learning is possible only for characters included in the alphabet of the language. If you are teaching a program characters that cannot be entered with keyboards, then you can use a combination of two characters, or you can copy the desired character from Symbol tables (opened by clicking in dialog Manual teaching standard buttons).
- If the text being taught contains words typed in italics or in bold and it's important for you to keep typeface in the recognized text, then when learning such characters in the dialog Manual training of the reference items to be noted are Italic or Bold respectively.
- When teaching, make sure that images of capital letters corresponded to capital letters, and images of lowercase letters - lowercase.
If you made a mistake during the learning process, you can press the button Return , and the enclosing rectangle will return to previous position, and the last trained pair "image - symbol" will be removed from the template. Button Return is valid within one word.
Teaching ligatures
Ligatures are combinations of two or three characters which, due to features of their style cannot be separated during training and which are therefore immediately taught as combinations of symbols. Education ligatures is the same as teaching individual characters:
- In the line for entering a character, enter the desired combination of characters and press button Teach .
- The describing rectangle at the top of the dialog must contain whole combination . You can move the rectangle using the mouse or using the buttons and .
One template can contain up to 1000 new symbols. However you should not create too many ligatures, because it may adversely affect the quality of recognition.
The following restrictions must be taken into account when teaching:
- Images of some symbols are not recognized by the system recognition and are compared with any one character.

Learn more