The dot art
Best The Dot Activities for the Classroom
Are you a fan of The Dot by Peter Reynolds? This inspiring picture book makes a great first-day read aloud and can serve as the springboard for all kinds of creativity. Here are some of the best The Dot activities we could find!
1. Just start with a mark and make these murals.
The beauty of these murals is that the students learn several art concepts, such as outlining and shading, as they progress throughout the project. Day one consists of simply making the outlines. The next day students fill in their circles, and on the third day, students learn shading. One project, three lessons.
Source: Art with Mrs. Peroddy
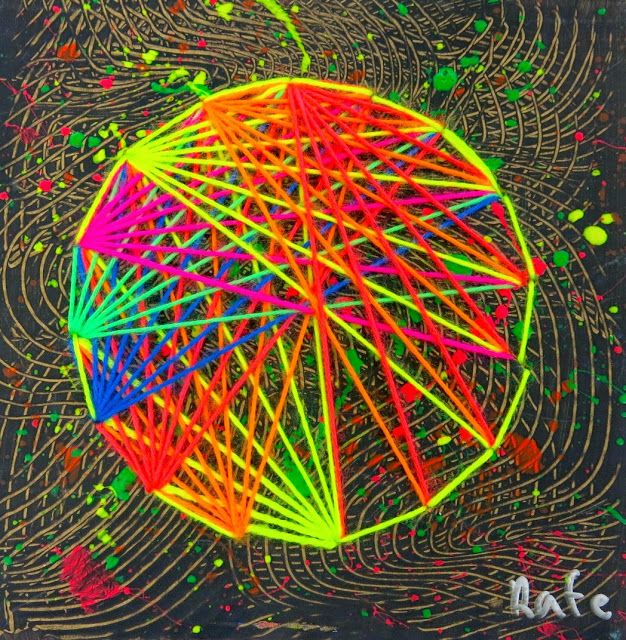
2. Find your inner dot with this stitched string art project.
Suitable for fourth graders and up, these stitched dots bring a pop of color to these geometric circles. It’s also the perfect art project to sneak in a quick math lesson about circles and angles. You’ll need yarn, paint, and a 10×10 square of cardboard for each student.
Choose neon yarn and your students will make a very bright mark indeed.
Source: Cassie Stevens
3. Paint you own dot.
Suitable for both younger and older students, it takes just a few supplies to make these paper plate dots: paper plates, black markers, and tempera cake paints. Students use the marker to create their design and then use the tempera paints to fill in their designs with color. Unlike some of the other projects on this list, this project can be started and finished in one 45-minute class period.
ADVERTISEMENT
Source: Tales from the Traveling Art Teacher
4. You can make a dot or a not-a-dot.
Not-a-dot projects introduce the concept of positive and negative images—both which are equally appealing when hung up on the wall. Let students each create one positive and one negative painting. This is also an ideal project for students just learning how to use watercolors.
Source: Drip, Drip, Splatter Splash
5.
 Let your dots create community.
Although this project wasn’t necessarily modeled after The Dot, it certainly can be incorporated into your lesson plans. Each student receives only one-fourth of a circle. Yet, when all of the quarters come together, you get a wall full of complete circles.
Source: Fabulous in First
6. Each dot is a drop in the ocean of this mural.
Students are assigned a color scheme in order to create a circle. Although the students use different media (crayons, markers, etc.), they are united in color. The beauty of this project becomes apparent when the small dots create much larger dots that are displayed for the entire school to see.
Source: Shine Brite Zamorano
7. Create a wall of art by piecing these dots together.
Teach students how to make Kandinsky-esque concentric circles. (You can download the lesson plan for free here.) When the students all work from the same color palette, you’ll be rewarded with a masterpiece when all of the smaller dots are strung together.
Source: Creativity Connection
8. Add color to this Tree of Life.
Instead of leaves, your students will decorate this black and white tree with colorful circles. Use neon markers for the brightest pops of color. This could easily become a school-wide project, where each class creates their own tree.
Source: Color Us Well
9. Put your milk caps to good use.
Have you been saving up milk caps and other lids? Now is the perfect time to use them! Instead of sponge painting, students will use the milk lids as their “brush” and create a dot painting. Younger students may enjoy the “squish” that is created by each dot.
Source: A Little Bit of Perfect
10. What can you make with one dot?
What can you make with one dot? A story, of course! Students start with a dot and then draw the full picture. Once their picture is complete, students will compose a short story (three to five sentences). This could easily be adapted to older students: Give each student a picture of a dot and have them write a three- to five-paragraph story.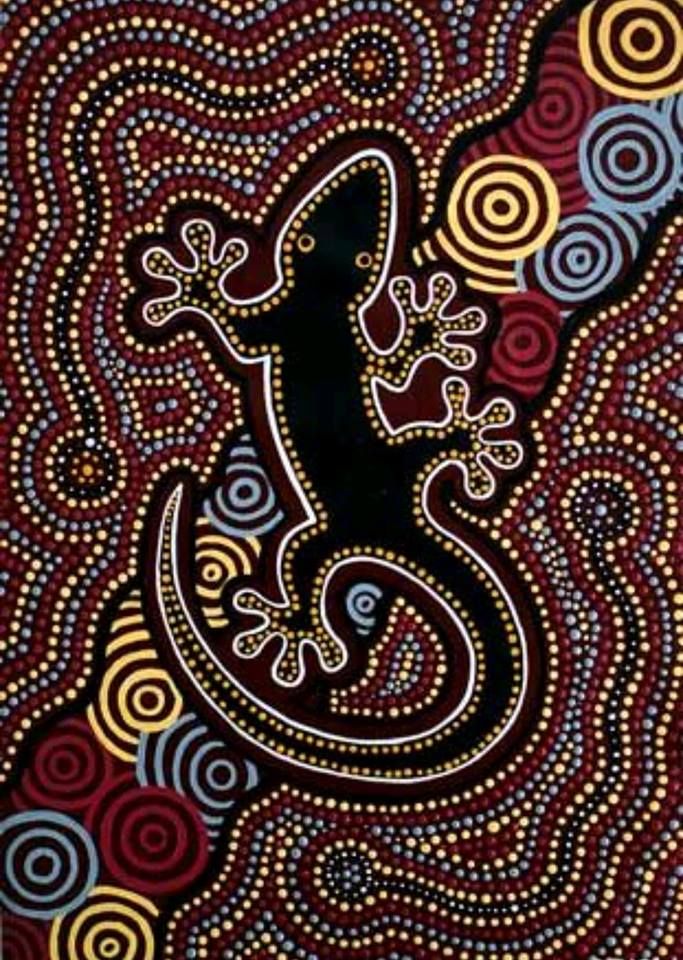
Source: Blog Hoppin’
What are your favorite The Dot activities? Come share in our WeAreTeachers HELPLINE group on Facebook.
Plus, our favorite Chicka Chicka Boom Boom and Pete the Cat activities.
15 Creative Art Activities Inspired by The Dot
Time to encourage our children’s growth mindset by boosting their confidence and willingness to try new things and be themselves. Peter Reynolds has written and illustrated many inspiring picture books, but when it comes time to paint, The Dot is the perfect celebration of creativity and encouragement that your little artists need to pick up a brush. Every piece of art starts with a single dot of color, and the process thereafter is free for each child to discover. Let’s use this inspiring book as a resource to encourage all kinds of creativity with these 15 art projects utilizing dots!
1. Melted Crayon HeartsThis art project uses pops of color from melted crayons to decorate and blend colors into one design.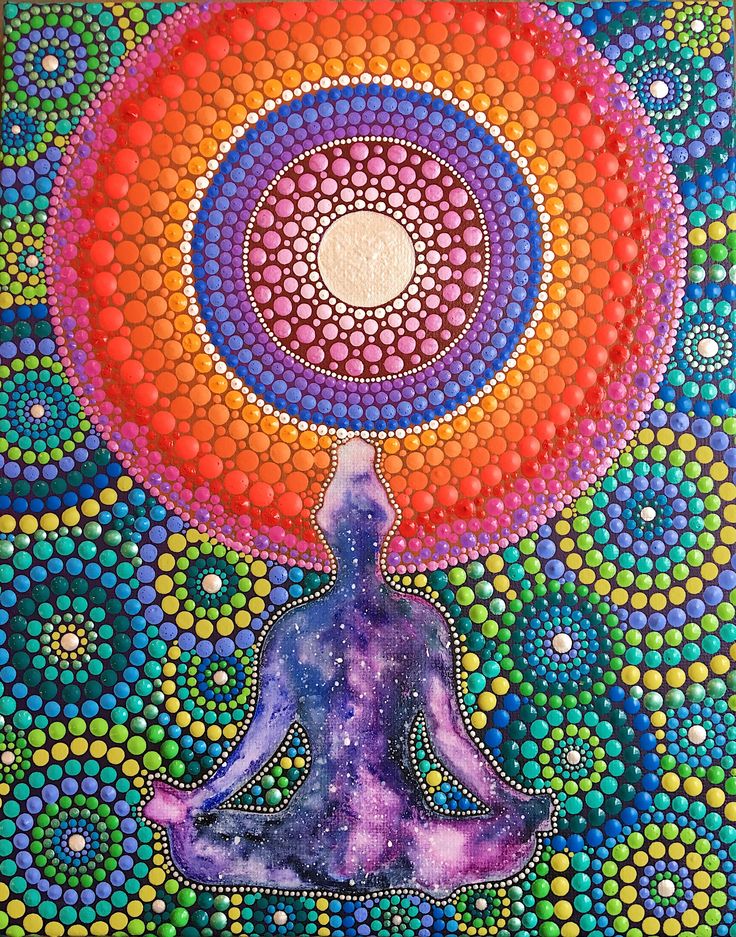 Make a Valentine-inspired art piece by cutting and tracing a heart from card stock, melting the tips of crayons, and dotting the paper until the heart is covered in shades of red, orange, and yellow.
Learn More: Artsy Craftsy Mom
2. Crawling CaterpillarsTime to get our little one’s fingers dirty and improve basic counting skills with this finger-painting caterpillar activity. Give a color palette to each child and a handout with numbers and faces, and then watch as your students dip away and actively count to 10!
Learn More: Teacher’s Mag
3. Connecting the DotsHere is a color recognition activity that requires very little preparation and materials. Give each student a piece of paper and different colored markers. Demonstrate how to draw dots around the white paper at random. Then, ask students to connect the dots that are the same color.
Learn More: Pinterest
4. Student Drawn Dot MobilesA picture in every circle; what a clever and unique art project to incorporate into your lesson plan on The Dot. Give your students pieces of white paper and scissors to cut out circles. Next, provide markers and crayons for them to draw pictures and designs. Finally, they can glue the circles onto yarn and hang them as classroom decorations.
Learn More: Katie Morris Art
5. Cup Outline and Paint ArtWe can create dot art with a variety of common household objects such as cups! To begin, provide each child with a cup and some black paint. Show them how to dip the rim of the cup in the paint and press it onto paper. They can then fill in their dots with other watercolor paints once dry.
Learn More: Pinterest
6. DIY Repurposed CD LadybugsMany of us still have CDs we no longer have use for. You can bring old CDs to class and make these adorable ladybugs! Firstly, each student can paint their CD with black paint and then trace their hands on red paper and cut out the wings. Finally, add some black dots and antennas, and glue all the pieces together!
Learn More: I Heart Arts N Crafts
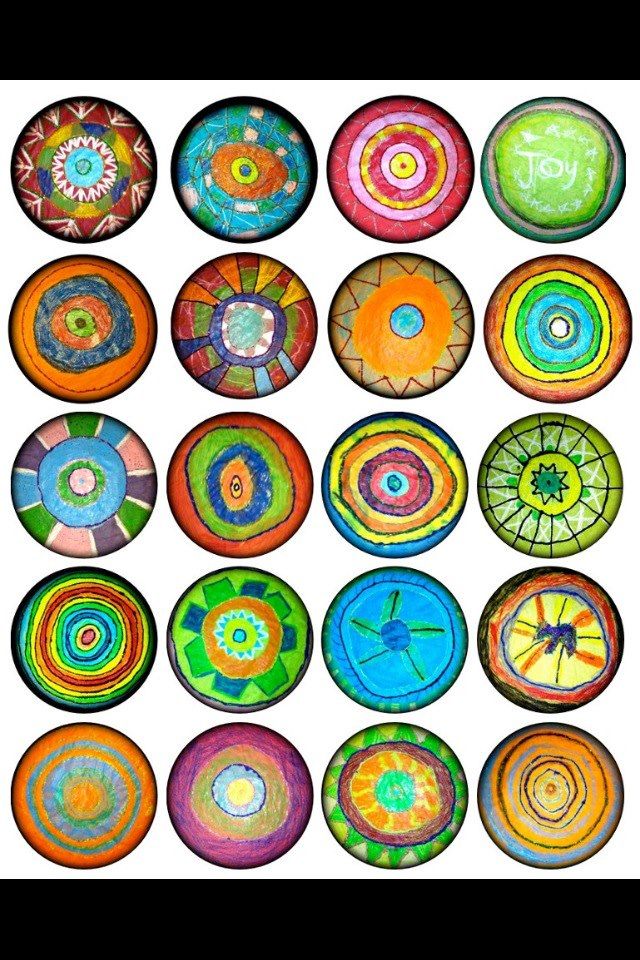
7. Painting Mandalas on Rocks
There are so many cute and simple dot designs your students can paint onto rocks. Take your class outside to collect some smooth, round rocks, and then wash and dry them. Show your kids how to paint precisely so they can create these beautifully intricate images.
Learn More: 30-Minute Crafts
8. The Tree of Dots CollaborationA color activity for the whole class to participate in! Draw a tree on a giant poster board and ask each student to cut and decorate a dot to glue onto the tree to create a whimsical color scheme piece for your classroom walls.
Learn More: Engage Their Minds
9. Circle and Strips Paper StructuresTime to elevate our color study to new heights by going 3D! This fun dot-inspired project uses strips of different colored paper to create a one-of-a-kind design that pops out using students’ cutting, gluing, and spatial-relational skills.
Learn More: Cassie Stephens Blogspot
10. Q-Tip Tulip Landscape Painting
Teach your aspiring artists how to layer colors and use different tools for painting. This method uses q-tips as the brush; making little dots, placed closely together, look like a field of flowers!
Learn More: Projects With Kids
11. Put Me in the Zoo Dot ArtThese adorable, dot-covered paper plates make the character “Spot” from this popular picture book. Follow the link and show your kids how to paint their plates, as well as glue on pom poms and googly eyes to create this loveable paper pup.
Learn More: ABCs of Literacy
12. Motor Skills Dot PaintingHow many different props can we use to make dot art? From pom poms and q-tips, to clothe pins and sponges, creating designs with color and tools improves kids’ motor skills as well as encourages creative expression.
Learn More: The Keeper of the Memories
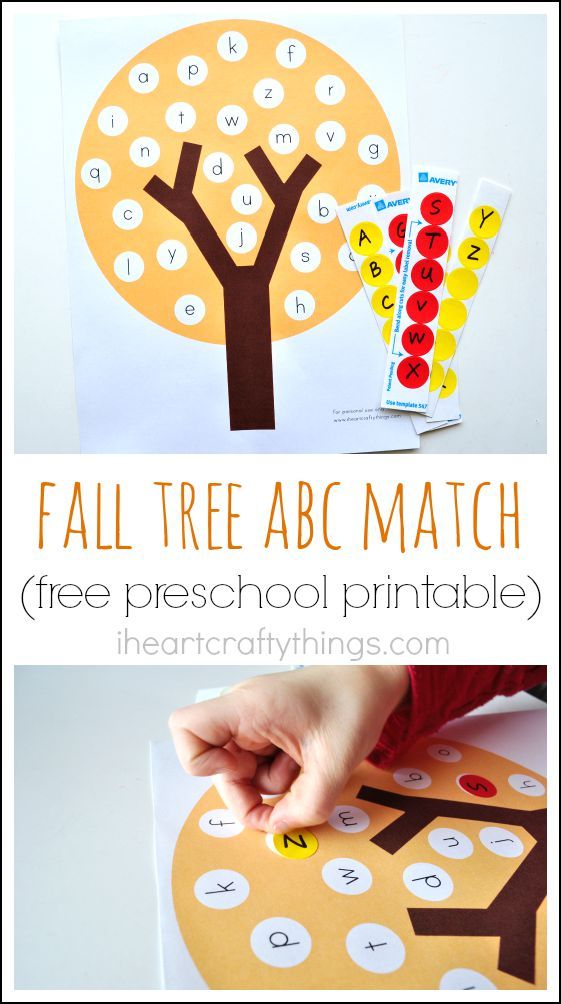
13. Fingerprint AlphabetWork on letter recognition and alphabet review with this hands-on finger painting art project! You can print the template with the letters and guiding designs from the link below and provide your kiddos with safe finger paints to press and fill in their worksheets.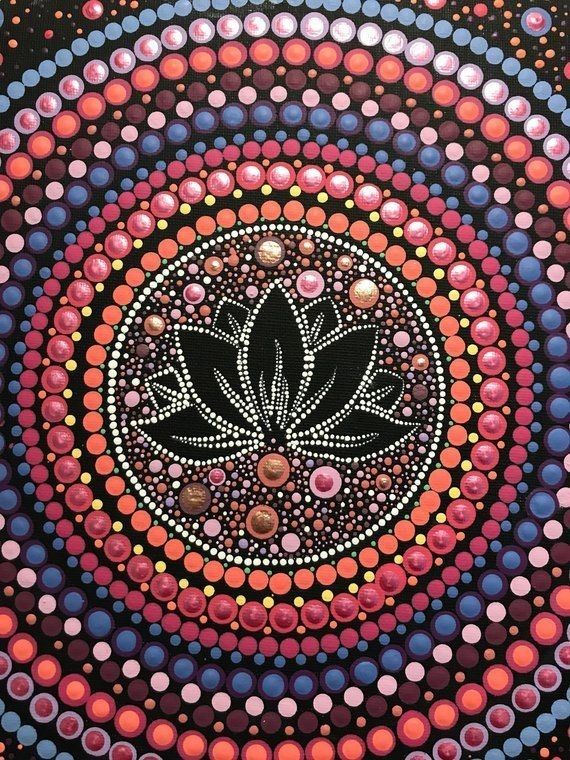
Learn More: Hello Wonderful
14. The Dot Illustration LessonAre you and your students curious about how the author and illustrator Peter H. Reynolds designs his pages in The Dot? Watch this video as a class and gather inspiration to make your own unique faces, designs, and images based on the book.
Learn More: Kid Lit TV
15. Sticker Dot Design ChallengeSpark creativity in your learners with this dot and color art project. Give each student 5 different colored dot stickers to place on a piece of paper. From there, they must conceptualize and design an image using the dots on the page.
Learn More: Teaching Ideas
Related posts:
Dot painting for beginners
The Point-to-point drawing technique is a very exciting and at the same time uncomplicated process that will captivate both a sophisticated professional and those who are just learning to draw will be able to do it.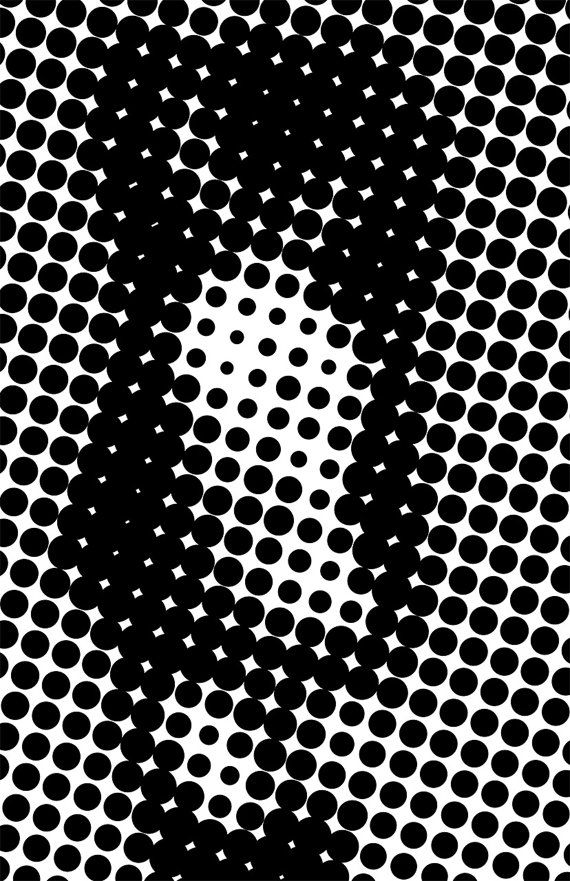
Contents
- Spot painting materials
- Spot Painting Technique for Beginners
- Dot painting video
- How long does a dot painting take to dry?
- Finished Work Examples
- Painting kits
Technical history
Dot painting has existed for tens of centuries, archaeological finds testify to this: ceramics, figurines of pagan gods, jewelry. At first, this method was used in coinage, but then it was transformed into a drip technique for applying drawings. The artist drew paint into a straw and patiently, drop by drop, created a unique pattern. Dot painting was especially popular in the East, in particular, in Persia and India. It can be seen on bas-reliefs, sculptures, and on flat surfaces of dishes, walls, household items, fabrics.
Outside of Asia, dot painting is also found among the natives of Australia and Oceania. Ethnographers note that with the help of multi-colored dotted ornaments they depicted the history of the tribe, significant battles and other events, and some astronomical data.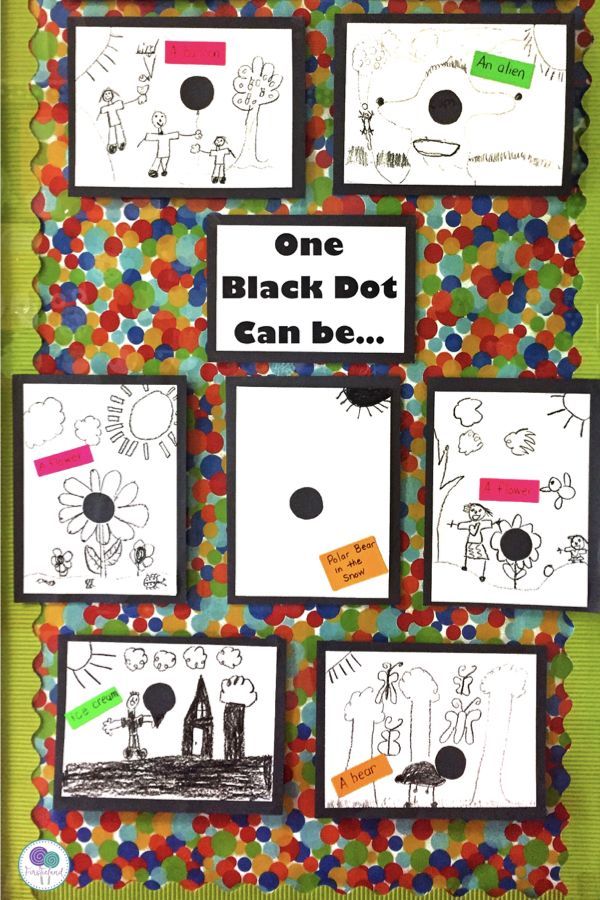
Now dot painting has firmly captured the hearts of creative people, because with its help you can turn any household item - dishes, document covers, shoes, vases, clothes - into a unique work of art.
What is dot painting?
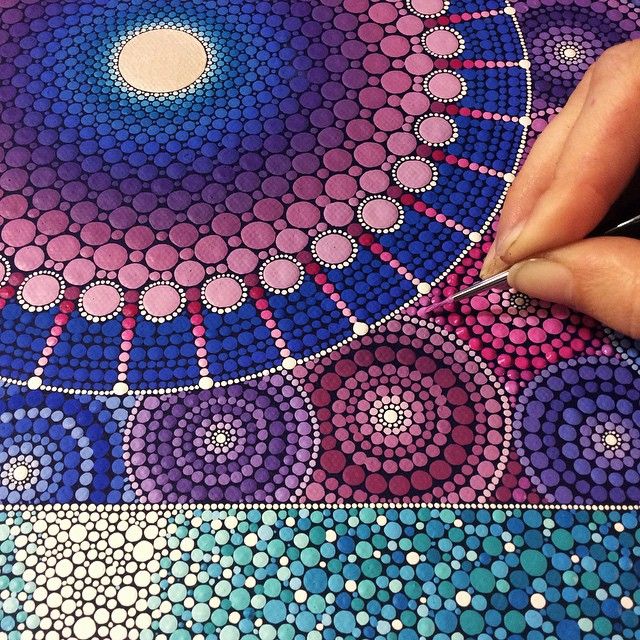
The essence of the technique is that the dot acts as the main element. Lines and spots are made up of a sequence of multi-colored or monochromatic dots, forming an ornament or contour of any figure at the request of the artist. The finished drawing looks light, airy, sometimes it seems that it is mobile, because the dots flow smoothly from one line to another. Using different shades, even within the same color, you can achieve very interesting artistic effects.
During work
Dot painting is a very painstaking task that requires perseverance and patience, because the drawing is applied literally point by point. On the other hand, this is a very exciting process, you will not notice how time flies and you get a three-dimensional bright pattern, pleasant to the touch, which:
- suitable for children and adults;
- does not require special knowledge and training;
- perfectly relaxes and relieves stress;
- transforms ordinary things into works of art.
Having mastered dot painting, you will discover a delightful world of magical ornaments and drawings that delight the eye and restore spiritual harmony. It is not for nothing that temples and sacred objects were covered with this painting in ancient times.
Spot painting materials
For spot painting, special acrylic paints-contours are suitable. They are available in tubes with thin tips. They have a viscous thick consistency, so with their help it is easy to draw thin lines and put neat round volumetric dots.
- Contours for glass and ceramics are universal, they fit perfectly on any hard surface - stone, wood, leather, tin, metal, plastic, etc.
- Fabric outlines are only suitable for fabric, as they are more liquid for better adhesion to the threads.
If you want to paint over the background, then any acrylic paint will do. Acrylic is "friends" with most surfaces, dries quickly, without losing saturation and color depth, and is not washed off after heat treatment.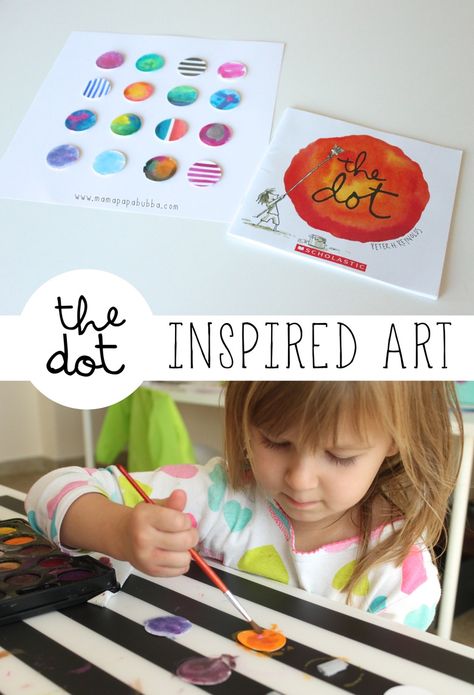 Before starting work, carefully cut off the tip from the dispenser tip. Do not overdo it: you can always squeeze a fatter point out of a thin spout, but small dots are unlikely to come out of a wide one.
Spot painting technique for beginners
Before you start, make sure you have prepared everything you need:
- basis for painting - it can be dishes, a box, etc., it is better to start on a flat surface;
- any alcohol for degreasing;
- acrylic outline paints;
- pattern sketch;
- hard pencil;
- clean cloth, paper and wet wipes, cotton swabs;
- thin wire, stationery knife.
Work in an apron and gloves, cover the table with a covering film. The room must be well ventilated.
Ready to learn basic dot painting techniques? We start with the simplest - a chain of dots. We advise you to work with only one color at first.
- Degrease the surface with alcohol, it dries very quickly.
 If necessary, paint over the background with regular acrylic using a brush and let dry.
 - Remove the cap from the contour, lightly squeeze the tube and try to make the first dot. To make it neat, keep the outline strictly vertical and lift it with a sharp, jerky movement.
- Now put a second point next to it, a third one. Make sure that the distance between them is the same. Draw a line in this way.
- Remove unsightly dots with a cotton swab, dipping it first in alcohol. For each point you need a clean cotton wool. If it cannot be removed without touching others, wait 10-15 minutes and pry with a utility knife.
Now let's draw a chain of gradually increasing and decreasing dots. The harder you press on the tube, the more it will turn out, the weaker, the smaller and thinner it will be.
The next step is the figure. We advise you to start with an openwork circle. Draw a circle of large dots of the same diameter. Put the same dot in the center.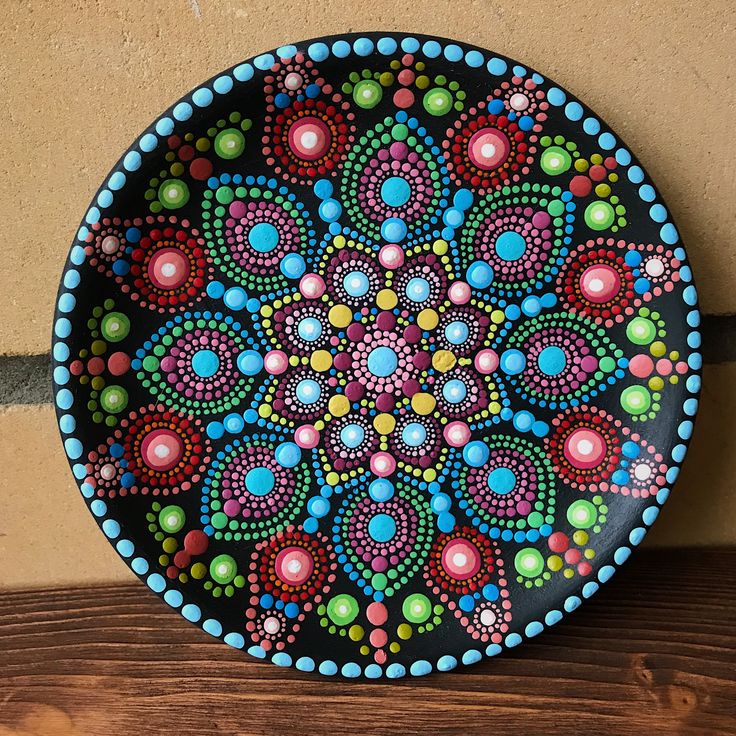 From it, draw a decreasing chain to each of the extreme points.
Another interesting figure is the fan. Draw an arc of large dots and from each draw a chain that decreases towards the center. The main thing is that the dots do not stick together, and the lines look beautiful together.
Finished work
Thus, you can draw any other shapes: follow the contour with the same points, highlighting one or two and making them fatter. Figures can also be circled with a thin border of small dots. Keep the distance between the images so that each one stands out clearly. You can first draw complex contours, and only then fill them with dots. So it is easier to observe equal intervals between the figures.
VIDEO: Dot painting for beginners
Try to work as carefully as possible so that you do not accidentally smear the drawing with your hand.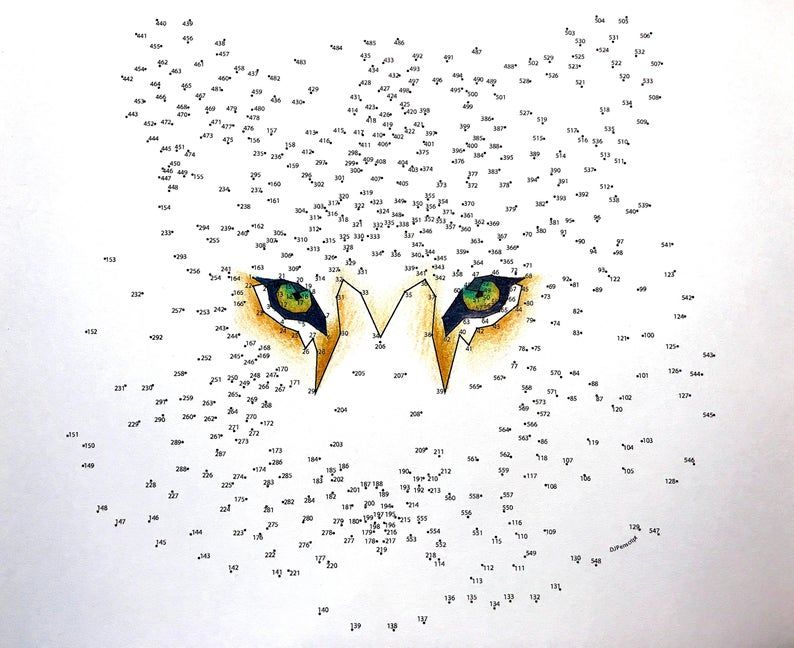
How long does it take for dot painting to dry?
The finished acrylic dot pattern dries for about 24 hours. Further, the paint firmly seizes and is not afraid of mechanical influences. For greater durability, cover the work with a thin layer of clear or colored acrylic varnish. It is easy to apply from a can and dries quickly. If you are painting on a glass plate, place it in an oven preheated to 150 degrees for 40 minutes and do not take it out until it cools completely.
A few tips for beginners
- If you don't know how to create a pattern, use ready-made patterns and stencils, for example, for cross-stitch, lace, mandala drawing or anti-stress coloring.
- Mark the lines of the pattern with a hard pencil. Press lightly on the lead so that the lines are not visible on the finished work. If you are painting on a transparent glass surface, attach the stencil on the back.
- From time to time, remove excess paint from the dispenser nozzle with a damp or paper towel.
 If you choose a new color, make a few trial dots on the draft.
 - If the dispenser spout is clogged, clean it with a thin wire or an unnecessary pin.
- Too thick contour can be kept for 10 minutes in warm water, and then the paint will become plastic again. Too liquid circuit should be put in the refrigerator for a couple of minutes.
Using the dot painting technique, you can decorate anything: a passport cover, a mirror, a picture, dishes, a bag, if there is a desire and time. The finished item will delight you for a very long time!
Examples of Finished Spot Paintings
Spot Painting Kits
In our catalog you will find not only a variety of high quality acrylic contours, but also ready-made kits in order to make a high-quality drawing from dots.
This is a great option if you don't know where to start or want to give a loved one a nice creative gift. The set includes a base, contour paints, an adhesive-based stencil, acrylic varnish, background paint, and a sponge for application.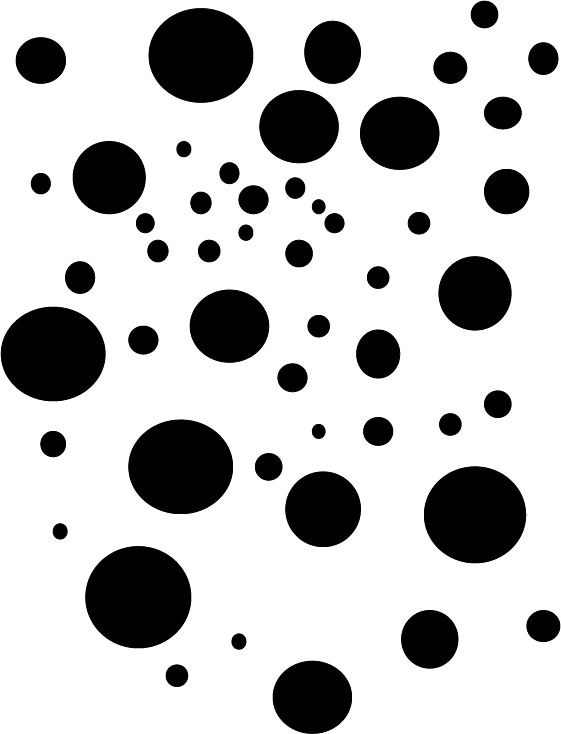
Dot Art: The Art of Dot Painting There are many styles, techniques and methods of drawing, among them there is a very interesting, time-consuming, but at the same time, simple in some methods - point drawing technique. When I discuss the topic of dot painting with the participants in my classes, most understand what it is about, but they represent it in different ways.
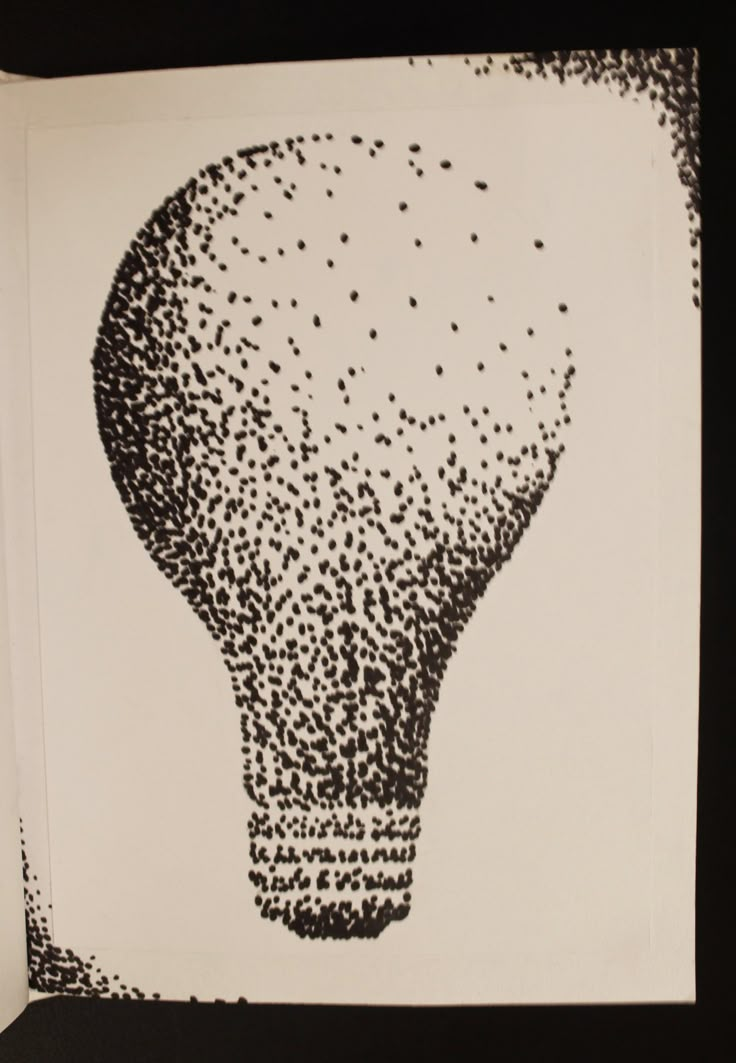
Anyone who knows about the art of drawing with dots as a direction in painting, which is called pointillism, imagines something like this:
Someone remembers pop art with dots and polka dots.
Some talk about a dotwork tattoo. And someone gives similar examples, not knowing what it's called:
Our ideas about how the point drawing technique looks are different. And this is due to the variety of dot art methods and their names.
Let's get our bearings on the topic.
Varieties of dot art
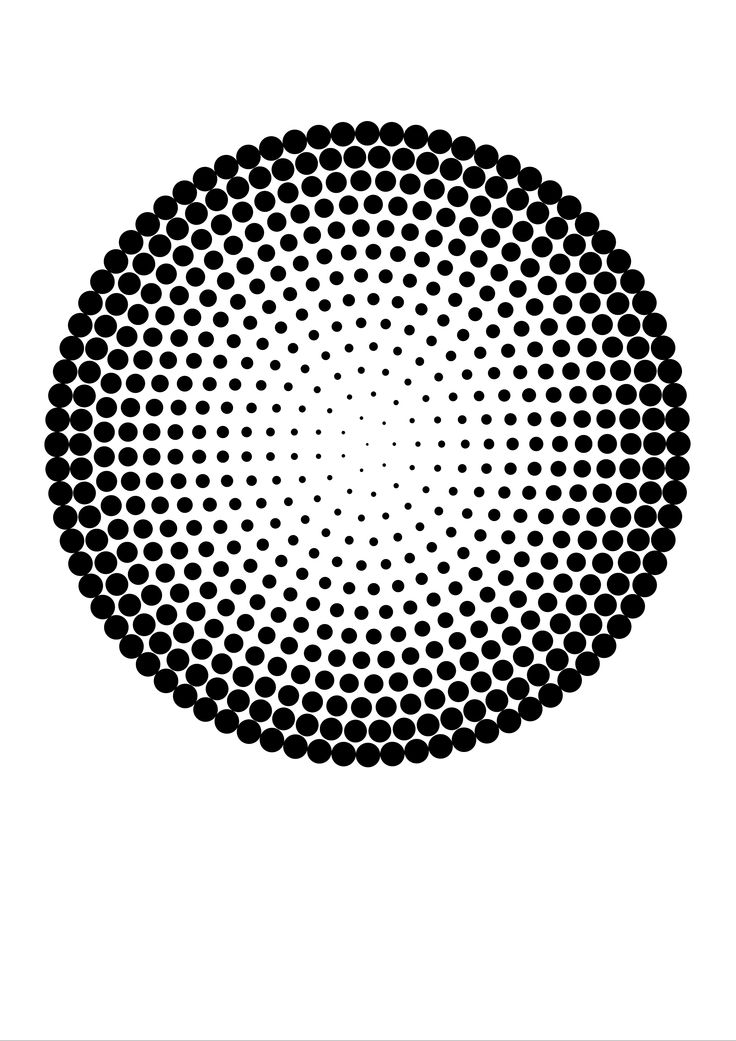
Pointillism (fr. Pointillisme, literally “dottedness”, fr. point - dot), also known as pointillism.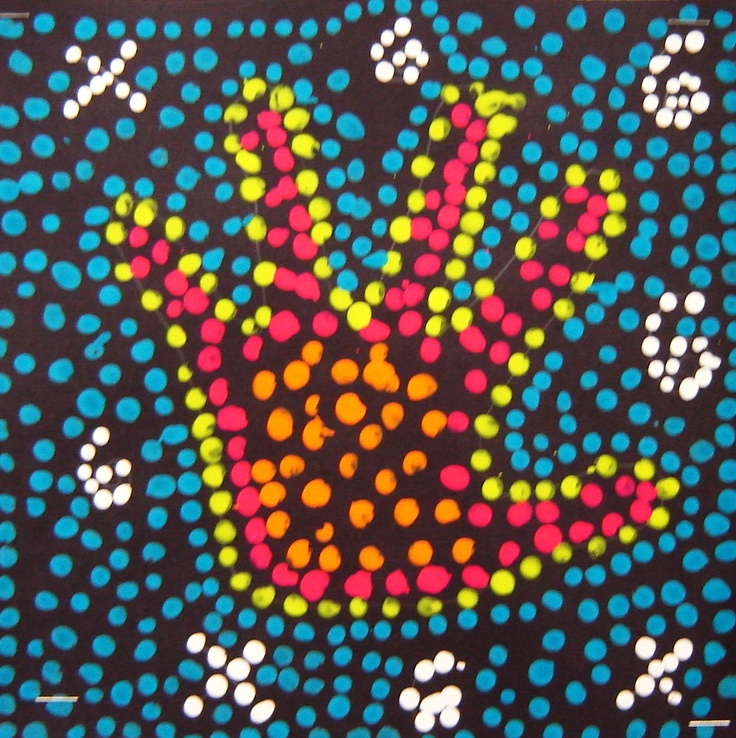 This seems to be the most common name that covers both graphics and dot painting. In painting, this is drawing with strokes of a round or rectangular shape. Paints do not mix to create a color transition, namely, dots create the illusion of light and shade, volumes. By the way, pointillism is not only fine art, but also a technique of composition in music. Pointillism also has the equivalent style name divisionism. In the first photo at the top is a painting by a prominent representative of pointillism - the artist Paul Signac, who lived in 19century.
Dot art - dot art (where dot - from the English dot, art - art) - this is also a voluminous, but more modern concept for different options for "dotting". Dots art means the same, where dots are plural dots. Such drawing requires concentration and painstaking work, but in its simple forms it is often used in zentang and doodling as an ornamental element.
There is an interesting topic - "dotted hyperrealism", when drawing in this technique, the effect of a photograph is achieved.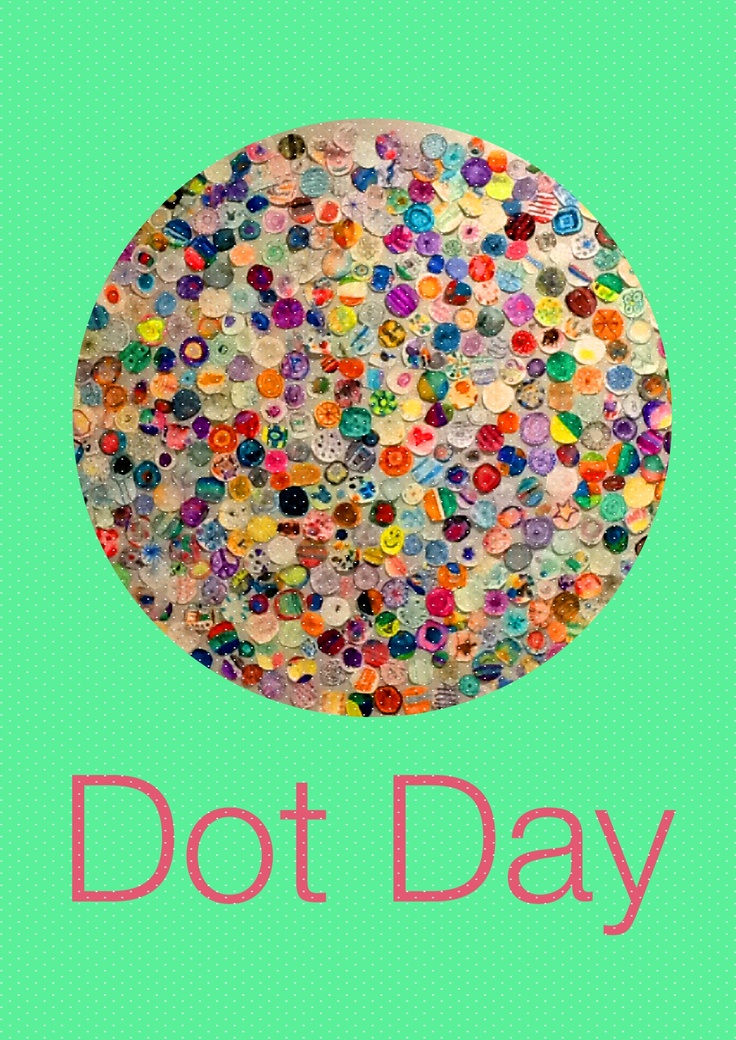 Like many other art forms, this type is highly controversial. With the development of photographic technology, when a photograph is of such high quality, it would seem, why draw an image that creates the illusion of a photograph? Moreover, most often artists draw from a photograph, and not from a real object, as painters did before the film / photo era. With all due respect to the painstaking hours of work of such artists, the question naturally arises: "What's the catch?" Or, in other words: “What, in fact, is art?”
I think that since such a species exists, then someone needs it. The artists themselves probably get great pleasure from this, since they are doing such colossally laborious work when you can just click on the camera button)))
Point-to-point painting (point-to-point) is also the art of drawing with dots, but pay attention that we are talking about painting. In this case, the art of decorating with dots is meant. In English, this technique is called point-to-point, which literally translates as “point to point”.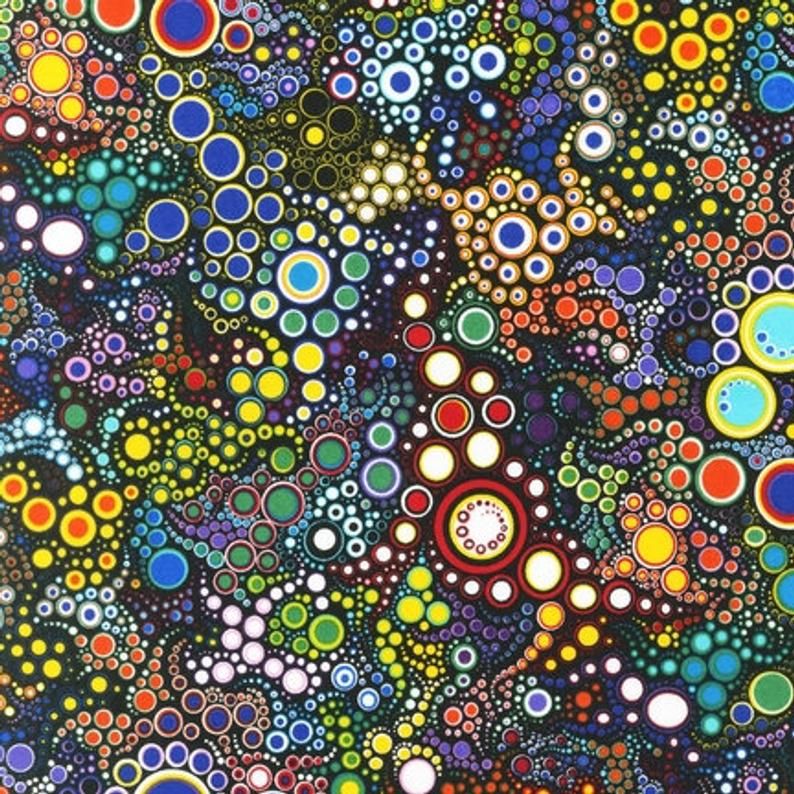 The drawing method differs from pointillism in that the dots line up to form ornaments. This method came to modern decor from African, Polynesian, Australian tribes. By the way, the boots from the previous part of the article are decorated in this style. Point-to-point is an excellent technique for a hobby, zenart, as it is available to people with different levels of drawing and children. It can be applied as a form of meditative drawing. In zenart, stone painting with colored dots, mandalas and the tribal style of abstract dotting are popular.
If you haven’t drawn in this style yourself, you’ve certainly seen a lot of objects decorated with multi-colored or monochromatic dots: caskets, vases, jugs, other utensils, as well as phone cases, bags and wallets — you won’t see anything on the Runet in this technique.
Dotwork (dotwork) - the name consists of two words dot - point and work - work, therefore, “dot work”.
What is the difference between dotwork and dotart? The fact that dotwork is a style in a tattoo.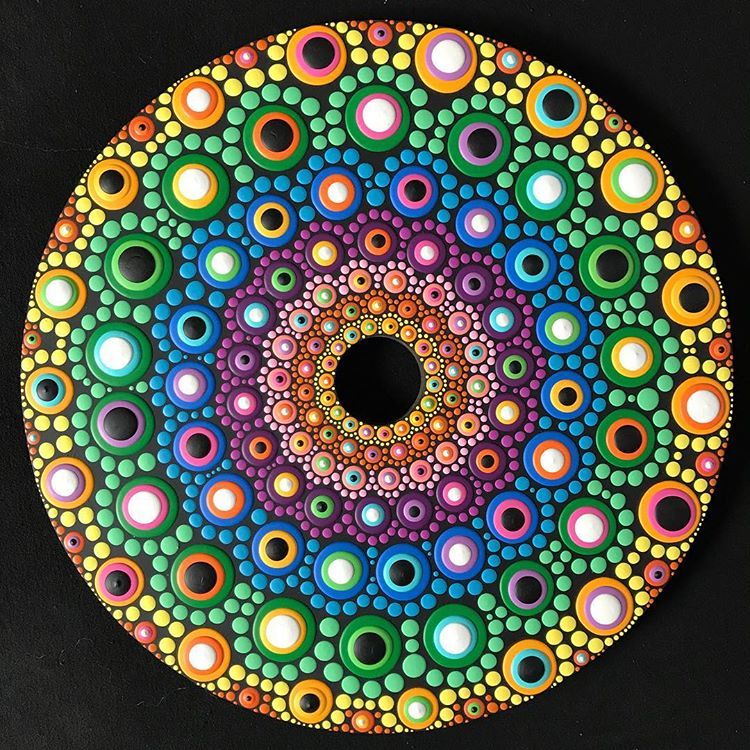 This is both a tattoo technique and a style. I am especially interested in ornamental tattoos in the form of mandalas, geometric patterns and flowers in this popular style.
Here is my version of the tattoo clover mandala, which I drew with a thin marker. Technically, this is not the best execution, but in this case it was my task to suggest a design, and the responsibility for beauty and clarity fell on the tattoo artist.
Drawing by dots
Drawing by dots can also be considered as a kind of dots. Although this is not art, but rather fun for children and adults, which develops thinking and memory, helps children learn numbers. In this type of drawing, the points are numbered, and the task is to draw the lines in the order of the numbers and get the picture as a result.
There are such interesting varieties in dot art. It would be possible to add coinage to the list of dotart in the broadest sense. This, of course, is not the art of drawing with dots, but still there are obvious signs of "dotting".