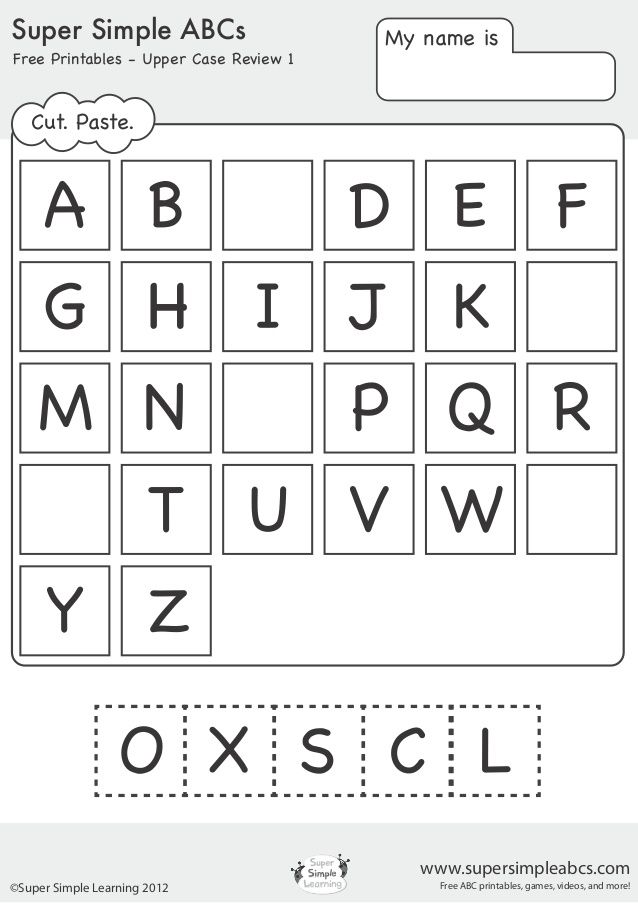
Upper case letter practice
A-Z Uppercase Lowercase Letter Tracing Worksheets
Learning the ABC and practice writing the alphabet is among the very first things that kids spend a lot of time with teachers and parents exploring, teaching and learning together. At this very early age, learning should be experienced through playing, practicing and repeating to make the whole process fun and easy for kids to absorb and remember.
In previous posts, I presented a lot of alphabet coloring pages to help kids recognize all the letters from A-Z through coloring activities with both uppercase and lowercase letters. In this post, I’m introducing to you series of alphabet manuscript tracing worksheets. Happy playing & learning!
Related worksheets:
NEW!
Cursive uppercase and lowercase handwriting practice sheets
Number practice worksheets
Free book report and writing worksheets
-
Blank Handwriting Practice Sheet
-
Blank Handwriting Practice Sheet with Guidelines
-
-
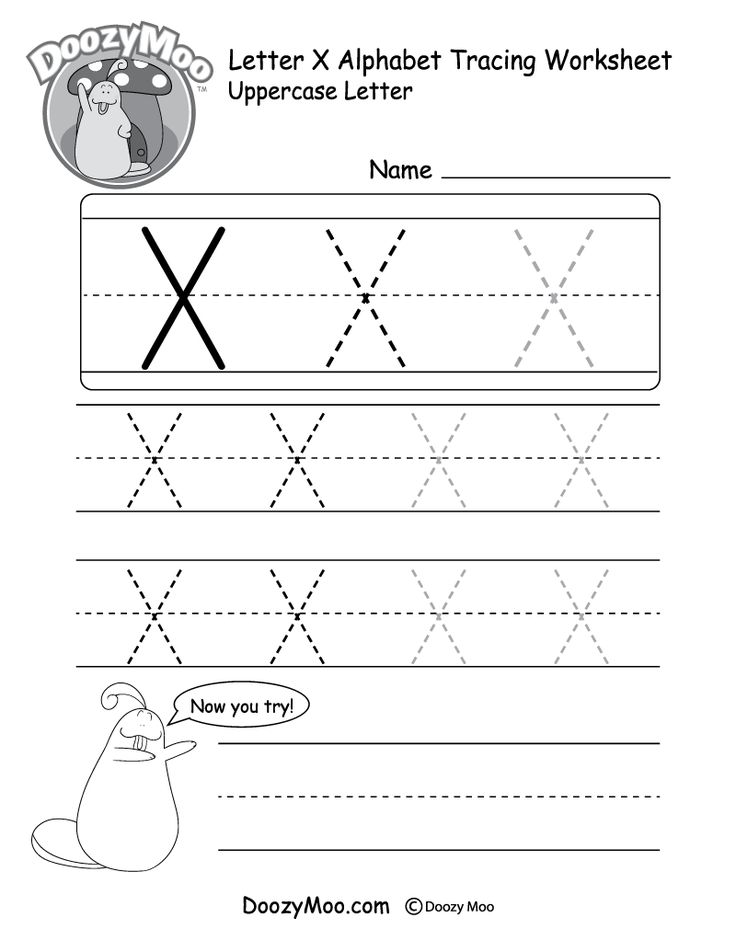
Alphabet Tracing Worksheet Letter A through Z Uppercase
-
Alphabet Tracing Worksheet Letter a through z Lowercase
-
Alphabet Tracing Worksheet Letter Aa through Zz Uppercase & Lowercase
Letter A Writing Practice Sheet
Letter B Writing Practice Sheet
Letter C Writing Practice Sheet
Letter D Writing Practice Sheet
Letter E Writing Practice Sheet
Letter F Writing Practice Sheet
Letter G Writing Practice Sheet
Letter H Writing Practice Sheet
-
Alphabet Tracing Worksheet Letter A
-
Alphabet Tracing Worksheet Letter B
-
Alphabet Tracing Worksheet Letter C
-
Alphabet Tracing Worksheet Letter D
-
Alphabet Tracing Worksheet Letter E
-
Alphabet Tracing Worksheet Letter F
-
Alphabet Tracing Worksheet Letter G
-
-
Alphabet Tracing Worksheet Letter H
-
Alphabet Tracing Worksheet Letter I
-
Alphabet Tracing Worksheet Letter J
-
Alphabet Tracing Worksheet Letter K
-
Alphabet Tracing Worksheet Letter L
-
Alphabet Tracing Worksheet Letter M
-
Alphabet Tracing Worksheet Letter N
-
Alphabet Tracing Worksheet Letter O
-
Alphabet Tracing Worksheet Letter P
-
Alphabet Tracing Worksheet Letter Q
-
Alphabet Tracing Worksheet Letter R
-
Alphabet Tracing Worksheet Letter S
-
Alphabet Tracing Worksheet Letter T
-
Alphabet Tracing Worksheet Letter U
-
Alphabet Tracing Worksheet Letter V
-
-
Alphabet Tracing Worksheet Letter W
-
Alphabet Tracing Worksheet Letter X
-
Alphabet Tracing Worksheet Letter Y
-
Alphabet Tracing Worksheet Letter Z
I’ve been using these alphabet tracing worksheets for my kids to practice writing when they were at preschool and kindergarten.
If you are a teacher or parent who happen to use the materials on this site and have feedback or suggestions for future materials, please feel free to add your comment using the form located at the bottom of the page. Much appreciated!
Posted in: Learning the alphabet, Tracing pages, Writing worksheets | Tagged: Alphabet tracing sheets, Featured posts | 8 Comments
How To Teach Your Child Uppercase Letters And Lowercase Letters
If your little learner is showing an interest in exploring uppercase letters and lowercase letters, you’ve come to the right place! We’re here to help you and your child have fun while learning.
In this article, you’ll discover the best way to start teaching your child about uppercase and lowercase letters to set them up for success.
Plus, we’ll share 11 of our favorite activities for practicing letter recognition and forming letters so your child can build their skills and confidence while engaging in fun learning games!
Table of Contents
- Tips For Teaching Uppercase Letters and Lowercase Letters
- 11 Fun Ways To Practice Uppercase Letters And Lowercase Letters
- Learning Letters Is Fun With HOMER!
Tips For Teaching Uppercase Letters and Lowercase Letters
When children are beginning to learn the difference between uppercase letters and lowercase letters, many find it easiest to learn uppercase letters first.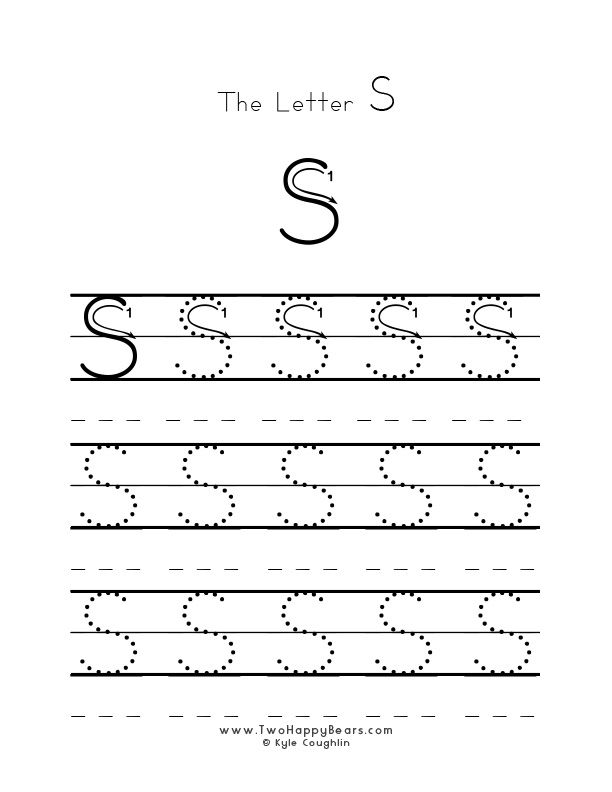 This is because letters are often simpler to draw and differentiate from other letters when they’re capitalized.
However, since lowercase letters are used more often throughout text, it’s important for children to learn that there are two forms of each letter and to understand how they connect to each other.
To accomplish this, start by teaching letters that have similarities between their uppercase and lowercase versions. For example, “T” and “t” are usually easier to link than “G” and “g.”
This process takes time, so don’t be afraid to go slow. Your child likely won’t master all 52 letters at the same time — it’s a huge task for their working memory! This skill will improve the more you practice together.
Additionally, while being able to identify the name of each letter is crucial, it’s more important for children to link the primary sound that each letter represents to both versions of a letter.
This will become a key tool they can use later when they begin to sound out words while reading, so it’s a good idea to practice early in the letter recognition process.
Depending on where your child is on their literacy learning journey, it can also be helpful to explain what the purpose of uppercase letters is. This way, your child can understand where uppercase letters fit into sentences and what they mean.
To do this, you’ll want to explain that uppercase letters are used at the beginning of a sentence and when you’re writing the name of a person or city, for instance. Of course, there are other times uppercase letters might be used (like in acronyms), but that’s a lesson for another day!
Letter Vocabulary To Teach Your Kids
When you’re talking about letters with your child, it’s important to help them understand the words people use when discussing the alphabet. These vocabulary words will ensure your child can communicate effectively and comprehend what others are saying.
Here are a few key words related to these activities your child should know:
- Letter: One of the 26 symbols that make up the English alphabet.
 Each letter has a name, like “A” or “B,” and represents a sound (or sounds).
 - Alphabet: The alphabet is the name for all of the letters.
- Uppercase letters: These letters have specific functions and usually come at the beginning of a sentence or proper noun, among other uses.
- Capital letters: Capital letters are another name for uppercase letters.
- Lowercase letters: These letters are the most common but can vary by font (more so than uppercase letters), which can be confusing for young learners.
You don’t need to quiz your child on these words or make them memorize the definition. Simply use these words when you’re talking about letters so your child can become familiar with the terms.
11 Fun Ways To Practice Uppercase Letters And Lowercase Letters
Learning letters doesn’t have to be boring! Here are some of our favorite games and activities that make learning fun.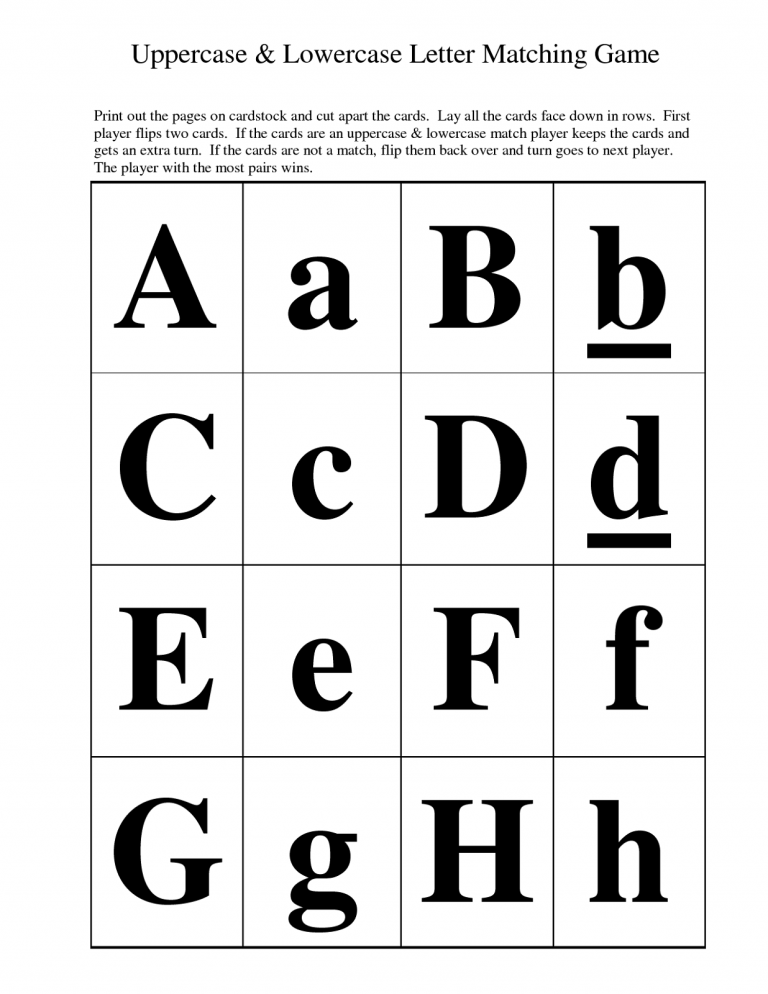
1) Everyday Letter I-Spy
I-Spy is a fun, simple way to incorporate uppercase letters and lowercase letters into your child’s everyday life and help them practice letter recognition.
By drawing their attention to different letters throughout the day, you’ll strengthen their skills bit by bit without them even realizing it!
What You’ll Need:
- Signs or other words around you
What To Do
Simply start asking your child to identify letters as you go about your day together. Beginning with letters that matter to them, such as the letters in their own name, is a great way to begin.
Then you can work your way up to letters in other special words as their letter recognition skills improve. For example, try asking your child to identify the letter “L” in the sign for the laundromat, or how many of the letter “T” they can find in the menu at a restaurant.
This activity is a fantastic learning tool, as a game of letter I-Spy can be played practically anywhere, and you don’t need any equipment — all you need is a good eye for spotting letters!
Try adding this fun game into your daily routine to sneak in some letter recognition practice.
2) Create Letters In Nature
As an engaging way to bring learning outdoors, try practicing to form letters by using materials found in nature. Whether you take a walk around the neighborhood or create a scavenger hunt in the backyard, you’ll have fun collecting materials with your child.
What You’ll Need:
- A variety of natural materials, such as rocks, sticks, or leaves
What To Do:
Once you’ve gathered the natural materials you found, it’s time to practice forming uppercase letters and lowercase letters with these supplies.
Start by choosing a letter that your child is familiar with, and have them write it out by forming it with one of their chosen materials.
Note: Rocks and leaves are easiest for forming rounded letters (B, C, D), and sticks are best for letters with straight lines (A, F, T).
When your child has mastered a particular letter in uppercase, ask them to form the same letter in lowercase. Gradually move on to trickier letters that they might be less familiar with to challenge their skills.
With plenty of practice, your child will know all uppercase letters and lowercase letters by heart. (At that point, you could include a time limit to see how many letters they’re able to create within a particular time period as a fun challenge.)
3) Guess The Magnetic Letter
This is another easy letter recognition game that doesn’t require much equipment and can be really fun to play (especially when the kids are able to outsmart the grown-ups!).
What You’ll Need:
- A set of magnetic letters (we recommend the ones in the HOMER Explore Letters Kit)
What To Do:
Grab your magnetic letters. Then, have your child put their hands behind their back before handing them a single letter of your choice.
Ask your child to identify the letter in their hands — without peeking! — only by touch. For children who are still learning, provide choices for them to guess between (“Do you have a ‘T’ or a ‘B’ in your hands?”).
For older kids who are mastering letters, make the activity trickier by increasing the number of letter possibilities, and, eventually, have them guess without any hints at all.
It’s important to take turns so that you also give this letter recognition activity a go as the adult. It’s encouraging (and usually entertaining) for your child if you try and fail a few times by guessing a letter or two incorrectly.
Don’t be afraid to “mess up” in this game!
4) Letter Matching Cards
For this activity, you’re going to need a set of letter-matching cards. While you can purchase a variety of different types, we think it’s fun to make our own personalized set!
What You’ll Need:
- Paper or cardboard to cut into 52 cards
- Scissors
- A marker
What To Do:
Start by cutting out rectangles of paper or cardboard for your cards, one for each uppercase and lowercase letter. Then, write a letter on each of the cards, or have your child practice writing it themselves.
After the letters have been written, your child can decorate to their heart’s content! You might even want to draw (or glue a picture of) an object that corresponds to each letter to make it even more fun (like an apple on each of the “A” cards, a balloon for the “B” cards, and so forth).
This will also make the matching portion of the activity easier for your child if they’re still mastering uppercase letters or lowercase letters.
When your letter cards are complete, mix them all up on the table and have your child select one. Their task is to find the corresponding uppercase or lowercase version of that letter from the selection in the pile.
This game might be difficult at first, so we suggest beginning with just 10 cards at a time: five uppercase letters and five lowercase letters. You can make more cards on different days and add them to the list as your child gets the hang of this activity.
With practice, your child will enjoy becoming a letter matching professional!
5) Get Crafty
This interactive learning activity is all about practicing letter formation using uppercase letters and lowercase letters. No matter which form of arts and crafts your child chooses for this activity, you’re sure to have a blast!
What You’ll Need:
- A variety of art supplies, such as pipe cleaners, Play-Doh, Fingerpaints, glue and glitter, ribbon, and construction paper
- Kid-safe scissors
What To Do:
Grab your art supplies and get ready to start the fun.
Say a letter aloud (or write it down for your child to visualize if that works best) and have your child form the letter using your chosen material. Then have them create the corresponding uppercase or lowercase letter to match.
Engaging in crafts is a great way to encourage your child to practice forming letters — they’ll be so busy having fun that it won’t feel like learning at all!
6) Hidden Letters
Get your child up and moving while they practice their letters with this simple game.
What You’ll Need:
- Your letter cards from activity number four
What To Do:
To make the game more manageable, pick out five to 10 letters your child is practicing. Then, make a deck out of the uppercase and lowercase cards for those letters.
While your child isn’t looking, hide the cards in one room of your home. That way, you’ll limit the area they have to search.
Once the cards are hidden, it’s time to go on a letter scavenger hunt! Your child will love finding all of the letter cards.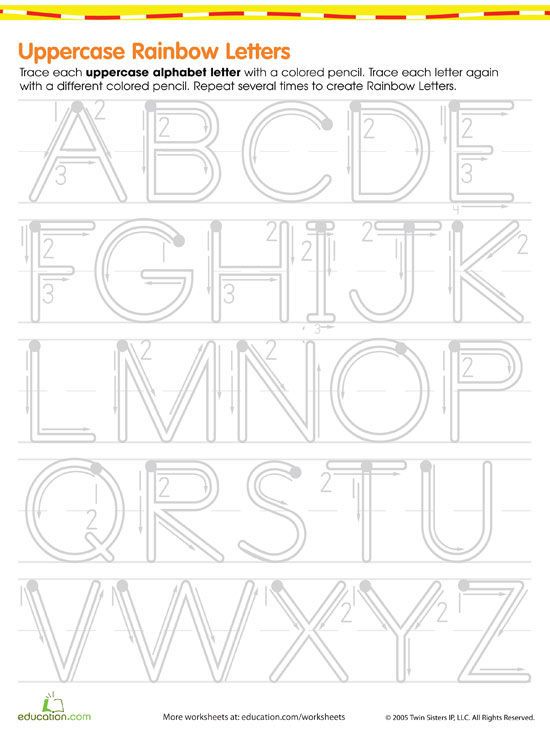
Encourage them to set their cards out in a matching set, with an uppercase letter next to a lowercase, so they can see at a glance which part of each set they’re missing.
7) Post-It Note Letter Challenge
Can your child select the matching letters to finish this challenge?
What You’ll Need:
- 52 Post-It Notes
- A pen
- A large area to hang the notes on, such as a blank wall or a whiteboard
What To Do:
Write an uppercase letter on 26 Post-It notes. Then, use the remaining ones for lowercase letters.
Next, alternate placing uppercase and lowercase letters onto your wall or whiteboard. You might have a capital “A” followed by a lowercase “b.”
Once you get to “Z,” set the remaining letters in a row so your child can see them. Point to the uppercase “A” and ask, “Can you find the lowercase letter that matches?” If your child correctly identifies the letter “a,” have them pick it up and stick it below the capital “A. ”
”
If they pick the wrong letter, that’s OK. Gently let them know that they picked a different letter and have them try again.
Once both “A’s” are together, move on to the next letter. When your child has returned all of the missing Post-Its to the wall, sing the ABC song together.
Note: If your child doesn’t yet know all of their letters, don’t start with all 52 Post-Its. Instead, pick a smaller number for them to practice with so they don’t get overwhelmed.
Also, once you finish with the Post-Its, they can save them and use them for this fun Letter Toss game.
8) The Learn & Grow App
If your child enjoys a bit of educational screen time, the HOMER Learn & Grow app is a great way to let them practice their letter identification skills.
What You’ll Need:
- A compatible device
- The HOMER Learn & Grow app
What To Do:
Our kid-friendly design makes it easy for your child to practice their letters on their own, so it’s perfect for those busy days when you just can’t squeeze in another activity.
Once you set up their learning pathway and create your parent account, you can let them play independently. The program takes them on a personalized learning journey that’ll meet them where they are now and help them grow.
Many of the games in the Pre-K section of Learn & Grow, as well as the Early Learners section, work on letter recognition and identification, so it’s a fun way to review what you’re working on together.
9) Letter Sort
Some uppercase letters look just like their matching lowercase friend. Others look nothing alike. This activity helps your child pay attention to the shape of each letter so they can sort them.
What You’ll Need:
- Letter cards (you can reuse the ones you made in activity number four)
- Two large bowls to sort the letters into
What To Do:
Start by mixing up all of the letter cards. Then, invite your child to help you sort them into two groups: those that look the same in upper and lowercase and those that look different.
You may need to model this for your child a few times. For example, hold up the capital “S” card and ask, “Do you see a lowercase letter that looks like this?”
When your child finds it, say, “Both the uppercase ‘S’ and the lowercase ‘s’ look similar. They have the same shape, but one is a little smaller. Let’s put these two letters in this bowl because they look the same.”
Then, pick up another uppercase letter, such as the “E.” Ask your child to find the lowercase “e.” If they have any trouble, give them a hand. Then ask, “Do these two letters look the same?”
Let your child examine both letters and highlight similarities and differences between the uppercase and lowercase versions. Then say, “Since they don’t look the same, we’re going to put them in this bowl.”
Continue sorting, letter by letter.
Once your child sorts all the letters, have them count the cards in each bowl and see if there are more that look alike or more that are different.
10) Identifying Letters In Books
When you’re sharing a book with your child, asking them to identify a few letters is a fun way to sneak in a little extra practice. It’s also a great way to get them excited about books and reading.
What You’ll Need:
A picture book your child will enjoy hearing (find some of our book recommendations in this post)
What To Do:
Start by choosing a book that you know your child will enjoy. Then, as you read it aloud, stop occasionally to point out a few letters and ask them to identify them. For example, you might say, “Oh, look, there’s an uppercase letter ‘B’ on this page. Do you see it?”
If your child has trouble finding the letter, point it out. Then, say the sound the letter makes and have them repeat it to you.
Once they’ve found the letter, invite them to look for other letters on the page. See if they can find an uppercase and a lowercase version of the same letter. If not, that’s okay. Just move on to another page and try again.
As you stop, pay attention to your child’s engagement level and enthusiasm. You don’t want them to get tired of finding letters, so try to quit while they’re still having fun and enjoying the activity.
You can always try again later!
11) Make A Letter Book
Your child can use their alphabet knowledge to create a special book from A-Z. It’s great for practice and can also be a neat keepsake to look back on when your child is older.
What You’ll Need:
- Construction paper for the cover
- Printer paper for the inside pages
- Crayons or colored pencils
- A pencil or pen
- A stapler or a hole punch and ribbon
What To Do:
Start by having your child select a title for their book and then decorate the cover. They can use crayons or colored pencils for this task. Just make sure you add their name as the author somewhere!
Once they finish the cover, it’s time to move on to the inside pages. For each letter of the alphabet, have your child write an uppercase and a lowercase letter. Then, have them illustrate the page by drawing things that begin with that letter.
For example, for the “D” page, they might have a picture of a donut, a dog, and a duck.
Once every page is ready, it’s time to put the book together.
First, lay the pages out in order from A-Z, and then put the cover on top. Flip through the book to make sure everything lines up.
When everything is together, use the stapler to bind the book. If you don’t have a stapler that’ll staple something that thick you can also use a hole punch and a ribbon to bind it.
Once you’ve finished, have your child read the book to you. They can say the letter on each page and then identify the items they’ve drawn that start with each letter. As they’re reading, have them point to the uppercase or lowercase letters on each page to practice.
Learning Letters Is Fun With HOMER!
With the help of our expert learning tips and fun, engaging activities, your young learner will begin to enjoy practicing uppercase letters and lowercase letters in no time!
From I-Spy and guessing games to enjoying crafts together, watch your child’s skills develop as they master letter recognition and letter formation, feeling more confident each time they practice.
To experience even more “I did it!” moments with your child, try our Explore Letters Kit. Packed with thoughtfully designed activities and expert play tips to build their literacy skills, the possibilities are nearly endless!
Author
Small or Large / Habr
Such a trifle as the use of capital letters can be very important. For English. The article will be especially useful for those who develop products in English.
(By the way, who doesn't know yet, "university" is written in small letters.)
Can you spot the difference in the messages above? There are slightly more capital letters on the left than on the right. Big O, little O. Who cares, right?
Well, if you're writing an app for a website, you should be concerned. Something as small as the use of capitalization (capitalization) can be quite important. Capitalization affects readability, comprehension, and usability. It even affects how people see your brand.
We'll discuss interesting details a little later, but first let's start with a little dive into the origins of capitalization.
Learn more about the testing methodology we use on projects at the EDISON Software Development Centre.
Title case vs Sentence case
Most of today's products and websites use two types of word capitalization:
- Title case: Each word is capitalized. This is a Title Case Example.
- Sentence case: The first word is capitalized. This is an example of a sentence case.
If you're an Apple user, you may notice the use of title cases throughout their products. This is because Apple's design guidelines recommend title cases for many UI elements, including alert titles, menu items, and buttons.
If you use Google, you may notice a lot more sentence cases in their products. And that's because the Google guidelines recommend sentence cases for just about everything.
Left caption - iOS warning: Title in title case
The caption on the right is an Android warning: Title in sentence case
Whether you're on an Apple or Google team, iPhone or Android, it's good to understand what you're referring to when you use a title case or sentence case. Let's take a closer look at each style.
What's good about a title case?
First, let's see why you might want to use a title case.
More symmetry
Some people think the title case looks better because it's more symmetrical. As long as your phrases are kept short, the title case creates a nice visual rhythm to your words:
There is beauty in symmetry and sometimes it is enough for a designer or author to prefer a title case over a sentence case.
More visual clarity
"Visual distinctness" is just a fancy way of saying that the title case stands out more. Capital letters behave like raised hands, giving your title more emphasis. The title case is especially useful if you can't control font styles. This will help distinguish your title text from body text.
Notice how much more the title on the left protrudes than the one on the right? The more it stands out, the more likely it is that someone will actually read it.
More "serious"
Like the word "seriousness," the title case gives your words a sense of formality and importance. Sites like The New York Times or USA.gov mostly use the title case. It's Professional. Seriously. Authoritatively.
Using a title case is like putting a suit on words. For certain brands, you may want your words to sound like they mean business. If you're in a security-related business, for example, a title case is more likely to feel professional and reliable than a sentence case.
Imagine that you are the head of a company. Which option feels more professional?
What's good about a sentence case?
Next, let's see why you might want to use the sentence case in your products or website.
Easier to read
The main reason for using the sentence case is that it is easier to read, especially when the text gets long. Can You Imagine How Difficult It Would Be To Constantly Read Long Titles In A Title Case?
That's why the screenshot below from Apple's guidelines is confusing to me (If you're interested, it's the same screenshot I used earlier).
Caption: It pains me to read the title of this warning
Easier to identify
According to the original author of Google UX, Sue Factor, one of the main reasons why Google decided to use the sentence case was the ease of explaining it to designers and engineers. In the interface of a product, it is not always clear what can be considered a "header". Is the tab name a title? What about settings checkboxes? Or confirmation messages?
In addition, there are numerous ways to use the title case. For example, will you capitalize the prepositions "from" or "through"? What about the articles "the" or "an"? Depending on which guidelines you follow, the specific rules for title cases may differ. Below are the title case rules according to Apple.
Signature: ok, quick test. Do I need to capitalize the word "about"?
If you have different people working on your product or site, they might just forget about all the rules when using the title case. You can avoid this confusion by simply using the sentence case everywhere. There is only one way to write a sentence case, it's harder to screw up.
Friendly
Just as the title case looks more formal and serious, the sentence case looks more casual and friendly. I am an author at Dropbox and we specifically use the sentence case because we want our brand to be perceived naturally and achievable. We believe that the voice of our product separates us from the competition, and using the sentence case is one way for us to maintain that voice.
Caption: Do you feel love?
Easier to find proper names
As a result, the sentence case also makes it easier to read phrases with proper names. Proper names are words that you always capitalize—your name, New York, or Microsoft.
Today, many companies give their features and products descriptive names such as "Inbox" or "Calendar" as opposed to the fancy names "Spark" (Spark) or "Wonderful" (Fantastical). If you use a title case on all buttons, it becomes unclear whether some things are proper names or not, and this can affect usability.
The caption on the left - "Calendar" refers to my Calendar app or any calendar app? Signature on the right - Yes, the first option will add this to my Calendar app.
Other registers?
Title case and sentence case are the two most popular capitalization styles, but they are certainly not the only ones available.
Case in point: On Windows Phone 8, Microsoft used a lot of lowercase text in its interface, even for titles and buttons.
Signature - excess lower case on Windows Phone 8
Then there is GIPHY, one of my favorite sites. Their site uses uppercase throughout, which makes sense to them since meme text is usually written in all caps.
GIPHY Signature: CAPS RULES
Drawing Conclusions
Both title case and sentence case have their advantages. Whichever direction you choose, just make sure you make an informed decision that makes sense for your brand. The worst thing you can do is not have any standards at all, which will eventually lead to inconsistencies that will be problematic to fix later.
Once your users start noticing inconsistencies, that's when they start to lose trust in your brand.
Case closed?
What about you? Are you fans of sentence case or title case? Bottom or top? Or are you just rebels playing by your own rules?
Anyway, I'm curious what you think. Share your thoughts or questions in the comments below.
how did we learn to shout in capital letters? — T&P
Since the advent of electronic communication, the most common way to convey yelling and anger is with the caps lock key.
 The use of capital letters to raise conversation has psychological and historical roots, journalist Alice Robb found out in her study for the New Republic magazine. However, in her opinion, they should be abandoned in favor of more polite elements of the letter. T&P translated the main points of the argument.
 The rules of netiquette remain largely unsustainable because we don't know exactly what effect our emojis and our signature (or lack thereof) have on the recipient. Whether they can correctly convey our intonation is still unclear. However, there is no doubt about the text typed in solid capital letters: it means screaming, and with it rudeness.
Our intuition tells us to use capital letters. This was how they acted in the era of the Roman emperors - capital letters on the monuments gave the buildings more grandeur, splendor and artistic completeness. “Writers before the advent of the Internet often resorted to capitalization to express feelings of rage or annoyance,” says linguist John McWhorter.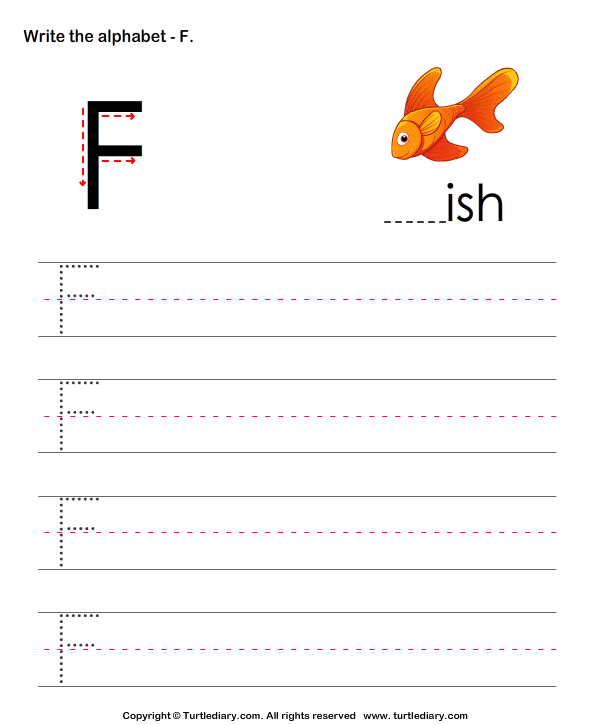 Separating parts of the text and emphasizing significance is the main purpose of the capital letter. She began to symbolize loudness relatively recently. The responsibility for this, perhaps, lies with the first bloggers. So, at 19In 1984, one of the users of the computer network commented on his entry: “if it is written in capital letters, then I am trying to SCREAM!”.
There are other well-known ways to emphasize in an e-mail. The first is to put asterisks around the words . The second - n, a p and s, a t k, and each letter in u c e s e s e s . However, the CAPITAL FONT remains the most common.
In order to stop people from using the “offensive” key, activists even suggested improving the computer keyboard, but their efforts did not lead to anything.
Cry conveys, first of all, feeling, not meaning, and capital letters give rise to a similar feeling. They seem to saturate, fill the whole space with themselves and displace everything else from it - this is how the message is filled with feeling, explains Paul Luna, professor at the British University of Reading.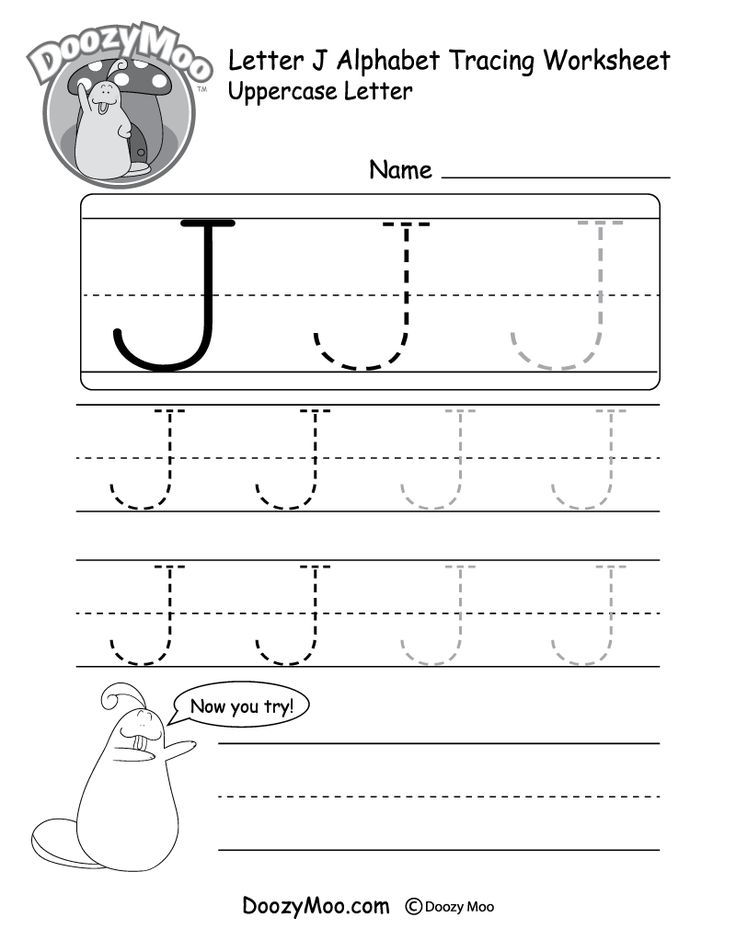
Using the caps lock key is the easiest way to express your anger. Moreover, the favorable position on the keyboard and the ease of its use (one click) may provoke us to be unconsciously rude in correspondence. In the last decade, this observation has spread around the world and has become the reason for a number of speeches by journalists and programmers against the use of the key. The most notorious of these are the "CAPSoff" campaign launched in 2006 by Belgian software developer Peter Hintienz and the abstracts published by Slate columnist Matthew Malady in 2012. In order to stop people from using the “offensive” key, activists even suggested improving the computer keyboard, but their efforts did not lead to anything.
Observations, however, show that communication between people on the Internet is becoming friendlier every year, and this trend would be consistent with the transition from caps lock to writing letters through spaces. This type of typing not only looks more polite - while you press the space bar after each letter, the chance to calm your nerves increases.