Varnish salt dough
How to Make Salt Dough Recipe, Tips and Ornament Ideas
22870 shares
- Share
- Tweet
Make memories with your kids by making an array of wonderful keepsakes or ornaments with our salt dough recipe and tips.
It’s super easy to learn how to make salt dough, read through the recipe and start making your first batch right away as we are almost certain you already have all that you need in your kitchen pantry.
*this post contains affiliate links*
While salt dough projects are most popular just around Christmas (who doesn’t love a pretty keepsake or ornament made with a hand print), crafty project with salt dough can be made all year round.
We will go beyond just sharing the dough recipe, you’ll also find some tried and true tips and tricks to help you make the best salt dough ever, each and every time, that just might last you for years to come.
Plus dozens of ideas to help you with decorating your own – from hand print keepsakes to “evergreen” ideas to make all year round.
I remember making these ornaments with my mother for Christmas. We made the most adorable cinnamon gingerbread men (they smelled amazing and oh so Christmasy).
I do admit I was a bit mind boggled as to why we can’t eat these cookies, but loved them way more than I did “the eating kind”. The sense of pride when I saw my DIY ornament can not be described with words. And it lasted for years!
How to Make Salt Dough – the Super Easy Recipe
To make the dough you will need the following ingredients:
Mix flour and salt.
This is important! Slowly add water, mix well as you ad it – don’t just pour in all water at once.
Knead the dough for about 10 minutes, until you get a even doughy consistency. Dough should not be sticky!
Roll the dough (ideally to 1/4 inch) and make your keepsakes or ornaments.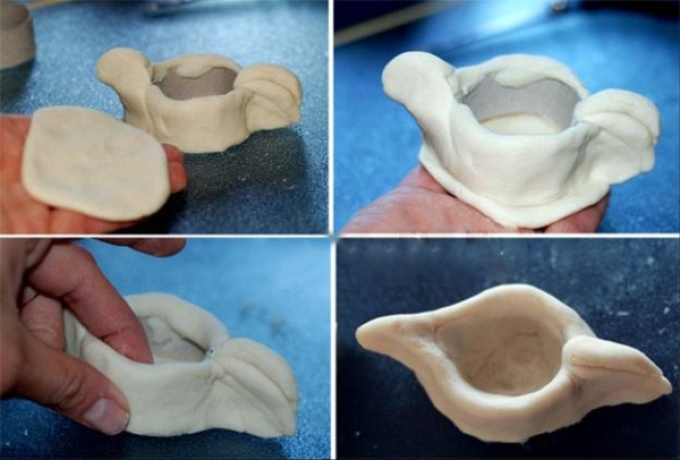
Once the dough is rolled you can use cookie cutters to make a variety of shapes.
Or use your hand as a stencil for a wonderful handprint keepsake.
If you are making an ornament for hanging, be sure to poke a hole (you can use a straw) before baking the dough.
Dry / bake, color, seal (optional).
How do you cook salt dough? How long do you put salt dough in the oven?
Now that you learned how to make salt dough, it’s time to bake it. As with all recipes that require baking in the oven, your oven is a factor and could need a temperature and bake time that’s a bit different than what works for me (a bread I baked following my mother in laws recipe to the point – her family recipe – that turned black (severely burned) is a great evidence.
I suggest checking in how things are going when you are making your fist batch.
What I do recommend is baking at about 200 degrees F / 100 degrees Celsius. Bake for an hour and check. Turn the ornaments, bake for another hour. If the dough isn’t dry yet, bake for another hour and check.
Can you put salt dough in the microwave?
Yes you absolutely can! Place the dough keepsake or ornament in the microwave and heat for 15 seconds. Repeat. Then heat for 20 seconds. Repeat until the dough is dry (this depends on dough thickness – around 6 rounds will usually do).
How about air dry?
If your kids have that kind of patience, yes you can. But the dough has to be thin to air dry and it will take several days for it to completely dry out. It has to be stored in a dry place so that it does not mold.
How do I keep my salt dough from puffing up?
You followed the dough recipe, were excited to make your ornaments and then, when they came out of the oven they were all puffed up. It can happen. Why does this happen? Some flours will raise a bit (be sure to use plain flour, using self raising flour by accident has been known to happen ;). Also make sure you dry your ornaments on low temperatures in the oven – if the suggested temperature didn’t work out, use lower temperature and dry them longer or leave them to air dry.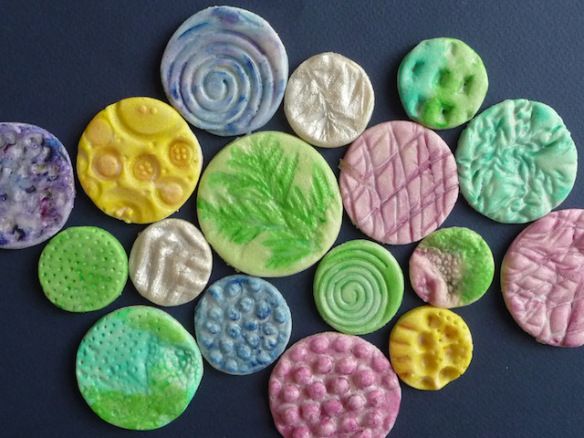
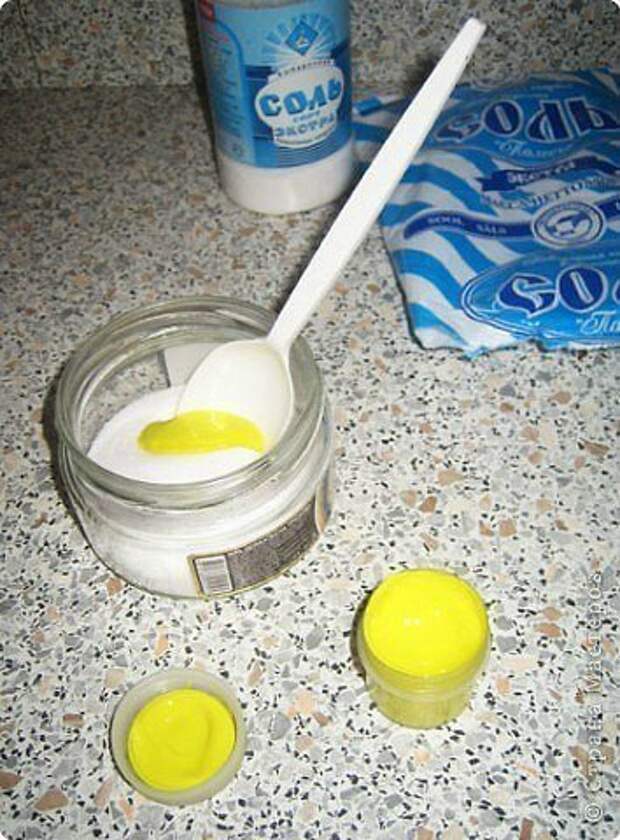
How do you color salt dough? What do you paint them with?
You can color the dough as soon as it’s hardened / dry. A variety of colors can be use, acrylic are best in my opinion as they are really durable. The more colors the more fun.
You can also use glitter – apply modge podge (or a homemade alternative) or glue on areas you want to glitter up and pour glitter on.
How do you seal salt dough?
Your dough needs to be completely dry / baked before you can seal it.
If you painted them with acrylic paints, they do the job of sealing to some level, if you want to take it a bit further it’s best to use craft sealer. Modge podge works great as a sealer and you can also buy craft varnish (glossy or mat) to seal dough.
On its own will last up for a long time without sealing too, if you handle it properly! Sealing will add a nice look to them though, especially if you want them to be glossy.
How long can you keep salt dough ornaments? Tips to getting them last decades!
Not kidding! Your dough can easily last for decades.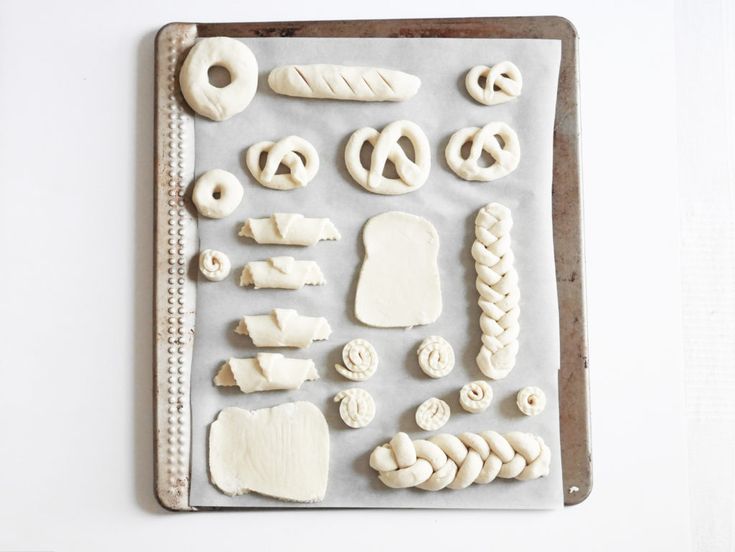 The key is to keep it away from getting damp. If you store them in dry areas (you can store them in a box and add silica packets – those small packets you usually get in shoe boxes or in handbags as those keep the dampness at bay).
What can you make out of salt dough? Oh do we have a few ideas for you!
So now you know how to make dough but need ideas on what to make with dough. Worry not we got you covered.
You are ready!
We are sure you will make the best batch now and that the end result will be amazing. Happy crafting.
Unlock VIP Printables - Become a Member
Become a member of Easy Peasy and Fun membership and gain access to our exclusive craft templates and educational printables. With brand new resources added on weekly basis you will never run out of fun things to make with your kids (either as a parent or as a teacher).
Check it out
EASY Salt Dough Ornaments That Last Forever
6. 3K shares
Use this recipe to make salt dough ornaments that double as personalized gift tags – both kids and adults will love this EASY craft. Preserve the ornaments with Mod Podge.
Skills Required: Beginner. You’ll make salt dough according to the recipe, cut your shapes, and then bake it. Then you’ll paint and Mod Podge the resulting ornaments. Anyone can do this project without prior experience.
I have a confession to make: I LOVE wrapping gifts. Presentation may not be everything, but it’s worth a lot in my book. When I can add a unique, handmade, and thoughtful topper to my gifts, I’m definitely going to take the time to do so.
In addition to gift wrap, I also love Christmas ornaments. Especially something personalized, that I can make myself. “So what,” I thought, “if I can combine the two together?” So I did. AND they are a perfect craft for adults or winter boredom buster for kids.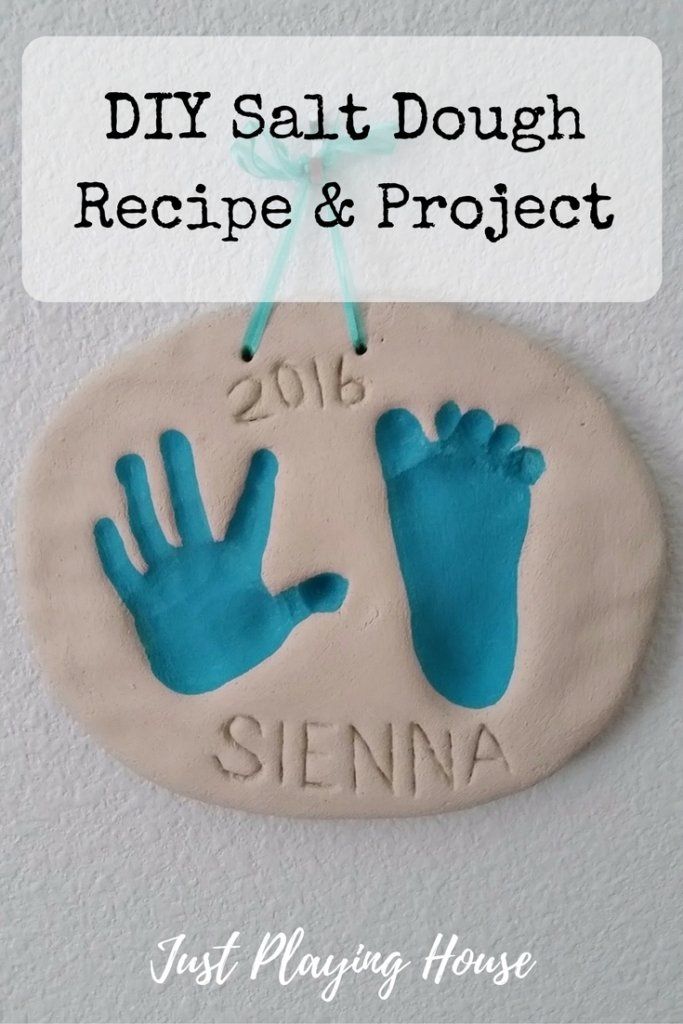 You’ll really enjoy making these!
Table of Contents
DIY Salt Dough Ornaments
These salt dough ornaments, sealed with my new favorite Mod Podge (Sparkle!), are perfect for adding a personalized touch of fun to your gift wrap. Then, of course, you can hang them on your Christmas tree instead of throwing them away as you would a typical gift tag.
How to Make Salt Dough
Salt dough is easy to make with ingredients you probably already have in your kitchen! Our salt dough recipe is made with flour, salt, and water. It’s *really* easy and you can’t mess it up. The only thing I ask is that you don’t eat the dough, or let your children eat it. It tastes terrible anyway!
Preserving the Ornaments
You have a few options for preserving your ornaments. Before you do any preservation, you’ll want to paint them (if you want to use paint). You can paint the entire ornament or partial . . . and I recommend acrylic paint.
After that you can do one of two things.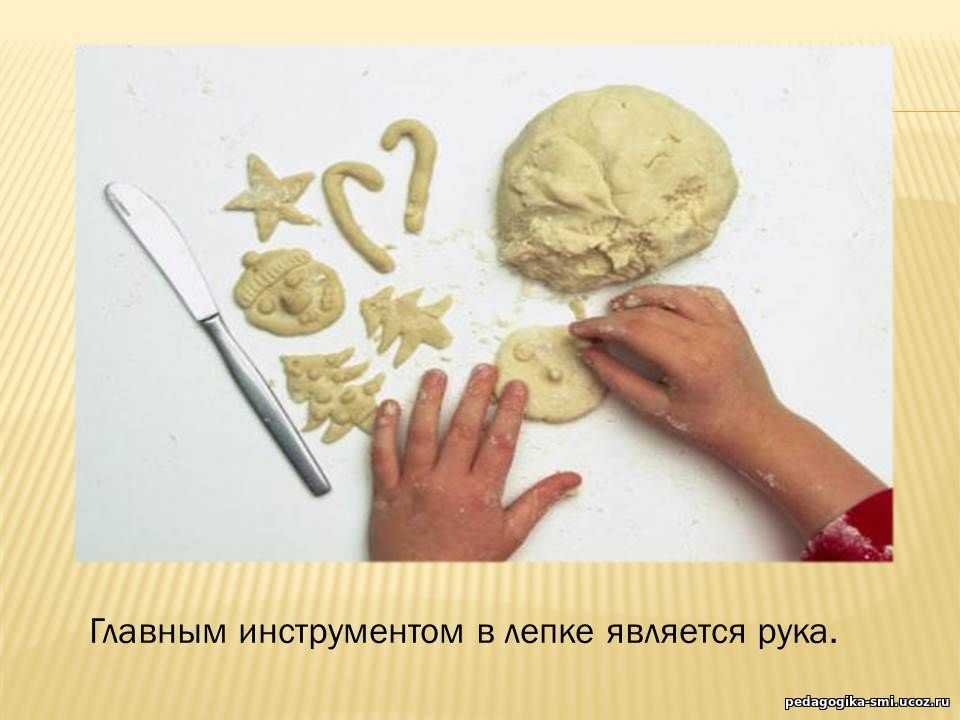 You can seal the ornaments with Mod Podge (giving them a few coats) or you can use a spray sealer. Or both. In this project, we’re using Sparkle Mod Podge to both seal the ornament and add a bit of bling to the project. So Mod Podge serves double duty in this instance!
The finish you use to preserve the salt dough is up to you – pick Satin, Gloss, or Matte depending on what you like. My personal favorite (besides the Sparkle) is a Satin finish.
How Long do Salt Dough Ornaments Last?
If you preserve your ornaments properly, salt dough can last for years. I have some dough ornaments from my childhood, so they would be at least 35 years old. They are still in great condition and there’s been no disintegration whatsoever!
Salt Dough Recipe
Gather These Supplies
- 2 cups flour
- 1 cup salt
- 3/4 – 1 cup water
- Initial cookie cutters
- Mod Podge Sparkle
- Paint for dipping (if desired)
- Twine or ribbon for hanging
Step 1: Make your dough by mixing your flour, salt, and water.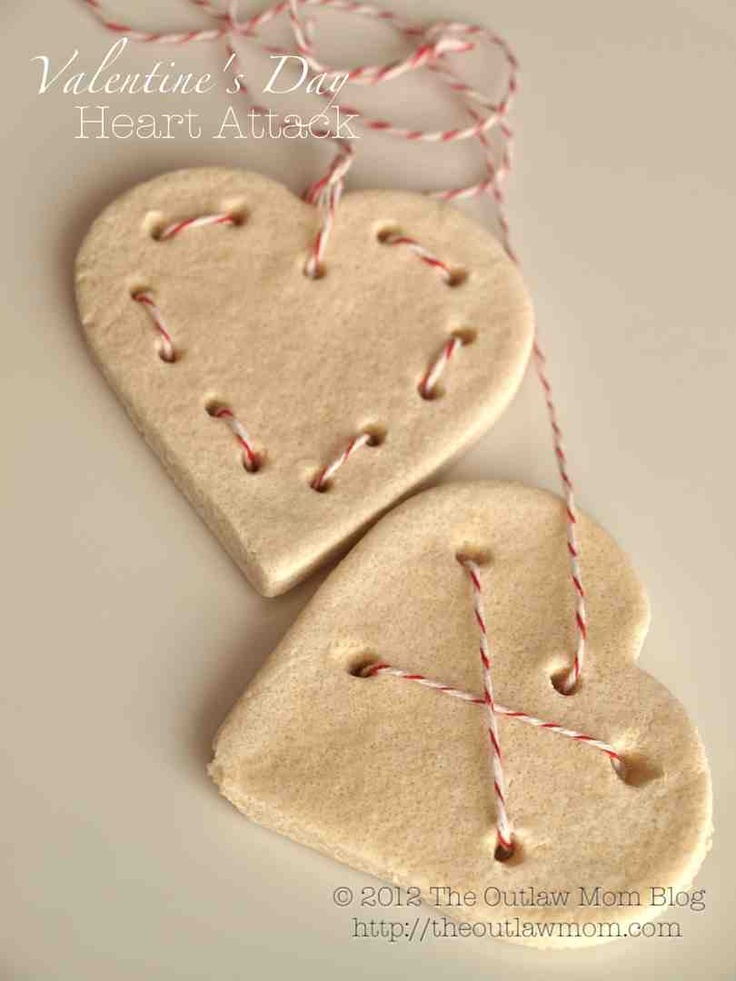 If your dough is too dry, add a bit more water, if it’s too wet, just add more flour . . . salt dough is very forgiving; it’s hard to mess it up!
Step 2: Roll out your dough and cut out your initials. Place on a sheet pan lined with parchment paper. You can cut your salt dough ornaments into any shape you like. I did letters, but you can use any cookie cutter shape you find.
Step 3: Use the end of a skewer to poke a hole at the top of each initial for hanging. Bake at 250 degrees for 2 – 3 hours. Let cool.
Step 4: I decided to dip my salt dough ornaments in gold paint (which I added to a cup and mixed with about a tablespoon of water to thin).
You can decorate your ornaments with glitter, craft paint, or anything else your heart desires. Dip your initials, and let dry on parchment paper.
The salt dough ornaments are being shown dipped in the paint, but you could dip them into Mod Podge and then sprinkle with glitter. If you do that, wait until dry and brush off the excess with a dry brush before hanging.
Step 5: Once dry, add a coat (or more) of Mod Podge Sparkle to help seal the ornaments and give them a bit of shimmer.
It’s as simple as that! These are so fun and easy to make, and it’s a great kids’ craft, as well!
You can tie these salt dough ornaments to gifts with baker’s twine, or you can grab some ornament hooks and put them on the tree.
They look great on top of packages . . . wouldn’t it be fun to spell out a name and tie one letter to each gift? There are so many things you can do with this idea!
Thank you so much for letting me share my salt dough ornaments with you all today! You can find lots of other tutorials and inspiration on my blog.
Prep Time 5 minutes
Active Time 20 minutes
Total Time 25 minutes
Difficulty Easy
Estimated Cost $5
Materials
- 2 cups flour
- 1 cup salt
- 3/4 - 1 cup water
- Mod Podge Sparkle
- Paint for dipping (optional)
- Baker's twine
- Parchment paper
Tools
- Cookie cutters
- Scissors
- Cookie sheet
- Oven
Instructions
- Make your dough by mixing your flour, salt and water.
 If your dough is too dry, add a bit more water, if it's too wet, just add more flour . . . salt dough is very forgiving; it's hard to mess it up!
 - Roll out your dough and cut out your shapes (in this case, initials) with the cookie cutters. Place on a sheet pan lined with parchment paper.
- Use the end of a skewer to poke a hole at the top of each ornament for hanging.
- Bake at 250 degrees for 2-3 hours. Let cool.
- If desired, dip ornaments in paint or glitter. Let dry on parchment paper.
- Once dry, add a coat (or more) of Mod Podge Sparkle to help seal the ornaments and give them a bit of shimmer. Let dry.
- Use baker's twine to hang.
And if you are interested in making some additional gift tags with salt dough, get inspired by our faux cookie gift tags. I’d also love for you to check out these other kids’ Christmas crafts:
6.3K shares
What kind of varnish to cover crafts from salt dough?
Let's figure it out so as not to spoil our work. )))
)))
Do I need to varnish crafts made from salt dough?
The salt in the salt flakes draws moisture from the air, and the craft begins to break down. The surface of the dough becomes not smooth, but rough, the dough seems to rear up, becomes loose, cracks may appear.
To protect the craft from moisture and make it more durable, from 1 to 20 years (long-lived flour salts), we cover it with varnish.
What kind of lacquer should be applied to salt dough?
1. Colorless furniture lacquer - KhV-784 Novbytkhim. Quick dry for outdoor and indoor use - this is the varnish I usually work with. Dries in about 2 hours. Gives a beautiful shine, makes colors brighter when varnishing and dries quickly.
2. Weather-resistant lacquer PF-170 - for outdoor and indoor use, provides a moisture-resistant coating. The downside is that it takes a long time to dry. After the lacquer layer has dried (24 hours at 20ºС), subsequent layers are applied, drying of the last layer - 72 hours. A huge plus is that salt dough crafts covered with this varnish survive well in wet rooms, when other flour salts swell and collapse.
3. Alkyd-urethane yacht varnish, waterproof - everything is clear from the name. The varnish possesses water-repellent properties and is intended for the wooden surfaces which are in the conditions of the increased humidity under the influence of water and differences of temperatures. You can cover flour salts with this varnish.
The disadvantages of the above varnishes is that when coated they give a yellowish tint . If your work is painted in warm colors, then it's okay. If the tones are cold, clean, or there are a lot of white elements, this varnish will not suit you, or be prepared for the colors to change.
4. Car spray varnish (aerosol) colorless (!) - gives a thinner coating compared to the first 3 varnishes, does not change the color of the craft, it is really colorless.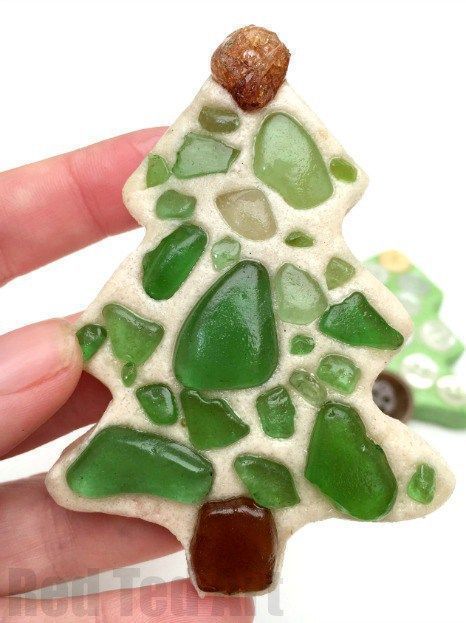 Costs more. Auto varnish is usually used to cover voluminous fruit and flower paintings made of salt dough, where it is impossible to paint over all the details with a regular brush with varnish. This varnish is very smelly, but it dries instantly. Lacquering happens like this - he puffed up the work and ran away.
5. Colorless nail polish - I read that they cover small flour salts - food for dolls (fruits, vegetables, bread) from salt dough.
6. Acrylic lacquer - not recommended for flour salts. This is a water-based varnish, the drying of the varnish is carried out by evaporating water, during varnishing moisture can get into the dough and the craft will quickly deteriorate later. Also remember that acrylic varnish is designed to cover acrylic paints, gouache and watercolor can “float” when coated, again due to its water base. Matte acrylic varnish creates whitish stains on crafts.
Varnishing is carried out in a ventilated warm room using gloves or outdoors.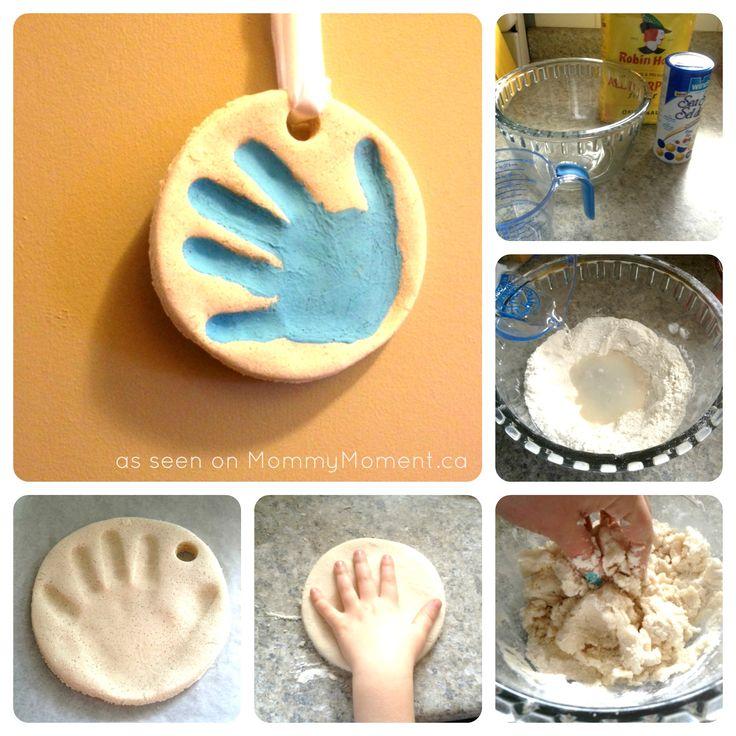 Apply varnish in 2-3 coats of . 1 layer is always slightly absorbed into the product. And 2 and 3 will already provide full protection. The second and subsequent layers are applied after the first layer has completely dried, see the drying time in the varnish instructions.
Well, and most importantly, before applying varnish, the craft must be well dried . After painting the crafts, you need to wait 2-3 days before varnishing, because. paint also contains moisture. If you haven't dried your work well, the lacquer may crack , the moisture will evaporate and seek a way out, causing the lacquer to break down.
So many nuances to know when working with salt dough. I wish you all successful creativity.
Glazing and varnishing salt dough crafts
Glazing
H What is glazing ? Applying a special mixture of milk and water or eggs and water to the craft and drying it in the oven at temperatures up to 150 degrees Celsius - this is glazing .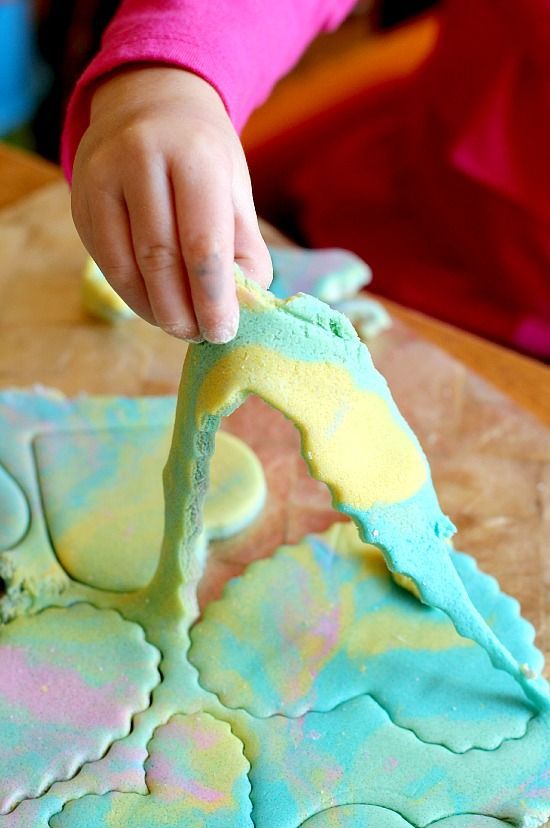 But it must be remembered that the temperature rises gradually. (We will talk about drying in detail in chapter "drying and baking" ). Glazing gives the craft a brownish, if you hold it longer or golden, if you hold it in the oven for less time - the general tone of the craft. When the mixture enters the hollows of the craft, after drying, a darker shade of these places is obtained, which smoothly turns into golden. And at the same time, the whole craft has a glossy color.
C Methods for making a mixture for glazing:
1. M glazing. Mix milk with water.
Important:
Store-bought milk is already diluted, so you can consider it ready and there is no need to stir it with water.
2. I personal. For cooking, you need one egg and a glass of water. The egg is stirred in a glass of warm water and ... the solution is ready. Everything is simple.
3. P ai. We use strong (dark) very sweet tea leaves.
H apply the solution to the craft with a wide soft brush, carefully smearing the recesses and joints. This will result in darker shades in these areas, which will accentuate the relief of the piece. The advantage of these methods lies in the fact that at a meager cost we get a very beautiful look of crafts. )))
Varnishing
In , first of all, varnishing serves to increase the life of the craft. It keeps it from moisture and keeps the paint on the surface of the craft. This applies mainly to gouache, as it begins to crack and crumble over time. Acrylic paints are more durable. And of course, it gives a unique shine to the craft itself. To varnish the product or not is up to you. This is not a required process. An unvarnished salt dough craft is also stored for a very long time, but it is less protected from moisture.