Bubble writing g
how to write a bubble letter g
TikTokUpload
For You
Following
h.mesc
GRAFFITI
#graffititutorial #graffiti #graffitistyle #grafflife #graffitiforyou #grafftok #tiktokartist #graff #montanacans #tagginggraffiti #grafftiktok #throwupgraff #throwupgraffiti #graffitiletters #taggraffiti #graffitiart #graffititag #graffity #grafftutorial #bubbleletters #funnyart
45.7K Likes, 659 Comments. TikTok video from GRAFFITI (@h.mesc): "#graffititutorial #graffiti #graffitistyle #grafflife #graffitiforyou #grafftok #tiktokartist #graff #montanacans #tagginggraffiti #grafftiktok #throwupgraff #throwupgraffiti #graffitiletters #taggraffiti #graffitiart #graffititag #graffity #grafftutorial #bubbleletters #funnyart". Letter G bubble in 5 lines | @h.mesc | One | .... Chill Day.
1.4M views|
Chill Day - LAKEY INSPIRED
artlucis
lucis lust
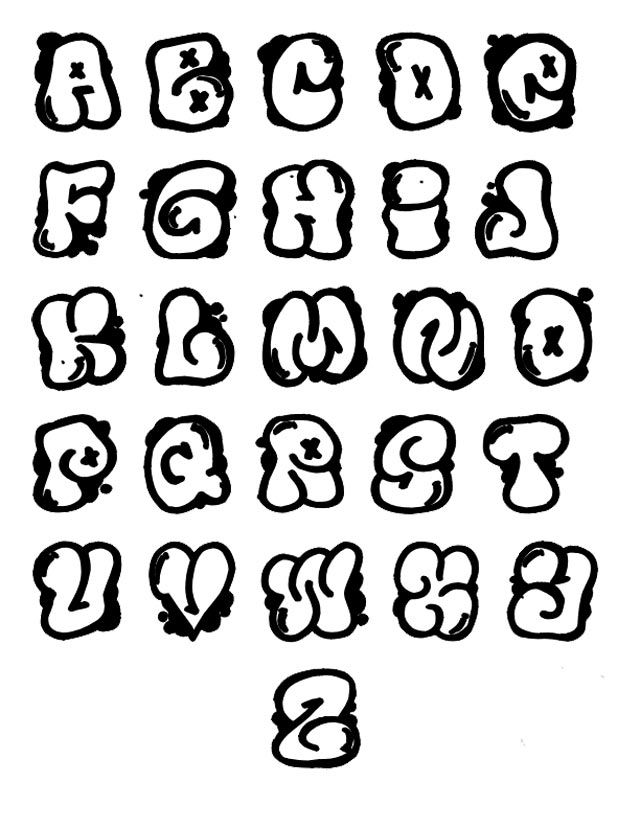
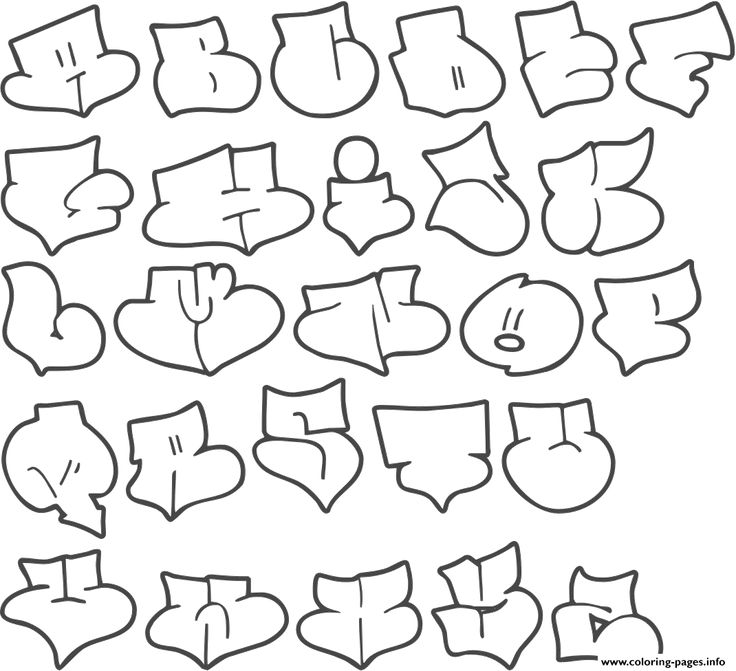
Bubble Letter Alphabet Part 1!! 🤩
302.7K Likes, 750 Comments. TikTok video from lucis lust (@artlucis): "Bubble Letter Alphabet Part 1!! 🤩". Bubble Letter Alphabet PART 1 A - G. Own Brand Freestyle.
4.3M views|
Own Brand Freestyle - FelixThe1st & Dreya Mac
thestylemechanic
‼️FOLLOW OR ELSE‼️
Letter G as a throwie #graffiti #letterg #g #art #bubbleletter #throwie #fyp #goviral #viralvideo #fypシ #tutorial
TikTok video from ‼️FOLLOW OR ELSE‼️ (@thestylemechanic): "Letter G as a throwie #graffiti #letterg #g #art #bubbleletter #throwie #fyp #goviral #viralvideo #fypシ #tutorial".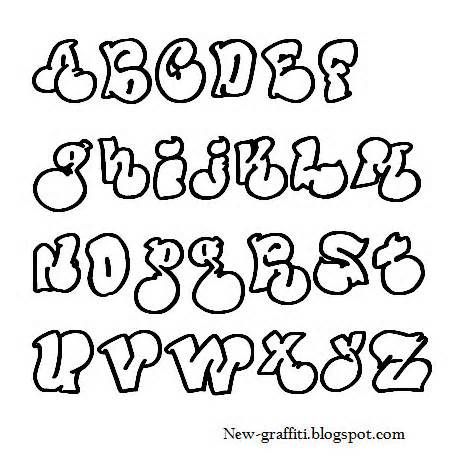 Letter G as a Throwie !! | Follow Or Else. original sound.
1499 views|
original sound - Johnny Slash
graffiti_index
Graffiti by KEPTS
How to write graffiti like a pro !! Learn to write bubble letters and form your own throw-up . Here is the letter G. #graffiti #graff #graffitiforyou #handwriting #howto #howtowritegraffitilikeapro #letterscience #handstyle #blackbook #tiktok #tiktokart #graffitialphabet #alphabet #graffitiartist #graffitiletters #letterG
TikTok video from Graffiti by KEPTS (@graffiti_index): "How to write graffiti like a pro !! Learn to write bubble letters and form your own throw-up .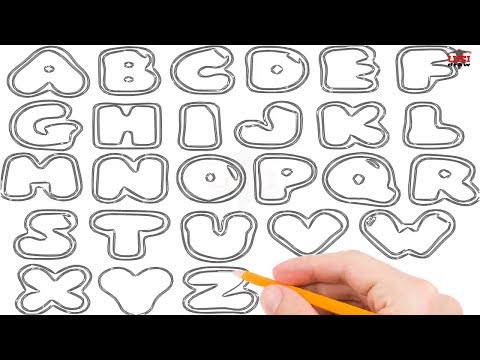 Here is the letter G. #graffiti #graff #graffitiforyou #handwriting #howto #howtowritegraffitilikeapro#letterscience #handstyle #blackbook #tiktok #tiktokart #graffitialphabet #alphabet #graffitiartist #graffitiletters #letterG". Step by step on how to write a throw-up like a pro!!! Here is the letter G. sonido original.
2270 views|
sonido original - Gaboy
preetysartworld
@preetykaur
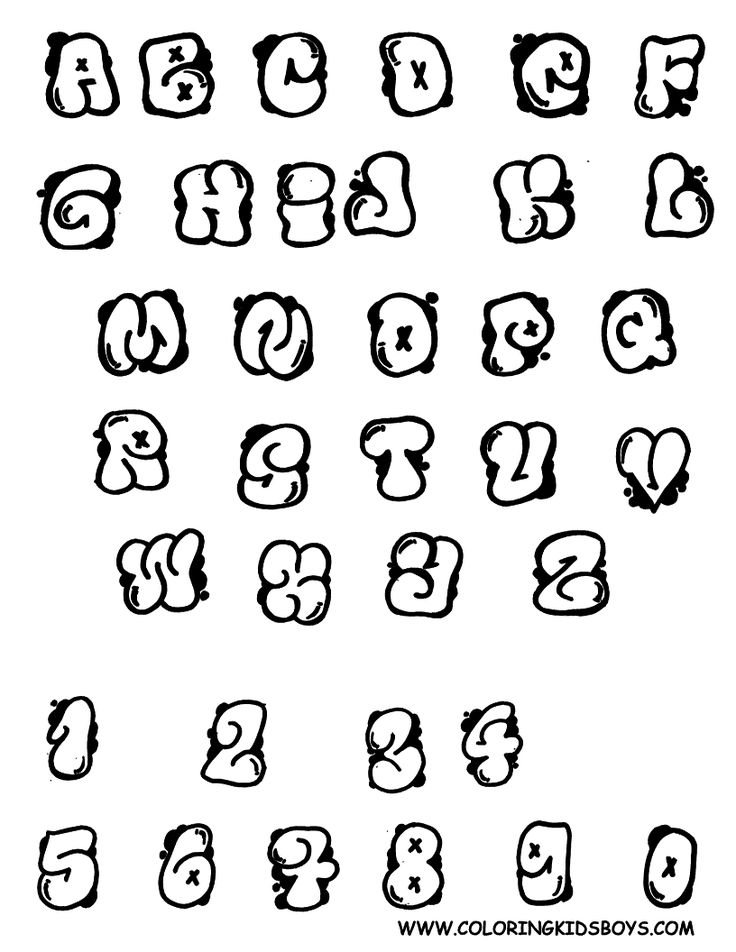
How to write #bubbleletters #letters #fyp #foryou #artistclub #howto #arttutorial #edutok #preetysartworld #art #easyforkids #howtowrite #caligraphy
2.4K Likes, 22 Comments. TikTok video from @preetykaur (@preetysartworld): "How to write #bubbleletters #letters #fyp #foryou #artistclub #howto #arttutorial #edutok #preetysartworld #art #easyforkids #howtowrite #caligraphy". @preetysartworld | Bubble letter Tutorial. orijinal ses.
130.4K views|
orijinal ses - Nursema Altuntas
brigidcareycreates
Brigidcareycreates
Reply to @hklivvy bubble letter “g” what do you think?? #asmr #bubbleletter #letters
764.1K Likes, 1.4K Comments. TikTok video from Brigidcareycreates (@brigidcareycreates): "Reply to @hklivvy bubble letter “g” what do you think?? #asmr #bubbleletter #letters". that squeak was awful. original sound.
9.5M views|
original sound - Brigidcareycreates
stickyartchan
stickyartchan
How to draw graffiti bubble G letter with drip 💧 #lettering #satisfying #art #procreate #digitalart
676 Likes, 15 Comments.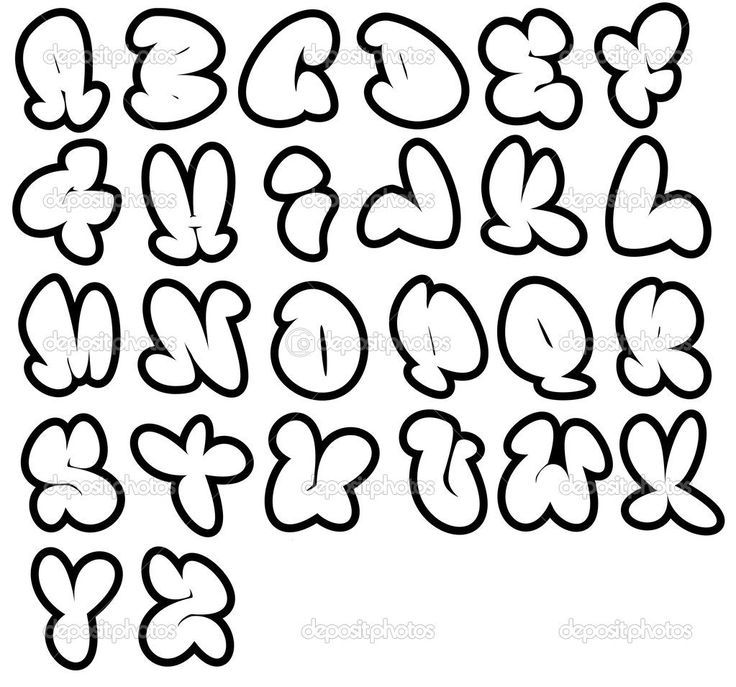 TikTok video from stickyartchan (@stickyartchan): "How to draw graffiti bubble G letter with drip 💧 #lettering #satisfying #art #procreate #digitalart". Choking on Flowers.
22.1K views|
Choking on Flowers - Fox Academy
nameartwizard
Name Art Wizard
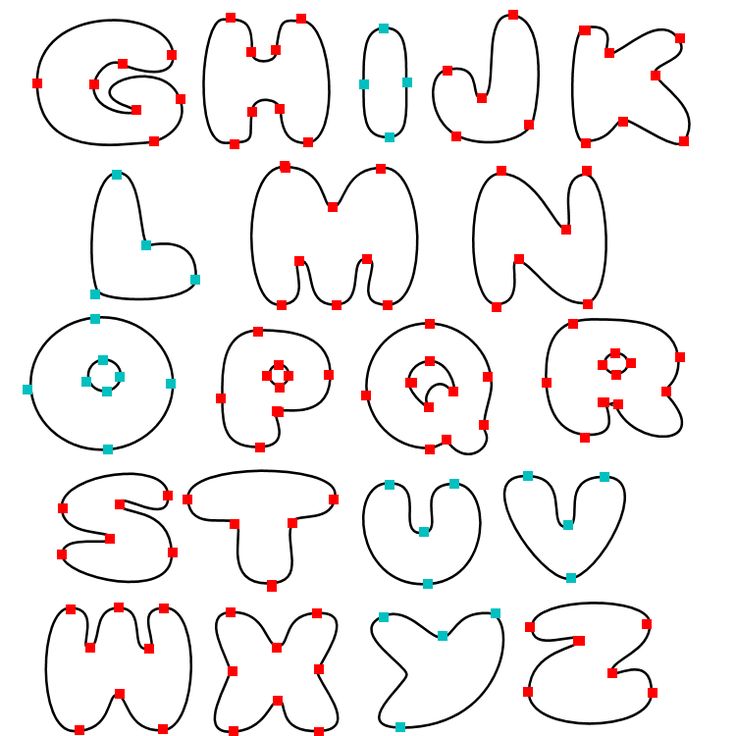
Who else zoned out watching this? #bubbleletters #drawing #howtodraw #drawingtutorial #oddlysatisfying
1.4K Likes, 21 Comments. TikTok video from Name Art Wizard (@nameartwizard): "Who else zoned out watching this? #bubbleletters #drawing #howtodraw #drawingtutorial #oddlysatisfying". Bubble Letter Alphabet | This is oddly satisfying. Relaxing lofi music(1014185).
49.7K views|
Relaxing lofi music(1014185) - Akase
lettering.br
Lettering Tutorial
✍️ How to write G Perfectly - Can u do it? #letter #foryou #design #trendding #viral #tutorial #diy #hack #lifehack #g
2. 3K Likes, 16 Comments. TikTok video from Lettering Tutorial (@lettering.br): "✍️ How to write G Perfectly - Can u do it? #letter #foryou #design #trendding #viral #tutorial #diy #hack #lifehack #g". som original.
114.7K views|
som original - Lettering Tutorial
Uppercase Bubble Letter G, HD Png Download
Uppercase Bubble Letter G, HD Png Download
/ 77 views
Free Download
Similar With 3d graffiti png
1 1
1930x2073
1 2
1296x1321
1 1
1321x1321
1 1
2055x1947
1 2
968x1024
1 1
600x661
1 1
882x1010
1 1
1024x1024
1 1
969x1024
1 2
572x621
1 2
1888x2119
1 3
1175x1280
1 1
1125x846
0 0
1866x2400
0 0
787x908
1 1
1280x1280
1 1
1024x1024
1 2
816x1024
1 1
595x682
1 2
1047x327
1 1
800x800
1 2
800x800
1 1
1000x1150
1 1
1166x1171
0 0
1000x1000
1 2
638x721
1 1
544x672
1 1
600x826
1 1
780x1167
1 1
500x769
Related Users
Download Image
Bubble Caramel
We have a new recipe for you 🤗
Anastasia 👉@nastin_tortik 👈 shares a proven recipe for "Bubble Caramel" 😍
We pass the word to her:
Hello everyone 🙋♀️
There were so many of you who wanted to know the recipe for caramel with holes that I could not do not share 🤗
So, many people know that it is prepared from glucose syrup. How do they do it?
Everything is very simple 😋
👉 We take the syrup, put the right amount into the bowl with a spoon
👉 Glucose is very dense, viscous, thick and it will be hard to work with such a consistency
👉 Therefore, we put the bowl with syrup for 5-7 seconds in the microwave
👉 Thus glucose will become more liquid and can be easily dyed in the desired color using any shade of gel dye
👉 We need quite a bit of it.
❗Heat the oven to 180°-200°, take a baking sheet and lay a Teflon mat on it, you can also use a silicone heat-resistant mat☝️
❗With a teaspoon, pour small circles on the mat, stepping back from each other 6-7 cm, then we will get small caramels, as in my photo. If we need cake decor, make a larger circle by pouring 3-4 tablespoons of syrup.
❗We put it in the oven and follow the process, at 2-3 minutes the syrup will begin to boil, forming the same bubbles, at first this seething will be strong, you will see how the glucose puddles spread, become wider.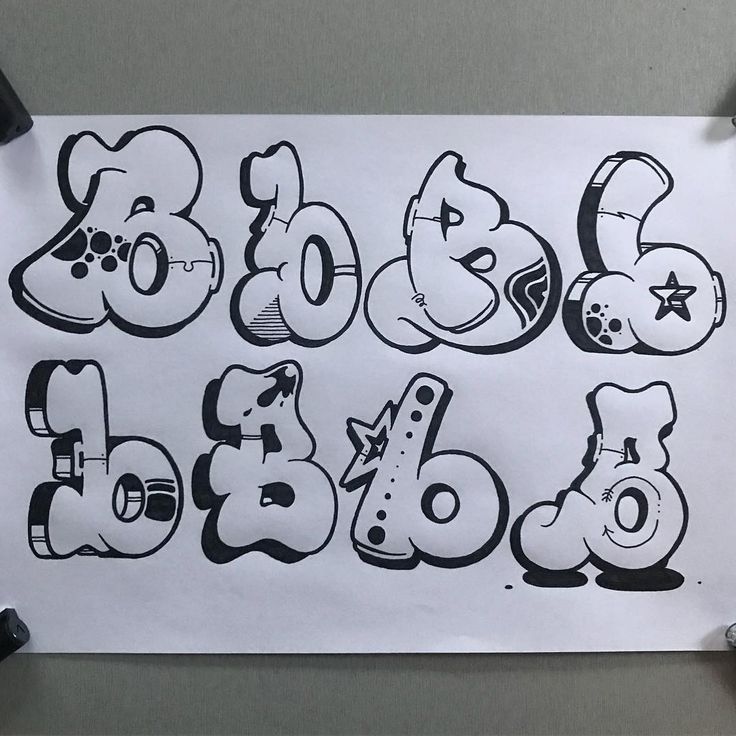
❗At about 5-6 minutes, the seething will begin to fade, as excess moisture will gradually come out of the syrup. When the bubbles inflate very slowly, open the oven lid, turn it off. Remove the baking sheet and let your caramels cool with it, gradually.
❗The bubbles that didn't burst will freeze, forming the very transparent droplets that you see in the photo, some of them will burst and there will be cool holes on the caramel😄
even so, without smearing with chocolate, the decor will last quite a long time. But I decorate them all the same on the day of return to the customer.
❗The part you want to stick into the cake or cupcake can also be brushed with melted chocolate or icing. That's it😁
❗Decorate your masterpieces and in order not to lose the recipe, bookmark it 😌
And yes, by the way, if your caramel has changed color while in the oven, then you overexposed it.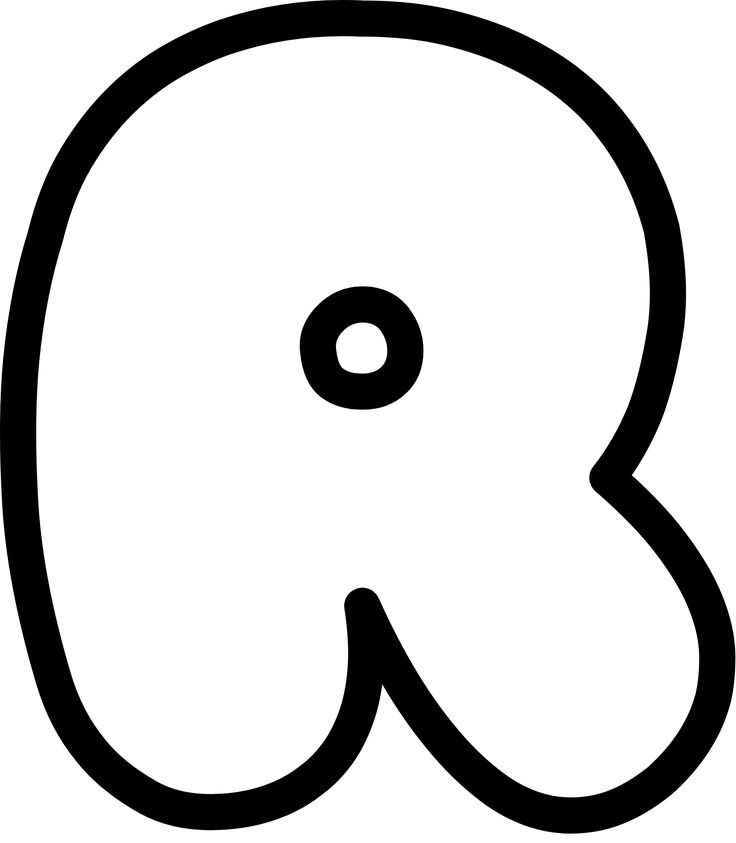 The smaller the caramel, the less time it takes to cook☝️
You will also like the following recipe!
Ferrero Rocher cake
Ksenia 👉@sweet_shark_cake 👈 shares a proven recipe for ️Cake "Ferrero Rocher"😊👍😍
instructions
👉Cooking.👈
❗For the biscuit, wash the hazelnuts, bake at 160* in the oven for about 10-15 minutes. Grind with a combine to small pieces, it is not necessary at all into “dust”.
❗ Beat the egg with sugar until fluffy light mass, add the sifted dry ingredients and gently mix with a silicone spatula, without killing the airiness of the dough. At the end, add chopped hazelnuts and mix gently again.
❗ Divide the dough in half into two 18 cm molds and bake at 180* for about 30 minutes. Check readiness with a toothpick, it should come out dry.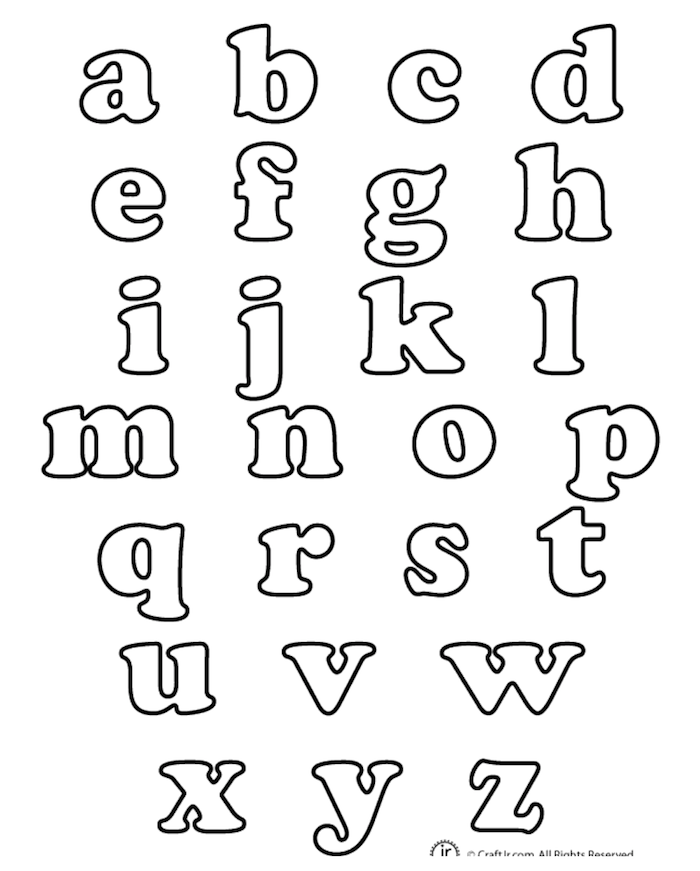 Cool the finished biscuits for 10 minutes and remove from the mold. Then let cool completely and cut each biscuit with a string into 2 cakes.
❗For the cream, melt the chocolate in the microwave or in a water bath. Cool to room temperature. Beat soft butter until fluffy light mass, and continuing to beat, add all the chocolate in a spoon. If you pour all the chocolate at once, then the butter will melt, we need to avoid this!
❗Next add Nutella at room temperature. Chop waffles (I took Yashkino waffle rolls) into small pieces and add to the cream last, stirring the cream with a spatula.
❗ Cake assembly: biscuit, 1/3 cream, biscuit, 1/3 cream, biscuit, 1/3 cream, biscuit.
❗If desired, the outside of the cake can be smeared with chocolate ganache chocolate/cream 1 to 1 or pour over a very chilled cake with gourmet icing: melt 100 g of chocolate, add 33 g of rast. butter and 33 g chopped Nuts, cool the mixture a little, and pour over the cake.
Bon appetit 🍫🌰😍
...
See full recipe
Change the appearance of chart text and labels in Numbers on Mac
You can change the appearance of chart text by applying a different style, changing the font, adding a border, and adjusting other options.
If you cannot edit the chart, it is most likely pinned and you need to unpin it.
Changing the font, style, and size of text in a chart
You can change the appearance of all text in a chart at once.
-
Click the chart, then in the Format sidebar, click the Chart tab.
-
Use the controls in the Chart Font section of the sidebar to do one of the following:
-
Font change. Click the Chart Font pop-up menu and choose a font.
-
Change the character style. Click the pop-up menu below the font name and select an option (Regular, Bold, etc.
 ).
). -
Increase or decrease the font. Press small letter A or large letter A .
All text in the diagram increases or decreases proportionally (by the same percentage).
-
The following sections describe how to change the style of the chart title and value labels to make them stand out from other text.
Editing the chart title
Charts have a placeholder title ( Title ) that is hidden by default. You can show it and change it as you wish.
-
Click the chart.
-
In the Format sidebar, click the Chart tab, then click the Title button.
-
Double-click the chart's placeholder title and enter your own title.
-
To change the appearance of the title (for example, font, size, and color), double-click the title again and use the controls in the Chart Title section of the sidebar to change as needed.

To move the title to the center of the donut chart, click the Title Position pop-up menu and select Center.
Adding and editing value labels
Charts have labels that display the values of specific data points. You can choose their format (for example, numbers, currency values, or percentages), change where they appear, and more.
Do one of the following.
-
Bubble chart. Click the disclosure arrow next to Bubble Labels, select the Values check box, then click the Value Data Format pop-up menu and choose one of the options.
-
Scattering pattern. Click the expansion arrow next to Value Labels, select the Values check box, then click the Value Data Format pop-up menu and choose one of the options.
-
Other chart types. Click the disclosure arrow next to Value Labels, then click the Value Data Format pop-up menu and choose one of the options.
To hide value labels, clear the Values check box or choose None from the pop-up menu.
Fine tune value labels (These controls are not available for all chart types).
-
Sets the number of decimal places. Press the up or down arrow.
-
Displays the thousands separator. Select the Thousand Separator check box.
-
Add a suffix or prefix. Enter text. It will be added to the beginning or end of the label.
-
Choice of marking location. Click the Placement pop-up menu and select an option (for example, Top, Center, Inside, etc.; available options vary by chart type).
To change the label font, color, and style, click any label on the chart and use the controls in the Font section of the sidebar.
Only the labels for the selected data series are changed. To edit labels for another series, click one of its labels and make changes.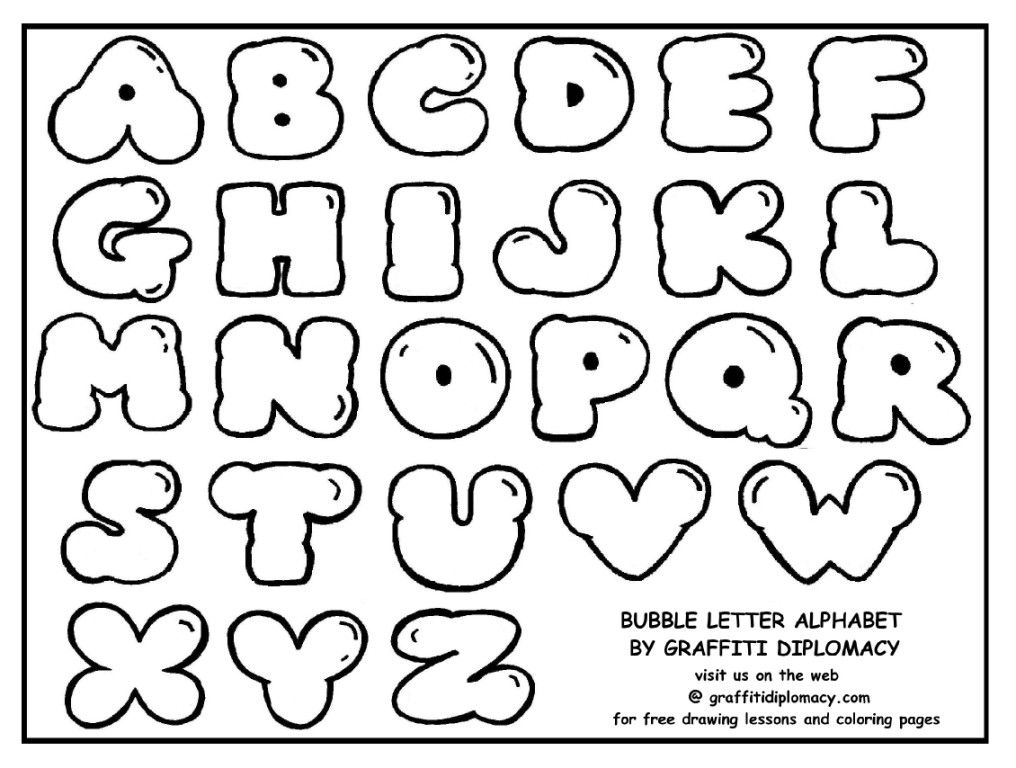
To select multiple series, click a value label, then Command-click a value label in another series. To select all series, select the value label, then press Command-A.
When a chart is created, AutoFit is automatically applied to value labels to avoid overlap. To view all value labels, clear the AutoFit check box.
If you change the font for the entire chart, the font for the value labels also changes.
Add or edit pie or donut segment labels
Segment labels can be displayed on pie or donut charts. You can also set their format (for example, number, currency, or percentage) or change their appearance.
-
Click on the chart to change all segment labels, or click on the segment label you want to change.
To change multiple individual segment labels, Command-click the labels.
-
In the Format sidebar, click the Segments tab.
-
To add a label, do one of the following:
-
Display data value labels. Select the Data Point Names check box.
-
Display of data values. Select the "Values" checkbox.
To hide the label for a specific segment, select the label and clear the Values or Data Point Labels check box.
-
-
To change the label format, click the expand arrow next to Value Data Format, then do one of the following:
-
Change the number format. Click the Value Data Format pop-up menu and choose a format (percentage, for example).
If you want the format of the value labels to match the format of the source data in the table, select As Source.
-
Sets the number of decimal places. Press the up or down arrow.
-
Displays the thousands separator. Select the Thousand Separator check box.
-
Select how negative numbers are displayed.
 Select "-100" or "(100)".
 -
Add a suffix or prefix. The text entered in these fields is added at the beginning or end of the label.
-
-
To position labels and add leader lines to connect to their respective objects, click the expand arrow next to Label Options and do one of the following:
-
Change the position of the marks. Set the position of the labels using the Distance from Center slider. To avoid overlapping labels, they should be moved away from the center of the chart.
-
Add extension lines. Select the Leader Lines check box. You can change the style, color, and thickness of leader lines, and add their endpoints.
Click the pop-up menu and select Straight or Oblique. When you select slanted callout lines, the callouts themselves will align into columns, as shown below.
-
To change the font, color, and style of segment labels, click any segment label on the chart and use the controls in the Font and Shadow sections of the sidebar.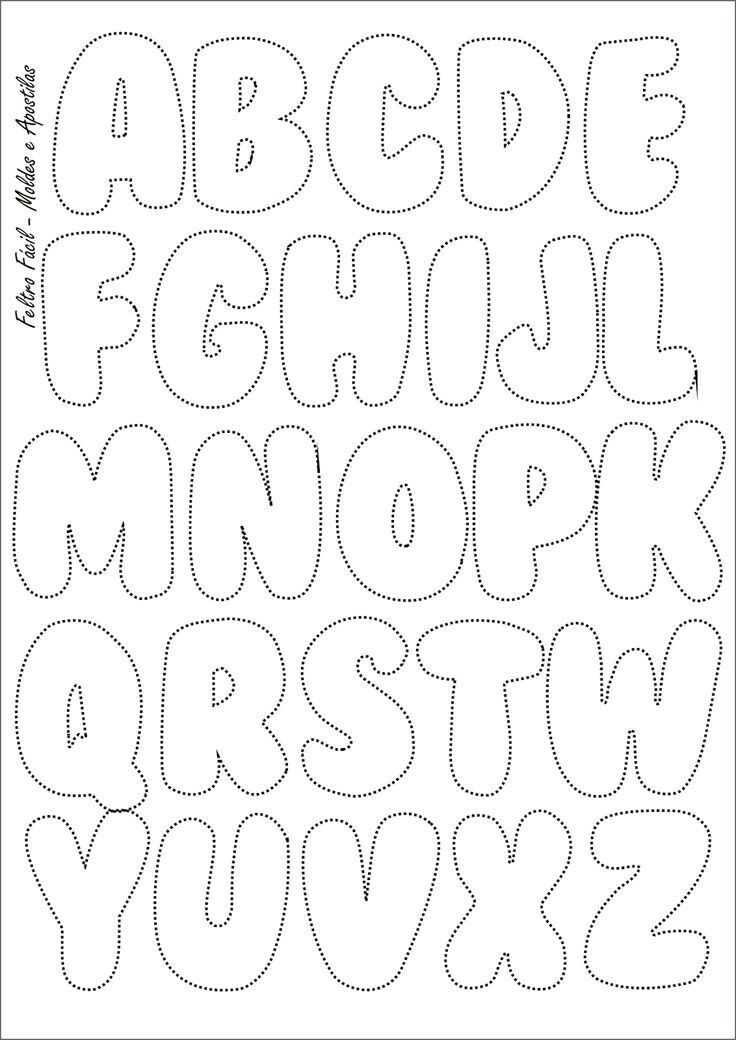
Change axis labels
You can select the labels displayed on the axis, edit their names, and change their orientation angle.
-
Click the chart, then in the Format sidebar, click the Axes tab.
-
Do any of the following.
-
Use the controls in the sidebar to make adjustments.
To see all options, click the expand arrow to the left of the section headings.
-
If you have enabled the Axis Name mode and want to change the name of the axis in the chart, select the chart, double-tap the axis name and enter a custom name.
To change the font, color, and style of axis labels, click any axis label on the chart and use the controls in the Font section of the sidebar.
Editing PivotChart data labels
You can change the labels that appear in a PivotChart.