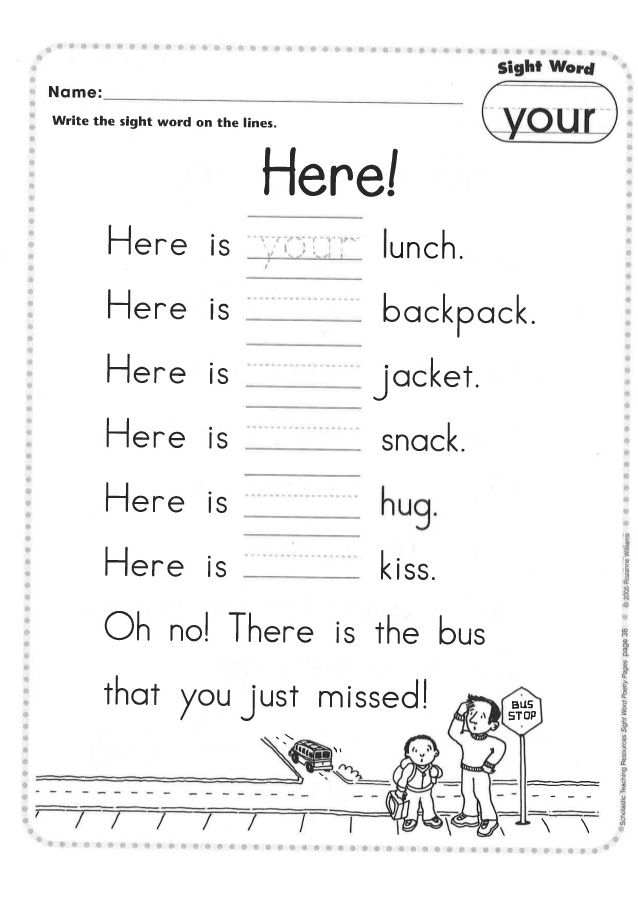
Can you use self raising flour for salt dough
Salt Dough Recipe for Keepsakes
This post may contain affiliate links. Please read our disclosure policy.
This Salt Dough Recipe are a super cute way of keeping the memory of just how little your kids hands were when they were little. This has just three ingredients and is very simple to do.
This isn’t just a sweet memory keepsake, but a fun craft for kids when they’re bored. We love rounding up activities for kids and have Over 100 Craft Ideas for them.
Table of Contents
- Salt Dough Recipe for Keepsakes
- Other Fun Kids Craft Ideas
- Get the Recipe
Salt Dough Recipe for Keepsakes
If you haven’t worked with salt dough before, you’re going to really enjoy this. The good news is, almost everyone (and I mean EVERYONE) already has the three items you need to make this.
Ingredients You’ll Need:
- Flour
- Salt
- Water
How To Make Salt Dough
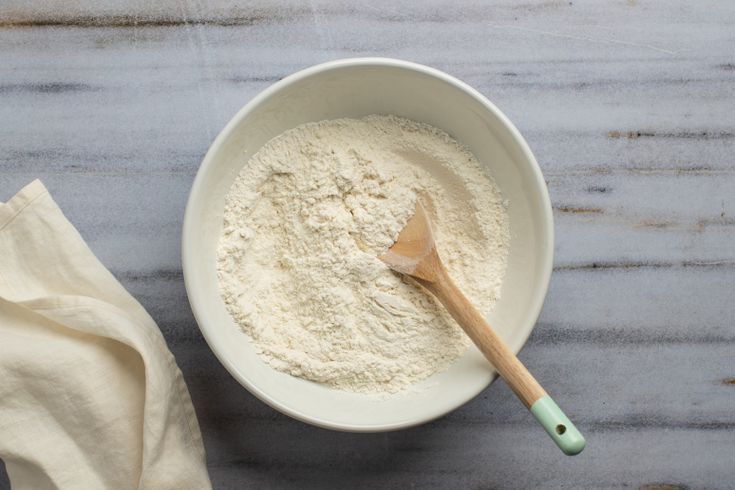
To begin, grab a mixing bowl and stir salt and water together. Keep stirring until the salt is almost all the way dissolved.
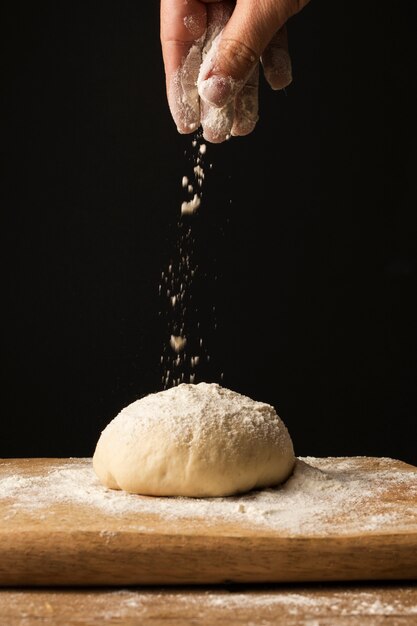
Then ad in the flour and kneed it until the consistency feels something similar to playdough. If the mixture is too sticky, just add a little more flour. Yes, you’ll get a bit messy on this part!
Roll out the dough and form it into the shape you’d like. We chose a heart for ours.
The kiddos can then make their footprints (or handprints) in the dough and sign their name and the year with a toothpick.
Bake your dough on low heat and then let it sit to cool. When it’s all cooled down you can paint your keepsake with acrylic paint.
How Long To Bake Salt Dough
This entirely depends on the size. For this one, it takes about 2 and a half hours. But if you made them very small, like the size of a Christmas ornament, it would take less time. Regardless, these always take well over an hour. Just check on them over time.
How Long Does Salt Dough Last
If they are preserved properly they can last a very long time, decades even! Make sure to use acrylic paint to paint them and then use either a coat of Mod Podge or any type of sealant.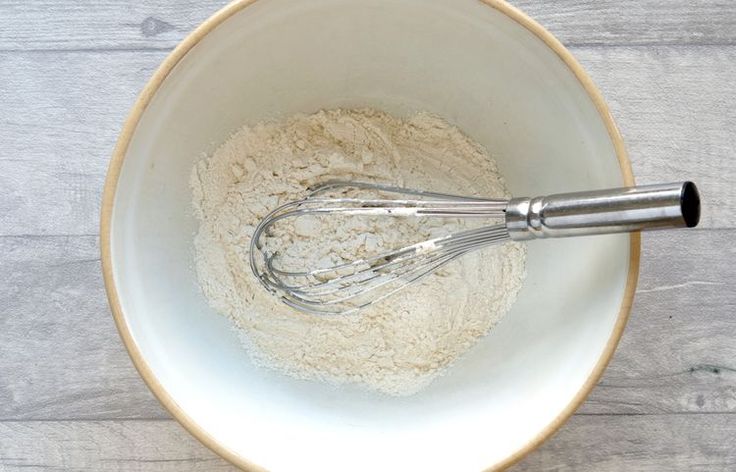
Can You Use Self Rising Flour for Salt Dough?
No. Use all purpose flour for this or the keepsake will rise and bubble up.
Other Fun Kids Craft Ideas
Marshmallow Shooters
DIY Bubble Recipe and Station
100 of the Best Crafts for Kids
Prep: 10 mins
Cook: 2 hrs 30 mins
Total: 40 mins
- ▢ 1 cup flour
- ▢ 1 cup salt
- ▢ ½ cup water
In a medium mixing bowl, mix together the salt and the water until mostly dissolved.
Add in the flour and kneed until it forms playdough like consistency. If it is still sticky add a little more flour.
Roll out into the shape of your choice- I chose a heart. Using a toothpick add the year and names to the plaque.
Place the dough on a parchment paper-lined cookie sheet.
Press the little feet into the dough to make prints. You can also use hands or paws if you want! If the prints do not come out clear you can roll up the dough and redo it.
Bake at 200 for approximately 2 ½ hours or until the dough has hardened.
Once it has cooled off completely paint the plaque the color of your choice.
Categories:
- Home & Garden
- Printables & Crafts
Enjoy this fun craft with your kiddos and check out more fun over on our Crafty Fun Pinterest board!
We love for you to share our ideas, but require a link back to us for credit. Any of our creations or ideas that are shared without permission are a violation of copyright. On occasion I create posts for sponsors and often use affiliate links. I’ll let you know when that is the case and appreciate your support.
How to Make Salt Dough, Easy Recipe for Ornaments and Decorations
12652 shares
- Facebook36
Salt dough is by far my favourite quick and easy homemade clay to use with the kids. I always have the ingredients to hand and can mix up a batch really quickly.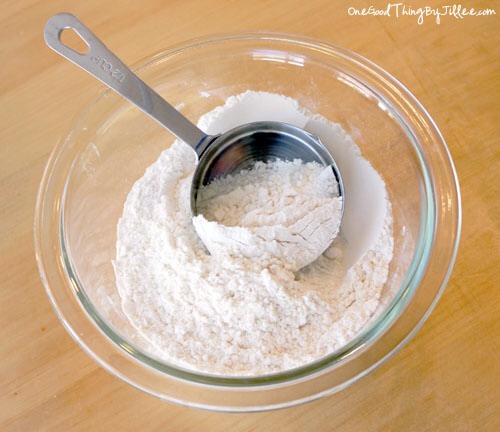 I love using this classic salt dough recipe from my own childhood which my mum used to mix up and was given to her by my godmother who used to use it in her classroom back in the 1950’s
This traditional salt dough recipe was originally written in oz but I have converted it to grams (you can find the oz version at the end) as that is what my scales use. It does air dry but will take between 24 hours and a week depending on what your child decides to make, the humidity and the air temperature. With larger models, we tend to air dry but I have used the oven-dry method as well.
What You'll Find on This Page
Ingredients for the Classic Salt Dough Recipe
500 g plain flour – self raising flour will make the salt dough bubble as it dries especially in the oven.
250 g table salt – any fine cooking salt will work
125 ml warm water
These measurements make around 24 ornaments of a medium cookie cutter size.
The recipe below can be converted to cups in the recipe card below.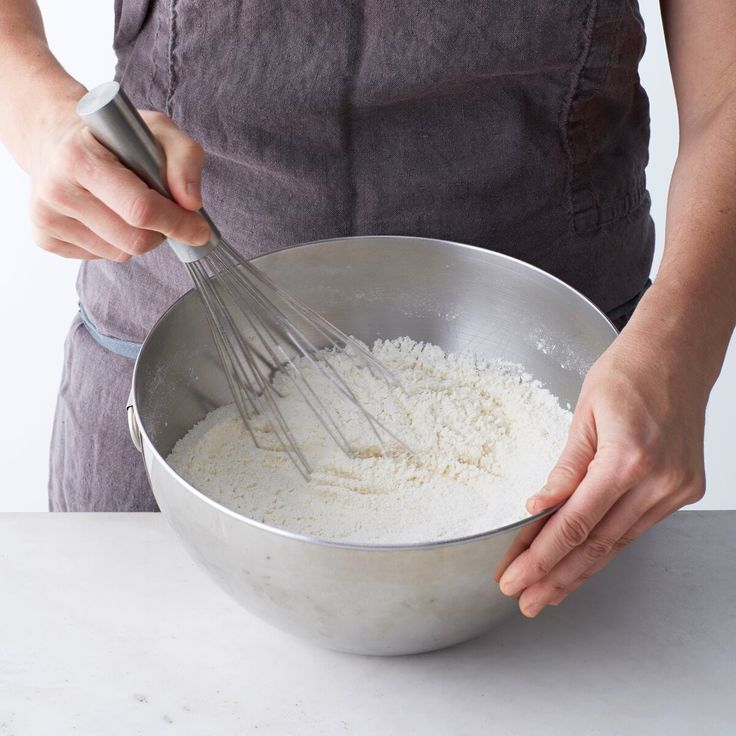
Try these Salt Dough Handprint Ornaments or Christmas Decorations made using this recipe.
How to make Salt dough with Kids
- Mix together the flour and the salt in large bowl
- Add the warm water slowly mixing together at the same time
- When combined turn out onto a lightly floured surface
- Knead for 5 to 10 minutes until smooth and elastic
- This dough can be stored for a couple of weeks in an air tight container or ziplock bag with the air expelled
- Once your ornament is made either leave to air dry or
- Place in the oven at 150C for around 1hr and check it may need longer
Once you have your salt dough made, why not use it to create some beautiful salt dough stained glass stars.
Make the Salt Dough Stars now
Is your Salt Dough Puffing up? Want to know how you can store salt dough or whether it will air dry we have all of these questions answered on our Salt Dough Questions Answered article.
Salt Dough Recipe for Ornaments and Decorations
Cerys Parker
This classic salt dough recipe from the 1950’s is ideal to use with children to make ornaments, decorations and models
4 from 44 votes
Print Recipe Pin RecipePrep Time 15 mins
Cook Time 1 hr
Total Time 1 hr 15 mins
Course Play Recipe
Servings 24 ornaments
Large bowl
Baking Tray
Rolling Pin
- 500 g Plain Flour *All Purpose Flour
- 250 g Table Salt
- 125 ml Warm Water Hand Warm
Mix the salt and flour together
Gradually add the warm water as you mix it together by hand
Turn out onto a lightly floured surface
Knead for 5 to 10 minutes until smooth
Shape and mold as you wish
Air dry OR bake in the oven for 1 hour+ at 300F (150C) until dry
This is not edible simply use to create Christmas ornaments and decorations
Keyword Air Drying Clay, Christmas Ornaments, Salt Dough, salt dough recipe
Tried this recipe?Let us know how it was!
More Salt Dough Recipes you may like
Check out these variations on this recipe to make with kids
- Christmas Scented Salt Dough
- Microwave Salt Dough
- White Salt Dough Recipe
- Gingerbread Salt Dough
Author
Cerys Parker
Cerys is a marine biologist, environmental educator, teacher, mum, and home educator from the UK. She loves getting creative, whether it is with simple and easy crafts and ideas, activities to make learning fun, or delicious recipes that you and your kids can cook together you'll find them all shared here on Rainy Day Mum.
12652 shares
- Facebook36
hobby for women and children
Flour can be used for more than just baking pies and dumplings. Try using this raw material for beautiful salt dough crafts. We invite you to master a new female hobby, the results of which will not be difficult to find practical application.
History does not know who first came up with the idea to create sculptures from flour, water and salt, but there is a version that beautiful crafts made from salt dough were invented by confectioners. Creative cooks got bored of baking quickly stale buns and, having improved the recipe, they invented a material that does not deteriorate over the years and does not lose its attractiveness.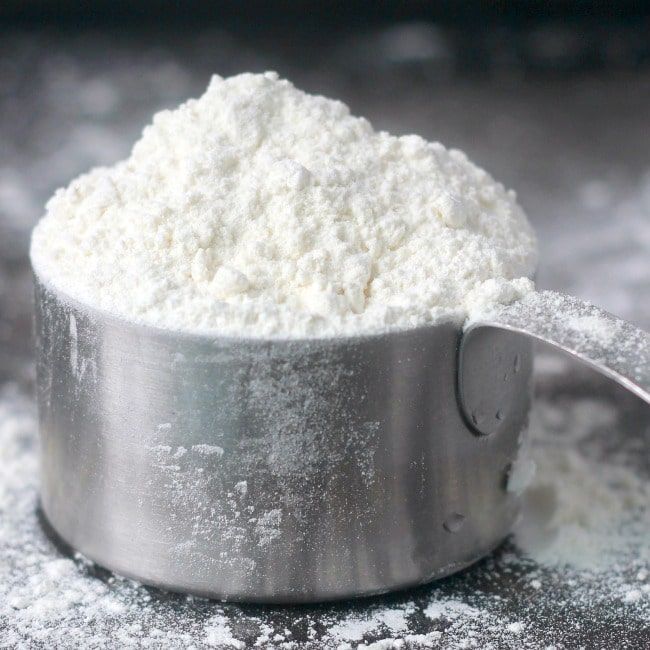 Today, testoplasty is a popular women's hobby that you should definitely try too.
- Testoplasty is a fun hobby with a serious approach
- Salt Dough Recipe for Crafts
- Secrets of Sculpting and Forming Figures
- How to Decorate Dough Crafts
- Beautiful Dough Crafts: 9 Photos for Inspiration
- Figure Making Workshops
Testoplasty is a fun hobby with a serious approach
Salt dough is a plastic material that can be molded into crafts no less interesting than polymer clay. Finished figurines are easy to color and decorate, turning into real works of art, which are easy to find a place not only in the home and office, but also in the museum. The presence of salt in the dough preserves the finished product and protects it from various pests that are not indifferent to flour products.
The main advantage of testoplasty is the availability of materials. The cost of finished crafts is mere pennies, and products for modeling, as well as for choux pastry for dumplings, are always in any home.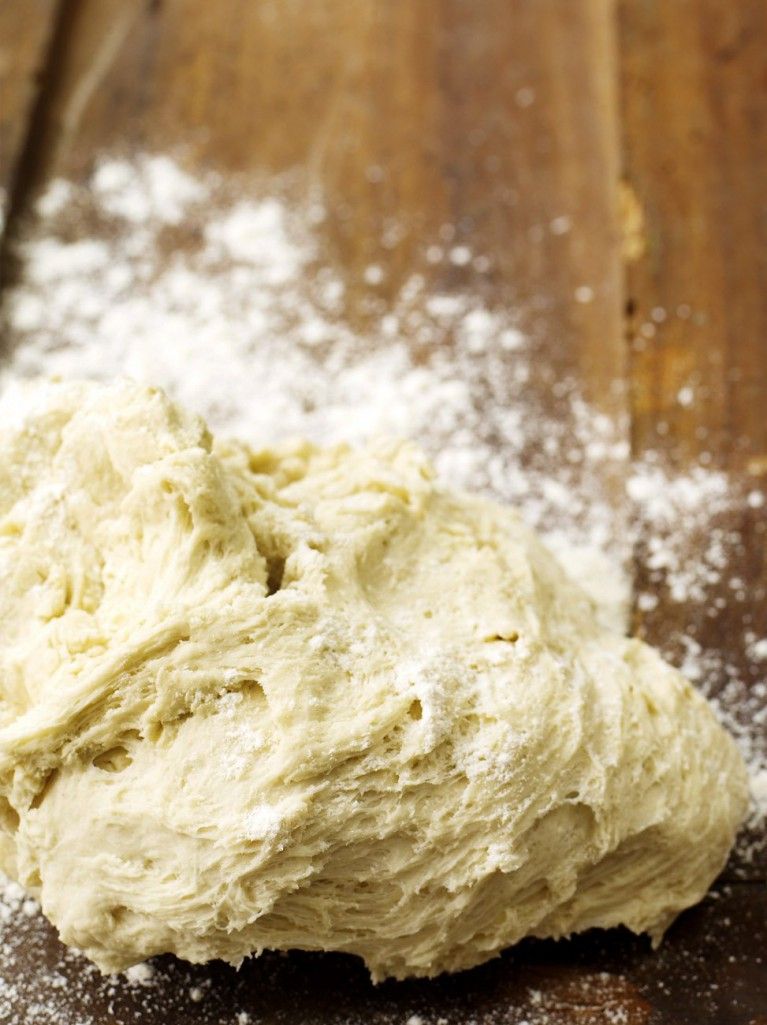
Once you master salt dough, you can make small souvenirs to sell and turn your new hobby into an extra income. Figures can be sold via the Internet, social networks or offer your masterpieces in crowded places: at train stations, in parks, on the beach.
Now in many cities open fairs are held, where everyone has the opportunity to sell what they have made with love with their own hands. Amulets, fridge magnets, kitchen decor are in great demand.
DIY Salt Dough Recipe
All-in-one DIY Salt Dough recipe requires only three ingredients: flour, salt and water.
Flour should be used only the highest grade, not containing bran and any improving additives. In no case do not buy pancake, pancake and self-rising flour - during drying, the dough made from it will begin to rise, which will lead to cracks.
Salt should also be taken plain without iodine and other additives, but pure and white. Perfect for Extra. If it was not possible to find finely ground salt, you can take pure coarse salt by dissolving it in water taken in volume according to the main recipe.
Water must be filtered and cooled before mixing. It is recommended to take ice water prepared in the freezer.
Proportions of ingredients:
- Flour - 300 grams;
- Salt - 300 grams;
- Water - 200 ml.
Video recipe from experienced craftsmen
Some crafters use additives to improve plasticity, such as starch, vegetable oil or glue. However, for the first masterpiece, it is better to prepare salty dough for crafts according to the main recipe. It is important to consider that flour and salt are taken in the same proportions by weight, but salt is heavier than flour, so it turns out to be half as much in volume! For example, a glass of flour will require half a glass of salt!
Secrets of sculpting and shaping figures
Working with dough does not require special talents, but it is unlikely that you will be able to mold something special the first time.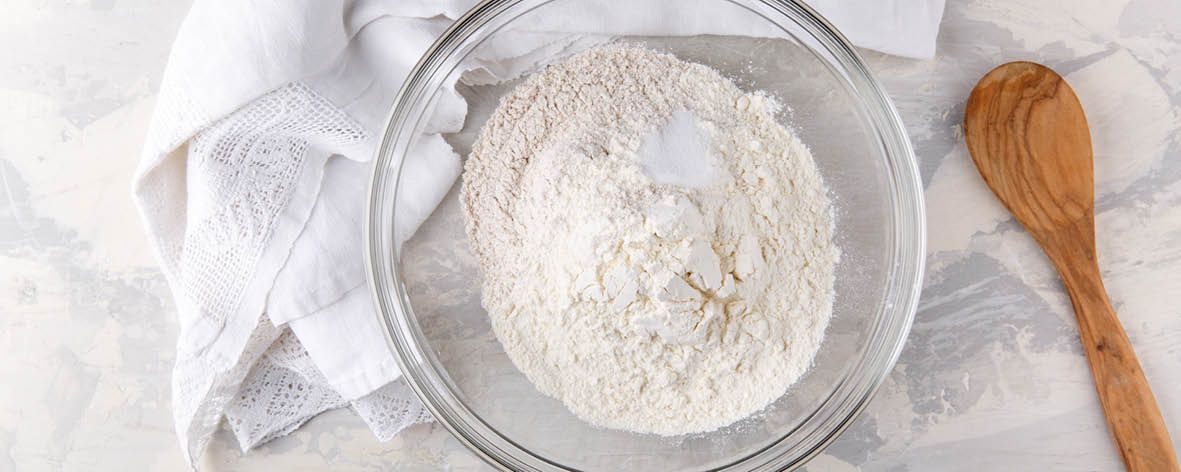 In the air, the mass of flour and salt quickly hardens, so you need to store it in a tightly closed jar, separating, if necessary, the right amount for sculpting a separate element. If the mass was dyed in different colors, then portions of hotel shades of different colors should be stored in separate containers.
There are many techniques for working with dough. It can be rolled into a layer, and then cut out figures and form compositions from them, like flowers from sugar mastic and cold porcelain. At the joints, the parts are moistened and gently pressed against each other. Also, the same dough, diluted to a more liquid consistency, is used as glue.
For large three-dimensional figures, wire frames are used or put inside jars and boxes, which reduces the volume of raw materials and speeds up the drying process. To fasten the elements, you can use toothpicks, fastening the parts to be joined with them.
Finished works are dried in the open air or baked in the oven, which greatly speeds up the process of gaining the desired strength.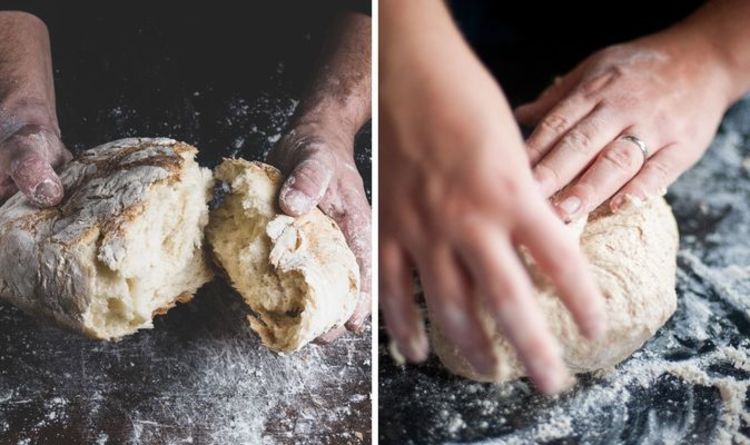 During drying, the oven is turned on at the lowest temperature, and the door is slightly opened. At high temperatures, the craft may crack.
How to decorate pastry products
To form reliefs and three-dimensional figures, you can use any materials at hand: stencils, coins, toothpicks, sushi sticks, combs, penknives, pastry syringe, cookie cutters, vegetable and carving knives .
Figures made from undyed dough have a light beige tint, but the mass can be dyed at the kneading stage, and finished products can be varnished, acrylics, watercolors or gouache.
Natural products such as cocoa or beet juice can be used as dyes. If dyes require dilution with water, reduce the total amount of liquid indicated in the recipe.
Video: delicious strawberries for beginners
Check out a selection of beautiful crafts, maybe you will fall in love with this art and make it your hobby.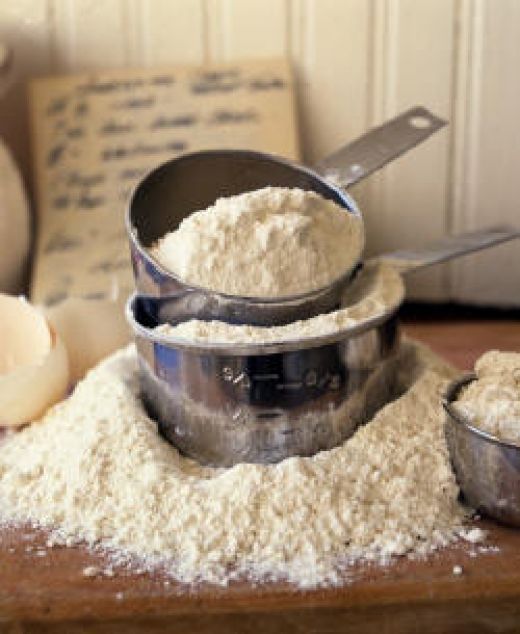 For starters, try to make a simple figurine - a hedgehog according to the master class on our website or a colorful fish pendant. If you have small children, make casts of their arms and legs, in 20 years this craft will be of high value.
Beautiful crafts from the dough: photo for inspiration
Master classes to create figures
If you are interested in this simple equipment, try to start with simple crafts. We have prepared several master classes available for beginners.
Tea Candle Holder
Candle House
Fridge Magnet Dog
Interior suspension Cockerel
Fish with decor
New Year's toy Snowman
Panel for beginners Rooster
Do not limit the proposed instructions. Connect your own imagination, play with shapes, colors, add your own zest and details! So you quickly master a new hobby and learn how to create original crafts.
If salt dough doesn't taste good for crafts, try making more delicious sculptures out of chocolate or coffee.
A Proven Method for Baking Perfect Cupcakes in Less Than 30 Minutes
This article is a translation and all first person narration comes from pastry chef Katherine Van Zyl.
This cupcake recipe will delight bakers and customers alike. This is one of my favorite pastry recipes that I make for family and clients, the quickest and easiest way to make cupcakes I know. You simply cannot make a mistake while preparing this dessert, and I am sure that over time it will become one of the main ones on your menu. These cupcakes are quite moist, with a light texture, and not too sweet. Based on them, you can create a huge variety of flavor combinations that you can think of.
With this guide, you can make delicious cupcakes in no time!
Cupcake recipe.
With the ingredients described, you will make approximately 20 standard muffin-sized cupcakes.
You will need :
- 2 cups (260 g) self-rising flour
- 1 1/4 cups (250 g) granulated sugar
- 1 cup (230 g) salted softened butter (room temperature)
- 4 large eggs
- 1/4 cup (60 ml) milk
- 2 teaspoons (10 ml) vanilla essence or vanilla extract
Tip: I use salted butter in my recipes because it's easier to find and cheaper than unsalted butter. Salted butter enhances the flavor of your baked goods, but if you prefer to use unsalted butter, you can add a generous pinch of salt to the recipe.
Step 1:
Preheat the oven to 160°C. Place 20 standard muffin cups in a perforated muffin tin and prepare all ingredients.
Step 2:
Sift flour into a bowl, add softened butter and sugar. Mix all ingredients for 30 seconds using a hand or stand mixer equipped with a paddle, turning it on at medium speed.
Step 3:
Add milk and vanilla essence or vanilla extract and beat for another 2 minutes, or until the mixture looks light and airy.
Step 4:
Take an ice cream scoop and spoon one spoonful (1/4 cup/60 ml) of the batter into each mold. Bake the cupcakes for 20-22 minutes, or until a toothpick dipped in batter comes out completely clean.
Step 5:
Remove the cupcakes from the oven and let them cool for 5 minutes. Remove them from the muffin pan and cool on a wire rack.
Step 6:
Decorate cupcakes with any frosting of your choice.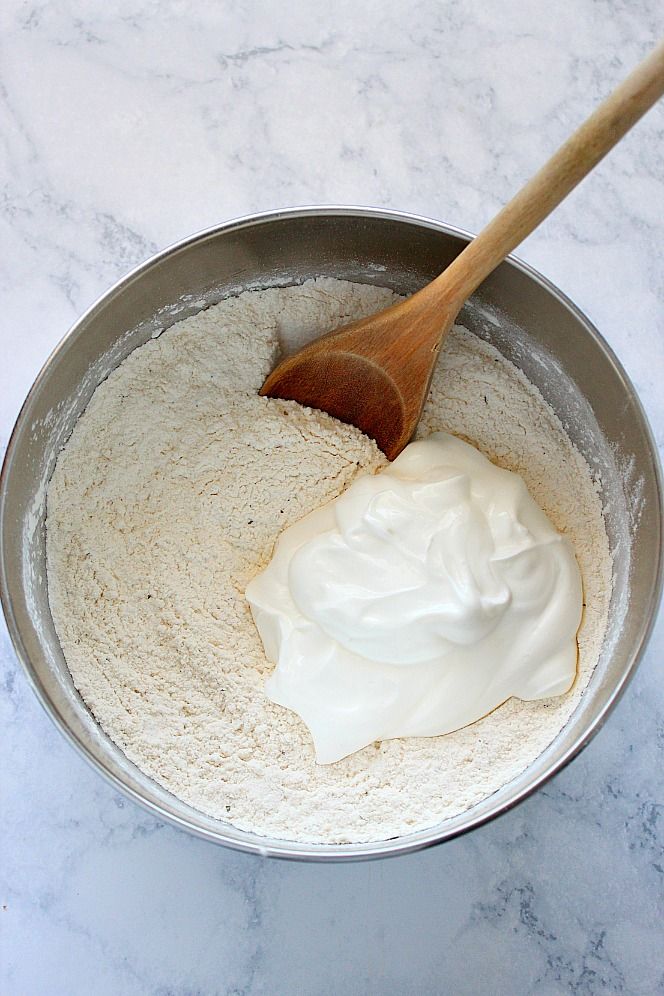
Cupcakes can be stored in an airtight container at room temperature for up to two days, or about two months when frozen.
Glazed cupcakes can be stored at room temperature for up to four days in an airtight container.
Types of cream cupcakes:
Chocolate cupcakes.
Replace 1/3 cup (40g) flour with 1/3 cup (30g) unsweetened cocoa powder. Add 1 teaspoon (5 ml) of instant coffee granules to milk to give cupcakes a deeper chocolate flavor.
Marble cupcakes.
Take 1/2 vanilla batter and 1/2 chocolate batter and place portions of this alternative batter into molds. Using a toothpick, mix the two types of dough together to create a marble pattern.
Strawberry Cupcakes
Add 1/2 cup (125 ml) thick strawberry jam to cupcake batter. You can also add a few drops of red food coloring and replace the vanilla extract with the strawberry extract to get the flavor and color you want in the cupcakes.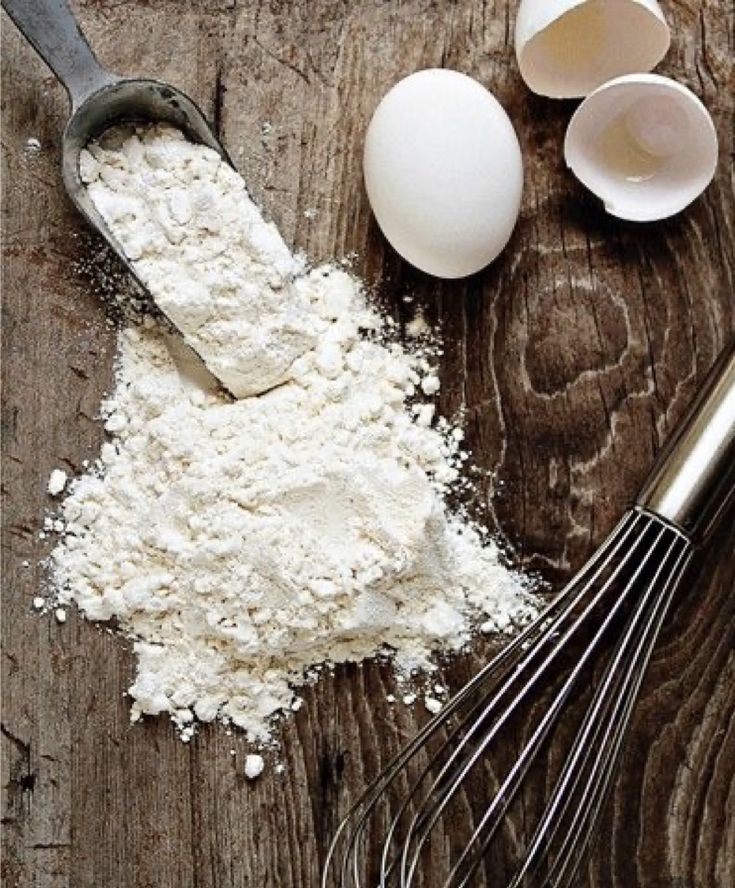
Peanut Butter, Nut Butter, or Cookie Butter Cupcakes
Add 1/2 cup (125 ml) thick coconut, nut butter, or cookie butter to cupcake batter.
Orange & Lemon Cupcakes
Add the grated zest of 1 orange or lemon to the cupcake batter and use the orange or lemon juice with the milk to make a total liquid volume of 1/4 cup (60 ml).
Almond Cupcakes
Add 1/4 cup (35 g) grated almonds to the batter and replace 1 teaspoon of vanilla essence or vanilla extract (5 ml) with the same amount of almond essence or almond extract.
Coffee cupcakes
Mix 1/4 cup (60 ml) instant coffee granules in milk and add to batter.
Caramel Cupcakes
Use low-fat brown molasses or unrefined cane sugar in place of white sugar and replace vanilla essence or vanilla extract with caramel essence.
Pineapple, Peach, Apple and Pear Cupcakes
Add 1/2 jar to cupcake batter (about 190 g) canned dried pineapple slices, dried apple slices, dried and sliced peaches or pears.