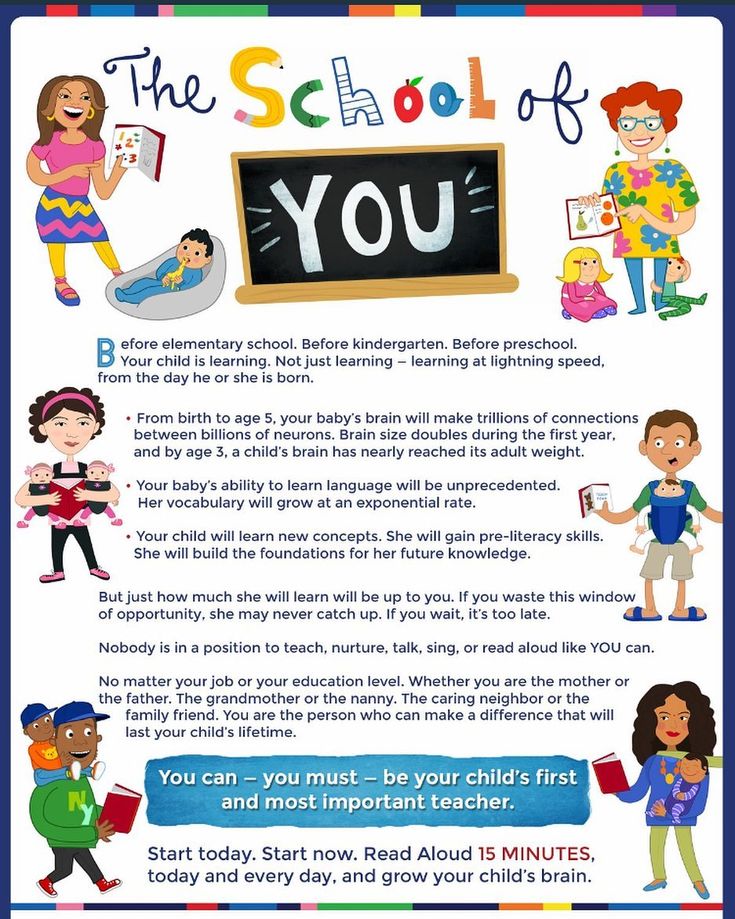
Learning to print
Top Ten Things You Should Know About Learning to Print
Taunia Clouthier BSc, MSc (OT), OT Reg. (ON)
~ 5 minute read
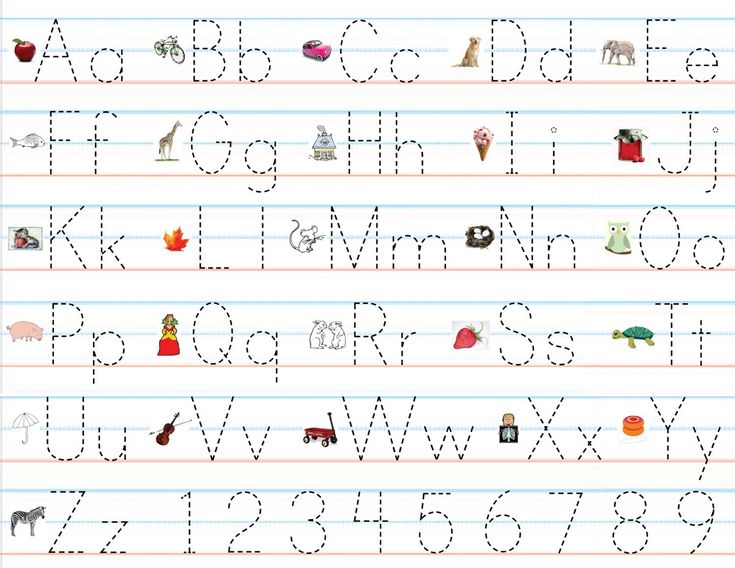
1. Pre-printing strokes l − ○ + / □ \ × Δ
Prior to printing letters, children should know how to draw these shapes. Typically, around two years of age, children will develop the vertical line. By six years of age, most children are able to draw all of the shapes. Usually, it is not until a child can consistently copy a triangle that they will have success with learning to print all of their letters. Practice these strokes with your child to develop a stronger foundation for letter formations!
2. Trunk strength and shoulder stability
In order to develop the finer movements our hands require for grasping and manipulating a pencil, a child must have the upper body strength and stability to facilitate such fine movements. This can develop naturally through play.
Playgrounds are a great way to build strength! Climbing up slides and swinging across monkey bars are fun ways for growth! In addition, any pushing or pulling activities such as wagons or sleds, as well as any weight bearing activity such as animal walks (i.e. bear walk, crab walk) are effective ways to build strength and stability.
3. Fine motor skills
The thumb, index finger and middle finger are our ‘skilled fingers’. We want them to be as efficient and strong as possible to help achieve an efficient grasp and control our pencils on paper. Provide daily opportunities for fine motor and hand strengthening activities. Using household items such as clothespins and spray bottles can help develop strength in the fingers. Picking small items up and placing, them into containers (i.e. coins into a piggy bank; cheerios into a bowl) can help with fine motor development. Do a quick internet search for “Fine Motor Activities for Children” to learn more fun ways to develop this skill.
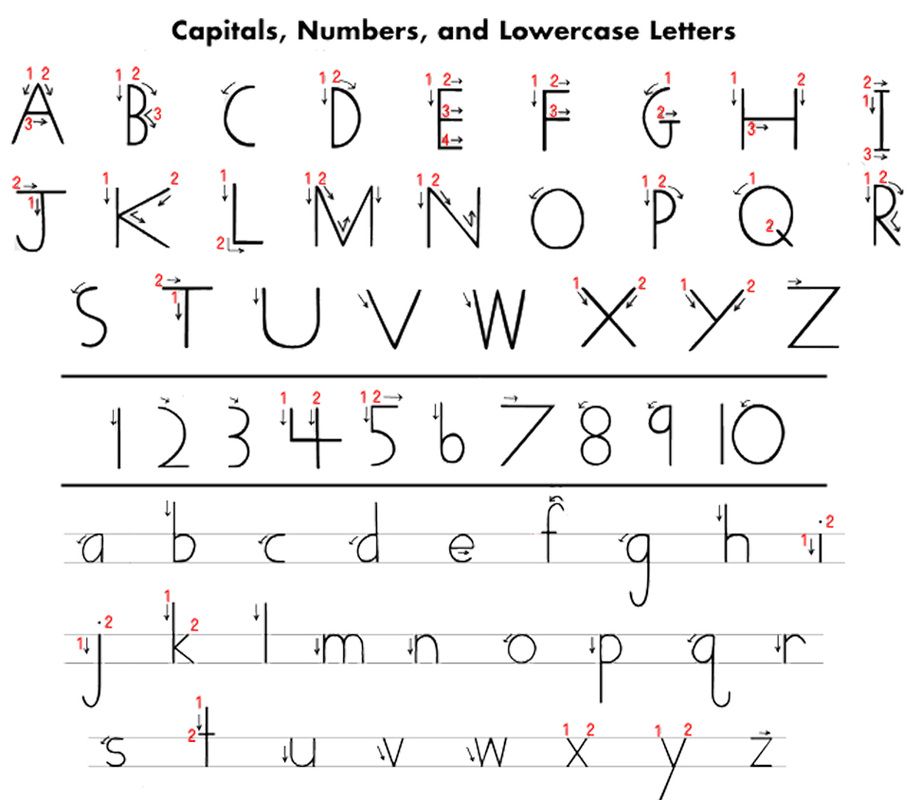
4. Capital letters
Capital letters are easier for kids to print! They all start at the top, they are all the same height and they all occupy the same vertical space. Capital letters all look different and are easier to identify. Several lower case letters look the same and it is a matter of where the ‘stick’ goes that defines the letter. i.e. “ a, b, d, g, q” are all circles with sticks! It is easy to place the stick on the wrong side or in the wrong place. “A B D G P Q” are all formed differently and have a very distinct look.
Introducing capitals first can build a strong foundation leading to more success with lower case printing. Lower case letters are then easier to learn because c o s v w x y z are the same as their capitals AND j k t p and u are similar to their capitals. After learning capital letters, children will be skilled with all capitals and nearly half of the lower case alphabet!
5.
 Letter play
You do not have to use a pencil to learn letters! In fact, letter play is a great way for a variety of ages and skill levels to learn the correct formations through fun and motivating multi-sensory activities. Once a child is ready to manipulate a pencil, they will already be familiar with how to form the letters correctly.
Letter play examples:
- Finger tracing over tactile letters (i.e. sand paper letters)
- Build letters on mats with playdough
- Draw letters in the air
- Draw letters in sensory bins
- Wet bins: pudding, whip cream, yogurt
- Dry bins: salt, beans, pasta
6. Pencil grasp
A great strategy to help develop efficient grasps is to use short 1-2 inch writing tools. Break your crayons and cut (or sharpen down) your pencils and pencil crayons! If a child does not have the option to hold the writing tool with the whole hand, it will force them to use their fingers and help facilitate development of an efficient grasp.
7. Printing on lines
There are many types of lined paper available for printing. Some can be too complex and/or visually confusing to children. Starting with a double line can build a good foundation to transition successfully to a variety of styles. For more details on the double line please check out this link from Learning without Tears https://www.lwtears.com/programs/double-lines
8. Spacing
Children have to learn proper spacing between letters and between words. Spaghetti and meatballs is a fun way to teach this concept. Spaghetti spaces between letters and meatball spaces between words. Using props adds some multisensory learning to this concept and makes it more fun! For the noodles, you can use dry or cooked noodles or Wikki Stix. For the meatballs, you can scrunch up a small piece of paper, Wikki Stix or a pipe cleaner into a small ball.
If a child continues to have difficulty with spacing concepts, try using boxes to print in. One letter per box and one empty box between words.
| T | h | e |
| c | a | t |
|
|
|
9. Consistency and practice
Learning or re-learning to print takes time and practice. Try to be consistent with how you teach your child. For example, using the same language and drawing the letter the same way each time you teach it. Become familiar with proper stroke sequences and model the letter to your child. Your child can imitate you and draw their own letter onto their paper.
Should you wish to complete printing practice with your child, investing in a printing program may be beneficial to you. Most programs have everything readily available and guides to help you teach. For example, the Handwriting without Tears printing books from Learning without Tears.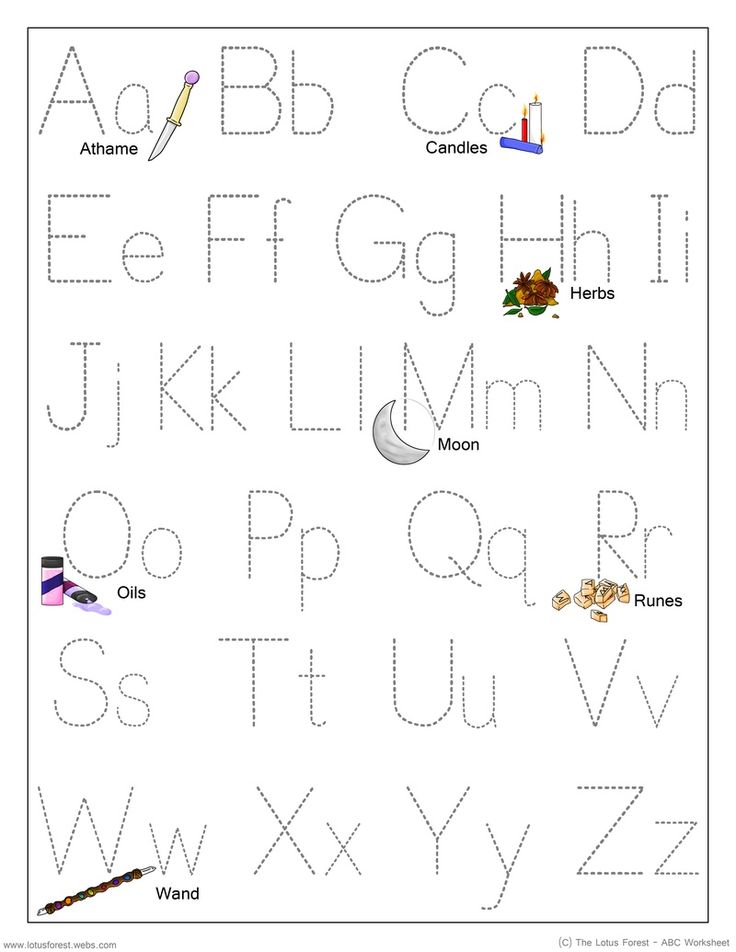
10. See an Occupational Therapist (OT)
OTs are skilled healthcare professionals that can assess your child’s printing abilities. If you feel your child may have challenges in this area and are unsure what to do, contact an OT. They can help determine your child’s strengths and weaknesses and provide recommendations to help develop the skills required to become successful with written communication.
About Taunia Clouthier
Taunia Clouthier is an Occupational Therapist who brings 10 years of experience working within the School Health Support OT Services, where she assumes a consultative role in supporting children, parents and staff within the school environment. The skills and knowledge that she has gained over the years has inspired her to create FUNctional Therapy in 2018, a company in which she can further share her knowledge and passions through direct services and workshops. She is very passionate about providing education and believes it is one of the keys to successful growth and development in children.
References
Beery K.E. & Beery N.A. (2010). The Beery-Buktenica Developmental Test of Visual-Motor Integration Sixth Edition Administration, Scoring and Teaching Manual. 30-47
Handwriting Without Tears. (2018). Get Set For School. Readiness & Writing Pre-K Teacher’s Guide
DISCLAIMER: This document reflects the views of the author. It is Autism Ontario’s intent to inform and educate. Every situation is unique and while we hope this information is useful, it should be used in the context of broader considerations for each person. Please contact Autism Ontario at [email protected] or 416-246-9592 for permission to reproduce this material for any purpose other than personal use. © 2021 Autism Ontario 416-246-9592 www.autismontario.com
Print Awareness: Guidelines for Instruction
By: Texas Education Agency
Print awareness is a child's earliest understanding that written language carries meaning. The foundation of all other literacy learning builds upon this knowledge. The following are guidelines for teachers in how to promote print awareness and a sample activity for assessing print awareness in young children.
Guidelines for promoting print awareness
- The organization of books
Make sure students know how books are organized. They should be taught the basics about books – that they are read from left to right and top to bottom, that print may be accompanied by pictures or graphics, that the pages are numbered, and that the purpose of reading is to gain meaning from the text and understand ideas that words convey.
- Read to students
Read to children from books with easy-to-read large print. Use stories that have predictable words in the text.
- Use "big books" and draw attention to words and letters
Help children notice and learn to recognize words that occur frequently, such as a, the, is, was, and you. Draw attention to letters and punctuation marks within the story.
- Label objects and centers in your classroom
Use an index card to label objects and centers within the classroom with words and pictures.
 Use an index card with the word "house" for the house center and draw a picture of a house. Draw students' attention to these words when showing them the different centers.
 - Encourage preschool children to play with print
They can pretend to write a shopping list, construct a stop sign, write a letter, make a birthday card, etc.
- Help children understand the relationship between spoken and written language
Encourage students to find on a page letters that are in their names: "Look at this word, 'big.' It begins with the same letter as the name of someone in this room, 'Ben.'"
- Play with letters of the alphabet
Read the book Chicka Chicka Boom Boom. Place several copies of each letter of the alphabet in a bowl and ask students to withdraw one letter. When everyone has a letter, ask each student to say the letter's name and, if the letter is in his or her own name, have the child keep the letter. Continue until the first child to spell his or her name wins.
- Reinforce the forms and functions of print
Point them out in classroom signs, labels, posters, calendars, and so forth.
- Teach and reinforce print conventions
Discuss print directionality (print is written and read from left to right), word boundaries, capital letters, and end punctuation.
- Teach and reinforce book awareness and book handling
- Promote word awareness by helping children identify word boundaries and compare words
- Allow children to practice what they are learning
Ask them to listen to and participate in the reading of predictable and patterned stories and books.
- Provide practice with predictable and patterned books
Also try using a wordless picture book like Pancakes. Go through each page asking the children to tell the story from the pictures. Write their narration on a large piece of paper. Celebrate the story they authored by eating pancakes!
- Provide many opportunities for children to hear good books and to participate in read-aloud activities
A sample activity for assessing print awareness
Give a student a storybook and ask him or her to show you:
- The front of the book
- The title of the book
- Where you should begin reading
- A letter
- A word
- The first word of a sentence
- The last word of a sentence
- The first and last word on a page
- Punctuation marks
- A capital letter
- A lowercase letter
- The back of the book
Excerpted and adapted from: Guidelines for Examining Phonics and Word Recognition Programs, Texas Reading Initiative, Texas Education Agency (2002). And from: Tips for Teaching Kids to Read; by Ed Kame'enui, Marilyn Adams, & G. Reid Lyon.
Related Topics
Curriculum and Instruction
Early Literacy Development
Print Awareness
New and Popular
100 Children’s Authors and Illustrators Everyone Should Know
A New Model for Teaching High-Frequency Words
7 Great Ways to Encourage Your Child's Writing
All Kinds of Readers: A Guide to Creating Inclusive Literacy Celebrations for Kids with Learning and Attention Issues
Screening, Diagnosing, and Progress Monitoring for Fluency: The Details
Phonemic Activities for the Preschool or Elementary Classroom
Our Literacy Blogs
Shared Reading in the Structured Literacy Era
Kids and educational media
Meet Ali Kamanda and Jorge Redmond, authors of Black Boy, Black Boy: Celebrating the Power of You
Get Widget |
Subscribe
free touch printing courses
Blind typing, or typing with all ten fingers without looking at the keyboard, is considered the most effective way to learn how to type on the keyboard. In TypingClub you can learn fast and fun type blindly.
Start
This is a game. Interesting and interactive lessons that teach you how to type professionally on the keyboard.
Playback typing. You can see how you completed the task, and even lose the last rounds.
Levels, icons, and stars. All these tools will motivate you to go forward and develop muscle memory.
Guide to the correct positioning of the hand on the keyboard. A special program will help you correctly put your hand on the keyboard right in the process of your work.
Interactivity. Games, videos and other lessons will help you master the touch typing method easily and fun.
Sound accompaniment. You can turn on the soundtrack to listen to instructions on how to print every word.
Basic
Games, videos, key reports, colorful themed activities, badges, and special features for people with limited features are available even in the basic version.
Games, videos, main reports, colorful themed tasks, badges...
ALWAYS FREE
Free
no charge, no registration
Premium
Premium accounts include everything the same as free accounts, plus more games, types reports of your progress, more themes, playing rounds and of course our special animated stories. The premium version has no ads and you get access to all the learning blocks that are available. at Typing Club. The premium version has a free trial period of 3 days. Cancel premium subscription version at any time.
MONTHLY
7.50€
monthly payment
ANNUALLY
66.00 € 29.50€
yearly payment
Thank you very much!! You have developed a wonderful program. I admire your work! I I wrote this review to express my gratitude for your work. Now I recommend your program to everyone colleagues, friends and family. And, most importantly, I typed this letter without looking at the keyboard :)
-Syed M
I've only just started but I already love your fantastic program. I get huge pleasure from work. Thank you for the fast technical support and such a useful typing trainer.
-Steve B
JUST A GREAT site. I had an accident a couple of years ago and now I only have one arm working. Before accident, I was blind typing, and after the accident, my therapist wanted to advise me a program that teaches blind typing with one hand, he did not find one. Is this program brand new? She's just great! Now I can learn touch typing again, with one hand! :)
-Birte O
I just love TypingClub! He helped me so much. Thank you so much for teaching me how to type, without looking at the keyboard!! ❤ ❤ ❤ ❤
-Maggie G
Keyboard Touch Typing Training - Ratatype
Keyboard Touch Typing Training - Ratatype The main idea of touch typing is that each finger has its own key zone. This allows you to type without looking at the keyboard. Exercise regularly and thanks to muscle memory, all your ten fingers will know where to press.
Typing posture
- Sit straight and keep your back straight.
- Keep your elbows bent at a right angle.
- Head should be slightly tilted forward.
- The distance from the eyes to the screen should be 45-70 cm.
- Relax the muscles of the shoulders, arms and hands. The brushes may slightly touch the table at the bottom of the keyboard, but do not transfer
body weight on the hands, so as not to overstrain the hands.
Starting position
Bend your fingers a little and place them on the keys FYVA and OLDJ, which are in the middle row. This line is called the BASIC LINE because you will always start with these keys and return to them.
The A and O keys have small protrusions under the index fingers. They allow you to navigate the keyboard blindly.
Keyboard layout
The position of the fingers on the keyboard
The color of the keys on this keyboard will help you understand and remember which finger to press which key.
- Press the keys only with the finger designated for them.
- Always return your fingers to the starting position "FYVA - OLJ".
- When typing, imagine the layout of the keys.
- Set a rhythm and keep it as you type. Press the keys at the same interval.
- The SHIFT key is always pressed by the little finger on the opposite side of the desired letter.
- Beat the space with the thumb of the left or right hand, as you prefer.
At first, this printing method may seem inconvenient. But don't stop. Over time, everything will turn out quickly, easily and conveniently. For best results, choose a touch typing course for your keyboard layout and language.
Movement
fingers
Do not peek at the keyboard while typing. Just slide your fingers over the keys until you find the main line.
Limit the movement of the hands and fingers to a minimum, only to press the necessary keys. Keep your hands and fingers as close to the starting position as possible. This will increase the speed of typing and reduce the load on the brushes.
Keep an eye on your ring fingers and little fingers, as they often go unused.
Print speed
- Don't try to type at the speed of light right away. Start accelerating only when all 10 fingers are used to pressing the correct keys.

- Take your time when typing to avoid mistakes. The speed will increase gradually.
- Always skim the text one or two words ahead.
- Complete all lessons on the Ratatype Keyboard Trainer. And your speed will be higher than the average typing speed.
Take care of yourself
Take a break if you feel like you are slipping and making a lot of mistakes. A short break will restore strength and attentiveness.
Popular touch typing questions and tips
- How to type correctly?
It's very simple, the main thing is to follow a few basic rules.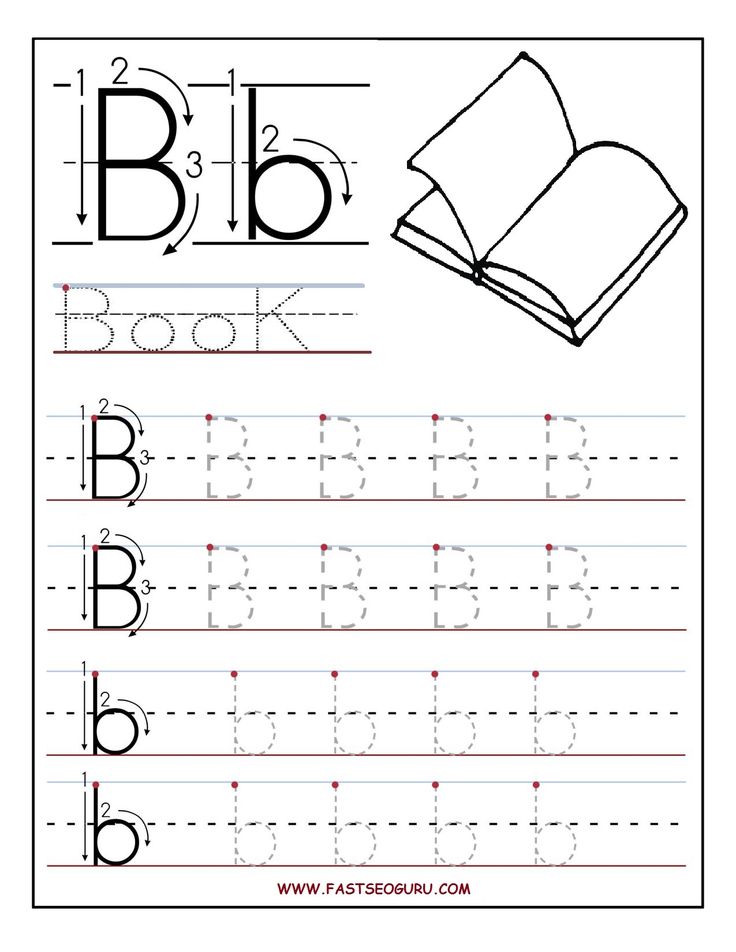
- Correct typing posture - sit upright, screen at eye level, at a distance of 45-70 cm, keep your back straight, bend your elbows at a right angle, relax the muscles of your shoulders, arms and hands.
- Always start typing with the FYVA OLJ keys (this line is called the main line) and return your fingers to the same position.
- Press the keys only with the finger that is intended for them. Our color scheme will help you with this.
- The SHIFT key is always pressed by the little finger on the opposite side of the desired letter. Beat the space with the thumb of the left or right hand, whichever is more convenient for you.
- Don't peek at the keyboard. Just slide your fingers over the keys until you find the main line. Keep hand and finger movements to a minimum, sufficient to press the desired keys. Keep your hands and fingers as close to the starting position as possible.
- Start accelerating only when all 10 fingers are used to pressing the correct keys.
- How to learn to type quickly?
The main thing is to practice a lot and study regularly. With each lesson passed, muscle memory will improve and all your ten fingers will know where to press.
With only 15-30 minutes of practice a day, in a couple of weeks you will know the exact location of each key without even looking at the keyboard. But remember, it's important to learn0202 is correct . If you don't learn the right positions, you're just wasting your time.
Don't forget to check your progress from time to time - just take the typing speed test.
- How to type with all fingers?
The main idea of typing with all fingers is that each of them has its own key zone.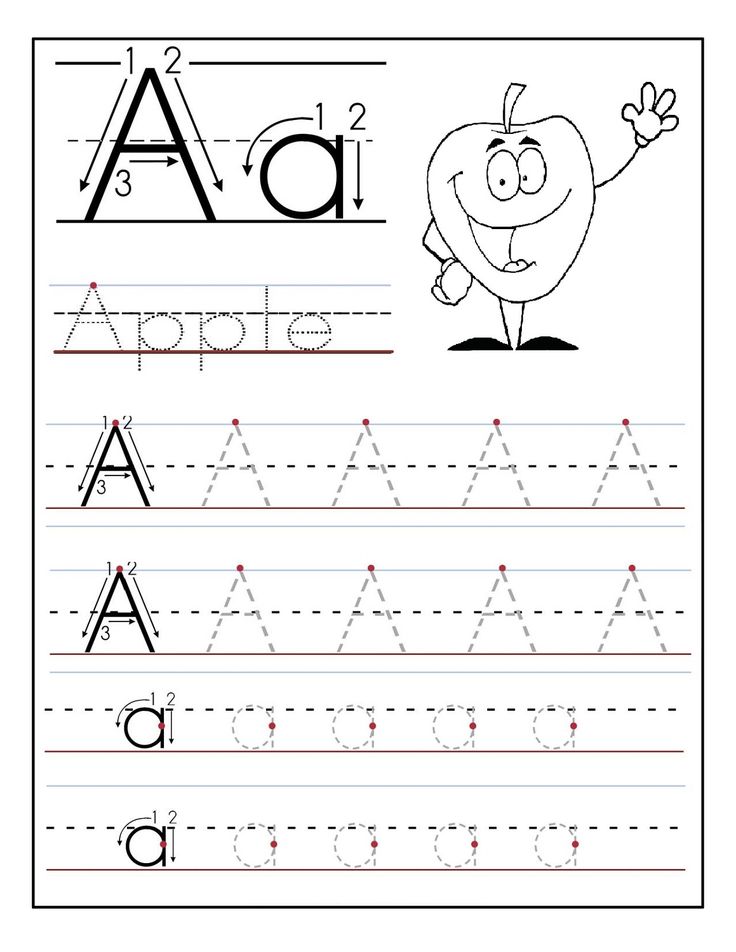 This allows you to type faster without looking at the keyboard.
It is important to press the keys only with the finger intended for them. The color of the keys on the keyboard will help you understand and remember which finger to press which key.
- What is the correct printing technique?
On Ratatype you can learn touch typing with all fingers. The main idea of the technique is that each finger has its own key zone. This allows you to type without looking at the keyboard.
Our research shows that printing with this method can increase print speed by up to 20%. You can read more about this tee technique in our touch typing article.
Exercise regularly. Take a break if you feel like you are slipping and making a lot of mistakes. A short break will restore strength and attentiveness.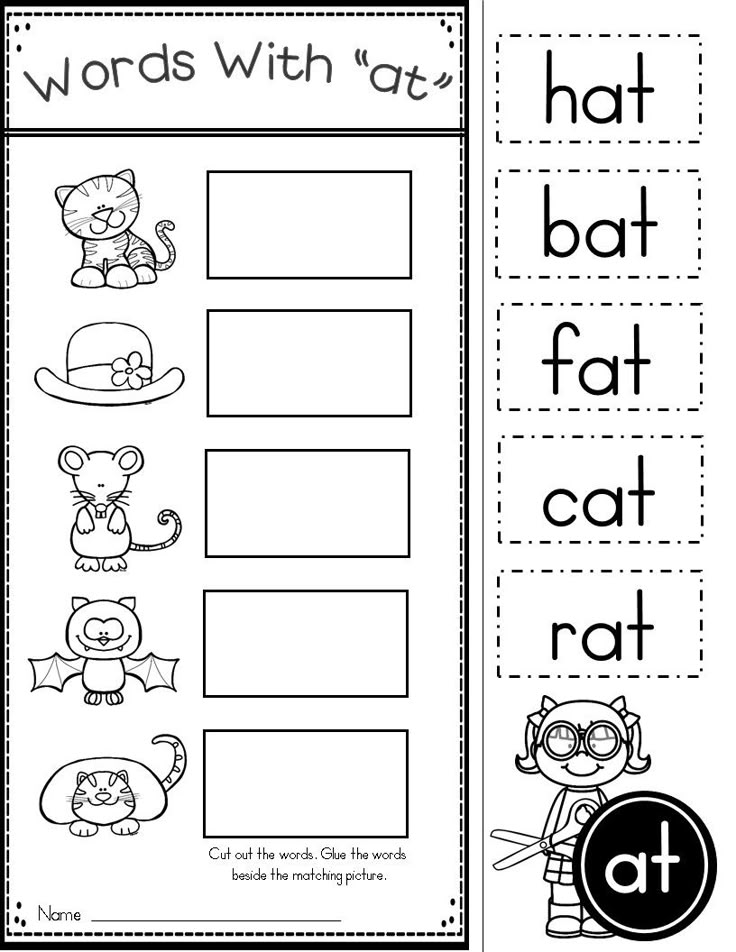
- How long does it take to learn to type?
The key to success in any activity is regular training. As soon as you miss a lesson, you lose the time that you have already spent on learning. Therefore, try to set aside 2-4 weeks for regular training every day for 30 minutes.
- How often should I do typing exercises?
As in any business, regularity is the key to success. It will take a lot of practice to consolidate muscle memory and it is important that the sessions are regular.
Daily exercise for 15-30 minutes will bring more benefits than two hours of training once a week. During short workouts, it is easier to maintain concentration and make time for them much easier.