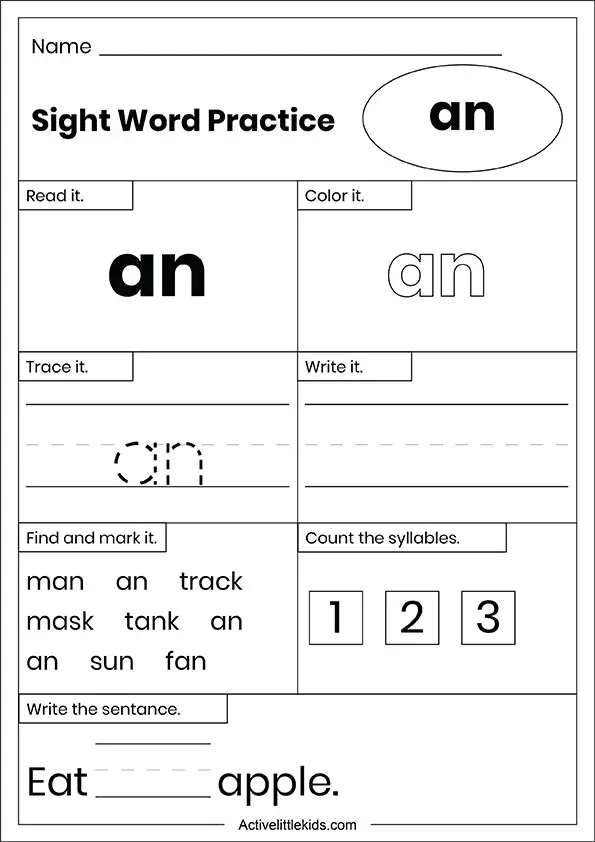
Sight word help
Sight Words Teaching Strategy | Sight Words: Teach Your Child to Read
A child sees the word on the flash card and says the word while underlining it with her finger.
The child says the word and spells out the letters, then reads the word again.
The child says the word and then spells out the letters while tapping them on her arm.
A child says the word, then writes the letters in the air in front of the flash card.
A child writes the letters on a table, first looking at and then not looking at the flash card.
Correct a child’s mistake by clearly stating and reinforcing the right word several times.
- Overview
- Plan a Lesson
- Teaching Techniques
- Correcting Mistakes
- Frequently Asked Questions
- Questions and Answers
Sight words instruction is an excellent supplement to phonics instruction. Phonics is a method for learning to read in general, while sight words instruction increases a child’s familiarity with the high frequency words he will encounter most often.
Use lesson time to introduce up to three new words, and use game time to practice the new words.
A sight words instruction session should be about 30 minutes long, divided into two components:
- Sight Words Lesson — Use our Teaching Techniques to introduce new words and to review words from previous lessons — 10 minutes
- Sight Words Games — Use our games to provide reinforcement of the lesson and some review of already mastered sight words to help your child develop speed and fluency — 20 minutes
Video: Introduction to Teaching Sight Words
↑ Top
2.
 1 Introduce New Words
When first beginning sight words, work on no more than three unfamiliar words at a time to make it manageable for your child. Introduce one word at a time, using the five teaching techniques. Hold up the flash card for the first word, and go through all five techniques, in order. Then introduce the second word, and go through all five teaching techniques, and so on.
This lesson should establish basic familiarity with the new words. This part of a sight words session should be brisk and last no more than ten minutes. As your child gets more advanced, you might increase the number of words you work on in each lesson.
2.2 Review Old Words
Begin each subsequent lesson by reviewing words from the previous lesson. Words often need to be covered a few times for the child to fully internalize them. Remember: solid knowledge of a few words is better than weak knowledge of a lot of words!
Go through the See & Say exercise for each of the review words. If your child struggles to recognize a word, cover that word again in the main lesson, going through all five teaching techniques. If he has trouble with more than two of the review words, then set aside the new words you were planning to introduce and devote that day’s lesson to review.
Note: The child should have a good grasp of — but does not need to have completely mastered — a word before it gets replaced in your lesson plan. Use your game time to provide lots of repetition for these words until the child has thoroughly mastered them.
2.3 Reinforce with Games
Learning sight words takes lots of repetition. We have numerous sight words games that will make that repetition fun and entertaining for you and your child.
The games are of course the most entertaining part of the sight words program, but they need to wait until after the first part of the sight words lesson.
Games reinforce what the lesson teaches.
Do not use games to introduce new words.
NOTE: Be sure the child has a pretty good grasp of a sight word before using it in a game, especially if you are working with a group of children. You do not want one child to be regularly embarrassed in front of his classmates when he struggles with words the others have already mastered!
↑ Top
Introduce new sight words using this sequence of five teaching techniques:
- See & Say — A child sees the word on the flash card and says the word while underlining it with her finger.
- Spell Reading — The child says the word and spells out the letters, then reads the word again.
- Arm Tapping — The child says the word and then spells out the letters while tapping them on his arm, then reads the word again.
- Air Writing — A child says the word, then writes the letters in the air in front of the flash card.

- Table Writing — A child writes the letters on a table, first looking at and then not looking at the flash card.
These techniques work together to activate different parts of the brain. The exercises combine many repetitions of the word (seeing, hearing, speaking, spelling, and writing) with physical movements that focus the child’s attention and cement each word into the child’s long-term memory.
The lessons get the child up to a baseline level of competence that is then reinforced by the games, which take them up to the level of mastery. All you need is a flash card for each of the sight words you are covering in the lesson.
↑ Top
Of course, every child will make mistakes in the process of learning sight words. They might get confused between similar-looking words or struggle to remember phonetically irregular words.
Use our Corrections Procedure every time your child makes a mistake in a sight words lesson or game. Simple and straightforward, it focuses on reinforcing the correct identification and pronunciation of the word. It can be done quickly without disrupting the flow of the activity.
Do not scold the child for making a mistake or even repeat the incorrect word. Just reinforce the correct word using our script, and then move on.
↑ Top
Q: Progress is slow. We have been on the same five words for a week!
A: It is not unusual to have to repeat the same set of words several times, especially in the first weeks of sight words instruction. The child is learning how to learn the words and is developing pattern recognition approaches that will speed his progress. Give him time to grow confident with his current set of words, and avoid overwhelming the child with new words when he hasn’t yet become familiar with the old words.
Q: Do I really need to do all five techniques for every word?
A: Start out by using all five techniques with each new word. The techniques use different teaching methods and physical senses to support and reinforce the child’s memorization of the word. After a few weeks of lessons, you will have a sense for how long it takes your child to learn new words and whether all five exercises are necessary. Start by eliminating the last activity, Table Writing, but be sure to review those words at the next lesson to see if the child actually retained them without that last exercise. If the child learns fine without Table Writing, then you can try leaving out the fourth technique, Air Writing. Children who learn quickly may only need to use two or three of the techniques.
Q: How long will it take to get through a whole word list? I want my child to learn ALL the words!!!
A: That depends on a number of factors, including frequency of your lessons as well as your child’s ability to focus. But do not get obsessed with the idea of racing through the word lists to the finish line. It is much, much better for your child to solidly know just 50 words than to “kind of” know 300 words. We are building a foundation here, and we want that foundation to be made of rock, not sand!
↑ Top
Leave a Reply
5 Tips for teaching sight words
Sight words are the English words you most frequently encounter when reading. They're called sight words because if you learn to recognize them by sight, instead of having to sound them out, it makes reading easier.
This is why they are so important to teach.
When a student learns to recognize sight words automatically, it can increase his or her reading fluency and comprehension. They are useful for young children to know, but also a good idea for struggling readers.
English as an additional, second, or foreign language learners, especially those who are just getting started with reading and writing, will also benefit from studying sight words.
Sometimes you'll find sight words referred to as high-frequency words. That's because they are the most common English words used in writing. Mastering them frees up attention for processing harder and lower frequency words.
More about sight words
Most children are introduced to sight words in first or second grade when they begin learning how to read. More than 75% of the average children's book is made up of sight words. A child who is a strong reader from an early age may find he or she acquires sight words effortlessly through repeat exposure from extensive reading.
But these words may require some extra effort and time for other students to learn, particularly if they are struggling to keep up with peers when it comes to reading.
How children learn to read
Children develop pre-literacy skills, including individual sound, letter and word recognition, through conversations with caregivers and being read to from an early age.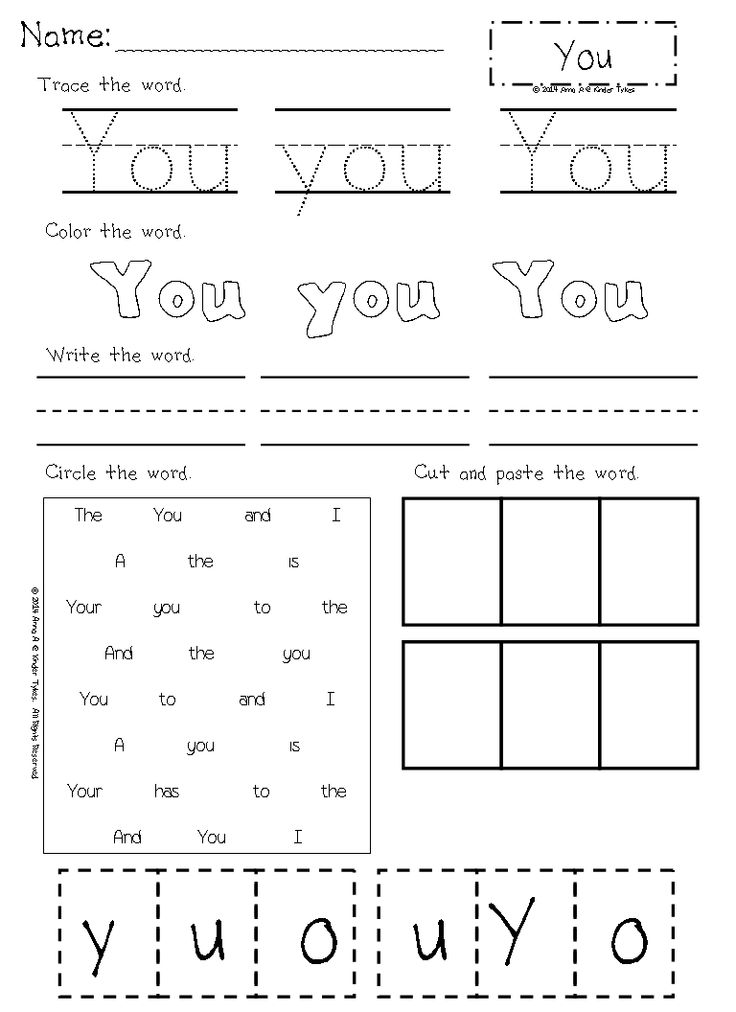
In order to read a word, a child must first be able to recognize individual letters and sets of letters and then map the correct sounds onto them. This process is called decoding.
Sounding out words, or decoding, uses up a lot of cognitive energy and attention. This is why reading can be quite slow in the beginning, when very few words look familiar to the child.
But after a learner has sounded out a word multiple times, he or she will find it easier to recognize by sight, which is to say he or she will be sight reading.
Which words are sight words?
Sight words are sometimes referred to as Dolch words after the man who assembled them into several lists many parents and educators teach today.
Edward William Dolch published a list of sight words in 1948 while he was working at the University of Illinois. In order to create the list, he looked through children's books for the most common words they contained.
Dolch felt that teaching young children to memorize too many words would be counterproductive. He narrowed the sight words list down to 220, leaving out nouns. This means today’s sight words are comprised mostly of service words such as prepositions, adjectives and verbs.
He eventually released an additional list of 95 nouns. Learn more about the Dolch List.
5 Tips for teaching sight words
There are many ways to teach sight words—here are just a few ideas!
-
Look for them in books. Draw a child’s attention to a word by looking for it in children’s books. You can start with Dr. Seuss books as they contain a lot of them! Repeat exposure, pointing a word out, and talking about it provides a much better introduction than simply giving a child a list of terms to learn.
-
Hang them around the classroom. Keep the sight words “in sight.” Certain words such as and and the will be hard for children to miss but calling attention to print that contains them is key. You can create big posters of a word, talk about the letters it contains and spend time focusing on its meaning.
-
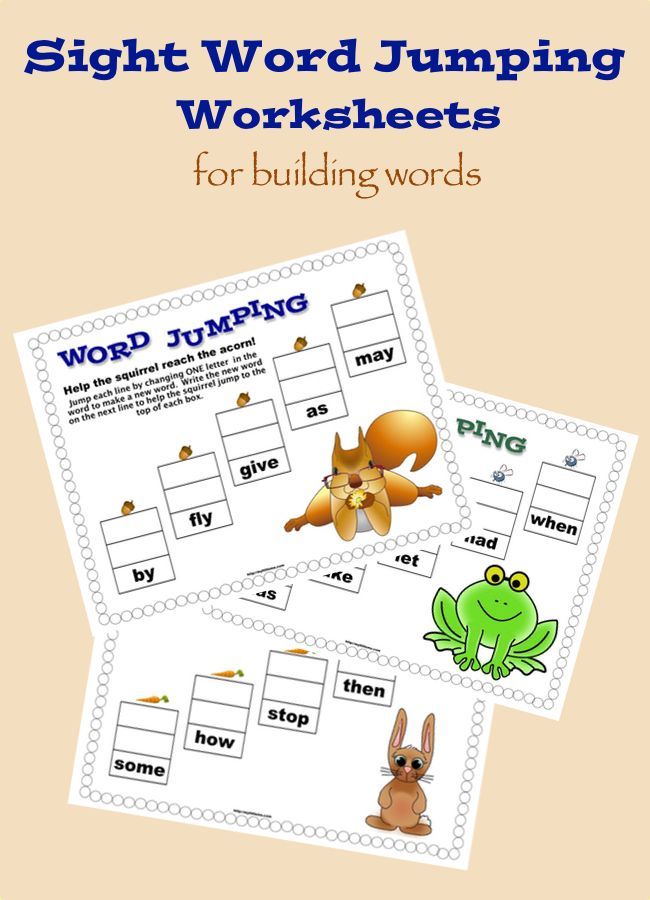
Help children use them. Teaching children to use sight words in their writing, whether it be through illustration, plain old spelling drills, or repetition on a keyboard, can cement learning. A word can be written in isolation or as part of a basic sentence.
-
Re-visit them regularly. Teaching a word over and over again may seem pointless but repeat exposure will eventually do the trick. Children need plenty of practice reading and writing sight words before you can consider them learned. Children with specific learning differences, such as dyslexia, may especially benefit from spending extra time learning sight words.
-
Introduce an online typing course. There’s no reason why a young child of age 6 or 7 cannot learn to type at the same time as he or she is learning to read and write. The significant factor is that the hands are mature enough to sit comfortably on a keyboard. Typing can greatly help those learners who struggle with dyslexia or dysgraphia as it teaches them to rely on muscle memory in the hands to help with spelling -- and if you use the TTRS course you can also have them learn to type using modules made up only of sight words!
Who else can benefit from sight words?
Sight words are typically taught as part of phonics and spelling lessons and used by teachers to facilitate reading skills.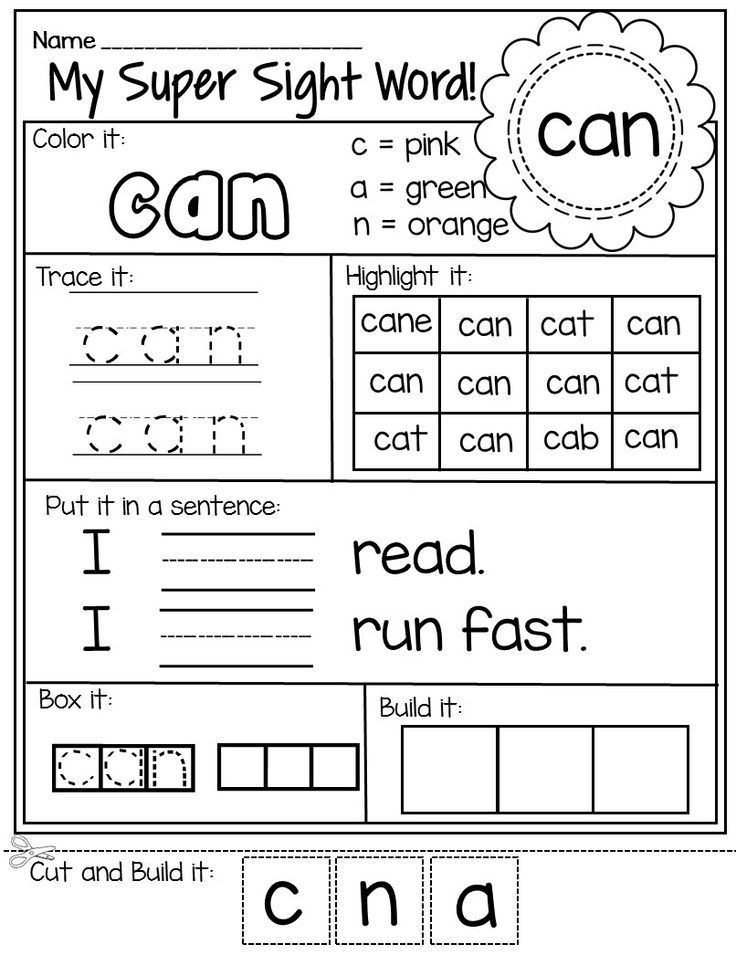
They are important for understanding English and that means the bilingual child and English as an additional language adult learner can greatly benefit from covering them in early vocabulary lists.
Of course, for adult learners, Dr. Seuss may not be the most appropriate method of introduction so it is recommended that anyone teaching adults investigate other options, such as a touch-typing course in which students learn to recognize and type sight words on a computer.
When learning sight words is hard
For children who struggle with learning difficulties such as dyslexia, sight words are not always that easy to learn.
Learning any word is tricky, but as sight words tend to be somewhat generic vocabulary, they are less amenable to the mnemonic devices dyslexic students sometimes use to remember vocabulary.
If a teacher is aware of the learning difficulty, they can ensure the child receives extra help. However, it can be somewhat embarrassing when a student needs to work to keep up with his or her peers.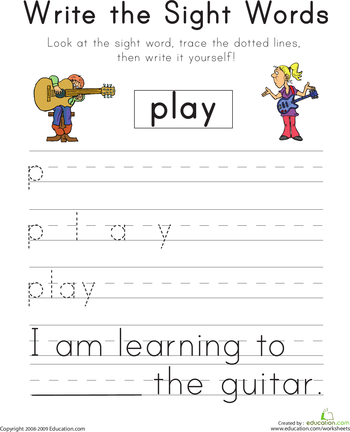
Introducing a self-study measure that can be completed at a pace set by the learner, after class or at home, may be the solution. For more information on how to use TTRS’s course for teaching sight words to struggling readers, just get in touch with our team!
Learn more
How do you teach sight words to your learners? Leave us a comment and join the discussion!
For teachers
TTRS is a program designed to support educators in teaching students touch-typing, with additional emphasis on reading and spelling.
Aiming in CS:GO — CyberSpark
Guides Alexander Perepelov Crosshair adjustment in CS:GO is an integral part of the game. Perhaps this is one of the important things that the gamer himself sets up. With a good aim it will be comfortable to play. And no one excludes purely psychological moments when it flies with one sight, but not with another. But how do you set up crosshairs in CS:GO? This question can be faced by any player, not necessarily a beginner. And in this material we will consider the main ways to adjust the sight. nine0007
Ways to adjust the crosshair in CS:GO
There are several ways to adjust the crosshair. You can do this both with the help of console commands, if you are not looking for easy ways, and with the help of specially designated cards from the workshop. Since knowledge of console commands is typical for professionals, we will focus on setting up the crosshair through the console, however, we will not forget to talk about the map from the workshop.
Using the console when adjusting the sight in the game
First of all, you need to enable the console in the game settings. By default, the console is turned off, and to activate it, you need to get into the game settings and check the box under the corresponding item. nine0007
To do this:
- Enter Counter-Strike: Global Offensive.

- Go to Game Settings.
- We are looking for an item called “Enable Developer Console”.
- Set to “Yes”.
- Now click on the letter “ё” / “~” and open the console.
There is a dedicated team in charge of adjusting the scope. It starts with the words " cl_crosshair ". From it come the settings of all the parameters of the sight in the game. nine0007
It is also important to note that there are several standard crosshair variations in the game. By commands, they can be created in the following way:
- “ cl_crosshairstyle 0 ” - dynamic by default.
- “ cl_crosshairstyle 1 ” – static by default.
- Command “ cl_crosshairstyle 2 ” – classic.
- “ cl_crosshairstyle 3 ” is a classic dynamic sight. nine0020
- “ cl_crosshairstyle 4 ” - classic static.
In fairness it should be noted that the use of these console commands is not suitable for professional play. For her, you need to adjust the scope yourself. The sight can also be outlined. The command “ cl_crosshair_drawoutline (1/0) ” is responsible for this.
A 1 in the command means crosshair stroke is enabled, and a zero means it is disabled.
There are also interesting sights, which include a dot in the center of the screen. Such a sight helps to focus on the head of the enemy more effectively. The dot crosshair is configured with the following command: “ cl_crosshairdot (1/0) ”.
There are additional commands for adjusting the sight:
- The size of the sight itself is adjusted by the command “ cl_crosshairsize X” , where X is the size. The higher the indicator, the larger the scope itself will be.
- The distance between the crosshairgap borders is adjusted by the command “ cl_crosshairgap X “.
 The larger X is, the greater the distance inside the sight between its borders.
 - The width (thickness) of the sight lines is set by the command “ cl_crosshairthickness X “. The larger the value, the wider the lines of sight will be.
With the above commands, you can adjust the parameters of the sight. However, having considered the basic commands, it is worth moving on to setting the color of the sight. nine0007
How to set crosshair color in CS:GO?
The color of the crosshair mainly depends on the personal preferences of each player. But, in fairness, a number of colors, in combination with certain settings, can merge with the general surroundings of the map. Therefore, it is necessary to responsibly approach the color setting of the sight itself.
The color setting command is called " cl_crosshaircolor X ", where X is the color number. 0 is red. 1 - green. 2 - yellow. 3 - blue. 4 - blue. 5 - black, white, etc. nine0007
As for the fifth digit, here you need to adjust the color yourself using the commands “cl_crosshaircolor_r”, “cl_crosshaircolor_b”, “cl_crosshaircolor_g”. Below is a picture of the selection of the color palette in accordance with the game values.
The parameters for r, b and g values range from 0 to 255.
For example, we can offer a black scope setting. To do this, write the following commands in the console: “cl_crosshaircolor_0”, “cl_crosshaircolor_0”, “cl_crosshaircolor_0”. nine0007
Crosshair adjustment via a map from the workshop in CS:GO
The most popular crosshair adjustment map in the game is “crashz’ Crosshair Generator v3.” It is easy to customize the sight on it using console commands, and you don’t need to enter anything into the console. The map also offers a wide range of sights for professional cybersportsmen. The map is constantly updated, thanks to which the number of sights is constantly replenished.
The map provides an opportunity to see how your sight will look against the background of various maps in the game, as well as test it in action against the background of bots with different models. nine0007
It's best to adjust your crosshair in CS:GO according to your personal wishes. As a last resort, you can look at the map from the workshop, where a wide selection of professional players' scopes is presented.
Customize the game for your loved one, play, assemble a team and win. Until new victories in the game!
Tags CS:GO GuidesAlexander Perepelov
I don't smoke, I rarely drink, I swear, and I also play games - Alexander, 20 years old
Previous materialEkko hero guide as a midlaner
Next articleHero Sett
guidehow aim assist works in shooters - Gamedev on DTF
The creator of Painkiller on why aim assist is needed everywhere.
49 129 views
Almost every modern shooter has aim assist, including on PC. This is due not only to the fact that most of them are adapted for console control - aim assist also helps to avoid stupid situations on the technical side and improve the overall gameplay experience. nine0007
Adrian Chmielarz (Painkiller) explained how aim assist works in modern FPS using the example of Witchfire in development. Contrary to misconceptions, properly implemented technology only makes shooting mechanics better - even if you play with a mouse.
Aim Assist exists to cover the lack of control on consoles. Over time, this technology has been improved - so much so that some FPS are designed almost entirely for gamepads (Halo, Destiny). nine0007
But what does an aim assist have to do with a game if it only comes out on PC? To answer this question, you need to understand how the technology works in general. In Witchfire, aim assist is divided into two parts:
- "sticking". The crosshair in the center of the screen slows down when it passes over an enemy.
- "bullet magnetism". If you miss by quite a bit, the bullet still hits the enemy.
"Sticky" only works on gamepads - in the case of the keyboard and mouse, it only harms the perception of the game. Khmelyazh connects this with the presence of muscle memory - how much "effort the hand must make to move the sight a certain distance." If, even with the slightest movement, the player finds that the crosshair is behaving unnaturally, they will become indignant. nine0007
Bullet magnetism exists for the same reason - not to force players to aim extremely accurately with sticks. But when controlling the mouse, it also exists in many places, although the players do not even notice it.
There are reasons for its presence. The most important of these is the fact that without magnetism, the game starts to feel "slightly broken".
For example, you take aim, shoot at the edge of the enemy's head, boom - and the hit is not registered, it is a miss. You think that you did everything right - the code thinks that this is a miss, because the bullet passed one micrometer from the head. [...] This cannot be seen in the standard 1920x1080.
Adrian Chmielarz, head of development for Witchfire
Important clarification: most often, magnetism is not added to PvP games, since the player model is usually much worse animated than enemies (for example, some kind of monsters) in single-player shooters.
But why exactly magnetism - why not make the bullet itself (moreover, not its model, but only the object itself) bigger? Yes, that's the solution, but what happens if the player shoots at an enemy who is trying to hide behind a wall? It can happen that the bullet touches the edge of the wall and stops there - simply because it is larger than the player sees it. nine0007
Frustration without "magnetism" can also be experienced by a player for other reasons.
I often see streamers complaining, “But I hit it! Why didn't he die?!" But after the replay, they usually realize that, yes, it was actually a blunder. And I'm sure that the shot felt right for them - the weapon must have been aimed at the enemy.
Adrian Chmielarz, head of development for Witchfire
From which we can conclude that correctly working bullet magnetism is necessary - both for gamepads and keyboards with a mouse. nine0007
However, this technology in itself is not "magnetism" in the literal sense. Naturally, the bullet does not deviate while flying along a curve, as in the movie "Wanted" (by the way, this mechanic was implemented in the game adaptation).
Also, this very magnetism does not mean that enemies have large hitboxes - for example, there is only one enemy model, while the hit area is much wider so that the hit is registered. But it doesn't work that way for the most part, due to the fact that aim assist works differently with different weapon types. nine0007
You don't want an aim assist with a sniper rifle to work the same as with a submachine gun, do you? Hitboxes that are constantly transforming (because they can't just scale) are too physics-wise and a completely unnecessary CPU load.
Adrian Chmielarz, head of development for Witchfire
In most other games, including Witchfire, everything works much easier. The "magnetism" of bullets is assigned to the behavior of the weapon itself, not the enemy. nine0007
It is important to note that the crosshair in this case is not the actual center of the screen, but the point of a hypothetical hit
The screenshot above shows five circles - two purple, two blue and one white. Violet is responsible for "sticking": as soon as the outer circle touches the enemy, the crosshair starts to move more slowly. It slows down even more when in contact with the inner purple circle.
When the crosshair touches the dark blue circle, the hit point starts to "circle" closer to its edge. If you shoot at this moment, the bullet will fly near the enemy. nine0007
Finally, if an enemy touches and enters the area of the blue circle, this time the weapon is guaranteed not to miss.
There is also the smallest, white circle. It is needed to distinguish critical hits (for example, headshots) from all others. If both the head and some other part of the body are inside the white circle, then the bullet will most likely fly to the head.
This avoids moments where you try to hit the head, but the enemy waved his hand and the bullet hit his fingertips. A technically correct solution will not always be the best in a given case. nine0007
Adrian Chmielarz, Head of Development for Witchfire
Also, the aim assist has another advantage - the correct handling of hits on clothes and other things. In reality, hitting a hat or cape is unlikely to cause damage to an enemy, but if you shoot them in the game, on an intuitive level, they feel like part of the enemy model. If you see that you hit, but did not deal damage, it looks strange.
This system is much more complicated than explained by the examples of circles. For example, circles are only from the point of view of the player - if you look at them from the side, you will see cones. nine0007
True, the cones will not be perfect, because the aim assist grows with the power of the weapon, until it reaches its maximum spread.
Learn more


