Writing letters ofthe alphabet
Browse Writing Letter Educational Resources
Entire LibraryPrintable WorksheetsGamesGuided LessonsLesson PlansHands-on ActivitiesInteractive StoriesOnline ExercisesPrintable WorkbooksScience ProjectsSong Videos
409 filtered results
409 filtered results
Writing Letters
Sort byPopularityMost RecentTitleRelevance
-
Filter Results
- clear all filters
By Grade
- Preschool
- Kindergarten
- 1st grade
- 2nd grade
- 3rd grade
- 4th grade
- 5th grade
- 6th grade
- 7th grade
- 8th grade
By Subject
- Coding
- Fine arts
- Foreign language
- Math
Reading & Writing
- Leveled Books
Reading
Early Literacy
- Concepts of Print
- Early Writing Practice
Writing Letters
- Writing Names
- Picture Comprehension
- Communicating Through Symbols
- Alphabet
- Reading Comprehension Strategies
- Reading Genres and Types
- Writing
- Grammar
- Science
- Social emotional
- Social studies
- Typing
By Topic
- Arts & crafts
- Coloring
- Holidays
- Offline games
- Seasonal
By Standard
- Common Core
Search Writing Letter Educational Resources
Young students can train their hands and fine motor skills with support from the Learning Library's tools on writing letters. The ABCs are broken down into simple steps so kindergartners learn to build letters line by line. There is a large supply of tracing assignments, lessons on letter sounds, and much more that familiarize kids with the 26 little letters that create a robust language.
Simple as ABC: Writing Letter Resources
In preschool through first grade, young students learn their ABCs, the building blocks to the world's greatest novels, moving speeches and profound poetry. It all starts with mastering each letter, its sound and shape. The Learning Library provides alphabet writing resources for new students to practice this powerful fundamental.
Handwriting may be a dying art form now that keyboards have largely replaced pencils. But there are still many instances where penning words down occurs, like when filling out a doctor form or writing a personal letter. Recognizing letter shapes is essential for reading, too. Education.com provides printable worksheets and teacher-created lesson plans that teach specific letters, such as Practicing P and Z is for Zookeeper. A preparatory lesson plan, Get Ready to Write! trains students' hand coordination and finger strength by instructing them to write different lines that commonly appear in letters.
Kids can leave the pencil and eraser at home and practice letter writing digitally with the resource center's online games that include a look at short A, E and U. An active hands-on activity, Fine Motor Practice, includes different exercise stations that smooths small-scale coordination capabilities, such as stringing beads and cutting paper with scissors. Guided lessons and printable workbooks on writing the alphabet can also be accessed in the library. Students will be masters of the alphabet—from A to Z—with Education.com's writing letter resources.
Teaching Preschoolers to Write Letters At Home – Blue and Hazel
Are you wondering how to teach your preschooler to write letters of the alphabet? You can do it! We do this as part of our homeschool preschool and continue practicing for homeschool kindergarten.
Maybe your child is already scribbling down nonsense and calling them letters? That’s a good sign they are ready for more. I’ll share what we’ve done/are doing and my kids’ ages. Each one has been on their own timeline, and I think it’s important not to push that too much.
Writing starts way before letters are formed (think coloring/scribbling), and it will continue to be perfected long after preschool. Writing letters is a process that takes lots of practice! Hopefully this post gives you the confidence to start helping your child learn to write their name and the whole alphabet.
This post contains affiliate links. We are a participant in the Amazon Services LLC Associates Program, an affiliate advertising program designed to provide a means for us to earn fees by linking to Amazon.com and affiliated sites.
What age do kids learn to write letters?
Personally, I’m a fan of waiting till at least age 4 or 5 to begin learning to write letters. But it really depends on your kids eagerness to begin.
My oldest son learned at age 5.5 ,my daughter was ready by age 4, and my 3rd (a boy) is 4.5 and just starting to show signs he is ready. I’ll probably wait with him till he turns 5 because there is NO RUSH.
If anything, starting too soon and expecting too much too soon can put some serious negative pressure on them when they just aren’t ready yet. I’ve learned this the hard way. Instead, focus on hand strength and coordination through coloring, legos, drawing, and Play Doh.
Learning to write all the letters in their first and last name is one of my goals by the end of our homeschool preschool. Kids begin to do a lot more writing in Kindergarten so it is helpful if they can write some letters by then.
Signs that your child is ready to learn to write letters
Before a child learns to write, they are going to come to the conclusion that letters have meaning.
They see it in books, when you write, on road signs, through shows and apps, and through seeing their name on everything. If you feel unsure if your preschooler is ready to write, ask yourself:
- Can they recognize letter names when they see them?
- Are they interested or asking how to write a letter? That was my hint!
- Do they pretend to write making scribbles or symbols for their “letters”?
- Do they know how to hold a pencil correctly from drawing and coloring?
- Are they experimenting trying to write letters in their name, even if it’s upside down and backwards?
I love this post on the stages of learning to write and draw. You will be able to see what stage your child is at and if they are developmentally ready!
How to teach a preschooler to write letters
Once your preschooler can recognize certain letters, it will make teaching writing easier. They’ll know what it is supposed to look like, and be familiar with it’s name and general appearance.
I tell everyone to use Busy Toddler’s Playing Preschool for a fun and worksheet free way to do preschool at home. It’s my favorite route to exposing them to the alphabet, songs, books, and more. Each day is short and mapped out for you! Here’s my full review on Busy Toddler’s preschool curriculum.
But to teach letters, I like to casually show them “their special letter”, which is the first letter of their name. Point out letters on cereal boxes and coloring books. Here are a few ways I like to begin teaching them to write letters at home.
1. Do TONS of pre-writing activities before attempting to write letters.
As preschoolers get older, they go from making marks on paper to being able to make circles and lines (or round faces with stick legs)!
Eventually, they can also draw shapes like triangles that use tilted lines. My favorite prewriting booklet is the purple Doodle booklet by The Good And The Beautiful. My kids both loved it. In fact, my reluctant oldest child even enjoyed doodling with this, after we backed off of formal handwriting. I saw he wasn’t ready and needed more hand coordination and strength!
2. Strengthen their hands
Anything that works on fine motor skills will help with hand writing later on, like:
- Drawing
- Coloring
- Tracing straight lines, tilted lines, and shapes like circles
- Painting
- Threading fruit loops
- Do A Dot Letter Stamping
- Drawing in salt, dirt, sand, or flour
- Using scissors
- Picking up pom pom balls with tongs
- Tracing fingers over glitter glue letters
3. Show them how to write the letters using sensory activities
Sensory letter writing is a fun way to make letters without having to use a pencil and paper yet. Think forming letters in the dirt or sand.
They can learn the motions and it’s fun! It’s helpful for kids to see you forming a letter, and to have an example to look at. Note that just because they watched you write the letter B top to bottom doesn’t mean they’ll think to do it that way.
There are lots of fun ways to get preschoolers to start forming letters on their own! Some I’ve seen are:
- Forming letters out of shaving cream or sprinkles in a pan.
- Write out a letter with glue and let your kid place noodles or beans on the glue.
- Bath paint on the wall writing out the letter with their finger
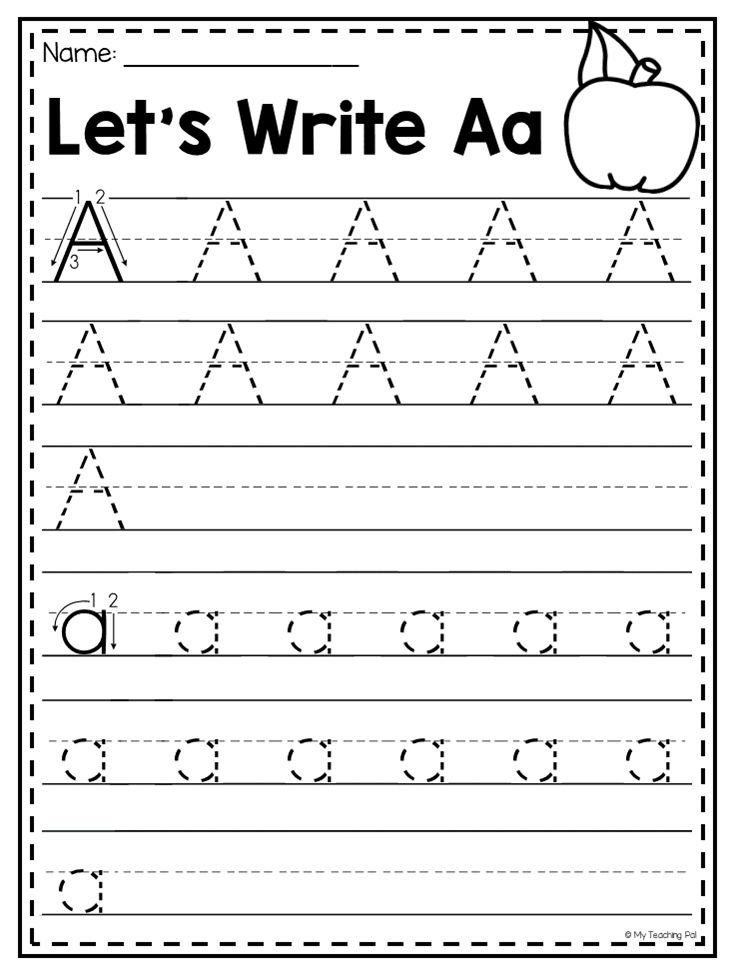
3. Write on blank paper
Since kids tend to start out writing BIG letters, I’ve found it’s easier to start on one letter at a time on a large blank piece of paper.
I usually write out the uppercase or lowercase letter somewhere on the blank paper so they have an example to look at. They can take a different colored marker and trace over your letter.
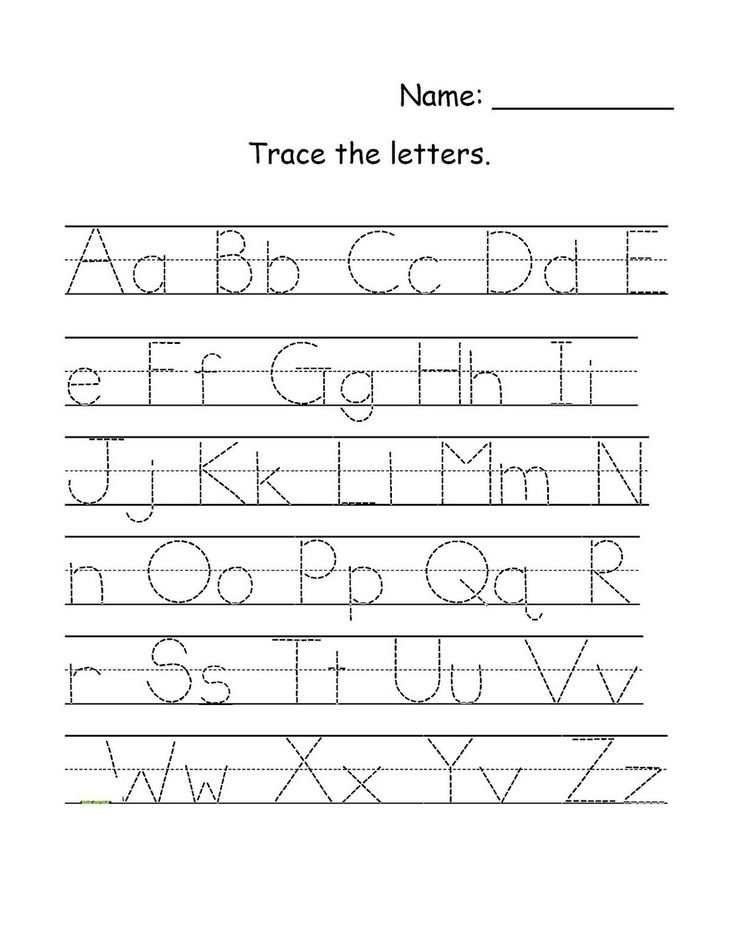
4. Trace letters on paper
Practicing on lined tracing paper teaches them to pay attention to proportions within the lines, and it’s what they’ll be using in kindergarten.
This is a tracing notebook we have used. I like this book because the letters are already there to trace, which saves me from having to make a ton of dotted letters by hand. And, the first page of each letter has arrows and numbers to show the hand strokes.
A lot of lined notebooks have just one letter for kids to trace and a bunch of blank lines for them to fill in the letter by memory. These are too advanced to start with, because they haven’t had enough practice yet to remember the motions.
My son needed to trace at least 10 of the same letter before really being able to draw it from memory. If blank lined paper is all you have, then you can fill in letters by hand. I dotted in one full line of capital B and one line of lowercase b.
Or, write the letters for them in pencil and have them trace over them with a marker.
A printable tracing workbook designed to be used side by side with the “Teach Your Child To Read In 100 Easy Lessons”
Update January 2020: We recently tried these new printable letter tracing pages with 100 pages of practice with my 4.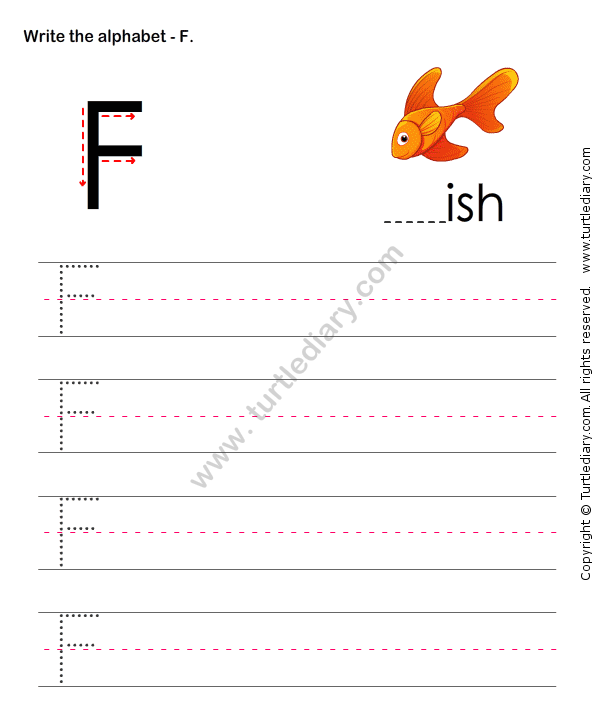 5 year old.
You may also love: Pros and cons of homeschooling: How to know if it’s right for you
Teach preschoolers to write their name
If you want to motivate your preschooler to write, then start with fun ways to teach them the letters in their name!
Kindergarten classes like to have kids able to write their name coming into kindergarten with the first letter being a capitol and the rest of their name in lowercase.
I found these awesome FREE printable name tracing worksheets and loved how easy it was to customize the font, size, you can even save the file to print over and over, or just bookmark the page.
We also love these dry erase letter tracing cards! They come in uppercase and lowercase.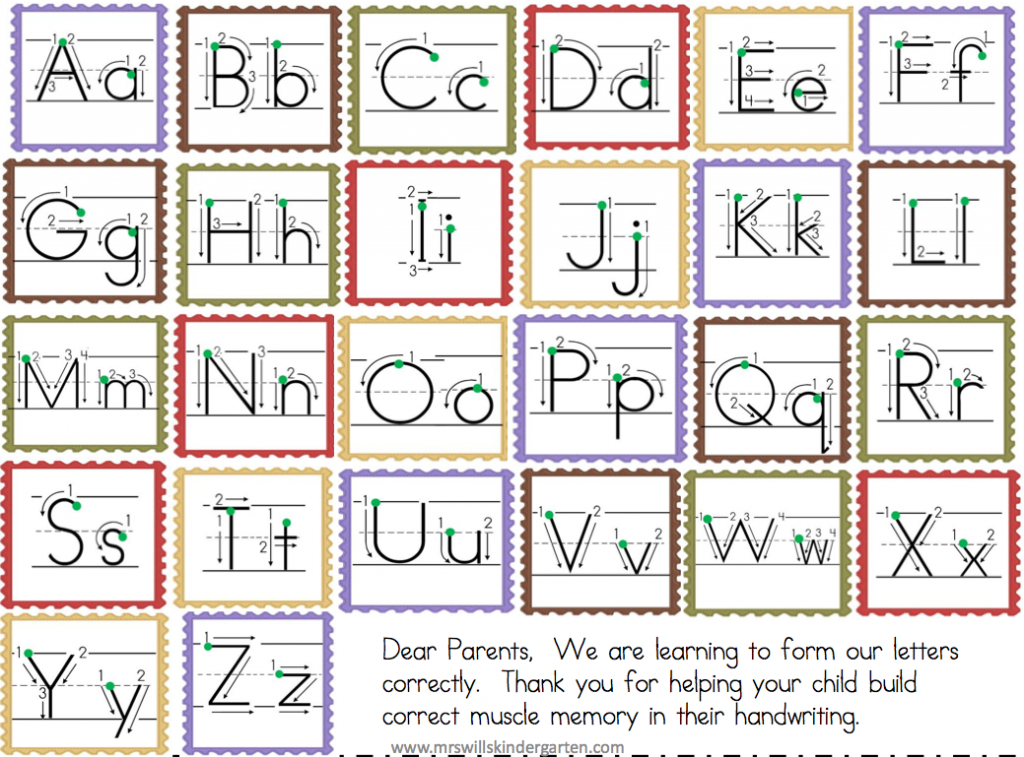 Note that if your child has two of the same letters in their name these ones only come with one of each.
Be encouraging
While it’s easy to want your kid to do it right (and I do think the hand strokes are important), handwriting takes A LOT of practice. If they feel criticized and corrected instead of encouraged, they could easily be too frustrated to keep going.
I tried to use phrases like “That’s almost it! Make sure the b touches the middle line next time” or “Good start! Now try again making the loop a little more round.” I found encouragement worked better for my son (who gets discouraged easily) rather than saying, “don’t do that” or “the loops aren’t round enough.”
You may also love: Easy Preschool Treasure Hunt Activity To Teach Prepositions
Should you start with uppercase or lowercase letters?
Don’t worry too much about this.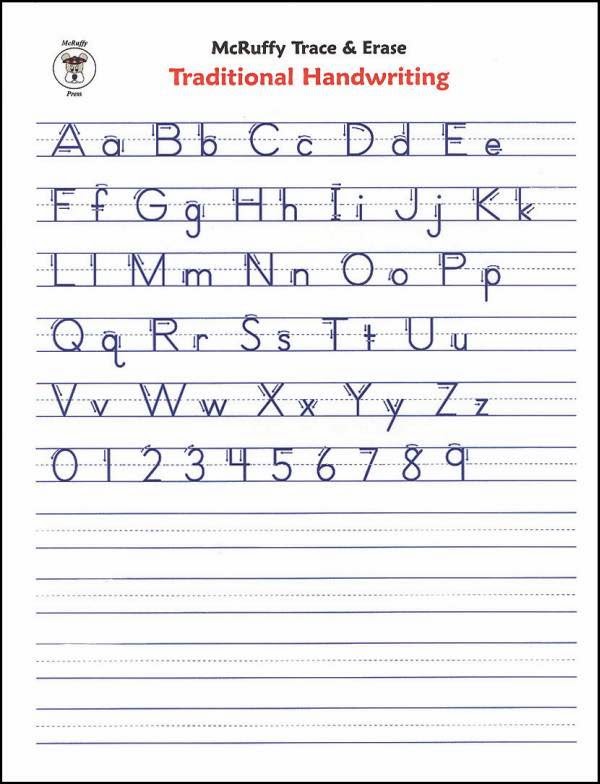
Some people start with all uppercase letters first and lowercase letters second, since uppercase letters are a bit easier.
It’s a good time to introduce that names are always spelled with a capital letter if that’s new to your preschooler. It’s also good when reading out loud to make the connection that every sentence starts with a capital letter.
Just want a handwriting curriculum?
I hope you see that for preschool level…you truly can teach your kid to write their name and learn to form letters.
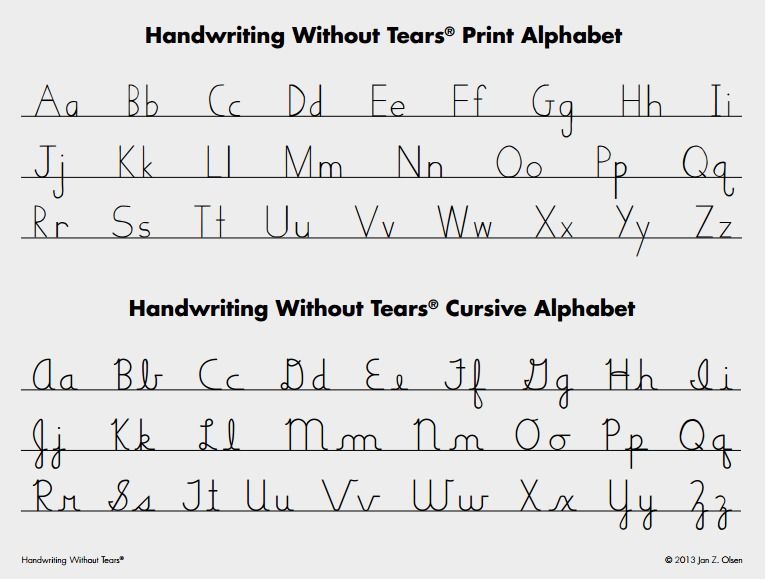
But if you are like me and want something you can whip out once a day to practice that’s planned out for you…we are LOVING Handwriting Without Tears. It’s a SOLID program used by homeschoolers and in elementary schools.
This is their pre-k version called Kickstart Kindergarten. We buy the workbook and chalkboard. Nothing else, and you don’t need the teacher’s guide.
DO buy their official chalkboard and a pack of chalk snapped into 1 inch pieces.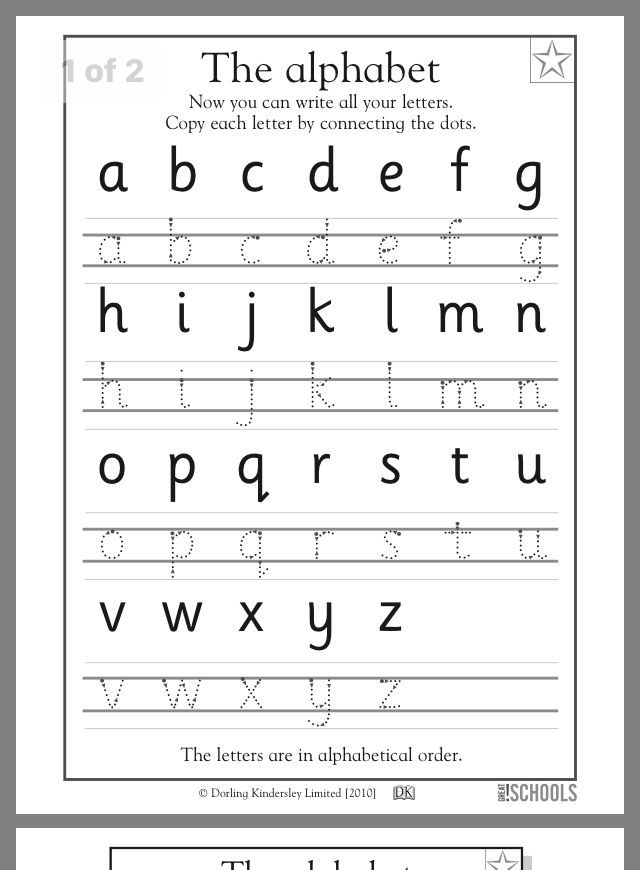 The smaller pieces encourage proper grip, and the chalkboard helps them write the BIG version of the letter and focus on which stokes come first.
Then, using a tiny sponge cut up, they’ll erase it using the same chalk strokes getting to form the letter twice.
We are now using Handwriting Without Tears as our main way to teach letter formation
I actually am having my now 1st and 2nd grader go back and do the kindergarten and 1st grade levels.
Somehow they’d slipped into some wonky habits and were doing a lot of bottom to top letters, which isn’t great for neatness or speed or cursive later on.
They do 1-2 pages a day. The orange kindergarten book was so easy for my 1st grader she flew through it in 1 month. The boxes and letters are larger in that book than the 1st grade book. And there’s more repetition for each letter.
I feel good knowing they are reviewing letter formation, and it’s helping me to teach them things like bumping the top line and bottom line. Plus, I’m loving the memorable phrases like “Frog jump” for letters you have to pick up your pencil. Or “Magic c” for letters that begin with that curve.
I’ll probably gently introduce my 4.5 year old to letter tracing letters this year using sensory bins and play…and start him on Kick Start Kindergarten next year around age 5 or 5.5 towards the end of preschool. He has to be ready though, or I’ll wait. Sometimes preschool is just too early, especially for boys!
Handwriting mistakes to avoid
Forcing your kid to write before they are ready.Sometimes kids are capable but uninterested.
My philosophy is that if they are not interested, but capable, I don’t force it unless it’s something I deem necessary. I want my kids to be writing letters by Kindergarten (age 5.5-6). But, if they are 4 and uninterested, then wait 6 months and try again!
The majority of writing begins in the Kindergarten years anyway.
Doing worksheets before any pre-writing activities.
If they are interested in letters but can’t seem to follow directions to trace or copy, then back up and do some fun pre-writing activities.
I didn’t realize that “pre-writing” was an official thing, because kids naturally do some of these things first. Think drawing shapes and lines (my 3.5 year old currently draws mama as a big round circle with about 5 lines of hair).
Also coloring, holding a paintbrush, beading, drawing letters in the air, or anything that strengthens hand muscles and makes writing easier later on is considered pre-writing.
Letting them write or trace the wrong way.It can be a lot more work to correct a bad habit than to make sure they learn the strokes correctly the first time. I’m living this. You can’t hand them a worksheet and walk away. You’ll have to stay at watch till a habit is formed.
One of the most common mistakes I’ve seen all my kids try to do is write from bottom to top.
Some examples are writing the letter O starting at the bottom instead of top, or my son wanting to write the tail of the lowercase “g” in his name before circle on top.
You may also love: Teach your child to read at home in 100 easy lessons
How to teach a left handed child to write
My oldest is a clear lefty and my middle is a righty. There is not a huge difference when teaching them to write letters, so don’t be too intimidated!
- Make sure they have a proper pencil grip. I have them pinch the pencil with their thumb and index finger, resting the pen on their middle finer.
- Hold the pencil close to the tip for better control, but far enough away that they can still see what they are writing without having to bend their wrist all wonky.
- Tip the paper a tad, so the bottom right corner of the page is bit down. This is opposite of the way I tilt my page being right handed.
This is an excellent in depth post on Tips for teaching left handed kids to write if you want to read more.
You can teach your child to write at home
If you are beginning your homeschool journey and feel overwhelmed, know that you have what it takes to teach your child to write their letters! Homeschoolers have the freedom to go at their own pace, and it’s a great way to spend one on one time with your child.
If your child will be attending kindergarten, then there will be PLENTY of letter practice there. Or, consider doing kindergarten at home! Kindergarten teachers know that some kids can write many letters and others only some or none at all. They really try to meet kids where they are at!
Either way, helping your child to learn their letters at home will help them so much! What is one thing you worry about when it comes to teaching handwriting? Let me know in the comments!
Follow Blue and Hazel on Instagram!
Posts you may also love
- Practicing prepositions with a fun treasure hunt activity
- Best dinosaur gift ideas for toddlers and preschoolers
- Reduce screen time and get your kids to play again
- 17 Time saving tips for moms with toddlers
- 8 Things I’ve cut out to be less busy as a mom
- Teach your child to read in 100 Easy Lessons review
- 15 chores for 5 year olds that are actually helpful and teach responsibility
647 shares
Learning to write block letters of the Russian alphabet.
 Trainer
 Electronic library
Raising children, today's parents educate the future history of our country, and hence the history of the world.
- A.S. Makarenko
Learning to write block letters of the Russian alphabet. Trainer
- A
- B
- B
- G
- D
- E
- Yo
- F
- W
- and
- Y
- K
- L
- M
- H
- O
- P
- R
- C
- T
- W
- F
- X
- C
- H
- W
- W
- b
- S
- b
- E
- Yu
- I
- Tasks
This section contains a simulator that teaches preschoolers 5-6 years old how to write the correct block letters of the Russian alphabet. The simulator consists of a collection of developing children's recipes, arranged in alphabetical order on colored tabs.
Red tabs contain copybooks for studying vowels, blue tabs for studying consonants, gray tabs for studying separating marks. The green tab contains developmental tasks and exercises for consolidating and practical application of writing skills in block letters.
Printing is part of learning to read and write early. This lesson develops attention, fine motor skills, graphic skills, promotes better memorization of the alphabet and improves literacy.
By completing developmental tasks and exercises, the child will get acquainted with block letters, learn how to write them, and also learn the Russian alphabet.
You can print as many copybooks as you need to repeatedly practice writing letters, reinforce your skills, and get a successful learning outcome.
Here various methods of teaching writing in block letters are proposed, which allows you to individually select the most suitable option for your child or put into practice all the proposed methods, making the learning process more interesting and varied for a preschooler.
Tips for working with spelling:
- Let's learn the vowels first. They are simpler and easier to pronounce and remember, at this stage of learning there are no problems even for children with speech disorders. Letters denoting the same vowel sound are recommended to be studied in pairs A - I, O - E, U - Yu, E - E, Y - I.
- After vowels, we study consonants. The sequence of study does not matter. As a rule, the letter P and other letters, the pronunciation of which is still difficult for the baby, are studied at the end. It is not recommended to study paired consonants in a row (B - P, G - K, D - T, Z - C, V - F, F - W) - it is difficult for a child at this age not to confuse them by ear.
- There are different approaches to the order of learning the letters, so you can use another, in your opinion, the most acceptable variant of the sequence of letters.
- Practice with your child for no more than 15 to 20 minutes.
- When completing tasks, the preschooler should hold the pen or pencil correctly, without straining the fingers too much.
- It is very important to properly organize the child's workplace: be sure to pay attention to whether it is comfortable for the child to sit at the table, and also where the light source is located. For right-handers, the lamp should be on the left side, and for left-handers, on the right.
- Don't forget to praise your child, even if he doesn't do well on tasks. From classes, a preschooler should receive only positive emotions. This is a prerequisite for further successful learning.
- Remember that learning should be in the form of an exciting game. In no case should a child be forced to fill out prescriptions - this can consolidate an aversion to learning to read and write for many years.
* 9 methods were used to create the simulator0119 VG Dmitrieva , O.S. Zhukova , M.O. Georgieva , M.P. Tumanovskaya .
- Views: 557541
Children speak
| "Dad, when you were little, were you a boy or a girl?" - Anya, 5 years old |
New
- Lego speech games
- Neurologopedic prescriptions.
 Learning to read and developing speech
 - Become a letter! Dynamic pauses in teaching literacy to preschoolers and younger schoolchildren
- 7 Inexpensive Educational Gifts for Kids
- Speed reading for kids and more
Recommended
Prescriptions for children
| Preparing for school | |
| Hand development | |
| Teaching writing | |
| Interesting tasks | |
| Modern techniques |
Privacy policy
Fixing the spelling of all letters of the Russian alphabet | Russian language lesson plan (grade 1):
I allow ________________
I allow ________________
Lesson mark: ___________
Outline
of the Russian language lesson
(literacy period)
March 2, 2020
Methodologist's consultation ________________
Teacher's consultation __________________
Synopsis of the Russian language lesson
(literacy period)
EMC "Primary school of the XXI century"
Organizational and activity component:
Date: 02.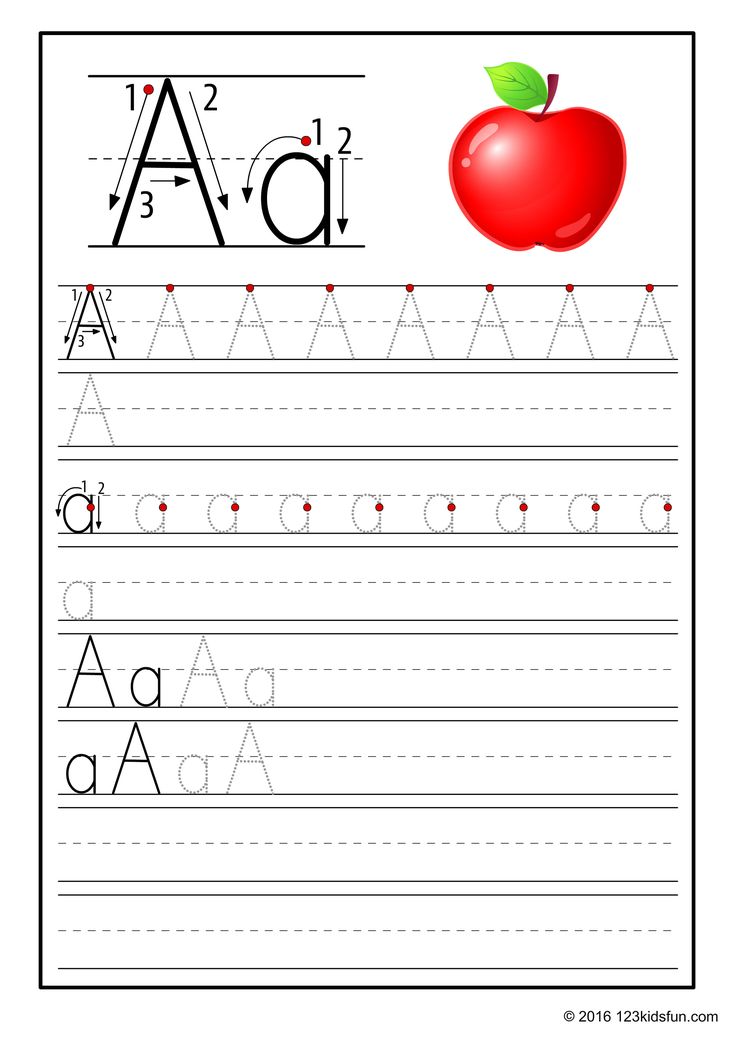 03.2020
Time: 10:50-11:30
Place: MAOU "Lyceum No. 7 of Chernyakhovsk"
Grade: 1 "A"
Target component of the lesson:
Lesson topic: "Reinforcing the spelling of all letters of the Russian alphabet ".
Type of lesson: a lesson to consolidate knowledge and skills.
The purpose of the lesson: fixing the spelling of all letters of the Russian alphabet.
Tasks:
Educational: fix the spelling of all letters of the Russian alphabet.
Developing: to promote the development of visual-figurative thinking, voluntary attention and memory; development of coherent speech; plan your action in accordance with the task; evaluate the correctness of the action; make the necessary adjustments to the action after its completion, based on its assessment and taking into account the nature of the errors made.
Educational: to promote the development of a positive attitude towards the subject; interest in the Russian language through compliance with literary and linguistic norms, respect for others; the formation of positive motivation for learning through the use of entertaining material; careful attitude to the native word through work on compliance with the basic norms of correct speech; the formation of vital qualities: perseverance, accuracy, independence, efficiency, attentiveness, will, ability to cooperate.
Health-saving: compliance with SanPiN, hygiene conditions in the classroom, alternation of activities, the use of methods that enhance the learning activities of students, the use of TCO and ICT in the classroom in accordance with hygiene standards.
Planned results:
Personal: meaning formation: creating a need for education, a positive attitude towards the study of the Russian language; the formation of the personal meaning of the teaching, a positive attitude towards the process of cognition, the manifestation of cognitive initiative; the formation of a respectful attitude towards a different opinion; show interest in the Russian language; to realize the richness of the Russian language, its greatness and versatility.
Meta-subject:
Formation of cognitive universal learning activities: the ability to navigate in a workbook; the ability to build a logical chain of reasoning, carry out analysis, synthesis, comparison, establish cause-and-effect relationships, master the general technique for solving spelling problems.
Formation of regulatory universal learning activities: the ability to perform learning activities in cooperation with the teacher and other students: set a goal, draw up a work plan, evaluate performance; the ability to independently plan and carry out their actions on familiar educational material; carry out introspection, analysis, self-control, mutual control, self-assessment, mutual assessment of educational activities.
Formation of communicative universal learning activities: ability to listen and understand others, engage in dialogue; follow instructions, answer questions; the ability to adequately respond to the comments of the teacher; to formulate their thoughts in oral and written speech, taking into account their educational and life speech situations.
Subject: the ability to write all the letters of the Russian alphabet; consciously build a speech statement in oral form and draw it up in writing, observe the norms of speech etiquette and the rules of oral communication; express their own opinion, argue it taking into account the situation of communication; ability to use the rules of spelling and punctuation in writing.
Organization of space: frontal, individual.
Basic educational resources: computer, projector, multimedia presentation, workbook "Russian language" grade 1, part 1, S.V. Ivanov, handouts.
Content component of the lesson:
I. Organization of the beginning of the lesson.
1. Greeting.
W.: - Hello guys! My name is Anna Iosifovna, and today I will give you a Russian lesson. I am glad to see you, your smiles and I think that today's lesson will bring us all the joy of communicating with each other. Good luck and good luck to you! Sit down.
2. Checking readiness for the lesson.
U.: - Check if everything is ready for the lesson: notebook, pen.
II. Motivation for learning and knowledge. Emotional attitude to study.
The call gave us a signal -
The hour has come to work.
So we don't waste time
And we start working.
U.: - Who is ready to work energetically at the lesson? Hands up.
U.: - Who is ready to help and support each other? Hands up.
U.: - We need this to make everything work out for us. Well, now let's get to work.
III. Updating skills and knowledge.
1. Calligraphic minute.
W.: - Look at the blackboard. What do you see?
O.: - Elements.
U.: - What do you think we need to do?
A.: - Prescribe beautifully the elements in notebooks.
U.: - Right.
W.: - Open your notebooks. Indent 2 lines, write down the number.
I'll open my notebook
And lay it down.
I won't bend down straight,
I'll get to work.
DW: - Write the elements on the first line in your notebooks.
A.: - Write down the elements in the notebook.
W.: - What letters are made up of these elements?
O.: - The letters "I", "i", "Sh", "sh".
U.: - Write each letter 2 times. We write letters on line 2.
A.: - Write down the letters in a notebook.
W .: - And now we will write on the 3rd line a combination of the letters "shi" to the middle of the line.
A.: - They write down the combination "shi" in a notebook.
2. Vocabulary and spelling work.
U.: - Think of words with the combination "shi".
A.: - Sewing, overcoat, tire, chic, sew, awl.
W.: - Write 2-3 words in your notebook on line 3.
A.: - Words with the combination "shi" are written in a notebook.
W.: - But before we continue, try to define the objectives of today's lesson using the "helper words" that you see on the slide: repeat, check, consolidate,
IV. Checking understanding of knowledge and skills.
Individual work in notebooks.
Reference words: palm tree, letter, letters, seagull, subway, films, song.
U.: - A sound model is made on the blackboard and words are given for reference.
W.: - You need to choose and write down the words that this sound model fits.
U. : - But before you start the exercise, let's remember what each color means.
A.: - Green is a consonant, dull and soft sound. Red is a vowel. Blue is a consonant, solid sound.
W.: - What does the bell above the blue square mean?
A.: - The sonority of a consonant sound.
W.: Right. Do the exercise orally. Then we will discuss and write the exercise in a notebook.
Frontal check of the completed task, analysis of students' activities at this stage.
V. Physical minutes
I.p. - standing, arms along the body. 1 - right hand on the belt, 2 - left hand on the belt, 3 - right hand on the shoulder, 4 - left hand on the shoulder, 5 - right hand up, 6 - left hand up, 7 - 8 - clapping hands above the head, 9- lower the left hand on the shoulder, 10 - the right hand on the shoulder, 11 - the left hand on the belt, 12 - the right hand on the belt, 13 - 14 - clapping hands on the hips. Repeat 4 - 6 times. The pace is 1 time slow, 2 - 3 times - medium, 4 - 5 - fast, 6 - slow.
VI. Consolidation of knowledge and skills.
Work on the text.
Reference words: buds, leaves, spring, clouds, swallows.
W.: - The text is written on the screen.
Spring
_____________________ has come.
White _____________________ are floating in the sky.
_____________________ open on the trees.
The first _____________________ appear.
W.: - Read the title. What will the text be about?
O.: - About spring.
W.: - Read the text. What is unusual about it?
A.: - Some words are missing in the sentences.
W.: - Words for reference are written on the board, which we must choose correctly and enter into the text. Let's read them.
O.: - Leaves, spring, clouds, swallows.
W.: - Read the 1st sentence and choose the correct word.
O.: - Spring.
U.: - Let's write it in written letters in the sentence. Dictate the word by syllables
O.: - Spring.
U.: - Read the 2nd sentence and choose the correct word.
A.: - Clouds.
U.: - Let's write it in written letters in the sentence. Dictate the word syllable by syllable.
O.: - Ob-la-ka.
W.: - Read the 3rd sentence and choose the correct word.
O.: - Leaves.
U.: - Let's write it in written letters in the sentence. Dictate the word syllable by syllable.
O.: - Fox-points.
W.: - Read the 4th sentence and choose the correct word.
O.: - Kidneys.
U.: - Let's write it in written letters in the sentence. Dictate the word by syllables
O.: - Kidneys.
U.: - Who noticed what is special about the word "clouds"?
A.: - This is a dictionary word, you need to remember the letter "a" in the 2nd syllable.
Frontal check of the completed task, analysis of students' activities at this stage.
VII. Summary of the lesson. Reflection.
U.: - Try to determine how we solved the problems of today's lesson using the "helper words" that you see on the slide: repeated, checked, consolidated.