Teaching kids how to write letters
Teaching Preschoolers to Write Letters At Home – Blue and Hazel
Are you wondering how to teach your preschooler to write letters of the alphabet? You can do it! We do this as part of our homeschool preschool and continue practicing for homeschool kindergarten.
Maybe your child is already scribbling down nonsense and calling them letters? That’s a good sign they are ready for more. I’ll share what we’ve done/are doing and my kids’ ages. Each one has been on their own timeline, and I think it’s important not to push that too much.
Writing starts way before letters are formed (think coloring/scribbling), and it will continue to be perfected long after preschool. Writing letters is a process that takes lots of practice! Hopefully this post gives you the confidence to start helping your child learn to write their name and the whole alphabet.
This post contains affiliate links. We are a participant in the Amazon Services LLC Associates Program, an affiliate advertising program designed to provide a means for us to earn fees by linking to Amazon. com and affiliated sites.
What age do kids learn to write letters?
Personally, I’m a fan of waiting till at least age 4 or 5 to begin learning to write letters. But it really depends on your kids eagerness to begin.
My oldest son learned at age 5.5 ,my daughter was ready by age 4, and my 3rd (a boy) is 4.5 and just starting to show signs he is ready. I’ll probably wait with him till he turns 5 because there is NO RUSH.
If anything, starting too soon and expecting too much too soon can put some serious negative pressure on them when they just aren’t ready yet. I’ve learned this the hard way. Instead, focus on hand strength and coordination through coloring, legos, drawing, and Play Doh.
Learning to write all the letters in their first and last name is one of my goals by the end of our homeschool preschool. Kids begin to do a lot more writing in Kindergarten so it is helpful if they can write some letters by then.
Signs that your child is ready to learn to write letters
Before a child learns to write, they are going to come to the conclusion that letters have meaning.
They see it in books, when you write, on road signs, through shows and apps, and through seeing their name on everything. If you feel unsure if your preschooler is ready to write, ask yourself:
- Can they recognize letter names when they see them?
- Are they interested or asking how to write a letter? That was my hint!
- Do they pretend to write making scribbles or symbols for their “letters”?
- Do they know how to hold a pencil correctly from drawing and coloring?
- Are they experimenting trying to write letters in their name, even if it’s upside down and backwards?
I love this post on the stages of learning to write and draw. You will be able to see what stage your child is at and if they are developmentally ready!
How to teach a preschooler to write letters
Once your preschooler can recognize certain letters, it will make teaching writing easier. They’ll know what it is supposed to look like, and be familiar with it’s name and general appearance.
I tell everyone to use Busy Toddler’s Playing Preschool for a fun and worksheet free way to do preschool at home. It’s my favorite route to exposing them to the alphabet, songs, books, and more. Each day is short and mapped out for you! Here’s my full review on Busy Toddler’s preschool curriculum.
But to teach letters, I like to casually show them “their special letter”, which is the first letter of their name. Point out letters on cereal boxes and coloring books. Here are a few ways I like to begin teaching them to write letters at home.
1. Do TONS of pre-writing activities before attempting to write letters.
As preschoolers get older, they go from making marks on paper to being able to make circles and lines (or round faces with stick legs)!
Eventually, they can also draw shapes like triangles that use tilted lines. My favorite prewriting booklet is the purple Doodle booklet by The Good And The Beautiful. My kids both loved it. In fact, my reluctant oldest child even enjoyed doodling with this, after we backed off of formal handwriting. I saw he wasn’t ready and needed more hand coordination and strength!
2. Strengthen their hands
Anything that works on fine motor skills will help with hand writing later on, like:
- Drawing
- Coloring
- Tracing straight lines, tilted lines, and shapes like circles
- Painting
- Threading fruit loops
- Do A Dot Letter Stamping
- Drawing in salt, dirt, sand, or flour
- Using scissors
- Picking up pom pom balls with tongs
- Tracing fingers over glitter glue letters
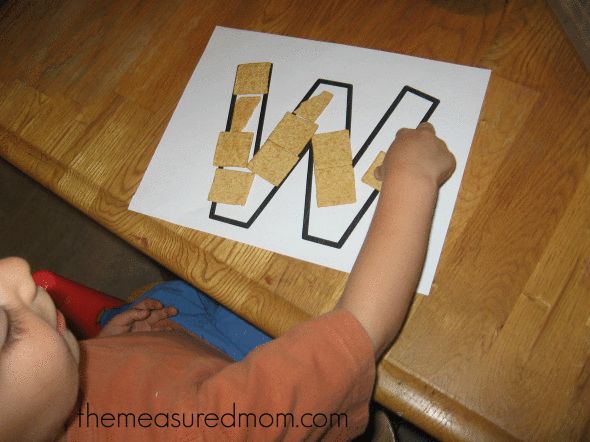
3. Show them how to write the letters using sensory activities
Sensory letter writing is a fun way to make letters without having to use a pencil and paper yet. Think forming letters in the dirt or sand.
They can learn the motions and it’s fun! It’s helpful for kids to see you forming a letter, and to have an example to look at.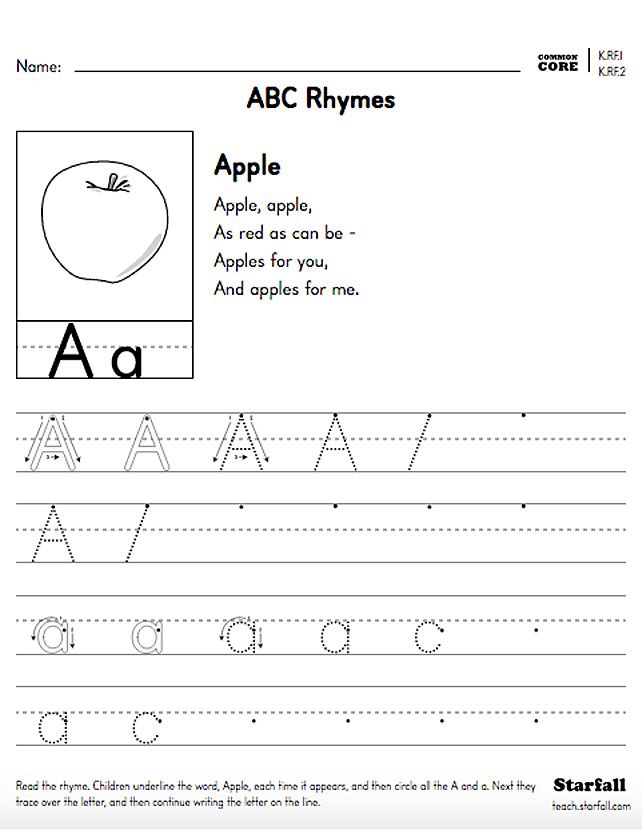 Note that just because they watched you write the letter B top to bottom doesn’t mean they’ll think to do it that way.
There are lots of fun ways to get preschoolers to start forming letters on their own! Some I’ve seen are:
- Forming letters out of shaving cream or sprinkles in a pan.
- Write out a letter with glue and let your kid place noodles or beans on the glue.
- Bath paint on the wall writing out the letter with their finger
3. Write on blank paper
Since kids tend to start out writing BIG letters, I’ve found it’s easier to start on one letter at a time on a large blank piece of paper.
I usually write out the uppercase or lowercase letter somewhere on the blank paper so they have an example to look at. They can take a different colored marker and trace over your letter.
4. Trace letters on paper
Practicing on lined tracing paper teaches them to pay attention to proportions within the lines, and it’s what they’ll be using in kindergarten.
This is a tracing notebook we have used. I like this book because the letters are already there to trace, which saves me from having to make a ton of dotted letters by hand. And, the first page of each letter has arrows and numbers to show the hand strokes.
A lot of lined notebooks have just one letter for kids to trace and a bunch of blank lines for them to fill in the letter by memory. These are too advanced to start with, because they haven’t had enough practice yet to remember the motions.
My son needed to trace at least 10 of the same letter before really being able to draw it from memory. If blank lined paper is all you have, then you can fill in letters by hand. I dotted in one full line of capital B and one line of lowercase b.
Or, write the letters for them in pencil and have them trace over them with a marker.
A printable tracing workbook designed to be used side by side with the “Teach Your Child To Read In 100 Easy Lessons”
Update January 2020: We recently tried these new printable letter tracing pages with 100 pages of practice with my 4. 5 year old.
You may also love: Pros and cons of homeschooling: How to know if it’s right for you
Teach preschoolers to write their name
If you want to motivate your preschooler to write, then start with fun ways to teach them the letters in their name!
Kindergarten classes like to have kids able to write their name coming into kindergarten with the first letter being a capitol and the rest of their name in lowercase.
I found these awesome FREE printable name tracing worksheets and loved how easy it was to customize the font, size, you can even save the file to print over and over, or just bookmark the page.
We also love these dry erase letter tracing cards! They come in uppercase and lowercase.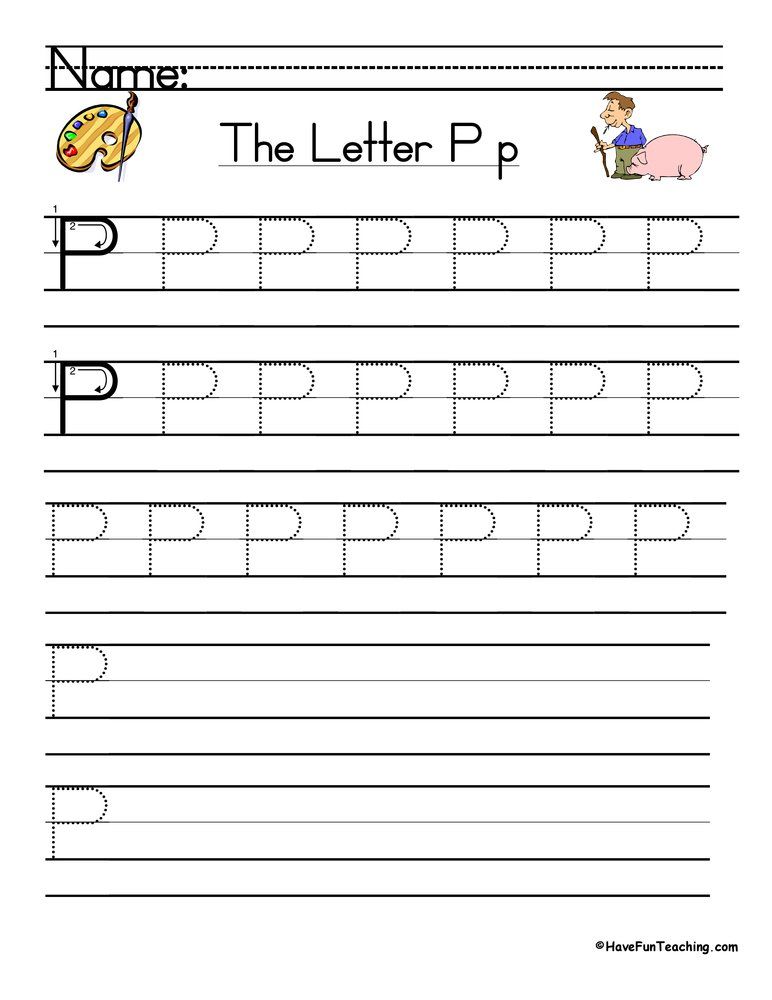 Note that if your child has two of the same letters in their name these ones only come with one of each.
Be encouraging
While it’s easy to want your kid to do it right (and I do think the hand strokes are important), handwriting takes A LOT of practice. If they feel criticized and corrected instead of encouraged, they could easily be too frustrated to keep going.
I tried to use phrases like “That’s almost it! Make sure the b touches the middle line next time” or “Good start! Now try again making the loop a little more round.” I found encouragement worked better for my son (who gets discouraged easily) rather than saying, “don’t do that” or “the loops aren’t round enough.”
You may also love: Easy Preschool Treasure Hunt Activity To Teach Prepositions
Should you start with uppercase or lowercase letters?
Don’t worry too much about this.
Some people start with all uppercase letters first and lowercase letters second, since uppercase letters are a bit easier.
It’s a good time to introduce that names are always spelled with a capital letter if that’s new to your preschooler. It’s also good when reading out loud to make the connection that every sentence starts with a capital letter.
Just want a handwriting curriculum?
I hope you see that for preschool level…you truly can teach your kid to write their name and learn to form letters.
But if you are like me and want something you can whip out once a day to practice that’s planned out for you…we are LOVING Handwriting Without Tears. It’s a SOLID program used by homeschoolers and in elementary schools.
This is their pre-k version called Kickstart Kindergarten. We buy the workbook and chalkboard. Nothing else, and you don’t need the teacher’s guide.
DO buy their official chalkboard and a pack of chalk snapped into 1 inch pieces. The smaller pieces encourage proper grip, and the chalkboard helps them write the BIG version of the letter and focus on which stokes come first.
Then, using a tiny sponge cut up, they’ll erase it using the same chalk strokes getting to form the letter twice.
We are now using Handwriting Without Tears as our main way to teach letter formation
I actually am having my now 1st and 2nd grader go back and do the kindergarten and 1st grade levels.
Somehow they’d slipped into some wonky habits and were doing a lot of bottom to top letters, which isn’t great for neatness or speed or cursive later on.
They do 1-2 pages a day. The orange kindergarten book was so easy for my 1st grader she flew through it in 1 month. The boxes and letters are larger in that book than the 1st grade book. And there’s more repetition for each letter.
I feel good knowing they are reviewing letter formation, and it’s helping me to teach them things like bumping the top line and bottom line. Plus, I’m loving the memorable phrases like “Frog jump” for letters you have to pick up your pencil. Or “Magic c” for letters that begin with that curve.
I’ll probably gently introduce my 4.5 year old to letter tracing letters this year using sensory bins and play…and start him on Kick Start Kindergarten next year around age 5 or 5.5 towards the end of preschool. He has to be ready though, or I’ll wait. Sometimes preschool is just too early, especially for boys!
Handwriting mistakes to avoid
Forcing your kid to write before they are ready.Sometimes kids are capable but uninterested.
My philosophy is that if they are not interested, but capable, I don’t force it unless it’s something I deem necessary. I want my kids to be writing letters by Kindergarten (age 5.5-6). But, if they are 4 and uninterested, then wait 6 months and try again!
The majority of writing begins in the Kindergarten years anyway.
Doing worksheets before any pre-writing activities.
If they are interested in letters but can’t seem to follow directions to trace or copy, then back up and do some fun pre-writing activities.
I didn’t realize that “pre-writing” was an official thing, because kids naturally do some of these things first. Think drawing shapes and lines (my 3.5 year old currently draws mama as a big round circle with about 5 lines of hair).
Also coloring, holding a paintbrush, beading, drawing letters in the air, or anything that strengthens hand muscles and makes writing easier later on is considered pre-writing.
Letting them write or trace the wrong way.It can be a lot more work to correct a bad habit than to make sure they learn the strokes correctly the first time. I’m living this. You can’t hand them a worksheet and walk away. You’ll have to stay at watch till a habit is formed.
One of the most common mistakes I’ve seen all my kids try to do is write from bottom to top.
Some examples are writing the letter O starting at the bottom instead of top, or my son wanting to write the tail of the lowercase “g” in his name before circle on top.
You may also love: Teach your child to read at home in 100 easy lessons
How to teach a left handed child to write
My oldest is a clear lefty and my middle is a righty. There is not a huge difference when teaching them to write letters, so don’t be too intimidated!
- Make sure they have a proper pencil grip. I have them pinch the pencil with their thumb and index finger, resting the pen on their middle finer.
- Hold the pencil close to the tip for better control, but far enough away that they can still see what they are writing without having to bend their wrist all wonky.
- Tip the paper a tad, so the bottom right corner of the page is bit down. This is opposite of the way I tilt my page being right handed.
This is an excellent in depth post on Tips for teaching left handed kids to write if you want to read more.
You can teach your child to write at home
If you are beginning your homeschool journey and feel overwhelmed, know that you have what it takes to teach your child to write their letters! Homeschoolers have the freedom to go at their own pace, and it’s a great way to spend one on one time with your child.
If your child will be attending kindergarten, then there will be PLENTY of letter practice there. Or, consider doing kindergarten at home! Kindergarten teachers know that some kids can write many letters and others only some or none at all. They really try to meet kids where they are at!
Either way, helping your child to learn their letters at home will help them so much! What is one thing you worry about when it comes to teaching handwriting? Let me know in the comments!
Follow Blue and Hazel on Instagram!
Posts you may also love
- Practicing prepositions with a fun treasure hunt activity
- Best dinosaur gift ideas for toddlers and preschoolers
- Reduce screen time and get your kids to play again
- 17 Time saving tips for moms with toddlers
- 8 Things I’ve cut out to be less busy as a mom
- Teach your child to read in 100 Easy Lessons review
- 15 chores for 5 year olds that are actually helpful and teach responsibility
647 shares
See 11 Helpful Activities to Teach Children to Write Letters & Numbers
What does research say about the benefits of teaching children to write letters and numbers accurately?
Research shows that handwriting is a foundational skill that can influence students’ reading, writing, language use, and critical thinking.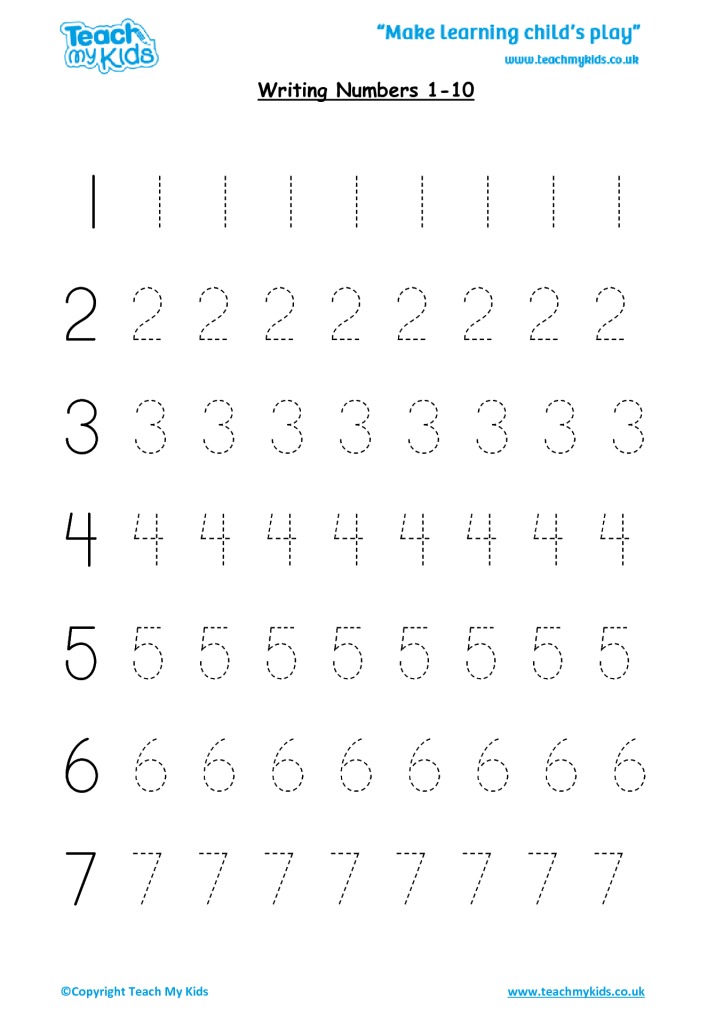 It has an important role in brain development. It is necessary to teach children to write, alongside technology in the classroom, as it promotes success in other academic subjects.
Handwriting provides children with the opportunity to create internal models for the symbol system necessary to succeed in academic disciplines (Dinehart 2013).
A standard expectation in education is that young students learn how to write legible, well-formed letters. So how do we teach a child to write letters and numbers legibly and accurately?
Research indicates the benefit of using multisensory activities to teach children to write letters and numbers.
According to scientific studies, children learn best by engaging in hands-on, multisensory learning that incorporates the five senses.
A study, conducted by Kast, Meyer, Vogeli, Gross, and Jancke (2007), found that targeting multiple senses during a writing training program helped students, with and without developmental dyslexia, to improve writing skills.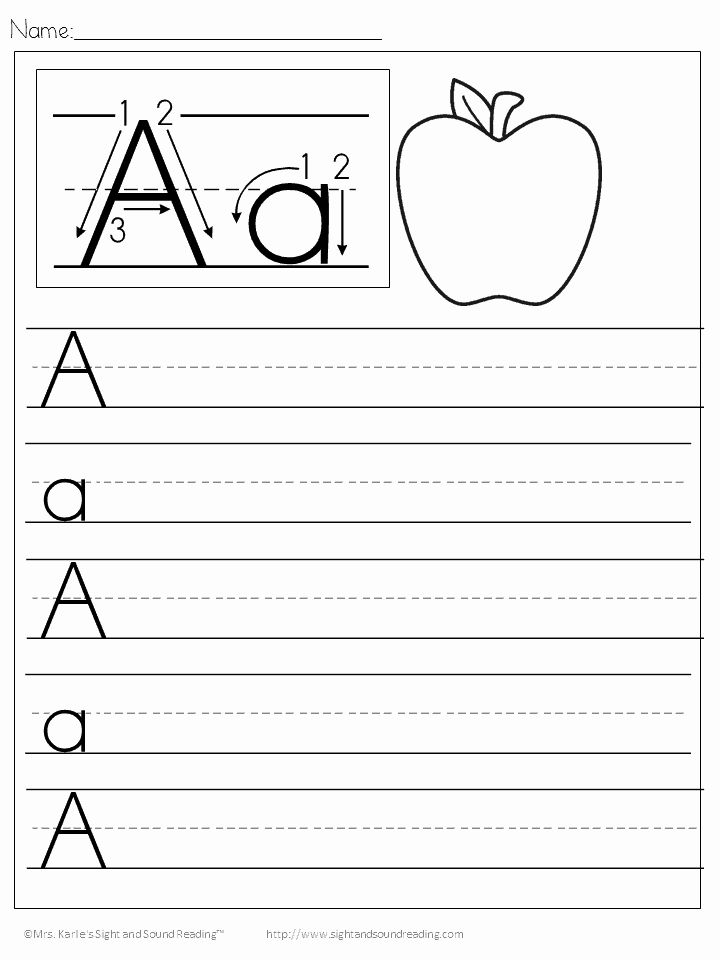
Multisensory instruction can also help children become more invested in the classroom. Results of a study by Molenda and Bhavangri (2009) stated that students become emotionally involved in multisensory activities in the classroom.
Also, research supports the use of a multisensory approach when teaching academics in general.
Here are ten multi-sensory/hands-on approaches to teach children to write letters and numbers.
These methods are used to help students address challenges such as illegible letters/numbers, inconsistency in letter/number size, and letter/number reversals.
1. Surface Tracing
Show your child a letter and ask him/her to pay attention to how it is formed/shaped. Then ask your child to try to trace it from memory on a table, door, window etc.
You can also trace a letter on any surface and have your child guess what it is. Use a large surface or small surface. Write large or small letters.
If your child is really struggling to trace or guess the letters, have her put her hand on yours while you trace the letter.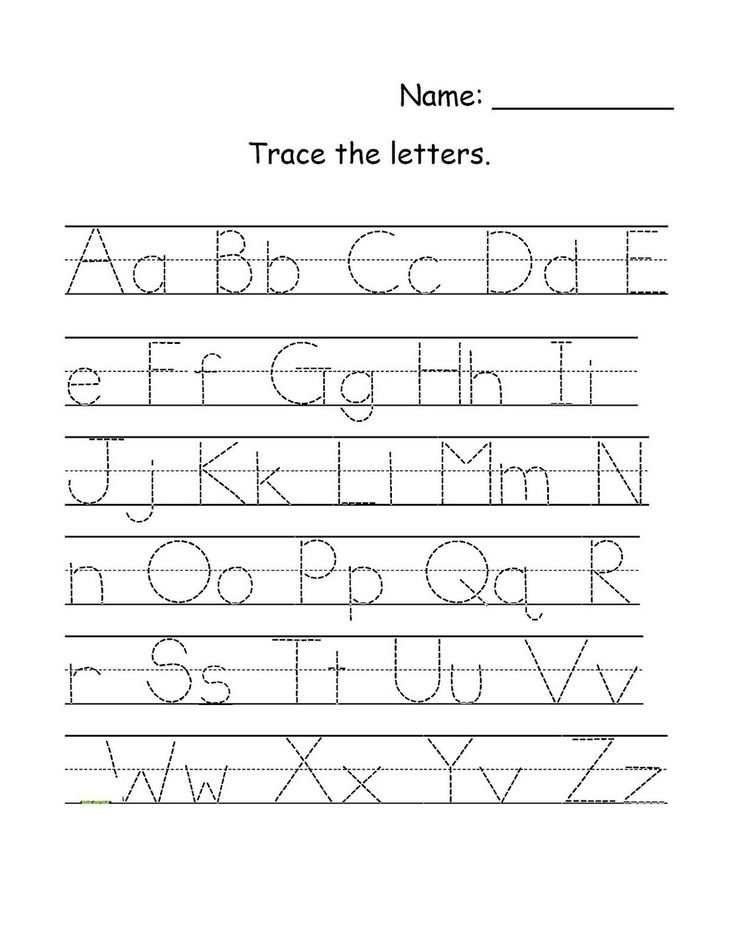 You can also put your hand on hers while you guide her to trace the letter.
You can even trace the letter on your child’s hand and have her guess it and ask her to trace a letter on yours and have you guess it.
Research demonstrates that having children attempt to write/draw letters from memory is an effective strategy when trying to teach children to write or to improve letter formation.
2. Stencil – Write the letters/numbers in stencils to naturally practice correct formation.
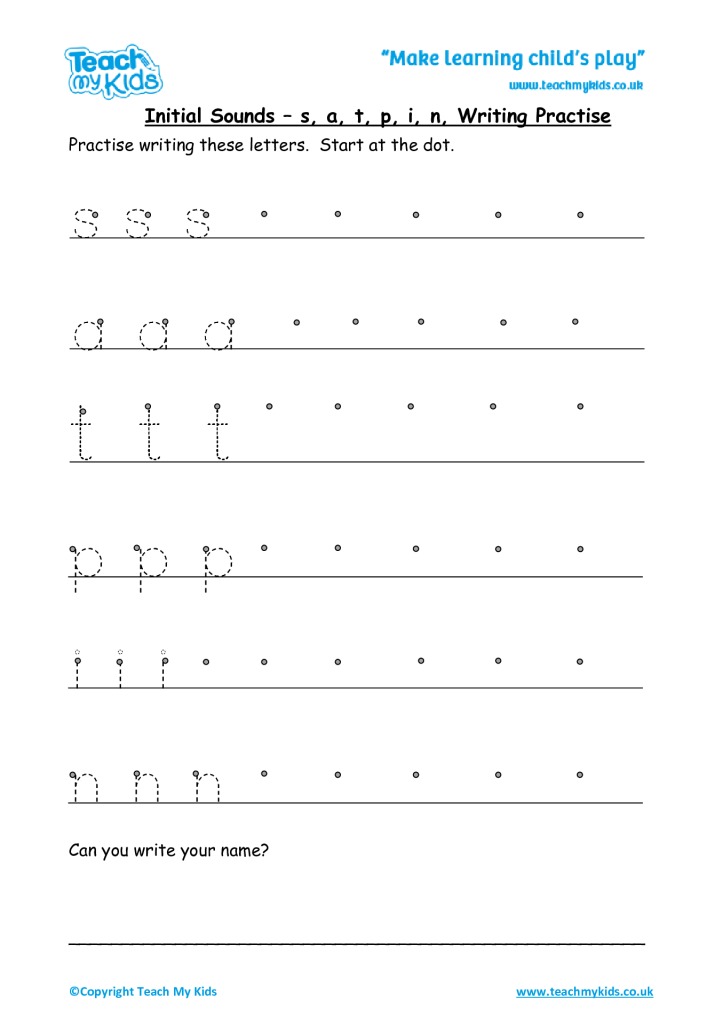
3. Ask your child to trace letters/numbers with arrow cues.
Students can trace with arrow cues on a piece of paper or a dry erase board. Once they have the hang of that (may take several sessions), ask them to trace without arrow cues.
Research shows that using arrow cues is an effective strategy when working with children on correct letter formation.
You can also get a handwriting workbook such as Lots and Lots of Letter Tracing
or a dry-erase book where your child can erase and rewrite the letters/numbers as many times as they want.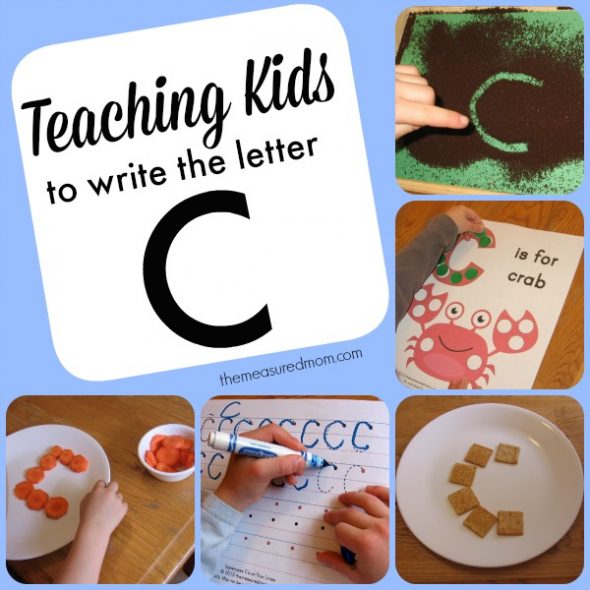
4. Look at the letter and then write it on paper or a dry-erase board from memory.
If a child struggles to keep the letters in the lines because of trouble with motor control or perceptual difficulties, provide them with wide-lined paper.
This is what wide-lined paper looks like:
Young children (or those with small hands) may also benefit from shorter/child-size pens/pencils.
5. Use the Wet-Dry-Try Method
The Wet-Dry-Try method is a component of the Handwriting Without Tears Program, a research-based handwriting intervention program.
How does the Wet-Dry-Try method work?
First, the adult writes the letter on a chalkboard.
Next. the child uses a sponge and then their finger to go over the letter to make a nice wet version of the letter.
Then the child lets the letter dry and traces over the letter with chalk.
See detailed instructions below.
Handwriting Without Tears has even come out with an app where your child can try the Wet-Dry-Try method on the IPAD.
Here is an image of the app.
6. Feel/touch letter formations.
For instance, you could feel magnetic letters or make letters with play-doh or pipe cleaners and then feel/talk about their shape.
7. Write letters/numbers in sand or shaving cream.
8. Talk about letter formation.
For example, describe what a letter looks like-“a B has a straight line and two curves coming out to the right, a C looks like a crescent moon, an E looks like a comb with some missing teeth, a V is two slanted lines that meet at the bottom, etc.
Describe it to your child and have your child describe it to you. Talk about letter formation while you look at, write, or trace a letter.
9. Use mnemonic devices for b/d reversals.
Mnemonic devices are research-based techniques a person can use to help them improve their ability to remember something. Here are some examples of mnemonic devices for b/d reversals.
You May Also Be Interested In: Mnemonic Examples: Everything You Need to Know (And How to Use Them) by magneticmemorymethod.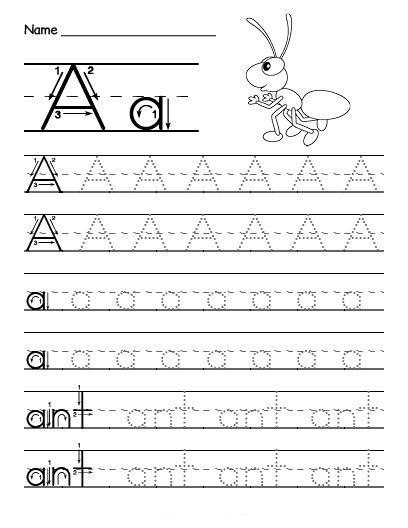 com
com
10. Write letters in clay.
Your child can use the point or back end of a pencil/pen or other carving tool. This will allow them to feel resistance when writing which is helpful for feeling letter formations and building hand strength.
Your child can look as they write or look (only if needed) and they try to write from memory.
11. Incorporate music and movement into learning.
Research demonstrates that music enhances learning and a component of multisensory learning (discussed above) often includes kinesthetic learning (learning that takes place by the student carrying out physical activities).
Check out these
Handwriting Without Tears moves.Here is a fun song that has the letters of the alphabet singing, dancing, and waving!
Keep in mind the following when working with students on writing:
Keep practice sessions short (e.g. 2 to 10 minutes for younger children or children who get easily frustrated and 10 to 15 minutes for older children or children who can work for longer periods without frustration), unless the child is eager to keep going.
For suggestions on ways to encourage children to complete tasks or assignments they do not want to do, read 3 Ways to Use Timers to Encourage Homework and Chore Completion and How to Use Schedules to Improve Children’s Behavior.
Remember to always stay calm when working with a child or student, even if you think they should be getting something that they are not getting.
If you get frustrated with them, they may start to feel anxious, angry, inferior, stupid, etc. which will lead to a less productive learning session.
Want to know if the strategies recommended in this article are working?
Ask your child to write the alphabet and the numbers 1 – 10. Check how many letters have the correct form, positioning, and are clearly recognizable. Implement the strategies in this article two to five times weekly.
At the end of a chosen time period (let’s say 10 weeks) reassess your child’s ability to correctly write 26 letters of the alphabet and numbers 1 – 10.
If you see improvement, you know the interventions are working.
It is important for children to work on mastering one letter before moving on to the next. Mastery means they can correctly write the letter on a piece of paper from memory.
Related Article: How to Help Your Child with Handwriting and Pencil Grip
Here is some additional information about writing support for your child.
Studies estimate that between 10 to 30 percent of elementary school children struggle with handwriting (Karlsdottir and Stephansson 2002, as cited in Feder and Majnemer 2007).
If you are concerned that your child is struggling with handwriting, talk to your child’s school to find out if they share the same concern.
If you are still unsure you can check with your child’s doctor or review handwriting milestones and guidelines such as the ones at North Shore Pediatric Therapy which indicate that by six years old children typically should be able to copy or write their name and be able to write the alphabet without omitting letters.
It also states that children are expected to write the alphabet in uppercase and lowercase letters without switching forms throughout and should also use appropriate capital letters and punctuation to write complete sentences.
By seven years old children are expected to write letters in the correct formation and position, particularly letters where reversals are common (example: ‘b’ versus ‘d’).
If your child is having trouble with letter formation, handwriting, or acquiring other academic skills, despite consistent practice and guidance, inform your child’s school and/or doctor.
They can refer you to the appropriate professionals to determine what might be interfering with your child’s progress and what additional strategies might help.
An occupational therapist can assess posture, pencil grip, visual perception, hand-strength, etc. (all important skills for writing development) and work with your child to address specific areas of need.
A clinician such as a school psychologist, child psychologist, pediatric neurologist or developmental pediatrician can determine if additional challenges such as a learning disability or autism spectrum disorder are interfering with writing progress.
Occupational therapists can be found in your child’s schools or your community. Contact your child’s school, county, or insurance provider for more information on occupational therapists.
You Might Also Like: The Best Way to Teach Kids to Write by Preschool Inspirations
Video Presentation About Multisensory Handwriting Approaches
Multisensory Tools to Help with Letter and Number Formation
You can find more tools for learning to write in our Multisensory Store.
Rachel Wise
Rachel Wise is a certified school psychologist and licensed behavior specialist with a Master’s Degree in Education. She is also the head author and CEO at educationandbehavior.com, a site for parents, caregivers, educators, counselors, and therapists to find effective, research-based strategies that work for children. Rachel has been working with individuals with academic and behavioral needs for over 20 years and has a passion for making a positive difference in the lives of children and the adults who support them. For Rachel’s top behavioral strategies all in one place, check out her book, Building Confidence and Improving Behavior in Children, a Guide for Parents and Teachers. If you want Rachel to write for your business, offer behavioral or academic consultation, or speak at your facility about research-based strategies that support children, email her at [email protected].
www.educationandbehavior.com
Like this:
Like Loading...
step-by-step instructions with expert advice
And now the first letter, the first word, appears on a piece of paper. Uneven and uncertain. But long-awaited. How to teach a child to write? How can I help him develop writing skills at home? Answers-in our material
Alena Gerashchenko
Author KP
Anna Shumilova
Methodist of the Teacher Platform
Mars Diamond 9000
Director0003
Writing is an important skill that is learned in preschool and elementary school. The opinions of experts differ: someone thinks that it is better not to put a letter to the child at home, someone, on the contrary, is convinced that it is the parent who opens the world of writing to the child. We believe that you can start developing the skill of writing letters at home - learn to draw pictograms, connect dots on paper, draw - not write - letters. Leave the capital letters and intricate, ornate words to the schoolteachers. Teach your child the basics. Get him interested in drawing, help develop spatial perception of reality, teach hand-finger coordination. We will tell you step by step how to teach your child the basics of writing before school.
Step-by-step instructions for teaching a child to write
Everything needs a system. In training, a systematic, everyday contribution to the development of skills is very important. Compliance with the following steps will lay the foundation for high-quality development of the child's writing.
Step #1. Get interested
Start telling children in an exciting way what writing is, why it is needed, how it originated and developed. The main thing is to present the story not with dry facts. Do it brightly, colorfully, picturesquely. Show your child photographs of the walls of the Egyptian pyramids, which depict various drawings and hieroglyphs. Tell your son or daughter the story of the Novgorod boy Onfim, who wrote birch bark letters in the 13th century, show his monument, and the letters and drawings. The emotional presentation of the story, coupled with illustrative material - all this will resonate with the child. Also invite the child to do the exercises during the stories. Here are a couple of activities to accompany stories that will help your child understand the nature of writing and want to learn to write on their own as soon as possible.
Exercise 1
Show your child pictograms (wall pictures that our ancestors used to communicate information to each other), invite him to fantasize and make up an oral story based on the pictures he saw.
Exercise 2
And vice versa: make up a story with your child and invite him to illustrate it in detail with the help of pictures. Such tasks, among other things, develop fantasy, speech and storytelling skills.
After the pictograms, go on to explain ideographic writing. It sounds complicated, but in fact, ideography uses simplified pictograms - symbols. The Chinese language is built on symbolism (principle 1 character = 1 word), designations in the transport sector. Acquaintance with the symbols will be interesting to the child if you pay attention to them during a walk.
You can teach a child to draw simple images with meaning: for example, two wavy horizontal lines symbolize a pond; crossed circle - prohibition, the word "no" and so on. Stories about ideographic writing and "practical ideography" will expand the horizons of the baby, teach him to perceive the world around him more sensitively, develop creative thinking, and teach spatial perception.
If you feel that the kid is ready for more (he asks questions, draws a lot), tell him about modern writing, about languages. Explain that the Egyptians wrote from right to left - it was inconvenient: hieroglyphs, drawings were smeared by hand.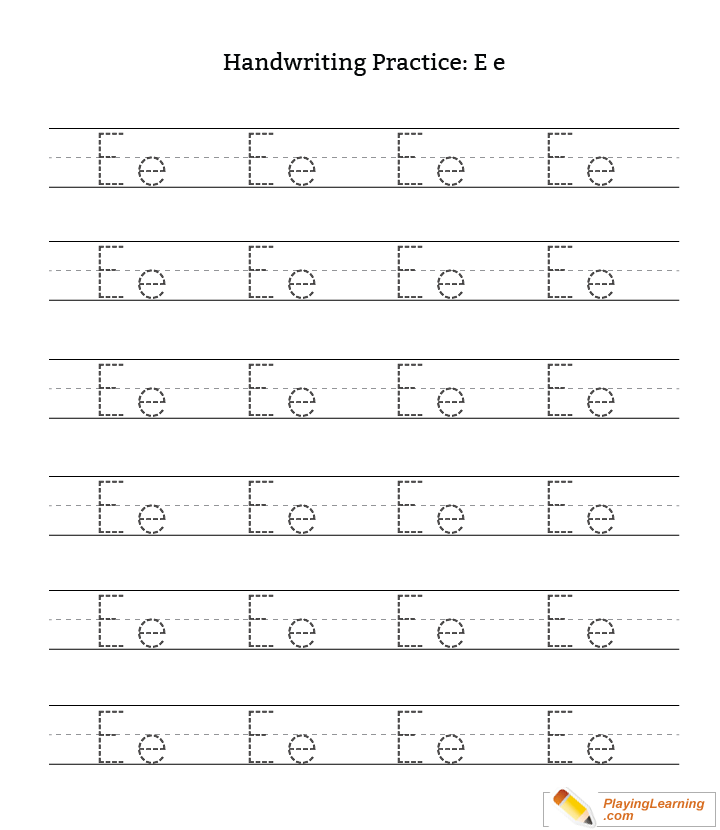 Show your child that writing like this is not very convenient. Tell us that we inherit the experience of the ancient Greeks - we write from left to right. Take a digression into history and tell the fidget that Latin was developed from the ancient Greek language, and it became the official language of the church. Latin formed the basis of many other languages (English, German). And our ancestors developed Slavic writing, the Russian language. Conclude that today we use the Russian script, an alphabet of 33 letters. Show the child a primer, study each letter with him. Invite the child to circle each of them with a finger.
Step #2: Practice Moderately
Spend no more than 15 minutes a day on letter-drawing. Let the child during this time repeat the outlines of the letters from the primer. Let him try to draw them. If the letters are crooked - it's not scary. It should not scare you that the signs crawling out from under the pencil of a novice writer do not quite look like letters.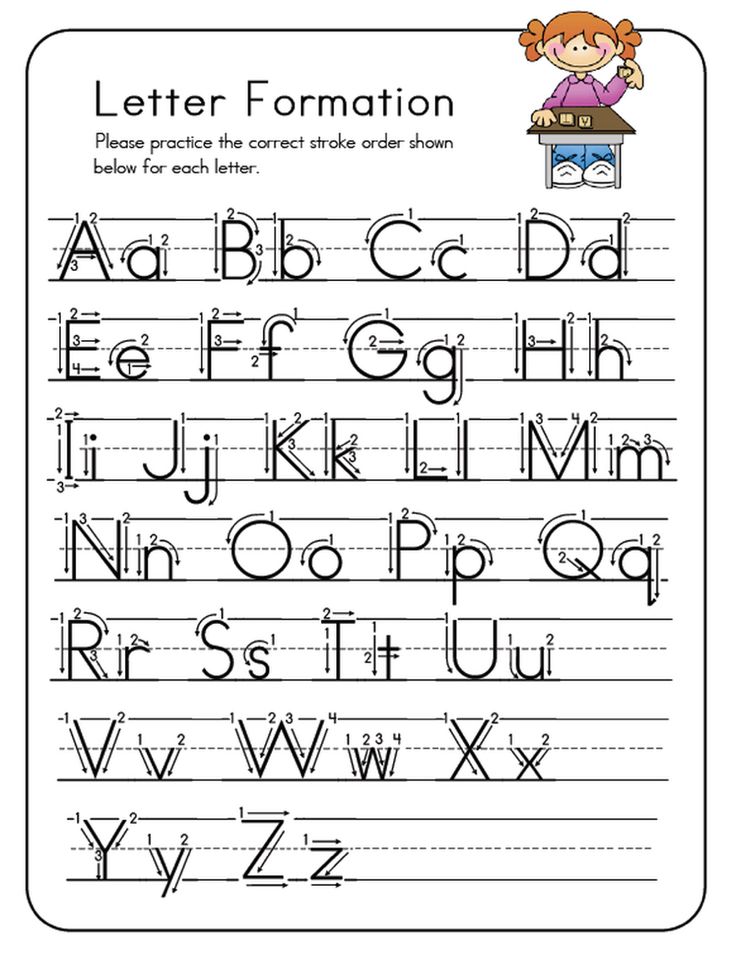 Transform the process of learning to write into a game - sit next to the baby and draw incomprehensible signs of eyes, smiles, legs and arms. So the child will have more fun. He will trust you, the process, the primer, and next time he will accurately draw a letter, and not a hippopotamus or a fat cat. The main rule is to learn to draw letters for a quarter of an hour. Let the child rest. Even the creativity that the kid is passionate about can exhaust him and discourage him from learning to write.
Spend no more than 15 minutes a day on letter-drawing. Photo: globallookpress.com
Step No. 3. “We wrote, we wrote, our fingers were tired!” Develop fine motor skills
Together with your child, sculpt from plasticine, build towers and wonderful animals from the designer, draw, color, make applications, lay out mosaics, embroider with a cross. Practice daily, captivate your child with creativity and at the same time help him develop fine motor skills of his hands.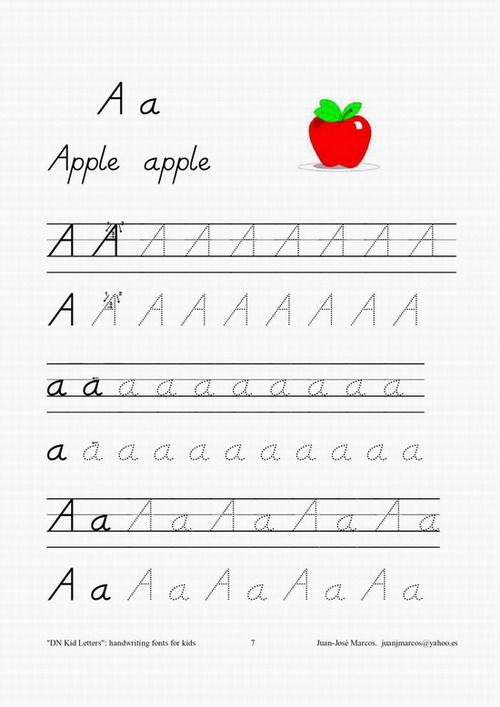 If he learns to manipulate various small objects, it will be easier for him to learn to write. Fine motor skills training allows you to develop the temporal regions of the brain that are responsible for speech. If the baby has good motor skills, he writes well, then it will also not be difficult for him to tell a poem beautifully or come up with a story and vividly present it to his family, classmates, teacher. In man, everything is very subtly interconnected.
Read also
"Mom, buy": how to deal with children's requests in the shopping center, parental abuse in response: perhaps each of us was an unwitting witness to such heartbreaking scenes. Together with the teacher-psychologist Ekaterina Bolysheva, we learn to avoid mistakes that can lead to children's tantrums in the store0035
The child's back must not be bent by the wheel. Incorrect posture will negatively affect the health of the internal organs of the baby, his psychological state, even the activity of his thinking. Do sports with your child (gymnastics, swimming). Show him how to walk correctly - straight with a slightly raised chin, rushing the top of his head up. Teach him to sit at the table correctly: the child should bend in the lower back, the shoulders should be slightly relaxed, lowered. The kid should not lean heavily on the back of the chair and shift the entire body weight onto the table. The muscles of the upper body should be toned and slightly tense, but the neck should not be pulled forward. A slight tilt of the head is acceptable. In any case, consult with your pediatrician about how to properly seat your child at the table. He will suggest effective practices for controlling the muscles of the back, neck, arms and will talk in detail about why it is so important to develop the habit of sitting at the table correctly.
Popular questions and answers
How to teach a child to write beautifully?
Anna Shumilova, methodologist of the Uchi.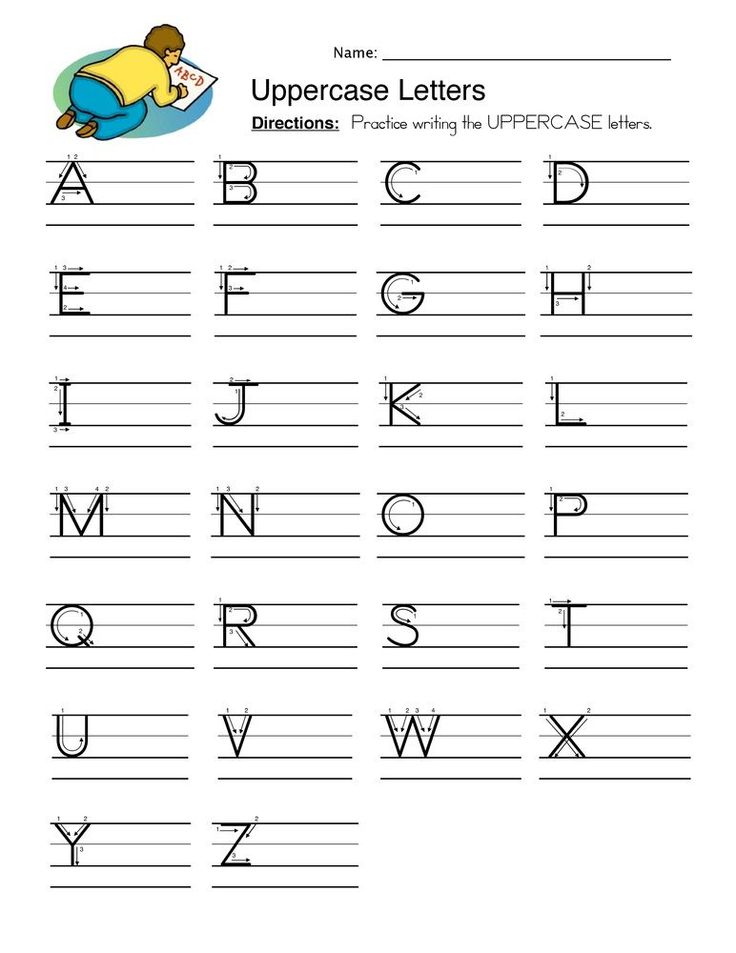 ru platform:
— Is it really necessary to demand beautiful handwriting and perfectly clean notebooks from a child? Some parents are worried when teachers lower their children's grades for the design of notebooks, and they believe that the main thing is to write down the exercise without errors, give the correct answer to the question, and find the right solution to the problem. Other parents, on the contrary, force the child to rewrite the work with blots and expect the teacher to spend enough time on calligraphy in the classroom. The truth, as always, lies somewhere in the middle. Any teacher knows from his own experience that in dirty, untidy notebooks there are rarely work without errors. Order and accuracy help to form a harmonious, logical thinking. If the student writes quickly and readably, this becomes a huge advantage for him in mastering the school material. We are of the opinion that the teacher should teach children to write. Any adult person knows for himself that it is quite difficult to change handwriting or the way letters are written.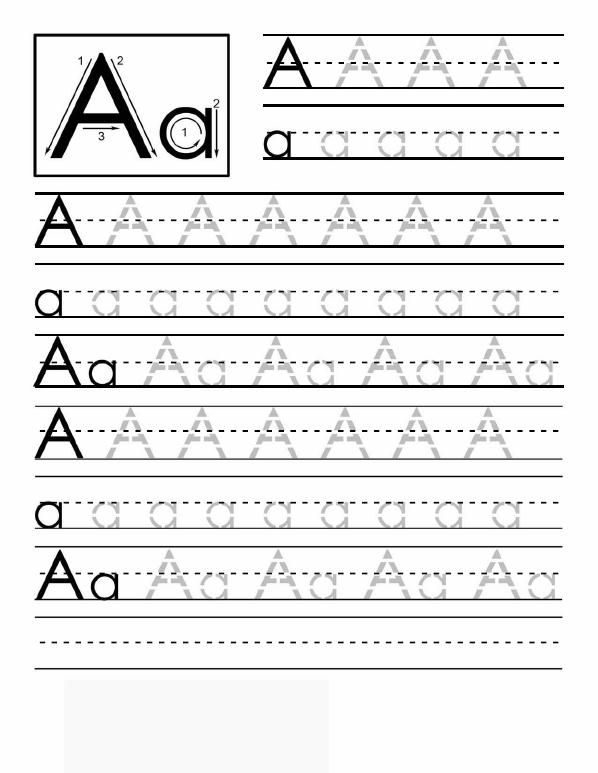 Incorrect spelling of letters will not help either the first grader or his teacher, but, on the contrary, will cause additional difficulties. However, a parent can help.
If you want to help your child prepare for writing, it is best to start with block letters and do no more than 20 minutes at a time. You should also explain to the future student the basic principles of writing.
1. The line is the letter house. It has a floor and a ceiling. You can not break through the floor and stick out the legs of the letters from there. You can't break through the ceiling and stick your head out like a giraffe. If such a nuisance nevertheless happened with the letters, you can give the child a colored pencil and ask them to underline the hooligan letters and ask what exactly is wrong with them. After that, be sure to underline the letters that turned out to be written correctly, and praise the child. Another great exercise is coloring. We select a small part of the picture and ask to color it without going beyond the outline of the figure.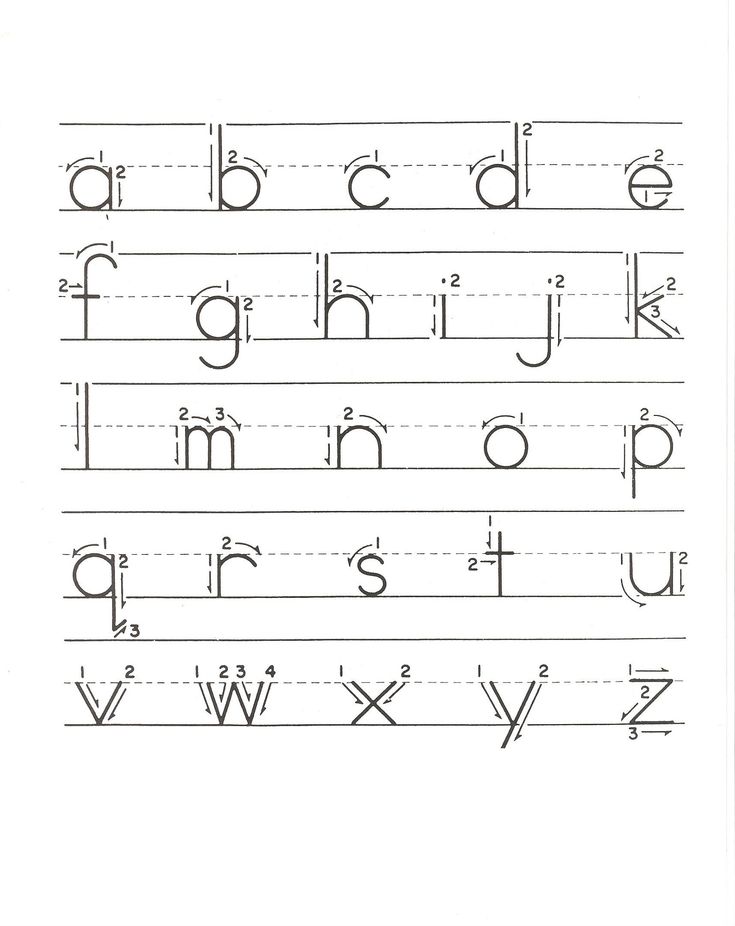 For little naughty fingers, it's not so easy.
2. When we write letters, we imagine the rails on which the train travels. If the rails cross, the train will derail and fall. The letters should not dance on the line, but stand like soldiers. After the kid writes a line, you can take a ruler and draw vertical lines through the letters. If the rails are straight everywhere, then the train arrived wonderfully, and you can put a big fat plus on this line! Over time, the rails may become slanted, but should remain parallel.
3. Written letters consist of a certain set of elements: sticks, hooks, loops and ovals. As we wrote above, it’s better not to collect letters without a teacher, but it’s worth practicing writing sticks of different lengths. To work with an oval, we can draw a box. The oval should look out the window and not get stuck in it. If a child draws a circle, then his chubby cheeks will not crawl through the window. Cheeks will have to be erased.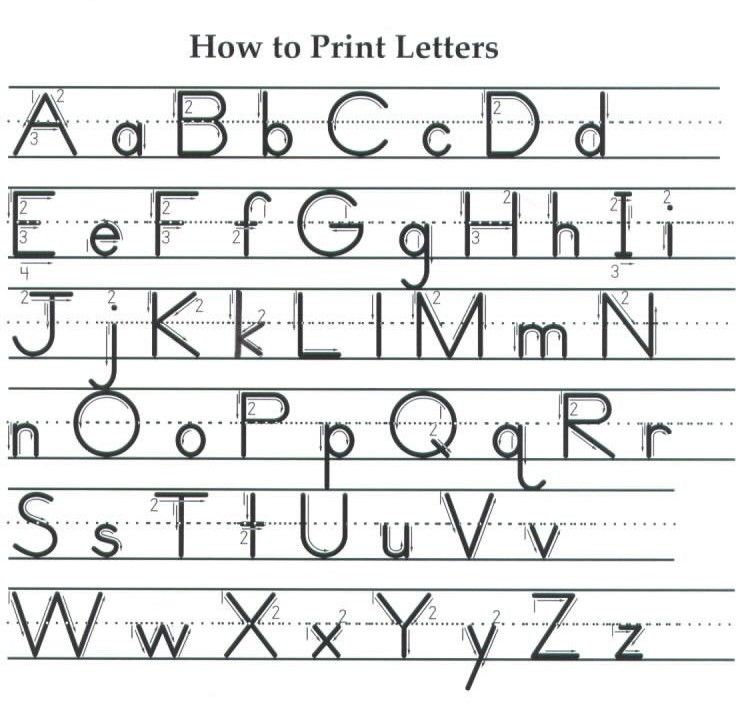 In addition to writing, we advise you to have an A4 lined notebook. If you don't have one, the regular one will do. First, the parent himself draws a large beautiful printed letter. The child paints its elements in different colors. Then we write giant letters (several centimeters high). At the beginning of the line, the parent puts dots, the child circles them, and only then appends the line on his own. Next come the middle letters and, towards the end of the page, the midget letters. While the child is writing, you can ask him to pronounce the sound of a capital letter in a rough voice, the sound of a middle letter in a normal voice, and squeak the sound of a midget letter. That will be much more fun!
How to teach a child to write quickly?
Anna Shumilova:
— A quick letter is a continuous letter. He will be taught by a teacher at school. As soon as the literacy period ends (around February 1st grade) and the Russian language begins, you can dictate very short dictations to your child.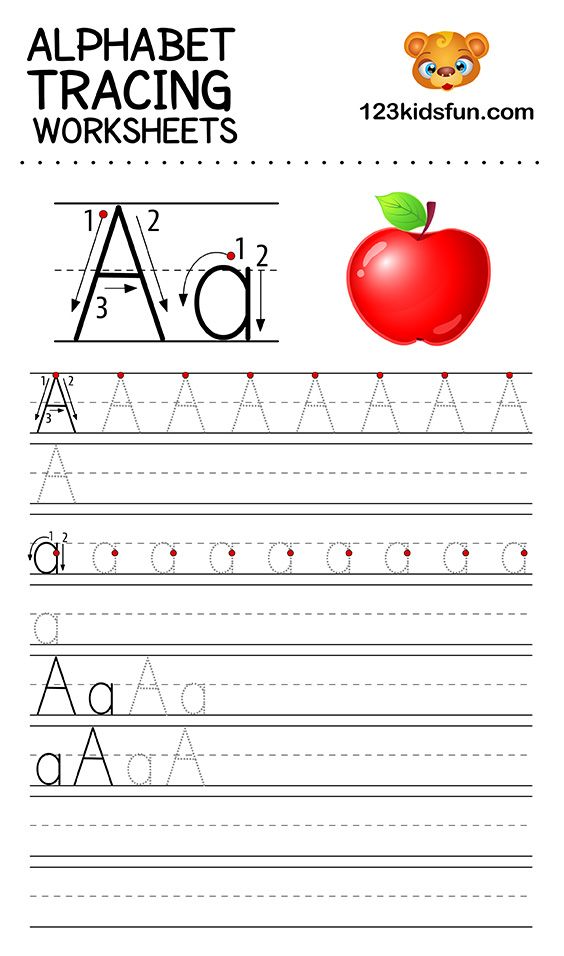 You can use the collection of O. V. Uzorova. You can come up with short funny sentences about your child yourself. This will generate additional interest in the letter. Only practice and control over the maximum continuity of the hand while writing one word will help to write quickly. So that the child does not forget what this or that letter looks like (which happens up to grade 3), it is necessary to spend minutes of calligraphy.
Read also
Motivation of a child to study at school
Komsomolskaya Pravda tells why children are waiting for the Day of Knowledge, but after a week they suddenly start to get sick and tells how to make the child motivated to study
2
How to teach a child to write at home?
Almaz Marsov, director of the online school "It's clear":
- Learning to write can be divided into 2 stages: preparing the hand for writing and writing itself. At the preparatory stage, you need to teach the child to coordinate brush movements. To do this, play and create with your child. Coloring pages, hatching tasks, as well as graphic exercises will help you: graphomotor tests, labyrinths, tasks of the series “connect by dots”, “connect by dotted lines”, “draw the second half” and so on. In a word, these are the tasks that will teach a child to use a pencil or pen - to set the direction of the lines, control the force of pressure, control the size of the image, the clarity of the lines and smoothness. After that, you can start writing letters and numbers.
The main principle is to go from simple to complex. First, you can learn to write part of a letter or number, then the letter or number in full. It is important to show the child the correct sequence of writing letters and numbers: from left to right, from top to bottom. Too many children come to school with the wrong letter and are faced with the need to relearn. To avoid this, we recommend that you complete tasks with the children and control the correct spelling until they develop a writing skill.
Of course, the best helper is prescription. As soon as the child masters the letter with a hint, you can move on to a more difficult option - writing in a notebook. The more practice, the more confident and better the child's writing. Finally, the skill needs to be consolidated and improved. Write everywhere: sign drawings and crafts, write on asphalt with crayons, on misted glass with your finger - turn writing into a game and an interesting activity for a child. The more you practice, the faster and more beautiful the child will write.
What kind of games help children develop writing skills?
Anna Shumilova:
— Almost any exercise can be turned into a game. It depends on the submission of the material. You can draw letters with your nose in the air, collect letters from sweets. You can color the letters, circle them with dots, and then give them gifts. If the letter is oval, it is necessary to give objects that also contain an oval in their image. Write not only at the table, but also with chalk on the pavement, a marker on a blackboard, sand on glass or on a piece of paper, show letters on your fingers, ask you to guess which letter you are in.
What determines how fast a child learns to write?
Anna Shumilova:
— We recommend taking your child to at least a few calligraphy lessons or watching video tutorials on YouTube. The teacher will tell you how to correctly determine the size of the line and letter. Pen and ink will not allow the child to rush. He will learn to breathe correctly, regulate the pressure on the pen, focus on writing, see the extraordinary artistic beauty of various styles of writing letters. This will be a great experience and will help the kid develop writing skills and strive for perfection.
Read also
How to teach a child to do homework on their own
In an ideal world, children themselves go to bed and do their homework - but alas, in reality, everything is not so. Most parents of schoolchildren still have to help them with their homework
| 0001 Home \ Article \ It is so neat: How to teach a child to write in words \ All Articles Categories Useful Articles {{Text}} ,0002 can be taught to write beautifully registered letters ? Of course! The main thing is to arm yourself with patience and pay attention to simple exercises that will help the baby successfully master capital letters and, ultimately, become the owner of an even, beautiful handwriting. You have taught baby to keep posture while sitting at the desk, picked up the right writing supplies and practiced preparatory exercises, it's time for copybooks.
How to learn to write in cursive? Step one. Start by showing your child how to write the basic elements that make up all letters. Among them there are vertical sticks, and sticks rounded at the top or bottom, and other "squiggles". Discuss with the baby the appearance of each element, pay attention to the position of the stick relative to the line - after all, all elements of the letters should not go beyond the lines. Start writing these elements - first at pre-set points, then on your own. Second step . Choose any printed letter, draw the child's attention to it. Do an exercise with this letter - for example, ask your child to find this letter in the text, or cut it out of paper. Fourth step . Be sure to use motor memory in your writing lessons! Using the same letter, write it in the air . Ask the child to carefully follow your movements - he must guess which letter you are depicting. Letter guessed? Ask your child to repeat your "air pas" writing letters. Help him for the first time - take his hand in yours and move it in the air, drawing the desired letter and commenting on the movements. Then ask your child to do the exercise on their own. Repeat the task several times. Step Five . And now, finally, the most crucial moment has come! Ask your child to write this letter in cursive. To begin with, point by point, then independently. Help the kid with your comments in difficult places, and then, after several attempts, ask him to comment on each of his actions. 
|
 In order to consolidate the comparative stage, proceed to writing this letter. For now, do it yourself - slowly, slowly, commenting on each movement: "I put a dot over the line and move my hand up," etc.